How To Brown Butter
Brown Butter is a secret ingredient that turns up the flavor in any dessert. It creates a delicious nutty and caramelized flavor that can turn a basic cookie recipe into something gourmet. And after using it just once, you’ll never go back to regular butter! In this post I’ll be teaching you how to brown butter in order to elevate your baking.
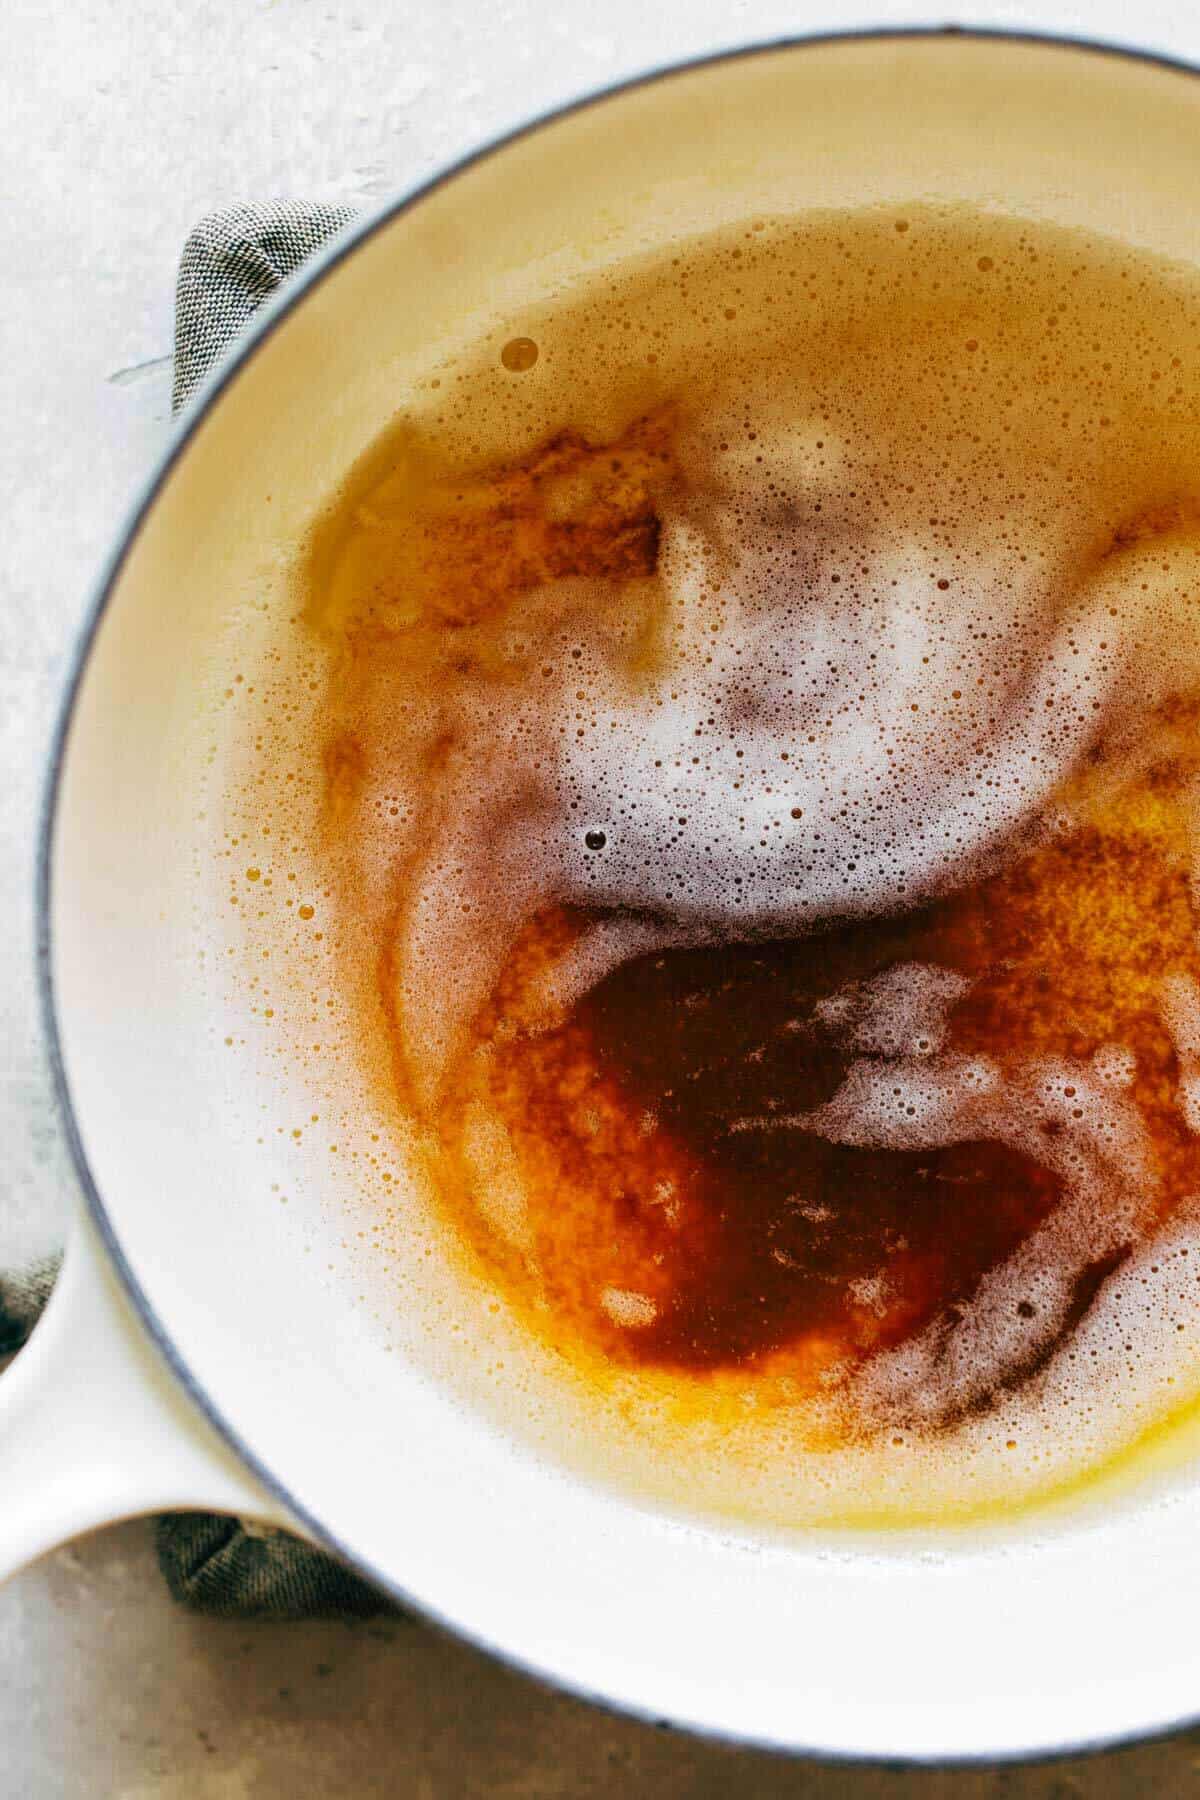
What is brown butter?
Brown Butter is the most simple but impactful thing you can make to enhance your bakes because it only requires one ingredient… butter! Transforming basic butter into browned butter is a very quick process but releases so much flavor.
Brown butter is essentially toasted butter. Butter is melted over a burner to release the milk solids. These then sink to the bottom and toast or “brown” to create a nutty aroma and rich flavor.
How to make brown butter
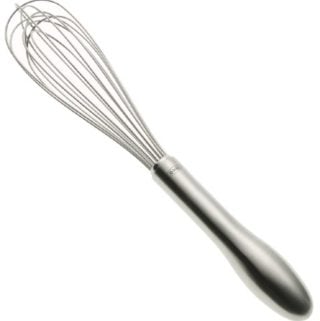
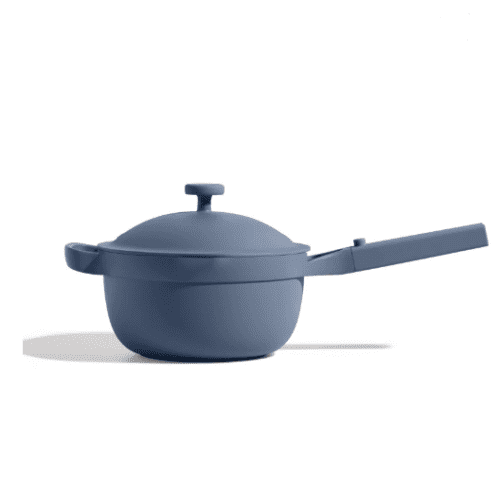
Browning butter is very easy and requires a shallow saucepan, a whisk, and a burner. The entire process consists of 5 main phases:
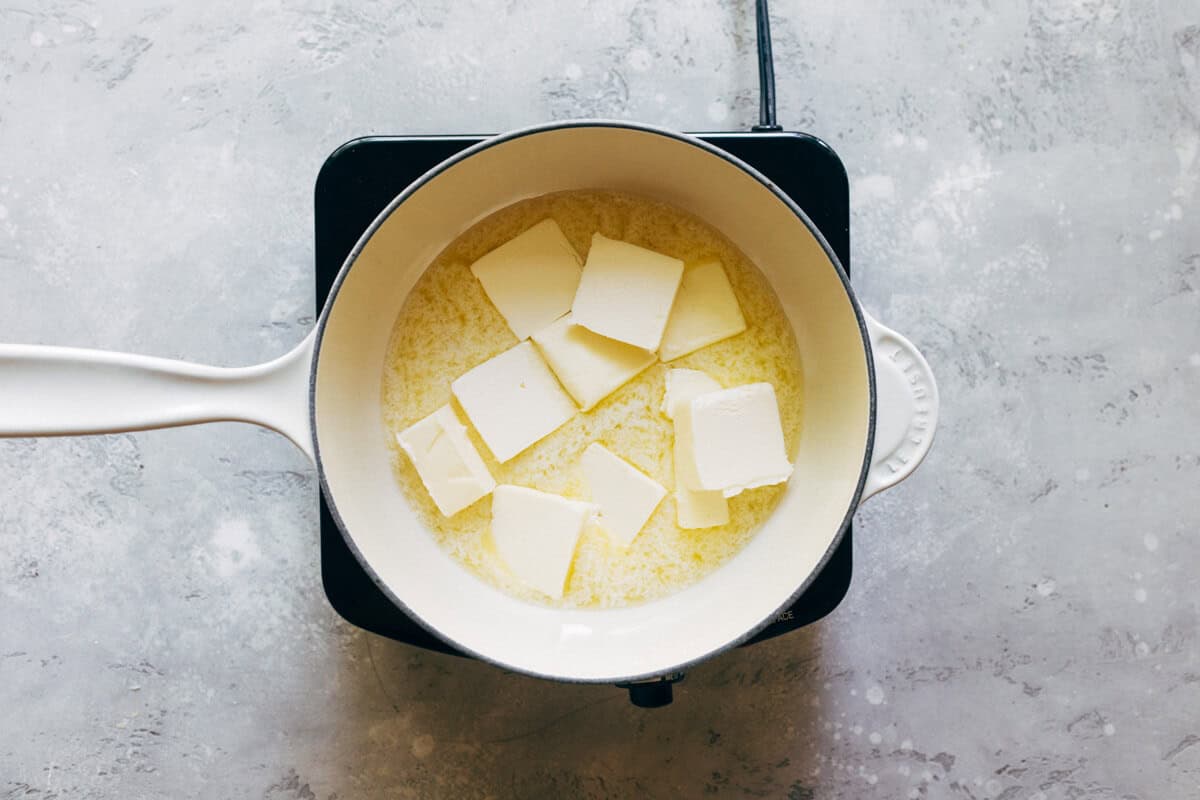
Phase 1: Melting – This is the easiest step and is very self explanatory. In a shallow saucepan or skillet over medium heat, melt down the butter.
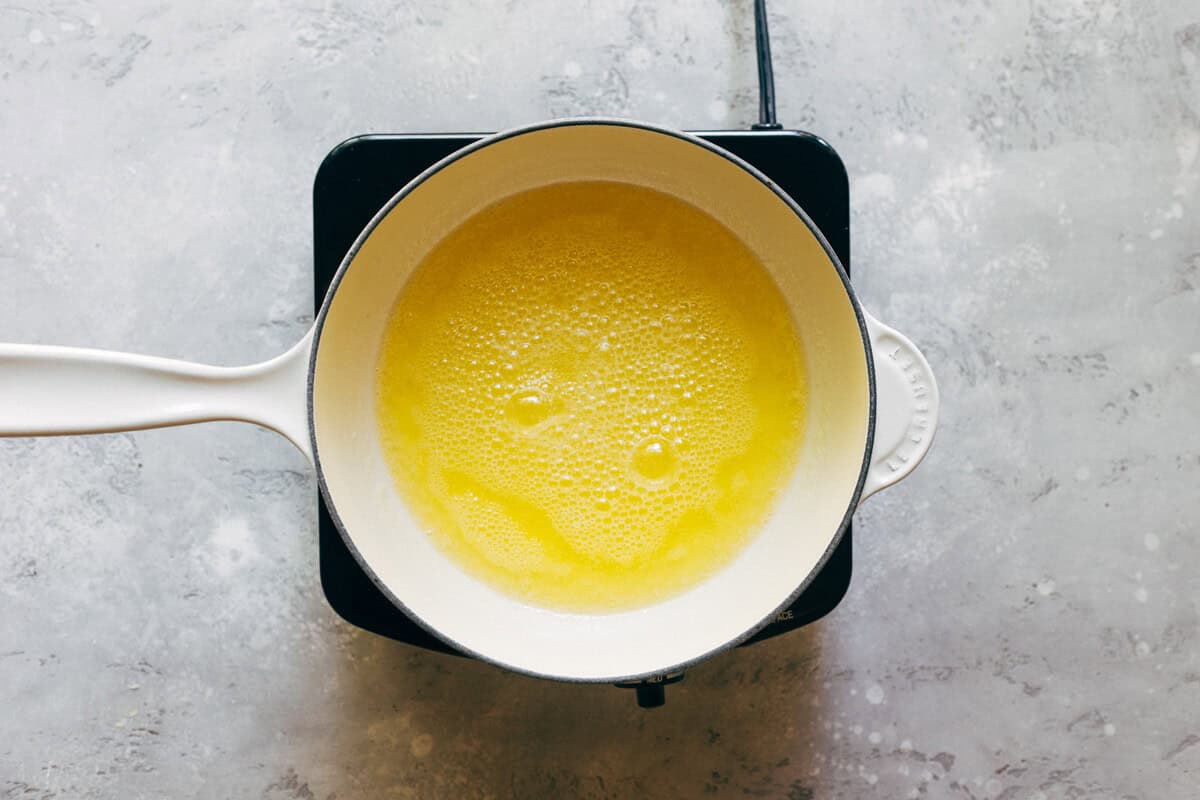
Phase 2: Bubbling – This the longest step and requires you to whisk occasionally. After the butter is melted, it will start to bubble and turn almost translucent. You’ll notice the butter will change colors from a soft yellow to a bright yellow/orange hue.
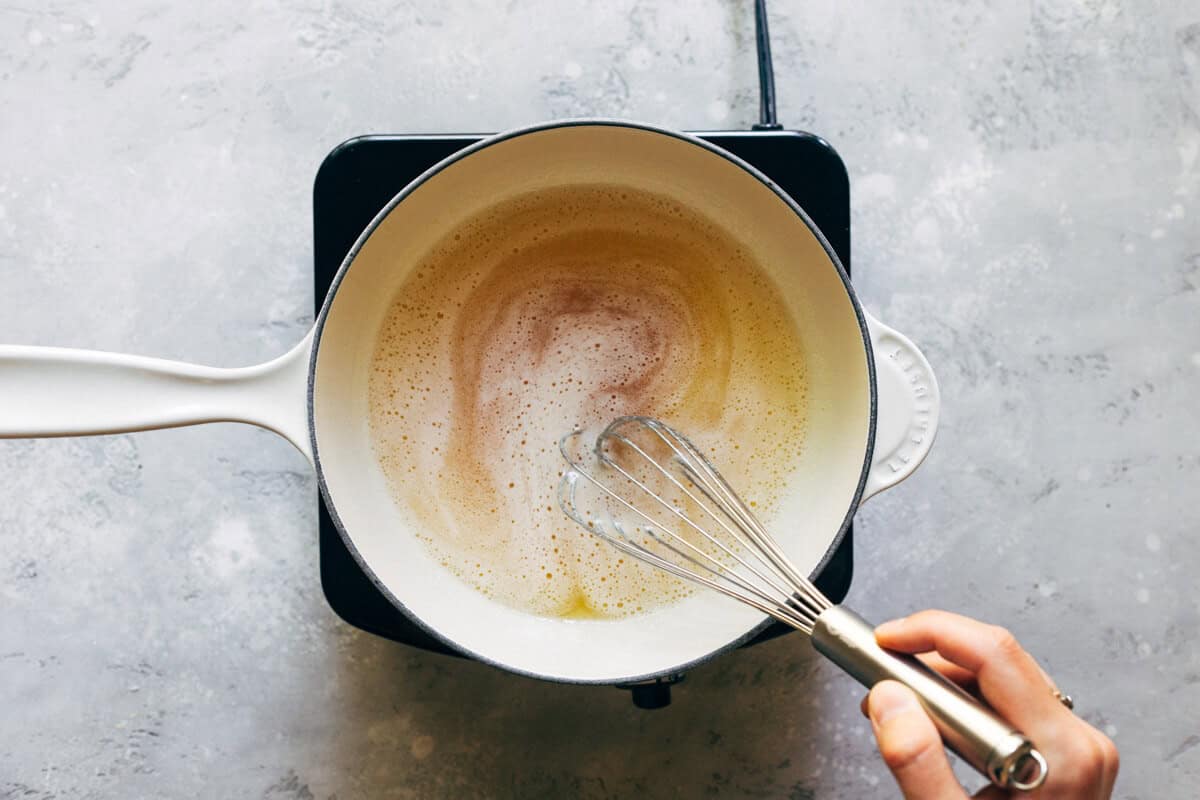
Phase 3: Foaming – The bubbles will begin to multiply and turn into a fine foam. It will be difficult to see what’s underneath so you will need to whisk consistently at this point. Once the foam forms, the browning happens VERY quickly so don’t step away from the pot!
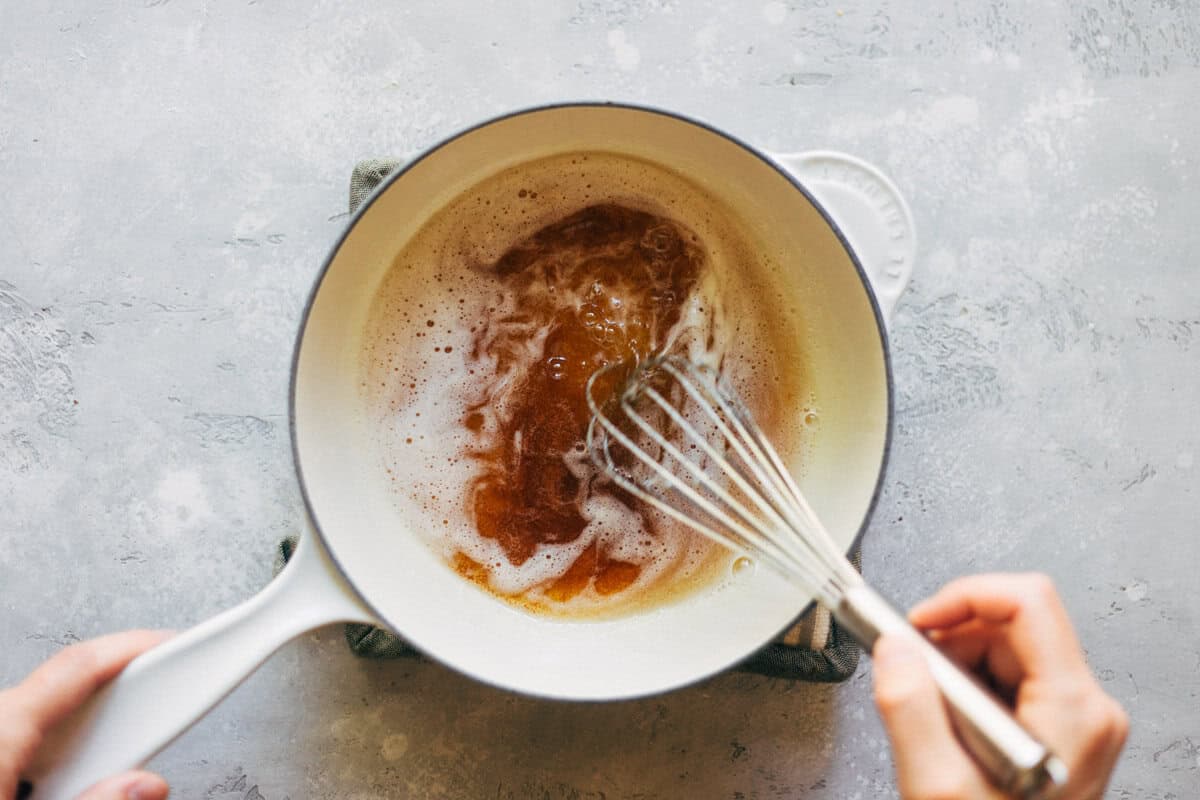
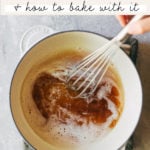
Phase 4: Browning – As you’re whisking, you’ll notice the butter transitioning into a rich golden color. And as the butter moves around, you’ll start to see the milk solids sitting on the bottom of the pot. Once those start to darken into a light brown, remove the pot from the burner and keep whisking. The residual heat will continue to toast the milk solids to create a really rich amber color… exactly what we’re looking for!
THE MOST IMPORTANT STEP
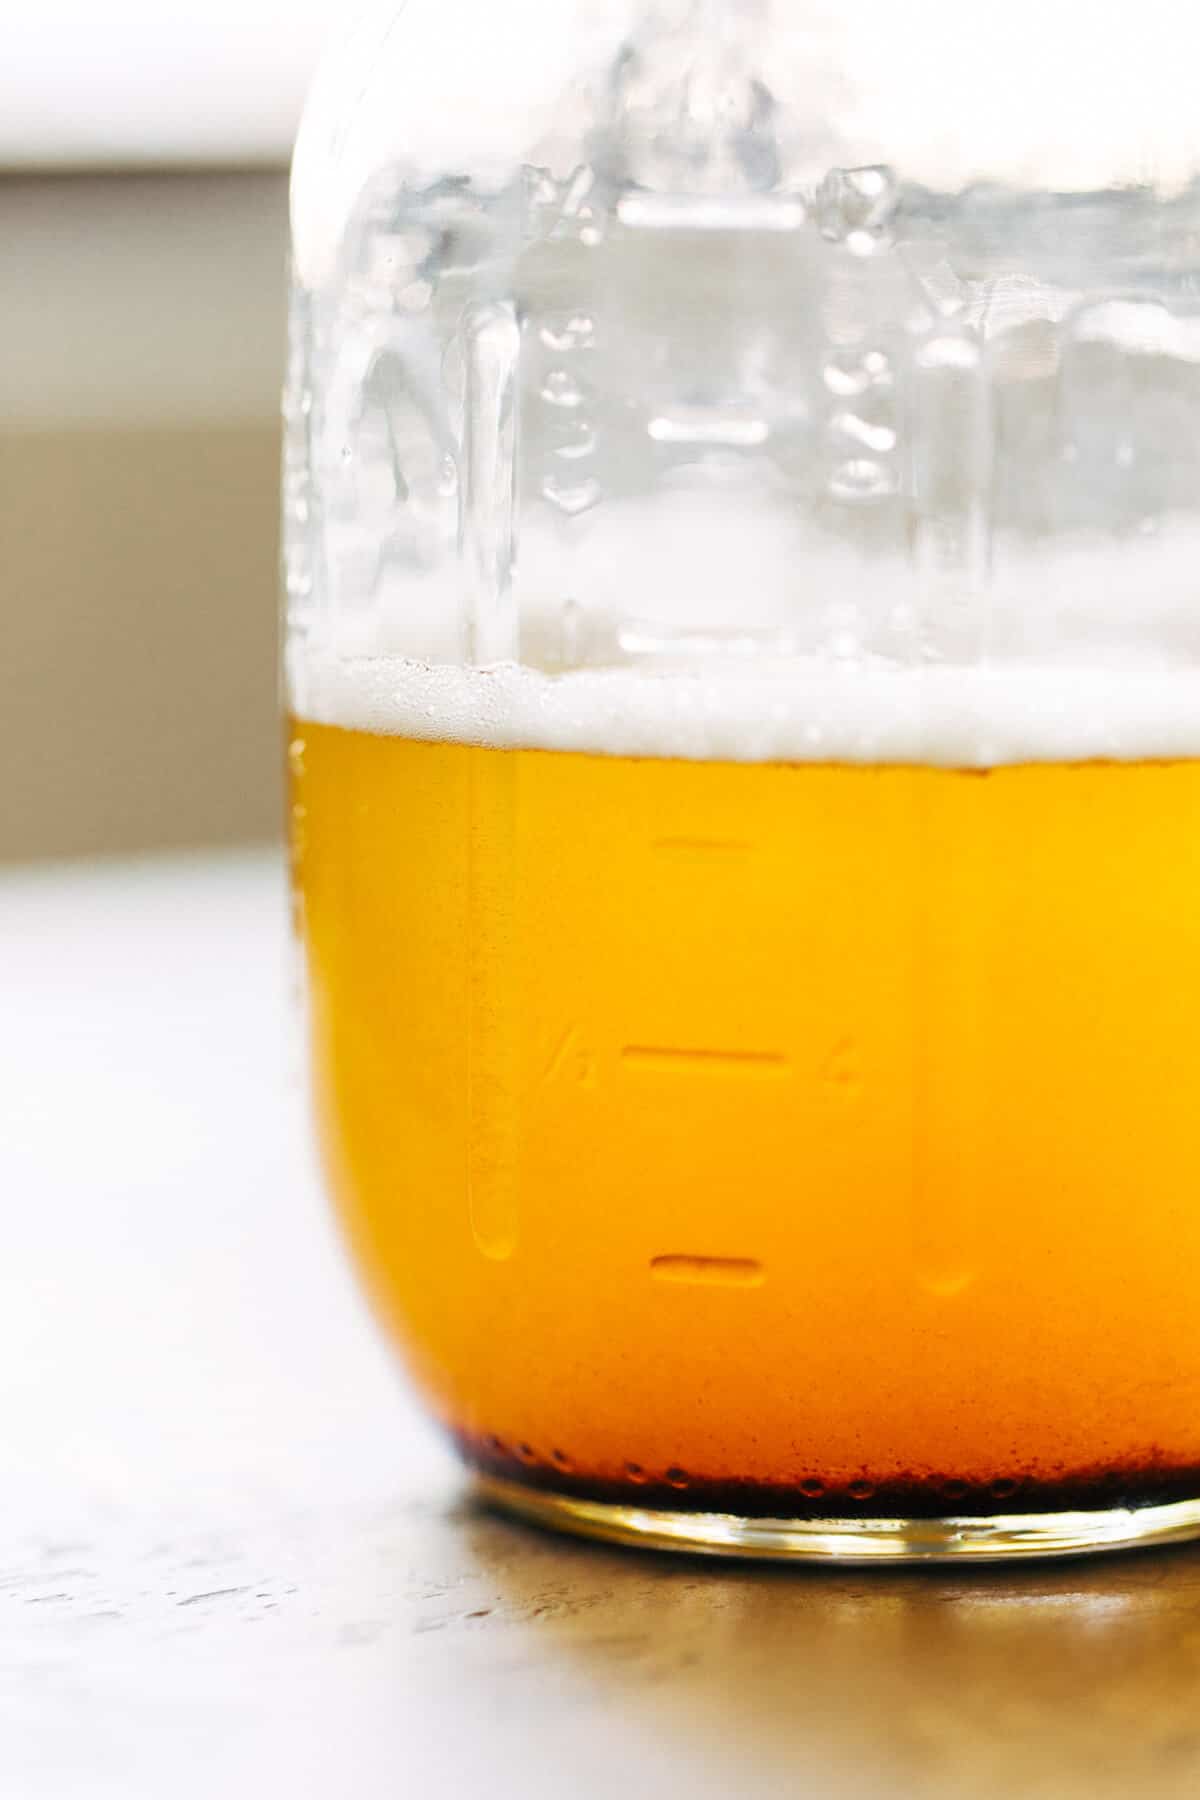
Phase 5: Cooling – After the butter is browned, pour it into a glass container to cool. You’ll notice a pool of dark bits at the bottom of the pot. Don’t leave those behind! Those little specks hold all the flavor.
How to use brown butter in recipes
The best part about browned butter is that it can be treated just like regular butter! If a recipe calls for melted butter, use melted browned butter. If it calls for room temperature butter, allow the browned butter to chill in the fridge in order to solidify.
Just make sure to bake with brown butter when it’s NOT piping hot. This can affect the sugar and other ingredients in a recipe, causing them to melt or dissolve too quickly.
Another good rule of thumb is to start out with 1-2 more tablespoons of butter per half cup than what your recipe calls for. This will account for the evaporation effect where you’ll lose some of the liquid in the butter during browning (see my FAQs below!)
But always make sure to measure the exact amount of butter needed in a measuring glass before adding to a recipe. If you find that you came up short when measuring the browned butter, add a little bit of water to make up for the loss.
Recipes to make with brown butter
- Brown Butter Chocolate Chip Cookies
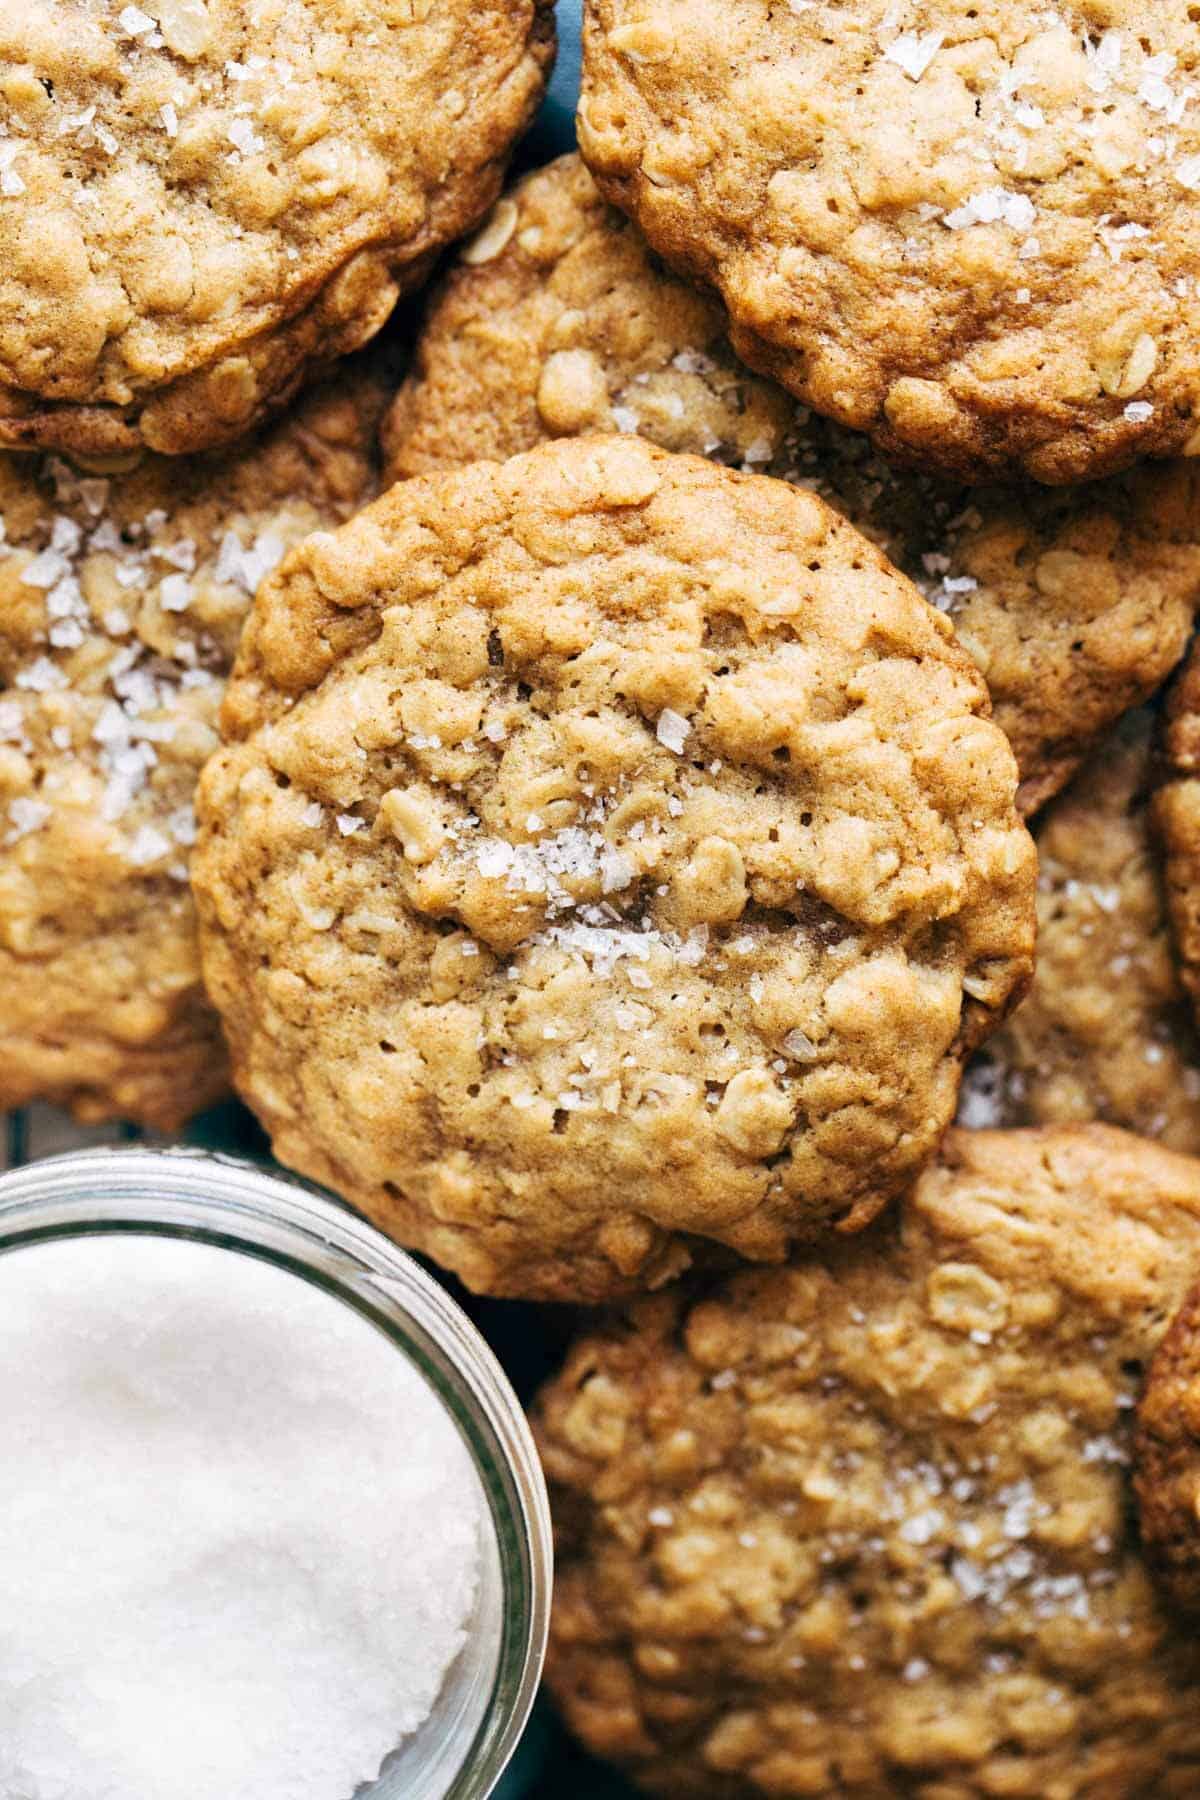
- Oatmeal Cookies
- Brown Butter Cinnamon Rolls
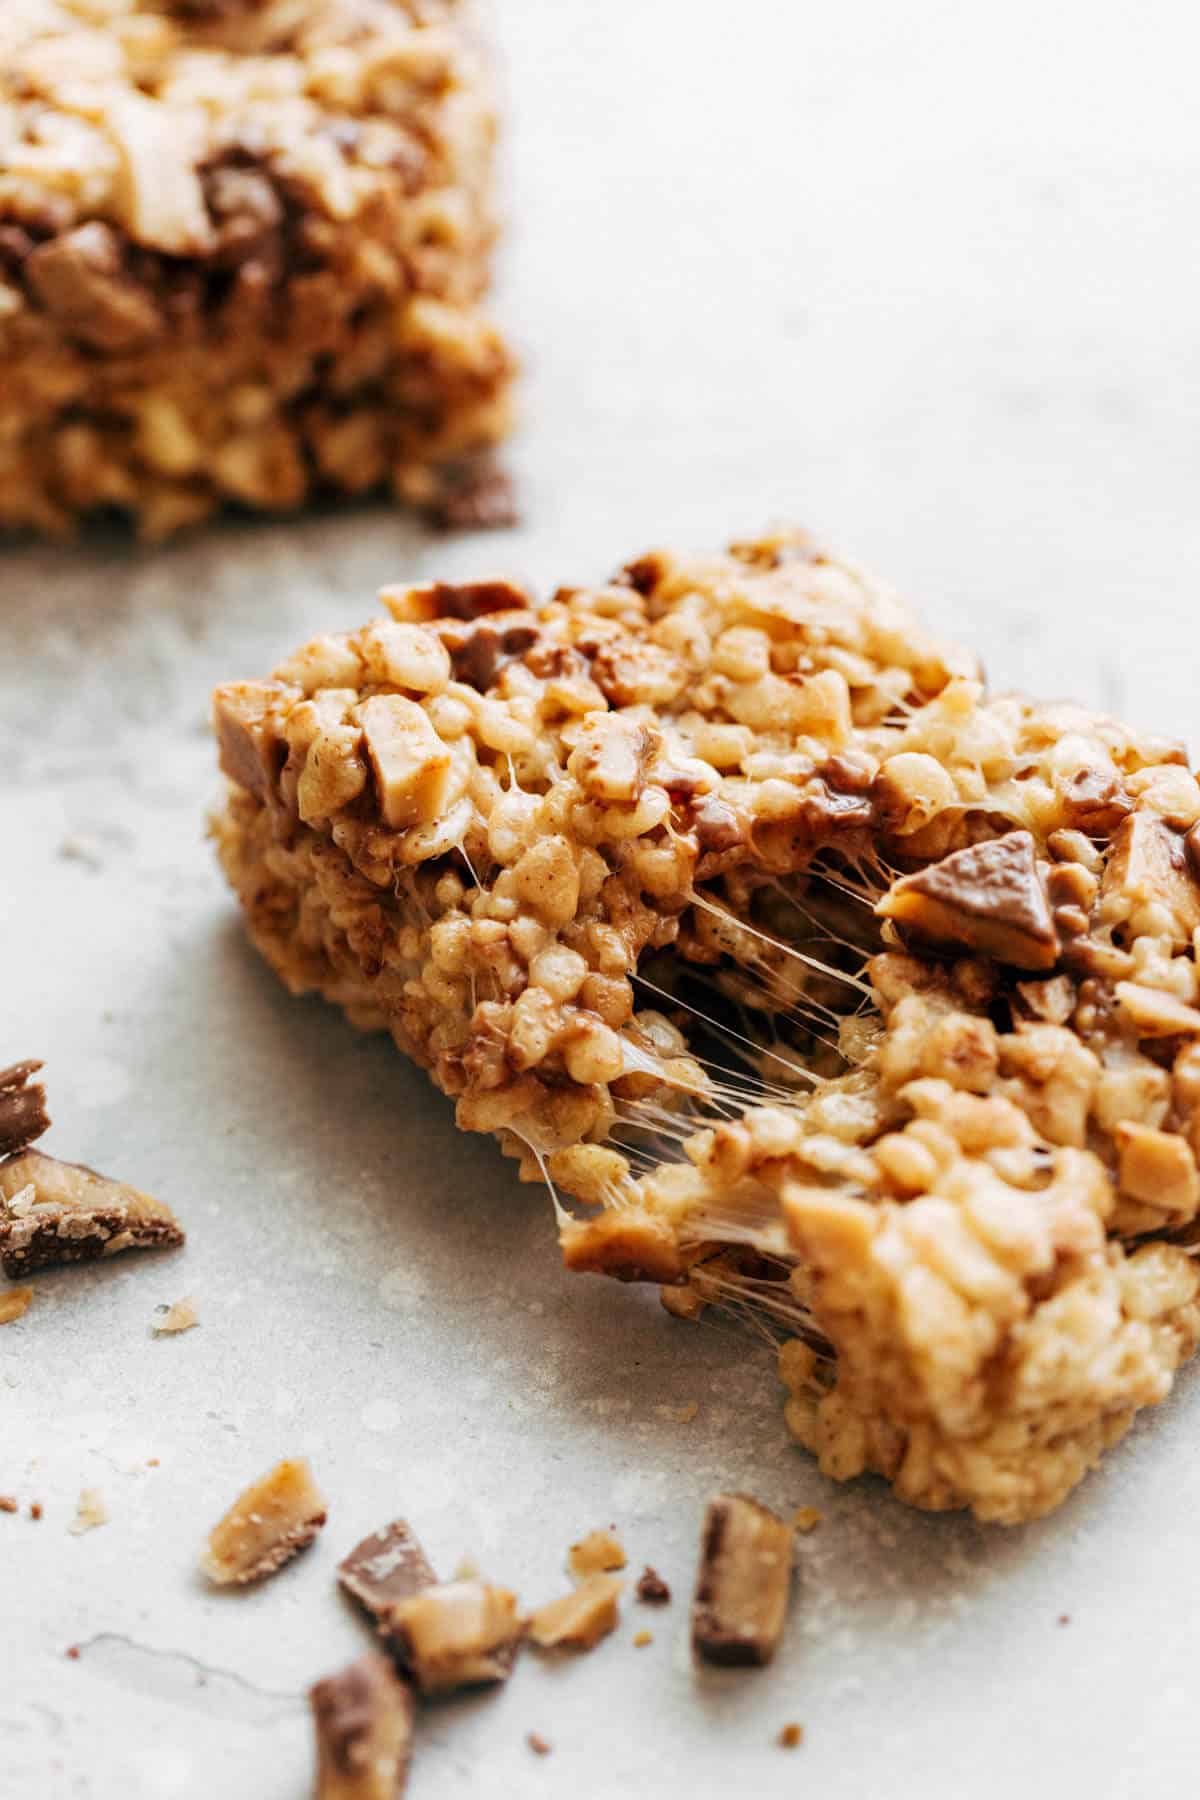
- Toffee Crunch Rice Krispie Treats
- Brown Butter Vanilla Cupcakes
- Gingerbread Cookies with Brown Buttercream
- Spice Cake with Brown Butter Cream Cheese Frosting
- Maple Brown Butter Cheesecake
- Fudgy Brown Butter Brownies
- Maple & Chewy Pumpkin Cookies
- Miso Chocolate Chip Cookies
- Brown Butter Chocolate Chip Cookie Bars
FAQs
This all depends on the type of pot you use. If you use a small but deep pot, the process may take 15-20 minutes. If you use a shallow pot or skillet, it can take around 10 minutes. The more spread out the butter is, the faster it browns.
It’s important to know that the amount of butter you start out with will not but what you end up with. During the process of browning, much of the water evaporates from the butter. So if you start out with 1 cup of butter, you’ll be left with just a hair over 3/4 cup of butter. You’ll lose a couple tablespoons in the process. This is the evaporating effect.
For more easy kitchen basics recipes, check out my:
- Best 4-ingredient Philadelphia Cream Cheese Frosting
- How To Frost A Cake For Beginners Without Crumbs
- Easy Small Vanilla Cake Recipe
- Best Fluffy Vanilla Cupcakes with Vanilla Bean Buttercream
- Easy Moist Chocolate Cupcakes Recipe without Buttermilk
Make sure to tag me @butternutbakery on Instagram if you make this Brown Butter recipe. I love seeing my recipes come to life in YOUR kitchen! To pin this recipe and save it for later, you can use the button on the recipe card, the buttons above or below this post, or on any of the photos above. Happy baking!
Print
How To Brown Butter
- Total Time: 13 minutes
- Yield: 3/4 cup brown butter
Description
Turning regular butter into brown butter will up level your baking game! It’s a bakers secret weapon to create a really rich and nutty flavor that makes everything taste 10x better.
Ingredients
- 1 cup (220g) unsalted butter, cut into tablespoons
Instructions
- It’s best to use a wide and shallow saucepan, but a small and deep pot can also be used. The process just might take a bit longer. Place your saucepan over medium heat and add the butter.
- Once the butter is melted, stir occasionally with a whisk as it starts to bubble and turn translucent.
- After about 5-10 minutes, the bubbles will begin to turn to foam. It will be hard to see what’s happening underneath, so continually whisk at this point. The browning process happens very quickly after the foam forms so don’t step away from the pot!
- As you move around the foam, you’ll notice the milk solids sink to the bottom of the pot. They’ll start to turn a light brown color after about a minute or so and the butter itself will start to darken. Once that happens, remove the pot from the heat and keep whisking. The residual heat will transform the brown bits into a rich amber color. That’s what we’re looking for!
- Pour the butter into a measuring glass and make sure to scrape all the brown bits from the bottom of the pot. That’s where the flavor is. You should be left with just a hair over 3/4 cup.
- Allow the butter to cool before using in a recipe. You can use it melted, or chill the butter to solidify depending on what your recipe calls for.
Notes
I used 1 cup in this recipe just to explain the process, but use whatever amount you need in your recipe. I suggest using 2 extra tablespoons for every half cup of butter than what the recipe calls for as you’ll be left with less butter than you started out with (due to the water evaporating). Also try to brown larger amounts of butter (equal to or more than 1/2 cup). Anything less than that will be very easy to burn. You can reserve the extras for another dessert!
- Prep Time: 1 minute
- Cook Time: 12 minutes
Join Our Community

Meet Jenna
I’m the creator, baker, and photographer behind Butternut Bakery. Here I share desserts for every diet because I believe everyone should have a chance to indulge!
Thank you for posting this! I’ve been so intimidated to use brown butter in recipes until now. Wow, does my house smell amazing! I used it to make your maple pumpkin cookies, incredible!
This is such a detailed guide on browning butter. Thank you 😊
Browned butter is the only way to go when you are making rice crispy treats, also adding in some sea salt, most recipes don’t call for it but I always add vanilla. But my girls like it when I make this with 18 to 20 oz of marshmallows not the 10 that’s normally called for. And they are 30 and 37 years old. They live on the West Coast and I now live on the east coast so whenever I fly out to visit they know mama is going to pull out of her suitcase to individually wrapped slabs (2 halves of a 9×13) of my adult Rice
Krispies! If I were to arrive without those they would think pod people had stolen their mother and replaced her!
I need to find a reason to make another cake but use brown butter for either my French or Swiss buttercream. Even American buttercream would be fabulous with brown butter!
The butter smells delicious! Am I supposed to use the solid bits in my cookie recipe along with the browned butter?
Hi! Can you make large batches and use as you need? Do you know how long it lasts for?
Thank you so much for showing pictures of the stages in making browned butter. I have wanted to make a cake with some, but I have been so afraid. This really clears things up for me.
Thank you for explaining this process so well! I just tried it and it worked great! Now on to making your brown butter oatmeal cookies!
My first intro to brown butter in a cookie and it’s awesome! The smell is addictive. I will be making this many times over the holidays to introduce to my extended famiiiies. Thank you for sharing!
Hi Jenna! Have you ever tried a vegan brown butter? Such as with earth balance or similar.
I stayed by my pot the whole time and whisked consistently.. I don’t think mine took 15 minutes in a small pot.. I ended up burning all two sticks of butter it didn’t even turn amber brown what did I do wrong and Is there anything I can do with burnt butter ?