Cream Cheese Frosting
This is definitely the BEST cream cheese frosting recipe. It’s silky smooth, holds its shape, and can be used for just about anything. Pipe it on top of cupcakes, cover a layer cake, spread on a sheet cake, or frost sugar cookies. I’ve also included troubleshooting tips and instructions on how to customize your cream cheese frosting to any flavor or color.
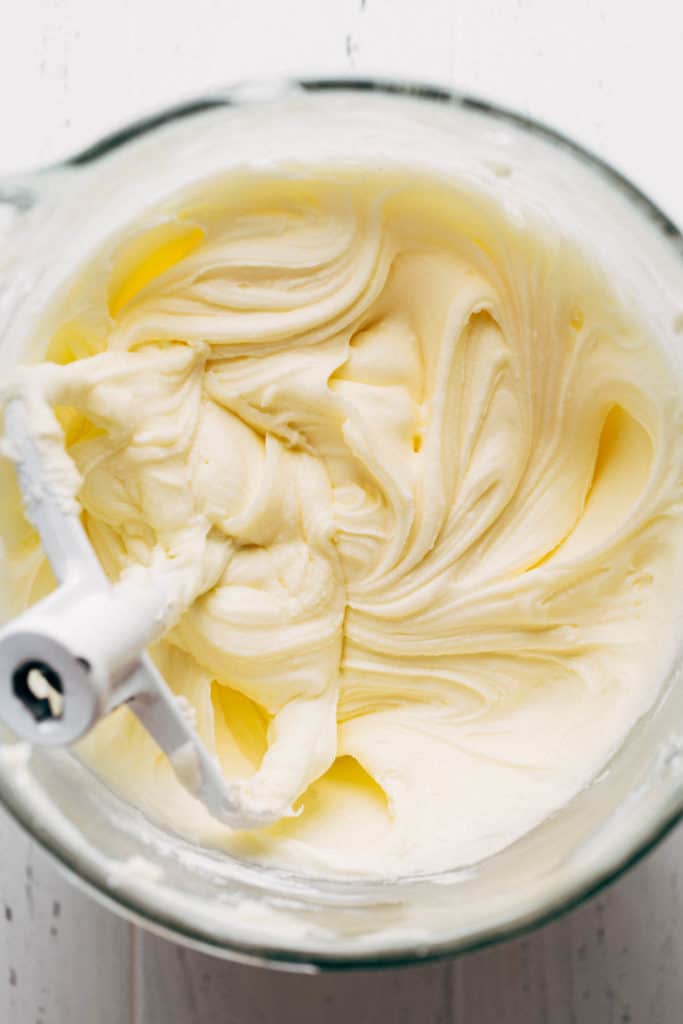
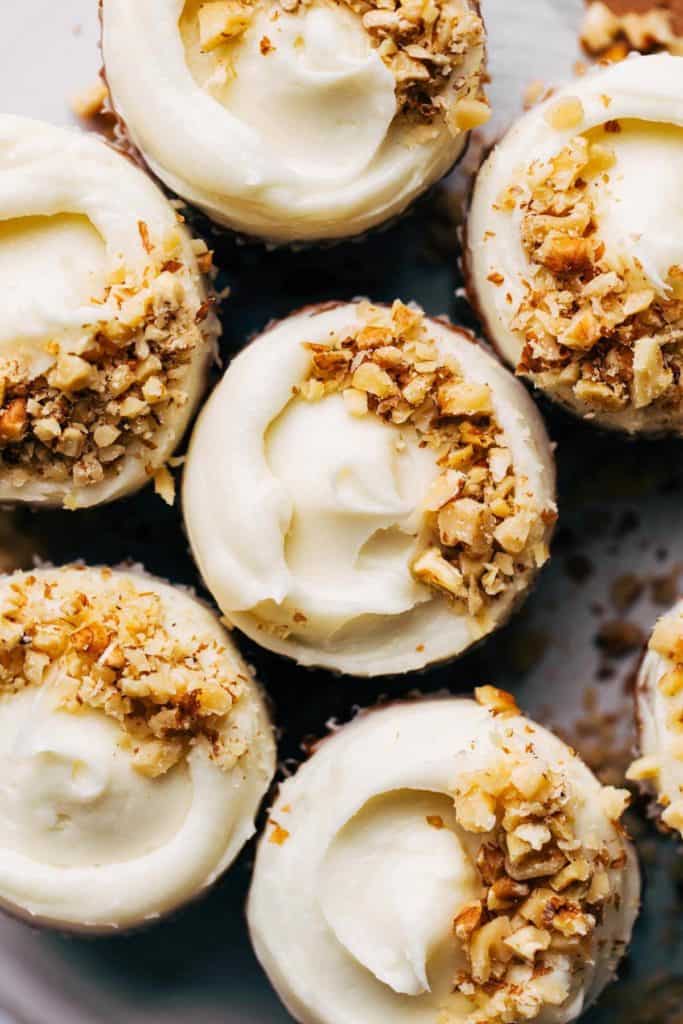
Tips for making cream cheese frosting
This is a really simple recipe made up of only 4 ingredients, but just because it’s simple doesn’t mean we can cut corners! Here are my top tips to ensure yours turns out perfectly smooth:
- Use good quality full fat cream cheese. I recommend using Philadelphia cream cheese as I find it provides the BEST texture. Any other brand, especially store brand, tends to make this frosting a bit too thin with tiny lumps throughout. It also doesn’t provide the best flavor. I don’t know what they put in Philadelphia cream cheese to make it so good, but it’s an absolute must for me! Side note – this is not sponsored, I just genuinely only ever use Philadelphia cream cheese for this exact reason.
- Use unsalted butter. Since the cream cheese is already tangy and savory, additional salt is not needed. And since you have to pay a bit more for good quality cream cheese, you can make up for it with using store brand butter. I find it doesn’t make a difference whether it’s fancy butter or basic inexpensive butter.
- Allow both to come to room temperature. This is KEY to getting a silky smooth cream cheese frosting. Let the cream cheese and butter sit out at room temperature for about 1-2 hours before use. When they’re ready, you should be able to easily sink your finger into each. Room temperature cream cheese and butter is easier to mix, giving you a lump-free frosting.
- Use an electric stand mixer with the paddle attachment. You can also use a hand mixer, but a stand mixer makes this recipe much easier. I find it gives me the most consistent texture without whipping too much air into the frosting. Plus, the paddle is hefty and sturdy so it cuts right through the softened cream cheese and butter without clumping up.
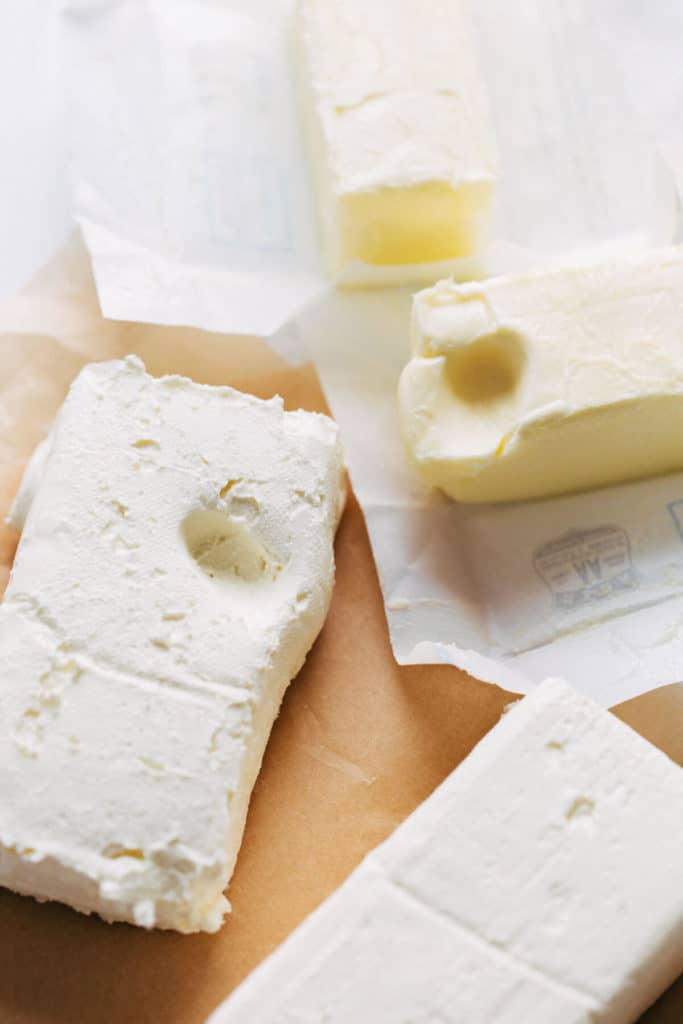
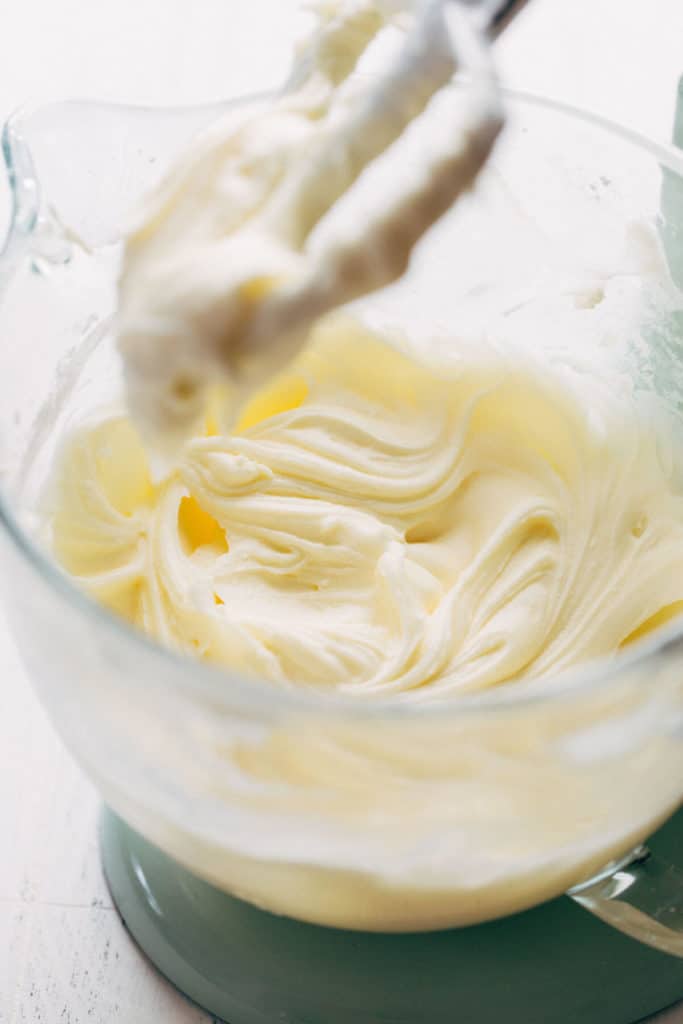
How do you stiffen cream cheese frosting?
One of the most common questions I get is how to achieve a cream cheese frosting that’s smooth but still able to hold firm, especially when piping on cupcakes or spreading between layers of cake. The solution is actually very easy and works every time. But here are a few reasons why yours could turn out too thin in the first place:
- Either reduced fat or low quality cream cheese was used. Full fat cream cheese is essential. It’s how you achieve a thick frosting because of, well, it’s high fat content. Reduced fat cream cheese tends to be a bit watered down, creating a thinner consistency. As far as brand, like I mentioned before, only use Philadelphia full fat cream cheese when possible. Other brands of cream cheese don’t have that perfect balance of gums in the ingredients, so they won’t allow the frosting to thicken and hold its shape like Philadelphia does.
- Your cream cheese and/or butter was TOO soft before use. I know it’s tempting to stick them in the microwave to soften, but this causes the two to heat up too quickly, creating a melty and runny consistency on the outside but still firm on the inside. These melty portions are what thin out the frosting. If you didn’t use the microwave, it could just be that they were left out for too long, therefore softened too much.
Luckily there’s a remedy for both of these! Although if you used the wrong type of cream cheese, you may still have trouble getting the frosting to the right thickness.
If you used all the right ingredients and followed the recipe to a T and STILL came up with a thin frosting, simply place the bowl in the refrigerator for about 30 minutes to thicken. Yep, it’s that easy. As it chills, the butter and cream cheese will firm up to create a sturdy frosting that’s ready to pipe or spread on to any cake.
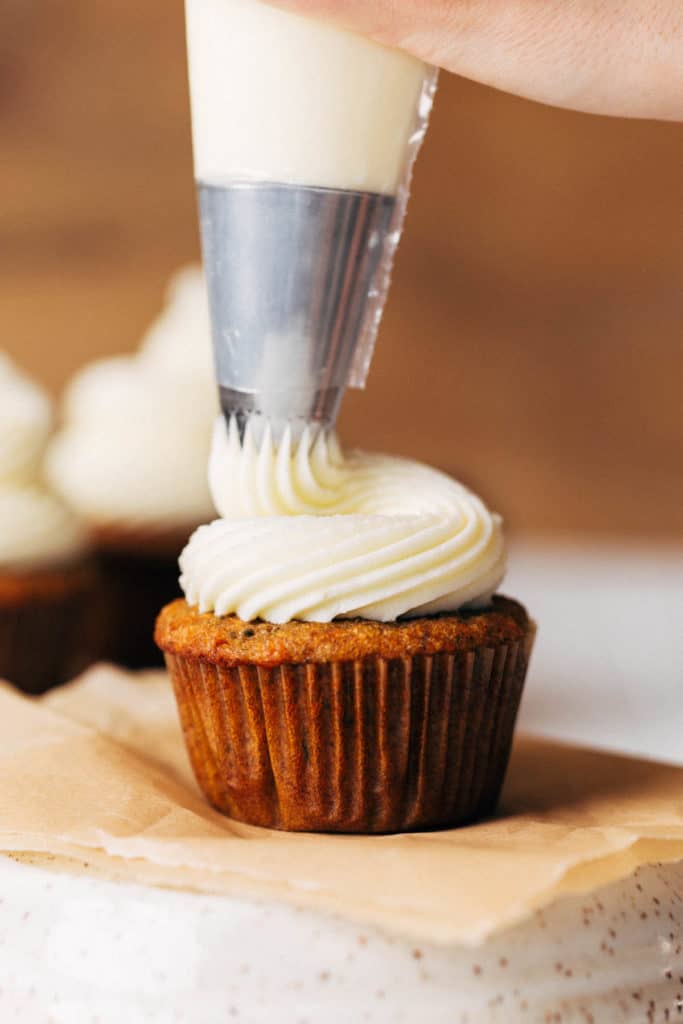
How to frost a layer cake with cream cheese frosting
Another major issue I hear quite often is how difficult it is to use cream cheese frosting on layer cakes. Many of you claim that your cakes slide around and just will not stay put. I get it, I’ve been there! So here’s a really simple solution to ensure your cream cheese layer cakes turn out just right:
- First, follow my instructions above on how to thicken the frosting. If you’re having trouble with it sliding around on your cake, it could be that it’s too thin in the first place.
- Once it’s chilled, also make sure your cakes are COMPLETELY cooled before use. Even the slightest warmth will cause the frosting to melt and slip. To ensure they’re chilled, I recommend storing them in the refrigerator overnight or for at least 3 hours before use.
- Don’t spread too much frosting between each cake layer. Spread enough to where you can’t see the cake poking through, but not too much to where it squishes out when you place another cake layer on top. If you spread a layer that’s too thick, you’ll have a hard time keeping the cake in place.
- Once you’ve spread the frosting between each cake layer, chill the cake for about 30-45 minutes before continuing. While the cake chills, chill the bowl of frosting as well. Then, take it out about 15 minutes before the cake to allow it to loosen up a bit. Chilling the cake before frosting the outside allow those layers to lock in place. Otherwise, they could shift as you press up against the sides of the cake with more frosting.
- To lock everything in place, chill the cake right away once it’s covered in the frosting. Do so even before decorations. Chill for about 20 minutes to allow that frosting to thicken once again.
Now add your decorations on top and chill until your cake is ready to serve. The key to cream cheese frosting is to just keep it cold. Due to its high fat content, it tends to melt rapidly. So when it doubt, just stick it in the refrigerator!
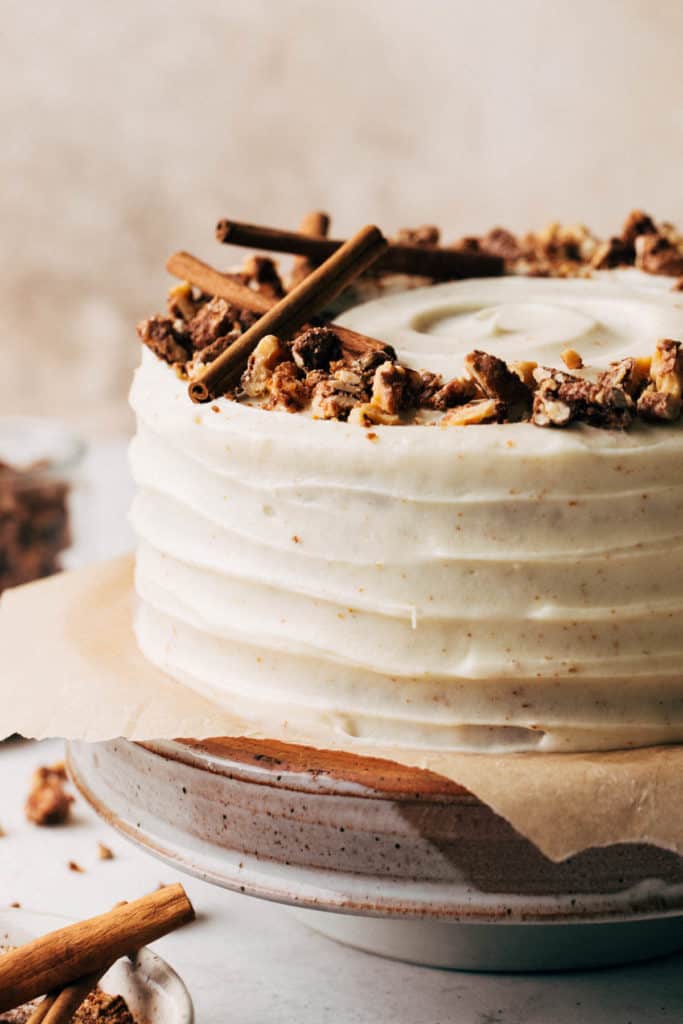
How to make brown butter cream cheese frosting
Now comes the fun part. Using the base recipe at the bottom of this post, you can either leave it as is or customize it to your liking. First up, you can add a rich and nutty flavor by mixing in room temperature brown butter. Click here to learn all about how to brown butter.
It’s also very easy to do! Simply brown the 1 cup of butter in this recipe and then allow it to chill before use. You want it to be set but not rock hard, just like room temperature butter. Once the butter is browned, pour it into a shallow dish and chill for about 1 hour. It should solidify but still be easy to dig a knife into. Then, treat the rest of the frosting recipe the exact same.
To see brown butter cream cheese frosting in action, check out my recipe for the BEST spice cake.
How to add fruit to cream cheese frosting
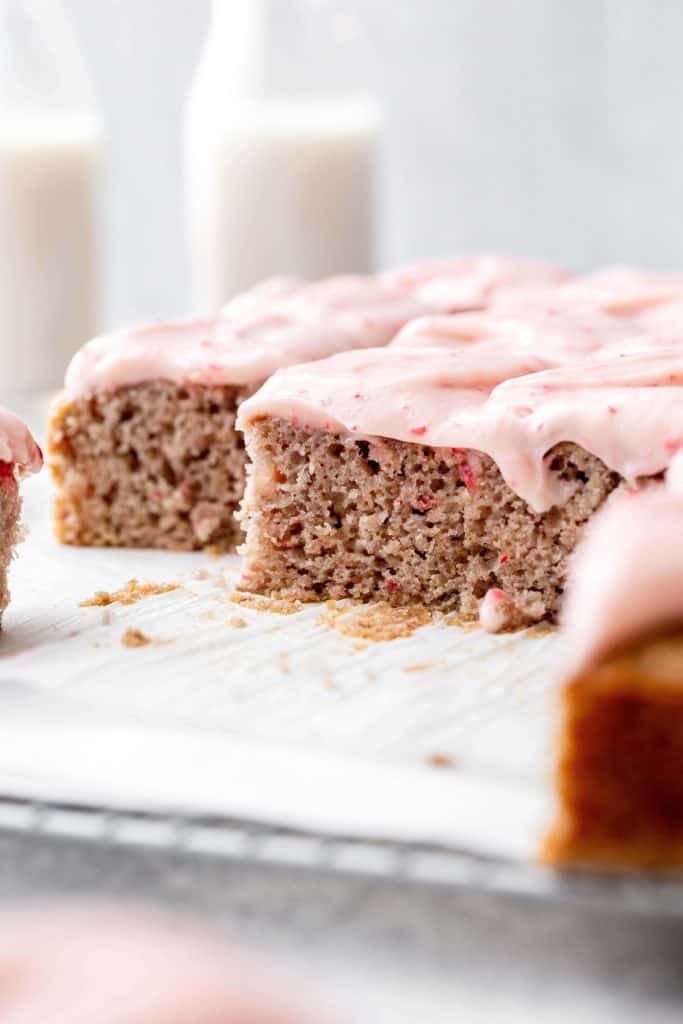
There are two different ways you can approach this. If you plan to use a fruity cream cheese frosting on a dessert like a sheet cake (such as the strawberry cake below), one that doesn’t require the frosting to be super thick and sturdy, you can use fresh fruit.
Simply mix in 1/4 cup of pureed fruit for every 8 oz of cream cheese. Then, add another 2 cups of powdered sugar for every 8 oz of cream cheese, on top of the already existing 2 1/2 cups. This will balance out the tartness of the fruit and help thicken up the frosting.
The second option is to add 1/4 cup of blended freeze dried fruit for every 8oz of cream cheese. No additional sugar is needed as the freeze dried fruit is like a powder. This small amount will also add tons of color to your frosting. The pros of using freeze dried fruit is that the frosting can now be used for any dessert as it will hold its shape well.
How to make chocolate cream cheese frosting
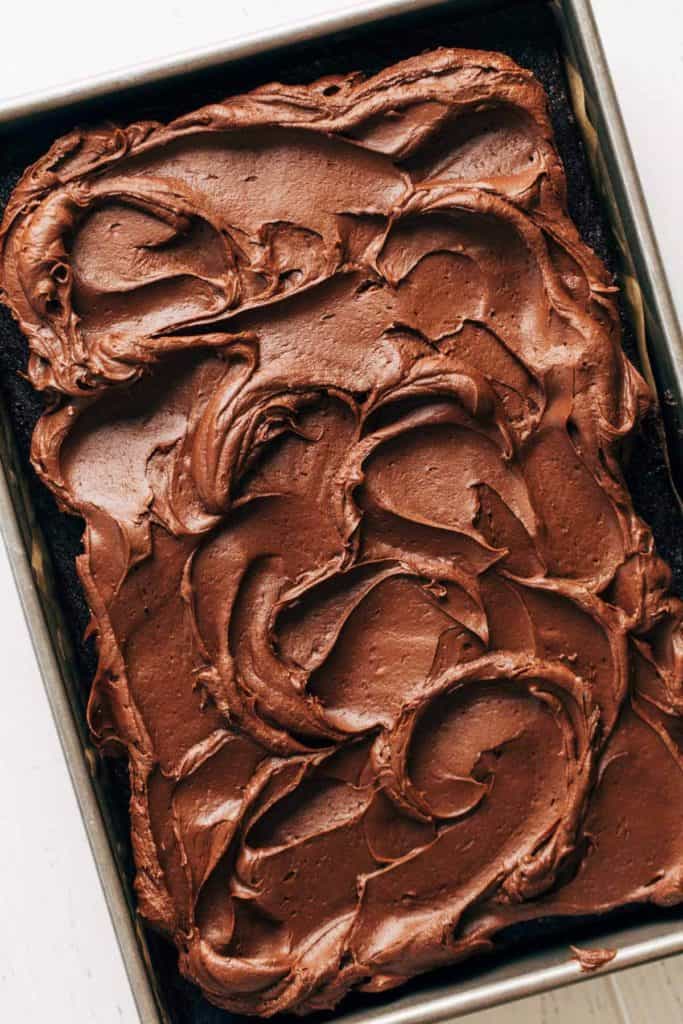
Transforming it into chocolate frosting is quick, easy, and only requires one extra ingredient. After you’ve mixed in all the powdered sugar, add 3/4 cup of dark cocoa powder and mix until smooth. You’ll use 3/4 cup for every 16oz of cream cheese. So if you only use half this recipe, you’ll then need 6 tbsp of cocoa powder (which is half of 3/4 cup).
You can use this frosting for anything, whether that’s a layer cake, sheet cake, or cupcakes. Below is a photo of my extra moist chocolate sheet cake with chocolate cream cheese frosting spread on top.
How to add color to cream cheese frosting
Cream cheese frosting and sugar cookies is a match made in heaven. You get the sweet and buttery cookie paired with the slightly tangy but extra creamy frosting. But to make it a bit more fun, here’s how you can add color:
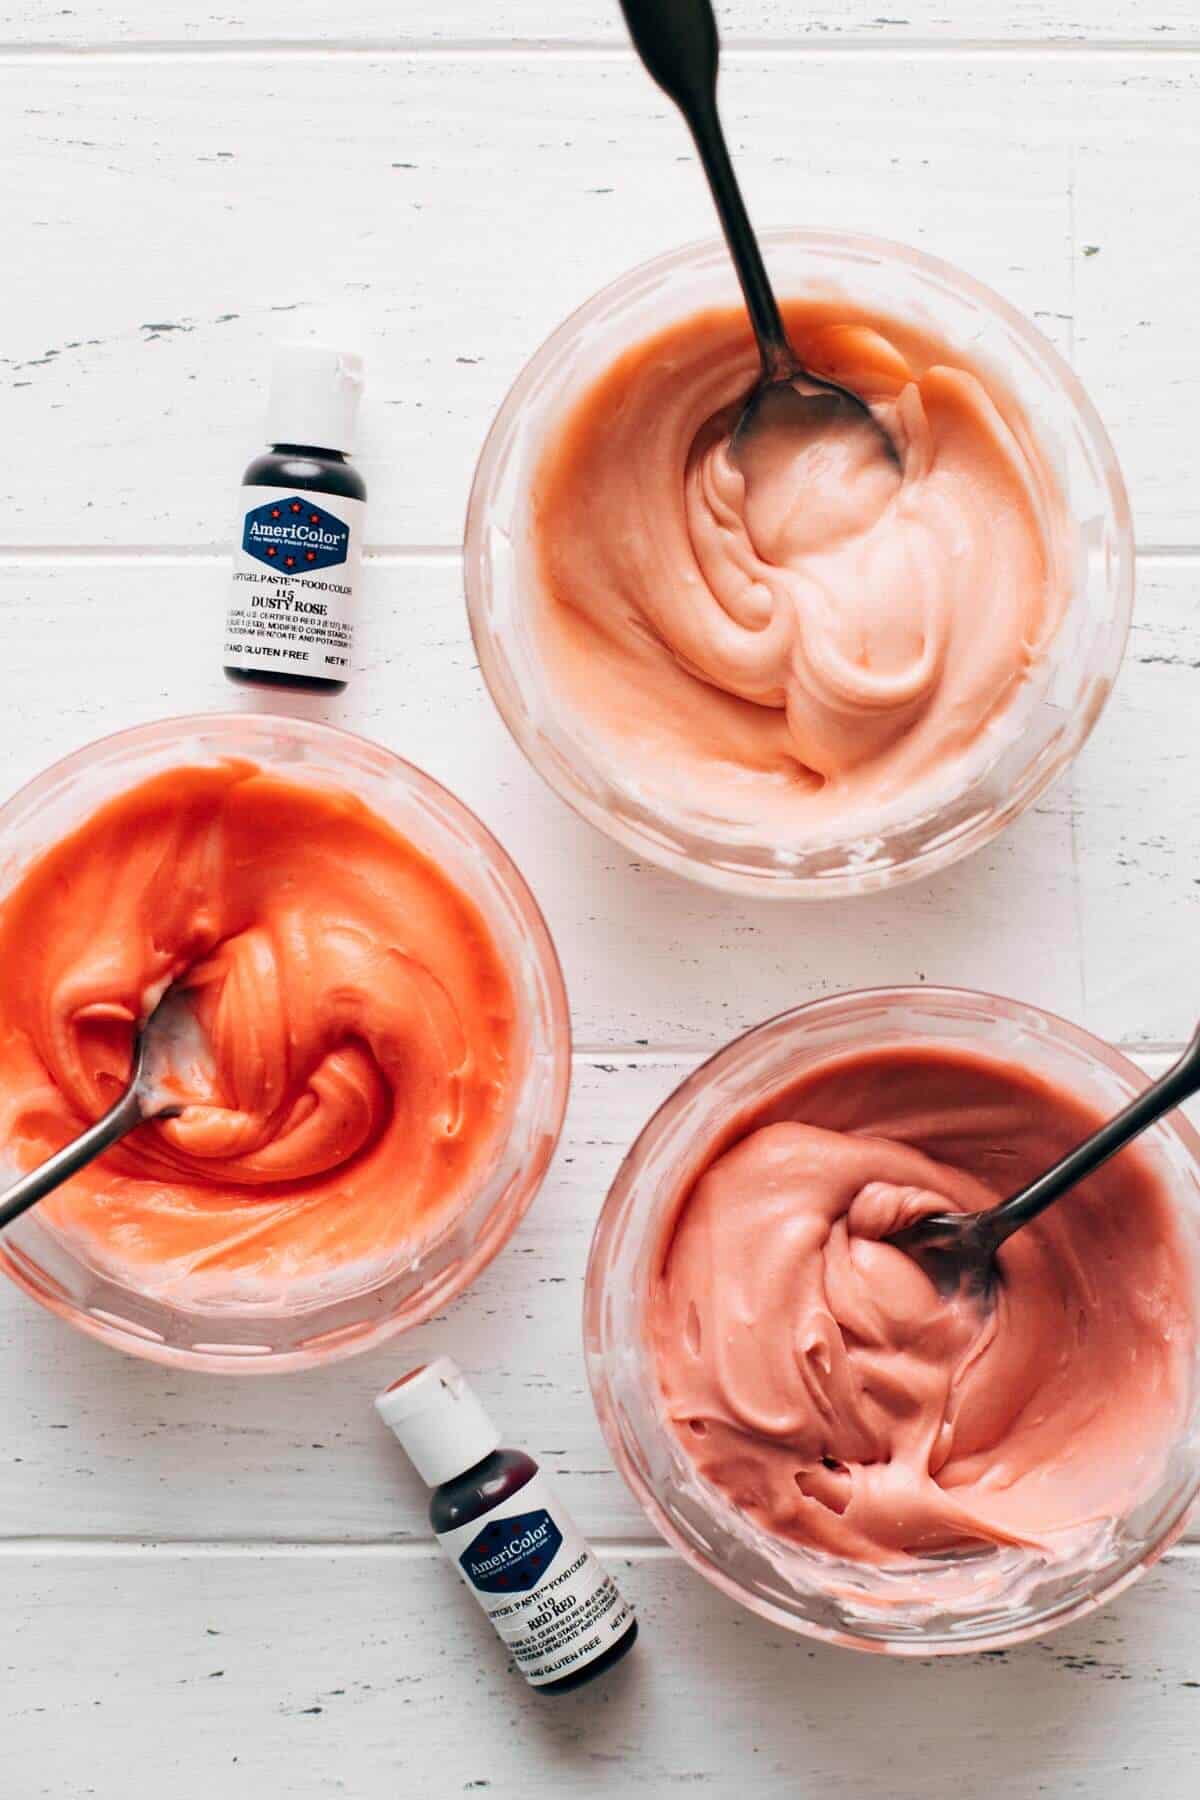
- Do not use liquid food coloring. You need a lot of liquid coloring to get a decent color pay off. This liquid will thin out your frosting and make it much too runny. Instead, use gel food coloring. You only need a couple drops to color the frosting. Here is the brand I use.
- Mixing in the food coloring is additional friction that slightly heats up the frosting. This makes it a bit softer, so chill the frosting before use. If you’ve separated it into small dishes, only chill for 15-20 minutes. If you’re coloring an entire bowl of frosting with just one color, chill the bowl for 30-45 minutes.
Now it’s ready to spread or pipe on top of any dessert! Below you can see this colorful cream cheese frosting in action on my perfect cut out sugar cookies.

How to add cinnamon to cream cheese frosting
One last customization is to add some spice to your frosting. My favorite pairing is cream cheese and cinnamon which I used on my gingerbread cupcakes. For every 8oz of cream cheese, add 1/2 teaspoon of cinnamon.
How long can cream cheese frosting be refrigerated?
It will keep in the refrigerator for about 2 weeks. This is if the bowl is tightly covered in plastic wrap.
To revive it, let it sit at room temperature for about an hour. Then give it a good mix to loosen it up. Now it’s ready to use!
Knowing the amount of frosting needed for different recipes
Layer cakes – The recipe shown in the recipe card at the bottom of this post is the right amount for a 3-layer 6, 8, or 9 inch layer cake. For 6 inch, you’ll have enough leftover to pipe swirls on top. For 8 inch or more, it’s enough to cover the entire cake but not enough excess to decorate with.
Cupcakes – If you need cream cheese frosting for a cupcake recipe, cut this frosting recipe in half (see below for measurements). It’s enough to top 12 cupcakes.
Sheet cake – For a 9×13 sheet cake, you’ll only need half of this recipe (see below for measurements).
Cookies – If you want to frost sugar cookies, cut this recipe in half and it should be enough to cover 20-30 cookies. (see below for measurments)
HALF RECIPE
- 1/2 cup (110g) unsalted butter, room temp
- 8 oz full fat cream cheese, room temp
- 2 1/2 – 3 cups powdered sugar
- 1/4 tsp vanilla extract

Recipes where you can use this cream cheese frosting:
- Spice Cake with Brown Butter Cream Cheese Frosting
- BEST EVER Carrot Cake
- Gingerbread Cupcakes
- Cut Out Sugar Cookies
- Chocolate Sheet Cake
- Fresh Strawberry Sheet Cake
- Carrot Cake Cupcakes
Make sure to tag me @butternutbakery on Instagram and comment below if you make this cream cheese frosting. To pin this recipe and save it for later, you can use the button on the recipe card or on any of the photos above. Happy baking!
Print
Cream Cheese Frosting
- Total Time: 20 minutes
- Yield: about 5 cups
Description
This is the BEST cream cheese frosting recipe! It’s creamy smooth, holds its shape, and can be customized to any color or flavor. In this blog post I’ve include instructions on how to add chocolate, brown butter, fruit, spices, or food coloring.
Ingredients
- 1 cup (220g) unsalted butter, softened at room temperature
- 16 oz full fat cream cheese, softened to room temperature (use Philadelphia cream cheese for the best results)
- 5 cups (600g) powdered sugar
- 1/2 tsp vanilla extract
Instructions
- **See notes for frosting amounts and customizations (how to add chocolate, fruit, brown butter, spices, or color).
- Add the butter and cream cheese to the bowl of a stand mixer fitted with the paddle attachment. You can also use a hand mixer.
- Mix on medium to medium-high speed until completely smooth.
- Mix in the powdered sugar 1 cup at a time, scraping down the sides and bottom of the bowl after the 3rd cup.
- After the 5th cup, scrape down the bowl again and mix in the vanilla extract until smooth.
- If the frosting is too thin, place the bowl in the refrigerator for about 30 minutes to thicken. Otherwise, it’s ready to pipe or spread!
Notes
AMOUNTS PER DESSERT – This amount is perfect for a 3-layer 6, 8, or 9 inch cake. With a 6 inch, you’ll have extras left over to use as decoration on top. For the 8 or 9 inch, it should cover the entire cake with very little excess. For any other dessert, such as a dozen cupcakes, 9×13 sheet cake, or sugar cookies, you will only need half of this recipe. See blog post above for half recipe measurements.
CUSTOMIZATION – For more details, see the blog post above. Otherwise, here’s a quick breakdown:
For chocolate cream cheese frosting: Add 3/4 cup of dark cocoa powder for every 16oz of cream cheese (or 6 tbsp for every 8oz).
For brown butter: Simply brown the 1 cup of butter and pour it into a shallow dish. Chill for about 1 hour to solidify. It should be firm but not hard.
For fruit: There are two options. One, add 1/4 cup of fresh fruit puree (blended in a food processor) for every 8oz of cream cheese and add 2 cups of powdered sugar to the recipe. This frosting will be a bit thin, so it’s best for sheet cakes. Two, blend freeze dried fruit into a powder and add 1/4 cup for every 8oz of cream cheese. No addition sugar is needed. This will not be thin like it is with the fresh fruit, so it can be used to pipe or layer.
For color: Use gel food coloring to add a few drops to the frosting. Don’t use liquid food coloring as this will thin out the frosting.
- Prep Time: 20 minutes
- Category: Dessert
- Method: No Bake
- Cuisine: American
Join Our Community

Meet Jenna
I’m the creator, baker, and photographer behind Butternut Bakery. Here I share desserts for every diet because I believe everyone should have a chance to indulge!


This makes the best cream cheese icing but I use fresh lemon juice instead of vanilla it gives it a tangy cream cheese taste . The best.
Perfect
Love this recipe for cream cheese frosting, holds up well for decorating but most of all has a great taste and texture , not all greasy and so far everyone I’ve fed it to raves about it . Thank you for sharing with us 😎👍
tasted brilliant, made this with the carrot cake, but I’m from the UK and so I made this with spreadable. wasn’t very structurally sound but taste wise a win is a win!
Finally a recipe that deserves the title of the best! This was the best and easiest cream cheese frosting that I have ever made.
Take the time to follow the directions and it will set perfectly!
My good friend made your gf vanilla cupcakes with this chocolate frosting for another friend’s birthday, so I could join in. The cupcakes were very good. This chocolate frosting was fantastic !!! Thank you so much for making the world a better place!
This couldn’t be easier and the outcome, devine.