Brown Butter Rice Krispie Treats with Toffee Crunch
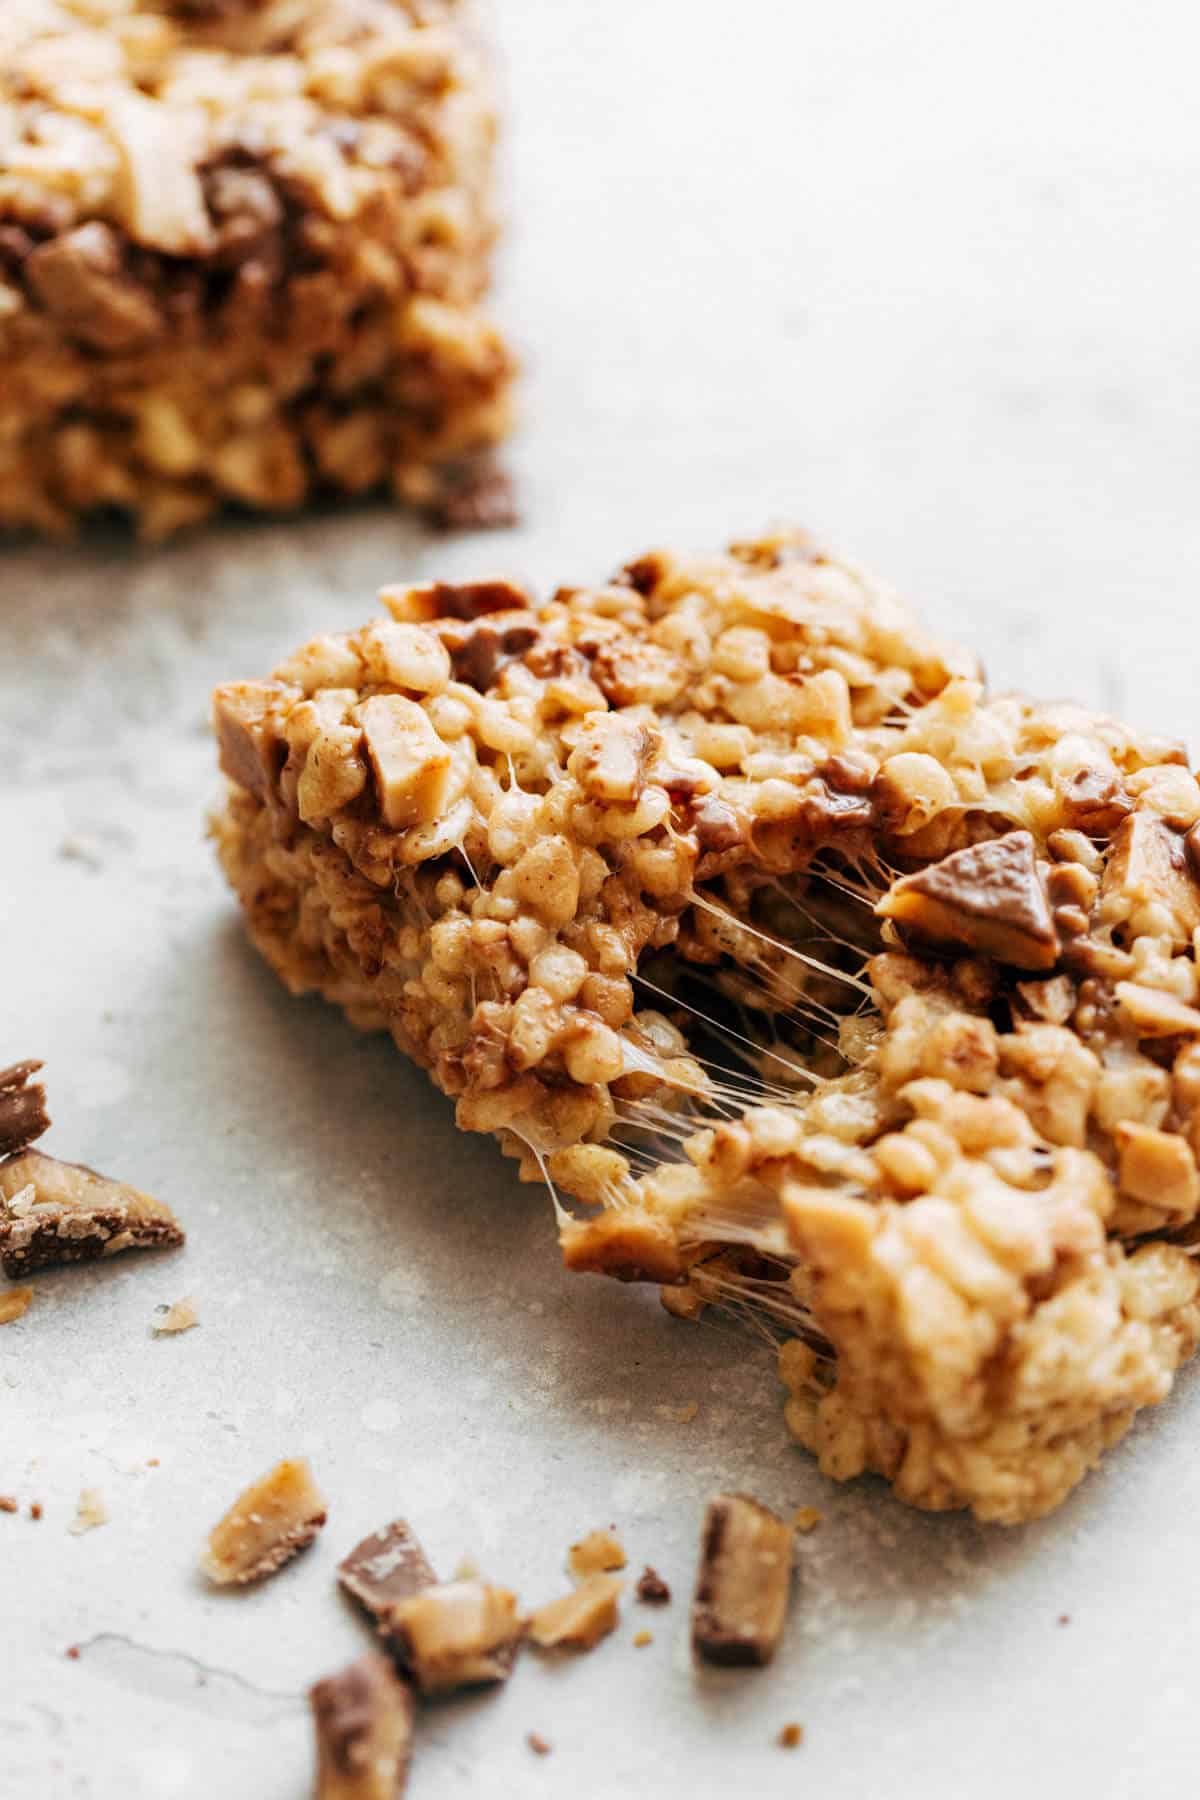
These Brown Butter Rice Krispie Treats with Toffee Crunch are SO easy to make and yet they might just be one of my favorite recipes on the blog. They’re extra gooey, rich in that nutty brown butter flavor, and loaded with crunchy chocolate toffee and a touch of sea salt. It’s everything a classic rice krispie treat should be, only better!
Why I love this recipe
These Brown Butter Rice Krispie Treats are one of those recipes that I always go back to and make ALL the time for get-togethers or events. They’re quick and easy to whip up, and yet everyone goes crazy for them.
They just have the perfect ratio of butter to marshmallow to rice krispies, giving them the best consistency. If you love extra gooey rice krispie treats, then you’ll love these!
It’s also so easy to incorporate brown butter. Compared to a classic rice krispie treat, we’re just adding on one extra step that takes maybe 3 extra minutes.
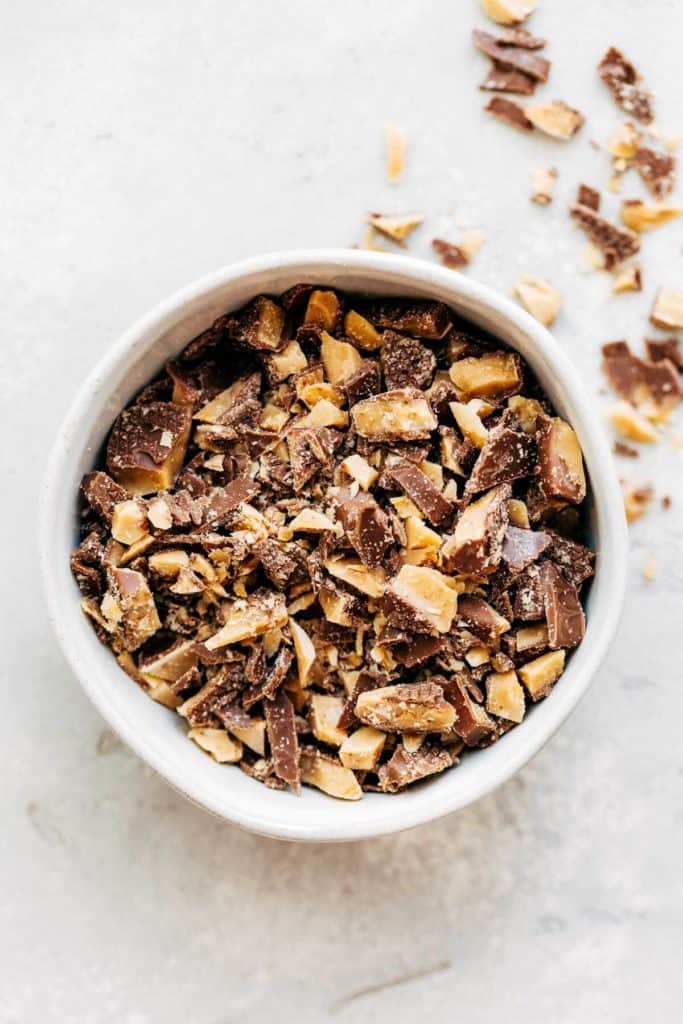
The toffee sets these over the edge. You could use regular toffee bits, but I find that chocolate covered toffee works the BEST in this recipe. You get the sweet crunch of the toffee and the creamy richness from the chocolate. It’s really a no brainer.
How to make brown butter rice krispie treats
For a regular rice krispie treat recipe, you start by melting the butter. From there, you mix in the marshmallows then fold in the cereal. Brown butter rice krispies are made the exact same way.
The only difference is the very first step. Instead of just melting the butter, you melt it and then brown it. It’s a very simple process and I walk you through it step by step in my post on how to brown butter.
But here are a couple quick notes on browning butter:
- Melt the butter in a heavy-bottomed sauce pan over medium heat. If you’re working with a gas stove top, use medium-low heat.
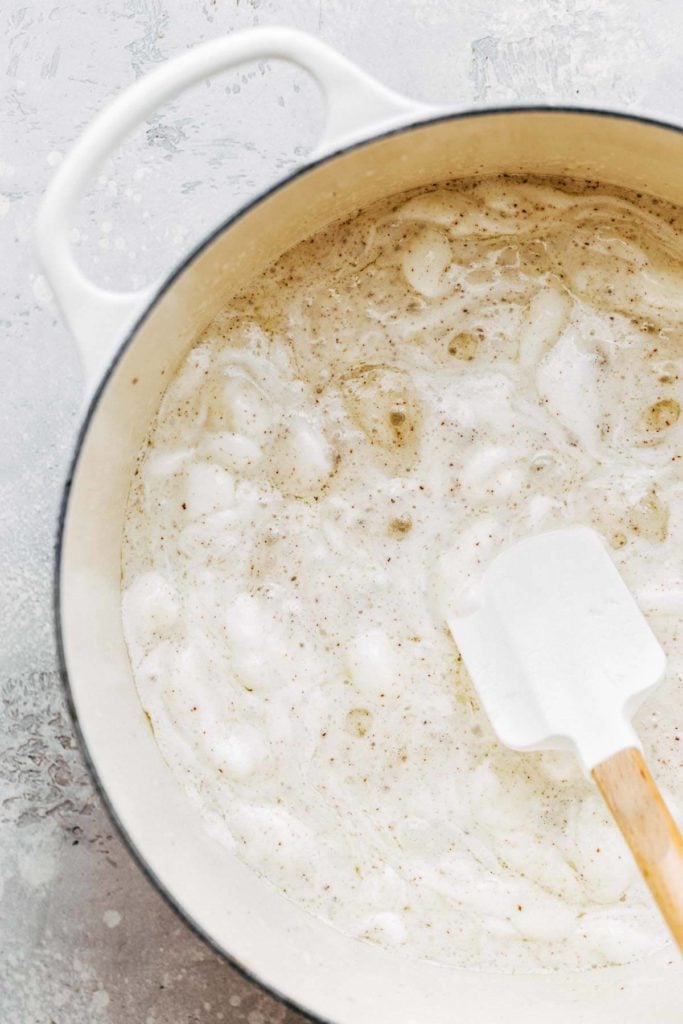
- Once the butter is melted and continues to cook, small bubbles will start to form on the top. Keep stirring.
- After a few minutes, the bubbles will begin to turn to foam. The browning process happens very quickly at this point.
- The butter will be tough to see through the top layer, but keep stirring until you see small brown specks mixing in to the foam. The butter will turn an amber color and will put out a delicious nutty aroma.
There you have it! Brown butter that’s ready to be mixed with ooey gooey marshmallows.
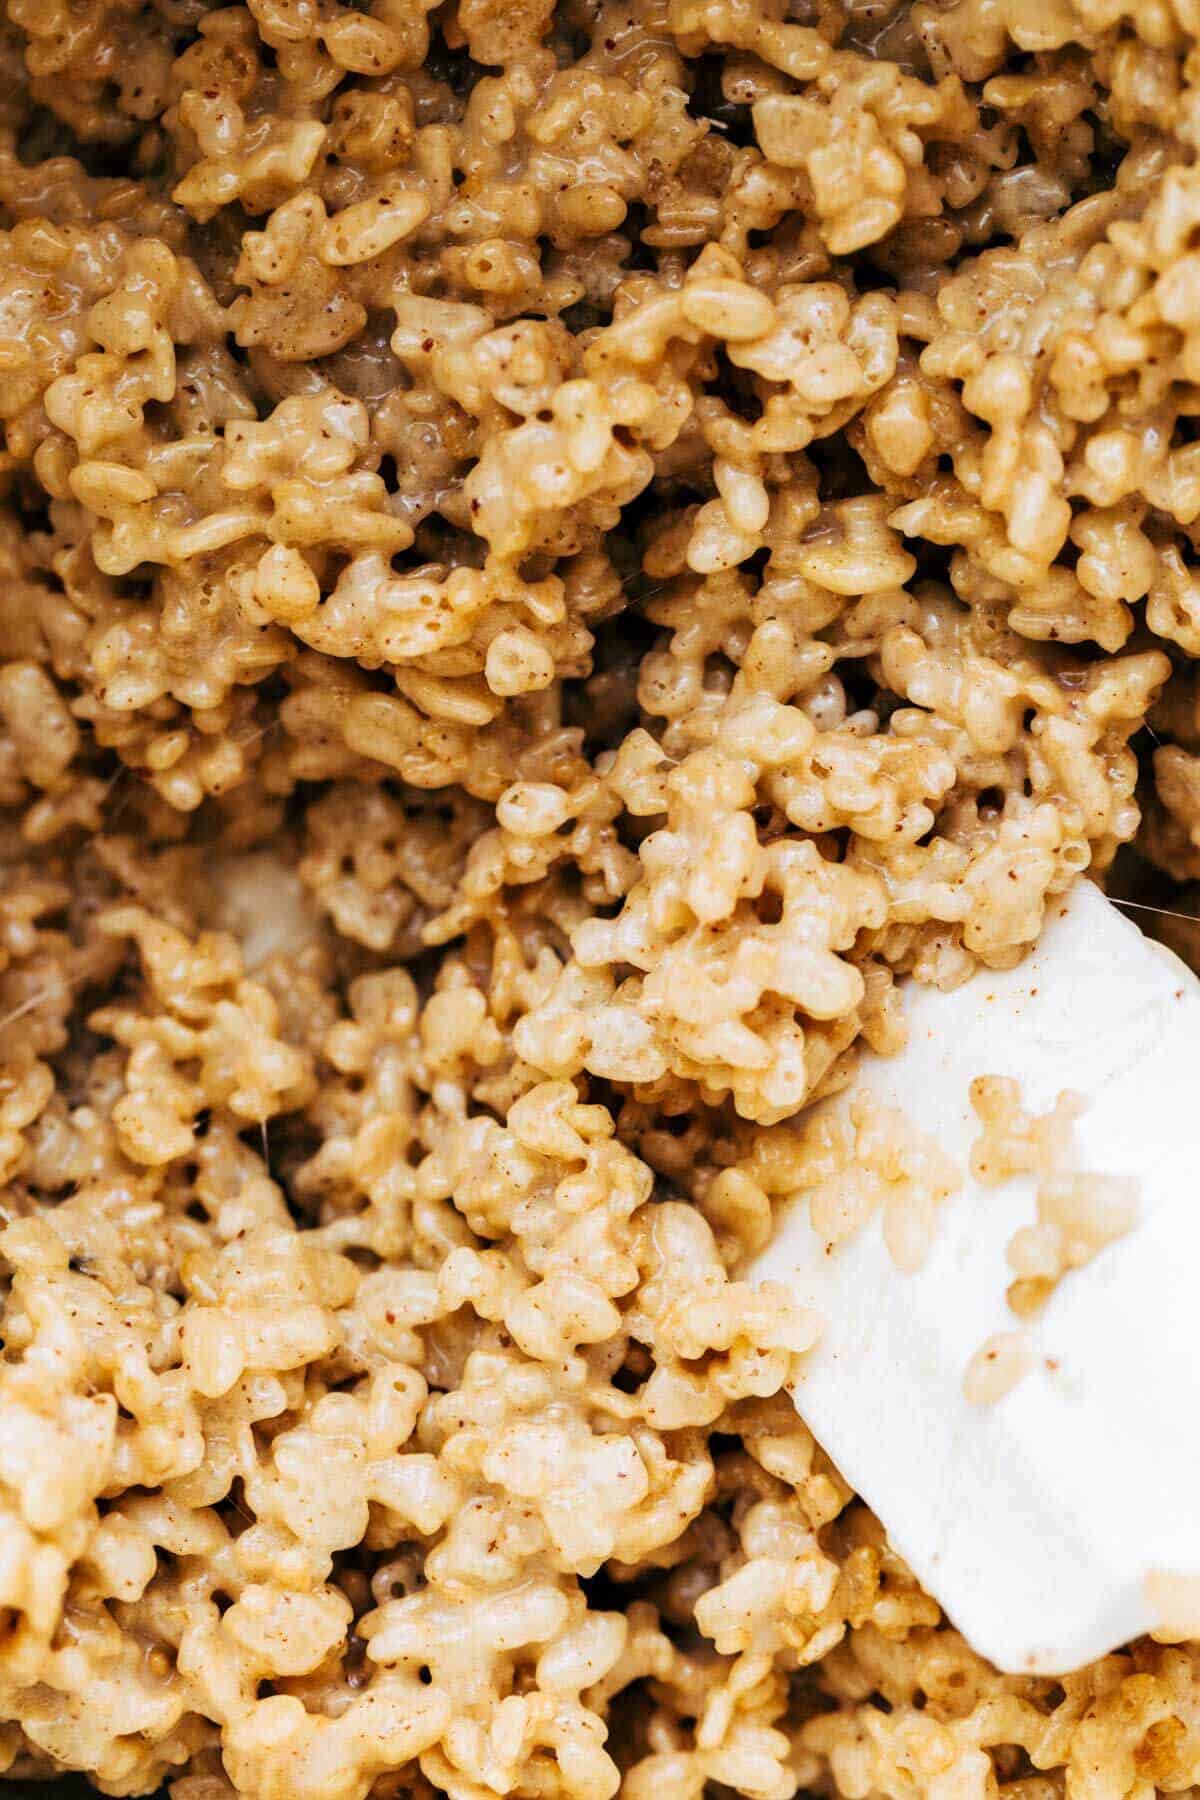
Once the butter is melted, quickly toss in the marshmallows. This will protect the butter from burning.
It’s important to use mini marshmallows as they melt evenly. Keep stirring the butter/marshmallow mixture until the marshmallows are JUST melted down.
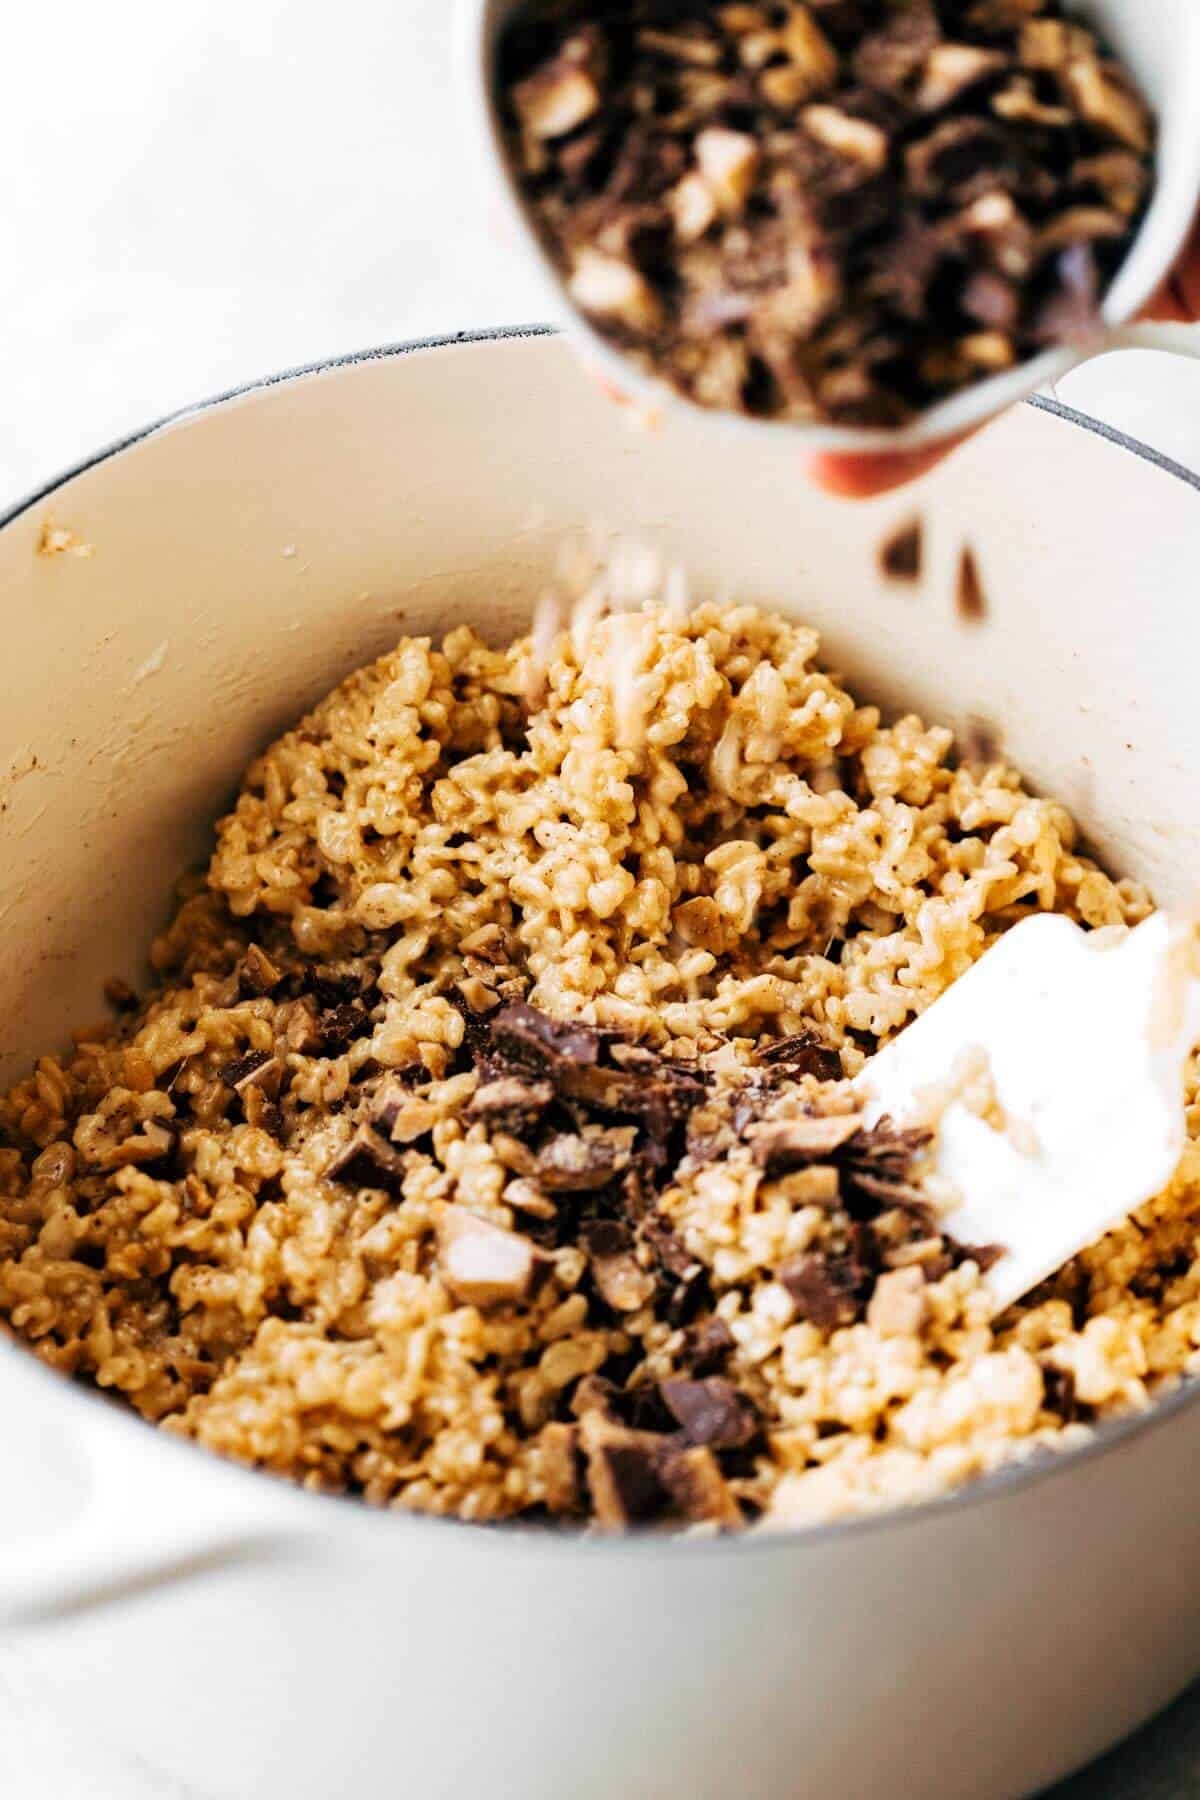
Remove from heat and stir in the vanilla and salt. Then fold in the rice krispies until evenly combined.
Allow the mixture to rest for a couple minutes and then carefully fold in the chopped toffee. Don’t go overboard here, just give it a couple turns to get them well distributed. Otherwise the chocolate will melt everywhere and muddy up the rice krispies.
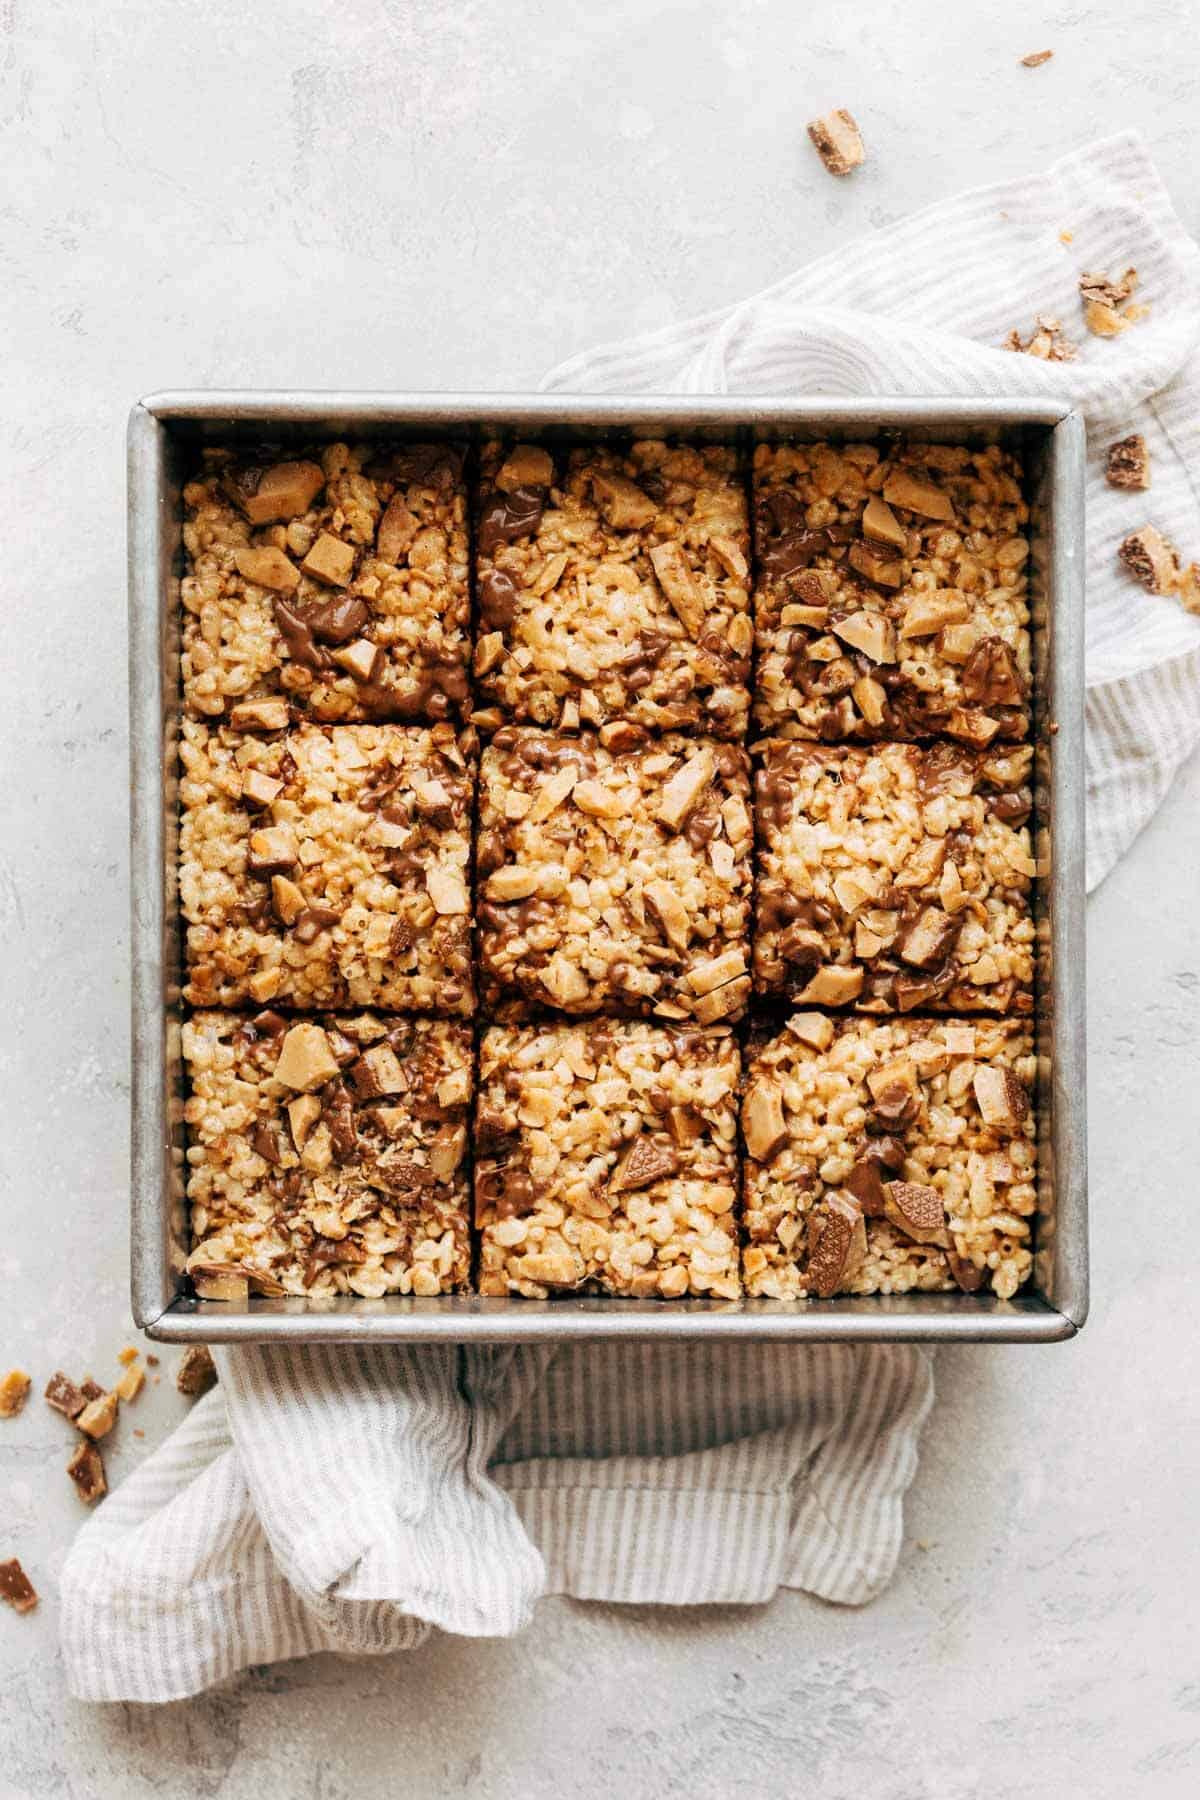
Press into an 8×8 pan and press in more chopped toffee on top. Allow them to set at room temperature – about 30 minutes to an hour.
Brown Butter Rice Krispie Treats FAQs
Can I make these rice krispie treats gluten free?
Yes! You can either hunt down a gluten free puffed rice cereal or use rice chex. I’ve made them plenty of times with rice chex and they turn out just as good. Just make sure to press them tight into the pan so you get a nice and dense marshmallow treat.
What can I use besides toffee?
If you aren’t a fan of toffee (even though this recipe will definitely sway your opinion) you can either leave them out or try these other mix-ins:
- Honey roasted nuts
- Salted caramel pretzel pieces (Snyder’s makes these and they are SO good)
- Caramel bits (found with the chocolate chips)
- Chopped up gingersnap cookies
Really anything with a warm and rich flavor will work! It pairs perfectly with the deep brown butter flavor and takes these rice krispie treats to the next level.
How to serve rice krispie treats
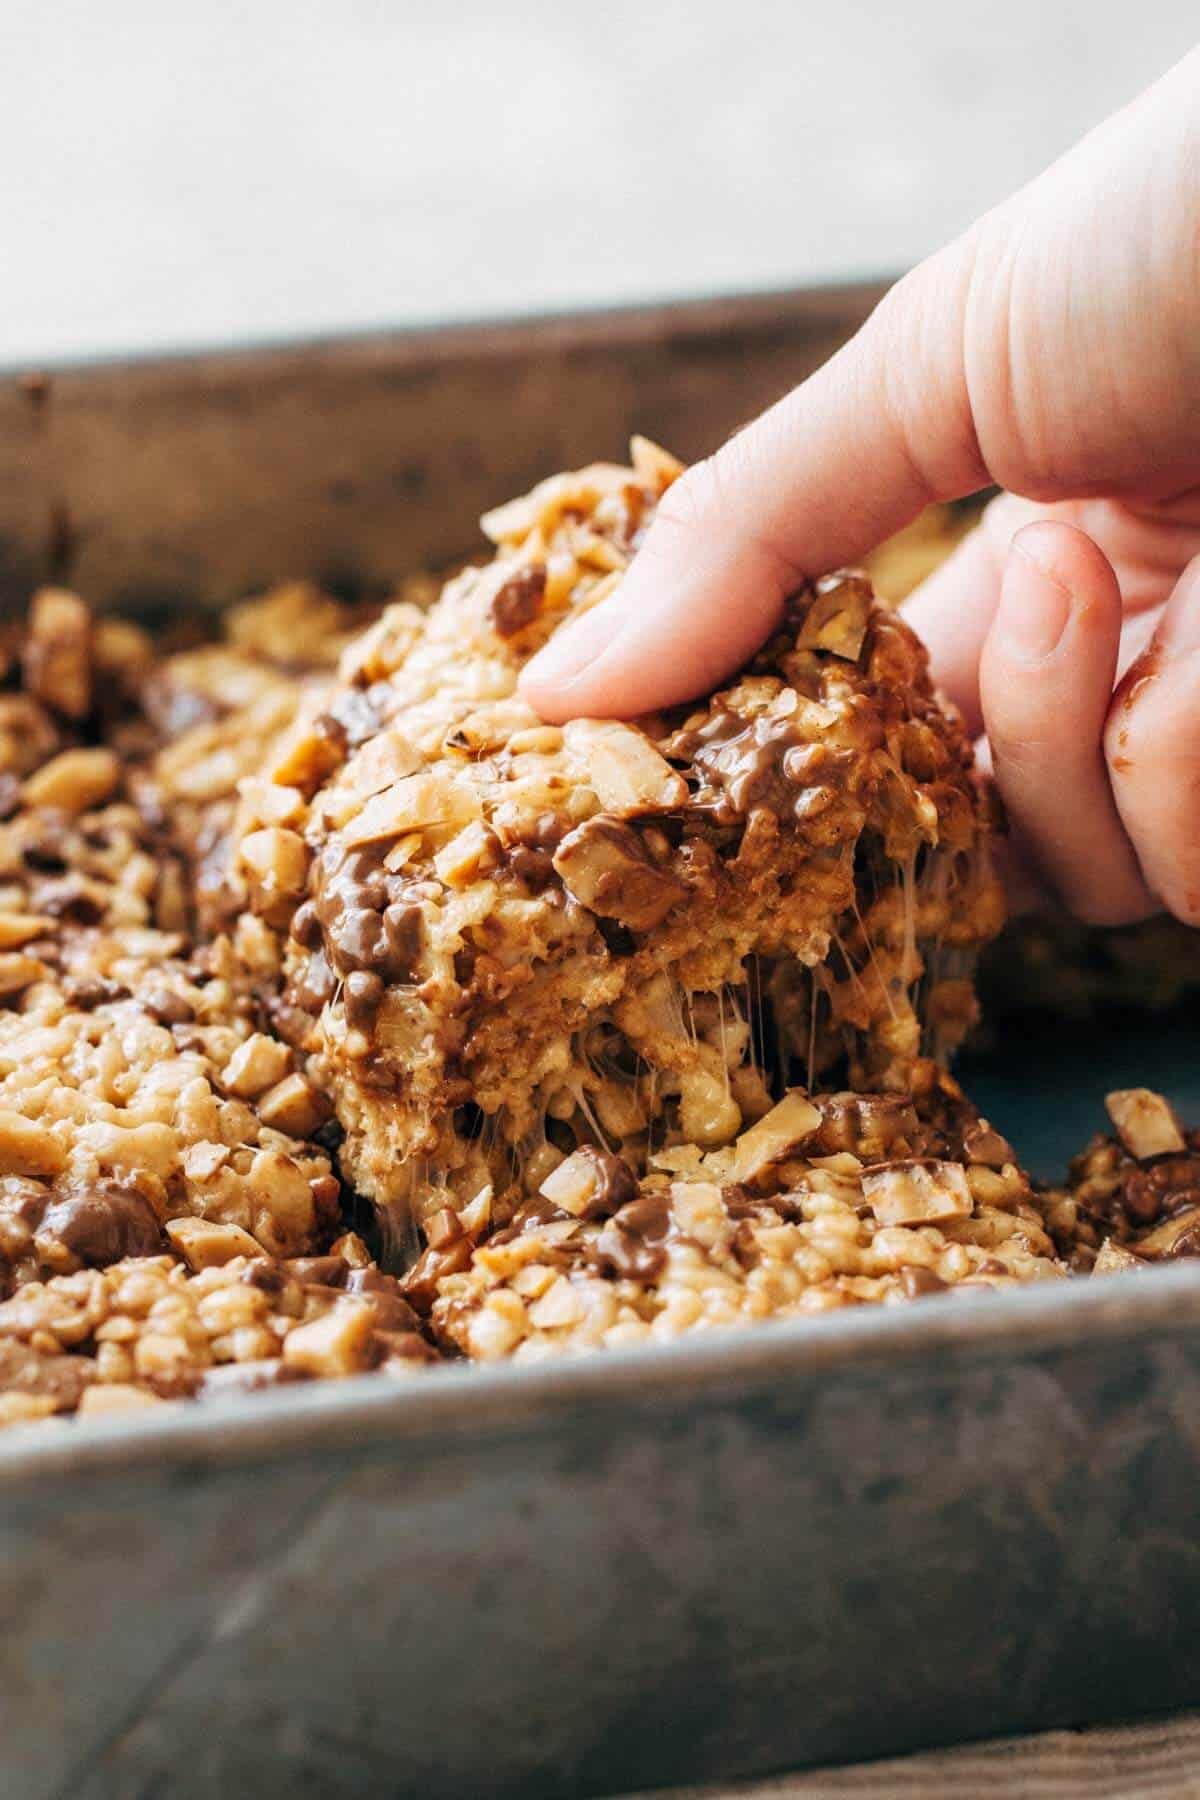
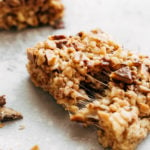
The best time to eat rice krispies is when they’re still slightly warm. You want the perfect balance between cool enough to be set, but warm enough to still be extra gooey like you see here in these pictures.
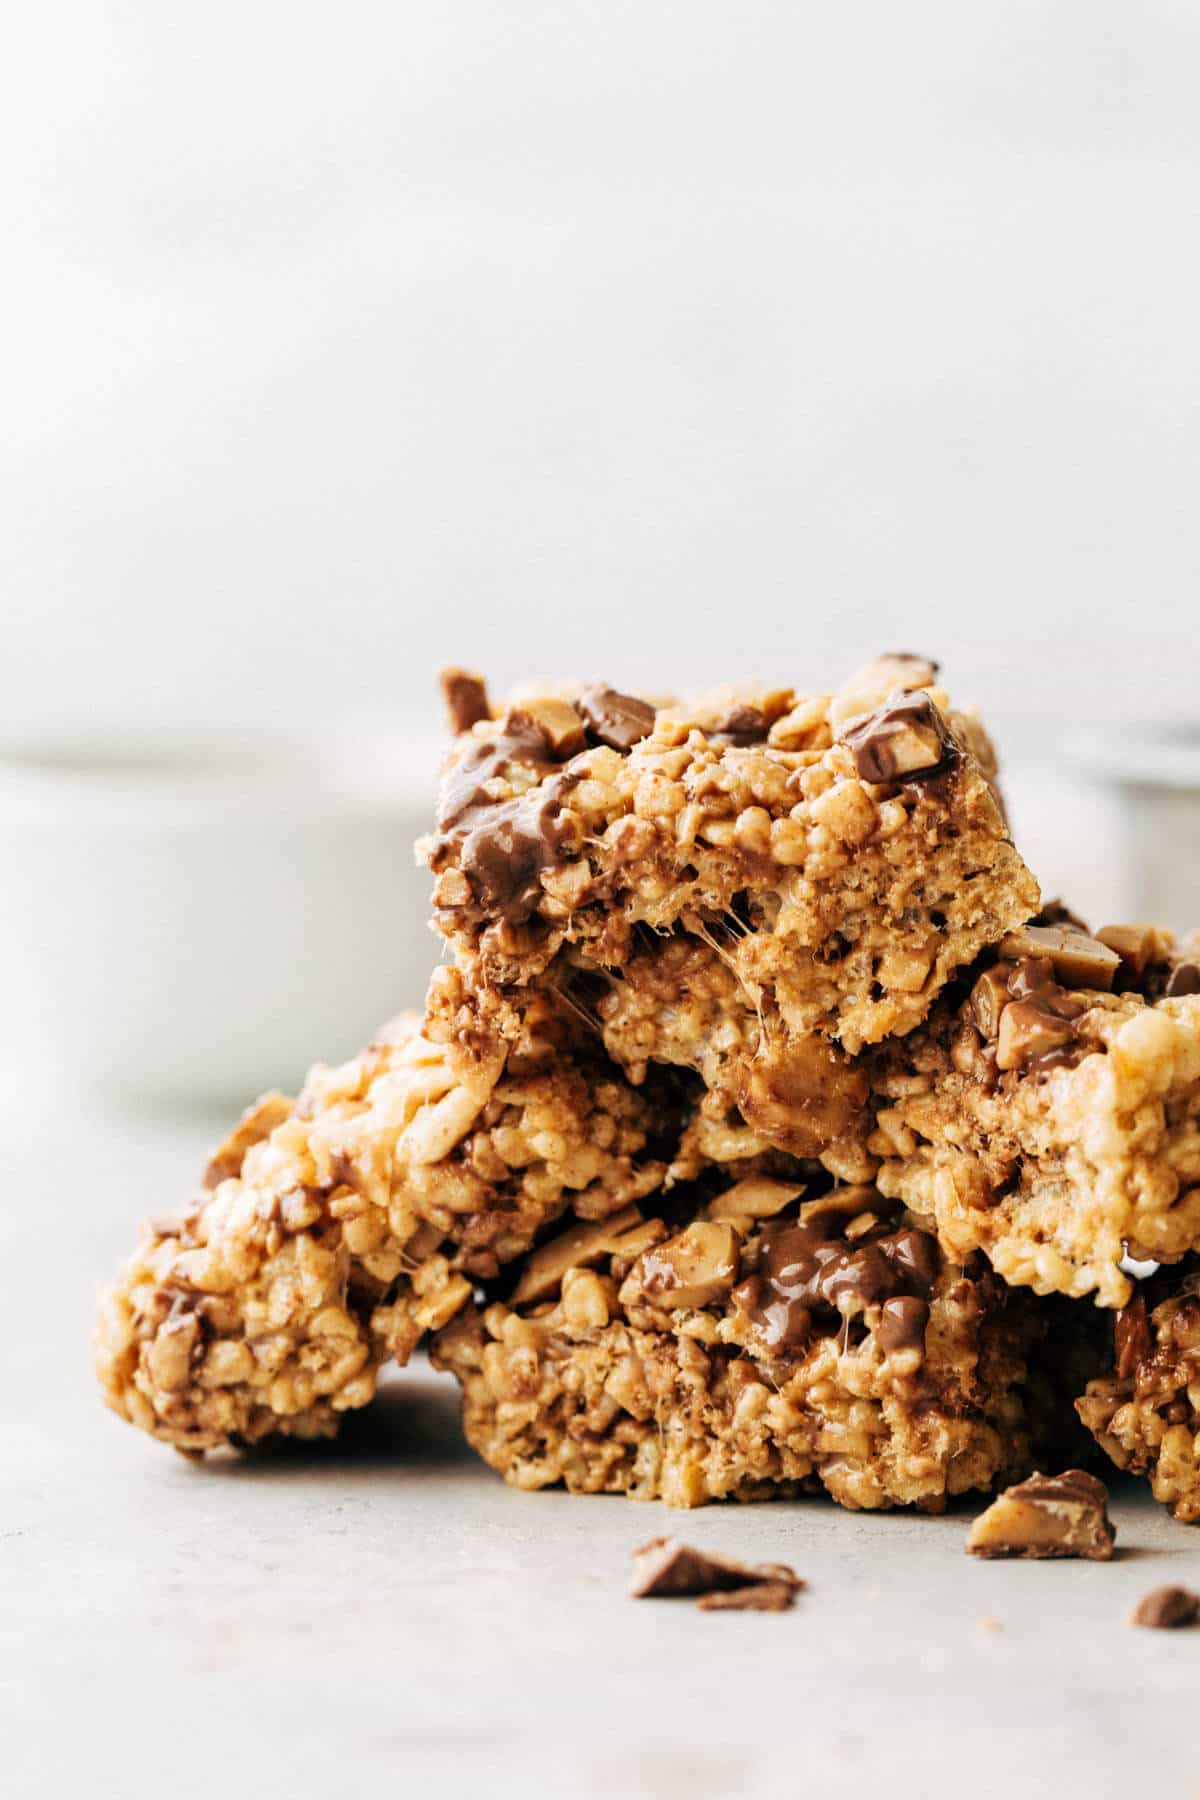
Otherwise, they’re just as delicious when they’re fully set and cooled. They hold together much better and are easier to slice and eat.
If you plan on making these ahead of time, allow the rice krispies to cool uncovered at room temperature for an hour. Then, cover in foil and keep them out at room temperature.
Placing them in the fridge will make them super hard and tough to eat which no one wants! They’ll keep at room temperature for up to 5 days… although they definitely won’t stick around for that long!
For more no bake dessert recipes, check out my:
- No Bake Cookie Dough Cheesecake Bars (Vegan)
- Easy No Bake SunButter Pie with Raspberries
- Vegan Dark Chocolate Mousse with Coconut Milk (Gluten free)
- Vegan No Bake Blueberry Cheesecake Bars
- No Bake Chocolate S’mores Cheesecake
Make sure to tag me @butternutbakery on Instagram and comment below if you make these Brown Butter Rice Krispie Treats. To pin this recipe and save it for later, you can use the button on the recipe card, the buttons above or below this post, or on any of the photos above. Happy baking!
Watch how to make these brown butter rice krispie treats:
Brown Butter Rice Krispie Treats with Toffee Crunch
- Total Time: 20 minutes
- Yield: 16 rice krispie treats
Description
These toffee crunch brown butter rice krispies are so easy to make and yet people go crazy for them! They’re extra gooey, packed with that nutty brown butter flavor, and loaded with crunchy toffee.
Ingredients
- 1/2 cup unsalted butter, browned
- 1 10oz bag mini marshmallows
- 1/2 tsp vanilla extract
- 1/4 tsp fine sea salt
- 4 cups Rice Krispies (or Rice Chex for GF version)
- 4 Heath bars, chopped
Instructions
- Spray an 8×8 baking pan with nonstick spray and chop the heath bars. Set both aside.
- In a large pot over medium heat, melt the butter.
- Once melted, keep stirring until it turns an amber color and gives off a delicious nutty aroma. This will take about 5 minutes and the butter will begin to bubble and then foam. Just keep stirring until it darkens.
- Once browned, quickly mix in the marshmallows to prevent the butter from burning. Keep stirring until the marshmallows are just melted.
- Remove from heat and stir in the vanilla and salt.
- Fold in the cereal until it’s evenly combined.
- Let the mixture rest for just a couple minutes and then gently fold in HALF of the toffee. Only give it a couple turns to prevent the chocolate from melting all over.
- Press into your prepared pan then press the rest of the toffee on top.
- Allow it to cool at room temperature for about 30 minutes to an hour.
- Slice and enjoy! Cover the rest in plastic wrap or foil and store at room temperature.
Notes
It’s important to use mini marshmallows as they melt evenly.
- Prep Time: 10 minutes
- Cook Time: 10 minutes
- Cuisine: American
Join Our Community

Meet Jenna
I’m the creator, baker, and photographer behind Butternut Bakery. Here I share desserts for every diet because I believe everyone should have a chance to indulge!


Very yummy! These got rave reviews from my gym crew.
I only had toffee bits, so I added a chopped milk chocolate caramel sea salt bar.
To top them off, I added a few extra toffee bits, marshmallows, flaky sea salt and a drizzle of melted chocolate and butterscotch chocolate chips.
Hi Jenna! Gotta try these! Guess it’s okay to use the toffee milk chocolate bits in the bag? How much would you recommend? Or are the Heath bars better?
Thank you!
These are SO good! The browned butter is a game-changer. I didn’t have toffee bits, so I subbed chocolate chips and pretzels on top and they were perfect. The pretzels added enough saltiness to balance out the sweet of the chocolate chips and went so well with the nuttiness of the browned butter. Another great recipe from Butternut Bakery!
I made this last night and I don’t think I can ever go back to regular Rice Krispie treats. These are perfect!!
I have made brown butter & vanilla krispies and they were sooo much better.
But this?
Definitely!
I’m going to give this a try with toffee bits and chocolate chips. How much would you recommend of each? Thank you.