Brown Butter Chocolate Chip Cookie Bars
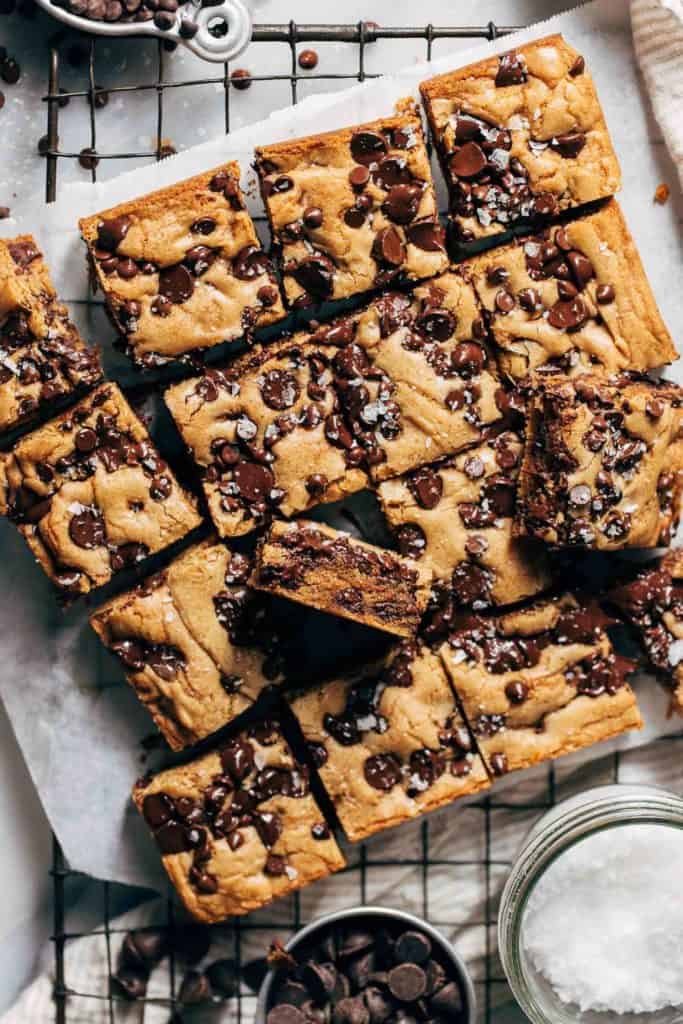
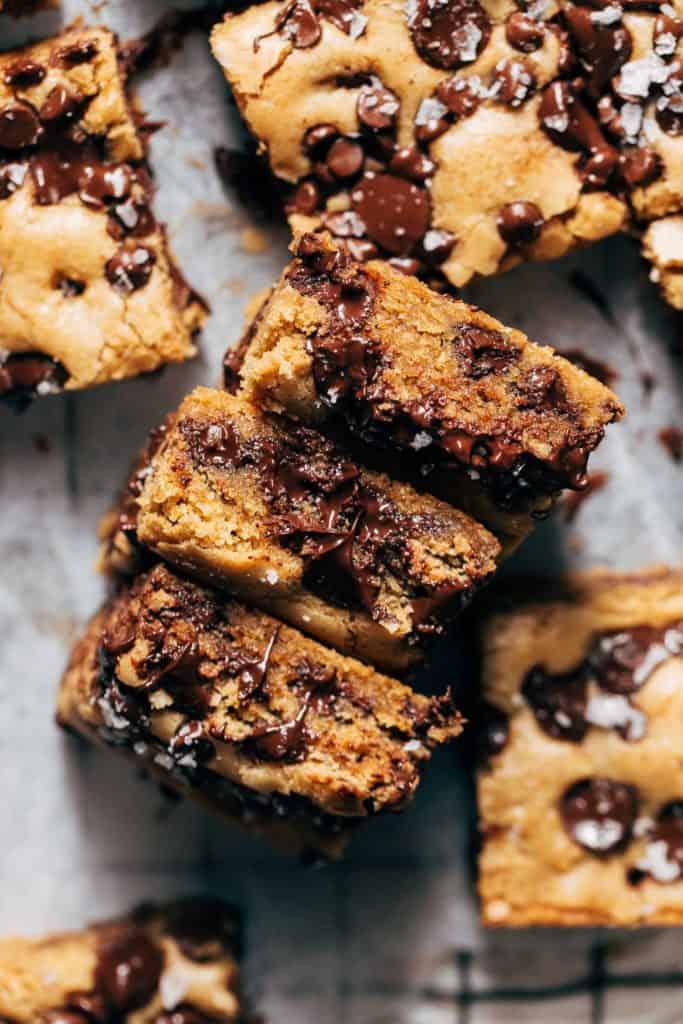
These chocolate chip cookie bars are actual perfection. Not only are they taken up a notch with the addition of brown butter and sea salt, but they also bake into the most perfect dense but chewy consistency with loads of melty chocolate throughout. They’re also so quick and easy to make so if you’re craving chocolate chip cookies but want a bit less work, this recipe is for you!
What makes these the BEST chocolate chip cookie bars?
While cookie bars are easy to make, it is so difficult to create a recipe that bakes evenly! Whenever I test cookie bars, it’s so common for the edges of the bars to puff up taller than the center.
Maybe it’s just the perfectionism in me, but I think it’s necessary for these cookie bars to be the same consistency all throughout. Not only for looks, but also so that each slice is the exact same. That way no one is fighting over the four good slices in the center!
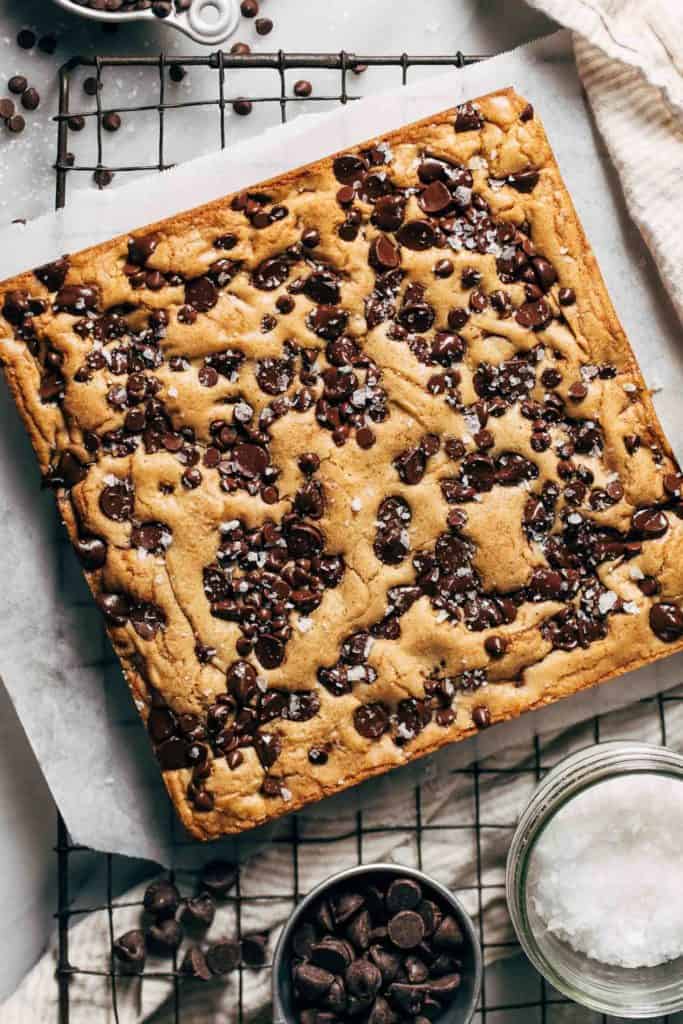
Luckily that’s not a problem for these chocolate chip cookie bars. They bake so level with a soft, dense, and chewy consistency all throughout.
The key is to use just enough baking powder to prevent these bars from baking TOO dense, but not so much to where they puff up like crazy. The reason for using baking powder over baking soda is that baking powder is double acting. It activates once it comes in contact with moisture and again when exposed to heat.
But these bars are so much more than their level consistency. They’re made extra special with brown butter, melty chocolate, and flaky sea salt. The combo of these three makes a super rich cookie bar that tastes like heaven in a slice.
Tips for making perfect brown butter chocolate chip cookie bars
Read through these before starting the recipe to ensure your cookie bars turn out just right!
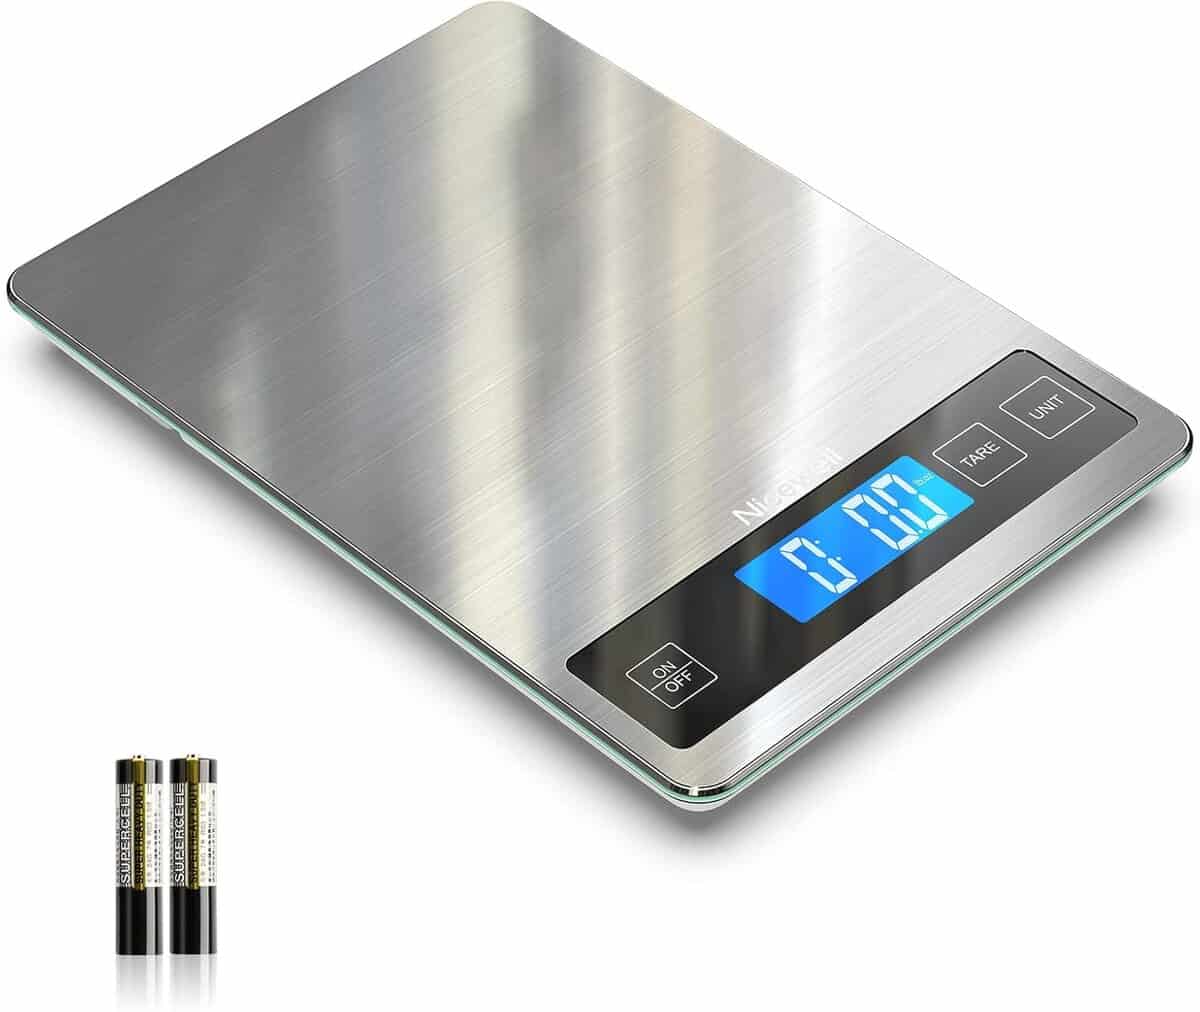
- Flour – I say this in every post, and for good reason. It’s the number one reason why most recipes fail. If there’s too much flour, these bars will turn out tough and dry. If possible, measure the flour with a food scale. Otherwise, to ensure the exact amount, gently spoon the flour into the measuring cup and level it off with a flat edge. If scooped directly into the flour container, the flour becomes packed down into the cup which could leave you with 1/4 cup or more of added flour.
- Cooled Butter – Once the butter is browned, let it chill in the refrigerator for about 20 minutes. It’s important not to use piping hot butter in these bars as it will dissolve the sugar too fast and possibly scramble the egg when mixing.
- Dark Brown Sugar – Definitely stick with this ingredient! Don’t sub in light brown sugar or granulated sugar as the dark brown sugar really helps to enhance the rich and chewy flavor and consistency.
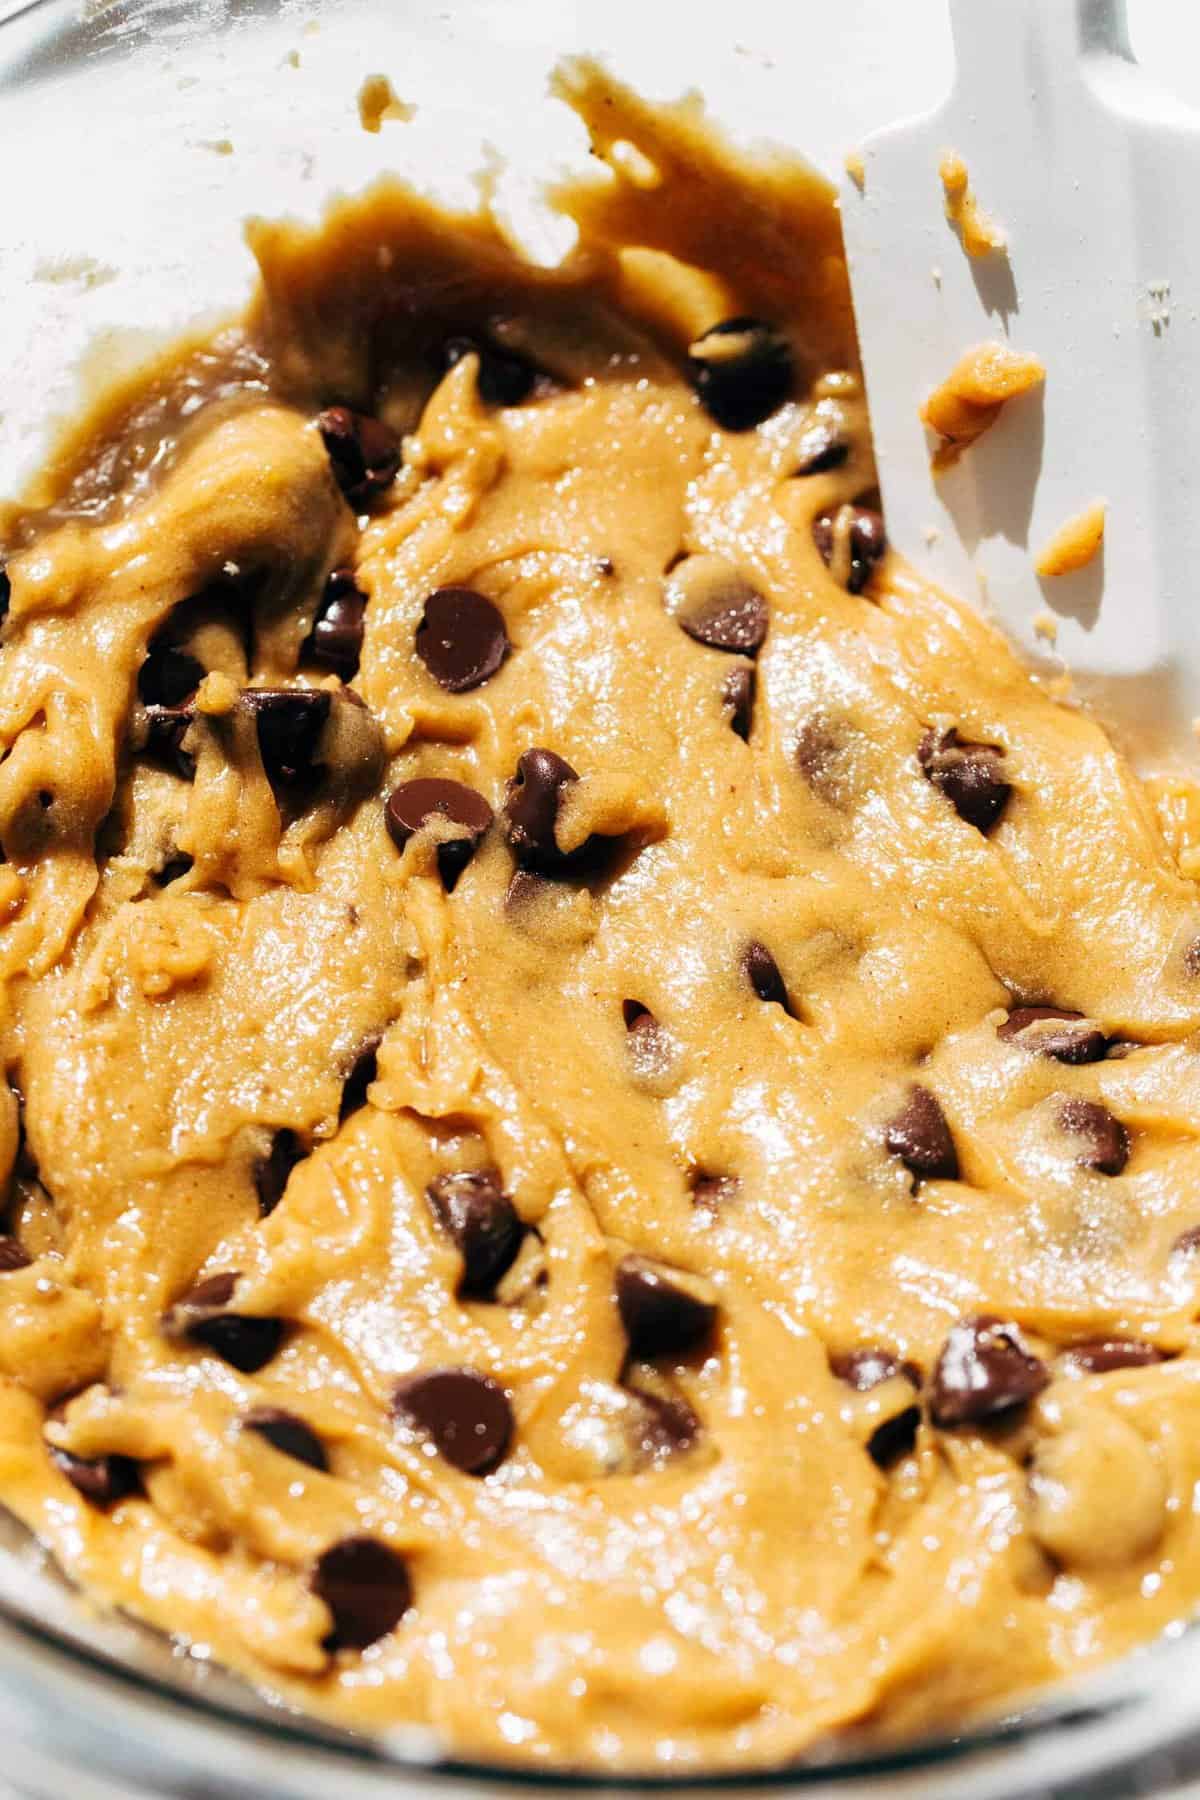
- Mixing – Mix as much as you want with a whisk for the wet ingredients but once the dry ingredients are added to the dough, switch to a rubber spatula and gently mix to combine. Because over mixing could lead to tough cookie bars.
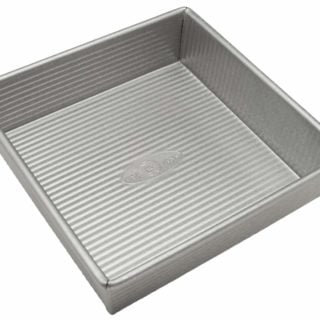
- Baking Pan – For the best results, use a light colored square aluminum baking pan. This material conducts heat the best so your bars can evenly bake from edge to center.
How to make brown butter
I have an entire post dedicated to the process of browning butter so if you’ve never done it before, definitely head over there!
When to slice and serve cookie bars
When the cookie bars are done baking, allow them to cool for about 45 minutes at room temperature.
To tell if they’re ready to serve, feel the bottom of the pan. If it’s just SLIGHTLY warm, try lifting the bars out using the parchment paper overhang. If the bars start to bend in the center as you lift, they aren’t ready. If the bars hold firm, they’re done!
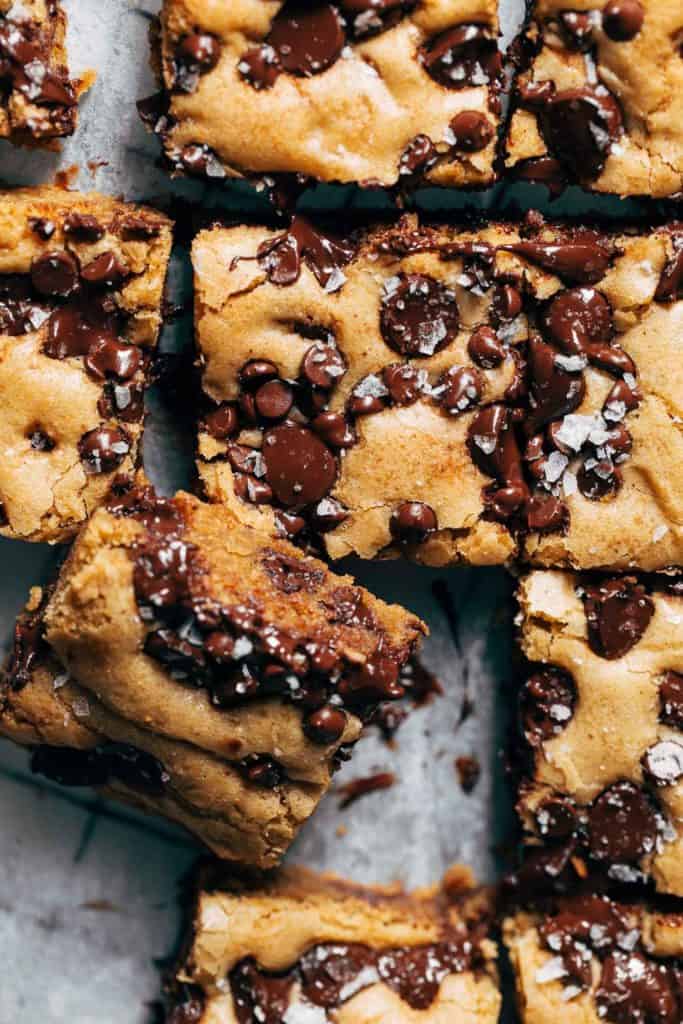
Use a large knife to make swift and even slices. For clean cuts, wipe off the knife between each cut.
They’re best to serve just slightly warm as the chocolate will remain super melty. But they’re still delicious at cooler temperatures as well!
How to store chocolate chip cookie bars
Keep the bars in an air tight container at room temperature. They’ll keep for about 3 days but if you need to extend the shelf life, store in the refrigerator for a few additional days. But honestly, they don’t stick around long!
Chocolate Chip Cookie Bars FAQs
Of course I recommend sticking with brown butter but if you aren’t comfortable with the browning process or prefer the flavor of regular butter, it can be subbed in. Just melt 1/2 cup of unsalted butter and use as directed. No need to add in that additional 1 tablespoon.
Although I haven’t tested it, I do think this recipe could work well with gluten free baking flour. Use a good cup for cup gluten free baking flour and sub in the same amount.
My all time favorite chocolate chips are the Trader Joe’s semisweet chocolate chips. They aren’t too sweet and melt into tender chocolate puddles. If you don’t have access to a Trader Joe’s, my second favorite are the Guittard dark chocolate chips in the red bag. The name is deceiving as they lean more towards semisweet in flavor, but they melt just as well!
You CAN, but I recommend sticking with dark brown sugar for the best flavor and consistency.
For more cookie bar recipes, check out my:
- Monster Cookie Bars
- Almond Chocolate Chip Cookie Bars (GF, V)
- Toasted Marshmallow Peanut Butter Cookie Bars
- Chocolate Chip Cookie Butter Bars
- Oatmeal Cream Pie Cookie Bars
- Salted Caramel Chocolate Chip Oat Cookie Bars
Make sure to tag me @butternutbakery on Instagram if you make these brown butter chocolate chip cookie bars. I love seeing my recipes come to life in YOUR kitchen! To pin this recipe and save it for later, you can use the button on the recipe card, the buttons above or below this post, or on any of the photos above. Happy baking!
Watch how to make these chocolate chip cookie bars!
Print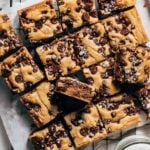
Brown Butter Chocolate Chip Cookie Bars
- Total Time: 50 minutes + 45 minutes cooling
- Yield: 16 bars
Description
These brown butter chocolate chip cookie bars are dense, soft, chewy, and loaded with melty chocolate chips! The brown butter gives them a rich toffee-like flavor and a sprinkle of sea salt on top helps bring out the chocolate even more. It’s basically the only cookie bar recipe you will ever need!
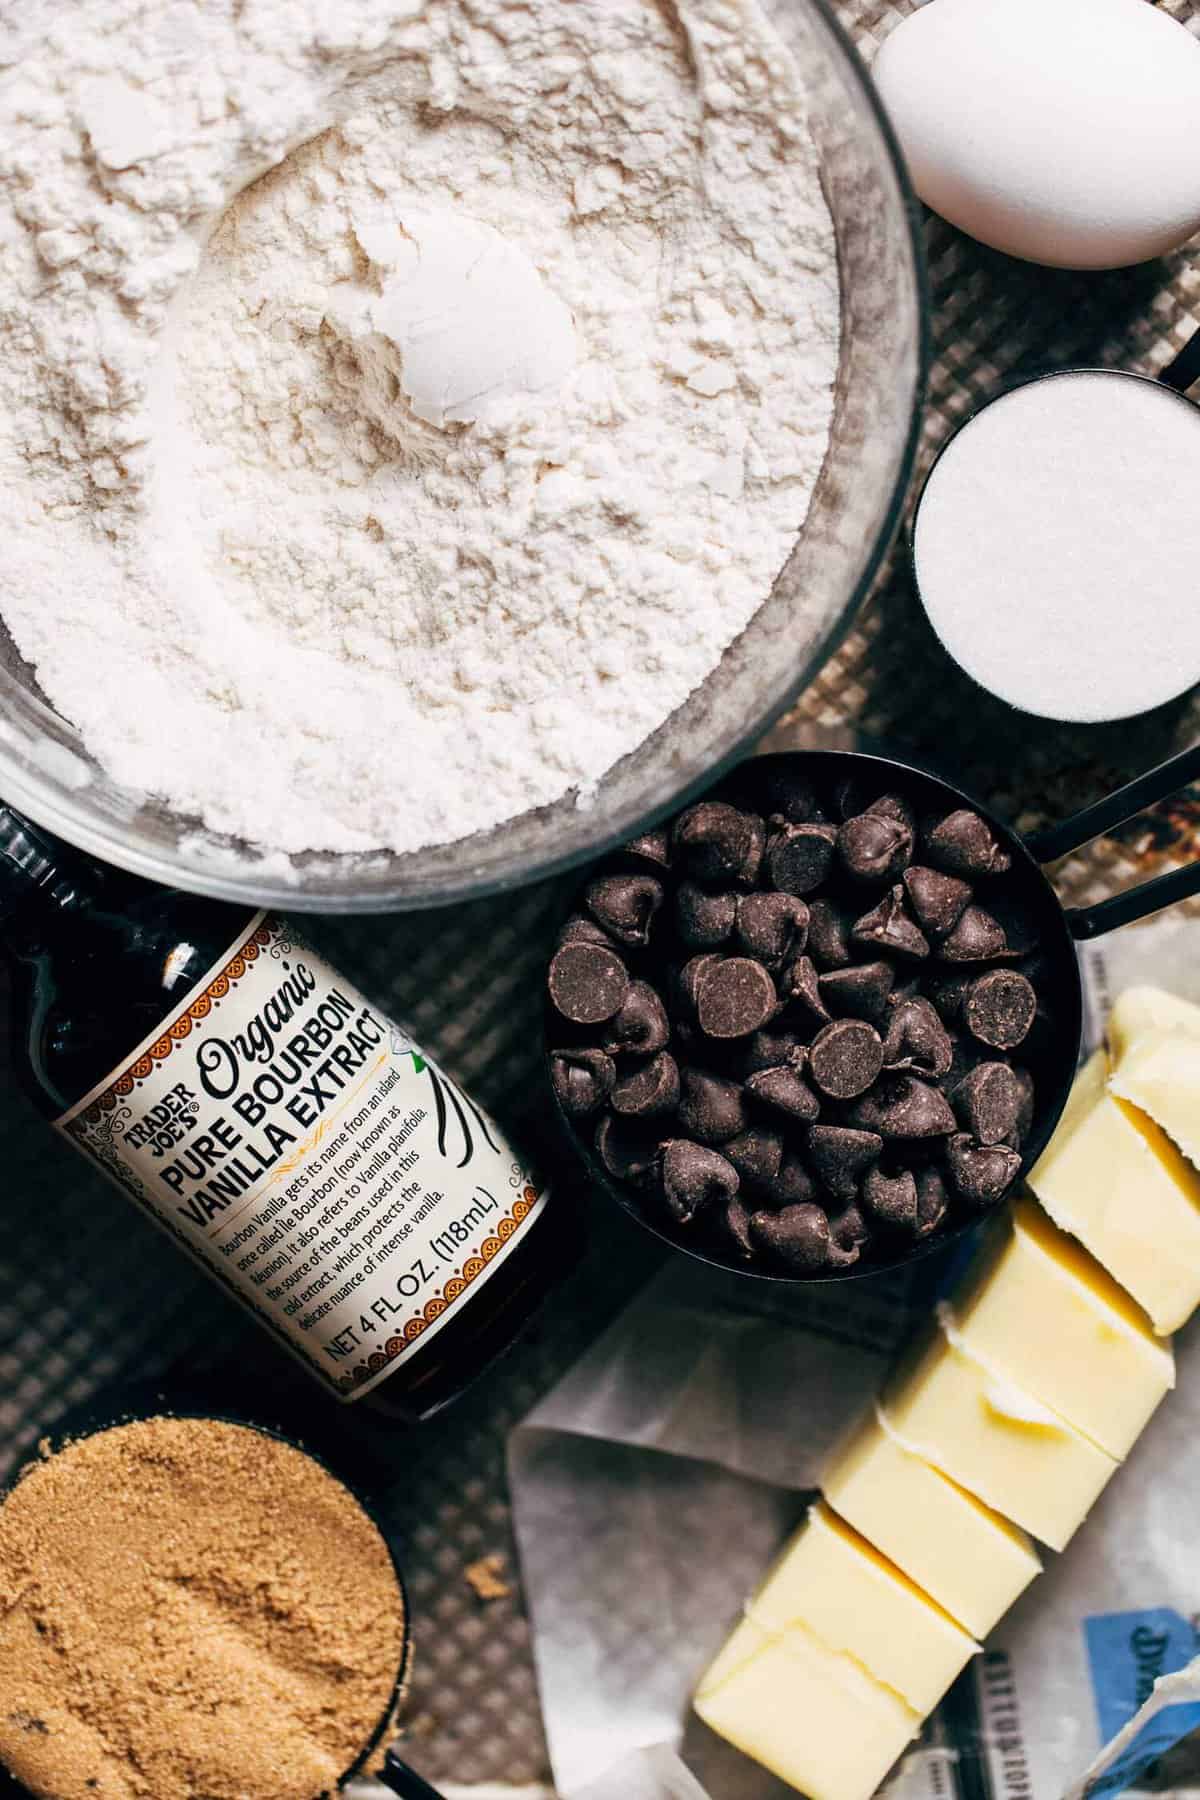
Ingredients
Brown Butter Chocolate Chip Cookie Bars
- 1/2 cup (110g) + 1 tbsp unsalted butter*
- 1/2 cup (100g) dark brown sugar, packed
- 1/4 cup (50g) granulated sugar
- 1 large egg
- 1 1/2 tsp vanilla extract
- 1 1/4 cups (165g) all purpose flour
- 1/2 tsp baking powder
- 3/4 tsp kosher salt
- 1 cup (185g) semisweet chocolate chips, plus more for sprinkling on top
- Flaky sea salt, for sprinkling
Instructions
Brown Butter Chocolate Chip Cookie Bars
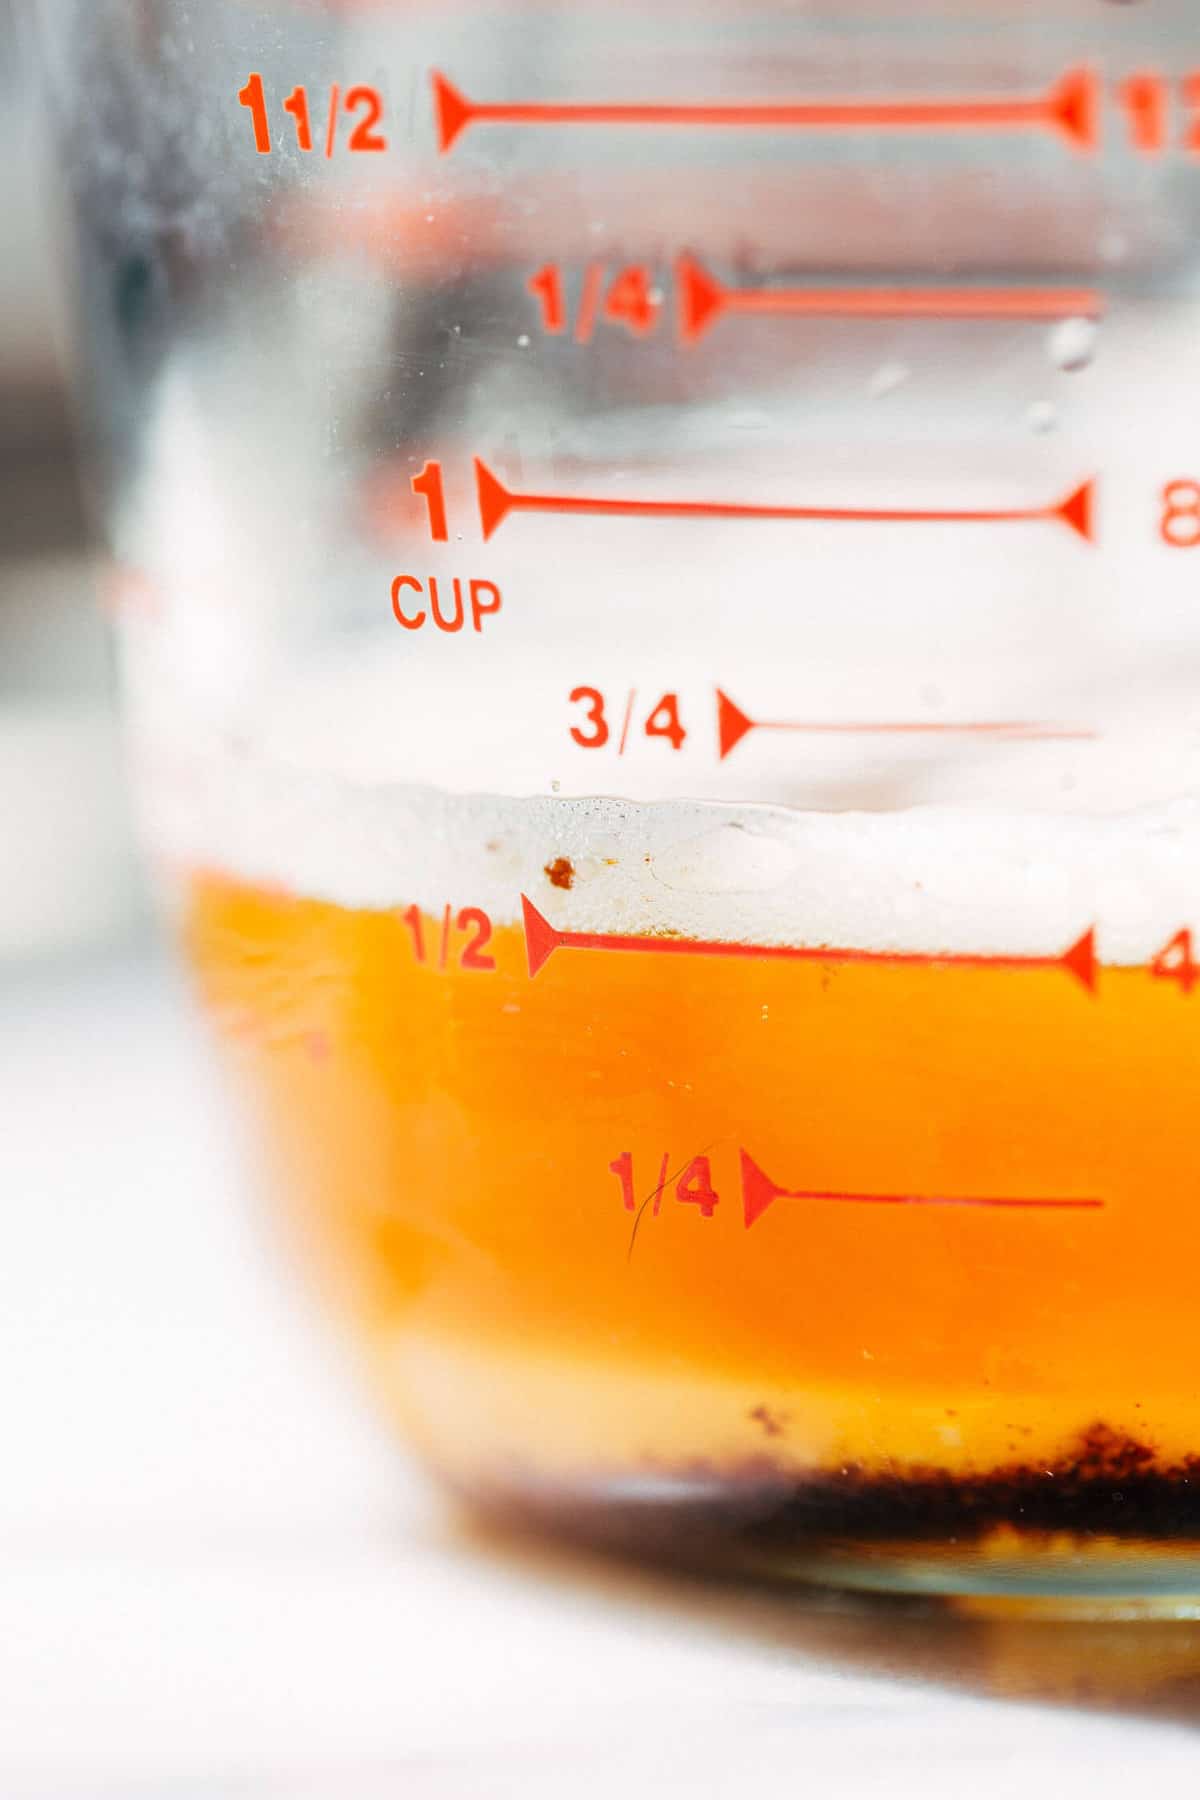
- Add 1/2 cup of the unsalted butter to a saucepan over medium heat. Melt down and continue to stir until it goes from load and bubbly to quiet and frothy. Once it goes quiet, pay attention to the color as it will brown very fast.
- When the butter is a golden amber color and gives off a nutty aroma, remove from heat and pour into a measuring glass. Drop in the additional 1 tablespoon of butter to make it an even 1/2 cup. *Make sure it measures exactly 1/2 cup so it may take more or less than 1 tablespoon. Transfer the butter to the refrigerator to cool while the rest of the ingredients are prepped.
- Preheat the oven to 350F and grease and line a square 8×8 baking dish with parchment paper. Allow the paper to hang up and over the sides for easy removal.
- In a small bowl, whisk together the flour, baking powder, and salt.
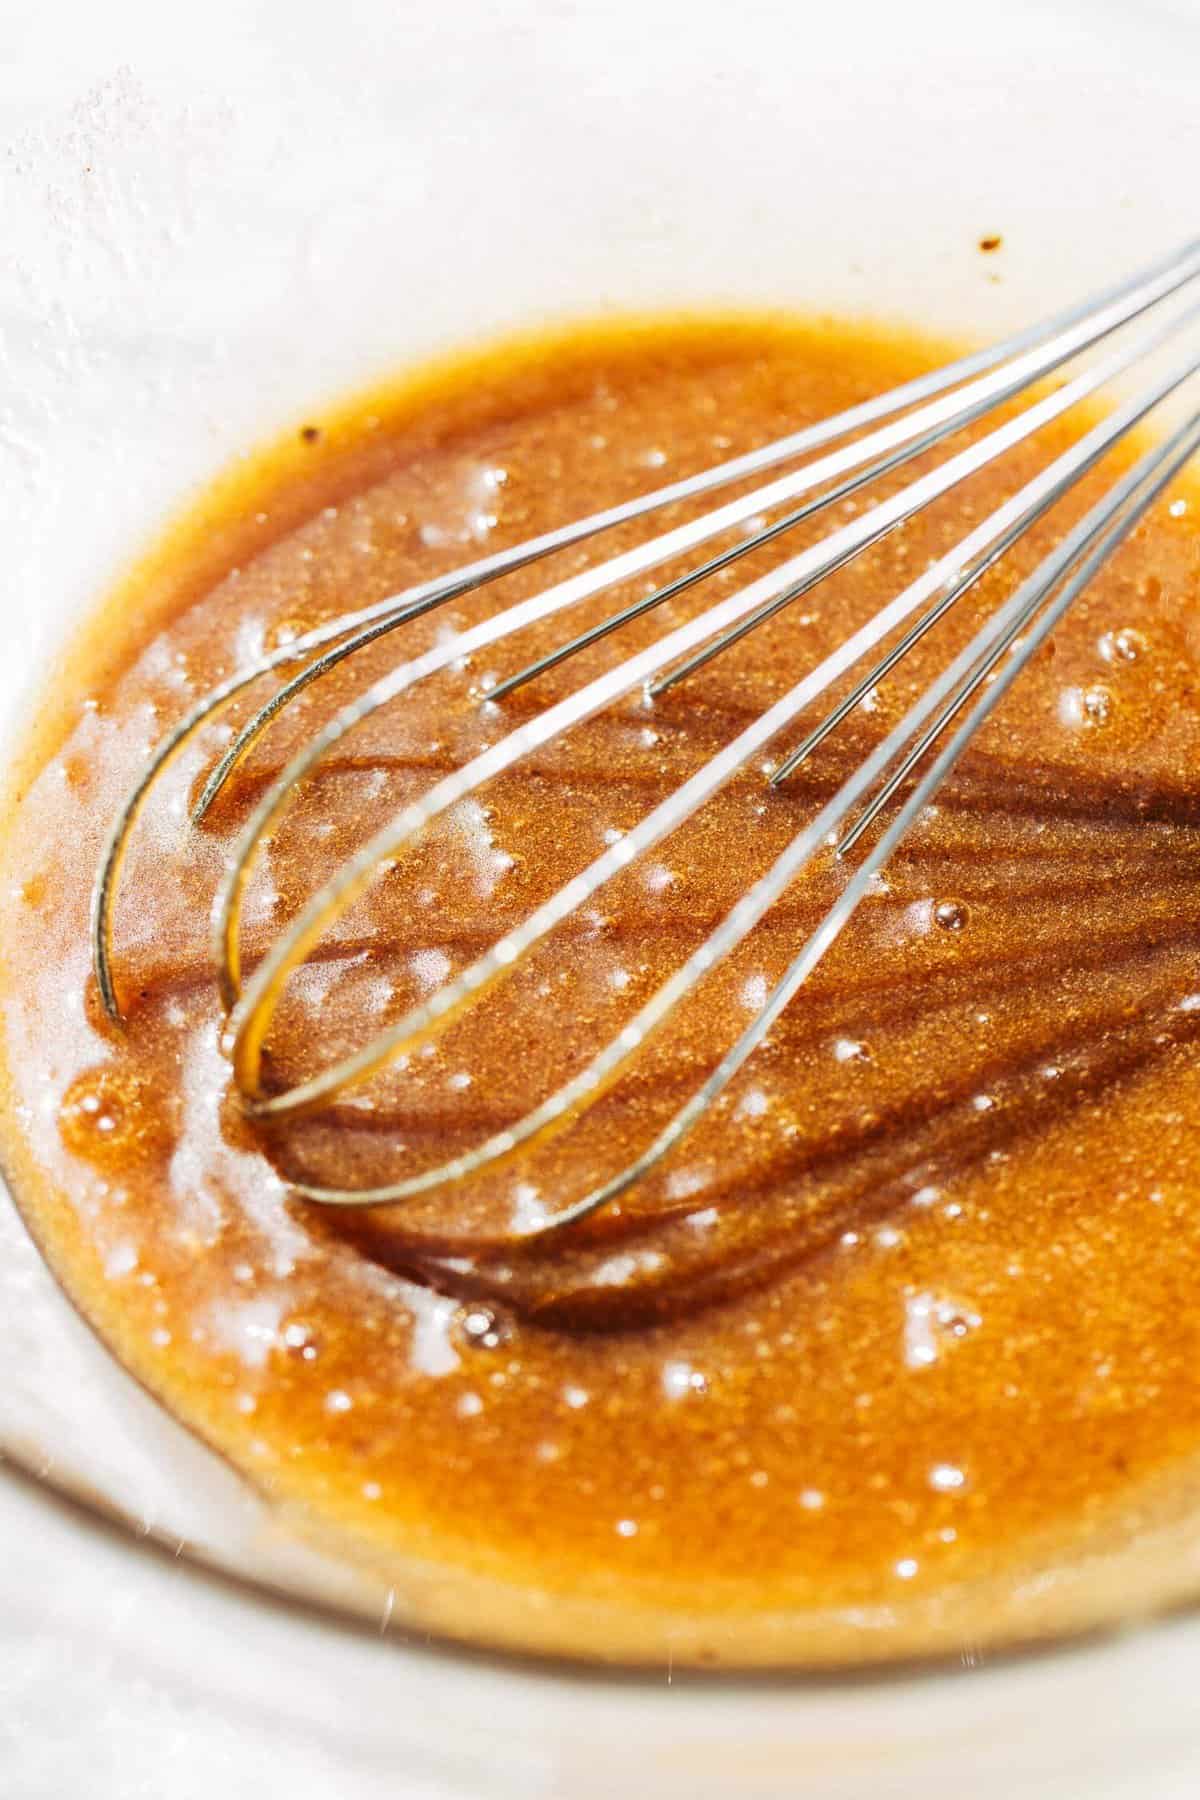
- In a large mixing bowl, add the dark brown sugar, sugar, and browned butter. It’s ok if the butter is still a bit warm, but not hot. Whisk to combine.
- Whisk in the vanilla and egg.
- Switch to a rubber spatula and pour in the dry ingredients. Gently mix to combine and when there’s still a bit of flour showing, toss in the chocolate chips.
- Fold the dough to combine.
- Transfer the dough to the prepared baking pan and spread it even. Sprinkle with a couple handfuls of chocolate chips and press them into the surface.
- Bake for 25-30 minutes. The bars are done with the edges are a very light golden brown and the center is evenly and slightly puffed.
- When the bars are fresh from the oven, sprinkle with a couple pinches of sea salt.
- Allow the bars to cool in the pan for about 45 minutes at room temp. You can also place the pan in the refrigerator to speed up the process.
- Once cooled (but ever-so-slightly warm), lift the bars out of the pan and slice in 16 squares. Enjoy!
Notes
BUTTER – For the biggest flavor payoff, use good quality butter such as cultured or European style butter.
- Prep Time: 20 minutes
- Cook Time: 30 minutes
- Category: Dessert
- Method: Baking
- Cuisine: American
Join Our Community


Meet Jenna
I’m the creator, baker, and photographer behind Butternut Bakery. Here I share desserts for every diet because I believe everyone should have a chance to indulge!

These cookie bars are as good as it gets!
Made these once before and they were amazing! I was just wondering if I could add peanut butter or if that would throw it off?? Thanks so much!
You could mix in peanut butter chips!
Perfection. Followed the recipe to a T and they came out perfect.
Or peanut butter icing!
DELICIOUS! These are easy to make and a crowd pleaser. I always get rave reviews when I make butternut bakery recipes.
Thank you!