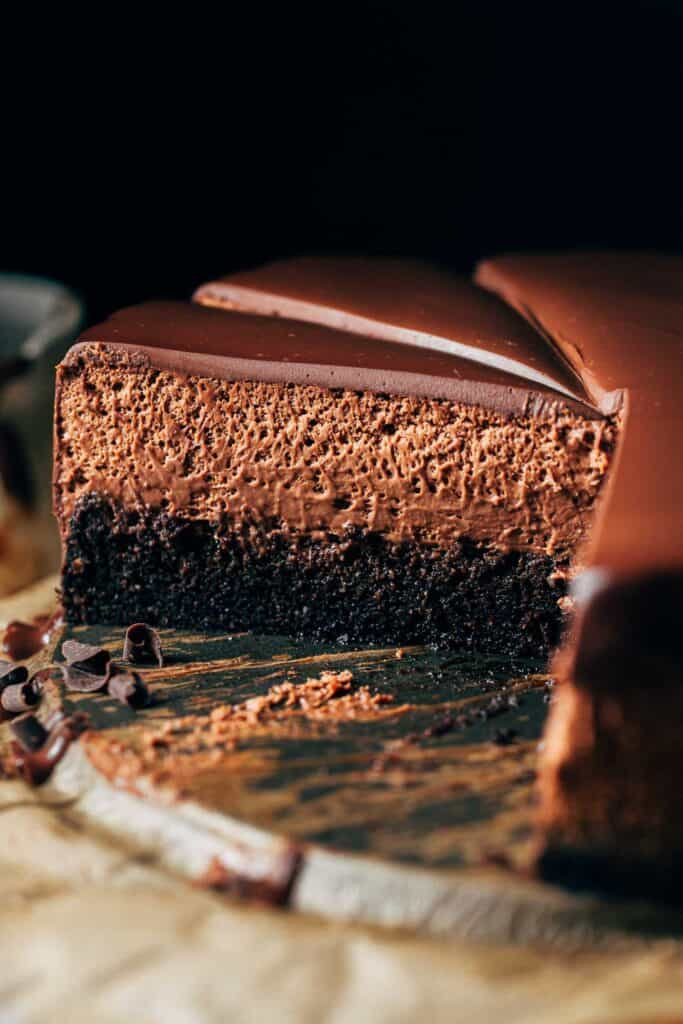
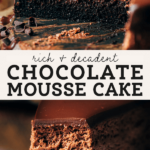
Chocolate Mousse Cake
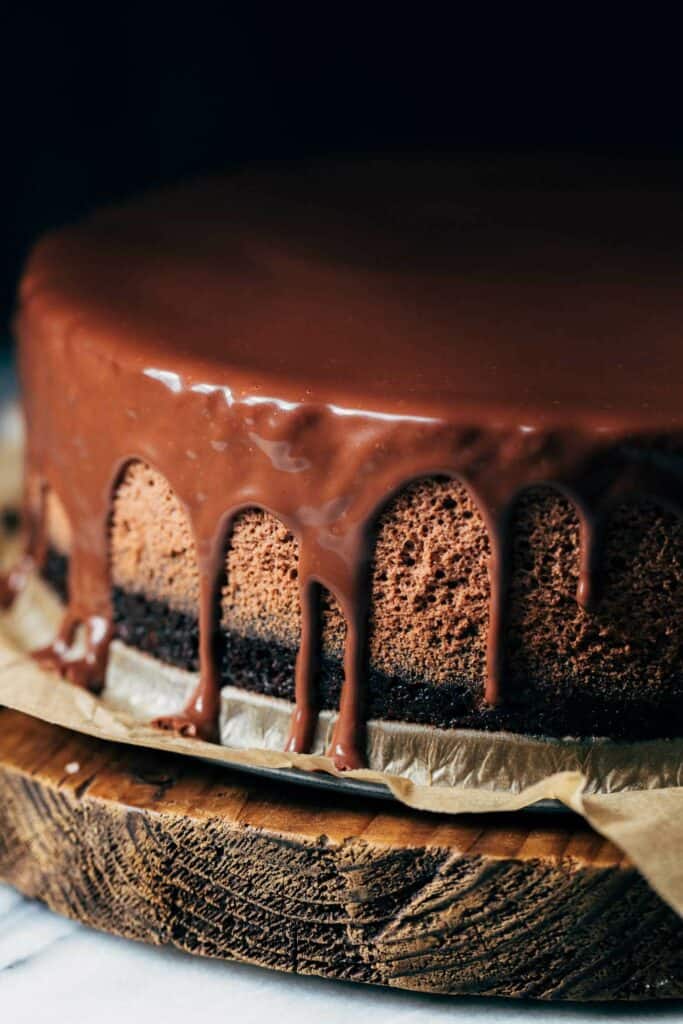
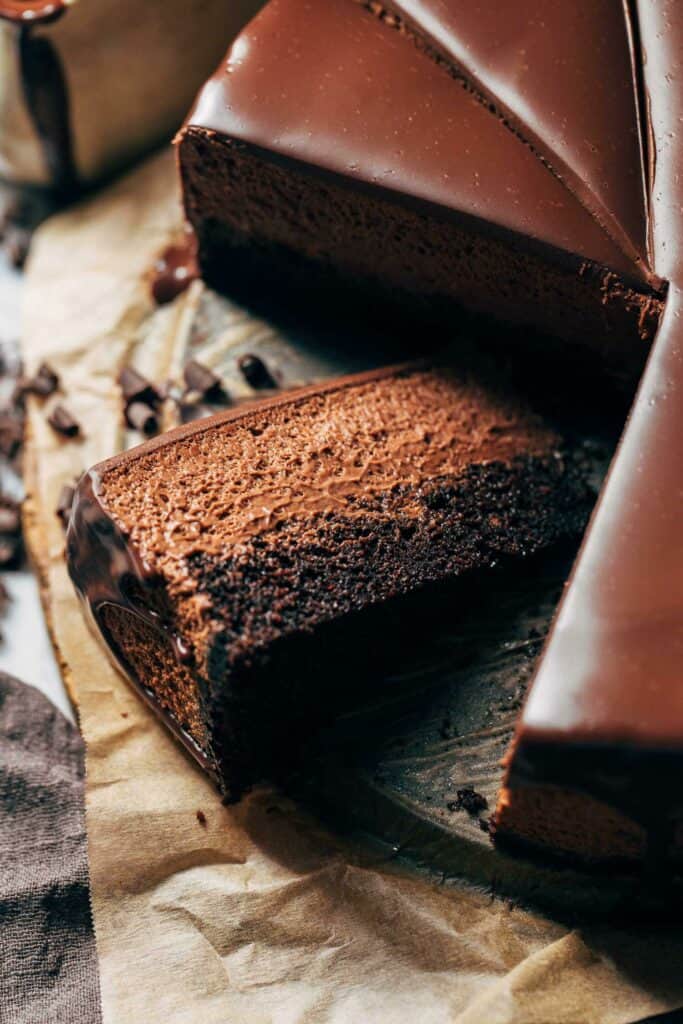
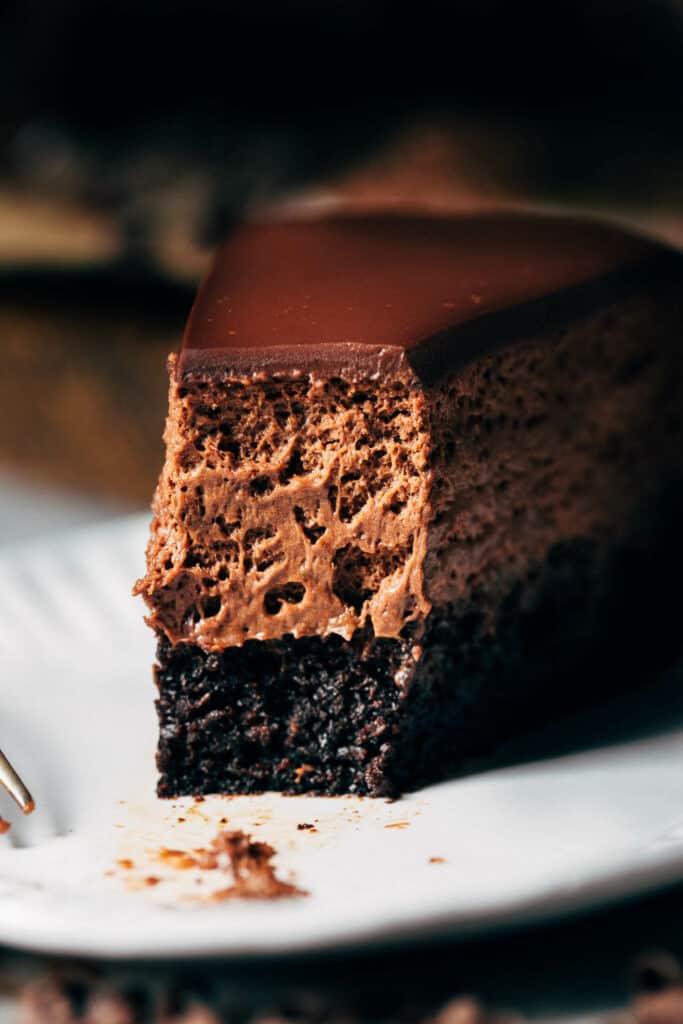
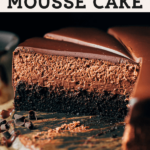
This chocolate mousse cake is absolute chocolate HEAVEN! Three layers of chocolate are all wrapped up in one delicious dessert – it starts with a moist chocolate cake base that’s piled high with light chocolate mousse. Once chilled, the entire cake is covered in a layer of rich chocolate ganache. Each bite just melts in your mouth with so many different levels of delicious chocolate flavor.
Rich chocolate cake
Of course it wouldn’t be a chocolate mousse cake recipe without a rich and decadent chocolate cake!
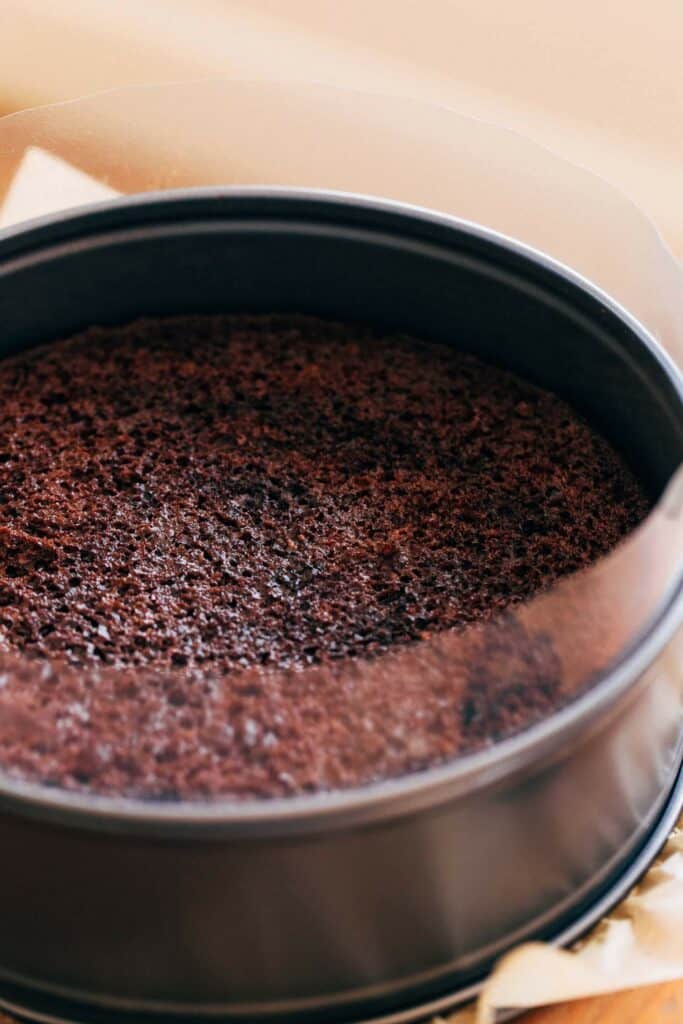
The base of this recipe is a moist and spongy chocolate cake that’s very easy to make. Simply whisk together oil, sugars, eggs, vanilla, and sour cream. Then mix in the dry ingredients followed by hot coffee to activate the dry cocoa powder.
A few key ingredients are included to produce the perfect cake layer base:
- Cornstarch – A tiny bit of cornstarch is all that’s needed to create a tender and soft chocolate cake.
- Dutch Cocoa – This cocoa is much darker with a smoother flavor compared to regular unsweetened cocoa. It makes any cake look and taste gourmet.
- Sour Cream – I absolutely LOVE sour cream in chocolate cake! It makes the overall texture so rich and the acidity helps balance out the flavors.
- Hot Coffee – Coffee pairs perfectly with chocolate, and using hot coffee will activate the dry cocoa powder within the batter. Without the heat, the cocoa flavor be as strong.
Once the cake has baked and cooled, two additional steps are needed:
- Level – The very top of the cake is sliced off to create a level base. This also exposes a porous surface which is necessary for step two.
- Soak – Once leveled, a mixture of cocoa and hot coffee are spooned over the surface of the cake. The cake absorbs this moisture to create a INCREDIBLY moist and tender consistency. This step is optional, but it is most definitely well worth it.
How to make chocolate mousse
Get your bowls cleaned and ready because we will be using a lot of dishes! And while there are many steps to make chocolate mousse, each one is very simple.
Step 1 – Chocolate
To make a chocolate mousse that isn’t too bitter or too sweet, my recipe uses equal parts dark and milk chocolate. Go for a 70% cocoa dark chocolate as it provides tons of rich chocolate flavor without any bitterness. Also use good quality chocolate as this will make a BIG difference in the overall flavor. I linked my favorites in the recipe card below.
These two chocolates are chopped and slowly melted in a bowl over simmering water. Once melted, the chocolate rests for a couple minutes to cool slightly.
After those few minutes, egg yolks are whisked into the chocolate mixture one at a time. Raw egg is needed in chocolate mousse to create a rich and creamy consistency.
Step 2 – Gelatin
Gelatin is one of the ingredients that helps the mousse set once chilled. To incorporate the gelatin, it first needs to bloom.
To do so, sprinkle unflavored gelatin powder over a small dish filled with water. The gelatin will absorb the water and “bloom” – aka turn gelatinous and clear.
In the meantime, heat a pot of heavy cream just until it’s steaming. Then the bloomed gelatin is whisked and melted in. The cream acts as the vehicle to transport the gelatin smoothly. It also adds an extra layer of richness to the mousse.
The hot gelatin cream is slowly whisked into the bowl of chocolate and egg yolk.
Step 3 – The Fluff
Not an official term, but a term nonetheless! This refers to the ingredients that add lightness and “fluff” to the mousse.
First, heavy cream is whipped until it reaches stiff peaks.
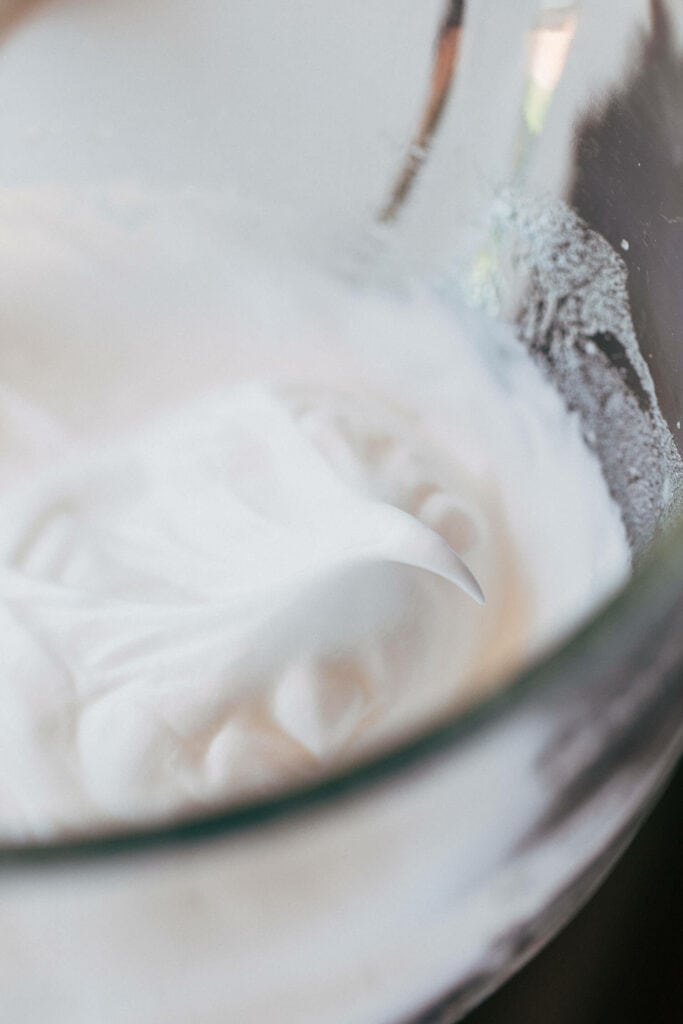
Then, egg whites are whipped along with cream of tartar and sugar to create a fluffy meringue.
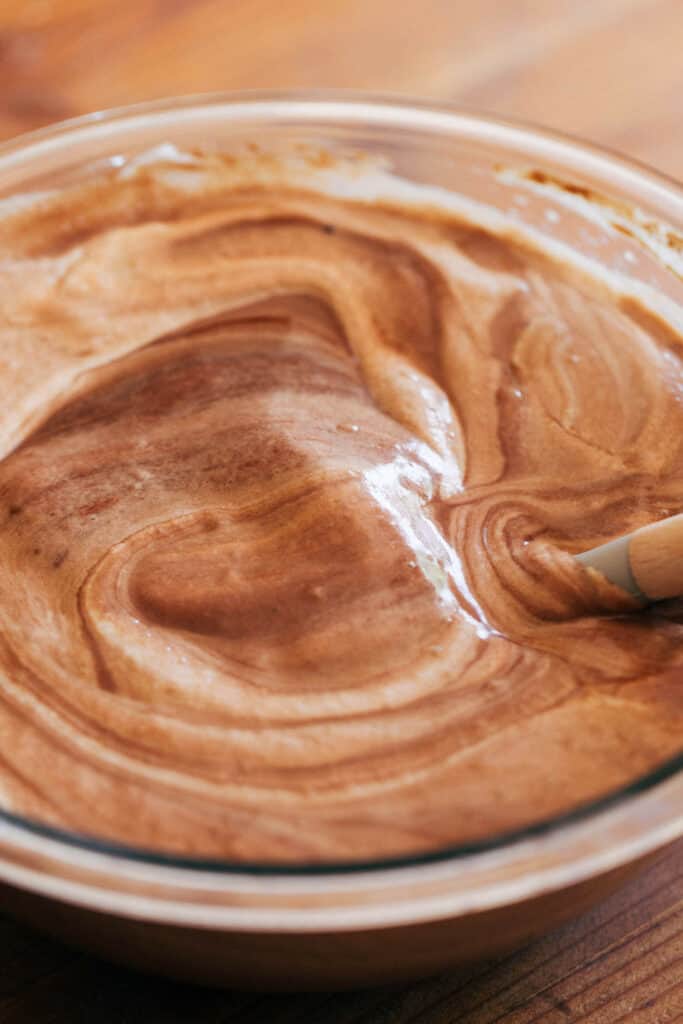
The two are individually folded into the bowl of chocolate. To fold, use a rubber spatula and run it around the mousse and through. This process takes some time, but it’s important to gently mix, otherwise the mousse will deflate and turn into chocolate fudge.
How to assemble chocolate mousse cake
The cake has cooled and soaked and the mousse is ready to go so now it’s time to assemble our chocolate mousse cake!
First, the chocolate cake pan is lined with a sheet of acetate to create a cake collar. This will hold in the mousse and make for clean sides once the cake has chilled.
Slide the acetate down the sides of the pan until it reaches the bottom, nudging it between the cake and the pan wall.
Then pour the mousse over the cake. It will fill all the way to the top of the springform pan so it’s important that the cake collar reaches about an inch above the pan.
The mousse cake then chills for at least 4 hours but preferably overnight. It’s a thick layer of mousse so overnight ensures that it’s set all the way through.
Chocolate ganache recipe
Now comes the final layer – the chocolate ganache! When the chocolate mousse cake has chilled, release the ring and peel bag the cake collar. This process is so very satisfying.
Then to make the ganache, pour very hot cream over a bowl of chopped dark chocolate. The cream will slowly melt the chocolate after about 3 minutes. Use a whisk to mix the two together to create a smooth and glossy ganache.
Pour the ganache in the very center of the cake. Then use a small offset spatula to nudge it to the sides and over the edge of the cake. This will create those gorgeous cake drips.
Chill the mousse cake for at least 30 minutes, just until the ganache is set, and our trip chocolate mousse cake is ready to eat!
Chocolate Mousse Cake FAQs
Yes! The entire cake is gluten free minus the flour in the cake batter. Simply swap it with a cup for cup gluten free baking flour.
Dutch process cocoa is not as acidic as unsweetened cocoa. For this reason, subbing in regular unsweetened cocoa could throw off the leaveners and create a completely different texture.
You can, but dark brown sugar adds an extra layer of moisture that light brown sugar just doesn’t quite achieve.
If you don’t like the flavor of coffee, don’t worry! You can’t taste it, it just helps elevate the chocolate flavors. Decaf can also be used if caffeine is a concern. Otherwise, sub in hot water instead.
Using a mix of dark and milk chocolate lends the best flavor as it’s not too bitter and not too sweet. For dark chocolate, use a 70% cocoa dark chocolate. Also opt for good quality chocolate as this will provide the biggest flavor payoff. I’ve linked the ones I use in the recipe card below.
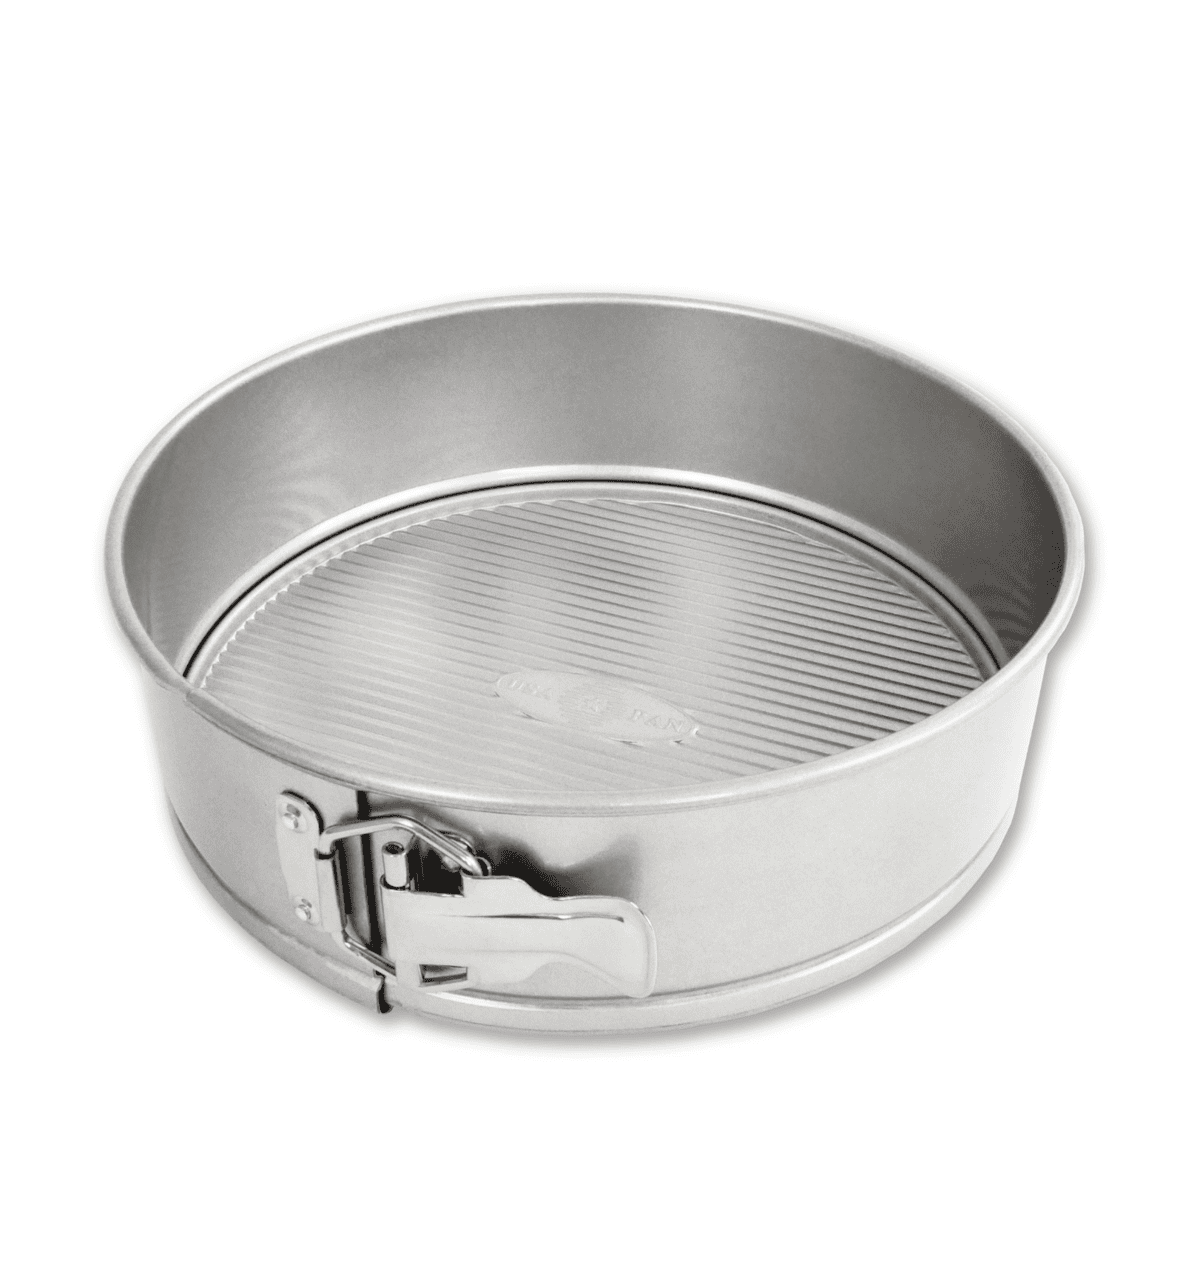
Unfortunately this only works with a springform pan. The cake is nearly impossible to release or slice into if it’s in a pan without a removable bottom.
Once the ganache is added, the cake chills for 30 minutes. Then it’s ready to serve! If your plans require the cake to chill for longer, allow the mousse cake to sit at room temperature for about 30 minutes before serving.
Store the cake in an airtight container in the refrigerator. It will keep for about a week.
For more decadent chocolate desserts, check out my:
- Moist Chocolate Cake
- Brown Butter Brownies
- Flourless Chocolate Cake
- Salted Dark Chocolate Brownies
- Brownie Pie
- Peanut Butter Chocolate Cake
- Moist Chocolate Cupcakes
Make sure to tag me @butternutbakery on Instagram and comment below if you make this chocolate mousse cake. To pin this recipe and save it for later, you can use the button on the recipe card or on any of the photos above. Happy baking!
Watch how to make this chocolate mousse cake:

Chocolate Mousse Cake
- Total Time: 6 hours 10 minutes
- Yield: 8-10 slices
Description
This chocolate mousse cake is the definition of decadence! A single layer of moist chocolate cake is piled high with homemade light and fluffy chocolate mousse and the entire cake is covered in a rich shell of chocolate ganache. It’s the perfect treat for any special occasion and is sure to impress!
Ingredients
Chocolate Cake
- 3/4 cup (95g) all-purpose flour (or gf baking flour)
- 2 tbsp cornstarch
- 1/4 cup (25g) dutch process cocoa powder
- 1 tsp baking soda
- 1/2 tsp baking powder
- 1/4 tsp kosher salt
- 1/2 cup (100g) fine granulated sugar
- 1/2 cup (105g) dark brown sugar, packed
- 1/2 cup (112g) vegetable or olive oil
- 2 large eggs
- 1 tsp vanilla extract
- 1/2 cup (120g) sour cream
- 1/2 cup (120g) hot coffee
Chocolate Cake Soak
- 1/2 cup (120g) hot coffee
- 1 tbsp dutch process cocoa powder
Chocolate Mousse
- 7 oz 70% dark chocolate, chopped
- 7 oz milk chocolate, chopped
- 3 large eggs, separated
- 3 tbsp water
- 1 1/2 tsp unflavored gelatin
- 1 3/4 cup heavy cream, divided
- 1/2 tsp cream of tartar
- 1/4 cup (50g) fine granulated sugar
Chocolate Ganache
- 6 oz 70% dark chocolate, chopped
- 3/4 cup (180g) heavy cream
Instructions
Chocolate Cake
- Preheat the oven to 350F and grease the inside of a 9″ springform pan.
- Then remove the ring, lay a sheet of parchment paper on the bottom plate, and close the ring on top. Some paper will be sticking out of the sides.
- Now in a medium bowl, whisk together the flour, cornstarch, cocoa powder, baking soda, baking powder, and salt. Set aside.
- In a large mixing bowl, whisk together the sugar, dark brown sugar and oil. It should look like wet sand.
- Then whisk in the eggs and vanilla, followed by the sour cream.
- Dump in the dry ingredients and mix until it’s halfway combined. Then pour in the hot coffee and mix until smooth. The batter will be very thin.
- Pour the batter in the prepared pan and bake for 25-30 minutes or until a toothpick in the center comes out clean with a few moist crumbs.
- Allow the cake to cool completely either at room temperature or in the refrigerator.
- Once cooled, remove the ring from the pan and clean it off. Then level off the top of the cake using a cake leveler or a large knife.
- Place the clean ring back on the pan with the cake still inside.
- Now line the pan with a long sheet of acetate (AKA a cake collar), sliding it down between the cake and the sides of the pan. *See notes for parchment paper option
Chocolate Cake Soak
- Stir together the hot coffee and cocoa powder.
- Spoon the mixture over the cake, evenly soaking the entire surface.
- Now set the cake aside while we make the mousse.
Chocolate Mousse
- Add the chopped chocolate to a heat safe bowl.
- Fill a saucepan with about 1/2 inch of water and place over medium heat. Then place the heat safe bowl on top, ensuring it does not touch the water.
- Once simmering, the water below will slowly melt the chocolate. Stir until smooth then remove from heat. Allow the chocolate to cool slightly while you clean out the saucepan as we will be using it again.
- After a few minutes, whisk 3 egg yolks into the chocolate mixture one at a time. The chocolate will thicken significantly, but that’s ok.
- Now fill a tiny bowl with 3 tablespoons of water and sprinkle the gelatin on top. Let it sit while we heat the cream.
- Pour 3/4 cup of heavy cream into the cleaned saucepan and place it over medium-low heat. Heat just until it’s steaming but not bubbling.
- By now, the gelatin should have bloomed (AKA the powder has absorbed all the water and turned clear). Scoop the gelatin into the steaming cream and whisk to melt.
- Remove from heat and pour half of the cream into the chocolate and egg yolk mixture. Whisk until smooth, then whisk in the rest of the hot cream. The chocolate mixture should now be smooth and glossy – almost like pudding.
- Now in a large bowl using a hand or stand mixer with the whisk attachment, add the remaining 1 cup of heavy cream. Whip on high speed until light and fluffy with stiff peaks.
- Scoop the heavy cream into a smaller bowl and clean out the big mixing bowl and whisk. Make sure both are spotless and completely dry.
- Now to that clean bowl, add the egg whites and cream of tartar. Whip on high speed. Once it starts to turns foamy and opaque, slowly whip in the fine sugar. Keep mixing on high speed until it turns white with soft peaks (pull the whisk away and if the meringue stands up with a little droop on the end, it’s perfect).
- Now we have our bowl of chocolate, a small bowl of whipped cream, and our large bowl of meringue (whipped egg whites + sugar).
- Using a rubber spatula, scoop the whipped cream into the chocolate mixture and gently fold to combine.
- When it’s well incorporated, scoop in the meringue and repeat the process. Keep folding until the mousse is all one color with zero white streaks. The mousse should also be somewhat thin and pourable.
- Pour the mousse over the chocolate cake and chill in the refrigerator for at least 4 hours but preferably overnight.
Chocolate Ganache
- When the mousse has set, release the ring from the pan and peel back the cake collar.
- For the ganache, add the chopped chocolate to a medium-sized heat safe bowl and the heavy cream to a heat safe measuring glass.
- Microwave the cream until it’s hot and bubbling. Pour the hot cream over the chocolate, ensuring the chocolate is completely submerged.
- Allow the mixture to sit for about 3 minutes, then whisk to combine.
- Pour the glossy ganache in the center of the cake and use a spoon or small overset spatula to spread it out towards the sides, allowing it to drip down.
- Chill the cake for at least 30 minutes to allow the ganache to set. Then slice and enjoy!

Notes
*PARCHMENT PAPER – If you don’t have acetate available, you can also use parchment paper. Before returning the ring to the pan, give it a light spritz of nonstick spray. Then place the ring back on the pan and line the sides with long strips of parchment paper, allowing the paper to reach about an inch above the sides of the pan. Then when the cake has chilled, remove the ring and peel away the paper. This method isn’t as clean as the acetate but it will get the job done.
- Prep Time: 40 minutes
- Chill Time: 5 hours
- Cook Time: 30 minutes
- Category: Dessert
- Method: Baking
- Cuisine: French
Join Our Community


Meet Jenna
I’m the creator, baker, and photographer behind Butternut Bakery. Here I share desserts for every diet because I believe everyone should have a chance to indulge!
This is SO good! I made it for mothers day, as my mom loves deep decadent desserts and I was pretty sure that this would do the trick. It was perfect! A bit of a labor of love, but totally worth it! The cake layer was super soft and delicious, and the coffee soak worked wonders. The mousse was delicious, as most mousses are, and the ganache was the perfect finishing touch, although I would probably make a half batch of it next time, as there was so much ganache that it completely covered the cake and then ran out onto the pan I had the cake sitting on. The slices of this were gorgeous, and so tall you could barely get it all on your fork!
made this a couple of times now…Love it.. I’ve got an event coming up and try to prep ahead .Can cake part be made ahead and frozen…
This was a huge hit with my work colleagues.
So delicious.
And the instructions were clear and easy to follow.
I’ve made this mousse 5 different times and it’s always hit! People can’t get enough of it. I 100% recommend it!
5 star! I cheated by using the chocolate mouse mix from king aurthur bakery, called sweet ground chocolate & cocoa blend. I’ve made it twice. Both times it was beautiful and delicious and got rave reviews! I piled chocolate curls in the center of the cake before serving.
I made this cake this weekend!! it was amazing and I can’t wait to have an occasion to make it again. I will def be saving this one. It seems complicated but the step by step instructions make it foolproof. So good!
is it ok to eat raw eggs? Or am I supposed to get pasturized eggs?
This cake was amazing!! Thank you! The directions were fabulous. It seemed like a lot of glaze, but I used it all. The mousse layer has several components but straight forward and came together easily. Only question I had was when to remove the parchment on the bottom. Everyone loved it! Will definitely be making again!
This recipe is undoubtedly one of the best desserts I have ever made! My boyfriend’s favorite dessert is chocolate mousse and I saw this recipe months ago and saved it to make for him on Valentine’s Day! He absolutely loved it and so did everyone who got to try the leftovers. A+ recipe – lots of steps and time but totally worth it and actually easy. Seriously restaurant quality – everyone thought so!
Jenna – This is the best cake I’ve ever made! Everyone loved it, but honestly it was your perfect recipe and your excellent step-by-step instructions that made it so yummy! I am SO sick of recipes online that leave out ingredients or important steps! Thank you for caring!