Fudgy Brownie Pie
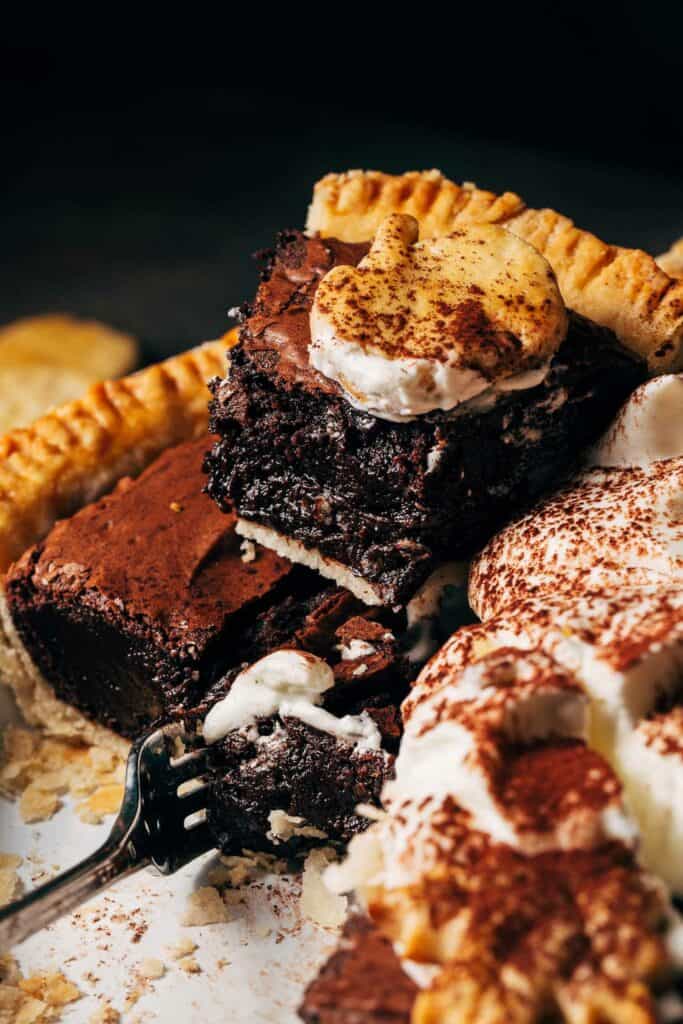
Although it’s a pie recipe, this brownie pie will be your new favorite way to eat a brownie. This incredibly light and flaky pie dough is baked with a thick and fudgy dark chocolate brownie filling. It’s rich but not overly sweet, and the two flavors together are an unexpected pairing that is most definitely meant to be!
What makes this brownie pie recipe so good?
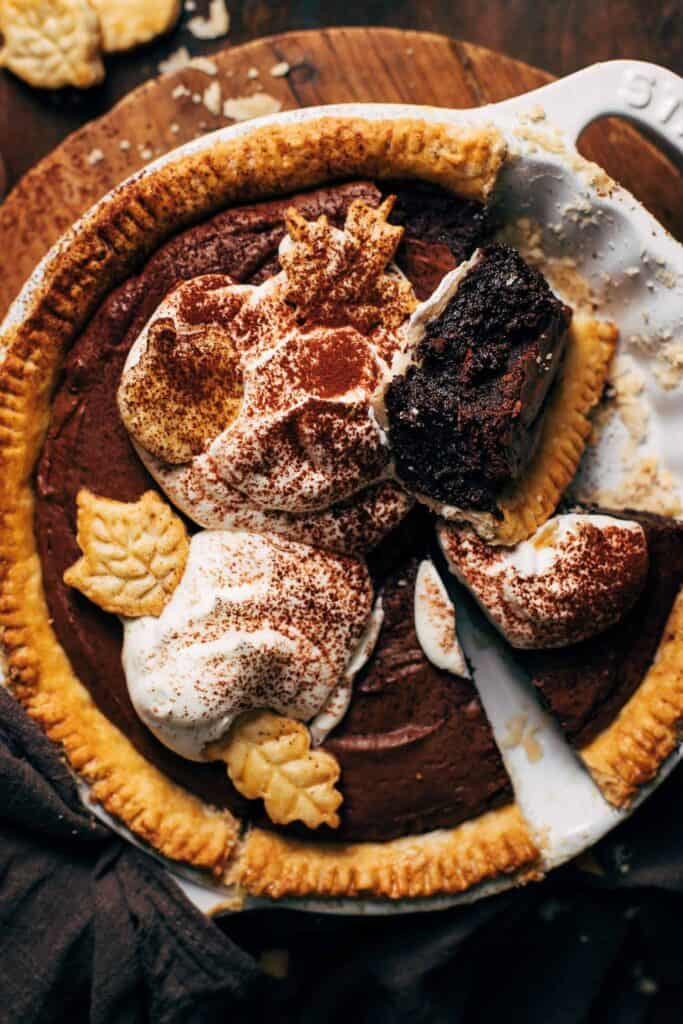
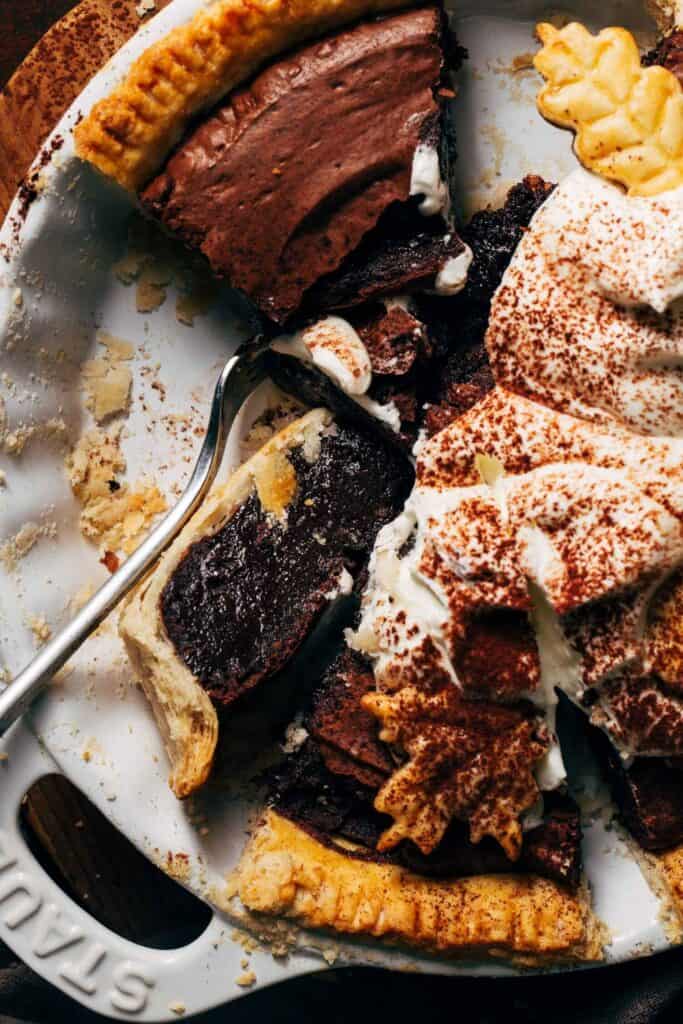
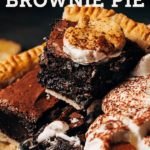
Oof, just look at that texture! This brownie pie is incredibly fudgy with the flakiest pie crust you’ll ever have. It’s all thanks to one secret ingredient: lard.
The pie crust is made with lard instead of butter, creating the lightest most tender texture. This is how my grandma made her pie dough as she said it was the secret to achieving the most delicious flaky pie. After this recipe, I’m a true believer.
After using lard in the pie dough, I thought I might as well experiment and see what it can do to a brownie and OOOHHH WOW. This is the fudgiest most rich brownie I have ever had.
Since lard is pure fat, it creates the most decadent brownie consistency that is truly too good for words. I’m going to have a hard time baking brownies with anything BUT lard after this recipe.
Together, the rich dark chocolate brownie filling pairs so well with the pie dough. One doesn’t outshine the other as each bite has the perfect balance of heavy fudginess and light flakiness. It’s a match made in heaven.
How to make an all lard pie dough
To be completely honest, I always struggle with pie dough. I have to try really hard to get the consistency just right and it always cracks on me when I roll it out.. that is until I made this all lard pie dough.
Since lard is so soft, the process of making the pie dough itself is SO quick and easy. There’s no cutting in hard lumps of butter, so working the lard into the flour takes seconds.
It also has a higher melting point than butter, so it doesn’t soften as rapidly while handling the dough. And because of this, the lard doesn’t dissolve into the flour as fast as butter which produces the FLAKIEST pie crust.
To enhance the flakiness even more, a bit of vinegar is added to the pie dough. This slows the strengthening process of the gluten strands in the flour, creating a super tender pie crust.
The dough then goes in the refrigerator for only 30 minutes which is just enough time to bring the lard back down to a chilled temperature.
The best way to roll out pie dough
To prevent the dough from cracking while rolling AND to make it so easy to transfer it to a pie dish, roll the dough out between two sheets of plastic wrap.
Then, peel back the top sheet to be left with the rolled out pie dough on a bottom sheet of plastic wrap. Since the pie dough is adhered to the plastic, this holds the pie dough in place while transferring it to the pie dish.
Simply flip the pie dough onto the pie dish, nudge it into place, and peel back the sheet of plastic wrap to reveal a perfectly placed pie shell.
Brownie pie filling baking tips
To make the FUDGIEST brownie pie, here are my top baking tips to really nail that rich filling:
- Flour – I say this in every post, and for good reason. If dry ingredients are not measured properly, the brownie will turn out dry. If possible, measure the flour with a food scale. Otherwise, to ensure the exact amount, gently spoon the flour (and cocoa powder) into a measuring cup and level if off with a flat edge. If scooped directly into the flour container, the flour becomes packed into the cup which can lead to 1/4 cup or more of added flour.
- Dutch Process Cocoa – Dutch processed is great for baking because it gives a really rich flavor and color. For the best results, stick with this type of cocoa powder but regular cocoa powder CAN be used in a pinch.
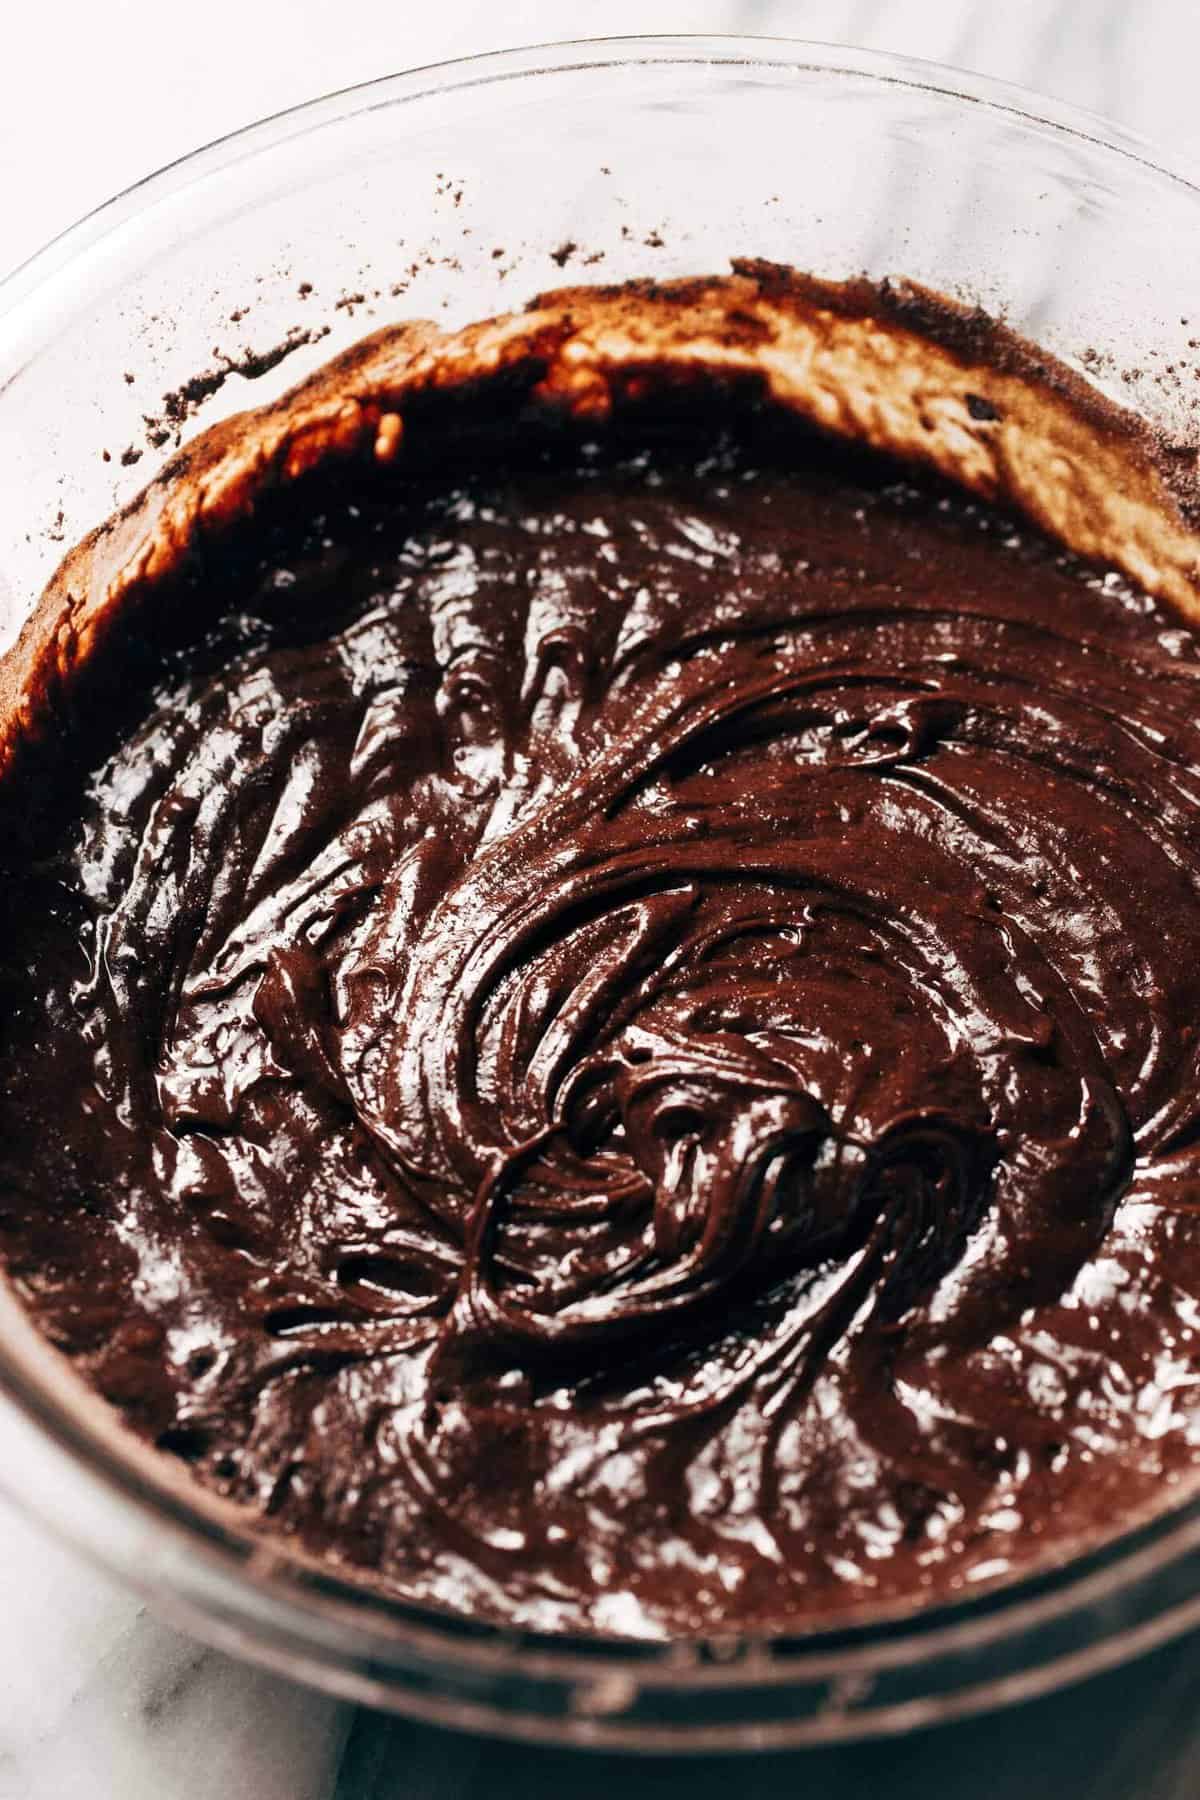
- Whipped Eggs – The batter starts by whipping together the sugar and eggs. It’s important to whip the mixture until it’s pale and almost creamy. During this stage, the sugar dissolves while also whipping air into the egg. This combination of creations creates an incredibly smooth and fudgy brownie consistency.
- Mixing – After the dry ingredients are added to the batter, mix gently JUST until the batter comes together. Over mixing can lead to a tough brownie so take your time with this final step.
Since the brownie batter is made with lots of chocolate, it will try to solidify pretty quickly. Because of this, spread the batter as smooth as possible inside the pie shell. Otherwise, the brownie will bake into whatever shape the batter was in before it was placed into the oven.
For more pie recipes, check out my:
- The BEST Pecan Pie
- Cinnamon Sugar Apple Butter Pie
- Skillet Nutella Cookie Pie
- Mini Pumpkin Hand Pies
Make sure to tag me @butternutbakery on Instagram and comment below if you make this brownie pie. To pin this recipe and save it for later, you can use the button on the recipe card or on any of the photos above. Happy baking!
Print
Fudgy Brownie Pie
- Total Time: 2 hours 20 minutes
- Yield: 8-10 slices
Description
This is now the ONLY way to eat a brownie! This delicious brownie pie is baked with the most light and flaky pie crust with a thick filling of super fudgy brownie. Pie crust and brownie isn’t a typical combination, but this recipe proves that they are most definitely meant to be together.
Ingredients
Pie Crust
- 2 1/4 cups (300g) all purpose flour
- 3/4 tsp kosher salt
- 2 tsp granulated sugar
- 3/4 cup (156g) chilled lard shortening
- 1/2 tsp white or apple cider vinegar
- 2–3 tbsp ice water
- 1 large egg + 1 tbsp water, for egg wash
Brownie Pie Filling
- 8 oz bittersweet chocolate, chopped
- 1/2 cup (105g) chilled lard shortening
- 3/4 cup (95g) all purpose flour
- 1/4 cup + 2 tbsp (40g) dutch process cocoa powder
- 1/2 tsp kosher salt
- 3/4 cup (150g) granulated sugar
- 1/4 cup + 2 tbsp (75g) light brown sugar, packed
- 3 large eggs
- 2 tsp vanilla extract
Instructions
Pie Crust
- In a large bowl, whisk together the flour, salt, and sugar.
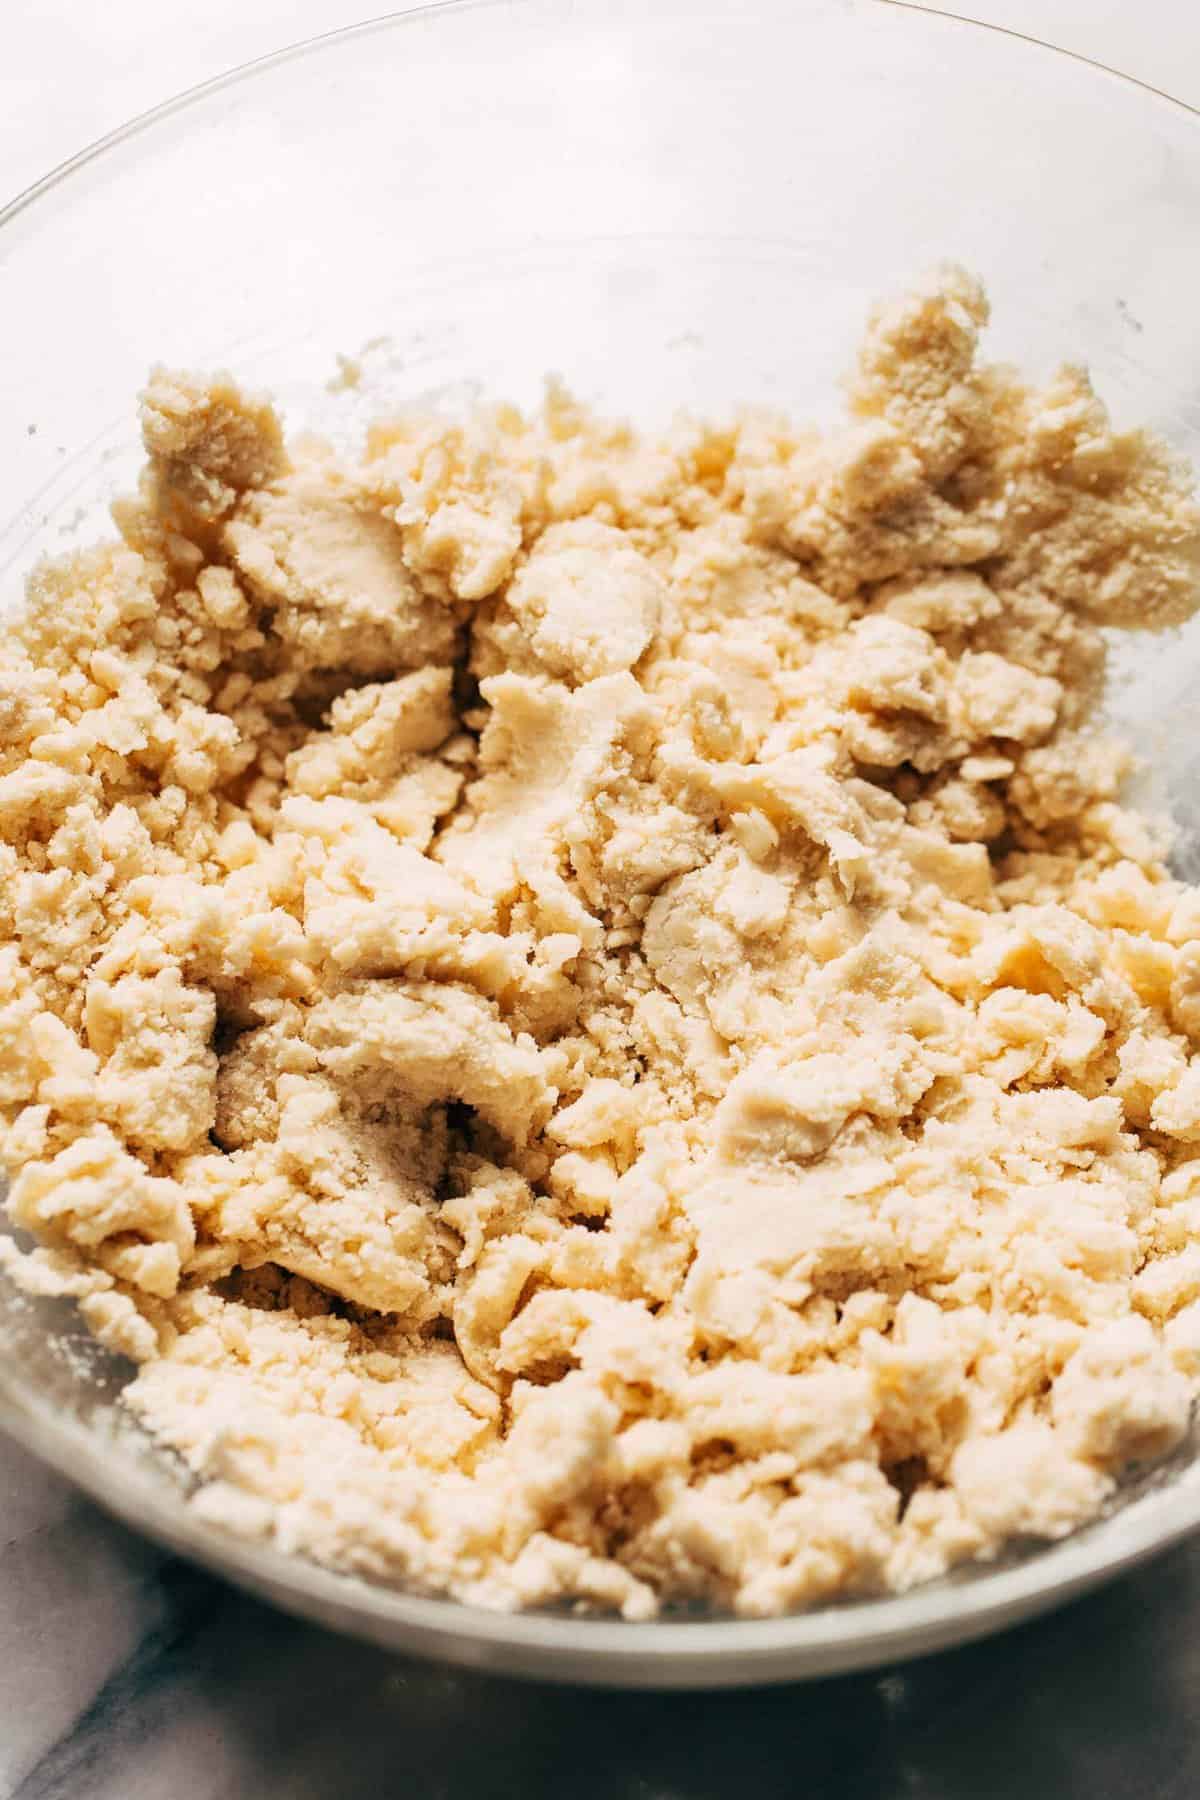
- Drop in spoonfuls of the lard all throughout the bowl. Then use your hands to work the lard into the dry ingredients until it’s well combined with fine tiny lumps throughout.
- Add the vinegar and 2 tablespoons of ice water. Use a wooden spoon to mix the dough.
- If it still appears too dry, add the additional third tablespoon of water. The dough should turn shaggy but evenly moistened and it should hold its shape when formed together without sticking to your hands.
- Form the dough into a ball and place on a sheet of plastic wrap. Pat it into a 1″ thick disk and wrap tightly. Place in the refrigerator to chill for 30 minutes. In the meantime, preheat the oven to 425F.
- Once chilled, place the unwrapped pie dough on a fresh sheet of plastic wrap and place another sheet on top. Roll out the dough between the two sheets of plastic wrap until it’s about 1-2 inches larger than the diameter of the 9″ pie dish.
- Peel back the top layer of plastic wrap to now be left with the pie dough on a single sheet of plastic wrap. This makes it super easy to transfer and maneuver the pie dough to the pie dish.
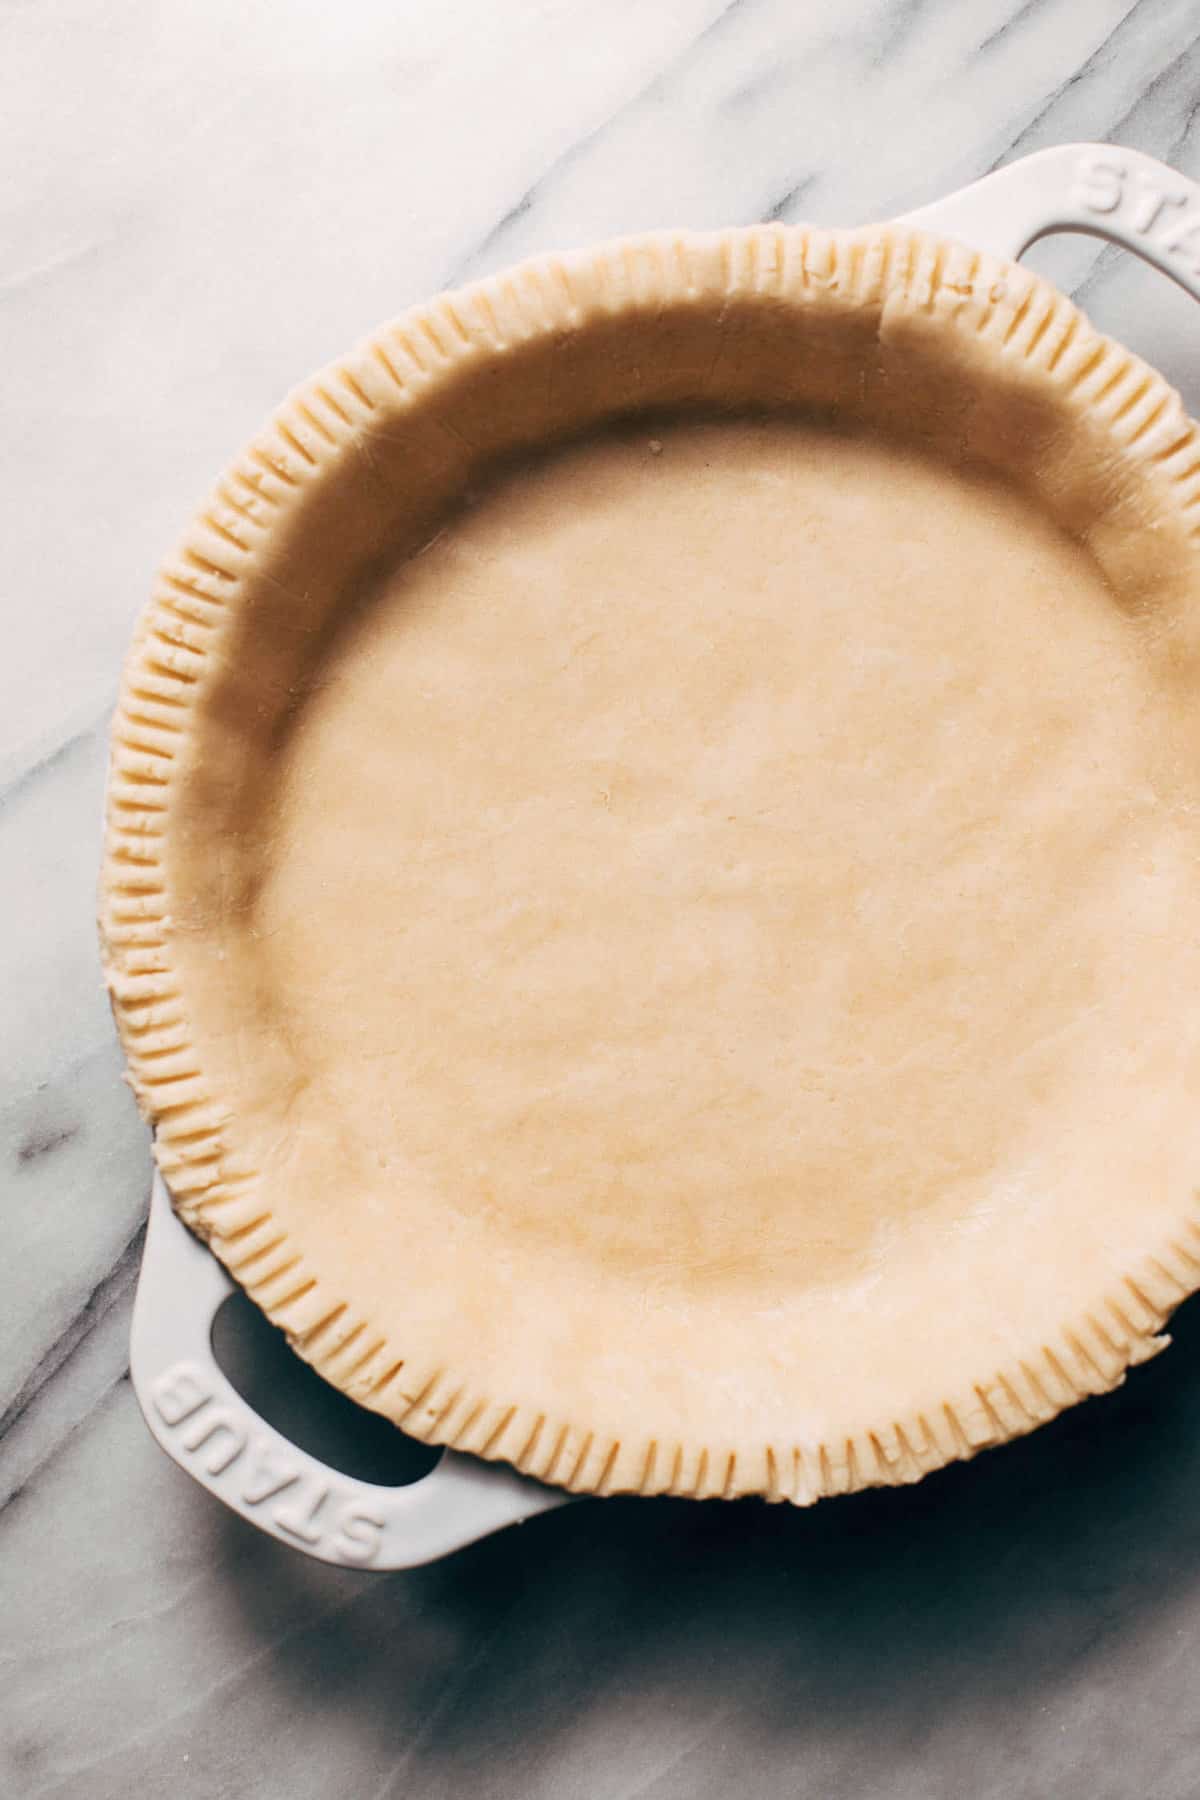
- Simply flip pie dough onto the pie dish with the plastic wrap now facing up. Gently adjust the pie dough to fit into the bottom and sides of the dish. Once you have it where you want it, peel back to the plastic wrap to reveal a perfectly placed pie shell.
- Cut off any excess around the dish and use a fork to crimp all around the edges. Transfer the pie shell to the freezer to freeze for about 10 minutes.
- In the meantime, dust your work surface with flour, roll out the excess scraps, and cut out leaves and pumpkins for decorations on top (optional).
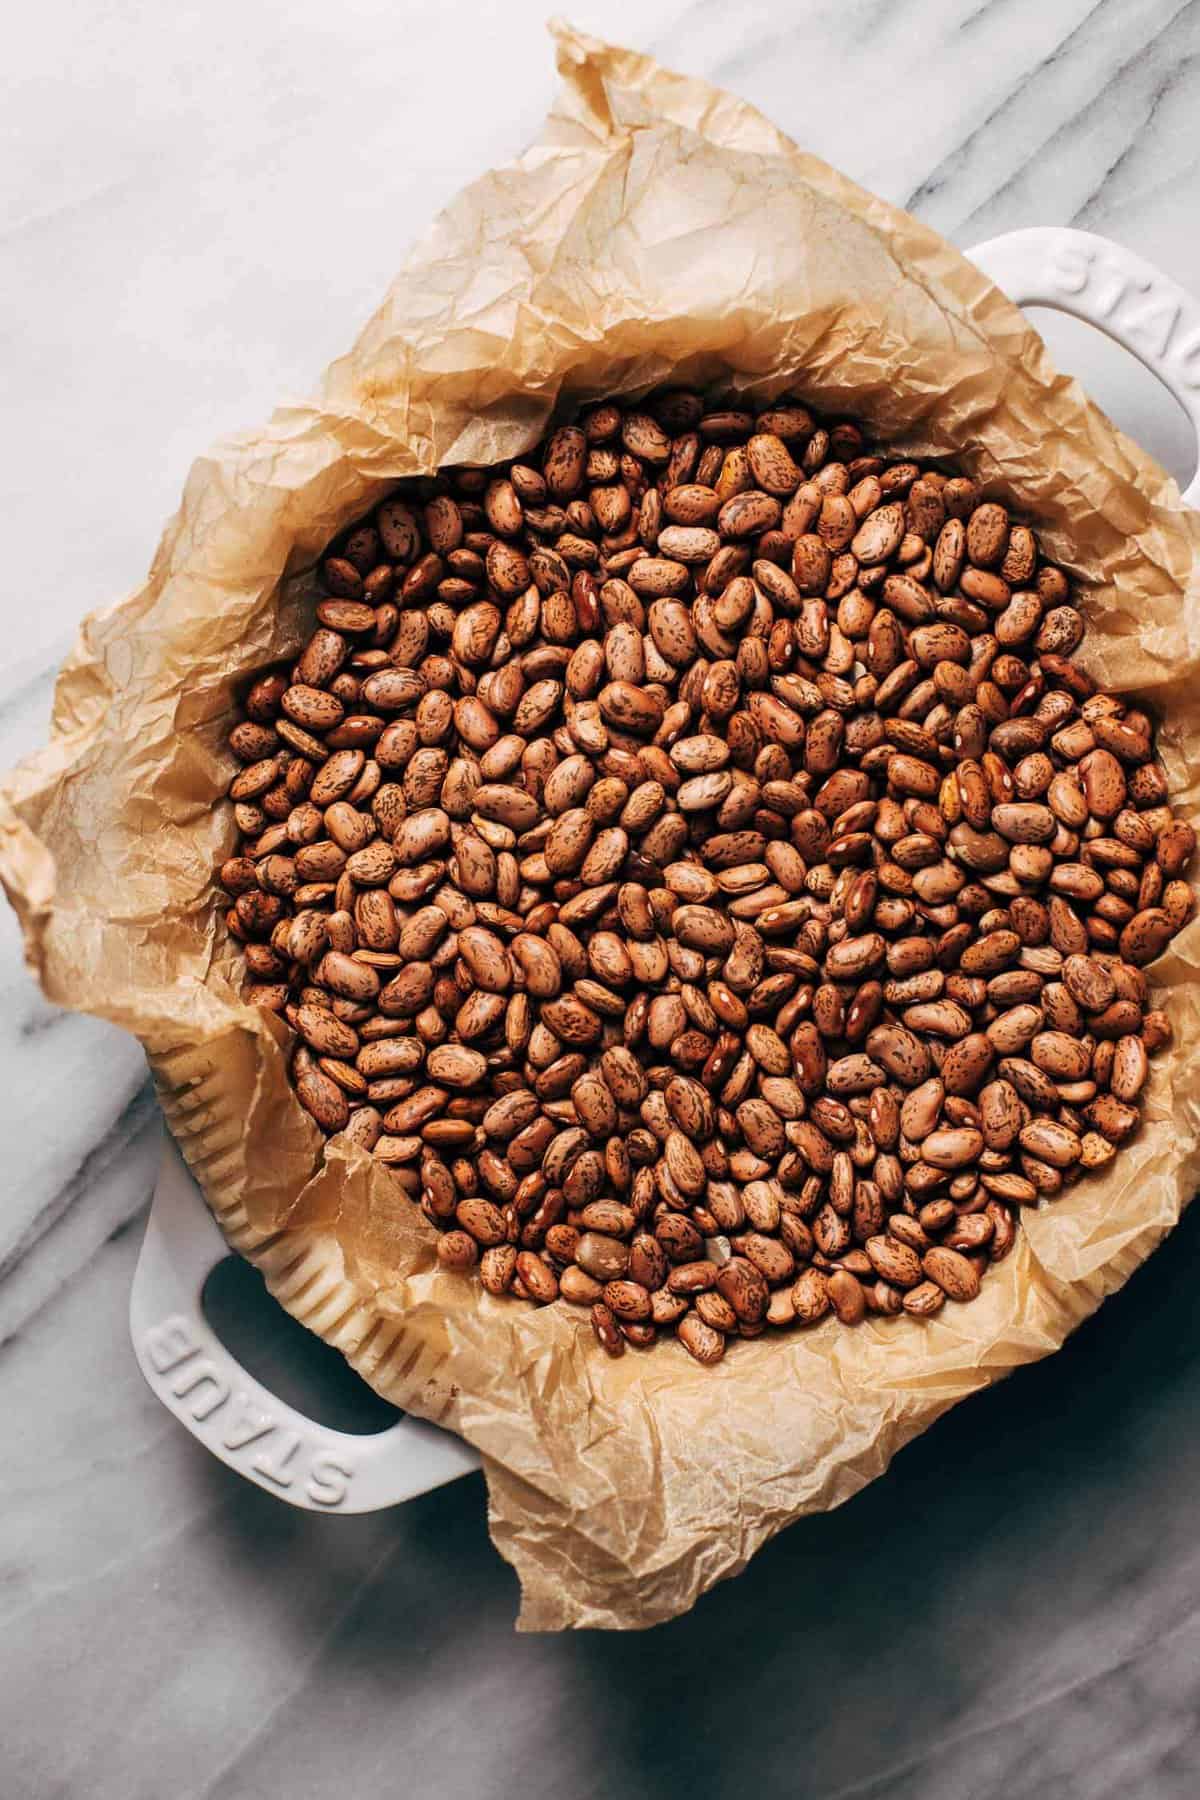
- Once chilled firm, remove the pie shell from the freezer and place a sheet of parchment paper inside the shell. Fill the shell with pie weights or dry uncooked beans and blind bake the crust for 20 minutes. *If you are also making the pie leaf decorations, place them on a small baking pan lined with parchment paper, brush with the egg wash, and bake along side the pie shell but only for 10 minutes.
- After the 20 minutes, remove the beans and parchment paper (it’s OK if the bottom looks underdone). Poke holes in the bottom of the crust with a fork, then brush the entire pie shell with egg wash.
- Reduce the oven temperature to 350F while we move on to the brownie filling.
Brownie Pie Filling
- In a heat safe dish (like a 2 cup measuring glass), add the chopped chocolate and lard. Microwave in 30 second intervals until melted and smooth.
- In a small bowl, whisk together the flour, cocoa powder, and salt. Set aside.
- In a large mixing bowl, using a hand or stand mixer with the whisk attachment, whip together the sugar and eggs until the mixture becomes pale and smooth (about 3 minutes on high speed).
- Turn the speed down to medium and trickle in the melted chocolate, followed by the vanilla.
- Once combined, chuck in the dry ingredients and mix on low speed just until combined.
- Pour the brownie batter into the pie crust and spread it even. Bake for 40 minutes, checking at the 25-30 minute mark to make sure the crust isn’t browning too much. If it is, lay a sheet of foil over the pie and continue to bake.
- Allow the pie to cool at room temperature for about 20 minutes, then transfer to the freezer to chill for another 40 minutes. It’s perfect for serving when the surface is no longer warm to the touch, but the bottom of the place still feels slightly warm.
- Top with whipped cream and the pie dough decorations, slice, and enjoy!


Notes
STORAGE – For rapid serving, following my freezing time at the end of the recipe above. But if you are serving this a day layer, allow the pie to cool COMPLETELY at room temp then cover in foil and store in the refrigerator. It will keep chilled for about a week.
- Prep Time: 40 minutes
- Cooling Time: 1 hour
- Cook Time: 40 minutes
- Category: Dessert
- Method: Baking
- Cuisine: American
Join Our Community


Meet Jenna
I’m the creator, baker, and photographer behind Butternut Bakery. Here I share desserts for every diet because I believe everyone should have a chance to indulge!

This recipe sounds AMAZING & I’m SO anxious to make it! I’m feeding a large crowd & wondering your thoughts about making this is a 9×13 pan…doubling this recipe? Thank you for sharing delicious recipes!!
That’s a risk when making it for an event! I would suggest my lunch lady brownies instead as they’re tried and true and make a big batch.
Rich. Fudgy. Delicious! I used vegetable shortening instead of lard and it worked great. Thanks for the fantastic recipe!! 🙂
Hello! I am planning to bake this tart. What can I use instead of the chilled lard shortening? Thank you!!
Perfect instructions! Crust didn’t get burnt & 40 min baking time. ( I was still checking). This pie is so fudgy. Definitely for chocolate lovers & dark chocolate lovers. I used semi sweet instead of bittersweet and it was still pretty dark tasting! So good though! Took this to a party and it was the first dessert gone. Served it with some cool whip (next time vanilla ice cream). I used a dark metal pan instead of glass and it still came out perfect! And this was my second or third time making a baked pie
This pie really delivers! Super easy to make. Instructions were perfect, bake time was spot on. AND it’s not too sweet. It’s chocolatey, and fudgy, but balanced without being overly rich or too sweet. Truly perfect. Awesome recipe!
For the record I used butter instead of lard in the brownie portion. And I already had homemade pie dough from another recipe. I always pre-bake my pie crust until it’s golden so it’s nice and crisp.