Peanut Butter Chocolate Cake
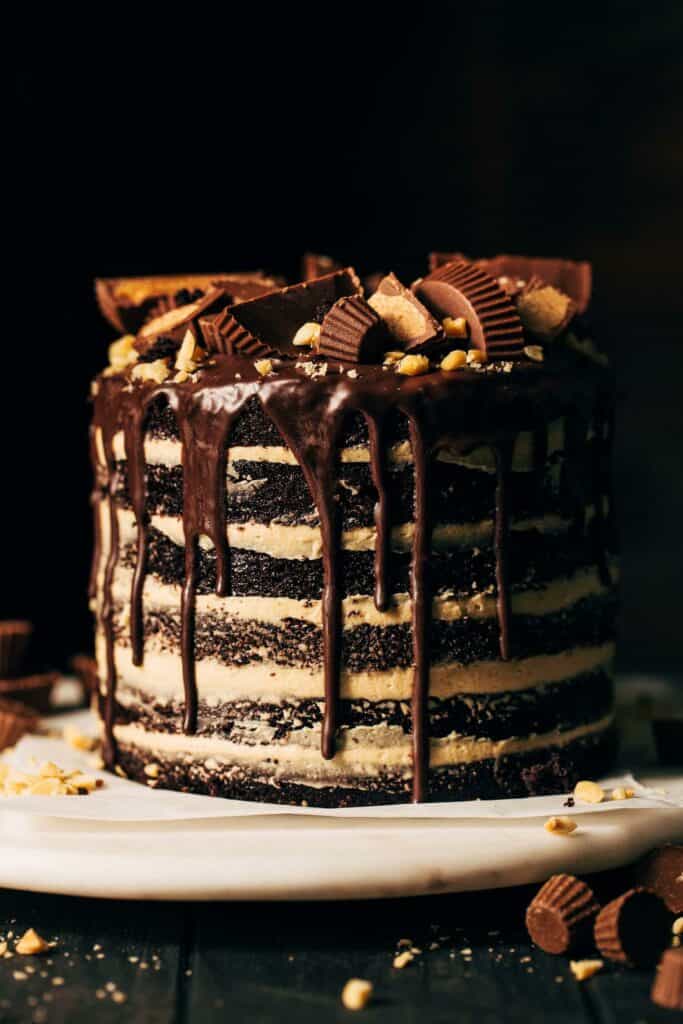
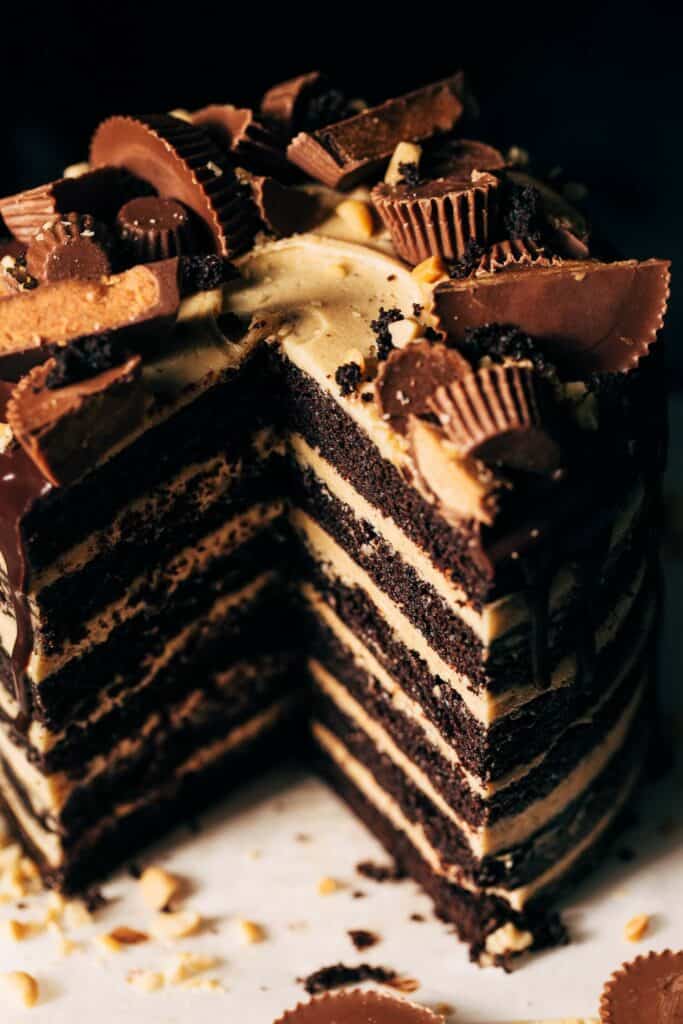
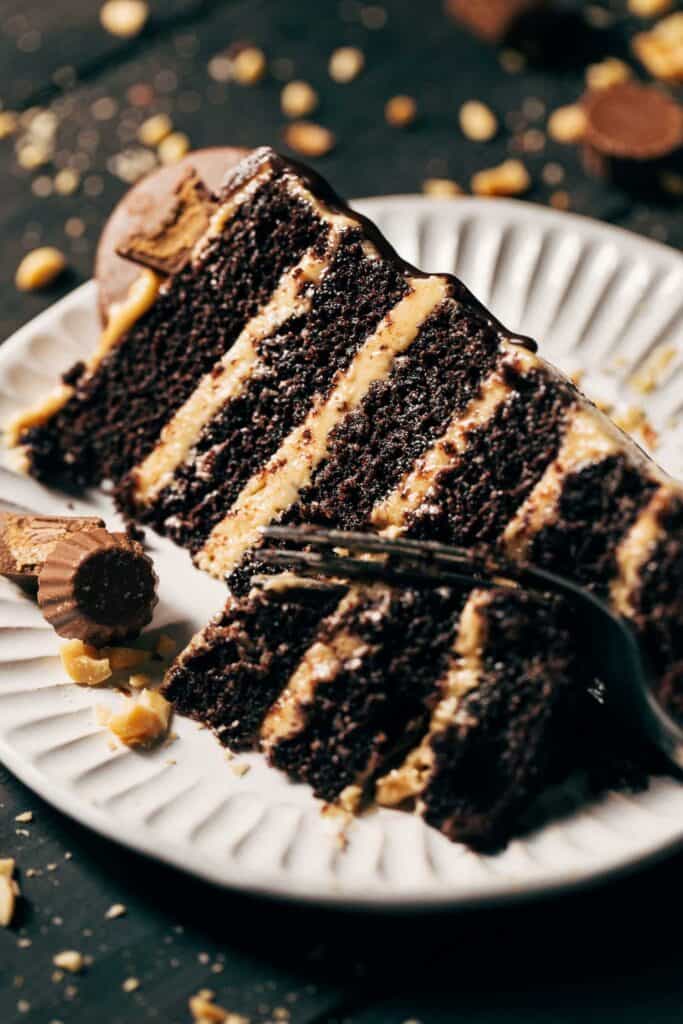
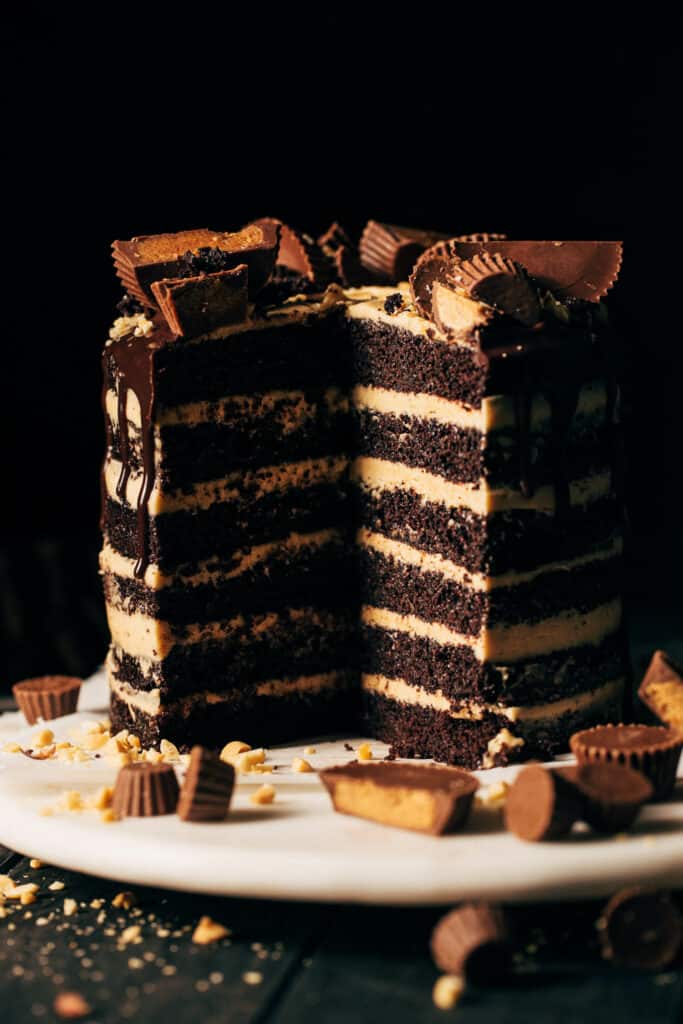
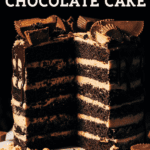
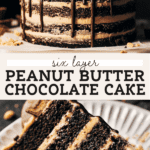
What’s more delicious than peanut butter and chocolate?? This fudgy peanut butter chocolate cake has 6 layers of moist chocolate cake with smooth peanut butter buttercream between each layer. It’s then topped with chocolate ganache and a generous amount of peanut butter cups. It’s basically heaven in a slice.
Tips for making moist chocolate cake
One major half of this recipe is the rich and moist chocolate cake. It’s a delicious recipe that can be utilized for this peanut butter chocolate cake OR as a solid chocolate cake recipe on its own. Either way, here are my top tips to make sure it turns out just right:
Dry Ingredients – I say this in every post, and for good reason. If dry ingredients are not measured properly, the cake will turn out dry and crumbly. If possible, measure the flour with a food scale. Otherwise, to ensure the exact amount, gently spoon the flour (and cocoa powder) into a measuring cup and level if off with a flat edge. If scooped directly into the flour container, the flour becomes packed into the cup which can lead to 1/4 cup or more of added flour.
Dutch Process Cocoa – Dutch processed is great for baking because it gives a really rich flavor and color but it does not react with baking soda, so it can sometimes be an issue in cakes. Due to the added vinegar in this recipe, this will react the baking soda thus creating a lifted cake. This is also why it’s important to not swap the dutch process cocoa with regular unsweetened cocoa as this is acidic. The extra acid could cause the cake to bake differently.
Mixing – Mix as much as you want with the wet ingredients, but once the dry ingredients are added it’s very important to gently mix the batter. Over mixing can lead to a tough cake, so take your time working the flour mix into the wet ingredients.
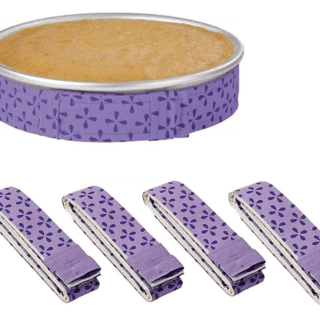
Cake Strips – This is optional, but wrapping the cake pans in damp cake strips before baking will lead to a much more even bake.
How to make a 6 layer peanut butter chocolate cake
This recipe is baked in 3 layers of chocolate cake, but overall there are 6 cake layers total.
The even layers of both chocolate cake and peanut butter frosting lead to very balanced bites of peanut butter and chocolate, so making 6 layers out of 3 is definitely worth the extra steps!
To create the 6 layers, first level off the tops of each cake layer either by hand with a knife or with a cake leveler.
Once all three layers are even on top, go back and cut each layer in half like a hamburger bun. This can again be done with a cake leveler or by hand with a knife.
Unfortunately for my cake level, I wasn’t able to place it at a height that would split the cake in two even layers so I did this part by hand.
But don’t be intimidated! It’s very easy to cut a cake layer in half. First, place the cake layer in the center of a cake turntable.
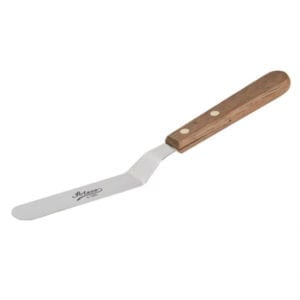
Using a large kitchen knife, slice into the side of the cake layer while turning the table. Slowly press the knife into the cake while working your way towards the center of the cake. Eventually, the knife will cut all the way through to reveal two even layers of chocolate cake.
Tips for decorating chocolate peanut butter cake
First, when stacking and layering the cake, match the cake layers with their other half. For example, to start the cake place the bottom half of one of the sliced 3 layers on a cake turntable.
Spread peanut butter frosting on top and then match that cake layer by placing its other half on top. Keeping the halves together will prevent the cake from leaning over.
To finish off the layering, the final cake layer should be the bottom half of one of the 3 halved cakes. Flip this upside down and place it on top of the final layer of peanut butter buttercream. The top of the cake should now be an upside down half layer of chocolate cake. The bottom of the cake is much less porous than the sliced side, so this will prevent the cake from drying out.
Once the cake is stacked, transfer it to the refrigerator while you make the ganache. It’s very important to allow those layers of peanut butter frosting to thicken and set, otherwise the chocolate cake layers could slip out of place.
After the ganache is mixed, let it chill for about 15 minutes before dripping it on the side of the cake. You never want to pour hot ganache on a cake because it can melt the buttercream AND it’s much too thin so it will just run right off the sides of the cake.
To test if it’s ready, spoon a small amount on the side of the cake to create a single drip. If it runs down and then stops before it hits the bottom, it’s ready.
Once the ganache drip is added to the cake, return the cake to the refrigerator again to allow the ganache to set ever so slightly. If the peanut butter cups are added to the fresh ganache, they have the potential to slide off.
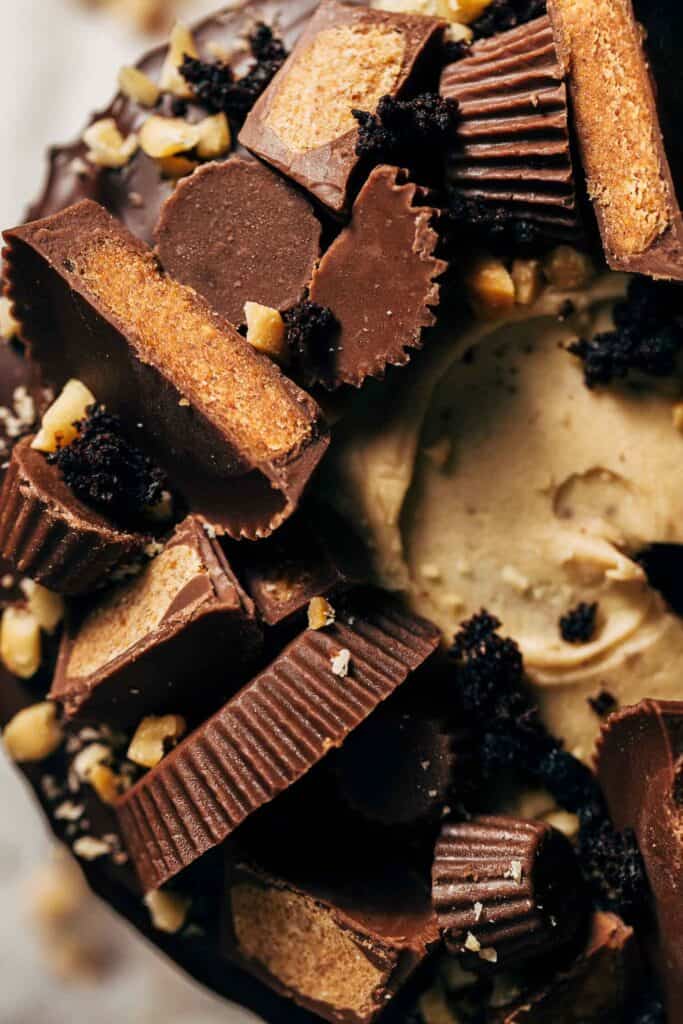
When the ganache is still glossy but visibly thickened, decorate the top of the cake with as many peanut butter cups as you like! Gently press them into the ganache to keep them in place.
Chocolate Peanut Butter Cake FAQs
Yes! Just use my gluten free chocolate cake recipe in place of the chocolate cake used here.
Yes, once the chocolate cake layers are baked and popped out of the cake pans, allow the layers to cool completely. Then wrap each layer in plastic wrap and store in the refrigerator for a couple days for the freezer for a few months. Then level and slice the cake layers when you’re ready to assemble the cake.
Use standard creamy no-stir peanut butter like Jif or Skippy.
Roughly 3/4 cup of buttercream is the perfect amount for each layer. This recipe makes just enough to cover each layer, but nothing will be left over to frost the outside. If you would like to spread more buttercream on the outside of the cake, double the peanut butter buttercream recipe.
For a completely decorated and frosted cake that is unsliced, store in the refrigerator in an airtight container. If you don’t have a container tall enough, I’ve placed a tall metal pot over the cake and it did the trick! If the cake is sliced into, press some plastic wrap up against the sliced openings and then store in a container in the refrigerator. This cake will stay moist in the refrigerator for about 4 days.
For more chocolate cake recipes, check out my:
- Fudgy Vegan Chocolate Cake
- Gluten Free Chocolate Cake
- Moist Chocolate Cupcakes
- Mint Chocolate Chip Cake
- Fudgy Brownie Cake
Make sure to tag me @butternutbakery on Instagram and leave a review below if you make this chocolate peanut butter cake. To pin this recipe and save it for later, you can use the button on the recipe card, the buttons above or below this post, or on any of the photos above. Happy baking!
Watch how to make this peanut butter chocolate cake:
Peanut Butter Chocolate Cake
- Total Time: 2 hours 40 minutes
- Yield: 10-12 slices
Description
This is the ultimate cake for peanut butter cup lovers! This moist chocolate cake is 6 layers and smothered in smooth peanut butter frosting. Topped with chocolate ganache and peanut butter cups, this peanut butter chocolate cake is so rich, so fudgy, and so so delicious.
Ingredients
Chocolate Cake
- 2 1/4 cups (300g) all purpose flour* see notes for GF option
- 1 cup (90g) dutch process cocoa powder
- 1 1/2 tsp baking powder
- 1 tsp baking soda
- 1/2 tsp kosher salt
- 2 cups (400g) granulated sugar
- 1/2 cup (110g) vegetable oil
- 3 large eggs, room temp
- 1 tbsp vanilla extract
- 1 cup (235ml) milk, room temp
- 1 tsp apple cider vinegar, or white vinegar
- 3/4 cup (180ml) hot water
- 1 tbsp instant espresso powder
Peanut Butter Buttercream
- 1/2 cup (110g) unsalted butter, room temp
- 1 cup (250g) creamy no-stir peanut butter
- 2 cups (220g) powdered sugar
- 2–3 tbsp milk
Chocolate Ganache
- 2 oz dark chocolate (about 1/4 cup chocolate)
- 1/4 cup (60ml) heavy cream
- Peanut butter cups (regular and mini), for decorating
- Finely chopped salted roasted peanuts, for decorating
Instructions
Chocolate Cake
- Preheat the oven to 350F. Spray the inside of 3 6″ cake pans with nonstick spray and line the bottoms with parchment paper. Also fit the pans with cake strips if using.
- First, stir together the milk and vinegar in a measuring glass and set aside.
- In a medium bowl, whisk together the flour, cocoa, baking powder, baking soda, and salt.
- In a large mixing bowl, whisk together the sugar, oil, eggs, and vanilla, followed by the milk and vinegar mixture.
- In another measuring glass, mix together hot water and espresso powder.
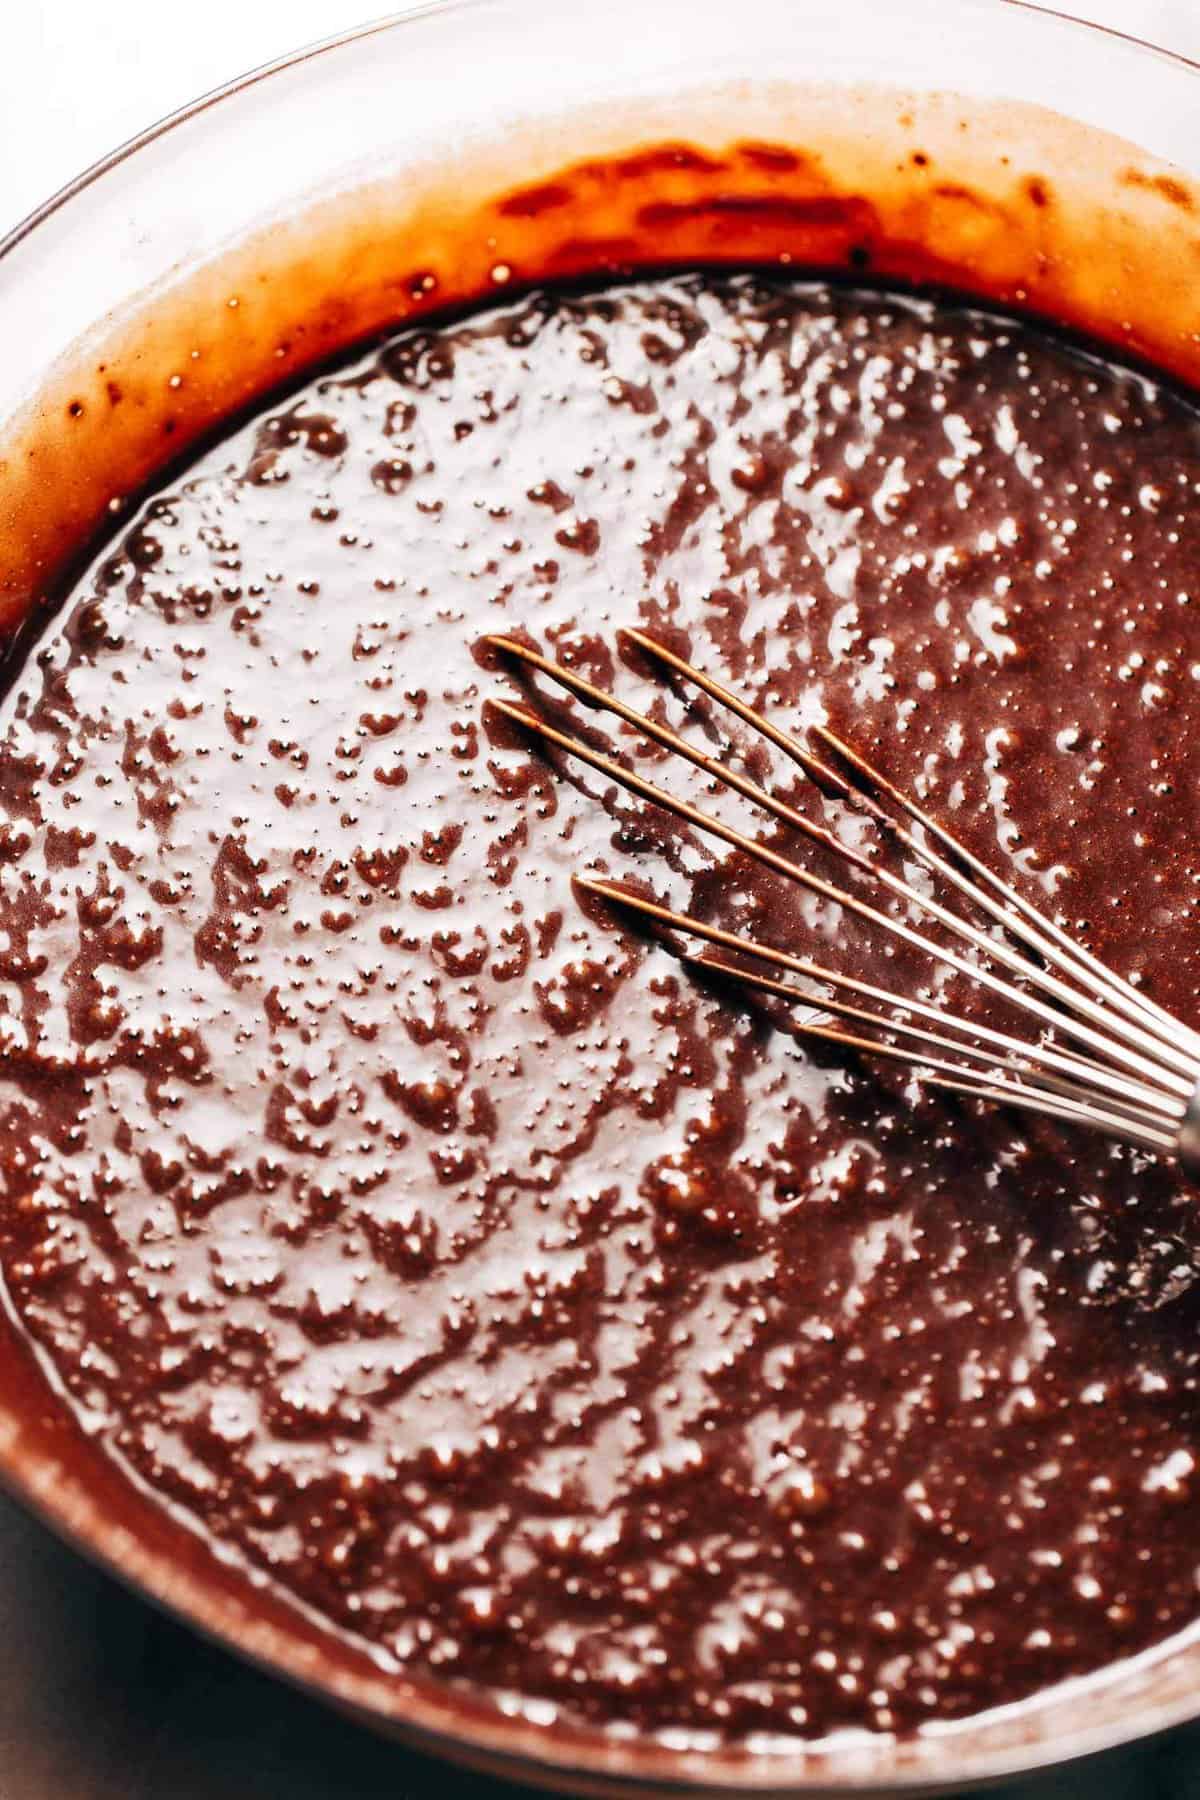
- Dump the dry ingredients into the large bowl of wet ingredients and whisk together as best you can (the dry ingredients will resist at first but just keep mixing and it will slowly come together).
- With some dry ingredient swirls still visible in the mix, pour in the hot coffee and continue to whisk until smooth.
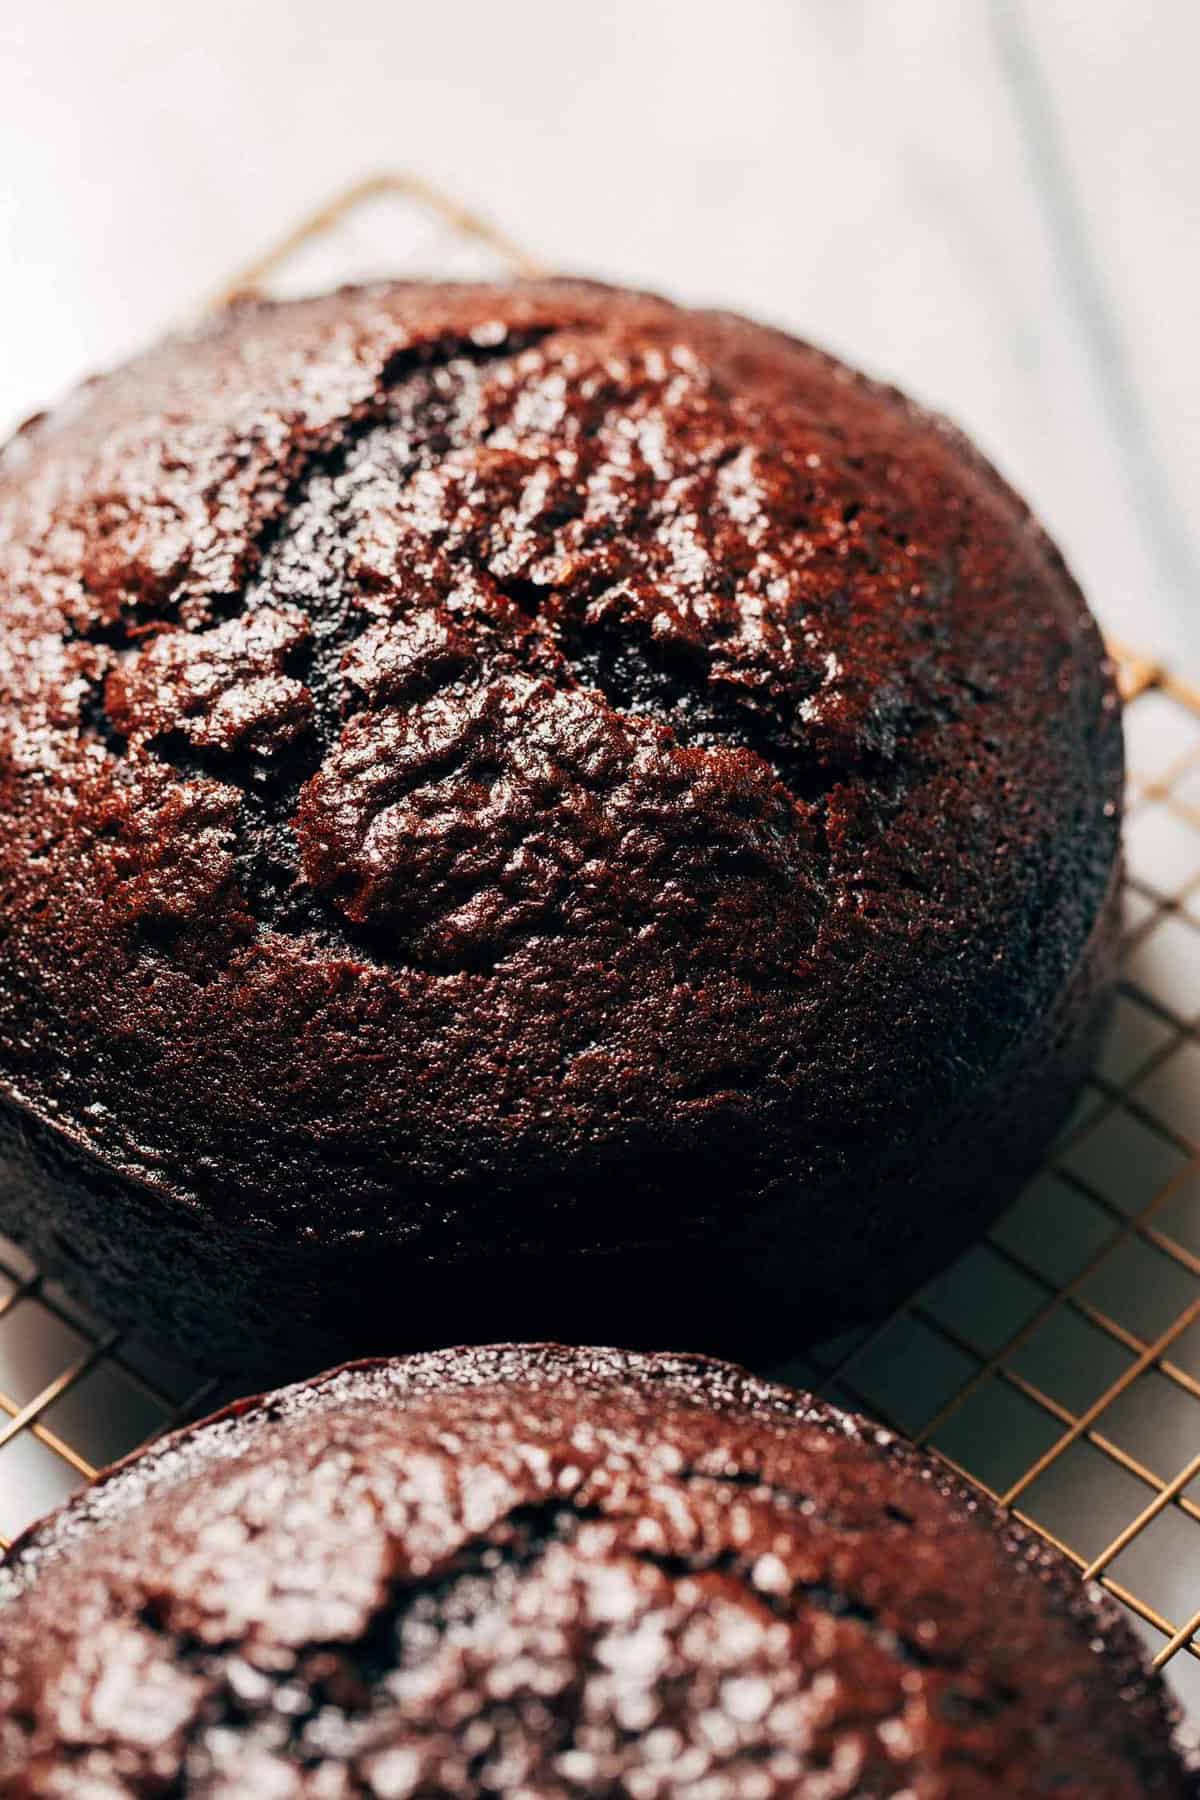
- Distribute the batter between the three cake pans and bake for 35-40 minutes. They’re done when a toothpick in the center comes out clean with a few moist crumbs.
- Allow the cakes to cool inside their pans for about 15 minutes, then turn the cakes out onto a cooling rack to cool completely before moving on.
Peanut Butter Buttercream
- When the cakes are completely cooled, make the frosting.
- In a large bowl using a hand or stand mixer with the paddle attachment, mix together the butter and peanut butter until smooth. Scrape down the bowl and mix again.
- Mix in the powdered sugar one cup at a time. The buttercream should appear thick and slightly lumpy after the second cup. Mix in 1 tablespoon of milk at a time to smooth out the buttercream. It should be smooth and creamy but still thick and sturdy.
Assemble
- To turn 3 cake layers into 6, first level off the tops of each cake either by hand with a knife or use a cake leveler.
- Once all the layers have an even top, go back and cut each layer in half like a hamburger bun. This can again be done by hand with a large knife or use a cake leveler.
- To stack the cake, spread about 3/4 cup of frosting between each layer. This buttercream recipe makes just enough for the layers of this cake so you shouldn’t have any left at the end.
- Spread the buttercream all the way out to the edge and then some. Then once all the layers are stacked, go back and smooth out the buttercream edges to that they’re flush with the cake. This will create a naked cake affect.
- Transfer the cake to the refrigerator to chill while we make the ganache
Chocolate Ganache
- Add the chocolate to a dish and the heavy cream to a heat safe measuring glass. Microwave the cream for about 1 minute or until bubbly and steaming.
- Pour the hot cream over the chocolate and let it sit for a couple minutes, then whisk to combine.
- Transfer the ganache to the refrigerator to chill for about 15 minutes. Do not pour the hot ganache over the cake as it will just drip off the cake.
- To test if the ganache is ready to drip, place a small spoonful of ganache off the side of the cake. If it drips down and stops halfway or before it reaches the bottom of the cake, it’s ready.
- Pour the ganache around the top edge of the cake and allow it to drip off the sides. Return the cake to the refrigerator for 10 minutes to allow the ganache to thicken (this creates the perfect consistency to allow all the peanut butter cups to stick).
- When the ganache still appears glossy but visibly thickened, arrange the peanut butter cups on top followed by a sprinkle of chopped nuts. All that’s left to do is slice and enjoy!
Notes
GLUTEN FREE – Replace this chocolate cake with my gluten free chocolate cake recipe for a gluten free version.
- Prep Time: 1 hour
- Cooling Time: 1 hour
- Cook Time: 40 minutes
- Category: Dessert
- Method: Baking
- Cuisine: American
Join Our Community

Meet Jenna
I’m the creator, baker, and photographer behind Butternut Bakery. Here I share desserts for every diet because I believe everyone should have a chance to indulge!

Made this for my boyfriend for his birthday and I am now a fiancé, its that good! (jk, turns out he was proposing anyways).
But this cake was amazing! The chocolate cake was so moist. I think it will be my go-to recipe for chocolate cake in general, and the buttercream was very peanut buttery in flavour, and not overly sweet which I loved! I doubled the buttercream recipe as I wanted to cover the cake in it and it worked great. Only thing to note, the house was quite warm when I was assembling the cake, so if you are in a similar situation, after to make the buttercream, put it in the fridge for an hour. By the time I was done adding buttercream to the layers, it was getting “gloopy” on me, so I threw everything into the fridge and in an hour re-whipped the buttercream and it coated the cake like a dream! 10/10 Jenna!