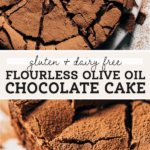
Flourless Olive Oil Chocolate Cake
This flourless chocolate cake is baked with olive oil to create a really rich flavor and texture. It’s subtle, but pairs so well with the bittersweet chocolate in this cake. And because it’s flourless and sans butter, this cake is completely gluten free and dairy free. Not to mention how quick and easy it is to make! It’s ready to eat in under an hour, served warm with ice cream on top.
How does flourless cake hold together?
Since this cake contains zero flour, you might be wondering how it’s able to hold its shape and not melt everywhere.
Flourless cake gets is structure for two main ingredients: chocolate and eggs. The eggs help bind the entire cake together in two ways. One, the yolks add richness and help thicken the chocolate. Since the chocolate makes up a majority of the batter, the egg yolks help stabilize the cake.
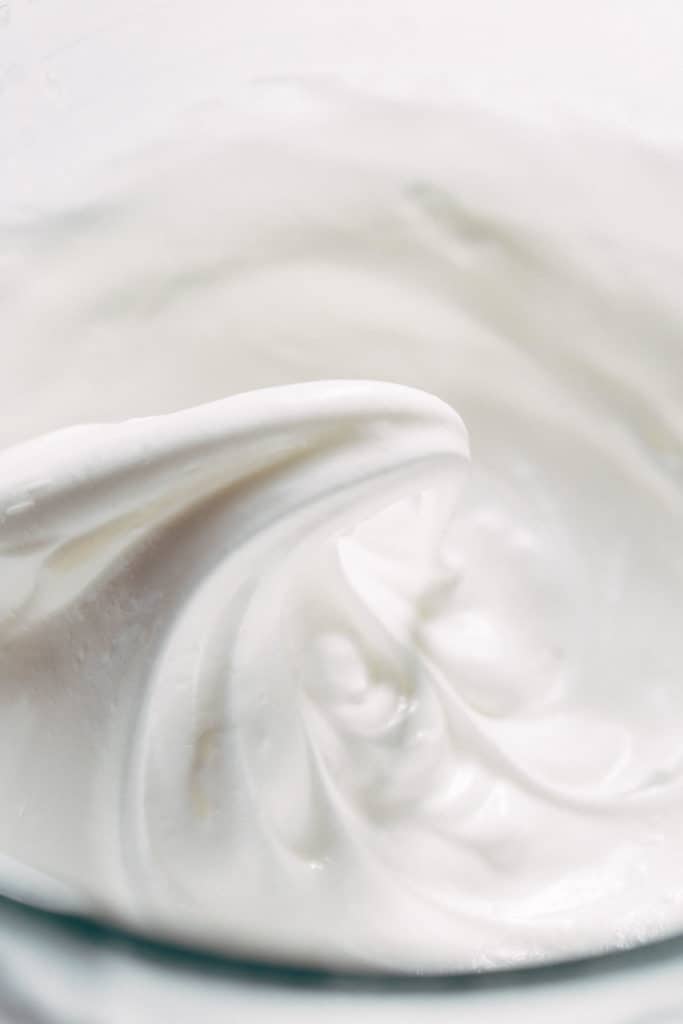
Next are the egg whites. These are whipped into stiff peaks then folded into the batter. This not only helps hold the cake together, but also provides some lift to an otherwise super dense cake. In the end you’re left with a very stable cake that’s easy to slice and serve!
Tips for making flourless cake
The entire process takes about 20 minutes so this cake comes together super quick! There are two major steps that go into making it; the chocolate and the meringue. Here’s what you need to know in order to bake a fudgy flourless chocolate cake:
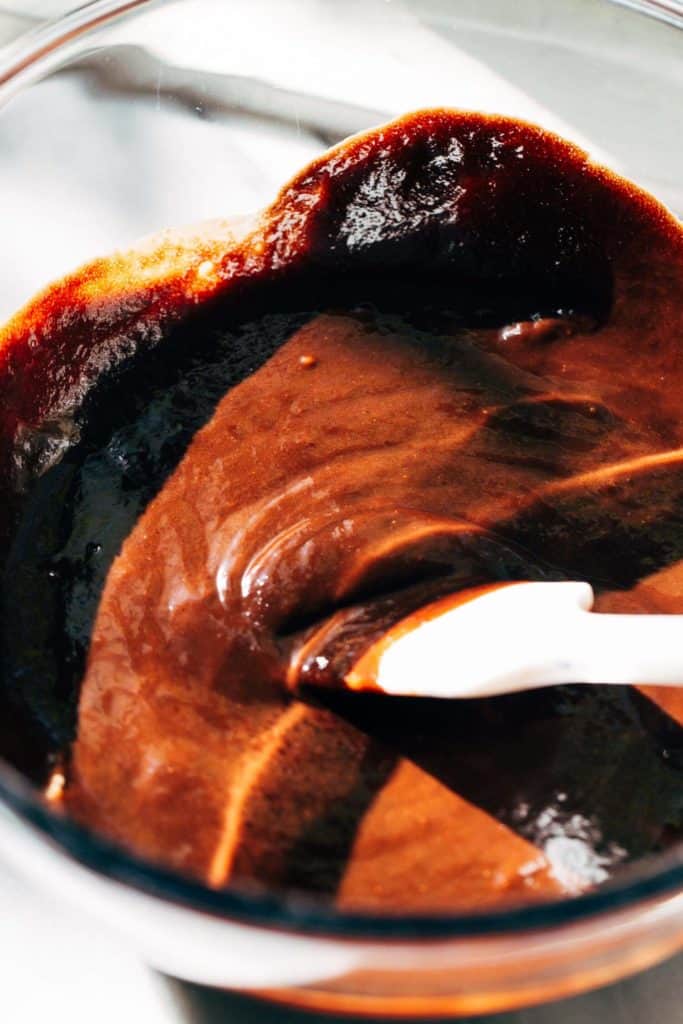
- Cool the chocolate – The recipe starts by melting the chocolate and olive oil together. Once melted and smooth, allow it to cool before mixing in the egg yolks. If the chocolate is too hot, it will scramble the eggs.
- Clean bowl – Make sure the bowl used to whip the meringue is completely clean and dry. Water or crumbs can prevent the meringue from forming.
- Slowly mix in sugar – When the meringue starts to turn opaque, the sugar is mixed in. Instead of dumping it in all at once, slowly pour it in as the meringue whips. This will prevent the meringue from deflating.
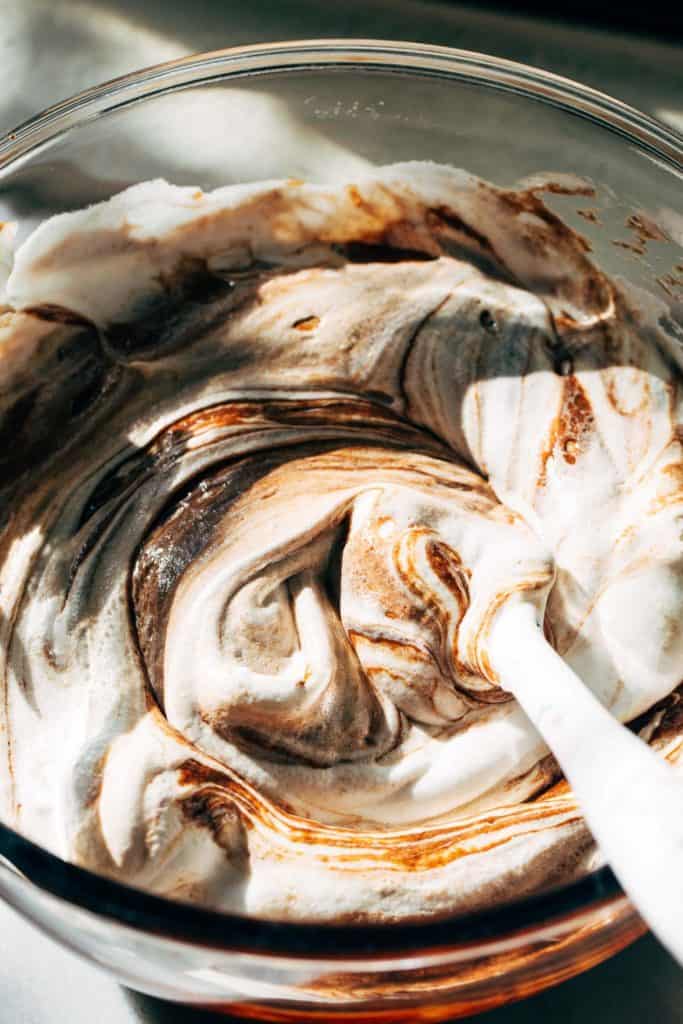
- Gently fold – Take your time when combining the chocolate and meringue. Use a rubber spatula to slowly fold the two together. To fold, run the spatula around the bowl and through the batter, scooping up and underneath the batter. Continue to do this until it’s fully combined. If you fold too vigorously, the cake will lose its structure.
- Coat the pan – Really make sure to spray every inch of the baking pan. If the sides stick, the cake will be difficult to remove.
Click here for even more baking tips from some of the most popular food bloggers!
How to bake flourless chocolate cake
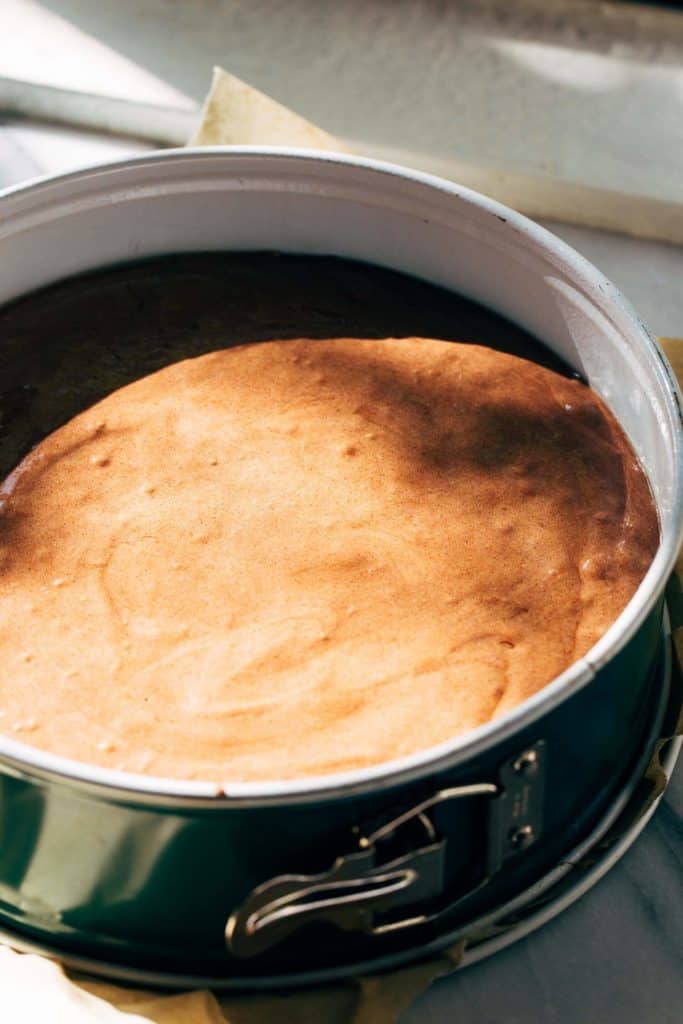
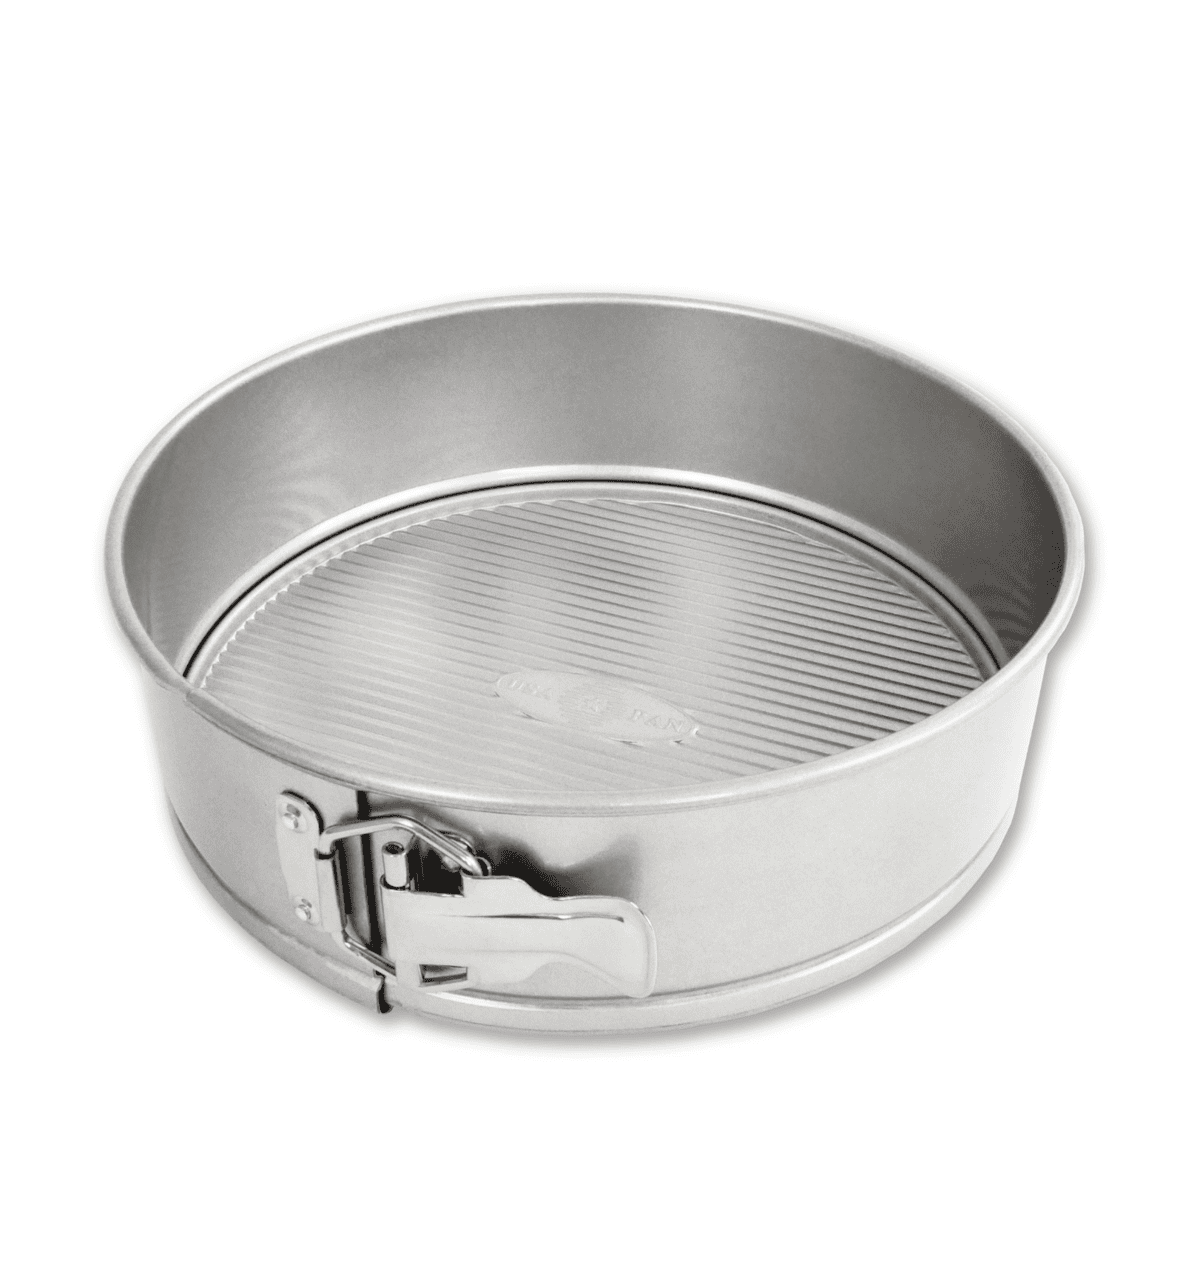
I’ve found the best and easiest way to bake this cake is by using a springform pan. For easy release, spray the entire inside of the pan with non stick spray.
Remove the ring and place a sheet of parchment paper on the plate, sticking it to the nonstick spray. Firmly clamp the ring back onto the bottom plate to lock in the parchment paper. This makes it much easier to lift out the cake after it’s done baking.
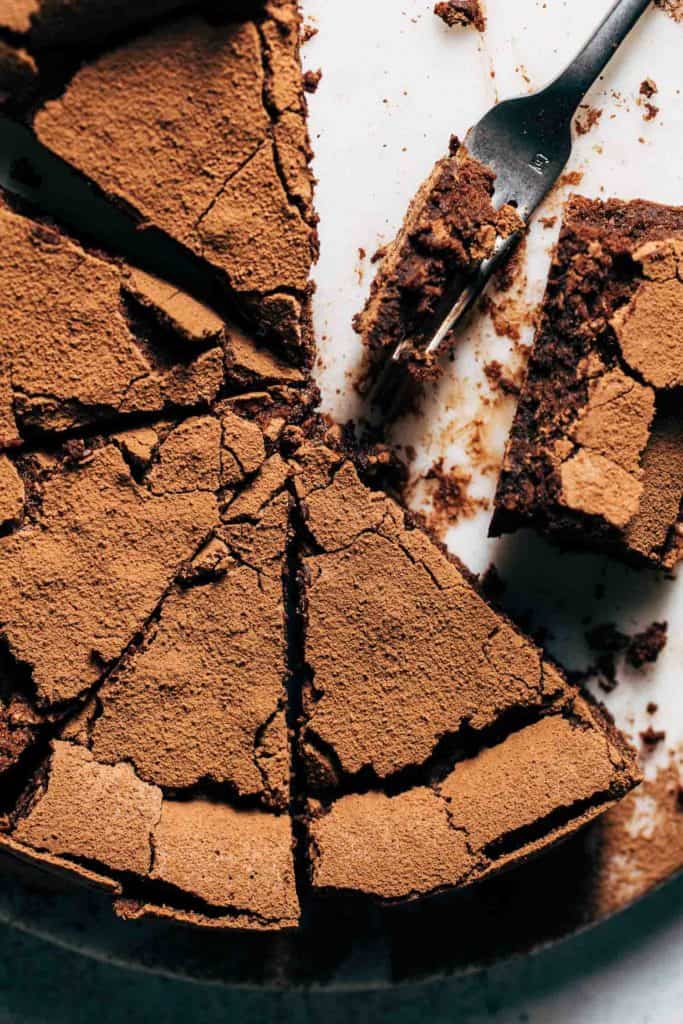
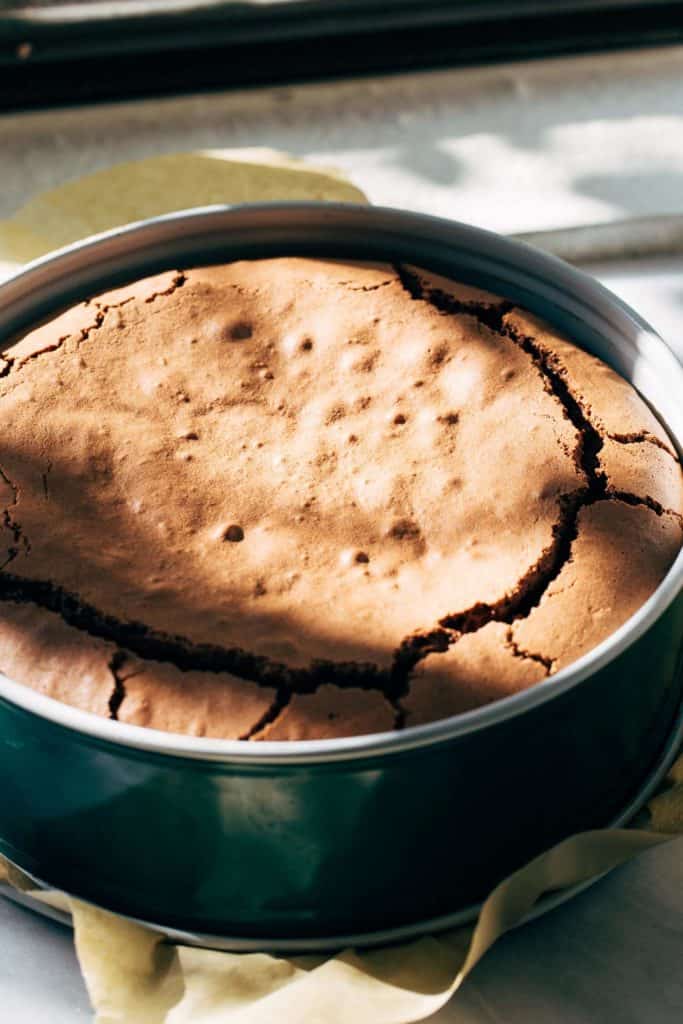
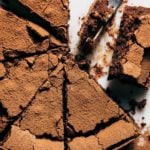
The cake bakes at 350F for 20-25 minutes. When it’s ready, there should be very small cracks all around the edges and it should be evenly puffed in the center. Give the pan and nudge and it should jiggle a bit – that’s how you know it’s done.
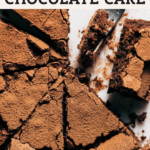
Remove the cake from the oven and leave it at room temperature for about 30-45 minutes. During this time the cake will crack and deflate which is what we want! This creates a dense and fudgy consistency in the center.
Let it cool further in the fridge, until the cake is no longer warm, and it’s ready to slice and enjoy.
The importance of quality ingredients
Since this cake is so simple, there’s no hiding behind cheap chocolate. Try to use really good quality chocolate (Ghirardelli is a great option) and avoid using chocolate chips. Chocolate chips are often processed differently to prevent them from melting too quickly. For this cake, use baking squares to ensure a super smooth batter.
The same goes for olive oil. There are SO many options out there, but try to opt for a quality extra virgin olive oil. You’d be surprised by how much more flavor it has.
Can I use a different kind of chocolate?
Bittersweet chocolate is definitely best here. It creates a really deep and rich flavor that pairs so well with the olive oil. If you don’t have any on hand, semisweet is your next best option.
What can I use besides olive oil?
If you’re a little hesitant about baking with olive oil (trust me, it’s delicious), you can also use melted butter, melted coconut oil, or any milk flavored oil.
What to serve with flourless chocolate cake
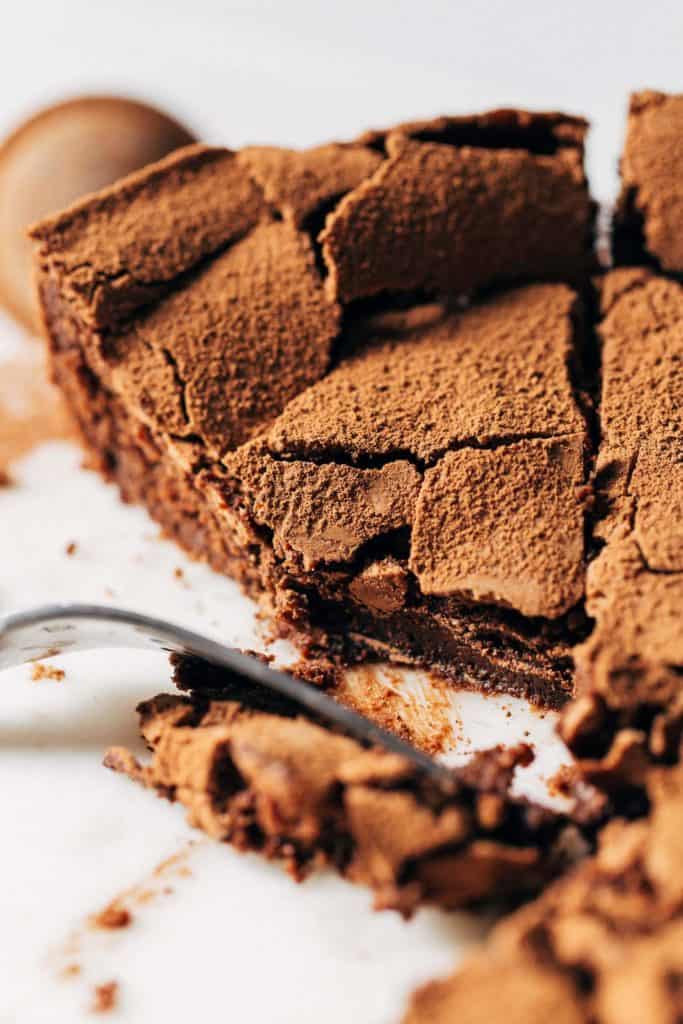
The cake alone is like biting into a piece of dark chocolate. It’s rich but not too sweet. This basically leaves the cake as a blank slate for you to add your favorite sweet toppings!
I find that a dusting of powdered sugar completely transforms the flavor. The sweetness helps bring out the dark chocolate even more. But to take it a step further, I recommend serving up each slice with a nice scoop of ice cream. Any flavor would work here.
Another option, or addition to my last recommendation, would be to make some salted caramel to drizzle on top. I have my recipe here which is so easy to make. You could also add chocolate ganache or fresh berries on top.
How to store flourless olive oil chocolate cake
To be honest, this cake does not stick around long! Since it’s not too sweet, you’ll keep going back for more slices. But if you have any leftovers, it’s best to keep it in an air tight container in the fridge. It will keep there for up to 5 days.
When you want a slice, you can either eat it chilled or warm it up in the microwave for a couple seconds. It’s still delicious either way!
For more chocolate desserts, check out my:
- Gluten Free Chocolate Coconut Cake
- Gluten Free Chocolate Cupcakes
- Chickpea Brownies
- Better than Boxed Chocolate Fudge Brownies
- Gluten Free Skillet Brownie
Make sure to tag me @butternutbakery on Instagram and leave a review below if you make this Flourless Chocolate Cake. To pin this recipe and save it for later, you can use the button on the recipe card, the buttons above or below this post, or on any of the photos above. Happy baking!
Watch how to make this flourless olive oil chocolate cake:
Flourless Olive Oil Chocolate Cake
- Total Time: 50 minutes + 2 hours cooling
- Yield: 9″ Cake
Description
This flourless chocolate cake is baked with olive oil to create a rich and savory flavor. It’s also naturally gluten free and dairy free! Pair it with ice cream, powdered sugar, fresh berries, or anything sweet to balance out the deep chocolate flavor.
Ingredients
Flourless Chocolate Cake
- 8 oz bittersweet chocolate, chopped*
- 1/2 cup (115g) extra virgin olive oil**
- 1 tbsp vanilla extract
- 1 cup (200g) granulated sugar, divided
- 5 large eggs, separated and room temperature
- Powdered sugar for dusting
Optional Toppings
- Ice cream (any flavor)
- Fresh berries
- Cocoa powder
- Whipped cream (regular or coconut-based)
- Homemade salted caramel
- Chocolate ganache
Instructions
- Preheat the oven to 350F and coat a 9″ springform pan in nonstick spray. Place a sheet of parchment paper to cover the bottom plate and insert the ring to lock it in place.
- In a heat safe bowl, add the chopped chocolate and olive oil. Place over a pot of simmering water, ensuring the bowl doesn’t touch the water. Stir until melted, then remove from the pot. Alternatively, you can also microwave the chocolate and olive oil in a heat safe bowl in 30 second intervals (about 90 seconds total).
- Mix in the vanilla, then allow the chocolate to cool while you whip the egg whites.
- Separate the eggs and add the whites to a large bowl, either using a hand or stand mixer with the whisk attachment. Whip the egg whites on high speed for about 5 minutes. When they start to turn opaque, slowly pour in 1/2 cup of sugar with the mixer still running. Continue to whip until you reach stiff peaks (about 3 minutes).
- Now to the bowl of chocolate, mix in the remaining 1/2 cup of sugar and then the egg yolks one at a time.
- Use a rubber spatula and add two scoops of the whipped egg whites to the chocolate. Mix until it’s fully combined. This helps thin out the batter to make it easier to fold in the rest of the egg whites.
- Dump in the rest of the egg whites and gently fold to combine. By the end you should be left with a light chocolate brown color with a light and creamy consistency.
- Pour the batter into the pan and spread it even. Bake for 20-25 minutes or until it’s evenly puffed up.
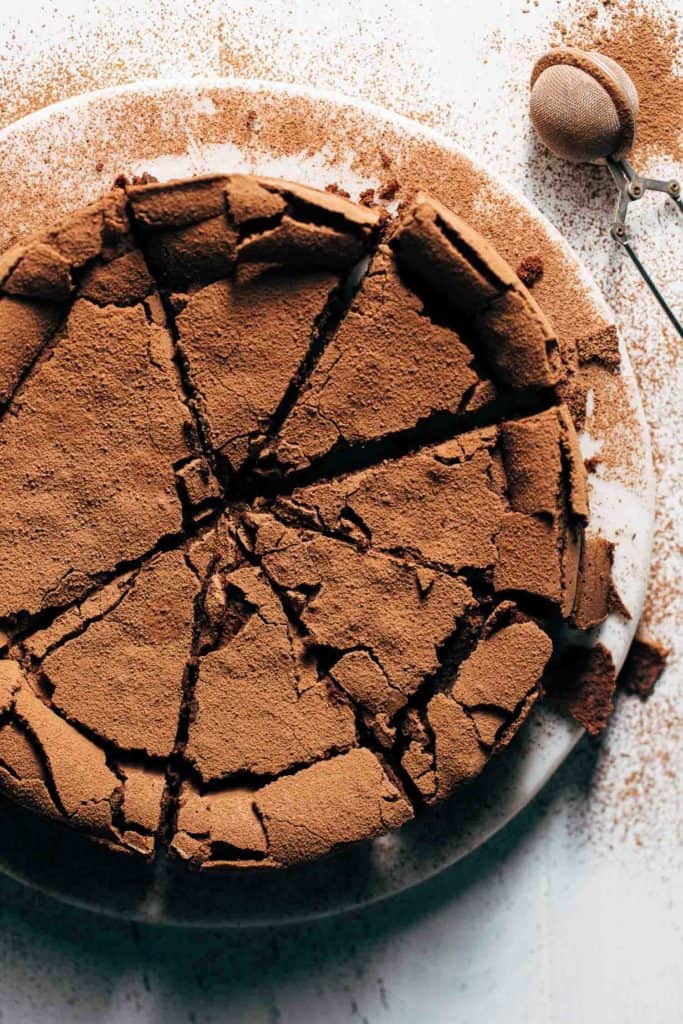
- Allow the cake to cool at room temperature for about 30 minutes. The cake will begin to deflate and crack as it cools to create a deliciously rich and fudgy texture with a crisp crust.
- Transfer the cake to the refrigerator and chill for about 2 hours, or until completely chilled. Release the cake from the pan and top with a dusting of cocoa powder or ice cream…or both! Enjoy!
Equipment
 Buy Now →
 Notes
- *Try using really good quality chocolate here since it’s the star of the show, and avoid using chocolate chips. The most accessible chocolate is Ghirardelli bittersweet baking squares found in the baking aisle.
- **Also use a good quality olive oil for the best result. The flavor is very subtle, but it pairs really well with the dark chocolate. If you don’t have olive oil, melted butter (or brown butter), melted coconut oil, or any other mild oil will work.
- ***This recipe can also be made in a 9″ cake pan. Grease the pan and line the bottom with a round of parchment paper. When it’s done, turn it out onto a cooling rack, then flip it right side up onto a serving dish.
- Prep Time: 25 minutes
- Cook Time: 25 minutes
- Category: Dessert
- Method: Baking
- Cuisine: American
Join Our Community


Meet Jenna
I’m the creator, baker, and photographer behind Butternut Bakery. Here I share desserts for every diet because I believe everyone should have a chance to indulge!
Do you think this would work in a tart pan?
It’s too much batter for a tart pan!
I made this for a dinner party guest who is both gluten & dairy free, I wanted a dessert that didn’t feel too ‘worthy’. I can’t recommend it enough. I followed the ingredient recipe exactly. I cooked it for about twice as long as recommended as it looked too wobbly to take out after 20 mins. I also let it cool in the tin after taking out the oven as I was afraid it was too fragile. It sank on cooling but in an attractive way & I turned it over using 2 cooling racks. I chilled it in the fridge for a couple of hours & brought it to room temp for 30 mins before cooling. I served it with fresh blueberries & a dusting of icing sugar. It was a huge hit with the non GF guests. This will now be my go to for a luxury dessert for GF and/or free guests. Thank you for sharing the recipe!
Why is this labeled dairy-free?!
…because it’s dairy free
Am I supposed to flip the cake upside down after releasing it from the spring form pan? Or is it served right side up?
No flipping is involved in this recipe! It’s served facing up as it is.
When using a 9″ cake pan, directions say to turn it out onto a cooling rack and then flip it right side up, after it cools do I place cake in refrigerator?
Yes after the initial chill, store it in the refrigerator!
Can this cake be baked ahead and frozen??
Yes! Just make sure it’s completely cooled before freezing and ensure it’s well covered.
This is fantastic! This is so silky and rich and indulgent. Very easy to make.
This cake is amazing!!!! Amazing texture and richness. I wish I would have used a higher quality olive oil. I didn’t think the flavor would be so prominent.
I followed the recipe exactly as is and this cake is outstanding…soft, moist, decadent but not overly rich, not too sweet. Absolutely delicious! I was a little worried that the olive oil taste might be too strong but I could barely detect it. I will most definitely be making this again!