Fudgy Vegan Chocolate Cake
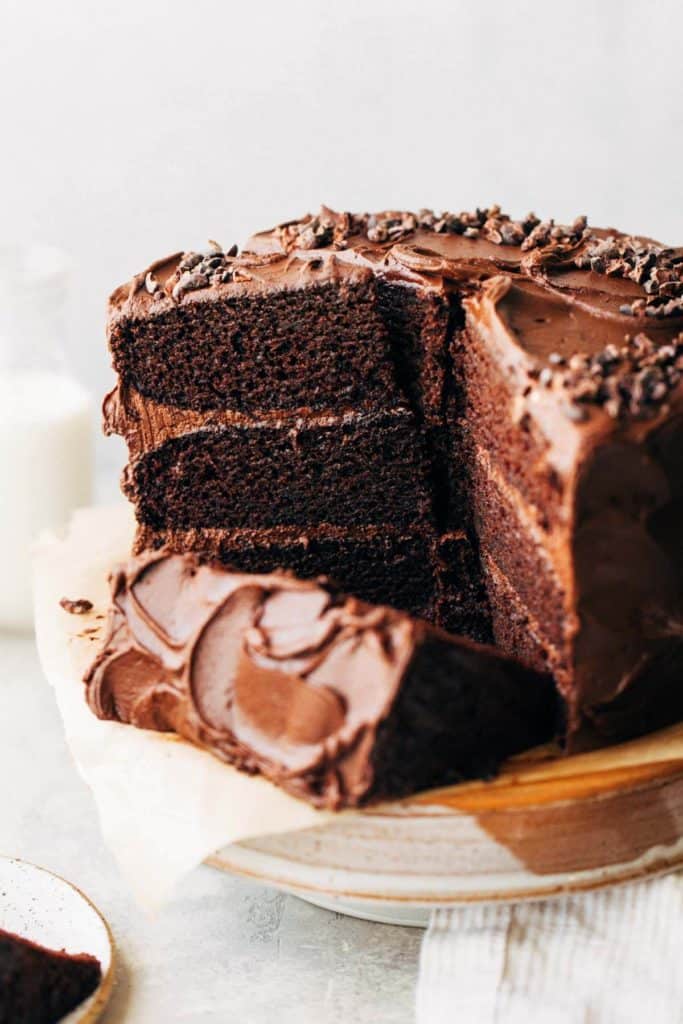
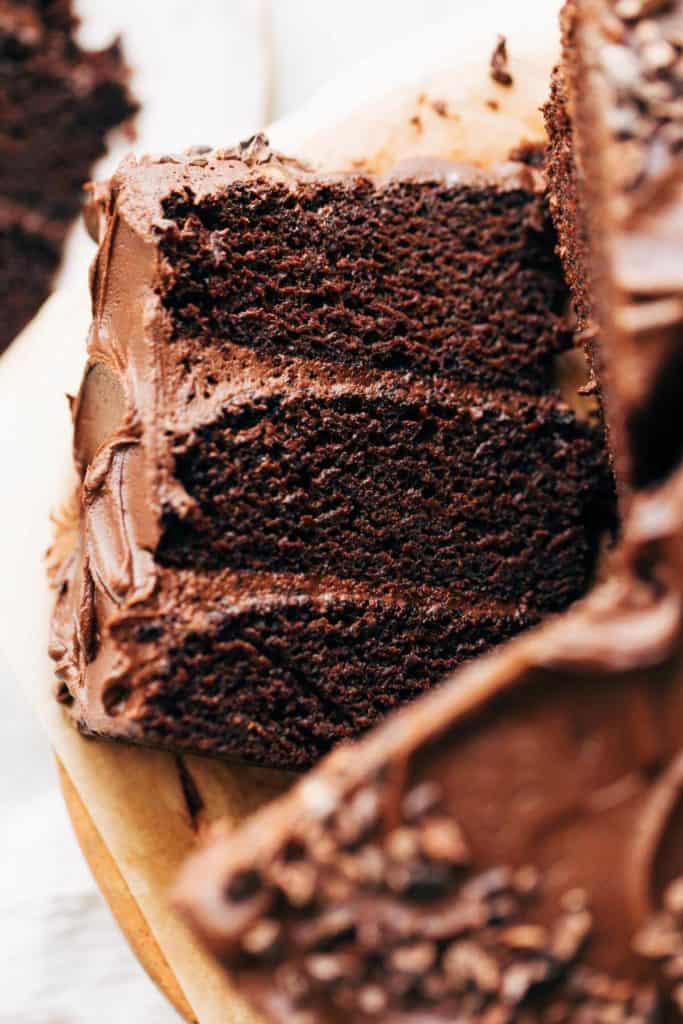
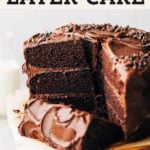
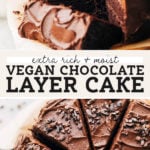
This is hands down the BEST vegan chocolate cake I’ve ever had! But don’t let that steer you away from making it if you don’t follow a vegan diet, especially if you’re looking for a rich and moist chocolate cake recipe. The texture is super soft and decadent with a silky and fudgy chocolate frosting. I like to call this my Matilda cake because I honestly just want to dig my hands in. It’s just. so. GOOD!
What makes this vegan chocolate cake so good?
Where do I even begin? The fudginess factor is off the charts, but the texture is still fluffy like any cake should be. It’s rich with chocolate in both the cake and the frosting, which is now my new go-to chocolate frosting recipe. It’s creamy, smooth, and melts in your mouth.
This cake also STAYS moist for DAYS. You can eat a slice 5 days later and it still tastes just as good as the first day. And above all, this recipe is so easy to make and I’ve even included separate measurements depending on how much cake you want to make. Scroll down to turn this three layer cake into a two layer cake!
The secret to moist vegan chocolate cake
I would like to go on record in saying that most vegan cakes are way more moist and delicious than regular cakes. Why? Because most vegan cakes are oil-based, creating a much more soft and rich texture that keeps the cake moist for much longer. That’s why this is my new go-to chocolate cake recipe! Here are two other reasons why this cake is so moist and delicious:
- Vegan Buttermilk – The secret to getting a moist but tender vegan cake is to make your own plant-based buttermilk. For this recipe, combine your choice of non dairy milk (I prefer soy for its high protein content) with a tiny bit of vinegar (I recommend apple cider vinegar). The mixture will begin to curdle after a few minutes, just like regular buttermilk. This helps bring more acidity to the cake which, in combination with baking soda, creates a really tender texture.
- Unsweetened Applesauce – This acts as our egg replacement, but provides much more moisture than eggs would. Applesauce is a great substitute for eggs because it helps bind the cake together. But it’s important to make sure you have baking powder in the recipe to help leaven the cake, otherwise the applesauce can weigh it down and create a dense and stodgy cake.
Ingredient modifications for a two layer vegan chocolate cake
This recipe is enough to make a three layer chocolate cake, which is my own personal preference. The taller the better! But if you’d like to make a smaller cake, follow this list of ingredients and bake in two 8″ round cake pans:
- 2 cups (260g) all purpose flour
- 3/4 cup (60g) cocoa powder
- 1 ½ tsp baking powder
- 1 tsp baking soda
- ½ tsp salt
- 1 1/2 cups (300g) granulated sugar
- 2/3 cup (170g) unsweetened apple sauce
- 2 tsp vanilla extract
- ½ cup oil + 2 tbsp (115g)
- 1 cup (245g) plant-based milk
- 1 tbsp apple cider vinegar
- 3/4 cup hot water
- 1 tsp instant espresso powder
Super creamy and fudgy vegan chocolate frosting
This frostiiiiiing. It’s just perfect. It’s creamy, silky, rich, chocolatey, and spreads like a dream. To secret to that amazing texture is using a combination of plant-based butter and vegetable shortening.
Shortening has a higher melting point than butter, so using ALL shortening would make this buttercream really tough to work with. It would melt too quickly and taste like, well, shortening. But using a combination of the two gives us a really smooth chocolate frosting with that buttery flavor and sturdy structure.
I also like to use organic powdered sugar in this recipe for 2 reasons: first, organic tends to be a bit more fine and less lumpy, so it creates a really smooth frosting. Two, organic sugar is guaranteed to be completely vegan. Not all sugars are 100% vegan, so make sure to use organic if you follow a vegan lifestyle.
How to apply frosting to a layer cake
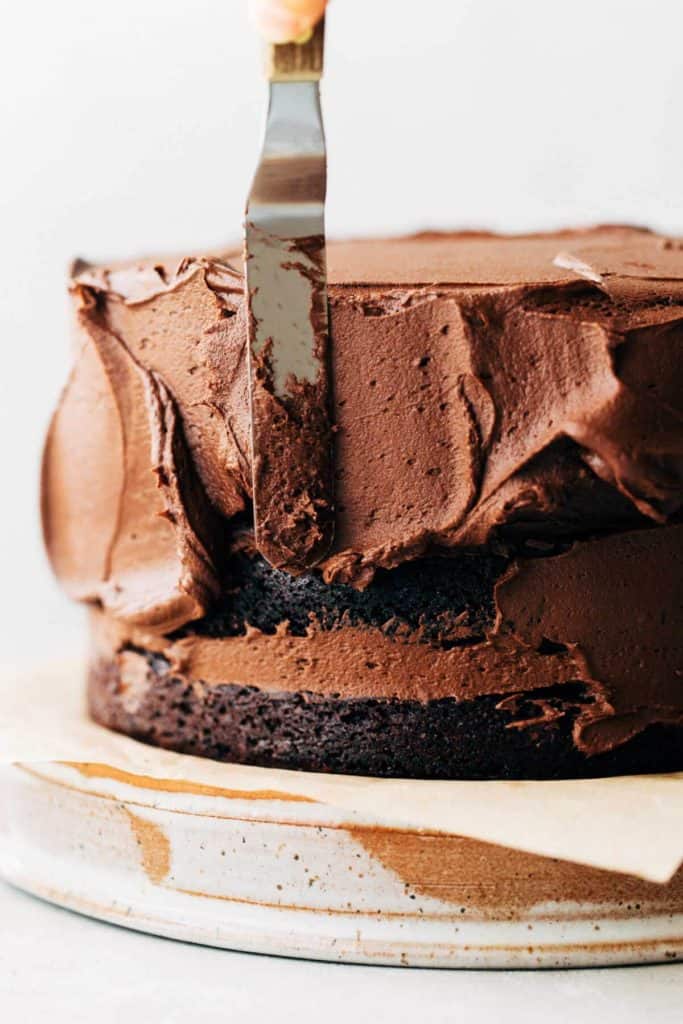
This is a two step process. The first step is to frosting between the layers of each cake. Once that’s complete, pop the cake into the refrigerator. This allows those layers to set so that the cake doesn’t slide around when you frost the sides. Chill for about 20 minutes.
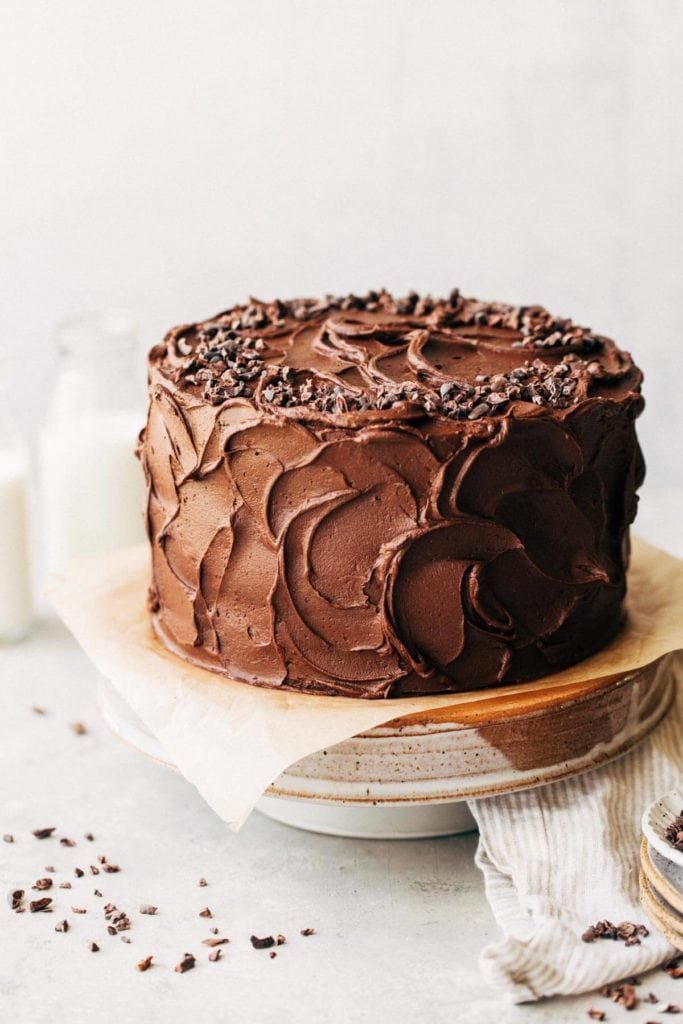
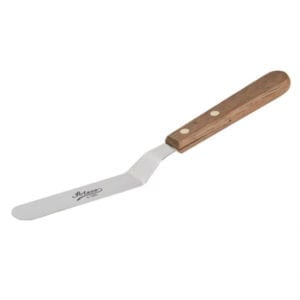
Once firm, continue frosting the entire outside of the cake. Plop the remaining frosting on top of the cake (yes, all of it). Then use a small offset spatula to work the frosting out towards the edges. As it reaches over the sides, use the overhang to spread down the sides. Then go in and create those pretty swirls all around!
Vegan cake toppings
There are so many ways you could decorate this cake, but I chose to go a very simple route because the frosting on this cake speaks for itself.
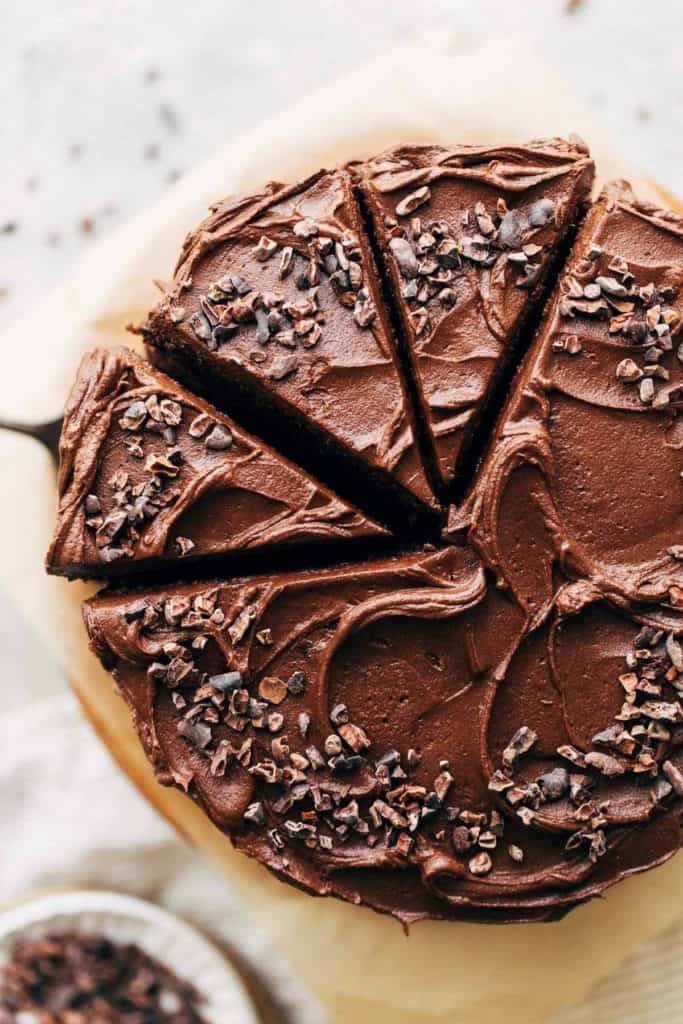
All around the top of this cake is a sprinkle of cacao nibs. These are essentially crushed up cocoa beans and have a deep and bitter chocolate flavor. It pairs really well with the rich and sweet cake.
Other options include a light sprinkling of sea salt, which will also balance out that sweetness. Or to go along with it, use vegan chocolate chips. Of course, classic sprinkles would look great against this dark frosting. Again, if you are fully vegan just make sure to use vegan sprinkles.
But when all else fails, just leave it as is! It’s beautiful and delicious either way.
How to store leftover vegan chocolate cake
Keep this cake in the refrigerator and bring it up to room temp before eating. If it gets any warmer, the frosting will begin to melt so don’t let it sit out too long!
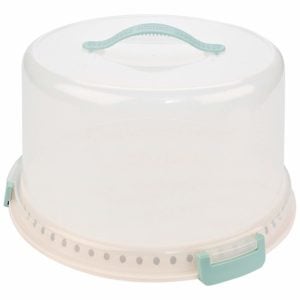
I recommend keeping it in a tall cake container. Otherwise, you can press plastic wrap up against the open sides of the cake and store uncovered in the fridge. If it’s completely covered, it will keep for up to a week. If it’s uncovered, it will last about 4-5 days.
Can I make this into a sheet cake?
Yep! But follow my 2-layer ingredients listed above and bake for 35-40 minutes in a 9×13 baking dish. Also cut the frosting recipe in half.
For more vegan recipes, check out my:
- Vegan Banana Cake with PB Chocolate Frosting
- Moist Chocolate Carrot Cake
- Coffee Cookie Dough Ice Cream
- Edible Brownie Batter Cookie Dough
- Apple Crisp
- Vegan Pumpkin Cookies
- Healthy Blueberry Crumble Bars
Make sure to tag me @butternutbakery on Instagram and comment below if you make this Vegan Chocolate Cake. To pin this recipe and save it for later, you can use the button on the recipe card or on any of the photos above. Happy baking!
Print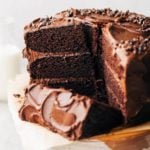
Fudgy Vegan Chocolate Cake
- Total Time: 1 hour 30 minutes + 1 hour cooling
- Yield: 3 Layer 8″ Cake
Description
This is the only vegan chocolate cake recipe you’ll ever need! It’s incredibly moist and smothered in a creamy vegan chocolate frosting. In fact, the textures and flavors are SO good that people can never tell it’s actually vegan.
Ingredients
Chocolate Cake
- 1 1/2 cups (360g) non dairy milk (I recommend soy)
- 1 tbsp apple cider vinegar or white vinegar
- 3 cups (400g) all purpose flour
- 1 cup (80g) unsweetened cocoa powder, sifted
- 2 tsp baking powder
- 1 1/2 tsp baking soda
- 3/4 tsp salt
- 2 1/4 cups (485g) granulated sugar
- 1 cup (255g) unsweetened apple sauce
- 1 cup (200g) mild oil (vegetable, canola, almond, avocado…etc)
- 1 tbsp vanilla extract
- 1 cup hot water
- 1 1/2 tsp instant espresso powder
Chocolate Frosting
- 1 cup (220g) plant-based butter, room temp (I recommend Earth Balance vegan buttery sticks)
- 1 cup (190g) vegetable shortening
- 3 cups (360g) organic powdered sugar
- 1 cup (80g) unsweetened cocoa powder, sifted
- 1 tsp vanilla extract
Decoration
Instructions
Chocolate Cake
- Preheat the oven to 350F and spray (3) 8″ cake pans with nonstick spray and line the bottoms with parchment paper. *see notes for making a 2 layer cake*
- Mix together the milk and vinegar and set aside to curdle (making a vegan buttermilk).
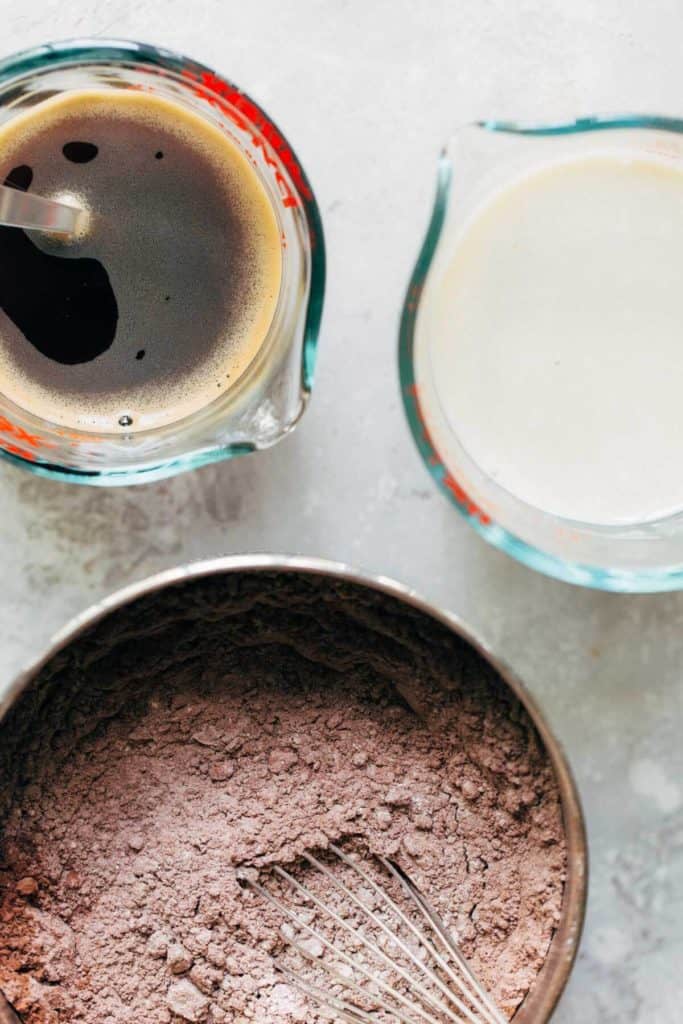
- Whisk together the flour, cocoa powder, baking powder, baking soda, and salt in a medium bowl and set aside.
- In a large bowl, either whisking by hand or with an electric mixer, combine the sugar, apple sauce, oil, and vanilla.
- On the side, mix together the hot water and espresso powder. Set aside.
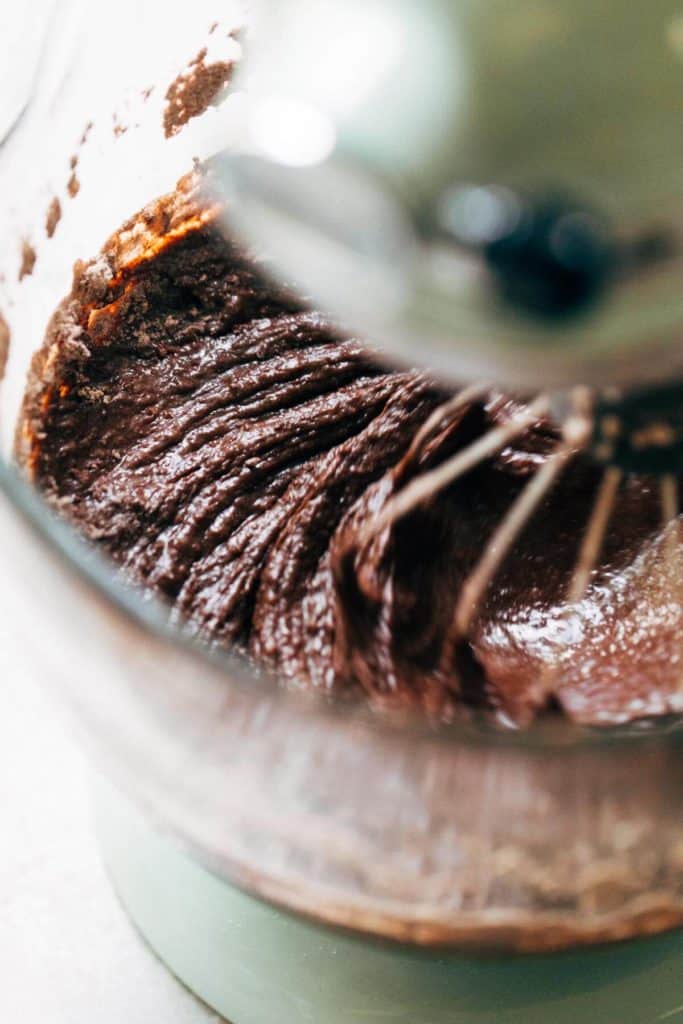
- To the sugar mixture, alternate adding the milk and dry ingredients, starting and ending with the dry ingredients. Stop and scrape down the bowl about halfway through.
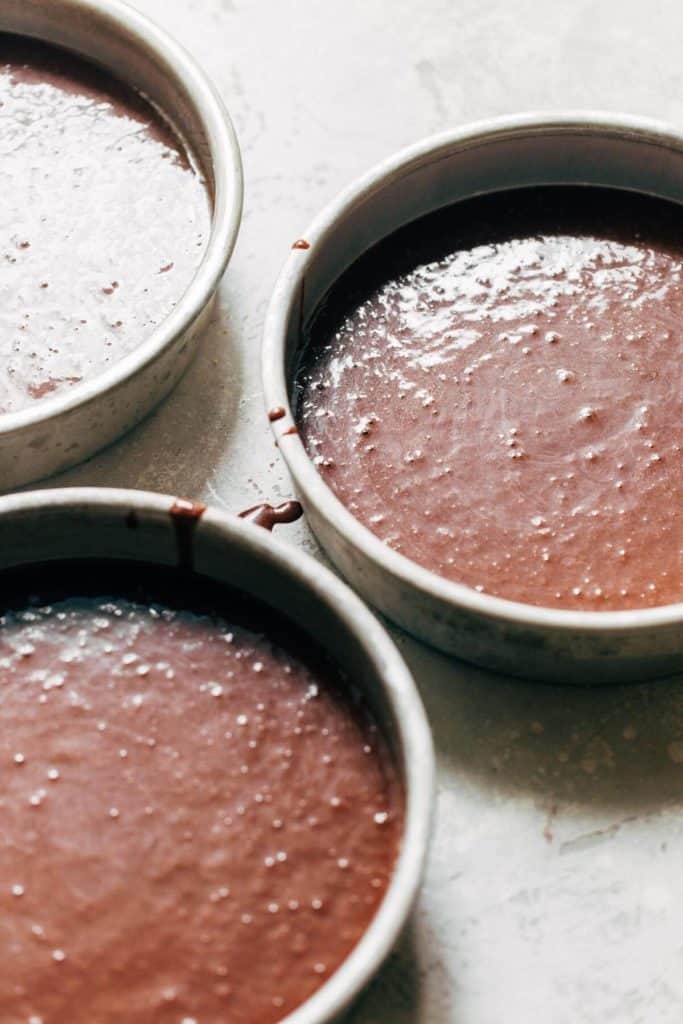
- Once that’s smooth, slowly mix in the hot espresso. Now the batter will be very thin.
- Pour the batter into the cake pans and bake for 30-35 minutes, or until a toothpick in the center comes out clean.
- Allow the cakes to cool in the pans for 20 minutes, then remove from the pans and let them completely cool at room temperature before frosting. To speed up this process, you can pop them into the fridge.
Chocolate Frosting
- Using an electric mixer, cream together the butter and shortening until smooth (use whisk attachment).
- Mix in the powdered sugar, one cup at a time, followed by the cocoa powder. Mix in the vanilla.
- If it’s too thin, add 1/2 cup of powered sugar until you reach the desired consistency. If it’s too thick, add 1-2 tbsp non dairy milk.
Assemble
- Only frost the cake once the layers have completely cooled.
- Spread about 1 cup of frosting between each cake layer (a small offset spatula is my favorite tool for this). Once all layers are stacked, place the naked cake in the fridge to set. Otherwise, the cake will slide around when trying to frost the sides. Chill for 20 minutes.
- Once firm, remove the cake and plop the rest of the frosting on top of the cake (yes, all of it). Spread it out towards the sides and let it hang over the edges. Spread that overhang down the sides to the bottom of the cake. The sides don’t have to be perfect, but just make sure the cake is completely covered.
- Use your offset spatula or a spoon to create the swoops and swirls all around the cake. Sprinkle with your favorite toppings and enjoy!
Notes
2 LAYER CAKE – I’ve shared a separate list of ingredients within the blog post for a 2 layer cake. Bake in (2) 8″ round cake pans for the same amount of time and follow all of the same instructions.
9″ CAKE – This recipe can also be baked in 9″ cake pans. Just keep an eye on the cake for the last few minutes as it may bake a bit faster.
SHEET CAKE – Follow my 2 layer ingredients list and bake in a 9×13 baking pan for 35-40 minutes. And only use half of the frosting recipe.
GLUTEN FREE – Although I have not tested it, you can swap the flour for an all purpose gluten free baking flour with xanthan gum mixed in (I like Bob’s Red Mill). The cake may just turn out a bit more dense.
MAKE AHEAD – You can make the cake ahead of time and frost later. Bake the layers, allow them to cool completely, then wrap individually in plastic wrap (ensuring they are completely covered and no air can get in). Store in the fridge for up to 5 days or in the freezer for up to 1 month.
- Prep Time: 1 hour
- Cook Time: 30 minutes
Join Our Community

Meet Jenna
I’m the creator, baker, and photographer behind Butternut Bakery. Here I share desserts for every diet because I believe everyone should have a chance to indulge!

I made these into cupcakes for a birthday party and was so impressed! I’m not vegan, but my nephew is allergic to dairy, and most of the DF recipes I’ve tried have been disappointing and dense. Not this one! The cupcakes are SO light and fluffy and perfectly chocolaty, and the frosting is delish. It does leave a greasy feel on your lips from the shortening, but I’d take that any day than a frosting where you can immediately taste it’s dairy-free. I filled the cavities 3/4 full and baked at 350°F for 19 minutes (begin checking at 18). Made 34 cupcakes 🙂 I will 100% be making this my go-to DF chocolate recipe. Thanks, Jenna!
Could you tell me if this cake ‘binds’ well? Every other vegan cake I’ve made just falls apart when horizontally split for filling. Does it resemble your Moist Chocolate Cake in terms of texture? If so – I’m in!
I’m making this cake for my daughter’s 2nd birthday because she is allergic to egg but I wanted to omit the espresso powder since it will be given to kids. How would I go about doing that?