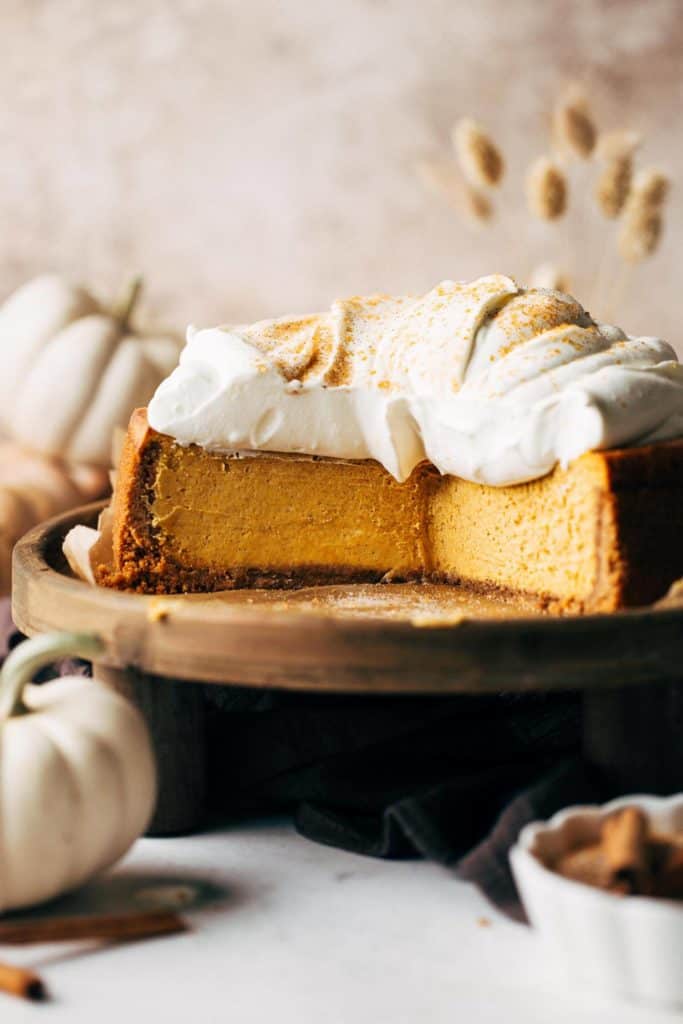
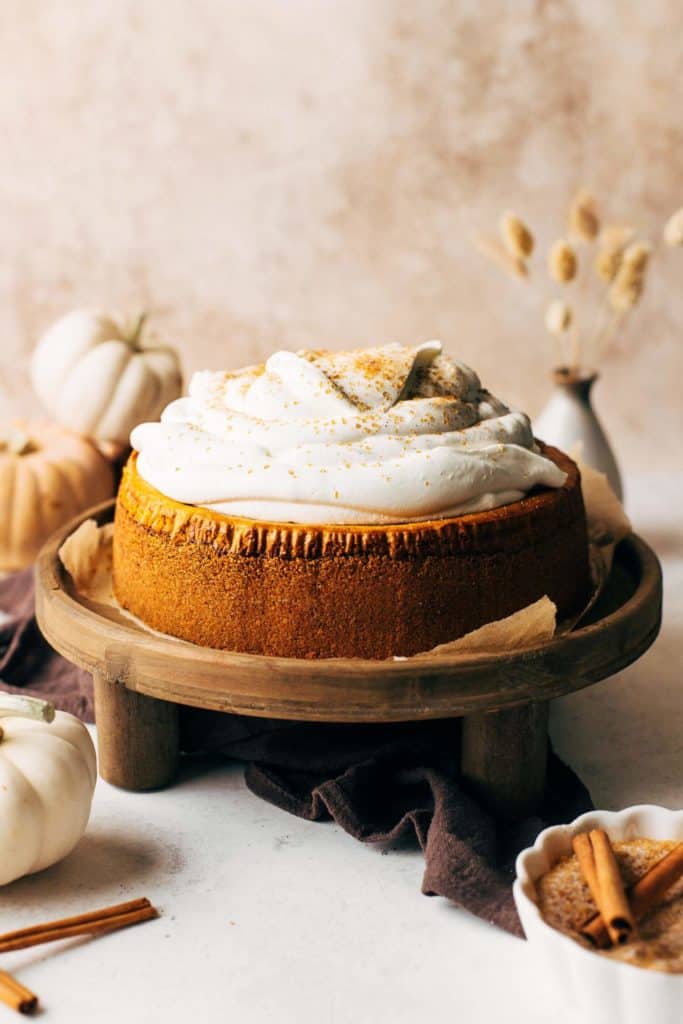
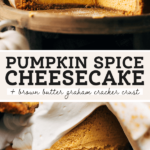
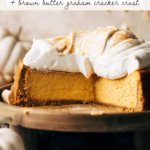
This is the BEST pumpkin cheesecake! It’s super rich and creamy, baked with an entire can of pumpkin puree, warm spices, a brown butter graham cracker crust, and is topped with a cloud of soft whipped cream. It’s a MUST for any Thanksgiving table and I’m sharing all of my tips to ensure it turns out perfect and crack-free every time.
What makes this pumpkin cheesecake recipe so good?
When I was developing this recipe, I wanted to create a unique twist on this classic dessert. I tried a sugar cookie snickerdoodle crust, I tried a swirl of cinnamon sugar in the center, and I tried it with a cinnamon sugar sour cream topping.
While these all turned out to be delicious options, I found myself craving a more traditional recipe. In other words, I went through all that testing just for me to realize that classic pumpkin cheesecake is perfect on its own. And I try not to mess with perfection.
But what I do like to do is enhance perfection, making this pumpkin cheesecake recipe just a bit more special. I did so by making a filling that’s bursting with pumpkin flavor, using an entire can of pumpkin puree, and a crust that’s just a touch above a basic graham cracker crust.
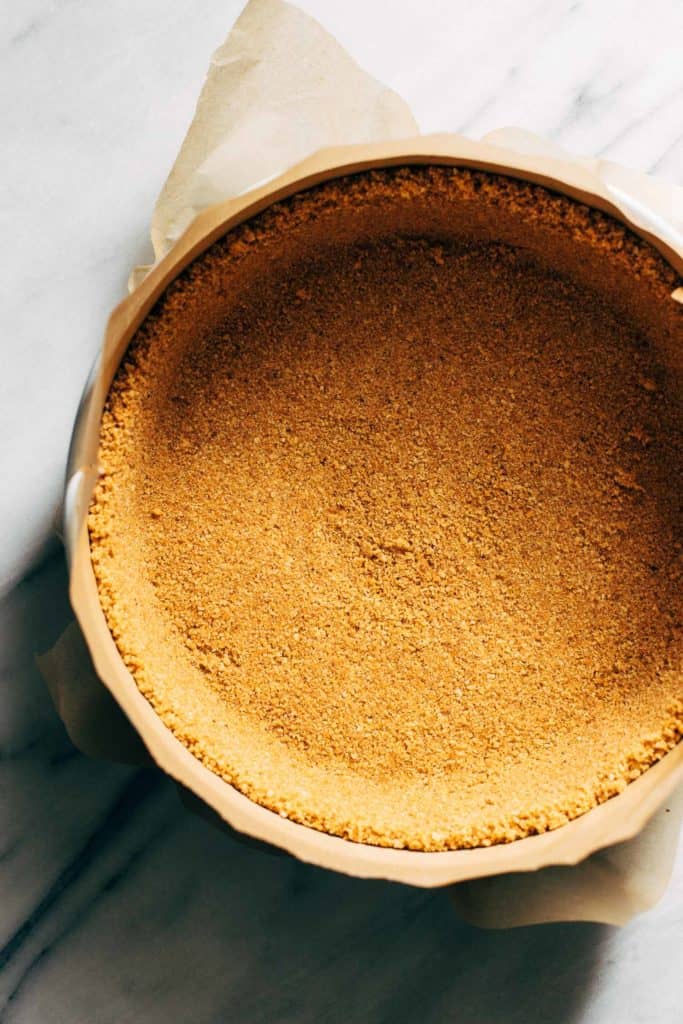
This one is mixed with brown butter and a hint of cinnamon. It adds a rich warmth to the crust that pairs perfectly with the creamy pumpkin cheesecake.
To round out the dish, the entire cheesecake is topped with a cloud of whipped cream. The heavy cream is whipped to soft peaks, making a melt in your mouth consistency that floods every single bite of this delicious pumpkin cheesecake.
How to make pumpkin cheesecake
Cheesecake can be tricky, especially when baking with an aim towards perfection. It must be super creamy with a smooth and crack-free surface. To ensure yours turns out just the same, here are my top cheesecake baking tips:
- Parchment Paper – Before adding the crust, line the bottom and side of a springform pan with parchment paper. I found that cheesecake tends to stick to the sides of the pan and as it cools, it shrinks. With the sides sticking to the pan, this creates tension in the center thus forming a big crack. Parchment paper prevents this from happening.
- Cream Cheese – If you can, always use Philadelphia full fat cream cheese. It provides the BEST flavor and texture. This is not sponsored, it’s just the only cream cheese I’ll ever use. But if you can’t get ahold of Philadelphia brand, at least go for full fat cream cheese. Reduced fat just won’t be as creamy!
- Room Temperature Ingredients – Before starting, make sure all of the refrigerated ingredients are at room temperature…especially the cream cheese. This prevents lumps and over mixing (adding too much air to the batter can create cracks). To speed up the process, add the cream cheese (still in the wrappings) and eggs to large bowl of warm water. Let it sit for about 30 minutes and the cream cheese will be perfectly softened. If the sour cream is this recipe isn’t at room temperature, that’s perfectly fine as it’s a very small amount with a consistency that’s easy to mix in.
- Low & Slow – Always keep the mixer on LOW speed, whether it’s a hand or a stand mixer (although stand is preferred). This means the mixing process will take a little bit longer, but it also ensures the cheesecake turns out smooth and crack-free.
- Easy Water Bath – Most importantly, always bake cheesecake in a water bath. Place a roast pan on the bottom rack of the oven and start a pot of boiling water on the stove top. When you’re ready to bake the cheesecake, pour the boiling water into the roast pan and then place the cheesecake on the middle rack above. Baking in a moist environment prevents the cheesecake from drying out and cracking.
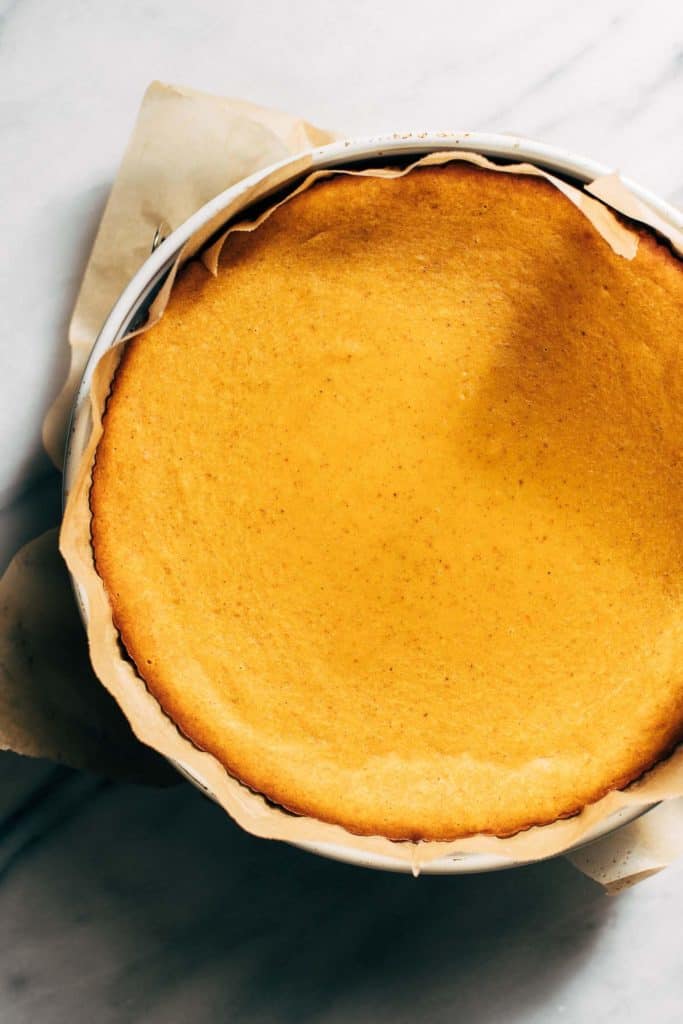
- Jiggle Test – To make sure the cheesecake is done, crack open the door and nudge the pan. If the center wobbles like a bowl of milk, it’s not done. If it jiggles like jello, it’s ready.
- Gradual Cooling – I’ll cover this in more detail later in the post, but allowing the cheesecake to slowly come back to room temperature provides the perfect texture and stops any cracks from forming.
For even more tips on how to bake the best cheesecakes, see my post for the BEST classic cheesecake recipe.
Chilling the pumpkin cheesecake
This is a crucial step that is often overlooked when baking cheesecake. Of course the bake is important, but what happens AFTER the oven shuts off is just as pressing.
When the cheesecake is done, turn the oven off and crack open the oven door with the cheesecake still inside. This allows it to come back to room temperature very slowly, while also gently baking the center all the way through.
Leave the cheesecake in the oven for an hour before taking it out. This process prevents the cheesecake from cracking. If you take it out right when it’s done, it will cool too fast. As the cheesecake cools, it shrinks and if this process happens too quickly, a crack will form down the center. Taking it out too soon could also leave you with an under baked center.
After the hour is up, take the cheesecake out of the oven and leave it at room temperature for about 30 minutes.
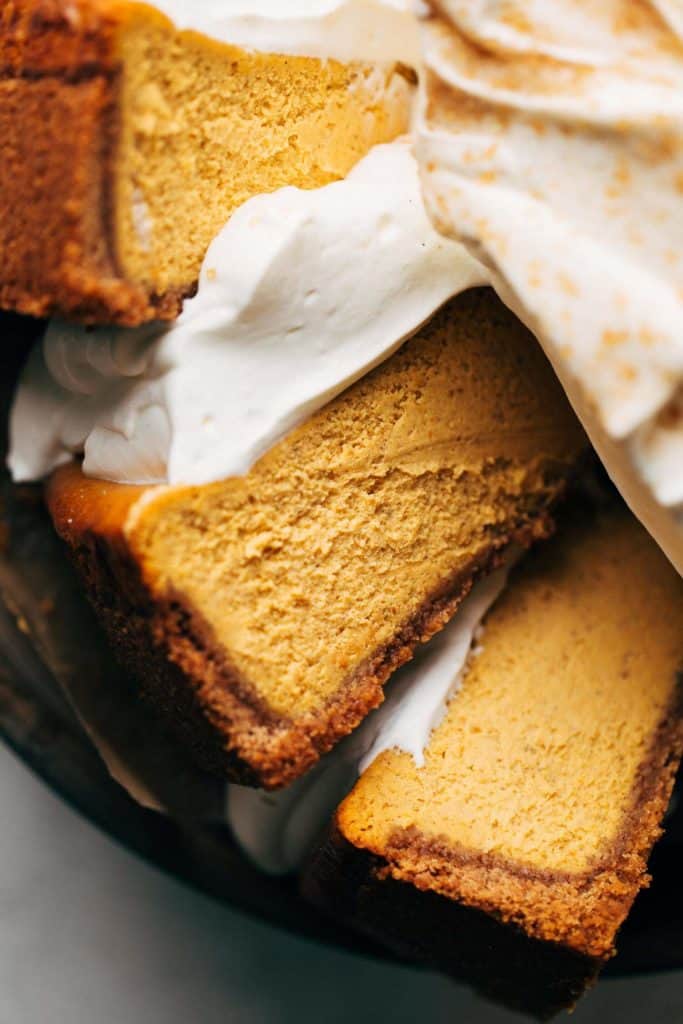
At that point, it should be firm enough to take the springform ring off. Peel back the paper and place the cheesecake in the fridge for at least 4 hours but preferably overnight. This helps the cheesecake completely settle, creating a super creamy texture that’s easy to slice.
Can this pumpkin cheesecake be made gluten free?
Absolutely, as the only ingredient that needs to be subbed is the graham crackers. Nowadays, it’s easy to find gluten free graham crackers. I’ve linked my favorite ones in the recipe card.
Do I have to include the whipped cream?
Nope, the cheesecake is just as delicious with or without it! A quick and easy option is to use store-bought whipped cream and serve it on the side. This way, people can choose just how much they want with their slice of pumpkin cheesecake.
For more pumpkin dessert recipes, check out my:
- Brown Butter and Maple Chewy Pumpkin Cookies
- Mini Pumpkin Hand Pies
- Pumpkin Bread with Maple Glaze
- Butterscotch Pumpkin Bundt Cake
- Cookies & Cream Brownie Pumpkin Cheesecake Bars
- Pumpkin Cinnamon Rolls
- Pumpkin Chocolate Chip Muffins
Make sure to tag me @butternutbakery on Instagram and comment below if you make this pumpkin cheesecake. To pin this recipe and save it for later, you can use the button on the recipe card or on any of the photos above. Happy baking!
Print
Pumpkin Cheesecake
- Total Time: 1 hour 50 minutes + overnight chill
- Yield: 10-12 slices
Description
This rich pumpkin cheesecake is super creamy and baked with an entire can of pumpkin puree, warm spices, and a brown butter graham cracker crust.
Ingredients
Brown Butter Graham Cracker Crust
- 2 cups (280g) graham cracker crumbs (regular or gluten free)
- 1/3 cup (70g) light brown sugar, packed
- 1 tsp ground cinnamon
- Pinch of salt
- 1/2 cup unsalted butter, browned
Pumpkin Cheesecake
- (4) 8oz bricks full fat Philadelphia cream cheese, room temp
- 1 cup (200g) light brown sugar, packed
- 1/2 cup (100g) granulated sugar
- 1 tbsp vanilla bean paste (or vanilla extract)
- 2 tbsp cornstarch
- 1/4 tsp salt
- 1 1/2 tsp ground cinnamon
- 1/2 tsp ground ginger
- 1/4 tsp ground nutmeg
- 1/4 tsp allspice
- 1/4 cup (60g) full fat sour cream
- 4 large eggs, room temp
- (1) 15oz can pumpkin puree (not pumpkin pie filling)
Whipped Cream
- 2 cups (480ml) heavy whipping cream
- 2 tbsp powdered sugar
Instructions
Brown Butter Graham Cracker Crust
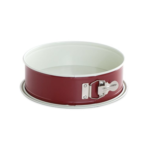
- Arrange the two racks inside the oven so that one is at the very bottom and one is in the middle. Preheat the oven to 350F and coat the inside of a 9″ springform pan with nonstick spray.
- Cover the bottom and sides of the pan with parchment paper and set aside.
- Place the 1/2 cup of unsalted butter in a saucepan over medium heat. Melt and heat until browned. Remove from heat and allow to cool.
- Combine the graham cracker crumbs, brown sugar, cinnamon, and salt in a bowl. When the brown butter has cooled (it can be warm but not hot), pour into the bowl and stir to coat.
- Pour the crumbs into the springform pan and use the bottom of a measuring cup to press it into the bottom and sides of the pan.
- Bake for 10 minutes on the middle rack, then allow to cool while you make the pumpkin cheesecake batter.
Pumpkin Cheesecake
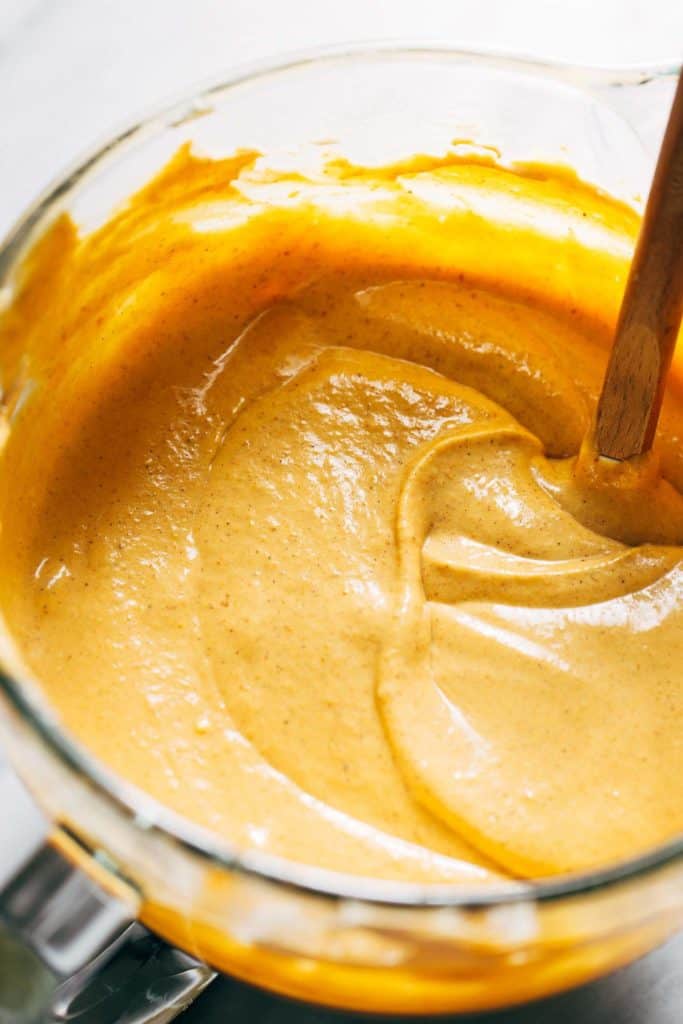
- In a bowl using a hand or stand mixer with the paddle attachment, add the cream cheese and sugar and mix on low speed until smooth and combined. Scrape down the bowl and mix again on low speed to catch any bits at the bottom.
- Next, fill a medium-sized pot with about 4 cups of water and place it over high heat. It should reach a boil by the time the batter is done. Also place a large roast pan on the bottom rack of the oven.
- Back to the cheesecake – add the vanilla, cornstarch, salt, cinnamon, ginger, nutmeg, and allspice and mix on low speed until combined.
- Scrape down the bowl and mix in the sour cream, again on low speed.
- Mix in the eggs, one at a time, on low speed. Scrape down the bowl after the first two eggs, and again after the last two eggs.
- Last, mix in the entire can of pumpkin puree on low speed. When it appears to be fully mixed in, remove the bowl from the mixer and mix the batter by hand. Scrape down the sides and bottom to ensure all of the ingredients are fully incorporated.
- Pour the batter into the crust and spread it smooth. It should completely cover the crust.
- Now with the boiling water, open the oven door and pull out the bottom rack just enough for you to access the roast pan. Carefully pour the water into the roast pan and push the rack pack in. Quickly place the cheesecake on the middle rack, directly above the roast pan, and close the oven door. This will trap the steam and create a humid baking environment for the cheesecake – preventing it from drying out and cracking.
- Bake for 1 hour and 10 minutes. It should look very puffed on the outside with a jiggly center.
- When it’s done, turn the oven off and crack open the oven door. Let the cheesecake remain inside the oven for 1 hour.
- After the hour, let it cool at room temperature for 30 minutes. Then transfer to the refrigerator and let it chill uncovered for at least 4 hours, but preferably overnight.
Whipped Cream
- Once chilled, remove the cheesecake from the pan and peel back the paper.
- When you’re ready to serve the cheesecake, make the whipped cream.
- Place the heavy whipping cream and powdered sugar in a large mixing bowl. Using a hand or stand mixer with the whisk attachment, whisk on high speed until the cream forms soft peaks.
- Scoop the soft whipped cream on top of the chilled cheesecake. Then slice and serve!
Equipment
 Buy Now →
 Notes
STORAGE – If you plan to store the cheesecake for longer than the initial overnight (2 days max), cover it after it has had its overnight chill to prevent it from drying out. If you plan to add the whipped cream on top, only add this the day of serving. Do not store the cheesecake in the refrigerator with the whipped cream, as the whipped cream could wilt. Otherwise, store the leftovers in an air tight container in the refrigerator and it will keep for about a week.
- Prep Time: 40 minutes
- Cook Time: 1 hour 10 minutes


I’ve made this twice and both times it turned out perfectly!! Got so many comments that it was delicious. No cracks formed the first time and only a couple small cracks the second time I baked it. I also used a 10″ pan the first time and a 9″ the second, and both turned out great. Seriously this is the best recipe!
I baked this cheesecake and it looked good and tasted very good. I have two questions; I used a 9×3 inch springform pan, followed the recipe exactly, and after filling the pan I had 3/4-1 cup of batter left over. Did all of your batter fit into your 9×3 inch pan? And after following the directions for baking and cooling the cake, which I refrigerated overnight, when I cut the cheesecake a lot of the filling stuck to the knife. I had to wipe the knife off each time before making a new cut. Was wondering why this happened as it never happened with any other cheesecake recipe I’ve made. Thank you!!
Strange? It sounds like your cheesecake pan might be a bit more shallow so if it’s overfilled, it can be hard for the cheesecake to bake all the way through.
I can’t believe how good this turned out. Flavor is great. It never cracked. The texture is perfect. I added caramel drizzle and pecans to the top and will definitely be saving this recipe! Everyone loved it.