Classic Tiramisu
This incredible no-bake Tiramisu is my take on the iconic Italian dessert that features a silky smooth mascarpone filling layered with espresso-soaked lady fingers. This is the BEST tiramisu with a traditional taste and melt in your mouth texture!
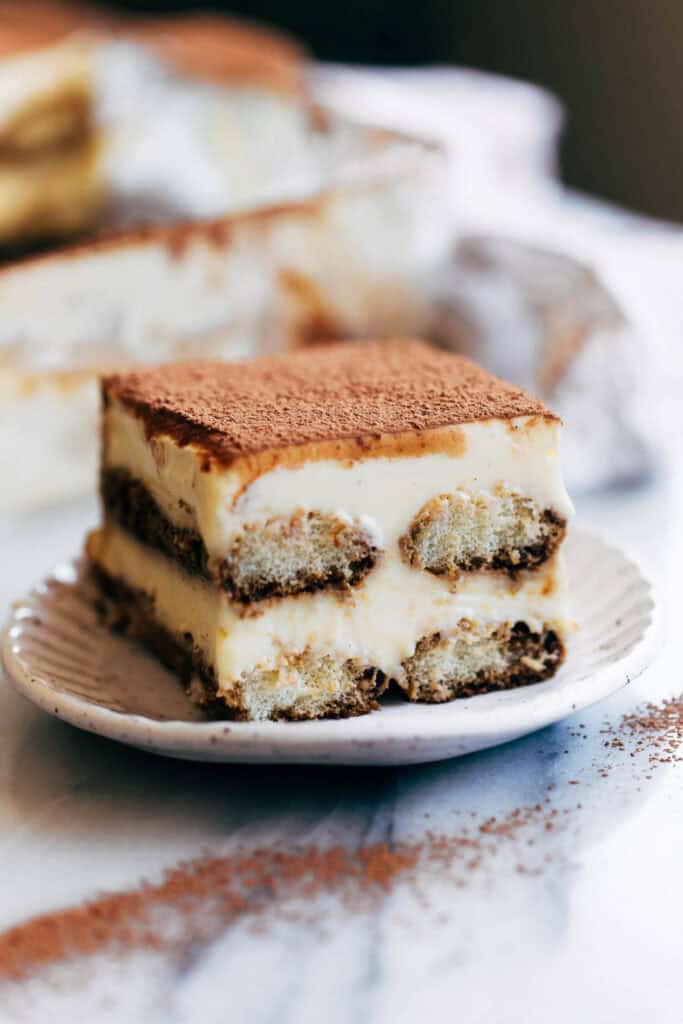
One of my favorite parts about being a blogger is getting requests from YOU! I love that you all trust me to test out different desserts, carefully tweaking the ingredients until it’s perfect, and that’s exactly what I did in this tiramisu recipe.
Tiramisu is a popular Italian dessert that has layers of coffee-soaked ladyfingers combined with a rich and creamy filling made from mascarpone cheese, eggs, and sugar. It has a delicious blend of flavors and textures, with a strong coffee taste and sweet, smooth mascarpone, creating the perfect blend. Tiramisu translates to “pick me up” in Italian, making it a great afternoon or after dinner dessert!
Using Raw Eggs
One of the biggest concerns about making this dessert is the use of raw eggs, but not to worry! To make raw eggs safe for tiramisu, you’ll heat the egg yolks and sugar in a heat-safe bowl over a pot of simmering water that doesn’t touch the water. Continuously whisk until the sugar dissolves for about 8-10 minutes. Use a thermometer to check that the mixture reaches at least 145°F for 15 seconds, which kills any potential bacteria to make them safe to eat.
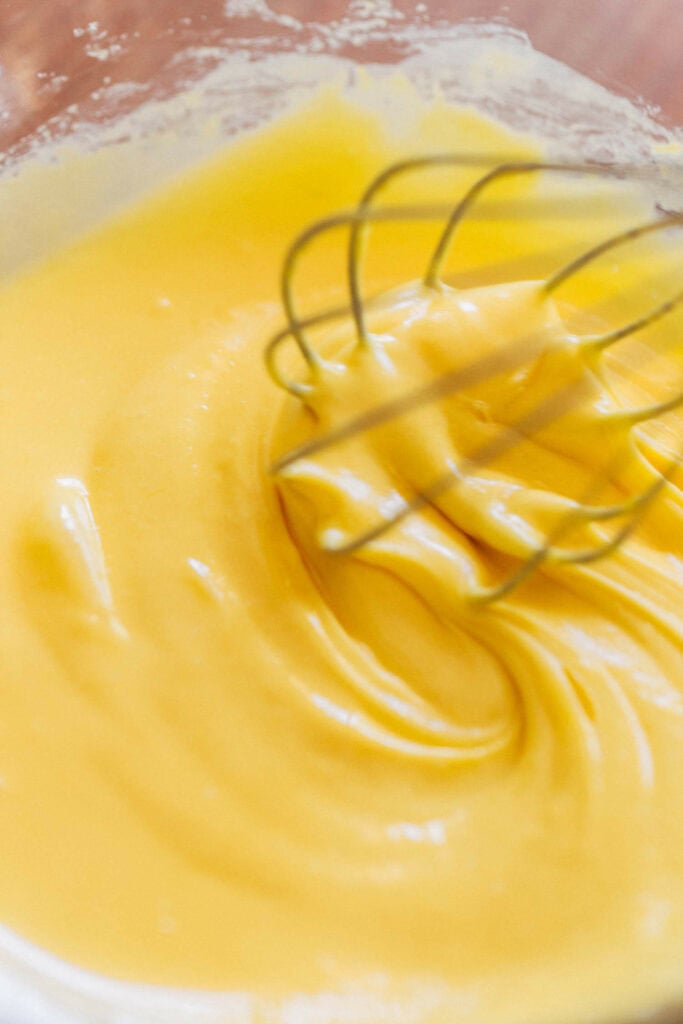
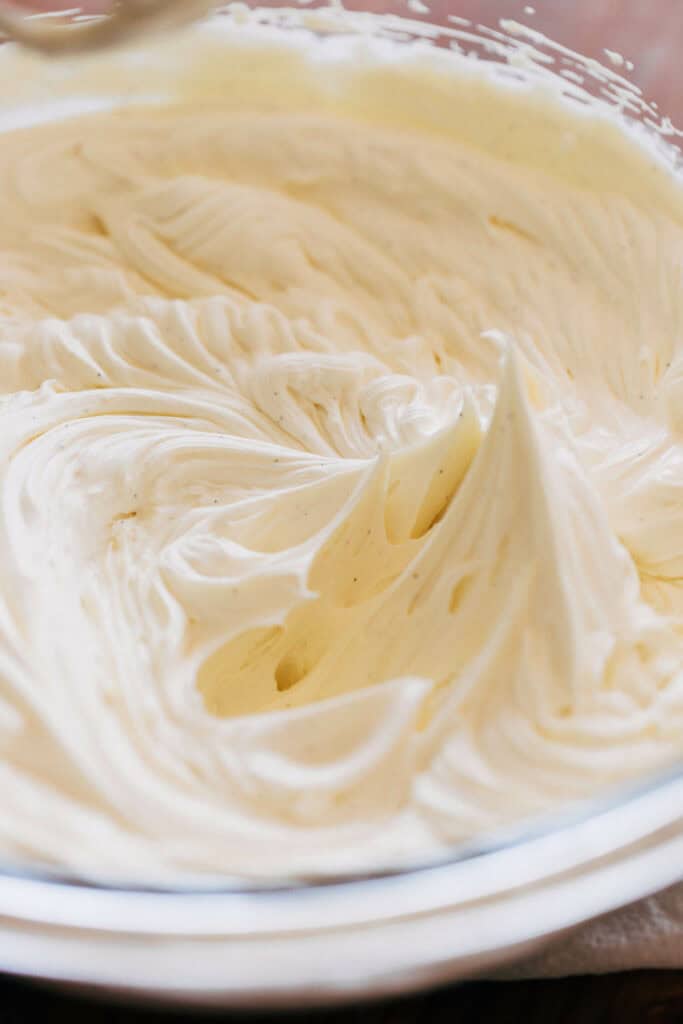
How to Make Creamy Tiramisu Filling
Create a double boiler: Fill the same saucepan with an inch or two of water and set it over medium heat. Find a heat-safe mixing bowl that fits snugly over the pan without touching the water. Add egg yolks and sugar to the bowl and whisk until combined.
Heat the egg yolks: Set the bowl over the simmering water, making sure the water never reaches a boil. Continuously whisk until the sugar is completely dissolved, about 8-10 minutes. Rub a little mixture between your fingers to check for granules; if none, it’s ready. Use a thermometer to check that the mixture reaches at least 145°F for 15 seconds.
Cool the mixture: Remove the bowl from heat and place it in a larger bowl filled with ice, whisking until cooled. You can also cool it in the refrigerator, which takes longer. Make sure the mixture is completely cooled before moving to the next step.
Assemble the mascarpone filling: In a clean mixing bowl, combine the mascarpone, salt, and vanilla bean paste using an electric mixer until smooth. Gradually add half the heavy cream, mix, then scrape the bowl and add the remaining cream. Whip on high speed for about 2 minutes until thick and fluffy.
Combine and fold: Add half of the whipped mascarpone to the cooled egg mixture, folding gently with a whisk to avoid lumps and not to over mix. Then, fold in the remaining mascarpone until smooth.
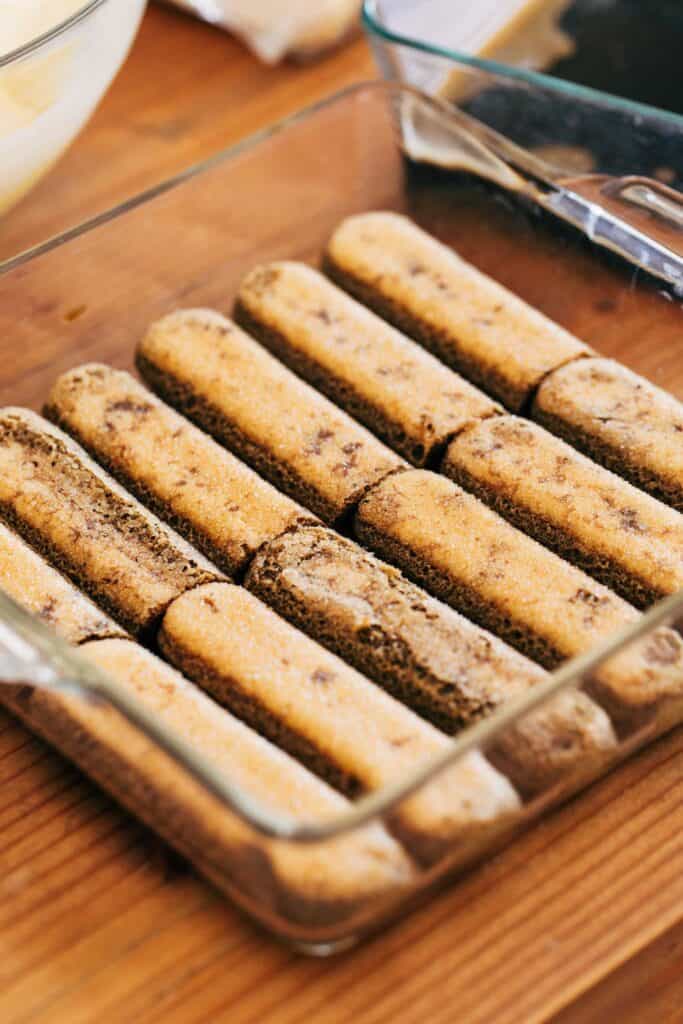
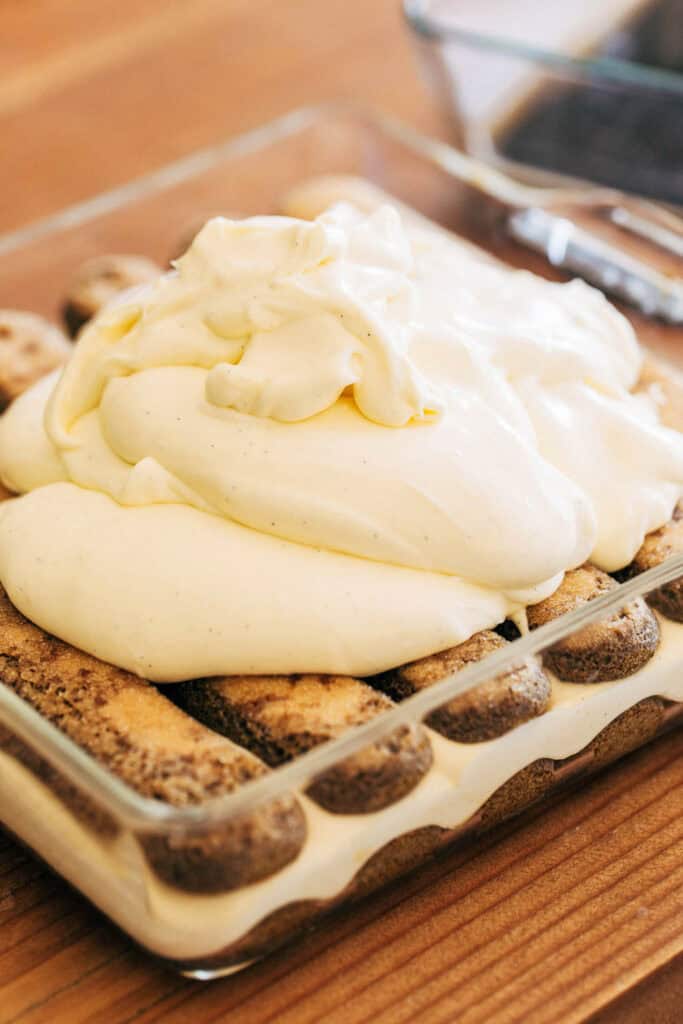
How to Layer Tiramisu
Soak the ladyfingers: Briefly dunk each ladyfinger into the coffee soak for just a second and lay them in the bottom of an 8×8 pan. Trim a small portion off one row of ladyfingers if needed.
Add the layers: Spread half of the mascarpone filling evenly over the layer of ladyfingers. Then, dunk another set of ladyfingers in the coffee soak and place them over the filling. Spread the remaining mascarpone filling evenly over the top layer of ladyfingers. Cover the pan with plastic wrap and refrigerate overnight to set.
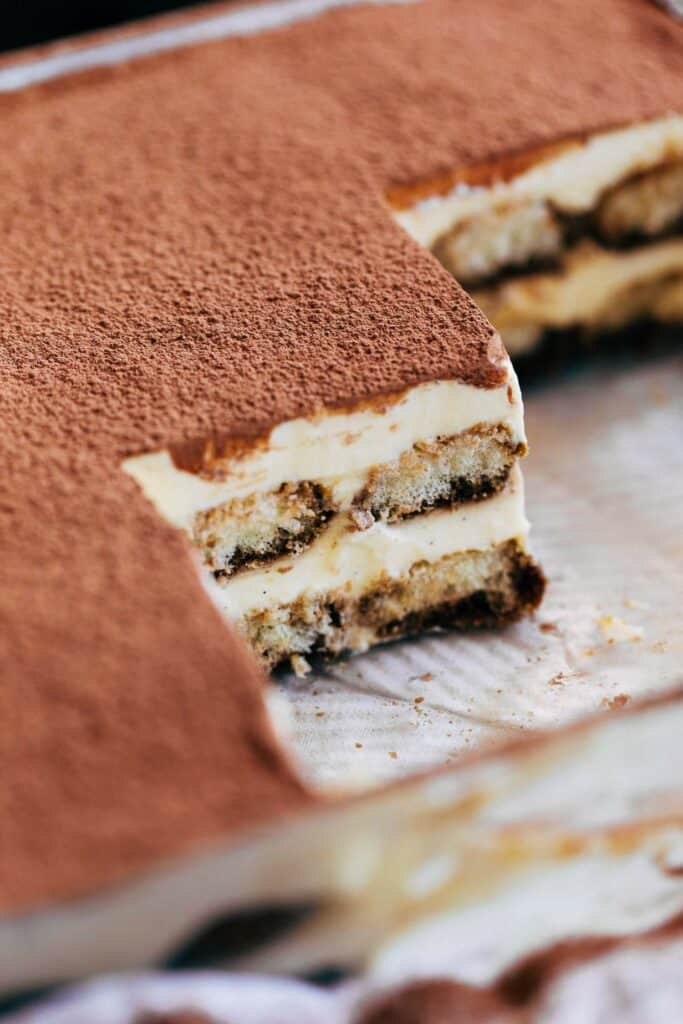
Garnish and serve: The next day, remove the plastic wrap. If the wrap has left any texture on the surface of the tiramisu, smooth it out gently with a spatula. Dust the top with cocoa powder just before serving for a classic finish. Enjoy either scooped or sliced into neat squares.
Key Ingredient Notes
- Crispy Ladyfingers – These crunchy long cookies form the base of the dessert, absorbing the espresso to add a moist texture while maintaining enough structure to support the layers of creamy filling. They are made by many different brands with gluten-free options.
- Espresso Powder – Adds a deep, rich coffee flavor that is essential to the classic tiramisu taste; instant espresso gives the dessert a consistent, strong flavor that is superior to brewed coffee, but you can use that too.
- Amaretto (optional) – Adds a sweet, almond-like flavor that complements the coffee and creamy elements, offering a contrasting taste.
- Chilled Mascarpone Cheese – The main component of the creamy filling, mascarpone is a soft Italian cheese that gives tiramisu its rich and velvety texture and must be chilled to maintain the texture of the dessert. After testing out a few brands, I found that BelGioso is the winner!
- Vanilla Bean Paste – Infuses a rich, aromatic vanilla flavor into the mascarpone filling. While the bean paste is preferred, you can also use a high-quality vanilla extract instead.
- Heavy Cream – Whipped into the mascarpone mixture to add lightness and volume, creating a fluffy and soft texture that pairs well with the soaked ladyfingers.
Tiramisu Success Tips
- Before starting, make sure all ingredients, especially the mascarpone and eggs, are at the correct temperature as specified in the recipe to allow for smooth mixing and proper emulsification.
- Use a digital thermometer to accurately check the temperature of the egg and sugar mixture to guarantee it reaches 145°F for safe consumption.
- Keep the water in the double boiler at a gentle simmer. Boiling water can overheat the egg mixture, causing it to scramble.
- Gently fold the mascarpone mixture into the egg yolks to retain as much air as possible for a light and fluffy filling.
- Dip the ladyfingers in the coffee mixture quickly to avoid them becoming too soggy, which can cause the layers to collapse.
- Arrange the ladyfingers tightly together in the dish to create a stable base and even layers. Cut them down if you need to.
- Allow the tiramisu to chill overnight, as this time is crucial for the flavors to blend together and the dessert to firm up for clean slicing.
- Instead of an 8×8 pan, you can also use a 9×13 pan following the same instructions.
Commonly Asked Tiramisu Questions
You can omit the amaretto without replacing it, or for a non-alcoholic flavor, add a teaspoon of almond extract to the coffee mixture.
There’s no way to tell by looking at them. The best way is to use a cooking thermometer to make sure that the egg and sugar mixture reaches 145°F for at least 15 seconds. This temperature is high enough to kill harmful bacteria.
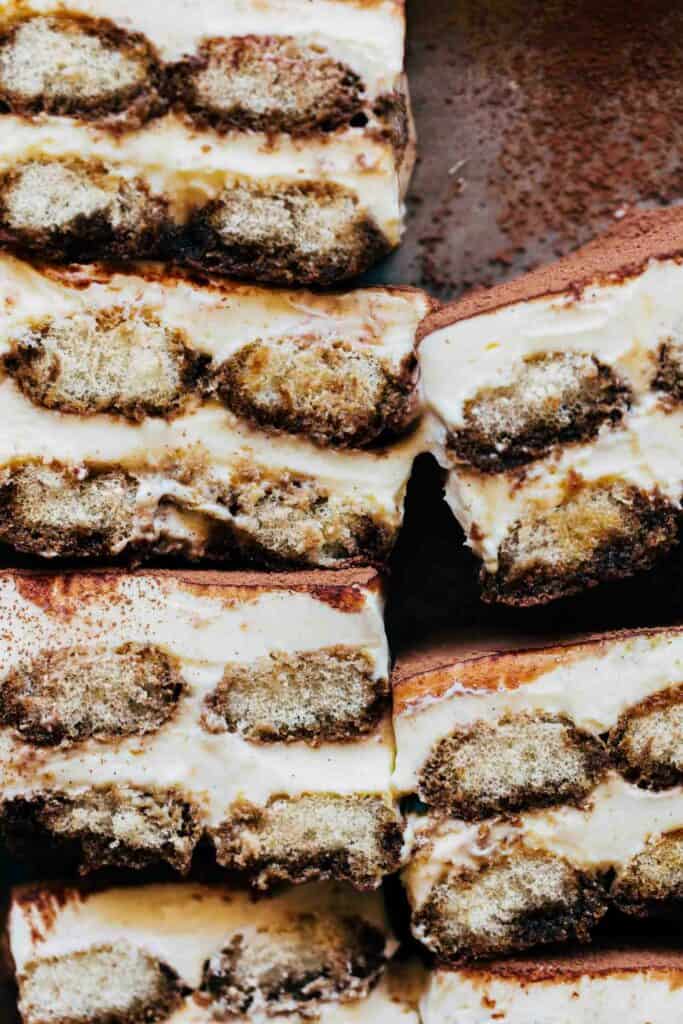
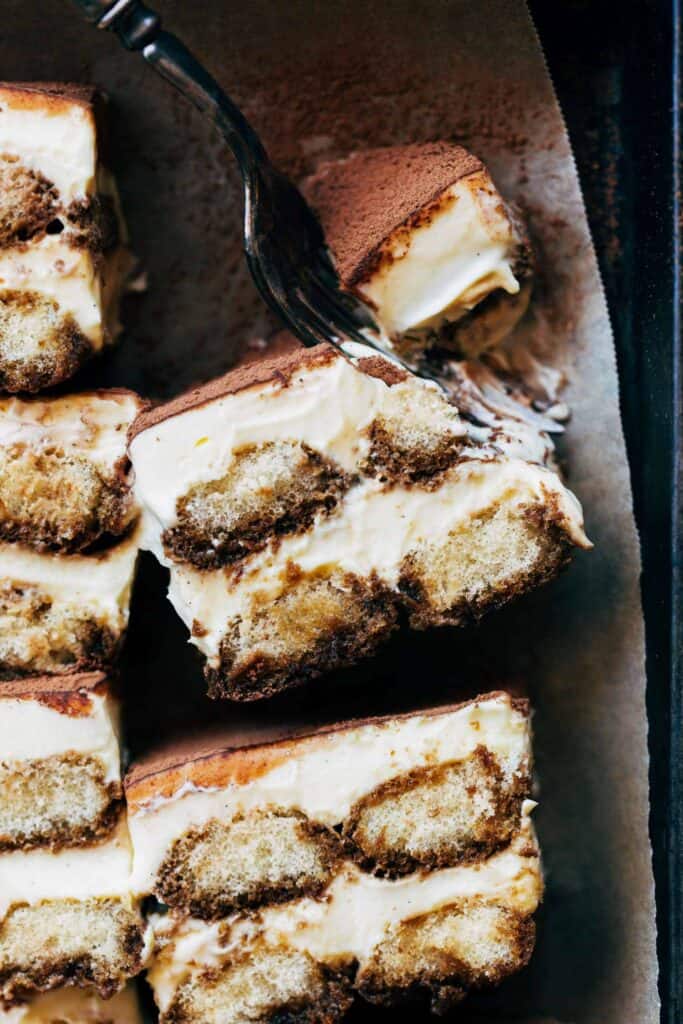
For clean slices, first make sure the tiramisu is fully set by chilling it overnight. Use a sharp, thin knife dipped in hot water and cleaned between cuts to slice through neatly.
Tiramisu is versatile and can be served on a festive holiday table (Think Christmas, Easter, or Thanksgiving!) or at an elegant dinner party. It’s best served chilled, straight from the refrigerator, which means it can be made ahead of time. After that first initial cut into it, which may be a bit messy, the rest of the slices come out clean and can be scooped out or sliced.
Keep the tiramisu refrigerated, covered tightly with plastic wrap or in an airtight container. It’s best enjoyed within 3 days.
To freeze, wrap the entire dish securely in plastic wrap followed by a layer of aluminum foil. It can be frozen for up to 3 months. Thaw overnight in the refrigerator before serving.
For more classic dessert recipes, check out my:
- Classic Cheesecake
- Bakery Style Chocolate Chip Cookies
- Classic Vanilla Cake
- Chocolate Fudge Brownies
- Vanilla Cupcakes
- Moist Chocolate Cake
Make sure to tag me @butternutbakery on Instagram if you make this classic tiramisu. I love seeing my recipes come to life in YOUR kitchen! To pin this recipe and save it for later, you can use the button on the recipe card, the buttons above or below this post, or on any of the photos above. Happy baking!
Watch how to make this Classic Tiramisu:

Classic Tiramisu
- Total Time: 30 minutes + Overnight Chill
- Yield: 9 Slices
Description
This incredible tiramisu recipe is a delicious no bake dessert with a silky smooth mascarpone filling and espresso soaked lady fingers. Taking extra care to pick the right ingredients, this tiramisu has the best flavor with a texture that just melts in your mouth. This recipe also fills an 8×8 pan, but a larger 9×13 option is in the recipe notes!
Ingredients
Tiramisu Coffee Soak
- 7 oz package crispy ladyfingers, regular or gluten free
- 1 1/2 cups (350g) hot water
- 6 tbsp (27g) instant espresso powder*
- 1 tbsp granulated sugar
- 2 tbsp amaretto (optional, but very delicious)
Tiramisu Filling
- 5 large egg yolks
- 1/2 cup (100g) granulated sugar
- 16 oz mascarpone**, chilled (I use BelGioioso)
- 1/4 tsp kosher salt
- 2 tsp vanilla bean paste, or vanilla extract
- 3/4 cup (180g) heavy cream
- Unsweetened cocoa powder, for dusting
Instructions
Tiramisu Coffee Soak
- NOTE: This recipe fills an 8×8 pan. For a 9×13 option, see ingredients in the recipe notes.
- Fill a medium saucepan with about 2 cups of water and bring to a simmer over medium high heat.
- While that heats, add the instant espresso and granulated sugar to a shallow dish.
- When the water reaches a simmer, measure out 1 1/2 cups and then pour the hot water over the espresso and sugar. Stir to combine then mix in the amaretto if using. Set aside.
Tiramisu Filling
- To the same saucepan, fill with about an inch or two of water and place over medium heat.
- Now choose a mixing bowl that’s heat-safe and can sit over the saucepan without touching the water.
- To that bowl, whisk together the egg yolks and sugar.
- Place over the pot of simmering water (make sure it never reaches a boil), and continuously whisk until the sugar is fully dissolved (about 8-10 minutes). Test by rubbing a tiny amount between your fingers. If you can no longer feel any granules, it’s ready.
- NOTE: If you’d like to ensure the eggs are heated for safe consumption, test that the mixture reaches at least 145F and holds there for 15 seconds. In my testing I found it always surpasses this temperature, but it’s always good to check.
- Remove the bowl from the heat and place inside a larger bowl filled with ice. Continue whisking until the mixture is completely cooled. Alternatively, you can simply transfer the bowl to the refrigerator to cool. This will just take a bit longer so if you choose the refrigerated option, continue on to the next step once the mixture has completely cooled.
- In a separate mixing bowl (I just dump out the bowl filled with ice and wipe it dry), add the mascarpone, salt, and vanilla bean paste. Using an electric mixer, mix until smooth.
- Now with the mixer running, slowly pour in half of the heavy cream. Once combined, stop and scrape down the bowl and then continue mixing in the rest of the cream.
- Once it’s well combined, crank the mixer up to high speed and whip for about 2 minutes or until thick and fluffy.
- Scoop half of the whipped mascarpone into the cooled bowl of egg yolks and use a whisk to fold to combine (the whisk will help work out any lumps, but be careful not to overwork the mixture).
- Once smooth, scoop in the rest of the mascarpone and fold to combine.
- For assembly, very quickly dunk the ladyfingers into the coffee soak (just for a second) and arrange in the bottom of an 8×8 pan. You may need to cut a tiny bit off one row of the cookies to make sure everything fits snug.
- Spread on half of the mascarpone filling and then arrange another layer of dunked lady fingers on top.
- Finish with a layer of the remaining mascarpone and spread even. Cover the pan with plastic wrap and chill overnight.
- The next day, remove the plastic wrap and if it left any texture on the surface just spread it smooth.
- Top with a dusting of cocoa powder and enjoy! This tiramisu has a silky smooth texture that can either be scooped out or sliced onto neat squares.
Notes
*ESPRESSO: Instant espresso definitely provided the best flavor for this tiramisu. I tried a strong brew of medium roast coffee as well, but it just didn’t pack a punch in flavor. That being said, you’re welcome to use your favorite coffee if you prefer.
**MASCARPONE: I tested this recipe with a couple different mascarpone brands and found that BelGioioso produced the best consistency. The others contained a bit more water and thus a softer tiramisu filling. Definitely still delicious, but created more of scoopable tiramisu rather than stable slices.
9X13 OPTION: This follows all of the same instructions as above.
Coffee Soak
- 14 oz package crispy ladyfingers
- 2 cups (478g) hot water
- 8 tbsp (37g) instant espresso powder
- 1 1/2 tbsp granulated sugar
- 3 tbsp amaretto (optional)
Filling
- 7 large egg yolks
- 3/4 cup (150g) granulated sugar
- 24 oz mascarpone, chilled (BelGioioso)
- Heaping 1/4 tsp kosher salt
- 3 tsp vanilla bean paste, or vanilla extract
- 1 1/4 cups (300g) heavy cream
- Unsweetened cocoa powder, for dusting
- Prep Time: 30 minutes
- Chill Time: Overnight
- Category: Dessert
- Method: No Bake
- Cuisine: Italian
Join Our Community

Meet Jenna
I’m the creator, baker, and photographer behind Butternut Bakery. Here I share desserts for every diet because I believe everyone should have a chance to indulge!



For the 9×13 pan, the lady fingers are doubled but not the filling? I would love to make this but just want to confirm..Thanks!
Yes double the filling is too much so it’s only increased by a quarter, whereas a 9×13 pan needs double the amount of lady fingers to fill it.
Made this yesterday and just took it out to have a bit and it is SO good and was really easy to make
Looking forward to making tiramisu. Chose classic recipe and cooked egg yolks saved my concern. Thanks.
This recipe is amazing! Thank you 💕
Absolutely love this recipe.