Gluten Free Pumpkin Bars
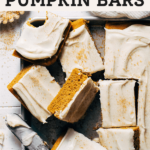
These gluten free pumpkin bars are super moist and smothered in a rich maple cream cheese frosting. They’re the perfect dessert to make for a crowd as they’re quick, easy, and always delicious!
This post is sponsored by Bob’s Red Mill but all thoughts and opinions are my own. Thank you for supporting the brands that make Butternut Bakery possible!
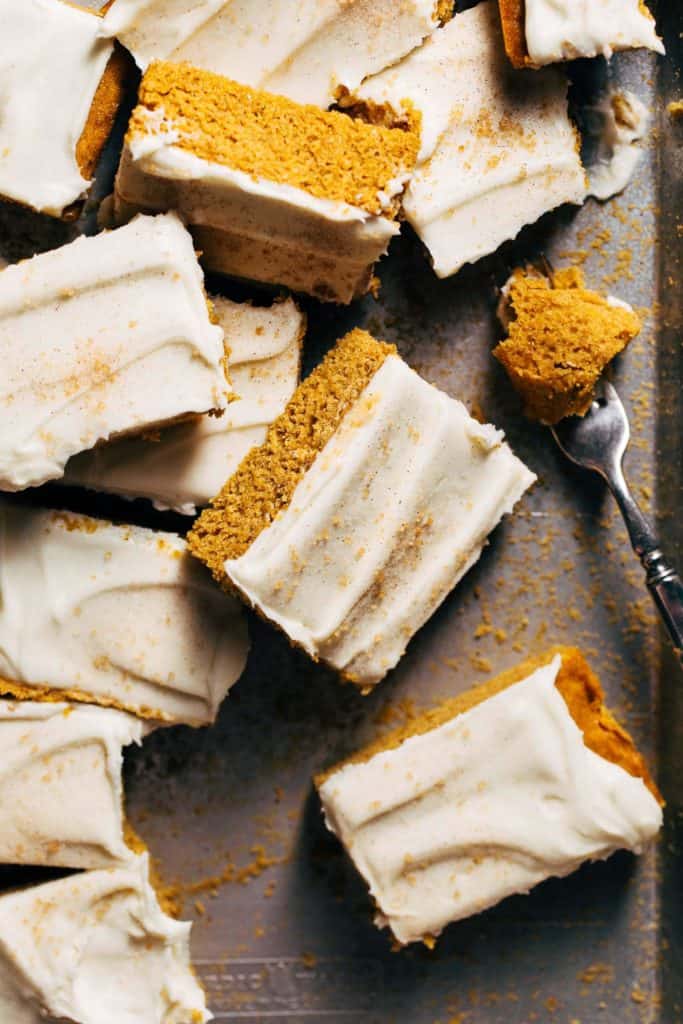
Pumpkin Bars vs Pumpkin Cake
Pumpkin bars may look very similar to pumpkin cake, but they are not one and the same.
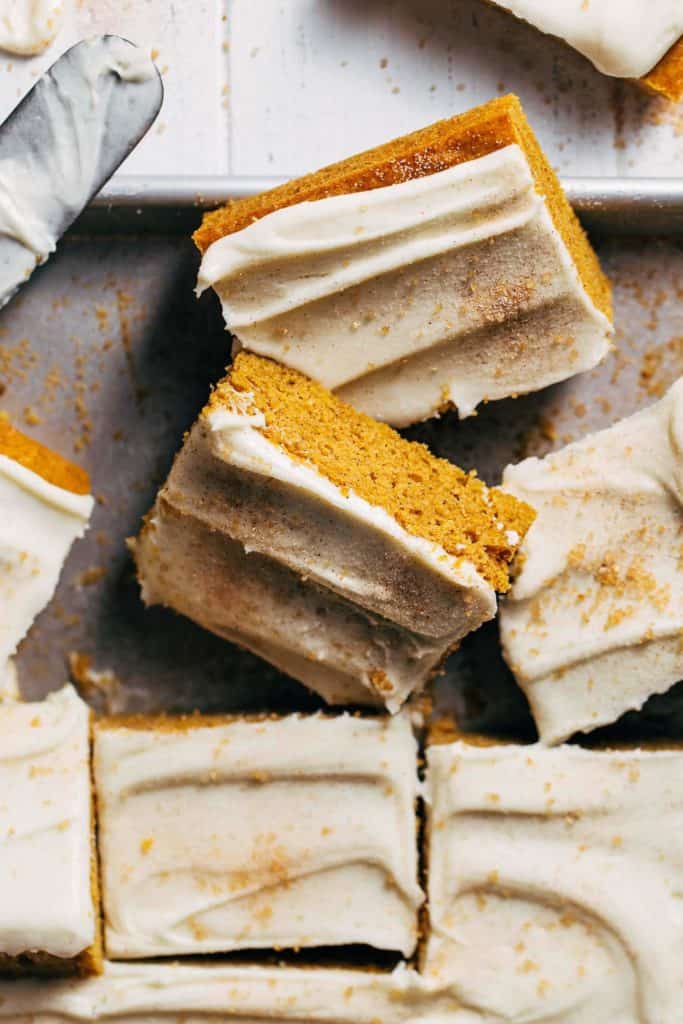
Pumpkin bars have a more rich and dense consistency, but not too far to where they mimic something like a brownie. In other words, they hit right in the middle of a fudgy brownie and fluffy cake.
They get this signature consistency for two main reasons:
- The Batter – Pumpkin bars are made with a higher fat content. For example, I added extra eggs and butter to this recipe to make it really rich.
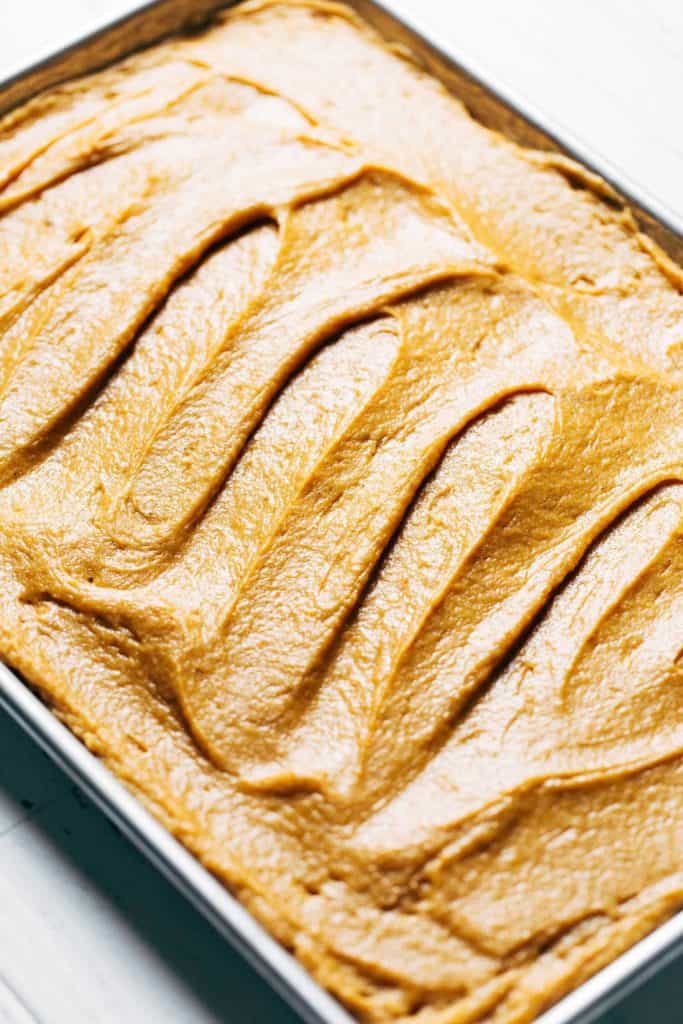
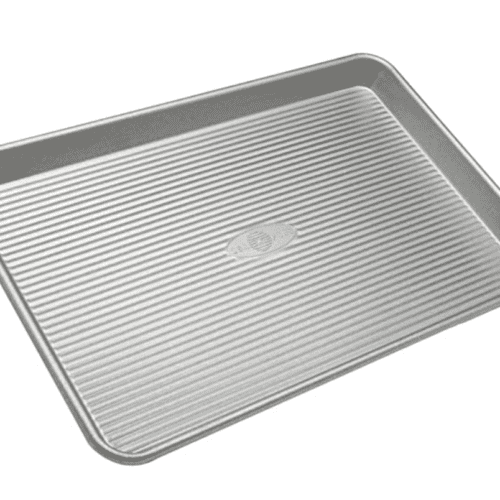
- The Pan – These bars are traditionally baked in a jelly roll pan which causes the batter to spread thin. This allows the bars to bake quickly and evenly, so the entire batch has the same amount of minimal lift all throughout.
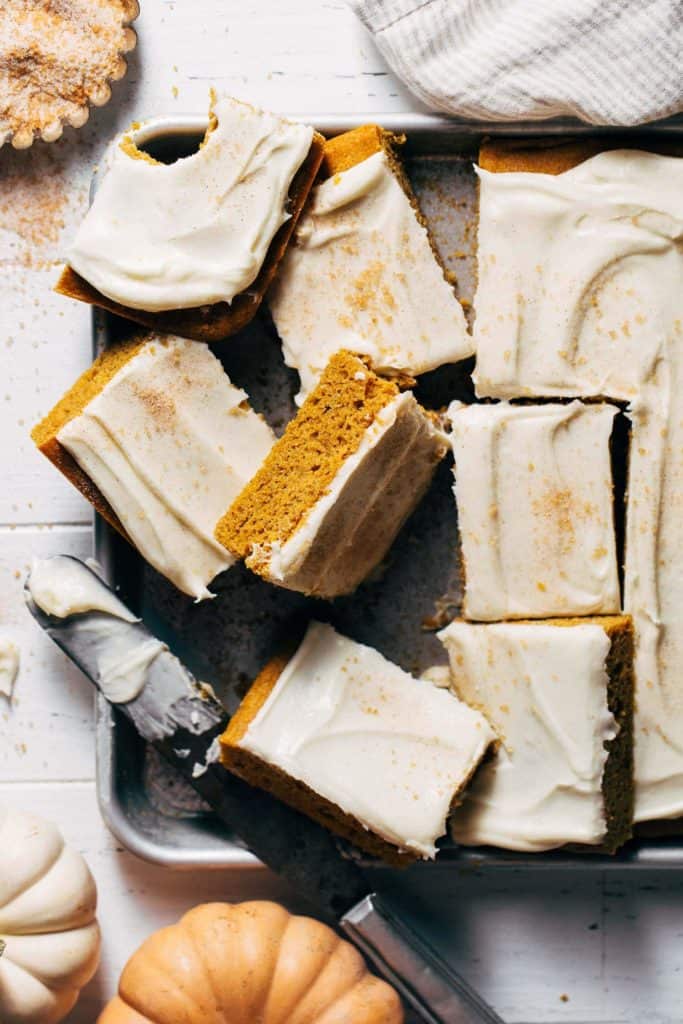
Pumpkin bars are also traditionally paired with cream cheese frosting. But this version is even creamier than traditional cream cheese frosting as it’s spread right on top.
How to make gluten free pumpkin bars
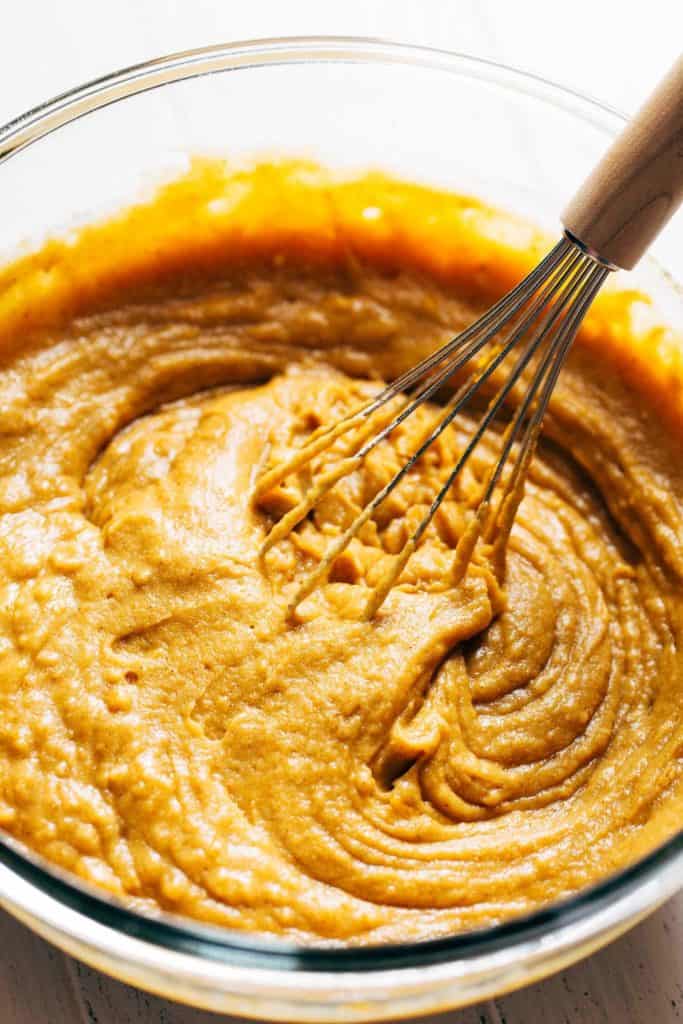
What I love about this recipe is that the gluten free pumpkin bar batter is mixed by hand. This makes it a super easy recipe that churns out delicious results. Here’s what to keep in mind when making these pumpkin bars:
- Bob’s Red Mill Gluten Free 1-to-1 Baking Flour – This is my all time favorite gluten free baking flour. It works just like traditional flour, with a balanced blend of just the right ingredients. Using gluten free flours, starches, and xanthan gum, Bob’s Red Mill Gluten Free Flour provides just the right amount of bounce and texture to these bars. To ensure they turn out just right, I recommend weighing the flour rather than measuring by cups. This will ensure accuracy so these bars can turn out perfectly moist.
- Mixing – The recipe starts by whisking together the dry ingredients. For this step, REALLY whisk them together to the point where it may seem like too much. By evenly distributing the leaveners (baking powder and baking soda) throughout the dry ingredients, this prevents any large bubbles or pockets of air inside the pumpkin bars. Without these, the bars turn out evenly baked and dense.
- Melted Butter – Many pumpkin recipes are made with oil rather than butter. This is because pumpkin will likely mask the oil flavor. But for these gluten free pumpkin bars, I found that a hint of butter flavor helped elevate this recipe. The butter fat content also makes these bars extra rich.
- Eggs – I find that extra eggs always help provide even more lift to gluten free desserts. That’s why this recipe calls for 4 large eggs. It may seem like a lot, but it’s just the right amount to enhance that dense and moist consistency.
Cream Cheese Frosting for Gluten Free Pumpkin Bars
Cream cheese and pumpkin are like a match made in heaven. The mellow flavor of the pumpkin paired with the rich tartness of the cream cheese work so well together.
That’s why these bars are smothered in a layer of cream cheese frosting. To help elevate the flavors even more, maple syrup is mixed in to create a rich warmth.
The cream cheese frosting itself is very easy to make. Just mix together room temperature cream cheese, butter, powdered sugar, vanilla, and maple syrup.
But the trick is to use these ingredients at the right temperature. It’s very important that both the cream cheese and butter are softened at room temperature. If not, the cream cheese frosting will turn out lumpy.
This frosting is also very creamy, so the one other important factor to keep in mind is the temperature of the bars. The bars MUST be chilled before frosting, otherwise the frosting will completely melt on the surface. Luckily they don’t take long to cool down!
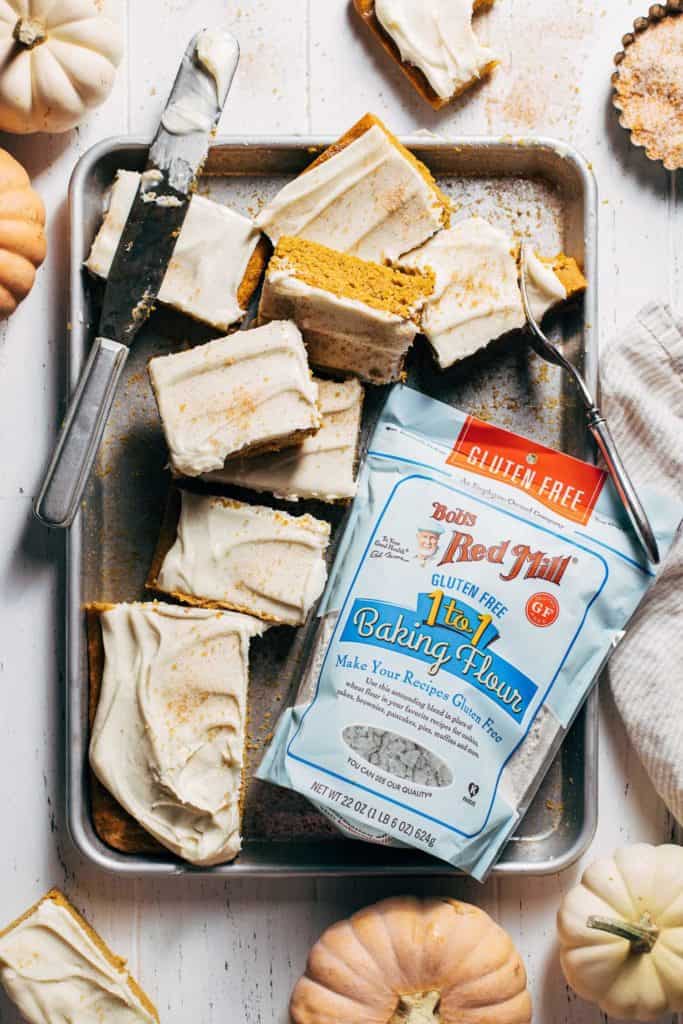
Serving gluten free pumpkin bars
Although the bars must be chilled for the frosting, they are best served at room temperature. This is when they’re incredibly moist and the frosting is super silky.
I recommend leaving the bars out at room temperature for about 30 minutes to 1 hour before serving, depending on how chilled they are to start.
Can this recipe be made dairy free?
Due to the large amount of eggs in this recipe, I can’t recommend a vegan option. But I have tried this recipe with vegan butter and it worked great! As for the cream cheese, swap with any vegan cream cheese. I also suggest adding about 2 tablespoons of cornstarch to the forsting to help tighten it up as vegan cream cheese tends to be a bit thinner.
Can pumpkin bars be made in a cake pan?
Unfortunately not. In order to achieve their signature soft, dense, and moist texture a jelly roll pan must be used. The batter can be spread very thin in a pan this size, which is what allows these bars to bake into just the right texture.
For more gluten free fall recipes, check out my:
- Gluten Free Pumpkin Muffins
- Healthy Pumpkin Bread
- Vegan Caramel Pecan Cheesecake Bars
- Apple Cider Donuts
- Cinnamon Sugar Apple Butter Pie
- Apple Crisp
Make sure to tag me @butternutbakery on Instagram and leave a review below if you make these gluten free pumpkin bars. To pin this recipe and save it for later, you can use the button on the recipe card, the buttons above or below this post, or on any of the photos above. Happy baking!
Print
Gluten Free Pumpkin Bars
- Total Time: 40 minutes + 2 hours cooling
- Yield: 24 bars
- Diet: Gluten Free
Description
These gluten free pumpkin bars are super moist and smothered in a silky maple cream cheese frosting. They’re also SO easy to make using Bob’s Red Mill gluten free baking flour!
Ingredients
Gluten Free Pumpkin Bars
- 2 cups (285g) Bob’s Red Mill Gluten Free 1-to-1 Baking Flour
- 2 tsp baking powder
- 1 tsp baking soda
- 1/2 tsp salt
- 2 1/2 tsp ground cinnamon
- 1/2 tsp ground ginger
- 1/4 tsp ground nutmeg
- 1/8 tsp ground clove
- 1 cup (220g) unsalted butter, melted
- 1 cup (205g) light brown sugar, packed
- 1/2 cup (100g) granulated sugar
- 4 large eggs, room temp
- 2 tsp vanilla extract
- (1) 15 oz can pumpkin puree (not pumpkin pie filling)
Maple Cream Cheese Frosting
- 8 oz full fat cream cheese, room temp
- 1/2 cup (110g) unsalted butter, room temp
- 3 cups (300g) powdered sugar
- 1 tsp vanilla bean paste (or vanilla extract)
- 2 tbsp pure maple syrup
Cinnamon Sugar (optional)
- 1 tbsp granulated sugar
- 1 tsp ground cinnamon
Instructions
Gluten Free Pumpkin Bars
- Preheat the oven to 350F and grease a 10×15 jelly roll pan.
- In a medium bowl, thoroughly whisk together the flour, baking powder, baking soda, salt, and spices. Set aside.
- In a large mixing bowl, whisk together the butter, brown sugar, and sugar until smooth and well combined.
- Whisk in the eggs two at a time, followed by the vanilla.
- Whisk in the pumpkin until smooth.
- Pour in half of the dry ingredients and whisk to combine. Pour in the other half and whisk just until the batter comes together and no lumps remain.
- Spread the batter in the greased pan and bake for 20-25 minutes, or until a toothpick in the center comes out clean with a few moist crumbs.
- Allow the bars to cool at room temperature for about 30 minutes, then transfer to the refrigerator to chill completely for about 1-2 hours. It’s important that the bars are completely cooled before adding the frosting, otherwise it will melt on top.
Maple Cream Cheese Frosting
- Mix together the cream cheese and butter using a hand or stand mixer with the whisk attachment.
- Once smooth, scrape down the bowl and mix in the powdered sugar 1 cup at a time.
- Scrape down the bowl again and mix in the vanilla and maple syrup.
- Scoop all of the frosting onto the cooled bars and spread it even. Sprinkle with cinnamon sugar if desired. Now slice and enjoy!
Equipment
 Buy Now →
 Notes
MAKE AHEAD – The easiest option is to make the bars, allow to cool for 45 minutes at room temperature, then wrap the pan in plastic wrap and chill for up to 2 days. Then when you’re ready, make the frosting and spread it on top for serving.
STORAGE – The bars are best served at room temperature, so let them sit out for about an hour before eating. Otherwise, always store in the refrigerator. The bars will stay fresh if stored with the frosting uncovered for about a day, otherwise they’ll start to dry out. If you’ve already served the bars and have leftover slices, store the slices in an air tight container in the refrigerator where they will keep fresh for up to 5 days.
DAIRY FREE – Use vegan baking butter in place of the butter in both the bars and frosting. As for the cream cheese, swap with any vegan cream cheese. I suggest adding about 2 tablespoons of cornstarch to the forsting to help tighten it up as vegan cream cheese tends to be a bit thinner.
- Prep Time: 20 minutes
- Cook Time: 20 minutes
- Category: Dessert
- Method: Baking
- Cuisine: American
Join Our Community

Meet Jenna
I’m the creator, baker, and photographer behind Butternut Bakery. Here I share desserts for every diet because I believe everyone should have a chance to indulge!

These bars exceeded my expectations!! So moist with the perfect amount of frosting. I cannot wait to make them again! They were a huge hit.
These bars exceeded my expectations!! So moist with the perfect amount of frosting. I cannot wait to make them again! They were a huge hit.
I bought a jelly roll pan just for these bars. It is the most requested from friends that I make these for get togethers. So moist and the frosting isn’t too sweet.