No Bake S’mores Cheesecake
This s’mores cheesecake is the perfect EASY dessert made with a graham cracker crust, no bake cheesecake filling, chocolate ganache, and a cloud of toasted marshmallow meringue on top. The flavor is sweet, creamy, chocolatey, and tastes just like a s’more in cheesecake form! It’s also made without gelatin or thickeners, but holds up just as well as a baked cheesecake filling.
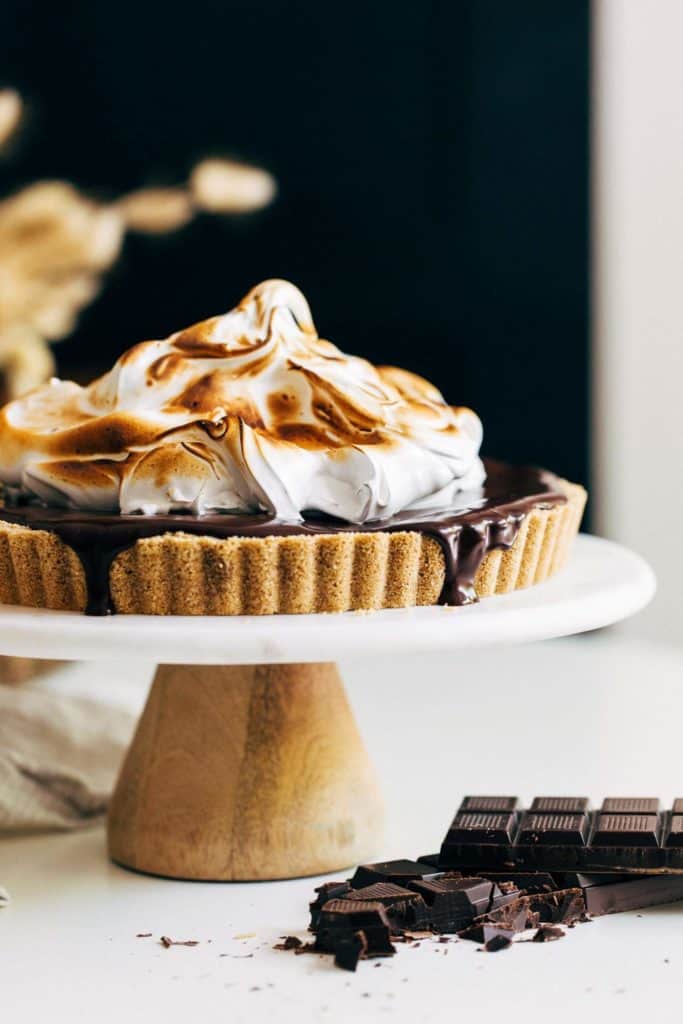
EASY no bake s’mores cheesecake
What I love about this recipe is that it looks fancy, but is actually so easy to make. Each layer is made up of very simple ingredients, and the only difficult part is having to wait for the cheesecake to chill and set. Here are the 4 layers that make up this delicious s’mores no bake cheesecake:
- Graham Cracker Crust – This is made up of 3 ingredients that are mixed together and pressed into a 9″ tart pan. Just freeze to set.
- No Bake Cheesecake Filling – Comprised of just 4 ingredients, this is the EASIEST no bake cheesecake because it does not require any thickeners or gelatin. The secret is using white chocolate. This helps stabilize the cream cheese to give it that thick but creamy texture that holds together when sliced.
- Chocolate Ganache – The chocolate portion of our s’more is a thick layer of rich chocolate ganache. This requires only 2 ingredients and is poured on top of the chilled cheesecake.
- Marshmallow Meringue – This is the most “difficult” layer as it requires a couple extra steps. But once you know exactly what to look for at each stage, you’ll realize just how easy it is to make your own thick and silky meringue.
Tips for making a strong no bake graham cracker crust
No bake graham cracker crusts tend to be quite crumbly and unstable. To hold up against this thick cheesecake, the crust must be strong and dense.
The key is landing the perfect ratio between graham cracker and butter. The butter will solidify when chilled, holding the graham cracker together. To further enhance this structure, brown sugar is mixed into the crust. Not only does this add sweetness, but it will crystalize with the warm butter and create a firm texture after set.
Most importantly, make sure to firmly pack the crust into your tart pan. The tighter the crust is, the less likely it is to crumble.
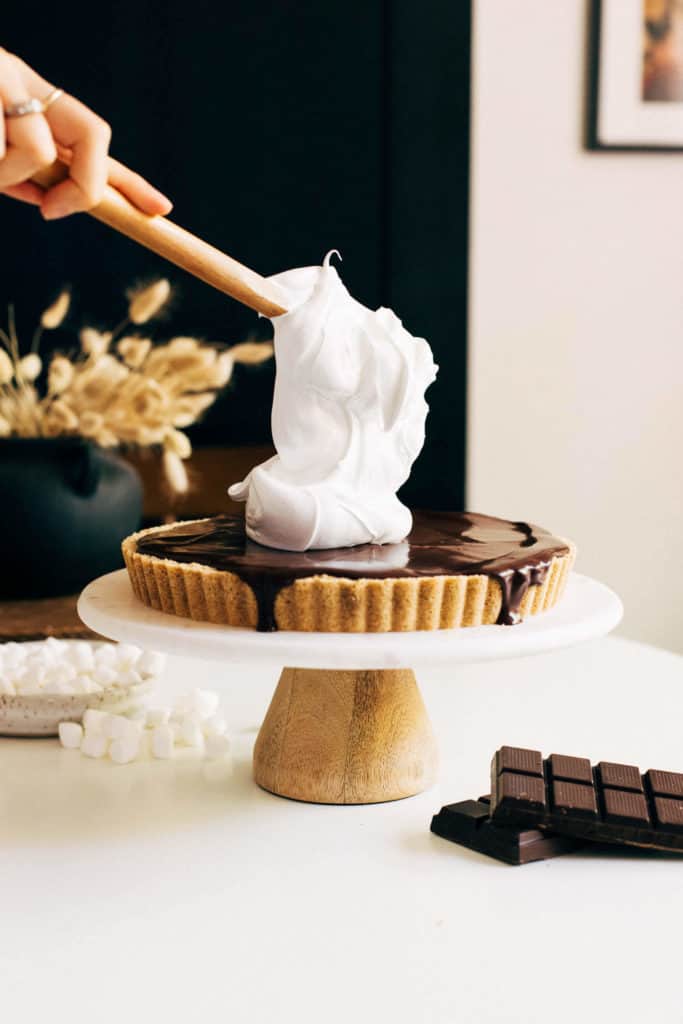
How to make no bake cheesecake without gelatin
Ok, I know I said the best part about this recipe is how easy it is to make..BUT this no bake cheesecake filling is a game changer. It’s dense, creamy, and tastes so much like a baked cheesecake with a firm texture and sweet flavor.
The secret is in using chocolate to help thicken and hold together this cheesecake filling. To help stay true to a traditional cheesecake, I used white chocolate in this recipe. If you aren’t a fan of white chocolate, don’t worry because you CAN NOT taste it. It’s simply there to stabilize the cheesecake.
Can I use a different type of chocolate?
If you want to enhance the chocolate flavor of this cheesecake, you can opt to swap the white chocolate with dark or semisweet chocolate. It won’t overpower the cheesecake, but it will add a slight chocolate flavor to this filling.
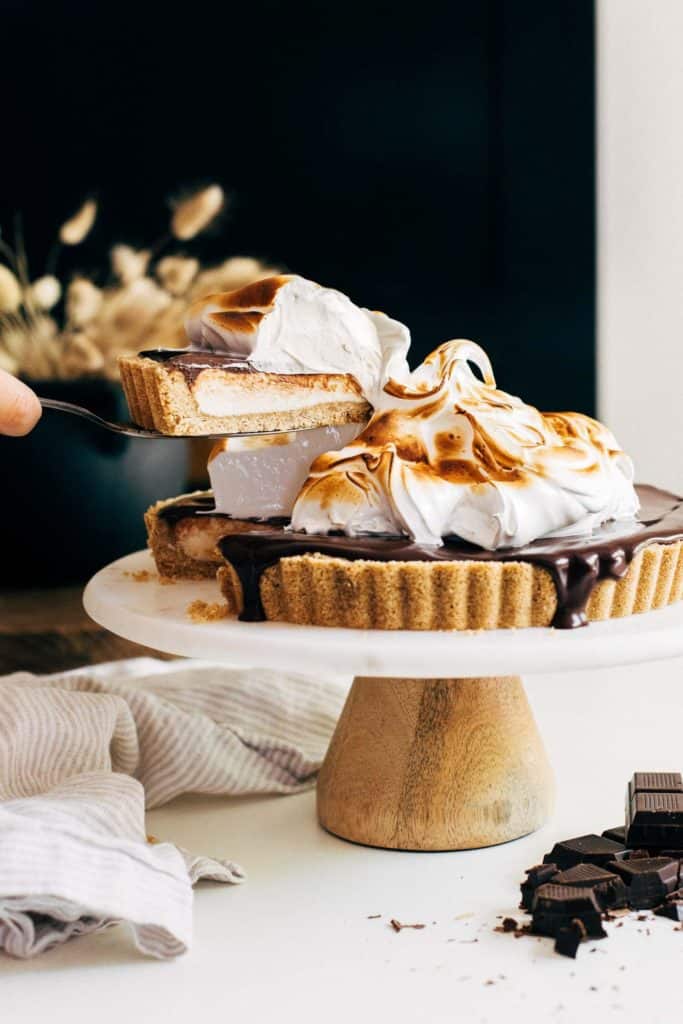
How to make marshmallow meringue for no bake s’mores cheesecake
This is the final step of this recipe and can be the most complicated. Notice I say CAN be because each step is very simple, you just have to know exactly what to look for. Here’s how to approach each step:
- Heating – Start by heating egg whites and sugar in a bowl over a pot of simmering water. This slowly breaks down the sugar without scrambling the egg. As it warms up, the sugar granules will dissolve in order to bring you a silky smooth meringue. After about 10 minutes, test the mixture to make sure it’s ready. Rub a bit of the egg white between two fingers. If you can no longer feel any granules, it’s ready to mix. If there’s a bit of a gritty texture, keep heating until completely dissolved.
- Mixing – Remove your bowl from the pot of water and place it on a stand mixer with the whisk attachment. Whisk on high speed to whip air into those egg whites to create a fluffy meringue. You can see it transition from dingy and translucent to white and opaque. Right when it turns a bit more opaque, mix in the cream of tartar and vanilla. The cream of tartar helps further stabilize the meringue to give it a strong structure and the vanilla will give it more flavor.
- Finalizing – After about 5 minutes of mixing, the mixture will thicken significantly. To test if it’s ready, pull the whisk straight out from the mixture and turn it right side up. If the meringue flops to the sides, it needs more time mixing. If it stands straight up with a slight curl on the end (like a soft serve ice cream cone) it’s ready.
Dollop the meringue into the center of the chilled cheesecake and gently spread it out towards the edges. Try to create texture if you plan to toast the meringue. This will add different depths of toasty flavor and create a beautiful golden shell on top.
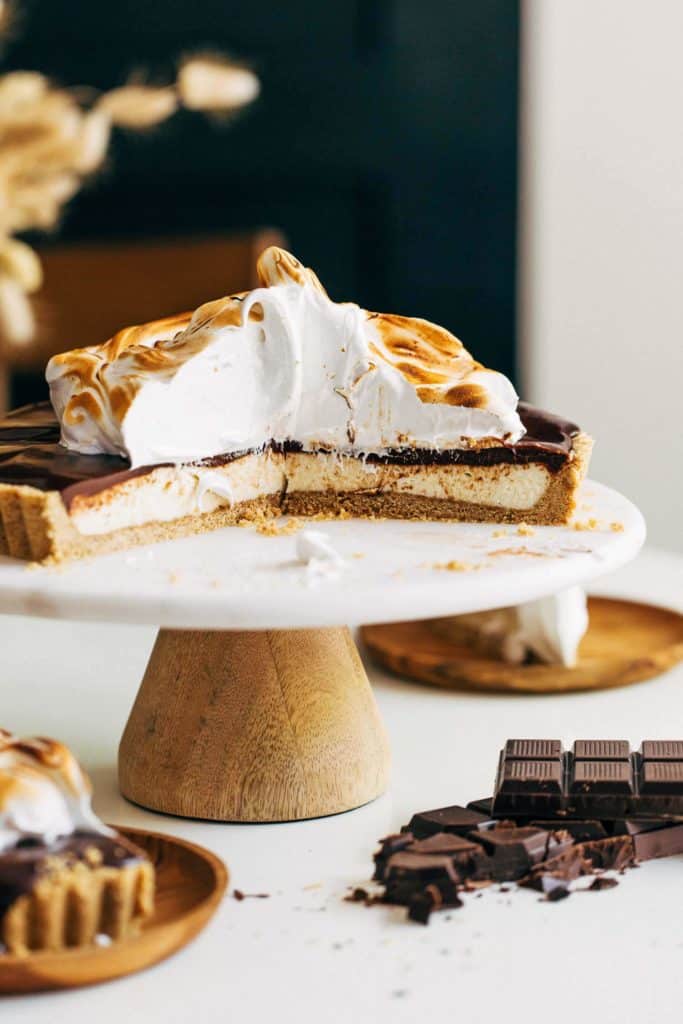
How to store s’mores cheesecake
After you’ve topped it with the meringue, store the cheesecake in the refrigerator at all times. It’s best served chilled, and will soften if left out at room temperature for more than an hour.
Keep it in an air tight container in the refrigerator. If you plan to serve it that day, you can omit the container and chill it uncovered. Otherwise, seal it up and it will keep for about 5-6 days.
Can I make this recipe gluten free?
Yes, the only ingredient in this recipe that contains gluten is the graham crackers. Nowadays there are tons of gluten free graham cracker options. You can also sub for gluten free Oreo sandwich cookies to add even more chocolate flavor to this no bake s’mores cheesecake.
Can I make this in a pie dish?
Yes, you can also make this recipe in a shallow 9 or 10 inch pie dish.
For more s’mores dessert recipes, check out my:
Make sure to tag me @butternutbakery on Instagram and leave a review below if you make this S’mores No Bake Cheesecake. To pin this recipe and save it for later, you can use the button on the recipe card, the buttons above or below this post, or on any of the photos above. Happy baking!
Print
No Bake S’mores Cheesecake
- Total Time: 40 minutes + 5 hours chilling
- Yield: 10-12 slices
Description
This no bake s’mores cheesecake is made with a graham cracker crust, no bake cheesecake filling, chocolate ganache, and toasted marshmallow meringue.
Ingredients
Graham Cracker Crust
- 2 cups (220g) finely ground graham cracker crumbs (can sub with gluten free graham crackers)
- 1/4 cup (50g) light brown sugar
- 1/2 cup (110g) unsalted butter
No Bake Cheesecake
- 16 oz full fat cream cheese, room temp
- 1 cup (120g) powdered sugar
- 4 oz white chocolate, melted
- 1 tsp vanilla extract
Chocolate Ganache
- 4 oz semisweet chocolate, chopped
- 1/2 cup (120ml) heavy whipping cream
Marshmallow Meringue
- 4 large egg whites
- 1 cup (200g) granulated sugar
- 1/2 tsp cream of tartar
- 1 tsp vanilla extract
Instructions
Graham Cracker Crust
- Mix together all of the ingredients and press into a 9″ tart pan. Pack it firmly into the bottom and up against the sides.
- Freeze the crust while you make the cheesecake filling.
No Bake Cheesecake
- Make sure your cream cheese is softened before starting, otherwise you’ll end up with a lumpy filling.
- Using a hand or stand mixer with the paddle attachment, mix together the cream cheese and sugar until smooth and creamy.
- Slowly pour the white chocolate into the cream cheese as the mixer is running. Then add in the vanilla.
- Scrape down the bowl and continue to mix until smooth and combined.
- Pour into the chilled crust and spread it even.
- Chill in the refrigerator for at least 4 hours or until set. If you plan on chilling it overnight, store it in an air tight container.
Chocolate Ganache
- Once chilled, make the chocolate topping.
- Add the chopped chocolate to a heat proof bowl and the heavy cream to a glass measuring cup.
- Heat the heavy cream in the microwave for about 1 minute or until bubbling.
- Pour the hot cream over the chocolate and let it sit for 30 seconds, then whisk to combine.
- Remove the cheesecake from the tart pan and place it on your serving tray. Pour the ganache on top and allow it to completely cover the surface and drip down the sides.
- Place the cheesecake in the refrigerator while you make the meringue.
Marshmallow Meringue
- Add the egg whites and sugar to the heat safe bowl of a stand mixer. If you don’t have a stand mixer, you can use use any heat safe bowl.
- Place the bowl over a pot of simmering water (filling the pot about 1/3 of the way full). Make sure the bowl doesn’t touch the water and don’t let the water come to a boil. Whisk occasionally until the sugar is completely dissolved (about 10 minutes). To test, rub some of the mixture between your fingers. If you still feel sugar granules, keep it over the heat until you can no longer feel those granules.
- Transfer the bowl to the stand mixer with the whisk attachment and whip on high speed. As it turns white and opaque, add in the cream of tartar and vanilla. Keep whisking until it’s thick and glossy. To test, dunk the whisk into the bowl and pull it out. When you turn it right side up, the meringue should stand straight with a slight curl on the end (like a Dairy Queen ice cream cone).
- Dollop the meringue on top of the chilled cheesecake. Use a kitchen torch to lightly toast the top (if you don’t have one, you can omit this step).
- Now slice and enjoy!
Notes
CHOCOLATE – I recommend using good quality chocolate for both the cheesecake and the meringue. It will give you the best flavor and texture. I use Ghirardelli baking squares for both.
STORAGE – Store the cheesecake in an air tight container in the refrigerator. It will keep for up to 5 days.
- Prep Time: 40 minutes
Join Our Community

Meet Jenna
I’m the creator, baker, and photographer behind Butternut Bakery. Here I share desserts for every diet because I believe everyone should have a chance to indulge!


I’ve made this recipe twice now and both times my family has said it’s better than any store bought cheesecake they’ve ever had!
Hi, I see the options to double or triple this recipe. If I double it, do I use two tart pans and make two cakes or do I use one pan and have a super thick cake? Thanks!
This looks amazing! If you are afraid of making a meringue, can you just do toasted marshmallow fluff instead?