Gluten Free Chocolate Cake
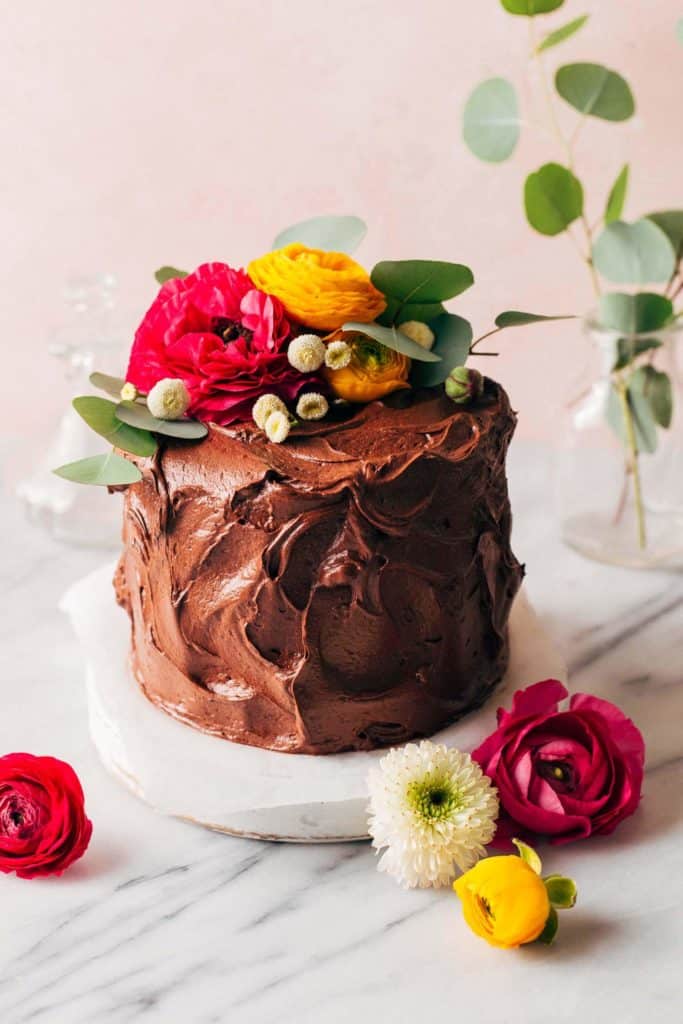
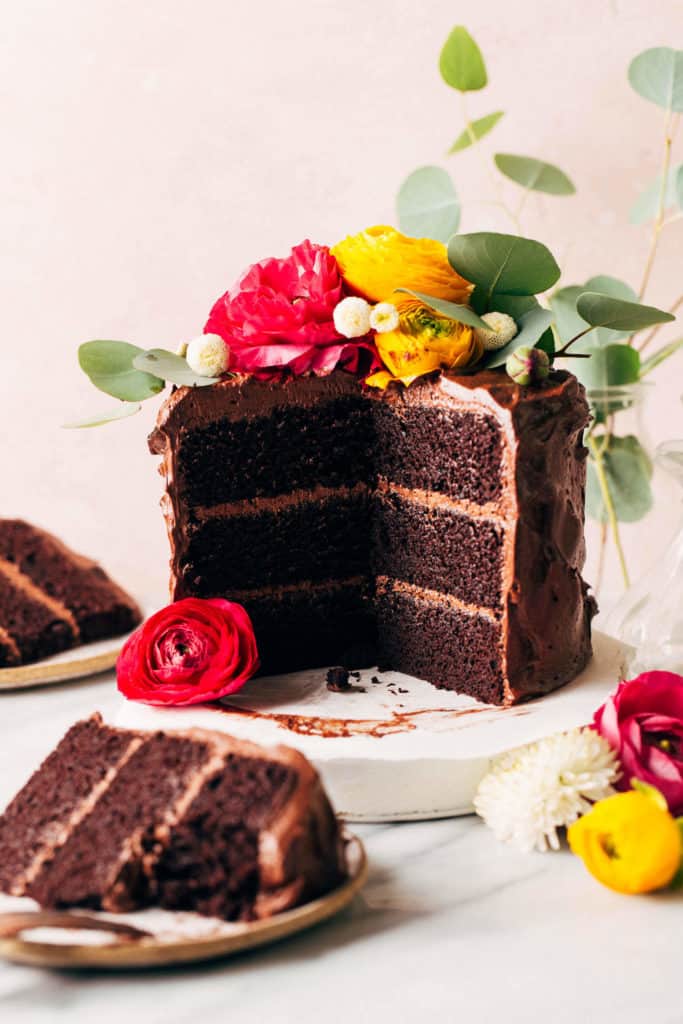
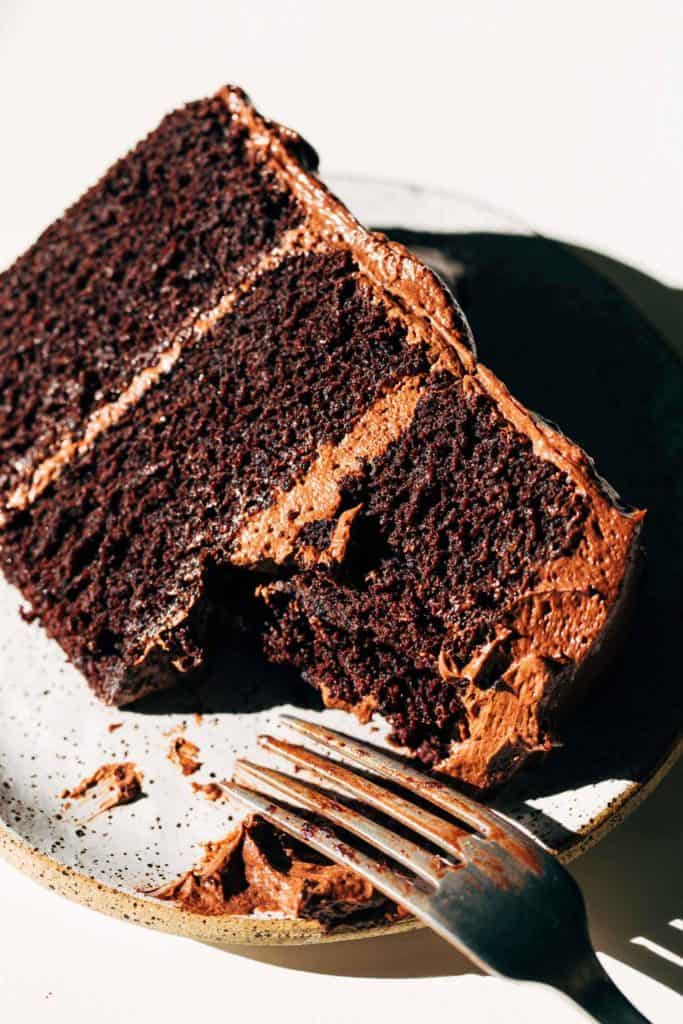
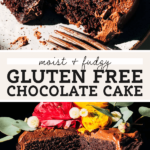
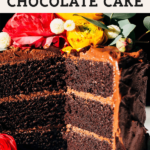
This is the fudgiest gluten free chocolate cake! Or just fudgiest cake in general because it’s just THAT good. Three layers of moist gluten free chocolate cake are stacked and smothered in chocolate sour cream frosting, making each slice sheer chocolate heaven. The cake itself is soft, fluffy, rich, tender, and sneakily gluten free. You truly can’t even tell!
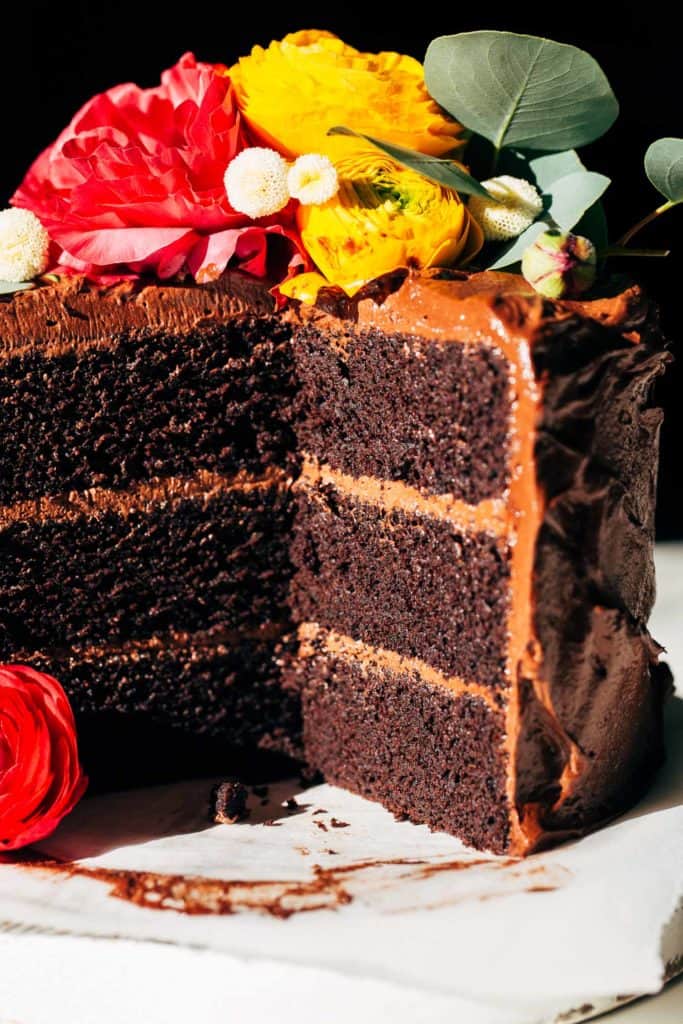
What makes this the BEST gluten free chocolate cake recipe?
Let me rephrase…what makes this the BEST chocolate cake recipe? It’s so good that I really have no need to make a regular gluten-filled cake.
To start, the cake itself is incredibly moist and because it’s gluten free it’s also so tender. Each bite is rich and fudgy and just melts in your mouth.
It also helps that this cake is smothered in chocolate sour cream frosting. It isn’t overly sweet but it’s incredibly smooth.
Besides the fact that this cake is perfect in every way, the process of making it is also very easy. It’s mixed by hand and takes about 20 minutes to pull together.
So even if you aren’t gluten free, definitely give this cake a go. Especially if you have friends or family who can’t consume gluten. They’ll definitely love you even more for making this!
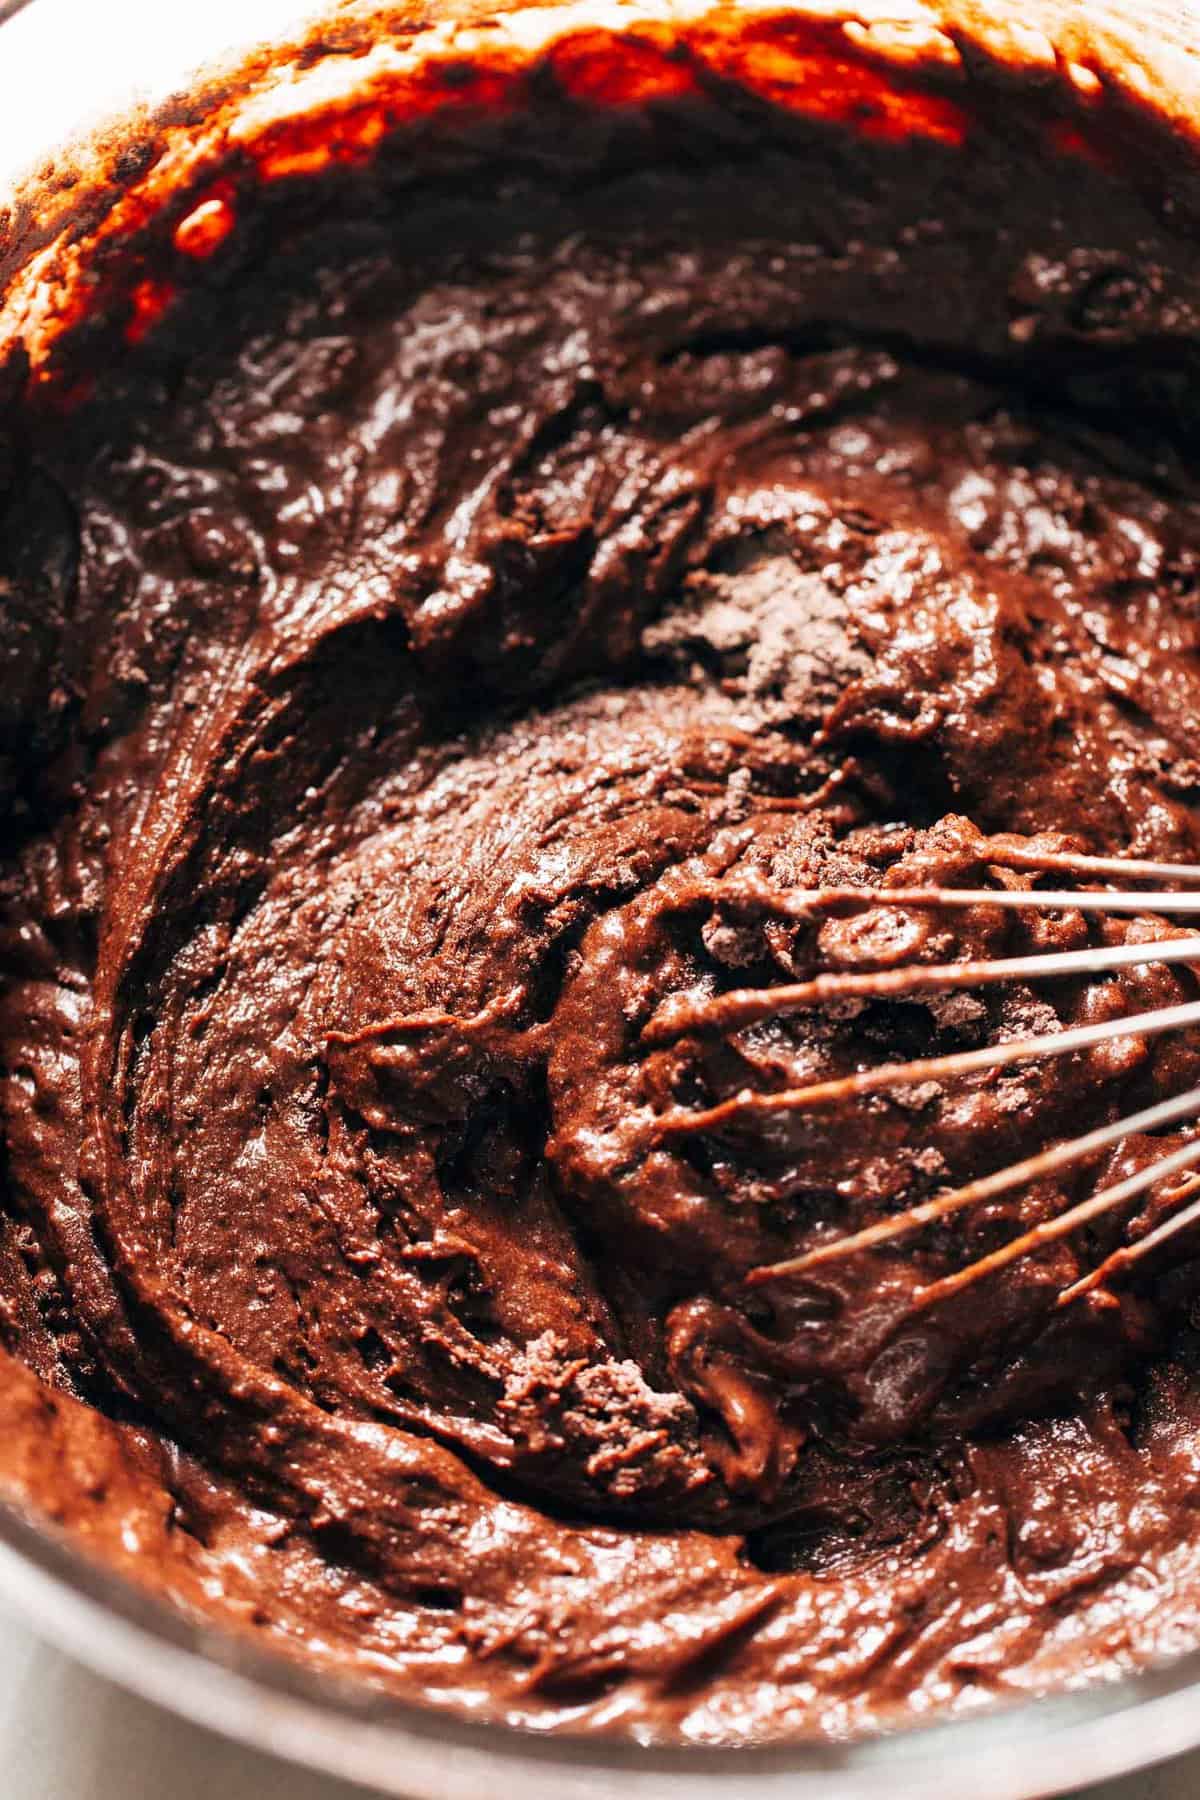
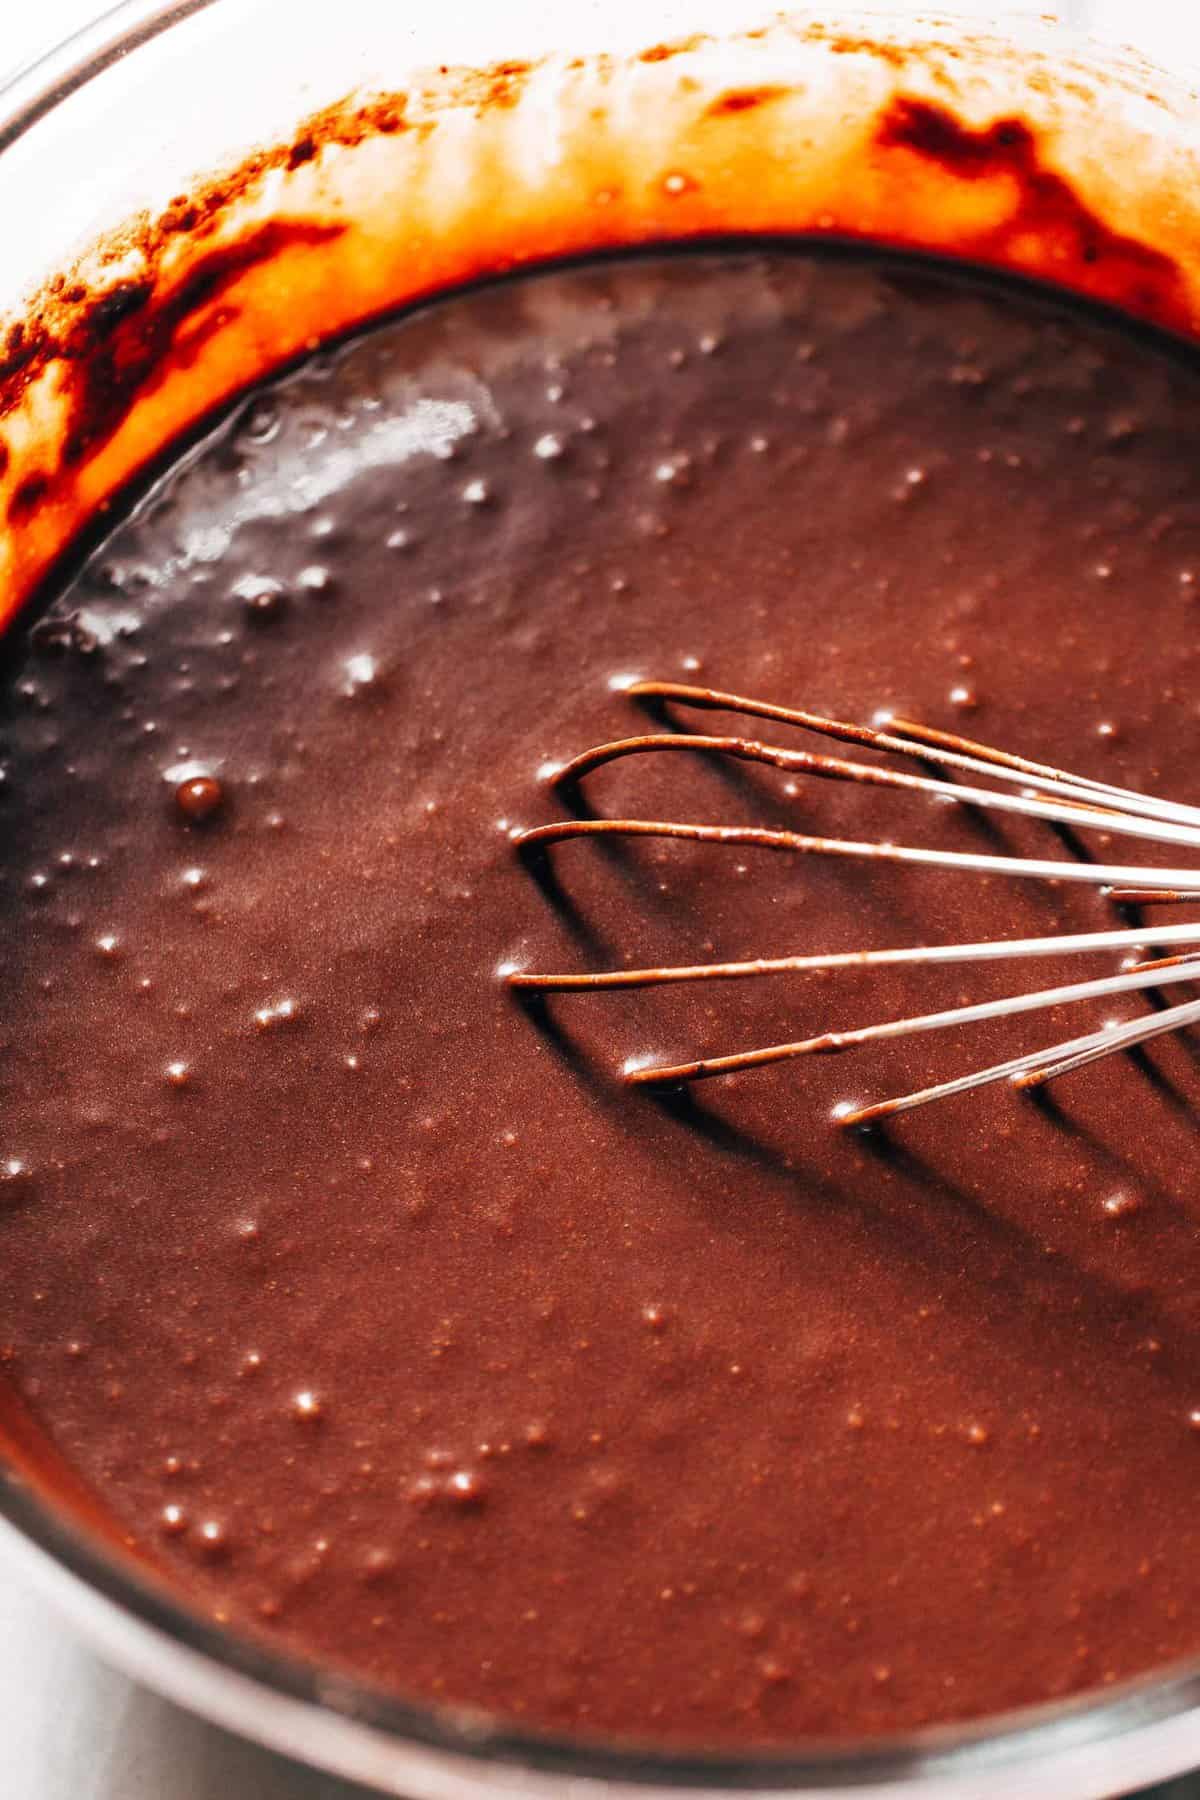
How to make gluten free chocolate cake from scratch
There’s nothing better than a cake recipe that can be mixed by hand. It’s quicker, easier, and less clean up!
So how does this work? There are four main steps to this recipe:
- Dry Ingredients – All of the dry ingredients are whisked together in the main mixing bowl. This includes sugar as well.
- Wet Ingredients – All of the wet ingredients are combined in a separate bowl or large measuring glass.
- Combine – The wet ingredients are mixed in to the dry ingredients to form a thick and fudgy batter.
- Water – Hot water is then mixed in to help hydrate the cocoa. This then leads to a thin chocolate cake batter that’s easy to pour into the cake pans.
That’s it! These four simple steps are all it takes to make gluten free chocolate cake batter completely by hand.
How to tell when gluten free cakes are baked through
Gluten free cakes tend to take a few extra minutes to bake through. This is because they lack the strength of gluten to lift the cake, leading to a cake that’s just a tad bit more dense.
This density just means that the cake needs additional time in the oven to heat all the way through. To tell when it’s ready, always test with a toothpick in the center. If it comes out clean with a few moist crumbs, it’s ready. If some of the batter smears on to the toothpick, bake for another 2-3 minutes.
What is the best gluten free flour for baking cakes?
To make this recipe super simple, I use a good 1-to-1 gluten free baking flour. This means that it can be used cup for cup in place of all purpose flour.
These blends make gluten free baking so easy because they are made to mimic real flour using a combination of different gluten free flours, starches, and gums. My personal favorite is Bob’s Red Mill 1-to-1 gluten free baking flour and it’s the one I used in this recipe.
So when it comes to baking gluten free cakes, opt for a gluten free flour blend that is specifically designed for baking. It should claim this on the bag. Also look for xanthan gum in the mix as this is what creates that bouncy gluten-like texture.
If your blend doesn’t contain xanthan gum, this can be added separately. Simply add 1 teaspoon of xanthan gum for every 1 cup of gluten free flour.
Tips for frosting gluten free chocolate layer cake
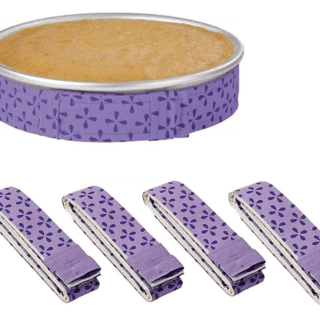
First and foremost, if cake strips are available to you I highly recommend using them. These are thick pieces of fabric that are dampened and wrapped around the cake pans before baking.
The wet fabric prevents the oven heat from penetrating the batter too quickly. Instead, it creates a slow release of heat through to the center of each cake which then leads to a much more even bake.
This even bake provides cakes with a level surface which is ideal for stacking and frosting. If the cakes do not turn out level, it’s totally ok! Simply use a knife or cake level to chop off the tops and reveal a smooth surface. Now you have cake scraps to snack on!
To frost, spread a thin layer of buttercream between each layer. The buttercream in this recipe is very soft, so don’t use too much between the cakes. Otherwise, it will just smoosh out the sides.
After the cakes are stacked, cover the cake in a thin layer of buttercream and spread it smooth. Then chill the cake for about 30 minutes. This helps set the center layers as well as the outside, locking in the layers and any cake crumbs.
Once chilled, the cake is ready to be smothered in a thick layer of chocolate frosting. This can be spread completely smooth or a bit more loose and rustic. Whichever you choose, it will be delicious either way!
Can this cake also be made dairy free?
The cake itself is dairy free, depending on if you use regular or plant-based milk. It works with both!
As for the frosting, I recommend using the frosting recipe from my fudgy vegan chocolate cake. It’s just as silky and smooth but is made with plant-based butter and shortening.
Can the cake be baked ahead of time?
Yes, the cake layers can be baked ahead of time. Once the cakes have baked and cooled, wrap each layer in plastic wrap. Make sure each one is COMPLETELY covered.
The cakes can then chill in the refrigerator for about 3-5 days.
Alternatively, the cakes can be frozen for about 3 months.
How to store gluten free chocolate cake
Once the cake is frosted, it must be stored in the refrigerator. If the cake is still whole and unsliced, it does not need to be in a container in the refrigerator. It will keep fresh for a couple days.
However, if the cake has been sliced, it must be stored in an air tight container OR you can press a sheet of plastic wrap up against the cut open section of the cake. This will also keep fresh for a couple days.
For more gluten free recipes, check out my:
- Gluten Free Banana Bread
- Gluten Free Chocolate Chip Cookies
- Gluten Free Lemon Poppy Seed Bread
- Gluten Free Chocolate Cupcakes
Make sure to tag me @butternutbakery on Instagram and leave a review below if you make this Gluten Free Chocolate Cake. To pin this recipe and save it for later, you can use the button on the recipe card, the buttons above or below this post, or on any of the photos above. Happy baking!
Print
Gluten Free Chocolate Cake
- Total Time: 1 hour 35 minutes + 1 hour chilling
- Yield: 8-10 slices
- Diet: Gluten Free
Description
This super fudgy chocolate cake is soft, moist, and so chocolatey! It’s smothered in creamy chocolate sour cream frosting which makes this cake that much better. Seriously, it’s so dang good you would never even know it’s gluten free.
Ingredients
Gluten Free Chocolate Cake
- 2 cups (280g) 1-to-1 gluten free baking flour
- 1 cup (90g) unsweetened dutch process cocoa powder
- 1 1/2 tsp baking powder
- 1 tsp baking soda
- 1/2 tsp salt
- 1 3/4 cup (360g) granulated sugar
- 1/3 cup (70g) coconut oil, melted
- 3 large eggs, room temp
- 1 tbsp vanilla extract
- 1 cup (235ml) milk, room temp (regular or plant-based)
- 1 tsp apple cider vinegar
- 3/4 cup (118ml) hot water
Chocolate Sour Cream Frosting *see notes for dairy free option
- 1 1/2 cups (g) unsalted butter, room temp
- 2 cups (240g) powdered sugar
- 1 cup (80g) unsweetened dutch process cocoa powder
- 1/4 cup (65g) sour cream
- 2–3 tbsp milk
Instructions
Gluten Free Chocolate Cake
- Preheat the oven to 350F and grease and line the bottom of (3) 6″ round cake pans or (2) 8″ round cake pans with parchment paper. If you have them, wrap the pans in dampened cake strips.
- In a large mixing bowl, whisk together the flour, cocoa, baking powder, baking soda, salt, and sugar.
- In a medium bowl, whisk together the coconut oil, eggs, vanilla, milk, and vinegar.
- Slowly pour the wet ingredients into the bowl of dry ingredients as you whisk the two together. The batter should then be thick and fudgy at this point.
- Pour in the hot water and whisk to combine. The batter should now be very thin.
- Evenly distribute the batter between the cake pans and bake for 35-40 minutes for 6″ cakes or 30-35 minutes for 8″ cakes. Test with a toothpick to make sure the cakes are baked through before removing from the oven.
- Allow the cakes to cool in the cake pans for about 20 minutes. Then run a knife around the inside of the pan and release the cakes to cool completely before frosting. Transfer the cakes to the refrigerator to speed up the cooling process.
Chocolate Sour Cream Frosting
- Using a hand or stand mixer with the paddle attachment, mix the butter until smooth.
- Mix in the sugar, one cup at a time, until smooth.
- Scrape down the bowl and mix in the cocoa powder. Once the frosting becomes too dry, mix in 1 tablespoon of milk.
- Now mix in the sour cream. Scrape down the bowl again and mix.
- Mix in another 1-2 tablespoons of milk if the frosting appears too thick.
- Before assembling, make sure the cakes are completely chilled. If they’re even the slightest bit warm, the frosting will melt on the cakes.
- First, if the cakes need it, use a knife or cake leveler to level off the surface of the cakes.
- Spread a layer of frosting between each cake layer and then spread a thin crumb coat over the entire cake. Chill the cake for about 30 minutes to set the layers and crumb coat.
- Once chilled, spread the remaining frosting over the entire cake. Top with sprinkles, flowers, nuts, or more chocolate. Enjoy!
Notes
*DAIRY FREE FROSTING – To make the entire cake dairy free, use the chocolate frosting recipe from my fudgy vegan chocolate cake. It’s just as smooth and silky as the sour cream frosting shown here.
- Prep Time: 1 hour
- Cook Time: 35 minutes
- Category: Dessert
- Method: Baking
- Cuisine: American
Join Our Community

Meet Jenna
I’m the creator, baker, and photographer behind Butternut Bakery. Here I share desserts for every diet because I believe everyone should have a chance to indulge!


Best gluten free chocolate cake recipe I’ve found to date….thank you for providing!
This was the most moist and decadent chocolate cake I’ve ever had. My friends couldn’t even tell that it was gluten free! Followed the recipe exactly except that I subbed white vinegar for the apple cider vinegar since I didn’t have it on hand. Also chilled the cake layers in the fridge the night before in plastic wrap before stacking+ frosting the next morning. Will absolutely be making this again
I’m making this cake tomorrow (so excited as it looks amazing). How should I adjust the recipe if I don’t have cake strips?
This cake came out perfectly. I used the dark cocoa to mimic the dark velvet cake from another post and kept everything else the same for the gluten free. When I made the buttercream I subbed the milk for espresso – wow!! Incredible. Thank you so much for clear directions for my first gluten free cake for a friend!
Made this cake when I was craving some chocolate. I was a little hesitant to pick a recipe with so few reviews, but it was fantastic!! Absolutely delicious, and I’m making it again a week later because my husband loved it and he isn’t even gluten free! So I had to come leave a review, because this is amazing!
I didn’t make the sour cream frosting because I didn’t have sour cream, but just a regular chocolate buttercream. Yum!
My first successful bake! Instructions so clear and the explanation neat. Thanks!!
This cake is so good. Light, fluffy, and moist. I didn’t have coconut oil, so I substituted butter. I also paired it with a chocolate cream cheese frosting instead of the butter cream, since my family aren’t fans of butter cream. This was so light and moist and paired really well with the chocolate cream cheese frosting. I will be making this from now on instead of the flourless cake.
Hello. Can we just use plain cocoa powder instead . Thank you