Homemade Salted Caramel
This foolproof Homemade Salted Caramel recipe uses only 5 ingredients! It’s so easy to make but creates a rich salted caramel sauce that’s thin when warm, and thick and gooey when cooled. It’s perfect for topping off brownies, cheesecakes, and cupcakes or for baking right into the batter.
Why I love this salted caramel sauce recipe
Who does not love salted caramel? I promise you it is even better made from scratch! Either if you want to make it just to drizzle over ice cream or to make a Salted Caramel Cheesecake, Salted Caramel Brownies or even a batch of Caramel Apple Muffins you can’t go wrong with my tried-and-tested homemade salted caramel recipe.
Ingredients
To make salted caramel, you only need 5 simple ingredients:
- Granulated sugar
- Unsalted butter
- Heavy cream
- Vanilla extract
- Fine sea salt
But it’s VERY important that you’re working with room temperature butter and heavy cream. This will make sense as we get into how to make salted caramel. Just know that if these two ingredients aren’t at room temperature, the caramel is at risk of stiffening and seizing up.
Fine sea salt is also the best option for salting the caramel. It has a much more natural flavor and blends really well into the caramel. If you can’t get your hands on fine sea salt, regular salt is also ok but I HIGHLY recommend using sea salt!
How to make salted caramel from scratch
There are are four main parts to making salted caramel:
- Part 1: Melt down the sugar
- Part 2: Let it caramelize
- Part 3: Whisk in the butter and cream
- Part 4: Whisk in the vanilla and salt
Each part is very simple, but you really have to keep an eye on the caramel near the end to make sure you don’t burn it.
It’ll be walking through these four parts with my step-by-step photos to ensure you know exactly what to do!
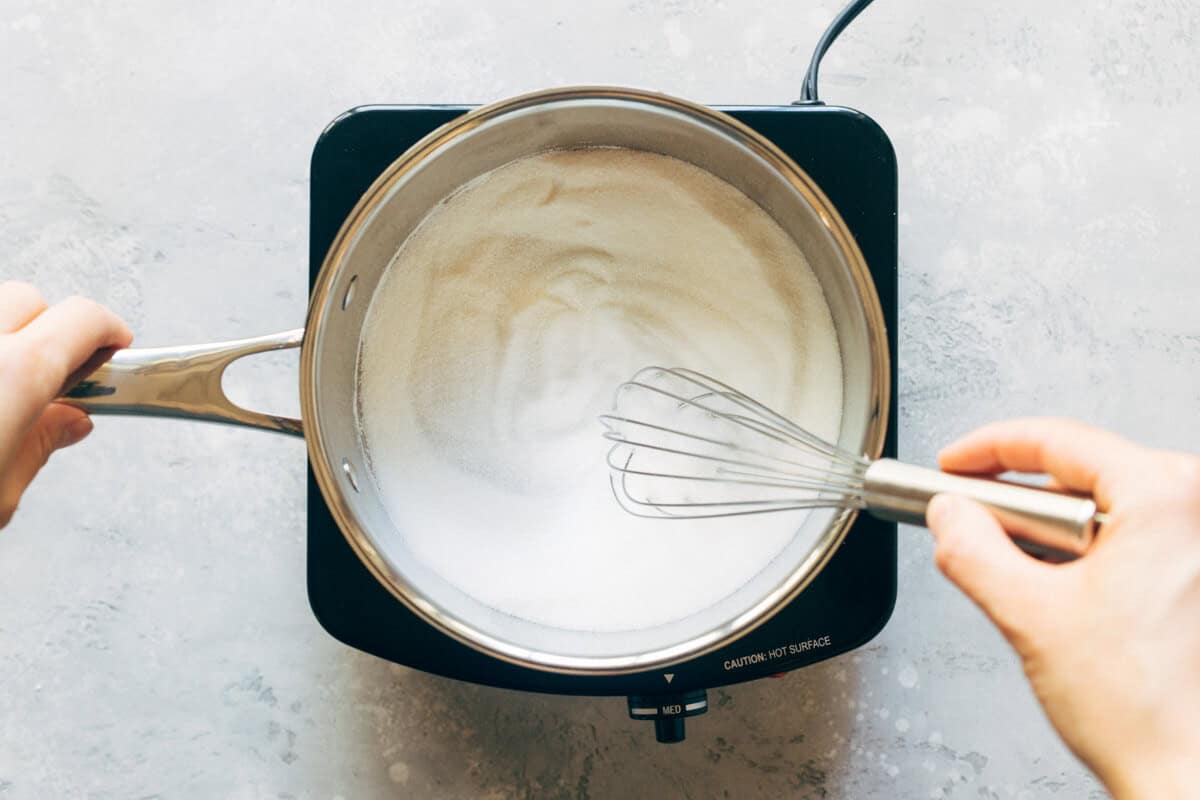
Part 1: Melt down the sugar
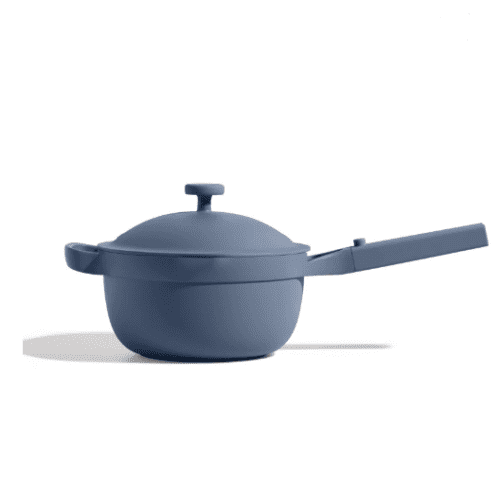
In a medium saucepan over medium heat, you will begin the process of slowly melting down the sugar. This is the base of our salted caramel.
You know your stovetop best so if yours tends to run pretty hot, melt the sugar over medium heat. If it tends to take a while to heat up, melt the sugar over medium-high heat.
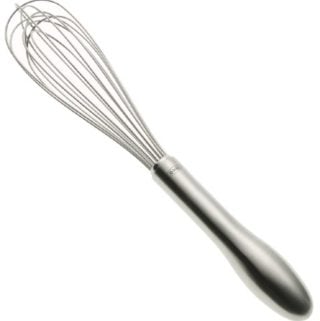
At first, it will seem like nothing is happening. Keep a whisk on standby but for the first 5 minutes, the sugar won’t do much.
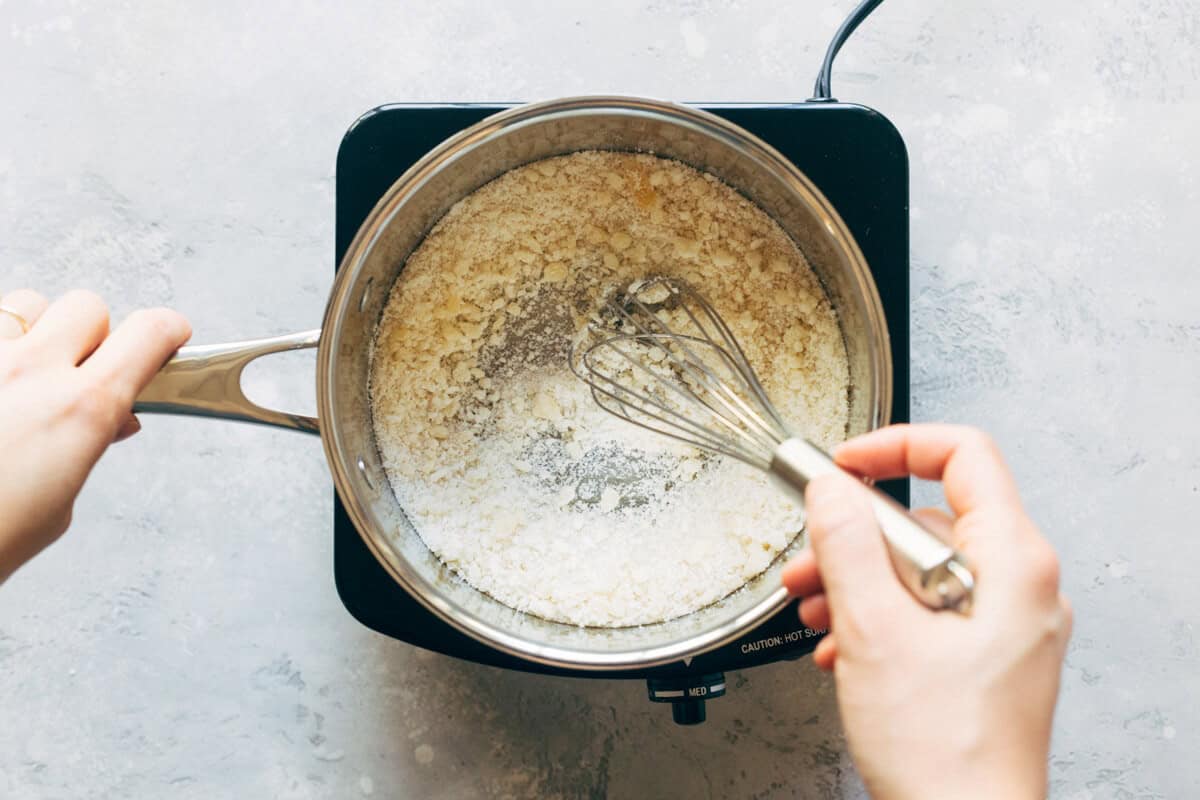
As you begin to whisk it more consistently, you’ll noticed little clumps start to form. At this point, you will want to keep whisking until the sugar is completely melted.
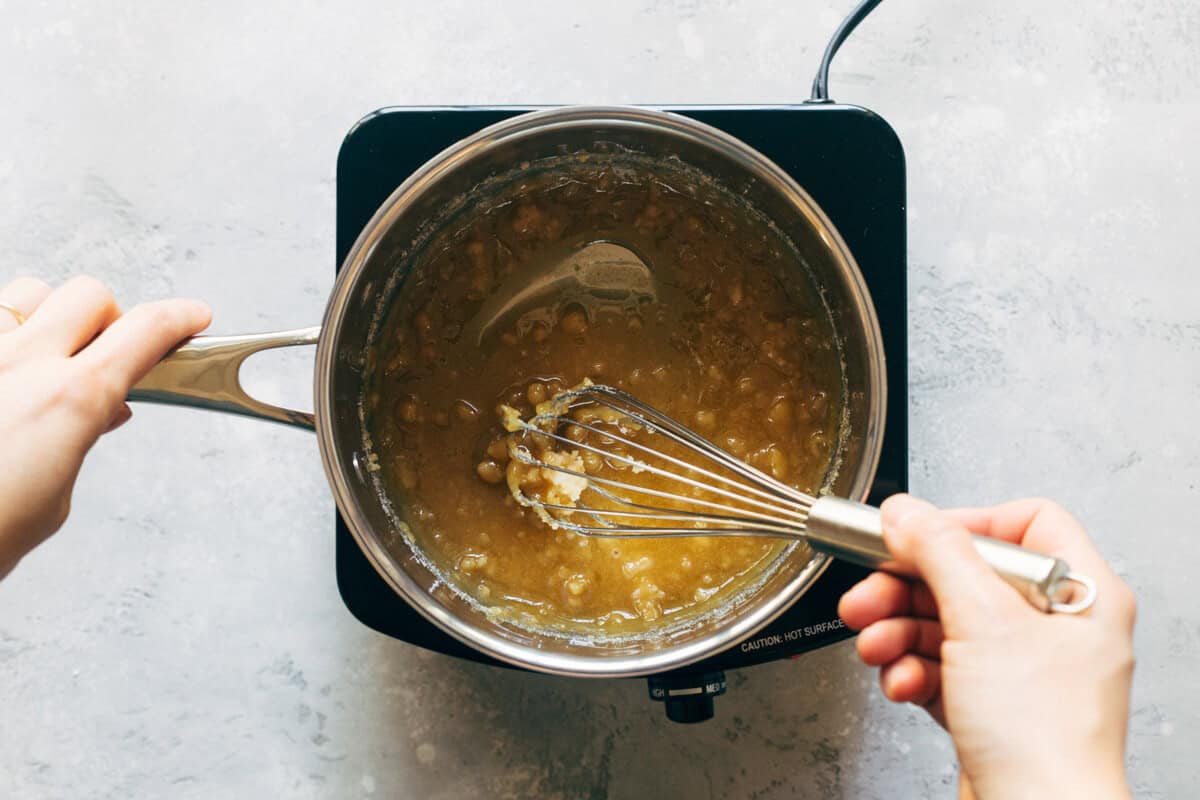
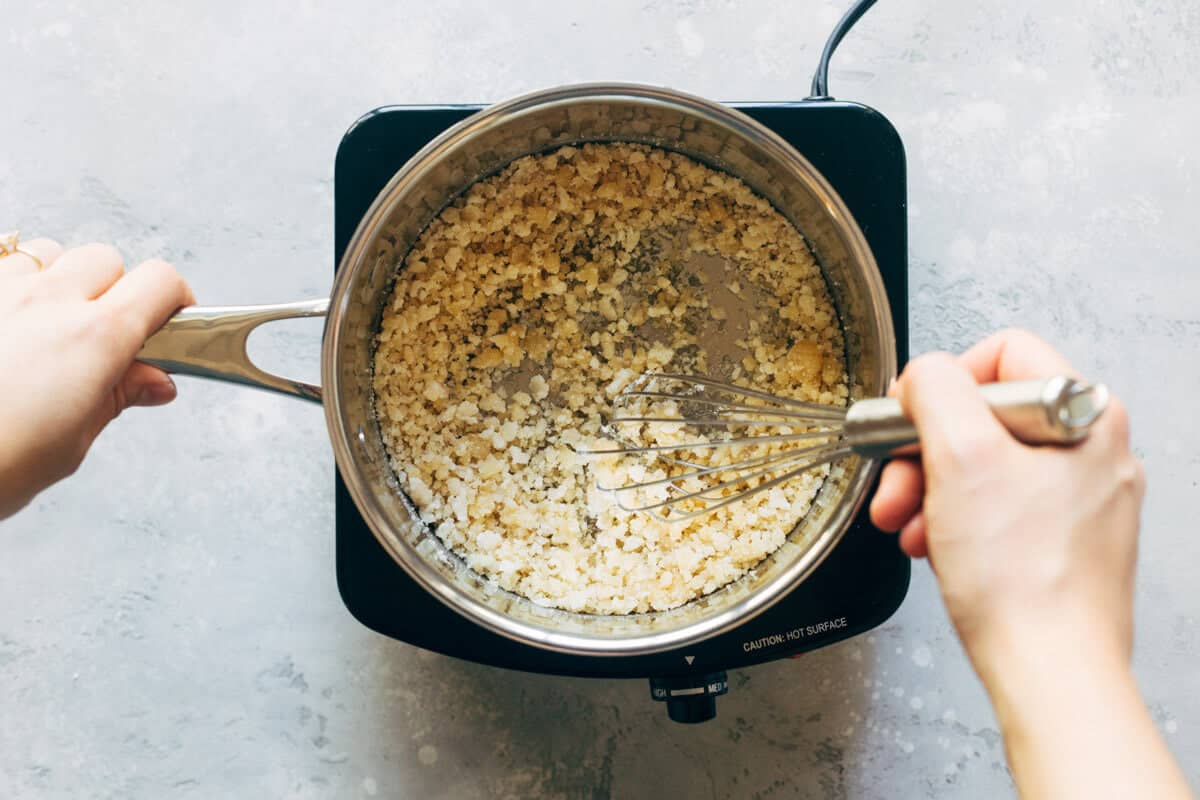
Try to get your whisk into the corner edges of the pan to prevent the sugar from caking up around the base. The sugar will then turn into a mixture of melted sugar with larger clumps. Just keep whisking and those clumps will slowly melt down.
Part 3: Let the sugar caramelize
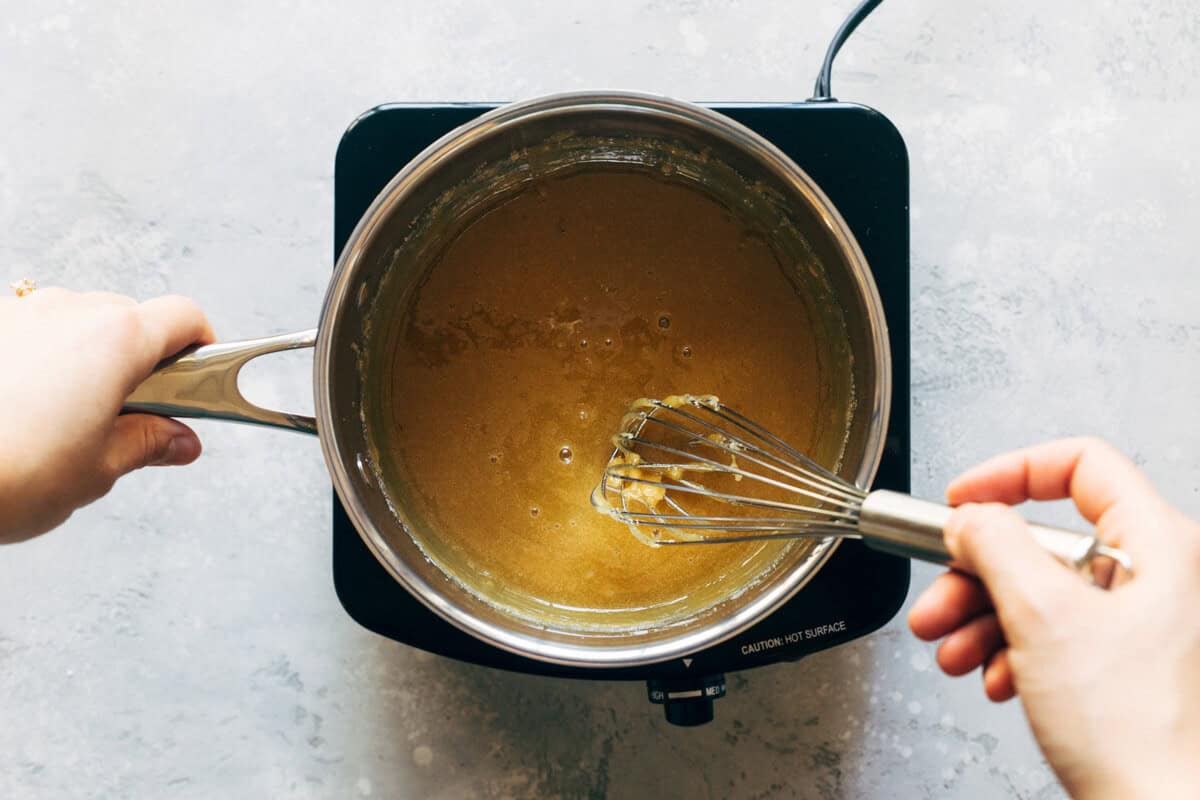
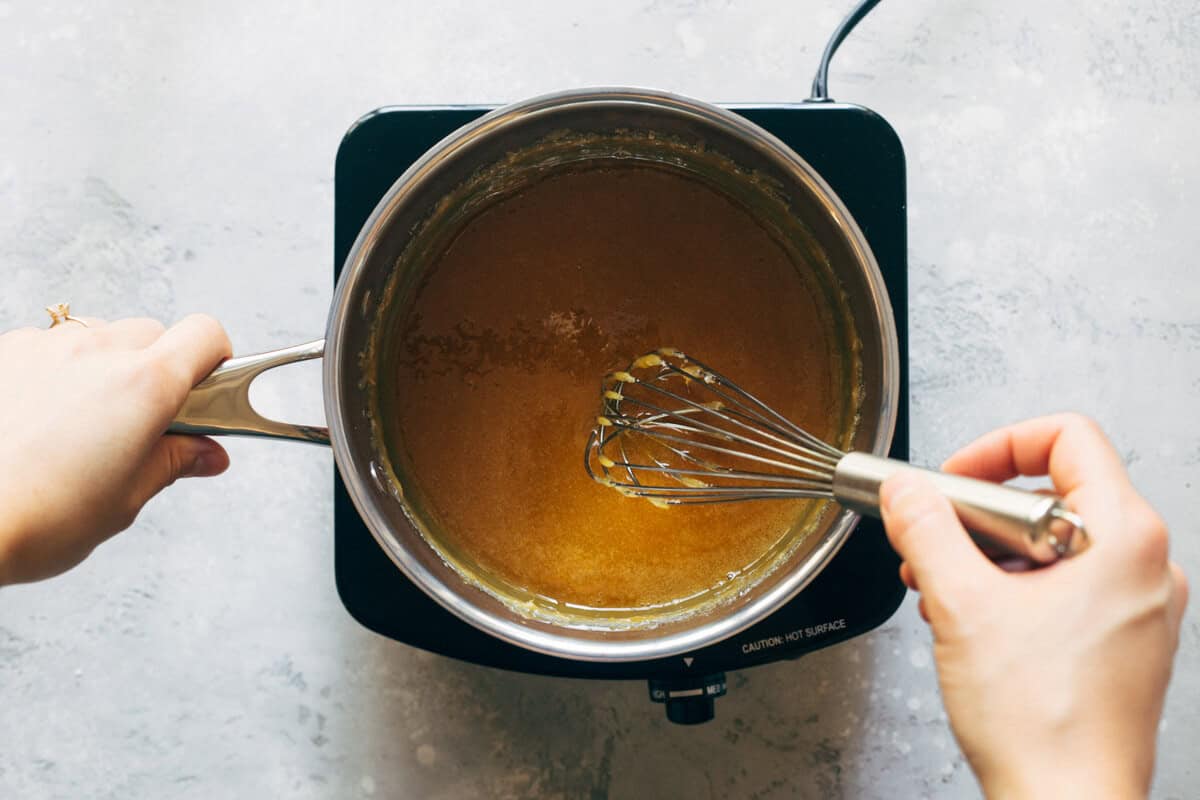
Now that the sugar is completely melted, it should look like the photo above; golden and fluid. It would take about 15-20 minutes to get to this point.
DON’T step away! Keep a close eye and whisk occasionally. The sugar will change from golden brown to amber in a matter of minutes. If you let it sit too long, it will burn and you must start the whole process over again.
Part 3: Whisk in butter and cream
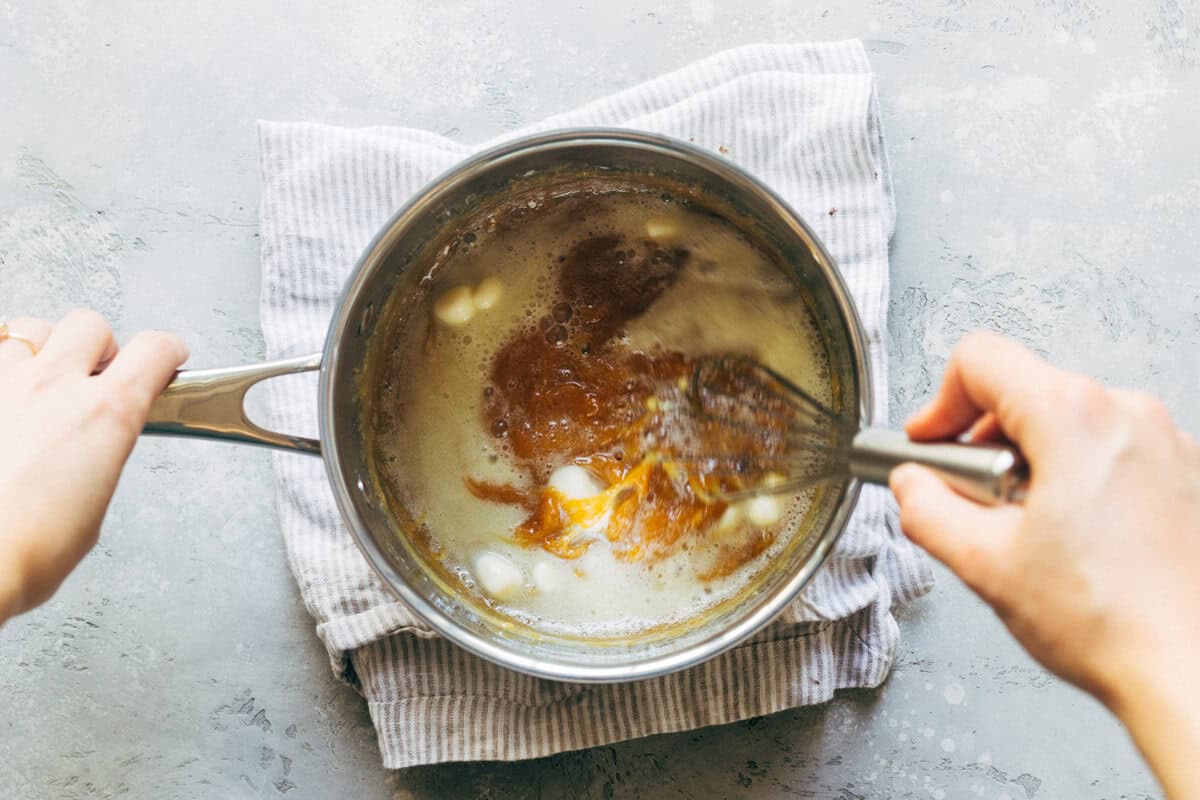
Remove the caramel from the burner and quickly whisk in the butter. Again, make sure it’s at room temperature and cut into small cubes.
Whisk for about a 30 seconds. The butter may not fully blend into the caramel but that’s OK.
Quickly pour in the heavy cream and immediately begin to whisk again. I’m using “quickly” and “immediately” often at this point because you must work fast during this step.
The sugar will want to stiffen up once the butter and cream are added which is why we need to keep the mixture moving.
Part 4: Mix in the vanilla and salt
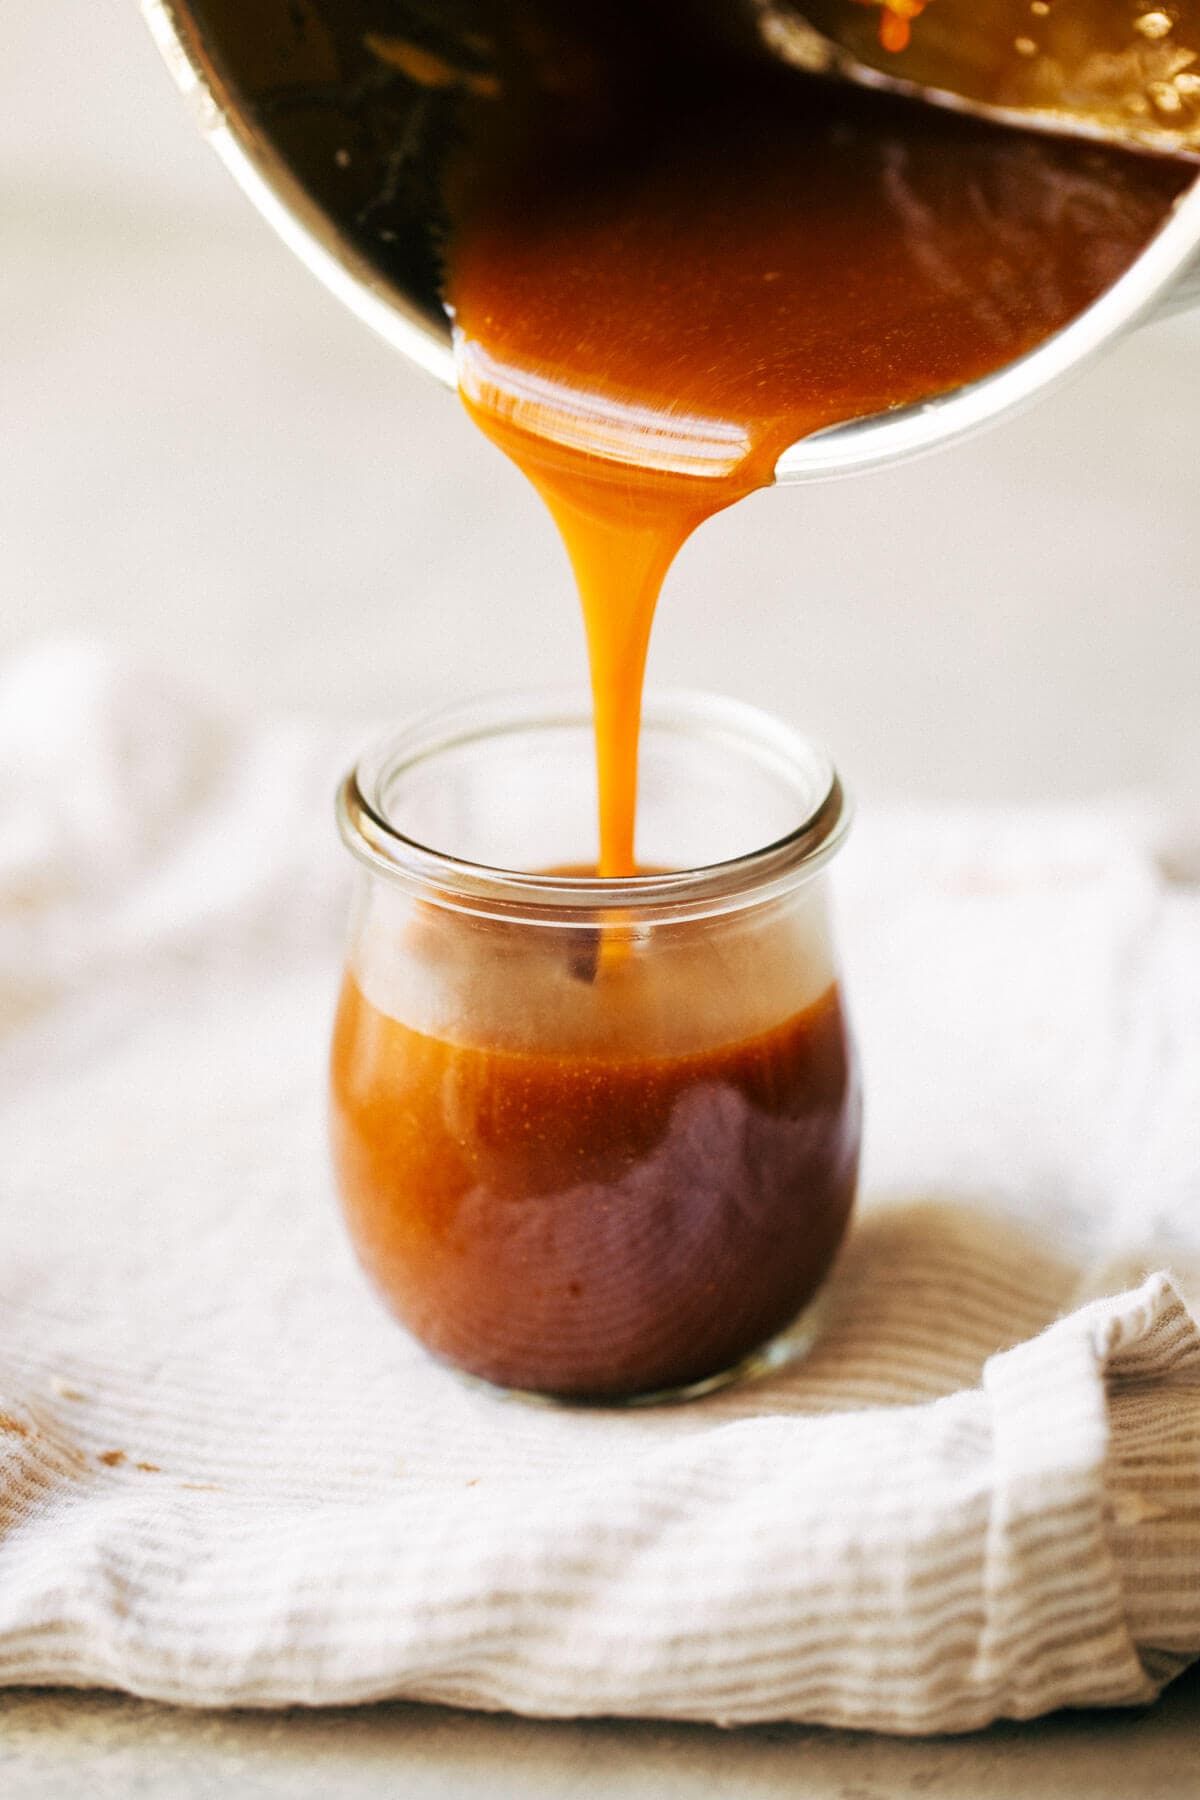
The hardest part is over, now just whisk in the vanilla and salt and your caramel is ready!
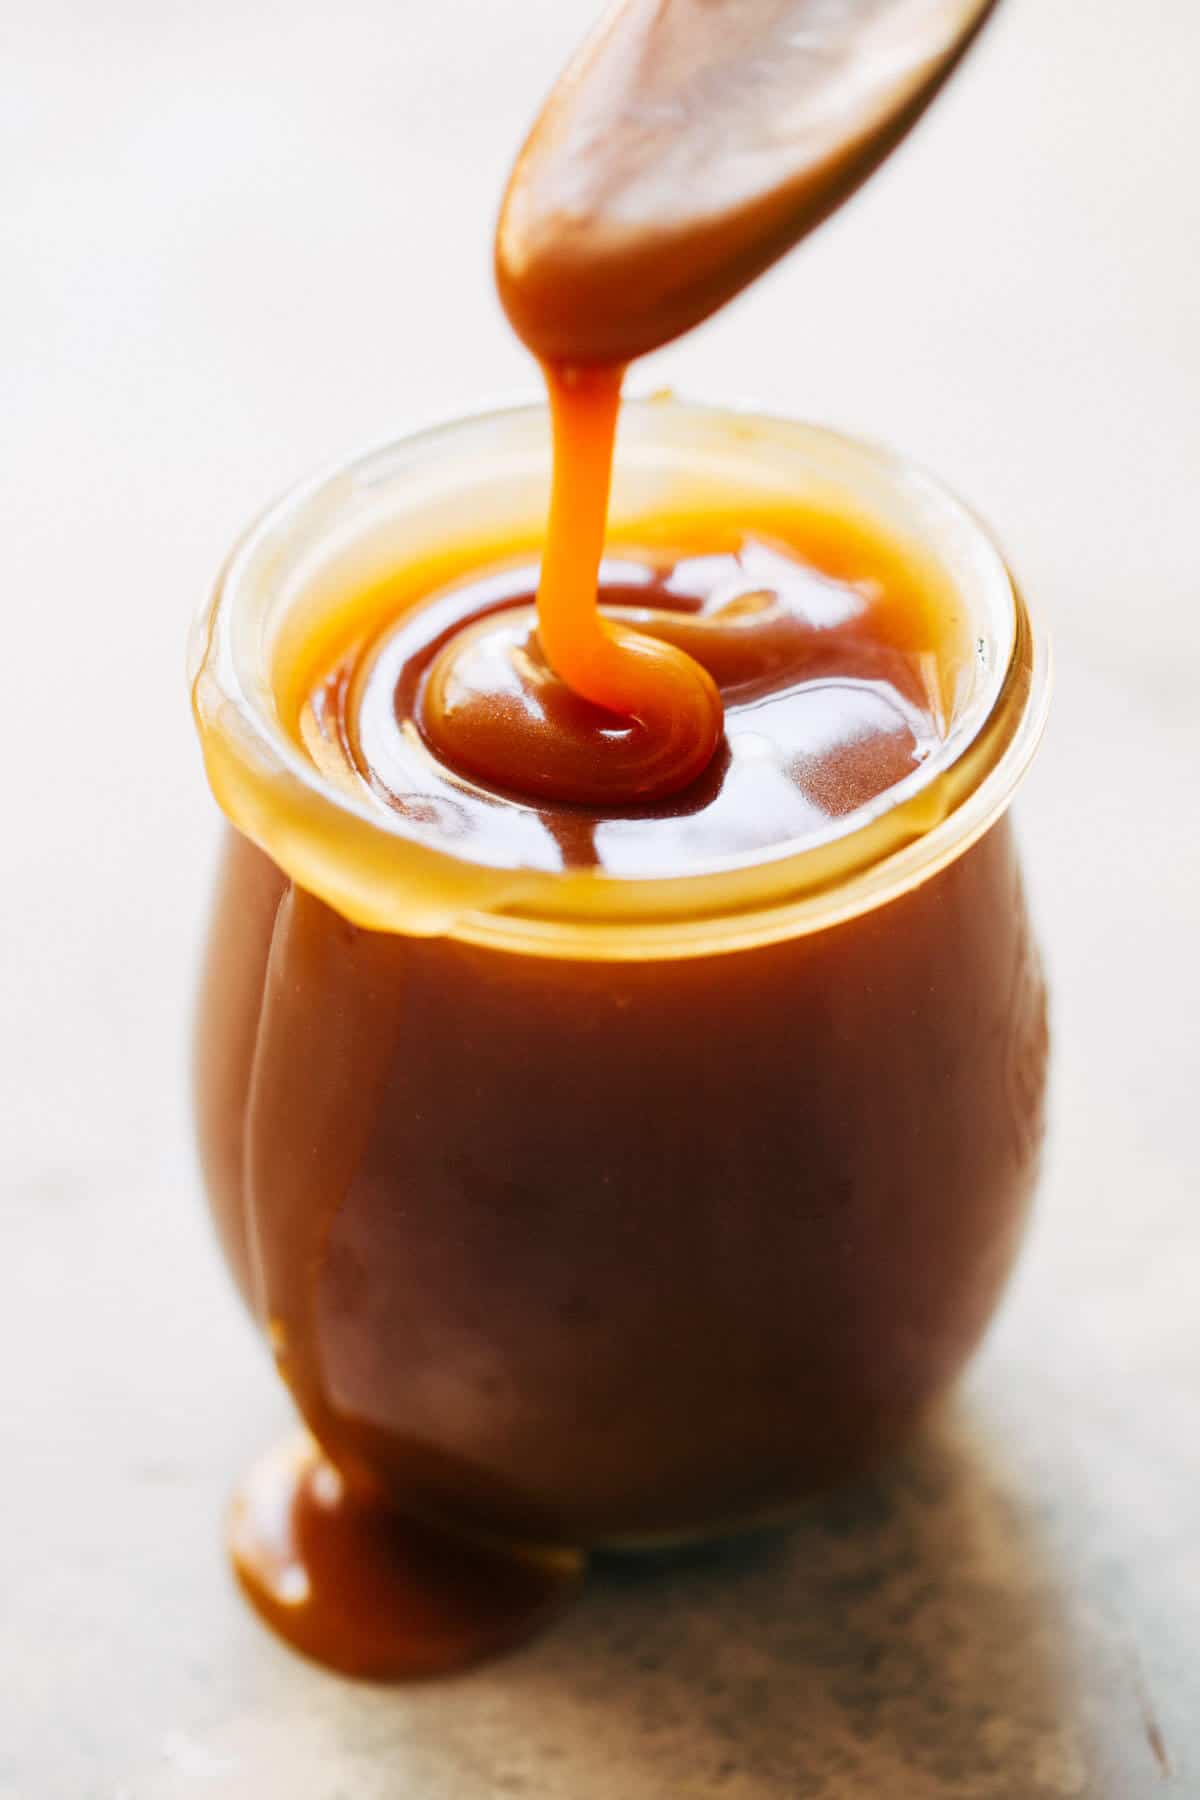
Pour the caramel into a glass jar with a lid. It will be very thin and fluid when hot, but will thicken once chilled.
Allow it to cool down with the lid off at room temperature for 30 minutes, or until the jar is no longer hot to the touch.
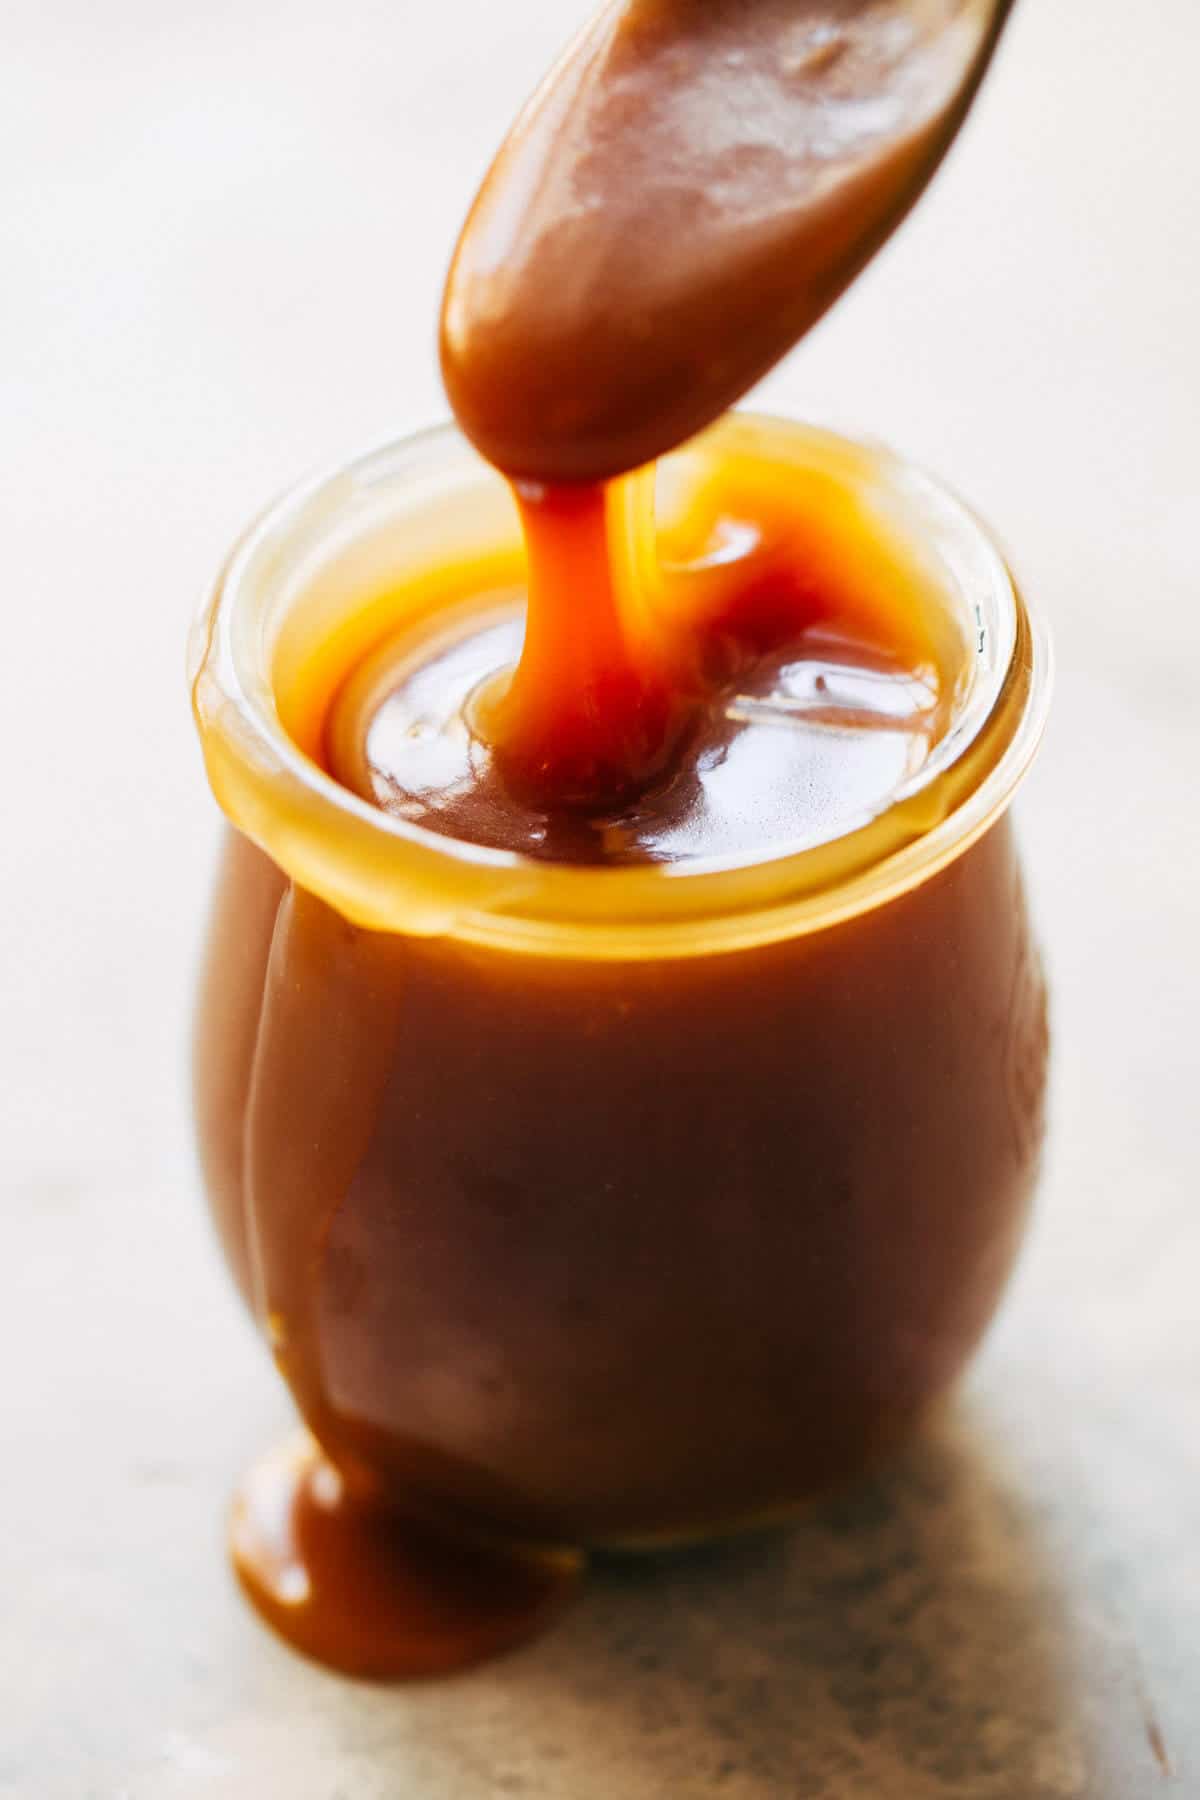
Cover the jar and let the caramel chill in the fridge to thicken (like the first picture in this post).
Troubleshooting homemade salted caramel
So you’ve followed all the steps but your caramel clumped up when you mixed in the butter and sugar! The caramel is now glued to your whisk and you can’t loosen it up (speaking from experience!) Not to worry, this is quick and simple fix.
Place the saucepan back on the burner over medium heat. Continue to whisk as best you can as the caramel warms back up. It will slowly begin to loosen and smooth out. It may need to reach the boiling point before fully loosening. Don’t let it boil for more than a minute.
FAQs
As long as it’s in a glass jar with a sealed lid, the caramel will keep for up to 2 weeks.
When the caramel is COMPLETELY chilled (at least 6 hours in the fridge) it will thicken significantly. To bring it back to the perfect pouring consistency, heat it in the microwave for 15-30 seconds. Stir after 15 seconds and continue to heat if it needs it. It doesn’t take much for the caramel to thin out. Now you’re ready to use this salted caramel in all of your favorite desserts!
Yes, it will keep in the freezer for up to 3 months. To freeze, first allow it to cool completely. Transfer to a plastic airtight container and freeze. To use, allow it to thaw in the refrigerator overnight.
A few more easy caramel recipes you may enjoy:
- Best Coconut Cream Pie Recipe with Caramel
- Ginger Butter Caramel Slice Recipe
- Best Chocolate Snickers Caramel Tart Recipe
- Gluten Free Caramel Pecan Cheesecake Bars (Vegan)
- Apple Dessert Pizza with Salted Caramel
- Guinness Chocolate Cupcakes with Salted Caramel Frosting
- Salted Caramel Brownies
Make sure to tag me @butternutbakery on Instagram and leave a review below if you make this Homemade Salted Caramel. To pin this recipe and save it for later, you can use the button on the recipe card, the buttons above or below this post, or on any of the photos above. Happy baking!
Watch how to make this homemade salted caramel:

Homemade Salted Caramel
- Total Time: 1 hour 30 minutes
- Yield: 1 1/4 cup
- Diet: Gluten Free
Description
This foolproof homemade salted caramel recipe is so easy to make and only uses 5 ingredients. It’s perfect for drizzling on top of desserts like ice cream, brownies, and cheesecake or mix it in as its own ingredient!
Ingredients
- 1 cup (200g) granulated sugar
- 6 tbsp (90g) unsalted butter, room temp and sliced
- 1/2 cup (110ml) heavy cream, room temp
- 1 tsp vanilla extract
- 1 tsp kosher salt
Instructions
- First, make sure your butter is at room temperature. Also heat the cream in the microwave for at least 1 minute to warm up. This is very important!
- Measure out all of your ingredients and set them next to your stovetop.
- In a medium heavy-bottomed saucepan, add the sugar and melt down over medium heat.
- Stir occasionally at first, as it will take a few minutes (longer if using an electric stovetop) to see any changes in the sugar. As clumps start to form, stir constantly until it’s completely melted down.
- Once melted, depending on if you used a gas or electric stove top, the sugar should either by a rich amber color or a light golden. If it’s rich amber, remove from heat and move on to the next step. If it’s lighter in color, stop stirring and allow it to caramelize and darken. It will only take 1-2 minutes for it to turn that rich amber color. Don’t step away from the stove as this happens quickly.
- Take the pot off the burner and quickly whisk in the butter all at once. Whisk for about 30 seconds (it may not fully combine and that’s OK).
- Quickly pour in the heavy cream and whisk again. Keep whisking until it’s smooth and fluid. *if yours clumps up, see my notes in the post about troubleshooting your caramel.
- Finally, whisk in the vanilla and sea salt.
- Pour into a glass jar or any heat safe container(it will be very thin at this point).
- Cover and transfer to the fridge where it will last for up to 2 weeks. The caramel will thicken quite a bit once chilled, so warm it for about 15-30 seconds in the microwave to get the consistency seen in the images here.
- See just above this recipe card for all of my salted caramel dessert recipes to put your homemade caramel to good use!
- Prep Time: 10 minutes
- Chill Time: 1 hour
- Cook Time: 20 minutes
- Category: Dessert
- Method: No Bake
- Cuisine: American
Join Our Community


Meet Jenna
I’m the creator, baker, and photographer behind Butternut Bakery. Here I share desserts for every diet because I believe everyone should have a chance to indulge!


I have tried to make this four times and each time it has not turned out for me! PLEASE help me!! It tastes great but the consistency just isn’t there. Once I put the butter in and whisk immediately it just hardens completely and sticks to the pan – the butter is room temp and the heavy cream is as well. I continue to whisk in hopes it will “unharden” but it just doesn’t. I don’t know what else to do here!
A few things could be happening here! It sounds like the sugar might be taken too far before mixing in the butter. Try adding the dairy a little bit sooner or lower the heat for a more gradual browning. You can also return the caramel to the heat after mixing in everything and whisk until smooth!
This was so easy to make!! Someone commented to make sure your pot is big enough for the bubbling reaction when you pour the cream in. So I’m glad I saw that! It’s absolutely delicious! I might try just a little less salt next time. But I’ll be saving this recipe and adding it to my kids recipe boxes for them to have too!