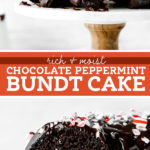
Chocolate Peppermint Bundt Cake
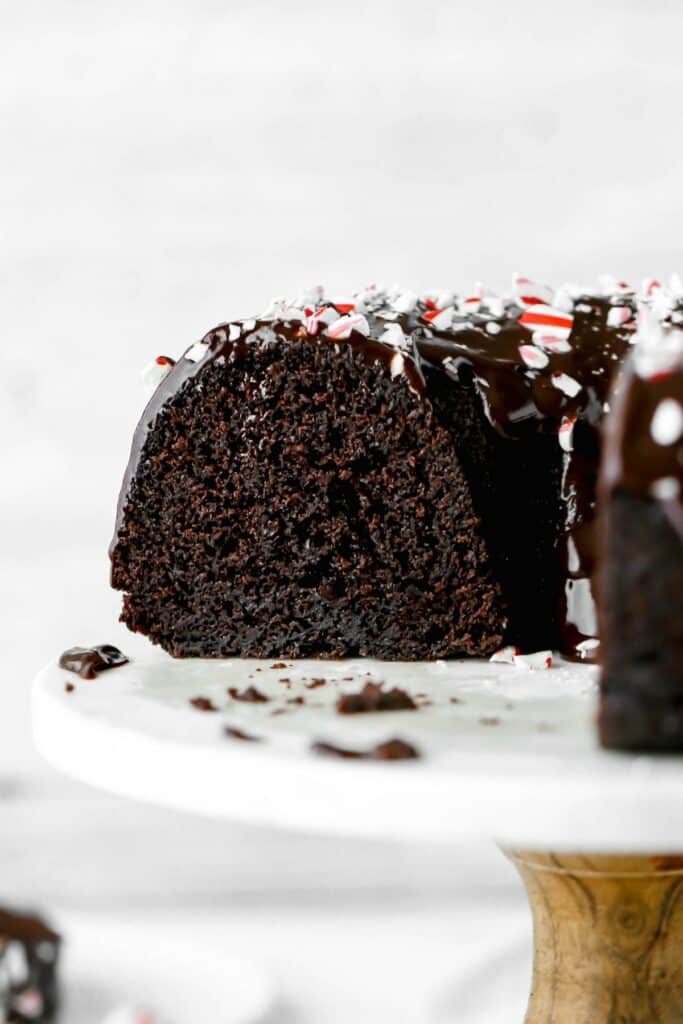
Chocolate Peppermint Bundt Cake is the perfect holiday dessert that’s sure to impress! The best part is that it’s easy to make as it consists of chocolate cake and peppermint chocolate ganache. It’s moist, rich, and contains just a hint of delicious peppermint flavor.
Chocolate and peppermint is a holiday classic but seems to be a polarizing flavor combination. Most people either love it or hate it which is why I wanted to create a Chocolate Peppermint Bundt Cake that was light on the peppermint.
Why I love this recipe
You can easily amp up the minty flavor by adding it to the cake itself but for my recipe, I only added it to the chocolate ganache. But don’t worry, you can definitely still taste it!
My boyfriend isn’t even a big fan of chocolate and peppermint but he thought this cake was delicious! To get that perfect balance, I used a tiny bit of espresso in the cake to enrich the chocolate flavor. This stopped the peppermint from completely overpowering the cake.
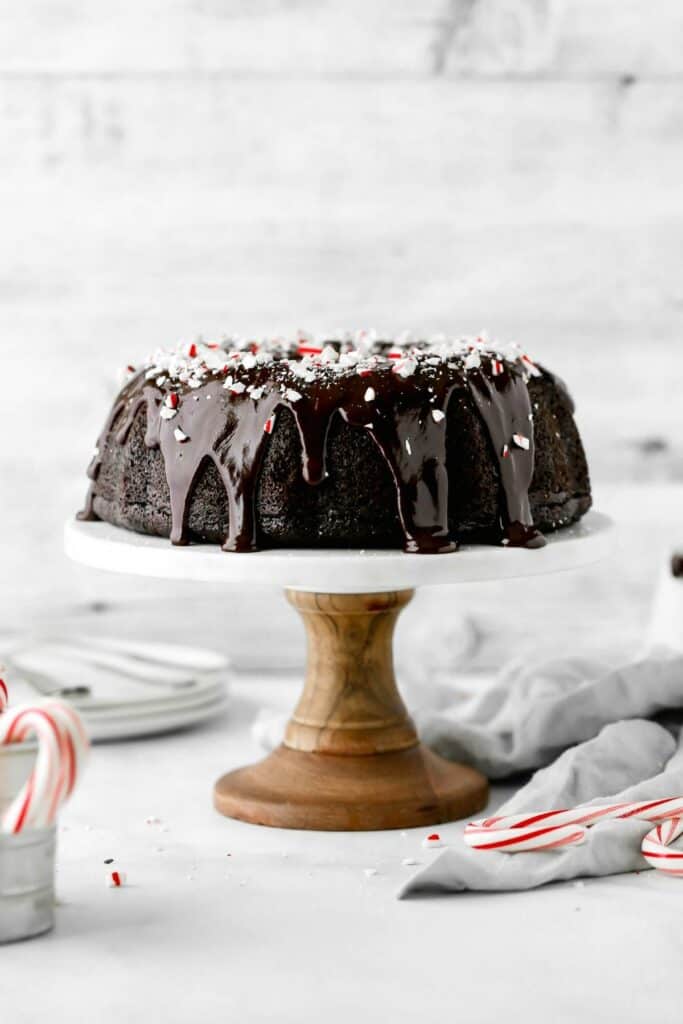
What I love most about bundt cakes is that they’re beautiful and yet don’t take NEARLY as much time as a layer cake. This would make a beautiful centerpiece for a holiday party, especially when you have lots of cooking to do!
How to prepare a bundt tin
You take your cake out of the oven and it looks perfect, but now you’re holding your breath and praying it isn’t stuck to the pan. With the nooks and crannies of your bundt pan, it’s easy for cake to stick. Luckily I know the best way to prepare your pan so your cake comes out perfect every time!
I’ve probably tried every way there is to prepare your bundt pan. From nonstick spray to butter to cocoa powder and yet my cakes would still stick to the sides of the pan. Finally, after some research, I found that using melted shortening never fails.
The reason you would use shortening over butter is because it’s colorless, flavorless, and won’t add any crispness to the outside of your cake. You just melted it in a tiny dish and brush it all throughout your pan.
Since you need to get into every crevice, I recommend using a rubber pastry brush to ensure the entire pan is covered. Using this method should save you the headache of prying out your cake.
Decorating this chocolate Bundt cake
It’s a good thing I saved this cake to take to my coworkers because otherwise, I would not have realized how important it is to sprinkle your cake right before you serve it!
When I opened the container at work, all of the peppermint bits had completely melted into the chocolate and left this strange residue. I had to put a sign up that said it tastes better than it looks!
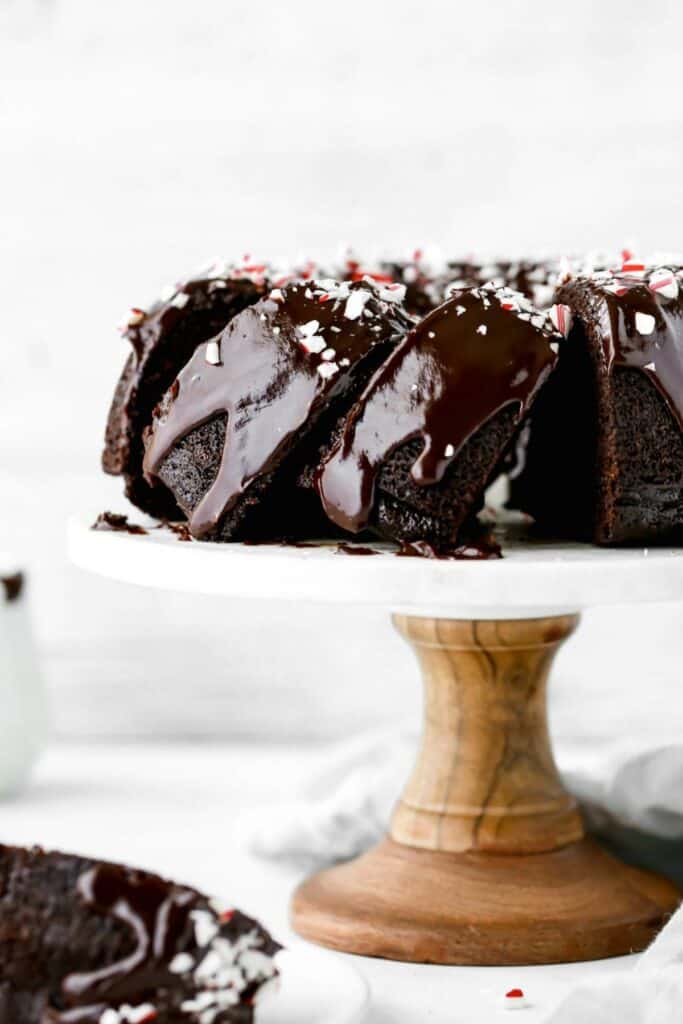
So yes, sprinkle your cake with the crushed candy canes RIGHT before you serve it. Otherwise, you’ll have to put a sign out like I did.
It’s also important to pour over the ganache when the cake is completely cooled so you don’t end up with chocolate soup at the bottom of your bundt cake. To get that perfect drip, top your cake when the ganache is still warm. And by warm I mean, top it RIGHT after you’ve made it. Otherwise you won’t get those gorgeous drips down the side of the cake.
Flavoring your Peppermint Bundt Cake
Peppermint extract is VERY strong so you only need the tiniest bit. For this cake, I left it out of the cake itself to make sure it didn’t overpower the chocolate. If you’d like your cake to be a bit stronger, I recommend adding just 1/4 teaspoon of peppermint extract into the cake.
The ganache holds all of the peppermint flavor which may seem like it’s not enough but trust me, you can taste it! Once you add the crushed candy canes on top, the entire cake comes together.
Of course, you can always leave out the peppermint completely and just use this as a chocolate bundt cake recipe. But if you’re on this page right now, I’m sure that’s not what you’re looking for! (But if you’re looking for a Bundt cake for all occasions can I recommend my super moist Red Velvet Bundt cake recipe?)
FAQs
Yes! Just fill each pan about halfway and start checking them to see if they’re cooked through around the 15 minute mark. And remember to note down the cooking time once you’ve nailed it for your tins so you know for next time!
Although I haven’t tested it, I believe this cake would work well with gluten free flour. Sub the flour with a good quality gluten free baking flour. I like Bob’s Red Mill 1-to-1 gluten free baking flour. Make sure to spoon the flour into the measuring cup and level it off with a flat edge. Don’t scoop directly into the flour as this packs it down into the cup, leaving you with way too much flour and a dry cake.
For more holiday cakes, check out my:
- Best Red Velvet Bundt Cake Recipe
- Old Fashioned Spice Cake With Brown Butter Cream Cheese Frosting
- Spicy Pumpkin Bundt Cake with Butterscotch
- Moist Black Velvet Cake (For Halloween)
- Apple Cider Bundt Cake
Make sure to tag me @butternutbakery on Instagram and comment below if you make this Chocolate Peppermint Bundt Cake. To pin this recipe and save it for later, you can use the button on the recipe card or on any of the photos above. Happy baking!
Print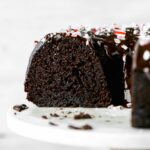
Chocolate Peppermint Bundt Cake
- Total Time: 1 hour 10 minutes + 1 hour cooling
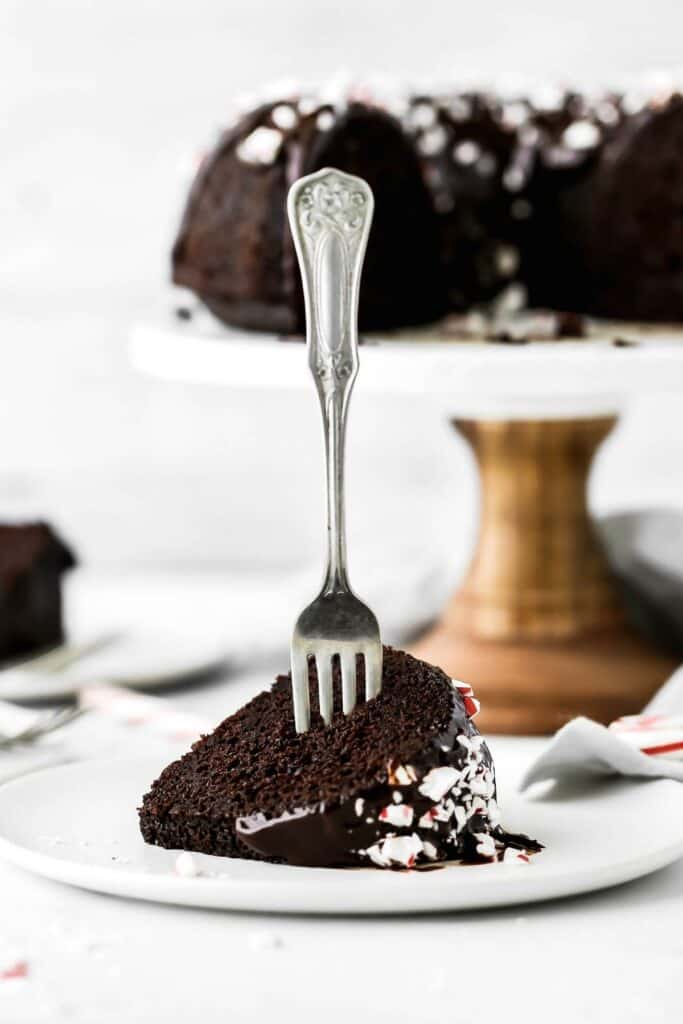
- Yield: 12 slices
Description
This chocolate peppermint bundt cake is the perfect Holiday dessert! It has a moist chocolate cake with a shiny chocolate peppermint ganache.
Ingredients
Chocolate Bundt Cake
- 3 tbsp melted shortening, for the pan
- 1 cup unsalted butter
- 1/2 cup dutch processed cocoa powder*
- 1 cup whole milk
- 3 tsp instant espresso powder
- 2 cups granulated sugar
- 2 cups all purpose flour *see notes for GF option
- 2 tsp baking soda
- 1/2 tsp salt
- 3 large eggs
- 3/4 cup full fat Greek yogurt, or sour cream
- 1 tsp vanilla extract
Chocolate Peppermint Ganache
- 1/2 cup heavy cream
- 4 oz bittersweet chocolate, chopped
- 3 tsp light corn syrup
- 1 tbsp granulated sugar
- 1/4 tsp peppermint extract
- 4 candy canes, crushed*
Instructions
- Preheat the oven to 350F. Using a pastry brush, coat the inside of the bundt pan with the melted shortening. Set aside.
- In a saucepan, heat the butter, cocoa powder, milk, and espresso until melted. Stir continuously so the bottom doesn’t burn. Remove from the heat and let it cool for 10 minutes.
- In a large bowl, whisk together the sugar, flour, baking soda, and salt. I recommend using an electric mixer so that it’s easy to slowly pour in the chocolate mixture as it mixes. If you don’t have one, you can incorporate the chocolate in batches, using a whisk until it’s fully combined.
- Next, mix in the eggs, yogurt, and vanilla.
- Pour the batter into the prepared pan and bake on the middle rack for 35-40 minutes. Bake until a toothpick comes out with a few moist crumbs.
- Allow the cake to cool in the pan for 20 minutes. Then, turn it out onto a cooling rack to let it cool completely. If you choose to make the cake a day ahead, allow it cool completely at room temperature and then store the cake in the refrigerator in an air tight container.
- Once the cake is cooled, make the ganache. Place the chocolate, corn syrup, and sugar in a bowl. In a separate bowl, heat the heavy cream in the microwave for about 1 minute. You want it to be steaming hot. Pour it over the chocolate mixture and let it sit for about 1 minute. Then, mix it together until smooth and glossy.
- Mix in the peppermint extract and immediately pour it over the cake. If needed, you can use the back of a spoon to push some of the ganache over the edges so it can drip down the sides.
- Sprinkle the candy canes on top right before serving the cake. Store in an air tight container in the refrigerator.
Notes
COCOA POWDER – If you don’t have dutch processed, you can also use dark cocoa powder or regular.
CANDY CANES – Only add the candy canes when you’re ready to serve the cake. Otherwise, they will melt into the chocolate if left overnight.
GLUTEN FREE – Although I haven’t tested it, I believe this cake would work well with gluten free flour. Sub the flour with a good quality gluten free baking flour. I like Bob’s Red Mill 1-to-1 gluten free baking flour. Make sure to spoon the flour into the measuring cup and level it off with a flat edge. Don’t scoop directly into the flour as this packs it down into the cup, leaving you with way too much flour and a dry cake.
- Prep Time: 30 minutes
- Cook Time: 40 minutes
- Category: Christmas
- Method: Baking
- Cuisine: American
Join Our Community


Meet Jenna
I’m the creator, baker, and photographer behind Butternut Bakery. Here I share desserts for every diet because I believe everyone should have a chance to indulge!

Can I use this for cupcake batter?
I think that could work! You could also add peppermint extract to my chocolate cupcake recipe.
Can chocolate chips be added to the cake for a deeper chocolate flavor?
What a delicious cake!!! We added ¼ tsp of peppermint extract to the cake, and it was a nice mild peppermint flavor. And what a fantastic gluten free cake – super moist!!! Thank you for a wonderful Christmas family cake!
Girl this looks AMAZING! I’m craving everything peppermint right now and this looks decadent as hell! Merry Christmas to you!!
Only wanna admit that this is handy, Thanks for taking your time to write this.