Soft and Chewy Sugar Cookies
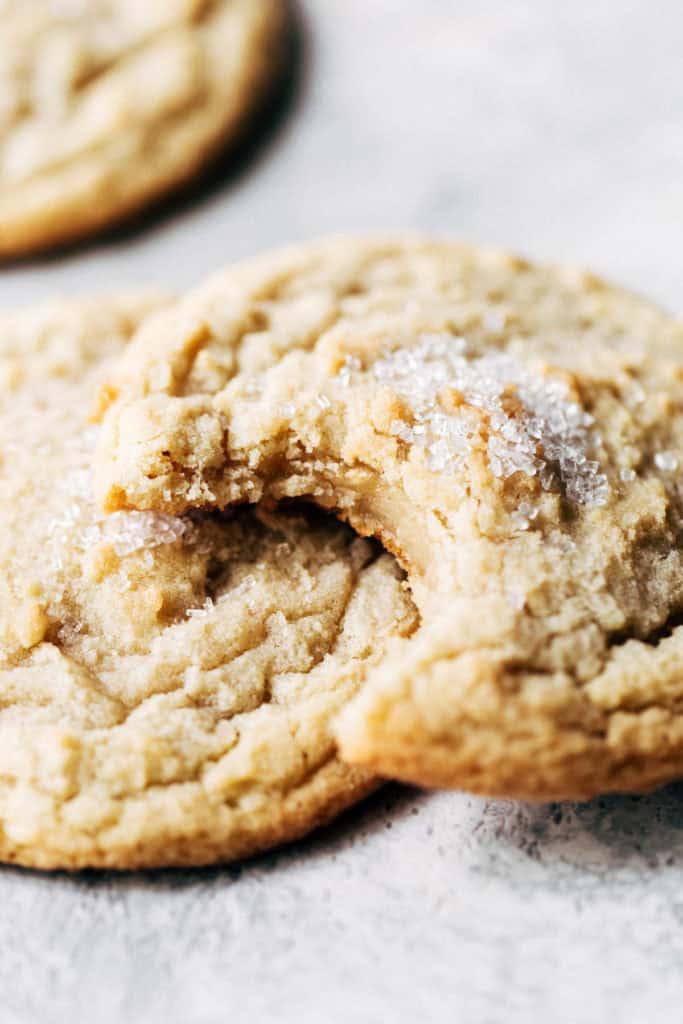
These are the BEST sugar cookies! They’re extra soft and doughy on the inside, slightly chewy on the outside, and taste like they’re straight from a gourmet bakery. It’s my go-to sugar cookie recipe and now it’s yours too!
What makes this the BEST sugar cookie recipe?
With SO many sugar cookie recipes out there, what makes this one so special? Let me just list off a few reasons why these are THE best:
- Texture – They’re not cakey, dry, or bland. These sugar cookies are soft and doughy in the center with a slightly chewy edge. They’re also so buttery and rich in flavor!
- Effortless – These cookies are so easy to make and yet look gourmet. All you do is scoop, chill, and bake.
- Longevity – Most cookies are best when fresh from the oven, but these are delicious no matter when you serve them. Because of how soft and buttery they are, they retain that perfect texture for days.
- WOW factor – I bake these cookies all the time, but especially around the Holidays. I always get so many questions about them and everyone asks for the recipe.
I can keep listing the reasons why I think these are the best, but you just have to experience these cookies for yourself. It’s time to get baking!
How to make soft and chewy sugar cookies
The process of making the cookie dough is very simple, but the magic is all in the ingredients and the refrigeration. We’ll get to that part a little later but for now, here’s how you make the cookie dough:
- Equipment – You can make this cookie dough by hand, but an electric or stand mixer makes it much easier. If using a stand mixer, use the paddle attachment. If using a hand mixer, use the beaters that it typically comes with. If by hand, use a whisk for all steps minus the very last. Switch to a rubber spatula or wooden spoon when adding in the dry ingredients.
- Dry Ingredients – Start by mixing together the cake flour, all purpose flour, salt, and baking soda in a bowl and set aside. Cake flour is what gives these cookies that perfect soft texture. I don’t recommend subbing it unless you’re in a pinch. See below for instructions on how to swap the cake flour. Also make sure to measure your dry ingredients if you have a food scale.
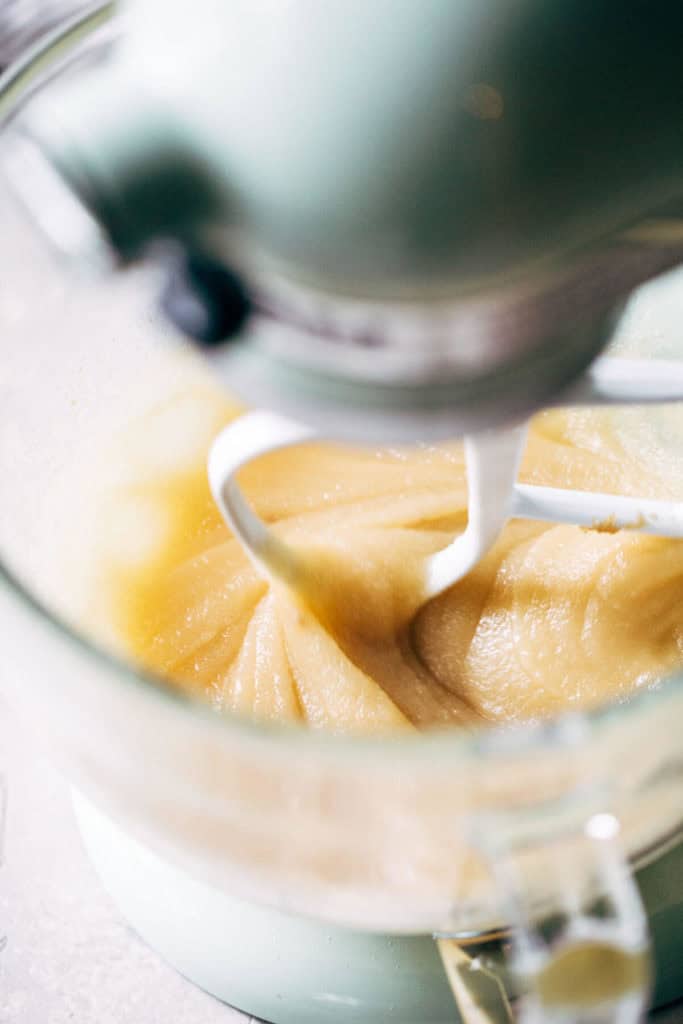
- Butter & Sugar – Mix together the melted butter, brown sugar, and regular sugar until they’re completely combined (see picture above). It should be a thin paste-like consistency. Working with melted butter gives you a very buttery cookie and the extra bit of brown sugar adds some chewiness.
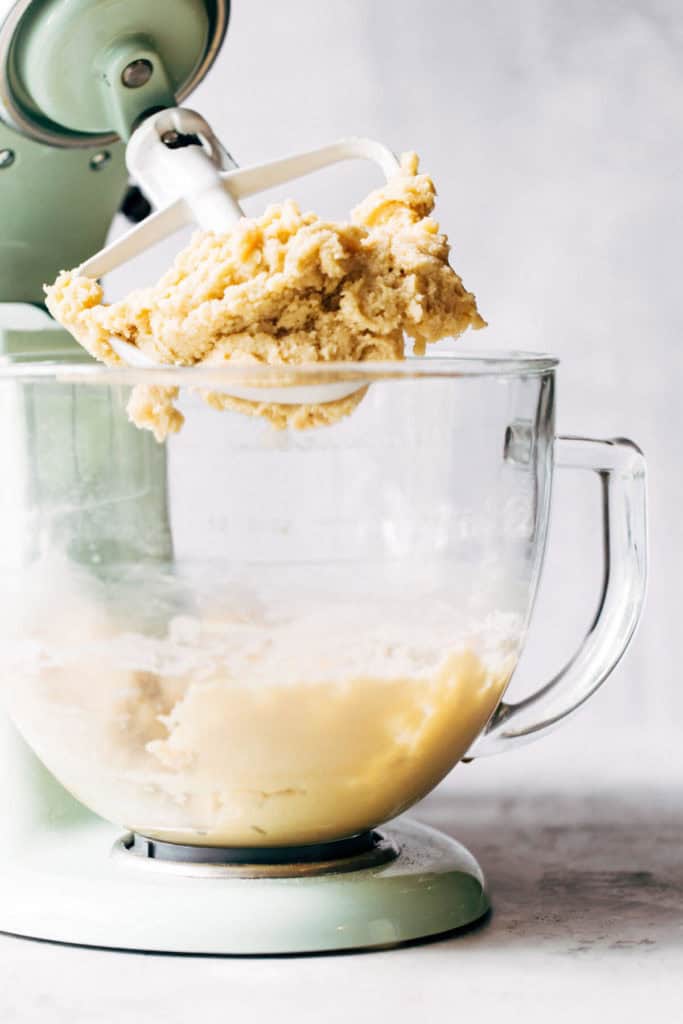
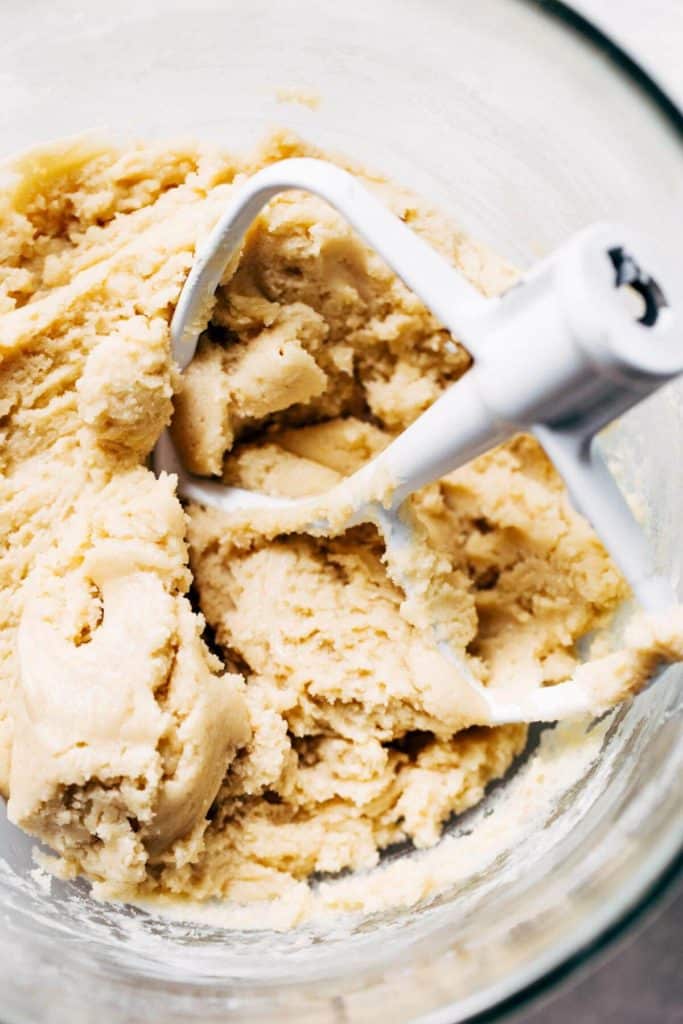
- Finish the Dough – Once combined, mix in the egg, egg yolk, and vanilla. That extra egg yolk provides richness for the perfect texture. Lastly, mix in the dry ingredients, 1/3 of the mixture at a time.
All that’s left to do is scoop and chill. See, super easy! Also note that you’ll be decreasing the mixer speed for each step. The butter and sugar require medium-high speed, the eggs and vanilla require medium speed, and the flour requires medium-low speed.
Why does the dough need to be chilled?
Do not skip this step! Chilling the dough is the secret to delicious sugar cookies.
First, chilling the dough gives cookies the perfect texture. As they chill, they’re also losing some of the excess water in dough. It’s both evaporating and also absorbing into the flour.
This allows the cookies to spread nice and even in the oven. It’s also what gives you that chewy outside and soft and doughy inside. Chilled dough takes longer to spread and heat up in the middle, so the center is just barely baked.
Reason number two is the flavor which also comes back to the excess water. As the cookies dry out, the flavors become more and more concentrated. The same concept applies to kool-aid – if you add less water to the mix the flavor is much stronger.
In the end, you’re left with a super rich cookie with the BEST texture. Trust me, the wait is well worth it.
HOW TO CHILL THE COOKIE DOUGH
When the dough is freshly made, prep a small baking tray by covering it in wax or parchment paper.
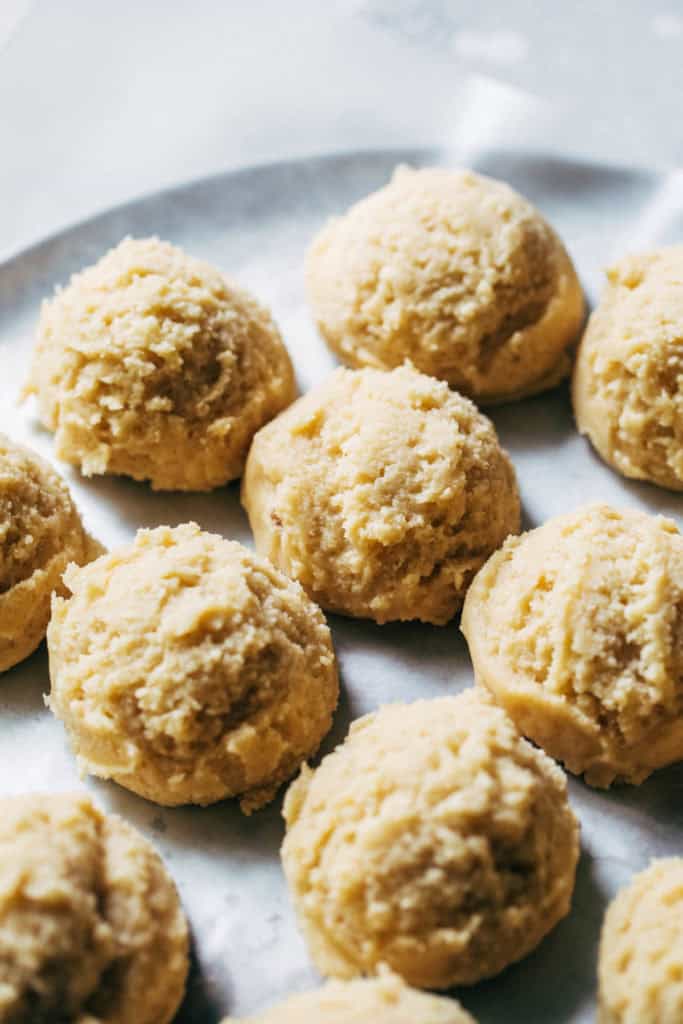
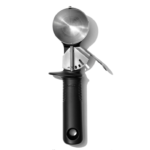
Using a large 2 oz cookie scoop, scoop the cookies out onto the tray, placing them side by side. This recipe makes 12 large cookies.
If you don’t have a large cookie scoop (although I highly recommend it), you can also use a standard cookie scoop which will leave you with about 20 cookies.
Pop the tray into the fridge uncovered. Let the dough chill for 1-2 hours or until chilled solid.
Bake the chilled cookie dough straight from the fridge. The cookie dough should be almost hard as a rock when you place them in the oven.
Keep the remaining cookie dough in the fridge while each batch of cookies bakes.

How long do these cookies bake?
If you’re making large 2oz cookies like I did here, they will bake for 12 minutes for the texture seen here. If you like a more baked cookie, bake for 1-2 additional minutes.
If you’re baking medium cookies, they will bake for 10 minutes, adding on an additional 1-2 minutes for a more well done cookie.
They’re ready when the edges are just barely golden brown and they’ve puffed up. They’ll flatten out as they cool.
Allow the cookies to rest on the baking sheet for 1-2 minutes before transferring to the cooling rack. Because the center is still slightly doughy, they’re easier to transfer once they’ve had time to settle.
Can I substitute the cake flour?
You CAN, but I don’t recommend it. Cake flour gives these cookies the perfect soft texture. But if you’re in a pinch and don’t have any cake flour on hand, sub 1 1/4 cup all-purpose flour and add 1 1/2 tablespoons of cornstarch.
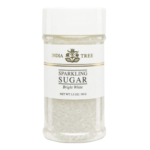
Where can I find sparkling sugar?
This is that extra little bit of sugar on top that takes these cookies from boring to fancy. Sparkling sugar is super easy to find at your local grocery store. It should be with all of the sprinkles and cake decorating supplies.
How long do these cookies stay fresh?
Because of how soft and buttery these cookies are, they keep that delicious texture and flavor for up to 5 days.
After the cookies have cooled, store in an air tight container at room temperature. Stack the cookies on top of each other to prevent any from bending in half.
Can I freeze the cookie dough?
Yes! Scoop the cookie dough and place it in the fridge for about 1-2 hours, or until they are firm. Then toss them into a freezer safe bag and freeze for up to 3 months.
When you’re ready to bake them, let the cookie dough sit out at room temperature while you preheat the oven. You don’t want them to go into the oven frozen solid, but you still want them to be cold. Bake for an additional 1-2 minutes if needed.

For more of the BEST cookie recipes, check out my:
- Peanut Butter Chocolate Chip Cookies
- Brown Butter Chocolate Chip Cookies
- Maple Snickerdoodles
- Salted Caramel Chocolate Chip Cookies
Make sure to tag me @butternutbakery on Instagram and comment below if you make these Soft and Chewy Sugar Cookies. To pin this recipe and save it for later, you can use the button on the recipe card, the buttons above or below this post, or on any of the photos above. Happy baking!
Print
Soft and Chewy Sugar Cookies
- Total Time: 2 hours 32 minutes
- Yield: 12 large cookies or 20 medium cookies
Description
These are the BEST sugar cookies. They are dense, doughy, and slightly chewy on the outside. It’s like making bakery-style sugar cookies in your own kitchen.
Ingredients
- 1 1/2 cups cake flour (175g)
- 1 1/2 cups all purpose flour (192g)
- 3/4 tsp salt
- 1 tsp baking soda
- 1 cup unsalted butter, melted (220g)
- 1 1/4 cups granulated sugar (250g)
- 1/4 cup packed light brown sugar (50g)
- 2 tsp vanilla extract
- 1 large egg + 1 egg yolk
- Sparkling sugar, for sprinkling on top
Instructions
- In a small bowl, whisk together the dry ingredients (cake flour, all purpose flour, salt, and baking soda) and set aside.
- In another bowl, using a hand or stand mixer with the paddle attachment, mix together the melted butter and sugars on medium speed until it completely comes together.
- Mix in the egg, egg yolk, and vanilla.
- Mix in the dry ingredients in thirds until it all comes together. Careful not to over mix since we’re going for a more dense but tender cookie.
- Line a plate or small cookie sheet with wax paper or parchment paper. You will not be baking on this sheet.
- Using a large 2 oz scoop, scoop out the dough and set them side by side on your tray. You want them to be nice and rounded, do not flatten. Place them in the fridge for 1-2 hours or until chilled solid. You want them to be almost rock hard when you put them in the oven.
- When ready, preheat the oven to 375F. Place 4-5 cookies about 3 inches apart on a large baking sheet lined with parchment paper. Bake for 12-14 minutes. 12 lends a more doughy center so add on a couple minutes if you want a more baked cookie. You’re looking for a LIGHT golden brown edge. They’ll still look pretty pale in the middle but they will darken slightly as they cool.
- Transfer to a cooling rack. While they’re still warm, you can sprinkle the cookies with sparking sugar to get that bakery-style look.
- These cookies can be enjoyed fresh from the oven or the next day. When fresh, they’ll be VERY soft in the middle but at room temperature, they’re perfectly tender and chewy. They’re delicious either way!
- Prep Time: 20 minutes
- Chill Time: 2 hours
- Cook Time: 12 minutes
Join Our Community


Meet Jenna
I’m the creator, baker, and photographer behind Butternut Bakery. Here I share desserts for every diet because I believe everyone should have a chance to indulge!


Can these cookies be frozen before baking?
I’ve tried many sugar cookie recipes, but this is by far the BEST!!! They are dangerously delicious. It’s hard not to
want to eat every single one in the batch. I rolled mine in sparkling sugar before putting them in the refrigerator, and they came out perfect! I will be making these again and again. Can’t wait for my next batch! Yay!!!
I made these cookies for a bbq and everyone absolutely loved them! I can’t tell you how many people asked for the recipe! These are the only sugar cookie I will make now!
Can you ice these or do you think they would be too sweet? Also if you did what would you recommend, a glaze, butter cream or royal icing?
I am baking my way through your blog. These cookies are truly the BEST sugar cookie that I have ever tasted. I don’t really even like sugar cookies, so this is saying a lot. 🙂
These cookies are excellent and don’t need anything extra; but I just put the tree up and was in peppermint mode. I made some creamy chocolate peppermint frosting for half of them. I like natural flavors, so I steeped 4 peppermint tea bags in 3 tablespoons of cold cream while the cookies cooled. Worked perfectly. 🙂
Thank you so much for sharing another great recipe! Gingerbread Sandwich cookies are up next! 😀
These cookies are incredible!! I made them today and followed the directions exactly – came out to 12 total cookies. I couldn’t get much sparkling sugar on them since they have a bit of a round top, but that didn’t matter because they are so delicious. My husband loved them too. I’ll definitely be making this recipe again!
Thanks for sharing! Does it keep long?
This looks so good! Does it taste good with other mix ins?
Oh my waist! I just had to try these last night. There are family members that love spicy or “everything in it” cookies. But some of us have discriminating palates and savor the tastes of butter and vanilla. These cookies satisfy that without having “crunch” like shortbread. I did bring them up to the level of “divine” by altering the recipe thusly:
Regular salted butter (decreased salt in recipe) but added 1/4 cup to the 1 cup…then browned the butter! As the water evaporates I like to make sure I am still getting the volume I need so that’s why I add extra butter when browning it. I used a 2 oz cookie scoop but cut the balls in half and got 34 out of the batch, regular cookie size. Baked one pan for 12 minutes, another for 10. Great taste but a big firm even though the bottoms are just barely golden. In the future to get them more gooey inside I will bake for 8 minutes. Thank you for sharing this recipe!
PERFECTION!! They are EVERYTHING you said they would be. I I can’t wait to make them again! I can now toss all of my sugar cookie recipes. Next time I’m going to add some lemon zest. Thanks Jenna!