Toasted Marshmallow Peanut Butter Cookie Bars
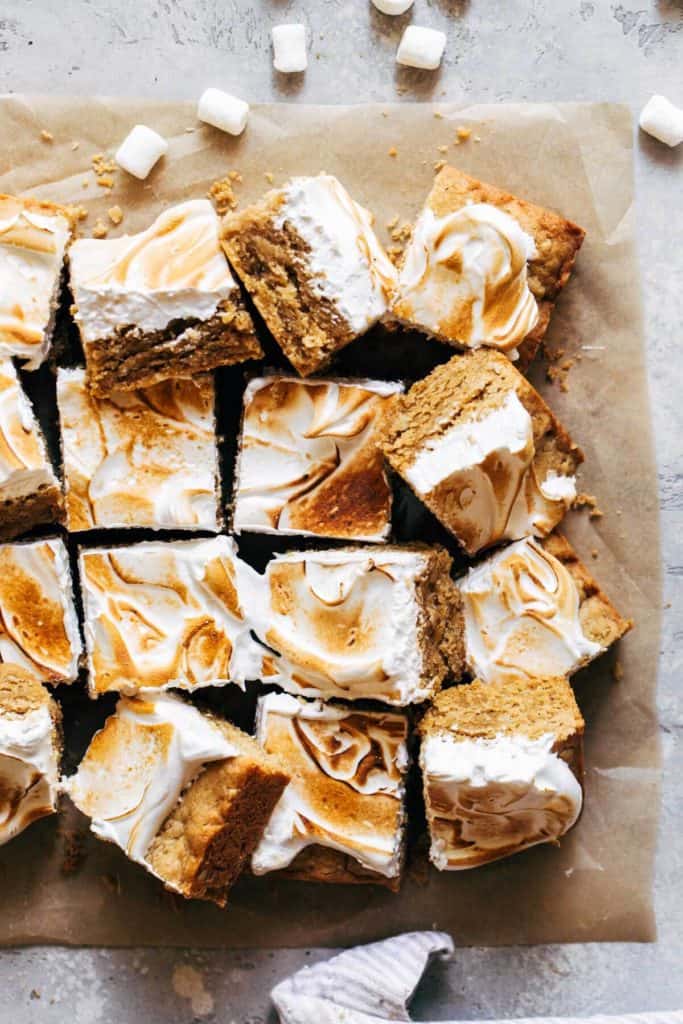
These peanut butter cookie bars are for all the fluffernutter lovers out there! A base of soft peanut butter cookie is topped with a silky marshmallow meringue and lightly toasted to perfection. They’re a unique twist on a childhood classic combo and are so fun to make.
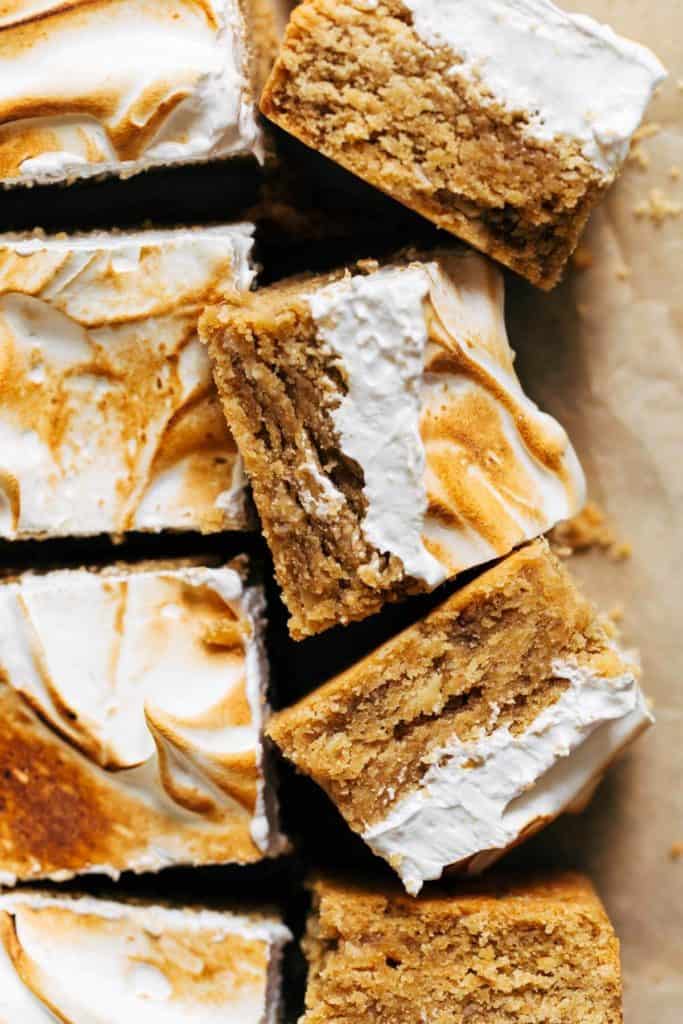
Tips for making peanut butter cookie bars
The base of this recipe is a thick layer of peanut butter cookie. It’s quick and easy to make, but here are a few tips to ensure it turns out perfect:
- The Peanut Butter – Make sure to use classic creamy (or crunchy) peanut butter like JIF or Skippy. I don’t recommend using a natural peanut butter as there can be so many variations in textures. Some are thick and creamy while others can be thin and drippy. Using regular creamy peanut butter will provide to same exact results every time.
- The Flour – Make sure to measure your flour properly. If you have a food scale, weigh it. If not, spoon the flour into the measuring cup and level it off with a flat edge. Don’t shake it or pat it down and don’t scoop directly from the flour bag or container. This will lead to way too much flour in the dough.
- The Oats – It’s important to lightly ground up the oats before adding them to the batter. Add them to a food processor and pulse about 5 times. It helps break up the large pieces, so the bars have some texture but not too much. Can I use quick oats instead? Yes, if you use quick oats you can choose not to ground them.
- Mixing – Make sure the ingredients are fully combined before adding the next. At each stage, the dough should be smooth and well combined up until adding in the flour. Mix JUST until the flour disappears. Over mixing can lead to tough bars.
- Baking – Pull the bars out of the oven when the edges are a light golden brown and the center is pale and puffed. The bars will continue to bake outside the oven, so they will settle and darken slightly as they cool.
Tips for making marshmallow meringue
I absolutely love marshmallows in desserts, but I always find it difficult to bake with them. They’re delicious, toasted, and creamy at first but minutes later they turn tough and chewy.
That’s why I wanted to create a marshmallow meringue for these cookie bars. It’s silky, creamy, and it stays that way for days! Here are a few things to remember when making the meringue:
- Bain-marie – This is the process of slowly and gently heating ingredients, typically over a pot of simmering water. Fill a pot about 1/3-1/2 full and bring it to a simmer. Rest your bowl over the pot but don’t let it touch the water. During this process, we are slowly melting down the sugar until it is completely dissolved into the egg whites. This will ensure a smooth and glossy meringue.
- Sugar Test – After the egg whites and sugar have been over the heat for about 10 minutes, grab a pinch of the mixture and rub it between two fingers. If you can still feel sugar granules, keep it on the heat. If it’s completely smooth, it’s time to whip.
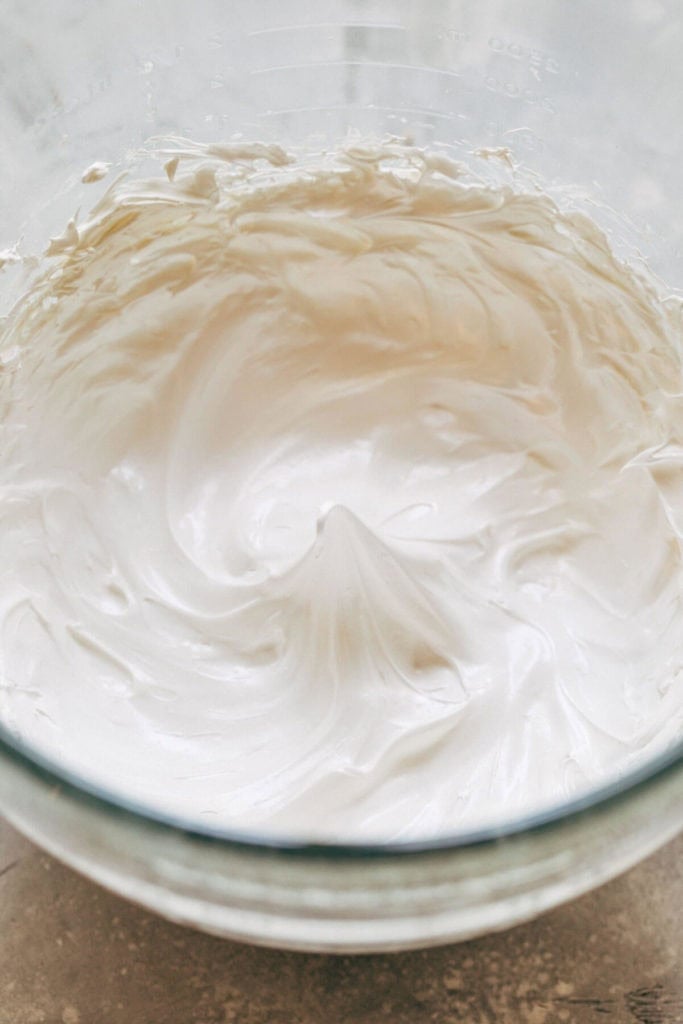
- Stiff Peaks – Whisk the egg whites and sugar on high speed until you reach stiff peaks. To test this, dip the whisk into the mixture and pull it straight up. Turn the whisk right side up and watch the meringue at the tip. If it sags, it’s not ready. If it stays straight up (it’s OK if the very tip curls down like a Dairy Queen cone), then it’s ready. The bowl should look just like the picture below!
How to toast meringue
To make these bars look gourmet, the last step is to lightly toast the meringue on top. To do so, you will need a kitchen torch. If you can’t get your hands on one, a candle lighter will also work although you may get a more patchy result.
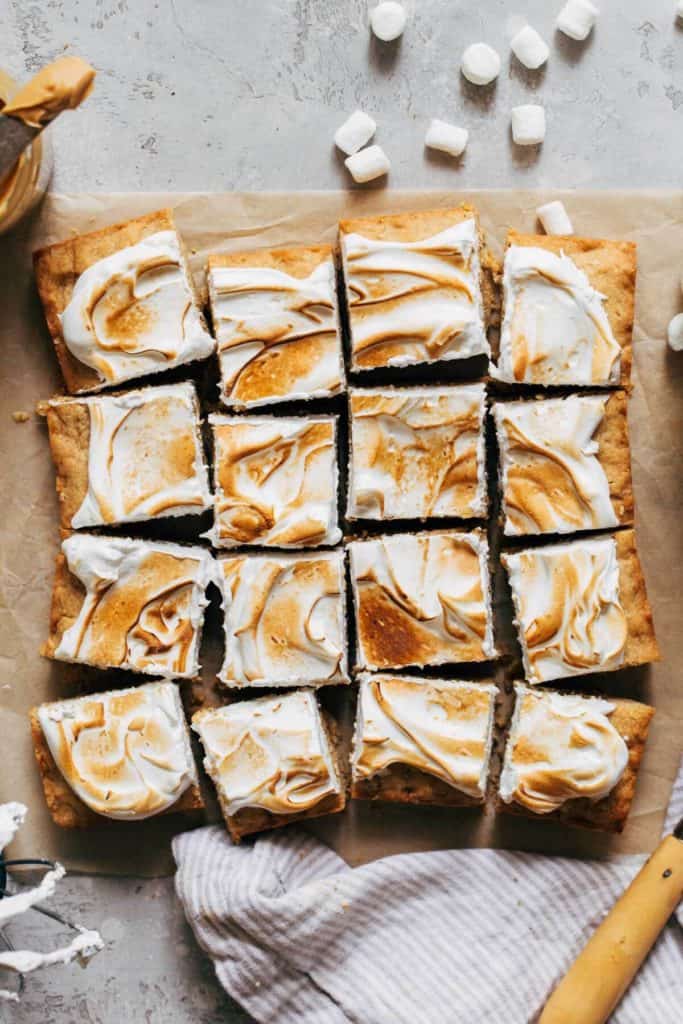
First, spread on the meringue so that you get tons of swirls, lines, and textures. Since we’re only toasting the high points, having a lot of variation in the height of the meringue will give a more dynamic look.
With the torch on a medium flame, swirl it around the surface about 1/2 an inch away from the meringue. It’s important to keep the torch moving and to never stop in one spot, otherwise you will get uneven browning. You can toast it as much as you like, but shown here is a very light toast which took about 30 seconds to achieve.
Is the meringue safe to eat?
Yes! The egg whites were cooked in bain-marie so they are completely safe to eat.
How to make this recipe gluten free
Although I have no tested it, I don’t doubt that swapping the regular flour for gluten free all purpose flour will do the trick. Just make sure to use a blend that includes xanthan gum (I recommend this flour). Also swap the oats for certified gluten free oats if you have a strong gluten sensitivity or allergy.
How to make this recipe vegan
Again, I have not tested this but if I were to make these bars vegan, here is what I would do:
Swap the egg for a flax egg. Mix 1 tablespoon of ground flax seeds with 2 tablespoons of water. Let it sit for about 10 minutes until it turns gelatinous and then follow the rest of the recipe accordingly.
Swap the butter for vegan butter (preferably vegan baking sticks like Earth Balance).
For the meringue, swap the eggs with 3/4 cup of aquafaba (or the liquid form a can of chickpeas). Add the aquafaba to a saucepan and simmer for about 10 minutes. Allow it to cool COMPLETELY so do this as the very first step in the entire recipe. Place it the fridge to chill before using.
When it’s chilled, whip it in a bowl of a stand mixer fitted with the whisk attachment. Once it gets bubbly and frothy, add the cream of tartar and vanilla and continue to whip on high speed. Swap the granulated sugar for powdered sugar and add in about halfway through. Then continue to mix until it forms stiff peaks.
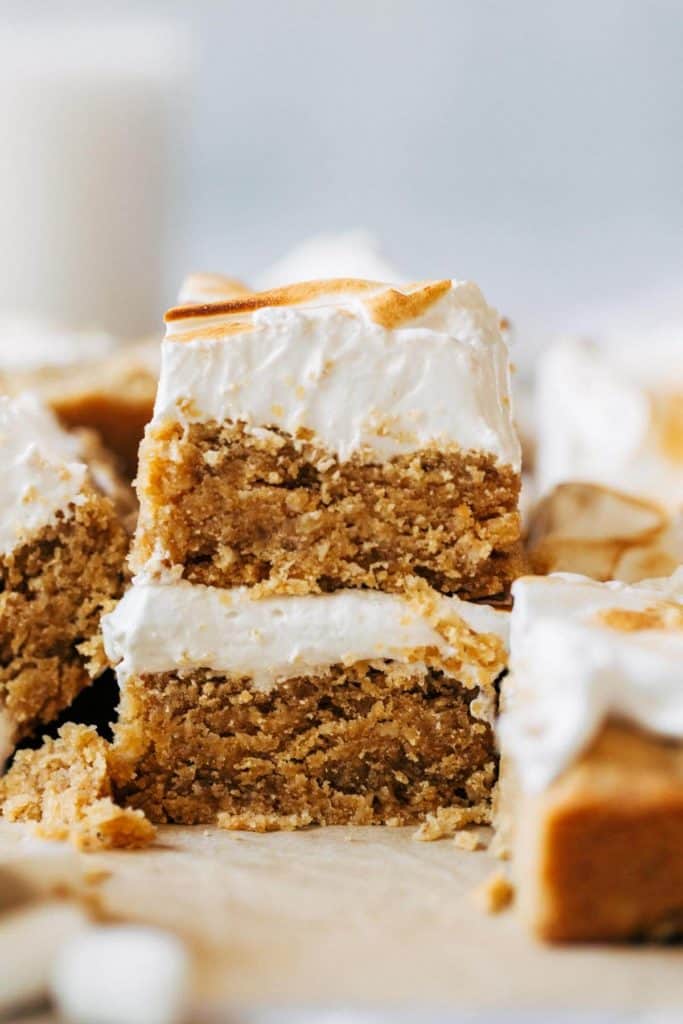
How to store these bars
If you’re making these ahead, bake the bars but don’t make the meringue until the day off. It’s best when fresh.
If you have leftovers that are already frosted, store in an air tight container in the refrigerator. They will keep for up to 4 days. I recommend bringing them up to room temp before eating but they are delicious either way!
For more delicious peanut butter recipes, check out my:
- Peanut Butter Chocolate Chip Cookies
- Peanut Butter and Jelly Cheesecake Bars
- Peanut Butter Snickerdoodles
- Chocolate Peanut Butter Pie
- Peanut Butter Banana Muffins (GF/DF)
Make sure to tag me @butternutbakery on Instagram and comment below if you make these Marshmallow Peanut Butter Cookie Bars. To pin this recipe and save it for later, you can use the button on the recipe card or on any of the photos above. Happy baking!
Print
Toasted Marshmallow Peanut Butter Cookie Bars
- Total Time: 1 hour
- Yield: 16 bars
Description
These soft peanut butter cookie bars are topped with a luscious marshmallow meringue which is then lightly toasted for an extra layer of flavor.
Ingredients
Peanut Butter Cookie Bars
- 1 2/3 (210g) cup all purpose flour
- 1 tbsp cornstarch
- 1/2 cup (60g) old fashioned rolled oats, lightly ground in a food processor
- 1/2 tsp baking soda
- 1/2 tsp salt
- 3/4 cup (200g) creamy peanut butter (like Jif or Skippy)
- 1/2 cup (110g) unsalted butter, room temp
- 1/2 cup (100g) light brown sugar, packed
- 1/4 cup (55g) granulated sugar
- 1 large egg
- 1 tsp vanilla extract
Marshmallow Meringue
- 2 large egg whites
- 1/2 cup (100g) granulated sugar
- 1/4 tsp cream of tartar
- 1/2 tsp vanilla extract
Instructions
Peanut Butter Cookie Bars
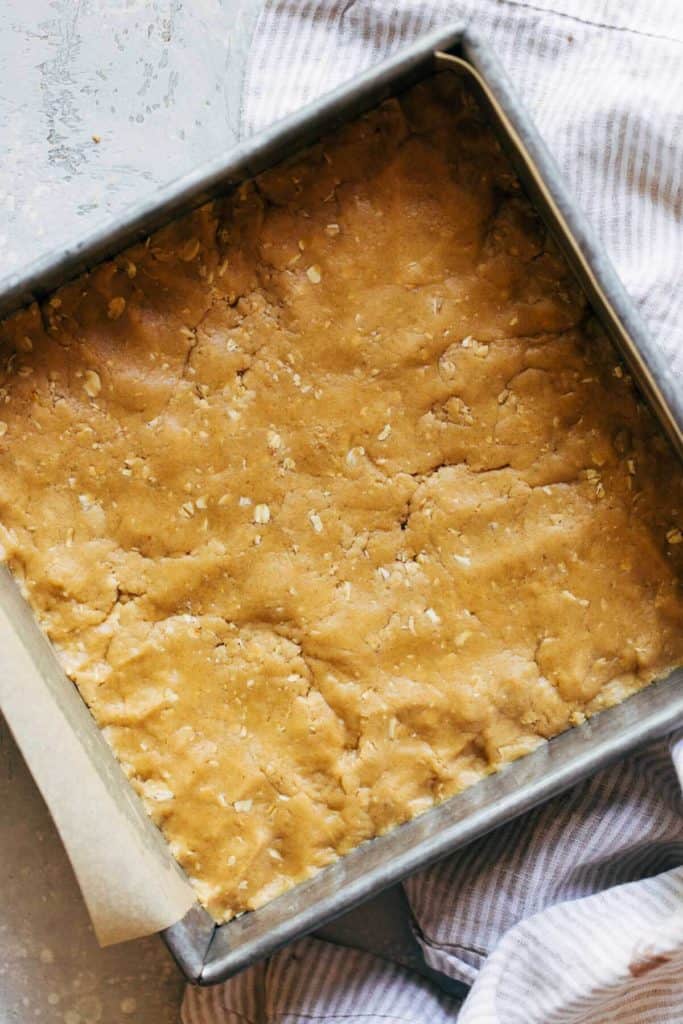
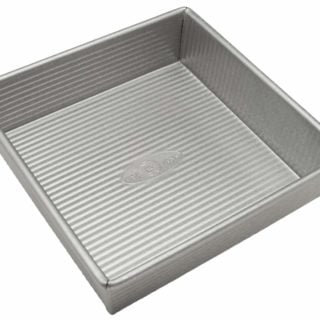
- Preheat the oven to 350F and grease an 8×8 baking dish. Line the bottom and sides with a sheet of parchment paper and allow it to hang over the edges. This will make it easy to lift out the bars once they’ve baked and cooled.
- Whisk together the flour, cornstarch, oats, baking soda, and salt and set aside.
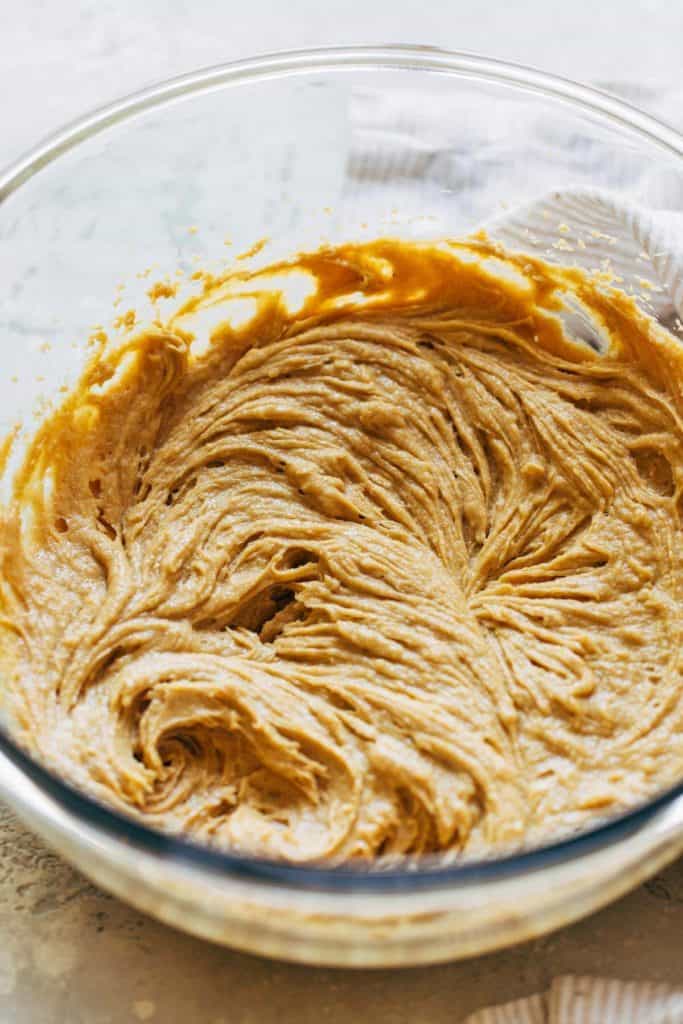
- In a large bowl, mix together the butter and peanut butter until smooth. It’s best to use a hand mixer or a stand mixer fitted with the paddle attachment.
- Mix in the sugars until combined, followed by the egg and vanilla.
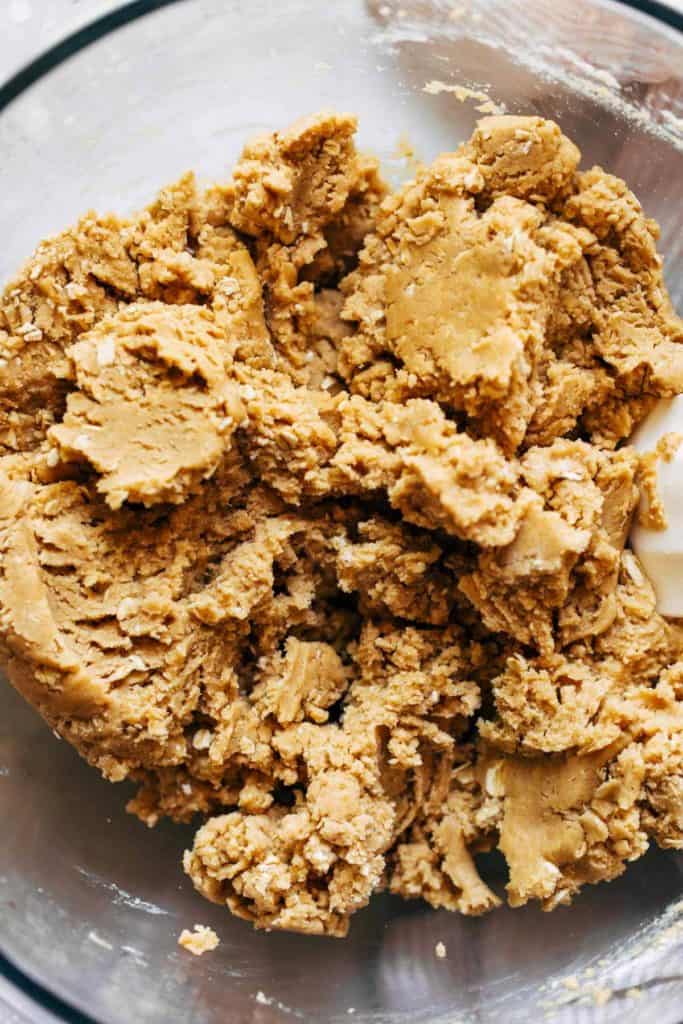
- Lastly, dump in the dry ingredients and mix to combine.
- Press the dough into the baking pan and bake for 25-30 minutes or until the edges are golden brown.
- Allow the bars to cool completely, still in the pan, then make the marshmallow meringue topping.
Marshmallow Meringue
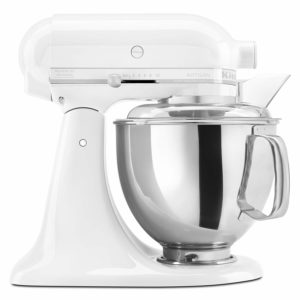
- Add the egg whites and sugar to the bowl of a stand mixer. If you don’t have a stand mixer, make sure to use a heat safe bowl.
- Place the bowl over a pot of simmering water (filled about 1/2-1/3 of the way full). Make sure it doesn’t touch the water and don’t let the water come to a boil. Whisk occasionally until the sugar is completely dissolved (about 10 minutes). To test, rub some of the mixture between your fingers. If you still feel sugar granules, keep it over the heat until you can no longer feel those granules.
- Transfer the bowl to the stand mixer with the whisk attachment and whip on high speed. As it turns white and opaque, add in the cream of tartar and vanilla. Keep whisking until it’s thick and glossy. To test, dunk the whisk into the bowl and pull it out. When you turn it right side up, the meringue should still stand straight.
- Spread the meringue onto the cooled cookie bars. Use a kitchen torch to lightly toast the top (if you don’t have one, you can omit this step).
- Slice and enjoy!
- Prep Time: 30 minutes
- Cook Time: 30 minutes
Join Our Community

Meet Jenna
I’m the creator, baker, and photographer behind Butternut Bakery. Here I share desserts for every diet because I believe everyone should have a chance to indulge!




Hello, do these need to be stored in the fridge?
Hi Jenna!
I made these last night, and while the peanut butter cookie bar part was amazing, something went wrong with the marshmallow meringue. I did it exactly how the recipe said to (and even read the notes) but my meringue never got to stiff peaks, and as a result the topping was thin and there wasn’t enough. I did notice it seemed like the sugar dissolved faster than expected in the bain marie. What do you think could have gone wrong? I want to make these again correctly, because the flavors are awesome! Thanks for your help.
Would I be able to top these with marshmallow cream/fluff instead?
Wow… these look delicious! What temp do you cook the meringue to? 175-180°F? I just don’t want to mess it up and would love a temp… thanks!!
I was wondering the same. I’m going to heat to 165. That’s what I do for Swiss meringue.