Blossom Cookies
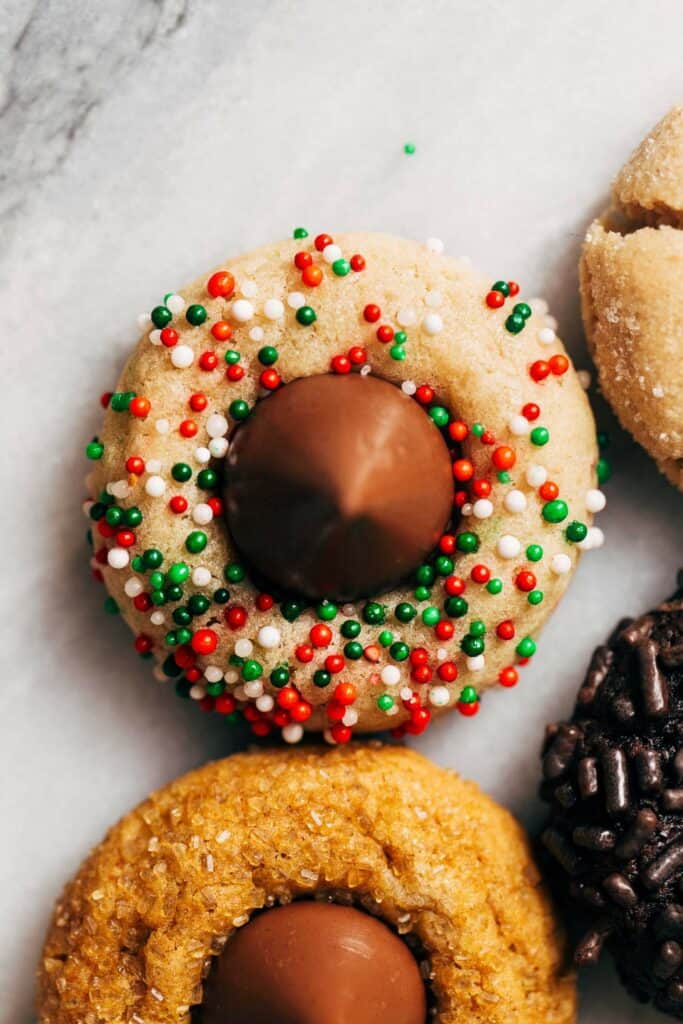
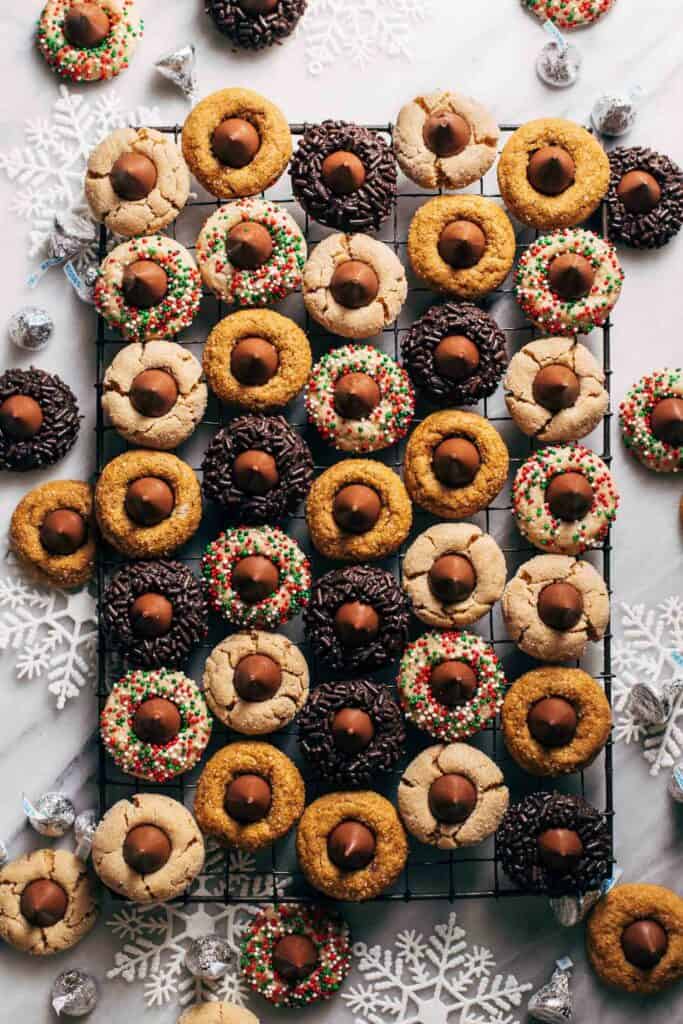
This is the ULTIMATE Christmas cookie recipe! One dough makes FOUR different blossom cookies! It starts with a base dough, and then it’s split into four bowls to make peanut butter blossom cookies, chocolate blossom cookies, gingerbread blossom cookies, and sugar cookie blossoms. Each is topped with a milk chocolate kiss and decorated with sugar and sprinkles.

How to turn one dough into four blossom cookies
Testing the recipe ALMOST made me lose my mind…almost. I had to get the base dough JUST right in order to make four different cookies that all spread the same and had a good balance of sugar and salt. It might sound simple but whoa…it was way more work than I had expected. Luckily I won’t be passing any of that insanity on to you because this recipe is now ready to go!
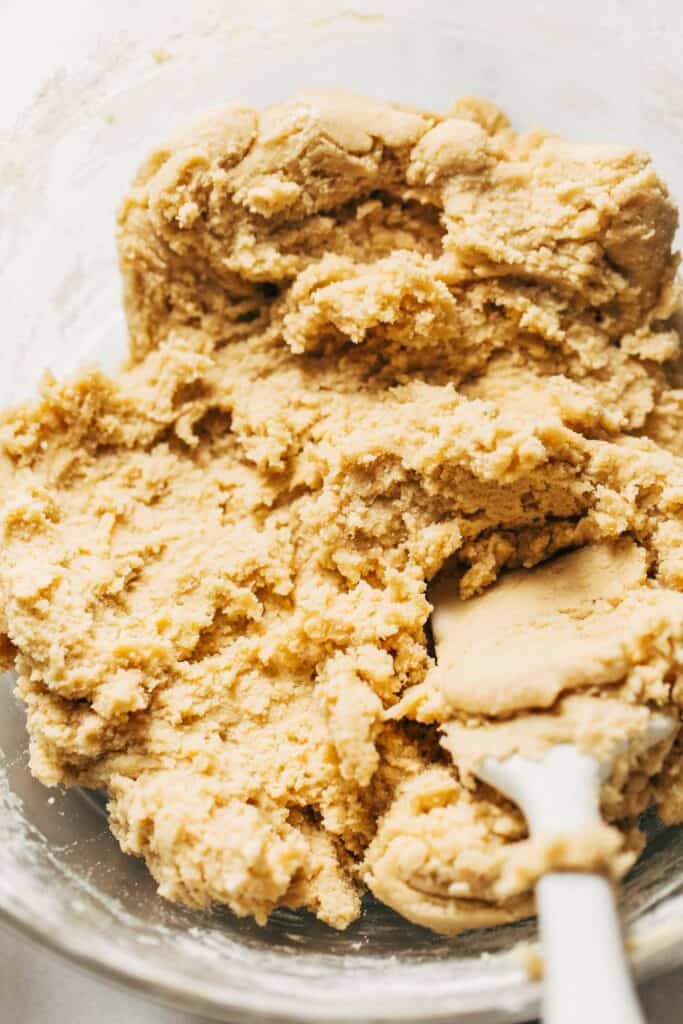
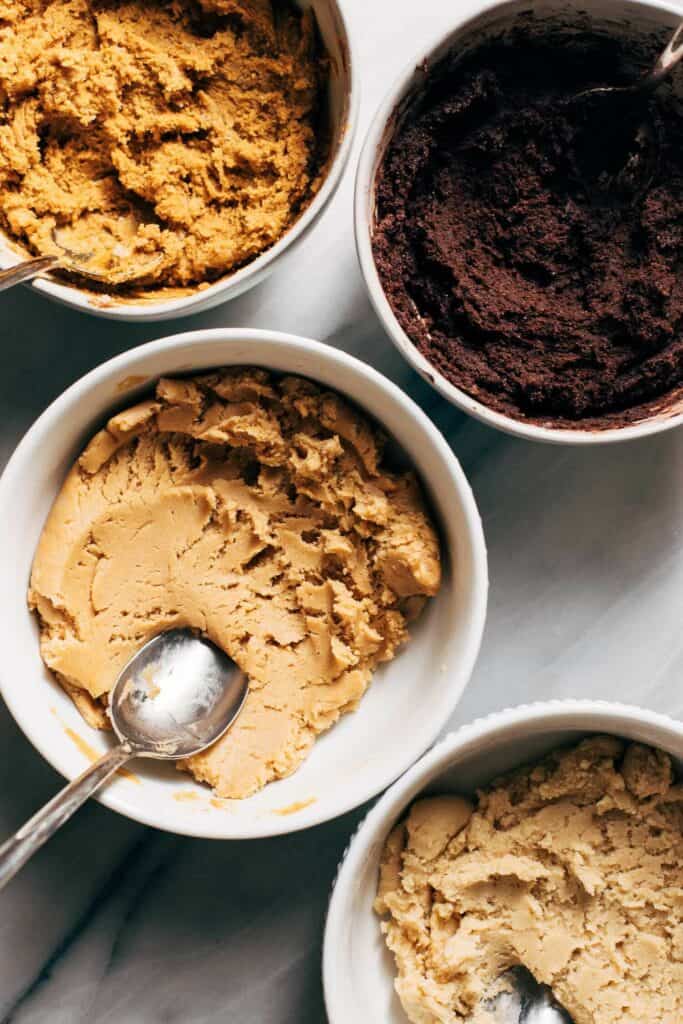
It starts with a base dough which is essentially just a sugar cookie dough. This thick dough is split evenly between four bowls and each bowl is mixed with their respective flavors:
- Peanut Butter Blossom Cookies – peanut butter + a little more flour
- Chocolate Blossom Cookies – cocoa powder + milk
- Sugar Cookie Blossoms – a bit more flour
- Gingerbread Blossom Cookies – molasses, spices, and more flour
Each dough is then mixed by hand to create our four flavors. And warning in advance, the doughs are rather thick so mixing can be a bit of a workout! But it is most definitely worth it in the end.
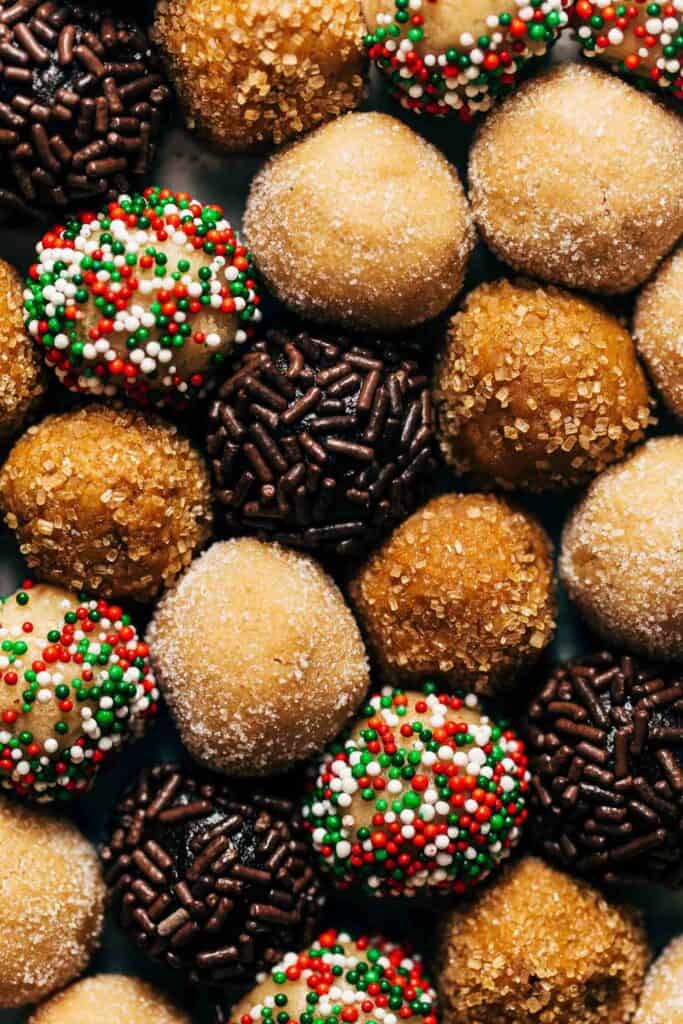
The dough is then rolled into balls and coated in either sugar or sprinkles. They’re baked right away and topped with milk chocolate kisses to complete our festive blossom cookies!
Tips for baking blossom cookies
To make sure every cookie turns out perfectly moist with an even spread, here are my top baking tips:
- Flour – I say this in every post, and for good reason. It’s the number one reason why most recipes fail. If there’s too much flour, these cookies won’t spread probably and can turn out tough and dry. If possible, measure the flour with a food scale. Otherwise, to ensure the exact amount, gently spoon the flour into the measuring cup and level it off with a flat edge. If scooped directly into the flour container, the flour becomes packed down into the cup which could leave you with 1/4 cup or more of added flour.
- Divide – When splitting up the base dough, I highly suggest weighing out each dough amount for accuracy. This isn’t 100% necessary, but it will ensure that each cookie puffs and spreads perfectly in the oven. For scale, each piece of dough should weigh about 245 grams.
- Mix – When mixing each dough flavor, use a regular metal spoon. The rigid small spoon is much easier to mix small dough amounts. Plus, the doughs are rather thick so a tough mixing utensil is definitely needed.
- Scoop – When scooping out the dough balls, scoop a true tablespoon for all of the flavors except peanut butter. This dough spreads the least out of the four, so it needs just a bit of extra dough. Scoop a heaping tablespoon for peanut butter and then it will make its final spread with a kiss is pressed on top.
- Kisses – Have these unwrapped and ready to go before the cookies are done baking. It’s important to press in the kisses right away.
- Baking – 8 minutes was the perfect amount of time for my cookies. They should be evenly puffed but slightly underdone in the center. This is how you get those soft and chewy centers.
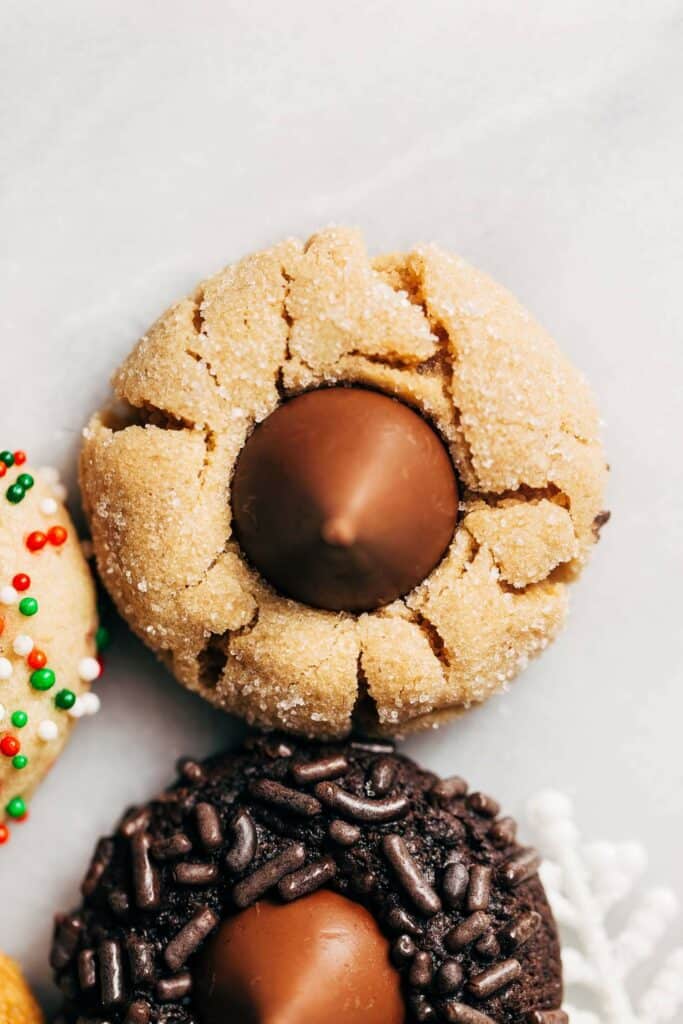
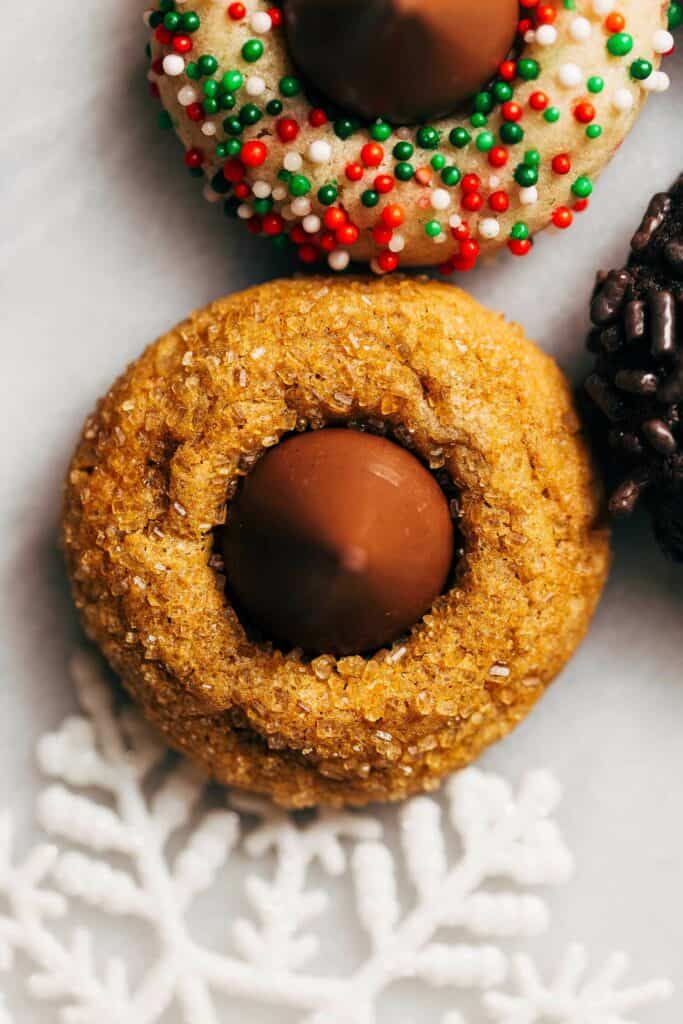
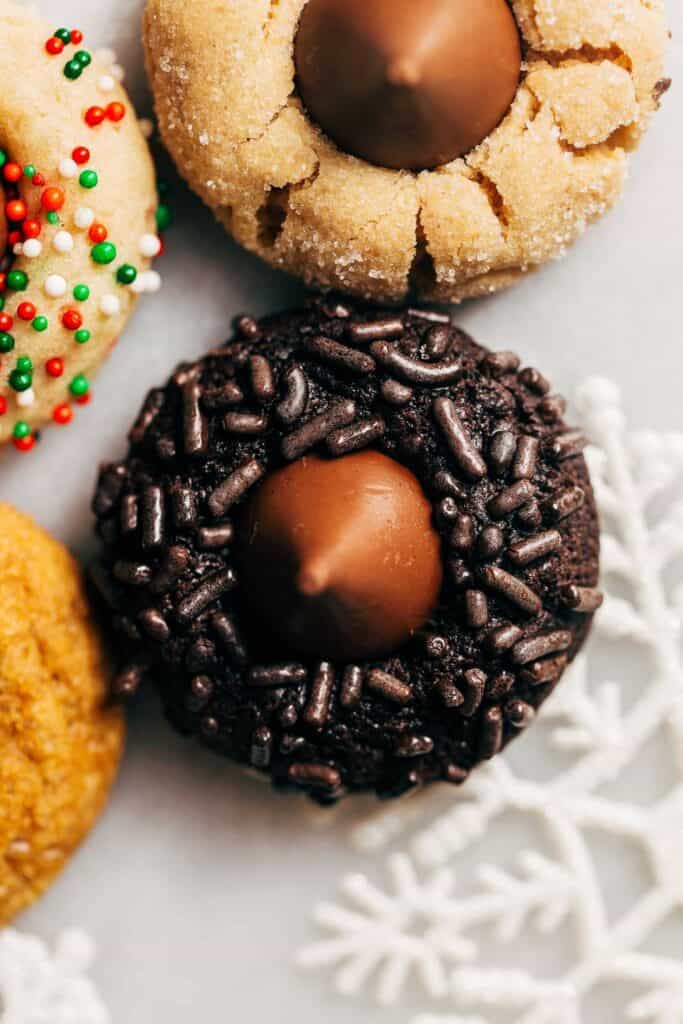
Blossom cookie coatings
Each cookie gets its own coating to help distinguish their flavors:
- Peanut Butter Blossoms – granulated sugar
- Chocolate Blossoms – chocolate sprinkles
- Sugar Cookie Blossoms – nonpareil sprinkles
- Gingerbread Blossoms – raw or demerara sugar
The coatings should easily stick to each cookie dough ball but it’s possible to run into some trouble with the sugar cookie dough. If the sprinkles won’t stick to the sugar cookie dough balls, dampen your hands before rolling the ball between your hands. Then roll in the sprinkles.
These coatings also aren’t set in stone. Feel free to get creative and use whatever you like!
Additional flavor options
To take this a step further, even MORE flavors can be added to these existing doughs simply by swapping out the kiss on top. For example:
CANDY CANE – Press a candy cane kiss into some of the sugar cookies for a peppermint kick
HUGS – Press a hugs kiss into some of the chocolate cookies for a white chocolate swirl
PB CUPS – Press a mini peanut butter cup into either the peanut butter or chocolate blossoms for a fun kiss alternative
How to store blossom cookies
Once all the cookies are baked, allow them to cool completely, and I even like to wait until the kisses have solidified. Then place the cookies in an airtight container and store at room temperature where they will keep for about 5-7 days.
Can the dough be frozen?
Yes! Once each dough is mixed, scoop out and roll the cookie dough balls but leave off the coating. Place the balls in a freezer bag and freeze for a few months.
To bake, thaw the cookie dough balls and roll in their coatings before baking.

For more Christmas cookie recipes, check out my:
- Slice and Bake Cookies – 1 dough 4 flavors
- Cut Out Sugar Cookies
- Gingerbread Cookies
- Soft Molasses Cookies
- Soft and Chewy Sugar Cookies
- Chewy Spice Cookies
- Milk Chocolate Snowflake Sugar Cookies
- Chocolate Hazelnut Blossoms
- Peppermint Bark Cookies
Make sure to tag me @butternutbakery on Instagram and comment below if you make these blossom cookies. To pin this recipe and save it for later, you can use the button on the recipe card or on any of the photos above. Happy baking!
Watch how to make these blossom cookies:

Blossom Cookies
- Total Time: 1 hour 35 minutes
- Yield: 52 cookies
Description
All four of these blossom cookie flavors are made using one dough! Classic peanut butter, gingerbread, chocolate and sugar cookie blossom cookies all in one batch. It’s perfect for a cookie exchange or Christmas cookie boxes!
Ingredients
Base Blossom Cookie Dough
- 3 cups (396g) all purpose flour
- 1 tsp baking soda
- 1 tsp kosher salt
- 3/4 cup (185g) unsalted butter, room temp
- 1 cup (200g) granulated sugar
- 1/2 cup (100g) light brown sugar, packed
- 2 large eggs
- 2 tsp vanilla extract
- Chocolate Hershey’s kisses
Peanut Butter Blossom Cookie Dough
- 1/4 cup (60g) creamy peanut butter
- 2 tbsp all purpose flour
- Granulated sugar, for rolling
Chocolate Blossom Cookie Dough
- 2 1/2 tbsp dutch process cocoa powder
- 1 tbsp milk
- Chocolate sprinkles, for rolling
Sugar Blossom Cookie Dough
- 1 1/2 tbsp flour
- Sprinkles, for rolling
Gingerbread Blossom Cookie Dough
- 1 1/2 tbsp molasses
- 3 tbsp all purpose flour
- 1/2 tsp ground ginger
- 1/4 tsp ground cinnamon
- Demerara or raw sugar, for rolling
Instructions
Base Blossom Cookie Dough
- Preheat the oven to 350F and line a large baking sheet with parchment paper. Also fill four small dishes with each of the cookie dough rolling ingredients (granulated sugar, chocolate sprinkles, red and green sprinkles, and raw sugar).
- In a medium bowl, whisk together the flour, baking soda, and salt. Set aside.
- In a large mixing bowl using a hand or stand mixer with the paddle attachment, mix together the butter and sugars until light and fluffy.
- Then mix in the eggs and vanilla until smooth.
- Pour in half of the dry ingredients and mix. Pour in the other half and mix until combined. The dough will appear thick and crumbly at first, but keep mixing and it will come together.
- Evenly divide the dough between four bowls. If you would like to weigh for precision, each should weigh about 245g.
- Add the ingredients to the respective bowls with peanut butter, chocolate, sugar, and gingerbread all in separate bowls.
- Using a regular spoon, mix each dough until well combined. Some doughs will be tougher than others so a little elbow grease will help!
- Scoop the cookie dough out onto a large plate or pan. For peanut butter, scoop a heaping tablespoon and the others scoop a true tablespoon.
- Roll each dough ball smooth between your hands and then coat in their respective coating. For the sugar cookie, if the sprinkles don’t stick, dampen your hands and then roll the balls smooth before rolling in the sprinkles.
- Place the cookie dough on the large baking pan, each spaced about 2.5 inches apart. Bake for 8-10 minutes.
- While they bake, unwrap the Hershey’s kisses. When the cookies are done, immediately press a kiss into the center of each cookie. The peanut butter blossoms should crackle when pressed which is what we want!
- Transfer the cookies to a cooling rack and continue to bake the rest of the batch.
- Enjoy the cookies warm or at room temperature.
Notes
STORAGE – Allow the cookies to cool completely and the kisses to firm up. Store in an air tight container at room temperature and they will keep for up to 5 days.
CANDY CANE – For ANOTHER flavor, press candy cane kisses into half of the sugar cookies
- Prep Time: 45 minutes
- Cooling Time: 20 minutes
- Cook Time: 30 minutes
- Category: Dessert
- Method: Baking
- Cuisine: American
Join Our Community

Meet Jenna
I’m the creator, baker, and photographer behind Butternut Bakery. Here I share desserts for every diet because I believe everyone should have a chance to indulge!


This is my second year using this recipe and I couldn’t be happier!! Each cookie type is unique and perfectly portioned. Thank you for creating an easy way to make and enjoy multiple types of cookies without needing so much extra time and energy. Highly recommend as this is now a season standard in our house 🙂
I made these last year and will continue to do so for Christmas. They were so fluffy and amazing. The only thing I’m changing this year, is using peppermint kisses for the chocolate blossom to try and emulate a peppermint bark cookie.