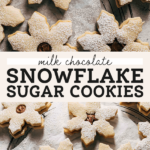
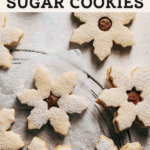
Milk Chocolate Snowflake Sugar Cookies
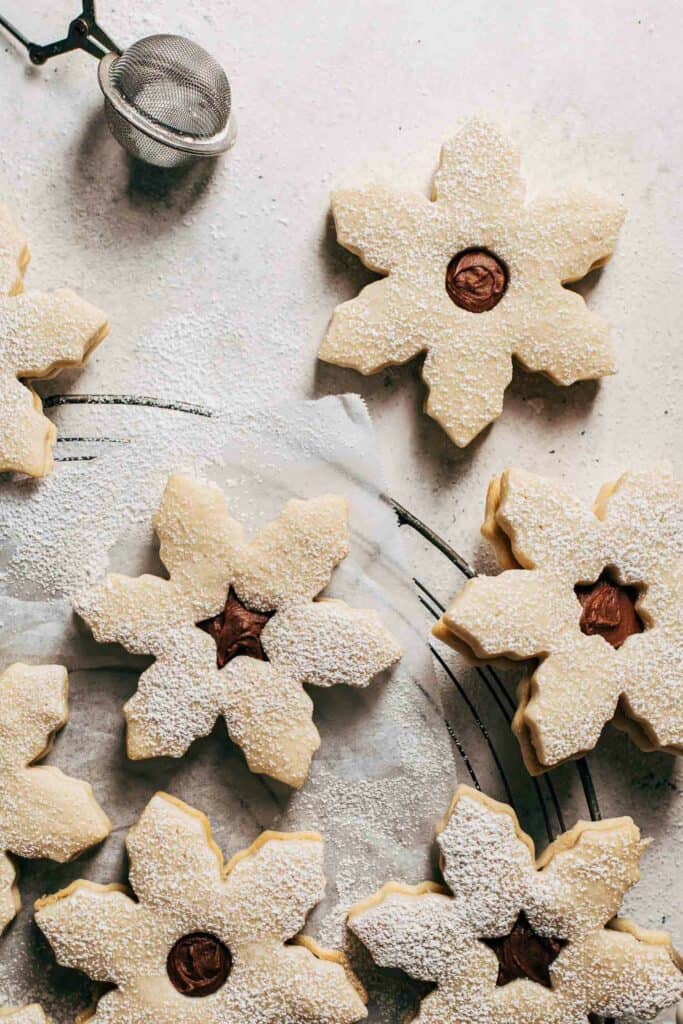
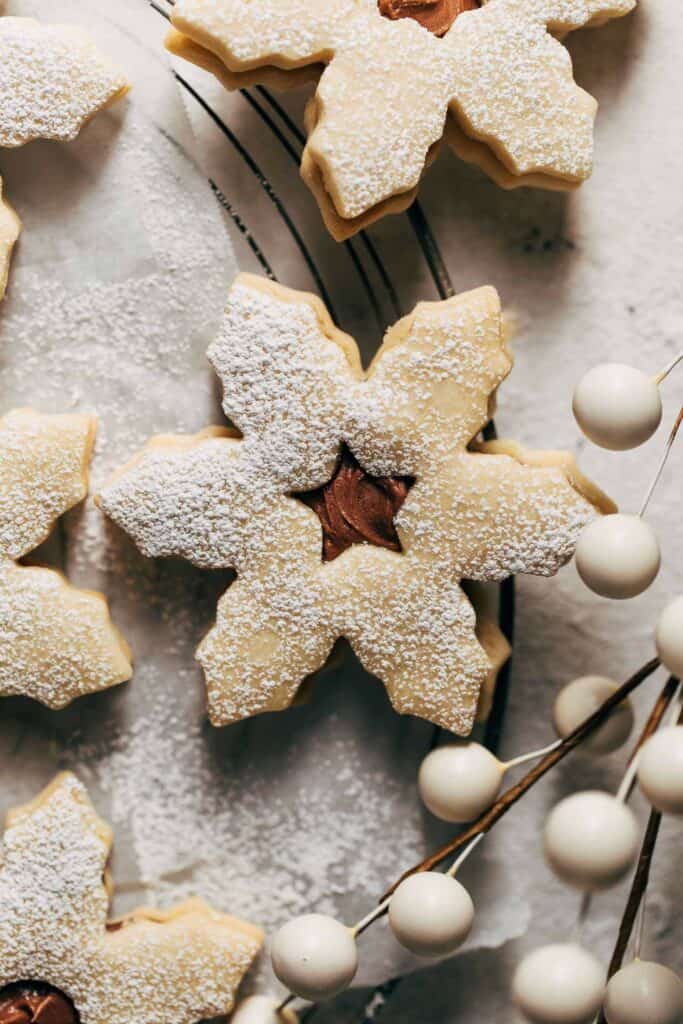
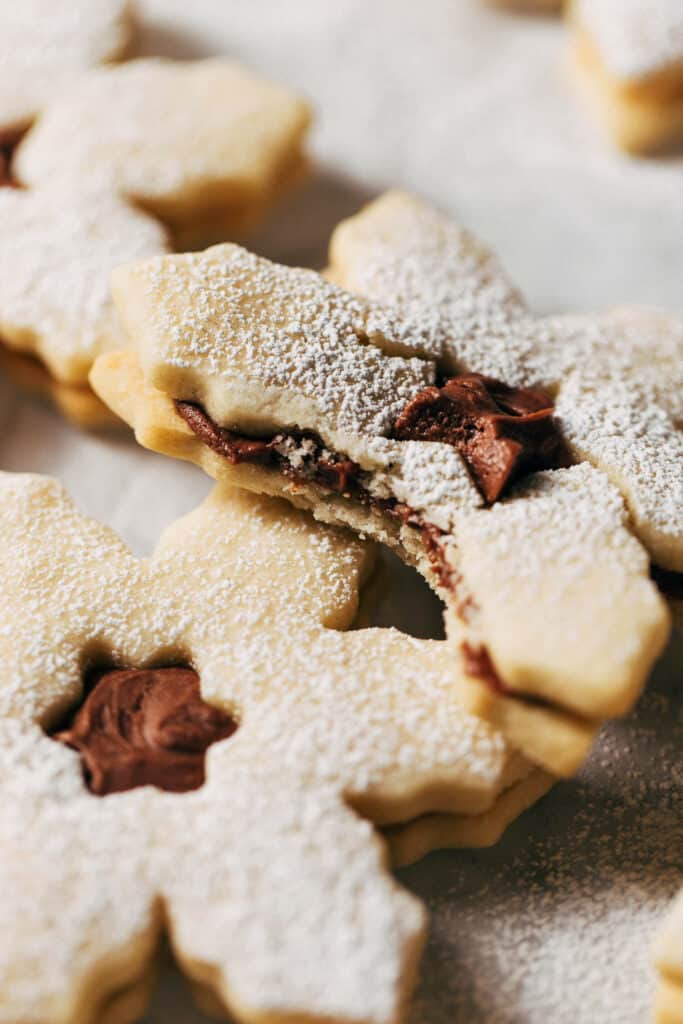
These snowflake cookies are like the Keebler fudge sandwich cookies, but way more festive! Light and crisp snowflake sugar cookies are sandwiched with whipped milk chocolate ganache. They’re so fun to make and are perfect to bake for a Christmas cookie exchange!
What makes these snowflake cookies so good?
I’m a stickler when it comes to sugar cookies and these cookies hit the mark . They’re sweet, but not overwhelming, and have a unique flavor that makes them simply irresistible. These cookies are made with both vanilla and almond extract. While vanilla is typical, the hint of sweet almond adds a unique flavor that works so well in these sugar cookies. It’s subtle, but you can definitely tell a difference when it’s not there.
The other secret to these cookies is the use of cream of tartar. Combined with baking soda, theses two react to bring you a sugar cookie that’s soft and tender. Cream of tartar is commonly used in snickerdoodle cookies for that exact reason. I mean have you ever had a snickerdoodle that wasn’t perfectly soft?
But in order to get that soft texture, the trade off is a very slight change in size when baked. The cookies will definitely still hold its intended shape and look completely recognizable, but they will grow just a touch. This is to make room for the tiny little air pockets inside that helps make these cookies so light and delicious.
Last but not least, these cookies are made with a mix of lard and butter. Both lend different flavor notes as lard adds a savory element while butter is more traditional. It creates a complex flavor profile that pairs so well with the sweet milk chocolate.
Lard also helps create a really light and delicate but also slightly crisp consistency. It prevents the cookies from being TOO heavy which is exactly what we want in a sandwich cookie.
Tips for making snowflake sugar cookies
Sugar cookie dough is one of the easiest cookie doughs to make. It requires really basic ingredients and only a few steps. But there are also a couple things that can go wrong during the process. Follow these tips and your cookies will turn out perfect:
- Room temperature butter – It’s very important that the butter is at the right temperature. If it’s too cold, the dough will be too crumbly. If it’s too soft, the dough will be too sticky. To prevent this from happening, allow the butter to sit out at room temperature for about an hour before starting. But if you’re in a rush, you can also place the butter in the stand mixer and mix the butter on medium-high speed until it softens and smooths out. It may take about 10 minutes.
- Chilled lard – Lard is very soft and easy to work with when chilled – it’s very similar to the consistency of room temperature butter so having the two at opposite temperatures helps create a smooth dough.
- Properly measure the flour – I say this in every post, and for good reason. It’s the number one reason why most recipes fail, especially for cookies. If there’s too much flour, the cookies will turn out dry and they will not spread. If you can, measure the flour with a food scale. Otherwise, to ensure you use the exact amount needed, gently spoon the flour into your measuring cup and level if off with a flat edge. If you scoop directly into the flour container, it packs it down into the cup which could leave you with 1/4 cup or more of added flour.
- Don’t get discouraged – If the final dough looks too crumbly or tough to work with, don’t get discouraged! Use a rubber spatula to combine any bits of dry ingredients that may rest at the bottom of the bowl, and this step should bring the dough together.

The best way to prepare and cut out sugar cookie dough
Once the snowflake cookie dough is prepared, it is then separated into two halves. Each half is then rolled out on to two separate sheets of parchment paper. But make sure to keep this in mind:
Dust your surface – Each sheet should be lightly dusted with flour before rolling. Do not completely coat the entire sheet with flour as this will absorb into the dough. Only give it a light and even dust. And if the rolling pin starts to stick, very lightly dust the surface with flour. If you add too much, this flour will absorb into the cookie and possibly make them too dry and crumbly.
This is a unique step in this recipe because typically, the dough is chilled whole and then rolled out. But when the dough is fresh and soft, it is much easier to roll it out. It doesn’t crack around the edges which gives you more surface area to cut cookies from. It also cuts down on the chilling time. Since the dough is rolled out thin, it takes about half the amount of time to chill compared to fully formed dough.
The two sheets of cookie dough are also stacked on top of each other to help you save room in the refrigerator. But once chilled the dough should be stiff and firm, making it very easy to cut out your cookies.
When cutting out the cookies, I first like to run a large knife between the cookie dough and the sheet of parchment paper. This just ensures your cookies don’t stick when you try to lift them up off the paper. Once all the cookies are cut out, they are then placed on a small cookie tray. This is where they will complete their last and final chill in the refrigerator.
During the cutting process, the dough will start to warm up and soften. If the dough is too warm before baked, the cookies will spread too much. Chilling the cut snowflake cookies right before baking ensures they’re chilled firm, preventing them from spreading.
How to make whipped milk chocolate ganache
The filling for these snowflake cookies is SO easy to make and requires only two ingredients: milk chocolate and cream.
Hot cream is poured over the chocolate and the two melt together into a smooth and glossy ganache. Once mixed, it’s placed in the refrigerator to chill alongside our cookie dough.
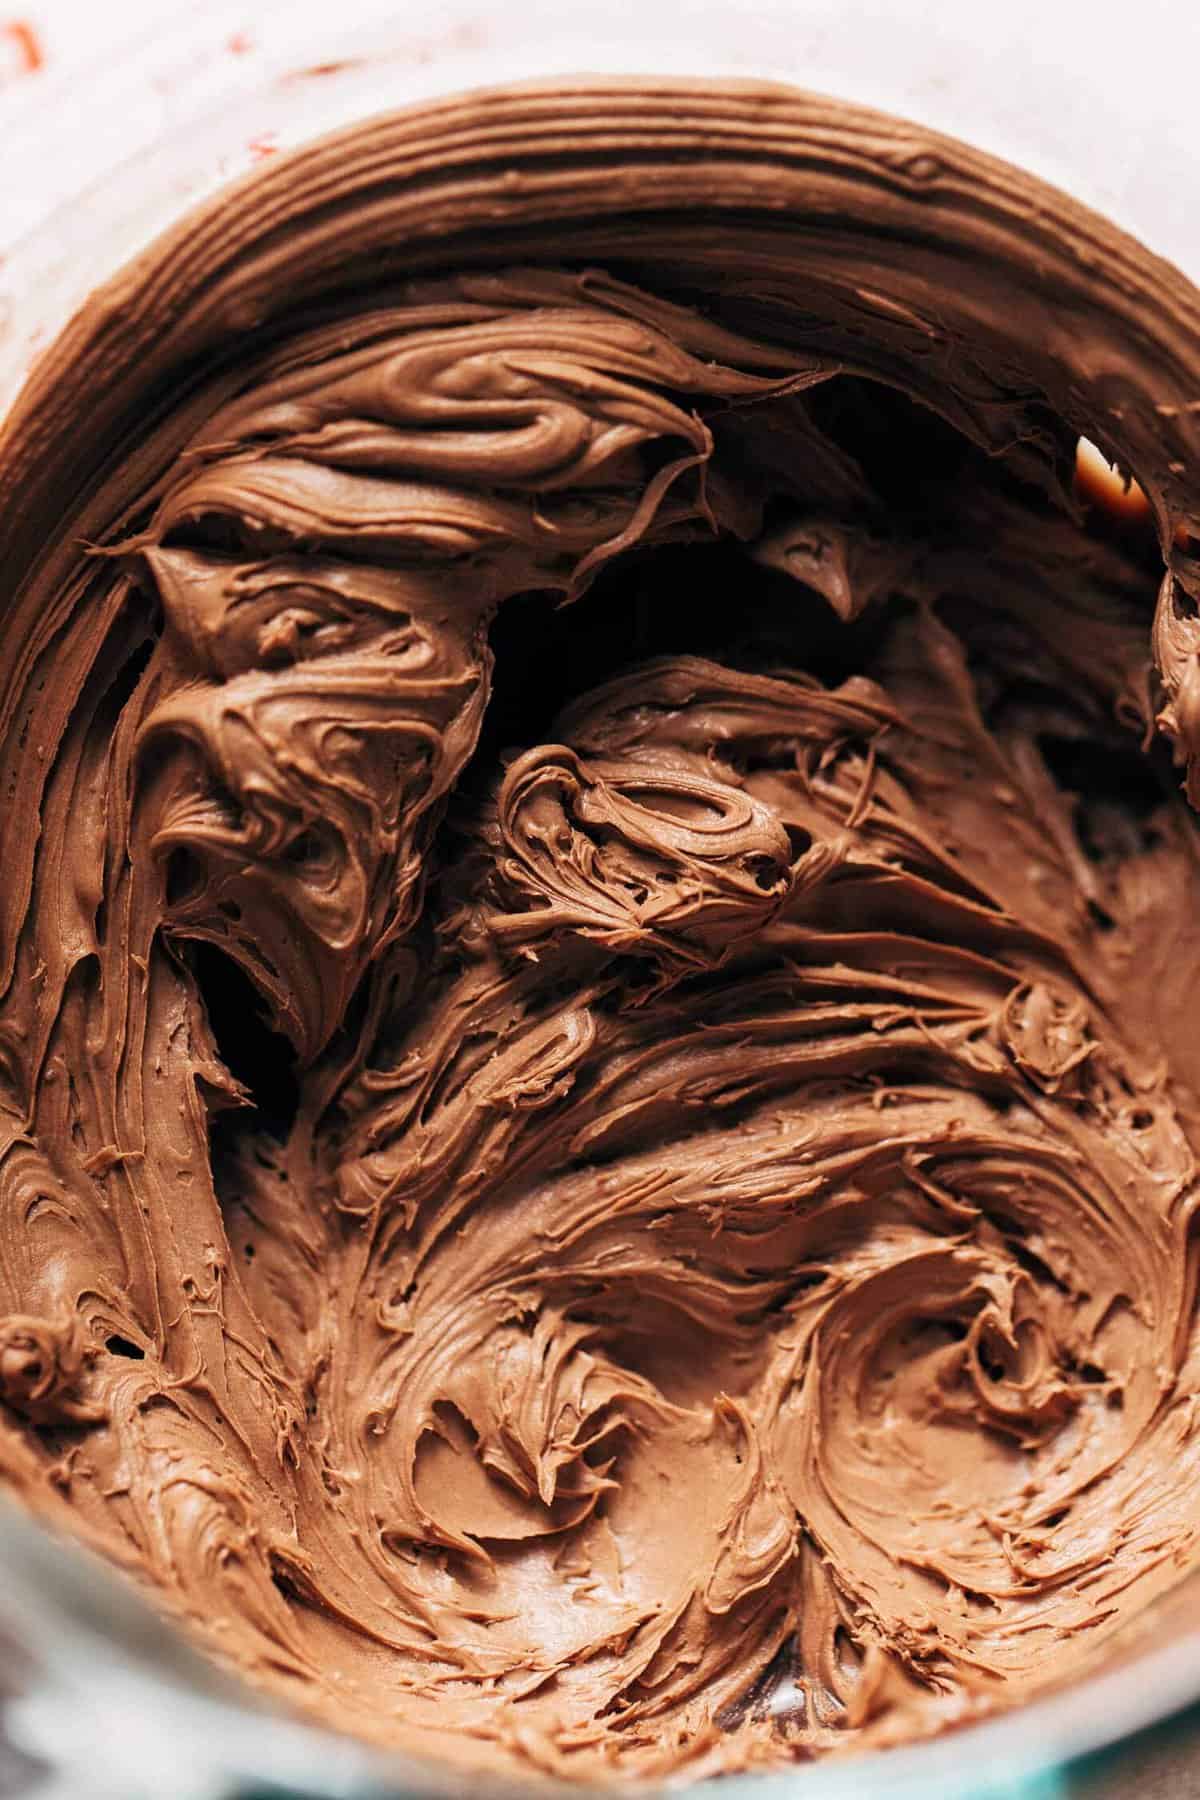
When it’s ready to whip, the ganache will be completely cool and it should turn into the consistency of thick pudding.
Using a hand mixer with the whisk attachment, whip on high speed for about 1 minute and watch the magic happen! It will turn from a thick and rich dark brown to a light and fluffy milky brown color. Now it’s the perfect whipped piping consistency to sandwich between our snowflake cookies!
Can I chill the dough overnight?
Yes, once the dough is rolled out and wrapped, the dough can chill overnight. It can also chill for 2 days.
Can I chill the cut cookie dough overnight?
Yes, once you’ve cut out all the cookies, you can wrap your tray full of cut cookie dough and chill overnight.
Can I freeze the cookie dough?
If you choose to freeze it, I recommend cutting out the individual cookies and freezing those. They should then be tightly wrapped with plastic wrap or placed in a freezer safe bag. They can keep in the freezer for up to 1 month.
For more Christmas cookies, check out my:
- Soft and Chewy Sugar Cookies
- BEST Gingerbread Cookies
- Slice and Bake Cookies
- Perfect Cut Out Sugar Cookies
Make sure to tag me @butternutbakery on Instagram and comment below if you make these snowflake cookies. To pin this recipe and save it for later, you can use the button on the recipe card or on any of the photos above. Happy baking!
Print
Milk Chocolate Snowflake Sugar Cookies
- Total Time: 2 hours
- Yield: 15 sandwich cookies
Description
Light and crisp snowflake cookies are sandwiched with a fudgy milk chocolate filling! These festive sugar cookies are so fun to make and taste delicious.
Ingredients
Snowflake Cookies
- 2 cups (265g) all purpose flour
- 1 cup (120g) cake flour
- 1/4 tsp baking soda
- 1/2 tsp cream of tartar
- 1/4 tsp kosher salt
- 1/2 cup (105g) lard shortening, chilled
- 1/2 cup (110g) unsalted butter, room temp
- 1 cup (200g) granulated sugar
- 1 large egg
- 2 tsp vanilla extract
- 1/2 tsp almond extract
- 2 tbsp milk
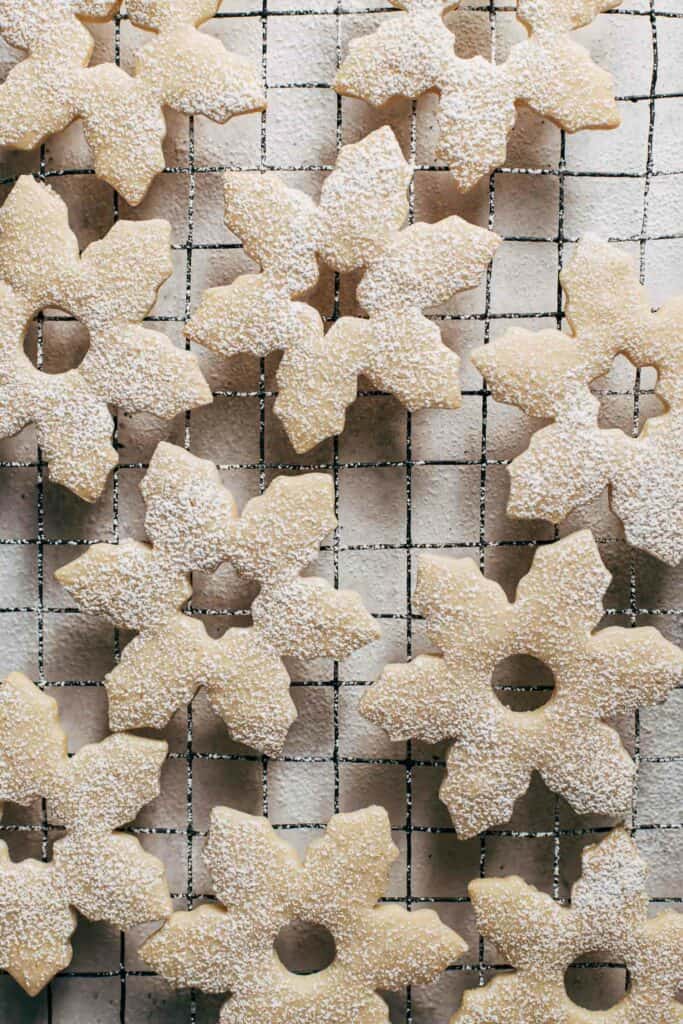
- Powdered sugar, for dusting
Milk Chocolate Ganache
- 5 oz milk chocolate
- 1/3 cup (113g) heavy cream
Instructions
Snowflake Cookies
- In a medium bowl, whisk together the flours, baking soda, cream of tartar, and salt.
- In a large mixing bowl using a hand or stand mixer with the paddle attachment, mix together the lard, butter, and sugar.
- Once light and fluffy, mix in the egg and extracts until smooth.
- Dump in 1/3 of the dry ingredients and mix, followed by the two tablespoons of milk.
- Dump in the rest of the dry ingredients and mix to combine. Switch to a rubber spatula when the dough becomes too thick.
- Roughly shape the dough into one large mass inside the bowl. Cut it in half down the middle and roll out each half on two separate sheets of parchment paper that have been lightly dusted with flour.
- Roll to about 1/8 of an inch thick, lightly dusting the surface as you roll to prevent the dough from sticking to the rolling pin.
- Transfer one rolled cookie sheet to a large baking tray. Very lightly dust the surface with flour and stack the second sheet on top. Wrap the tray with plastic wrap and chill for 1 hour or until firm.
Milk Chocolate Ganache
- While the dough chills, make the ganache. Place the chocolate in a heat safe bowl and the cream in a heat safe measuring glass.
- Microwave the cream for about 1 minute or until bubbling and steaming. Pour over the chocolate and let it sit for 1 minute.
- Whisk until smooth and then cover with a sheet of plastic wrap, pressing it onto the surface of the ganache. Chill alongside the dough.
Snowflake Cookies
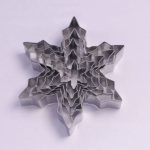
- Once chilled, remove one sheet from the refrigerator and cut out cookies using a snowflake cookie cutter. Then cut out a hole in the center using a small cookie cutter.
- Place the cookies on a plate or tray and return to the refrigerator (reserve the scraps). Then remove the second sheet of dough from the fridge and cut out more snowflakes, but do not cut out holes in the center. You should have equal amounts of whole snowflakes and ring snowflakes.
- Chill all the cut out snowflakes while the oven preheats to 350F.
- Ball together the scraps and roll out onto a sheet of parchment dusted with flour. Chill again while the first couple batches of cookies bake.
- When the oven is ready, transfer the snowflake cookies onto a large baking sheet lined with parchment paper.
- Bake for 10-12 minutes, careful not to let the edges brown.
- Transfer to a cooling rack and continue baking the rest of the cookies. Cut out more cookies from the rolled out scraps and chill the cut outs until they’re ready to bake.
- Once all cookies are baked and cooled, place the ring snowflakes on one cooling rack and the whole snowflakes on the other. Dust the ring snowflakes with some powdered sugar.
- By now the ganache should be chilled completely and will have the consistency of thick pudding. Remove the plastic wrap and whip the ganache using a hand mixer with the whisk attachment. Whip on high speed until fluffy and light brown (about 1 minute mixing).
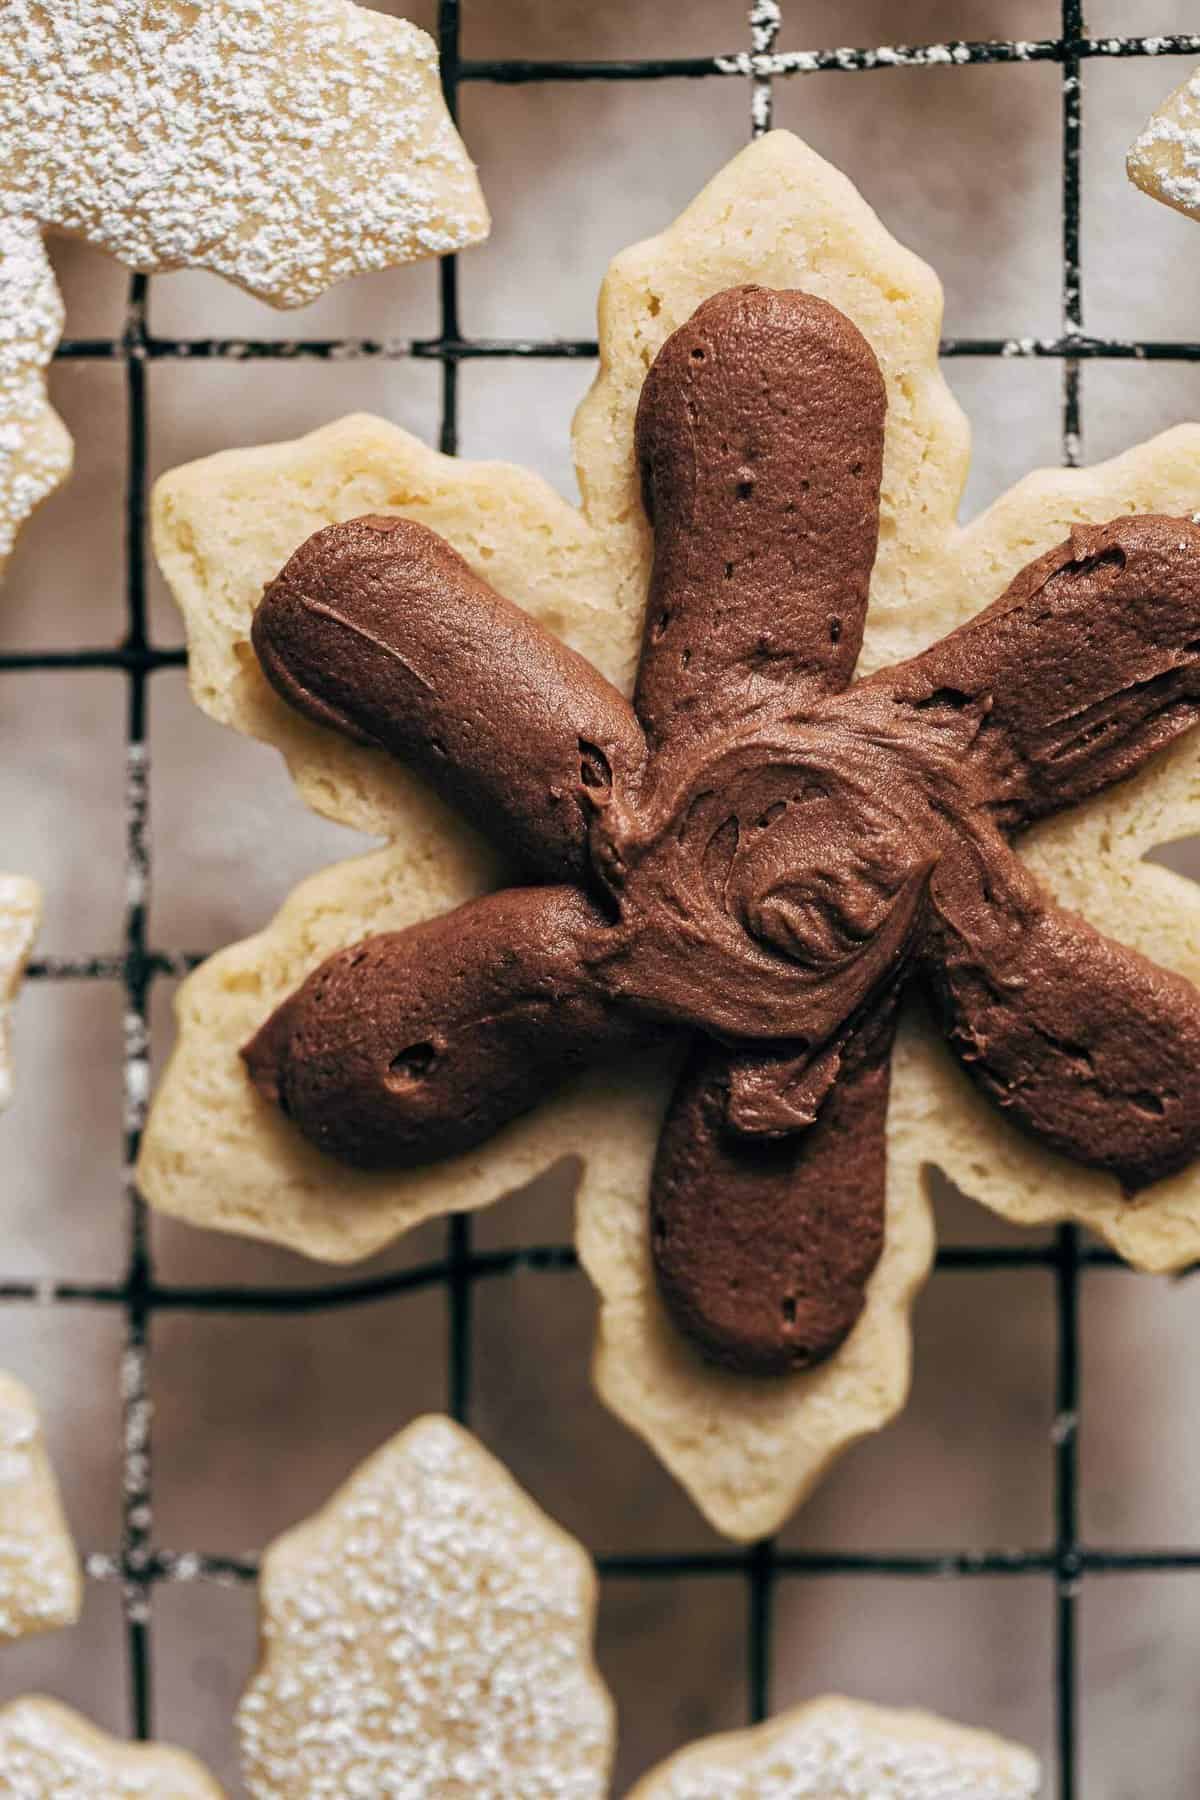
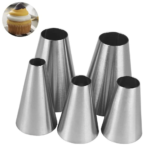
- Transfer the ganache to a piping bag fitted with a round tip. Pipe the ganache on the underside of the whole snowflakes (see picture in post for reference) and place a ring snowflake on top.
- Continue for all of the cookies and enjoy!
Notes
STORAGE – Keep the cookies in an air tight container in the refrigerator where they will keep for about 4-5 days. They can be eaten chilled or at room temperature!
- Prep Time: 1 hour 30 minutes
- Cook Time: 30 minutes
- Category: Dessert
- Method: Baking
- Cuisine: American
Join Our Community


Meet Jenna
I’m the creator, baker, and photographer behind Butternut Bakery. Here I share desserts for every diet because I believe everyone should have a chance to indulge!
Making these tonight for the holidays but only have vegetable shortening. Would that substitute work? Thanks for the recipe!
These cookies were amazing. I don’t think I have ever made a recipe of yours that wasn’t another favourite. Your recipes are the best, and the only ones I have been using lately. These cookies were so tender and the filling was simple and perfect. Thank you again for using weight for the ingredients. It definitely makes a huge difference in baking.
Hi- first of all your recipes are absolutely amazing! I was wondering if i could freeze this dough a couple days before baking and how you recommend doing so?
Can I use butter instead of lard. I do not use any type of lard. Thank you.
These are so pretty! They would be perfect in my cookie boxes. Can crisco vegetable shortening be substituted for the lard?
HI – this sounds wonderful. If I cannot find lard at the store, could I substitute Crisco Shortening sticks?
Thanks!