Soft Molasses Cookies
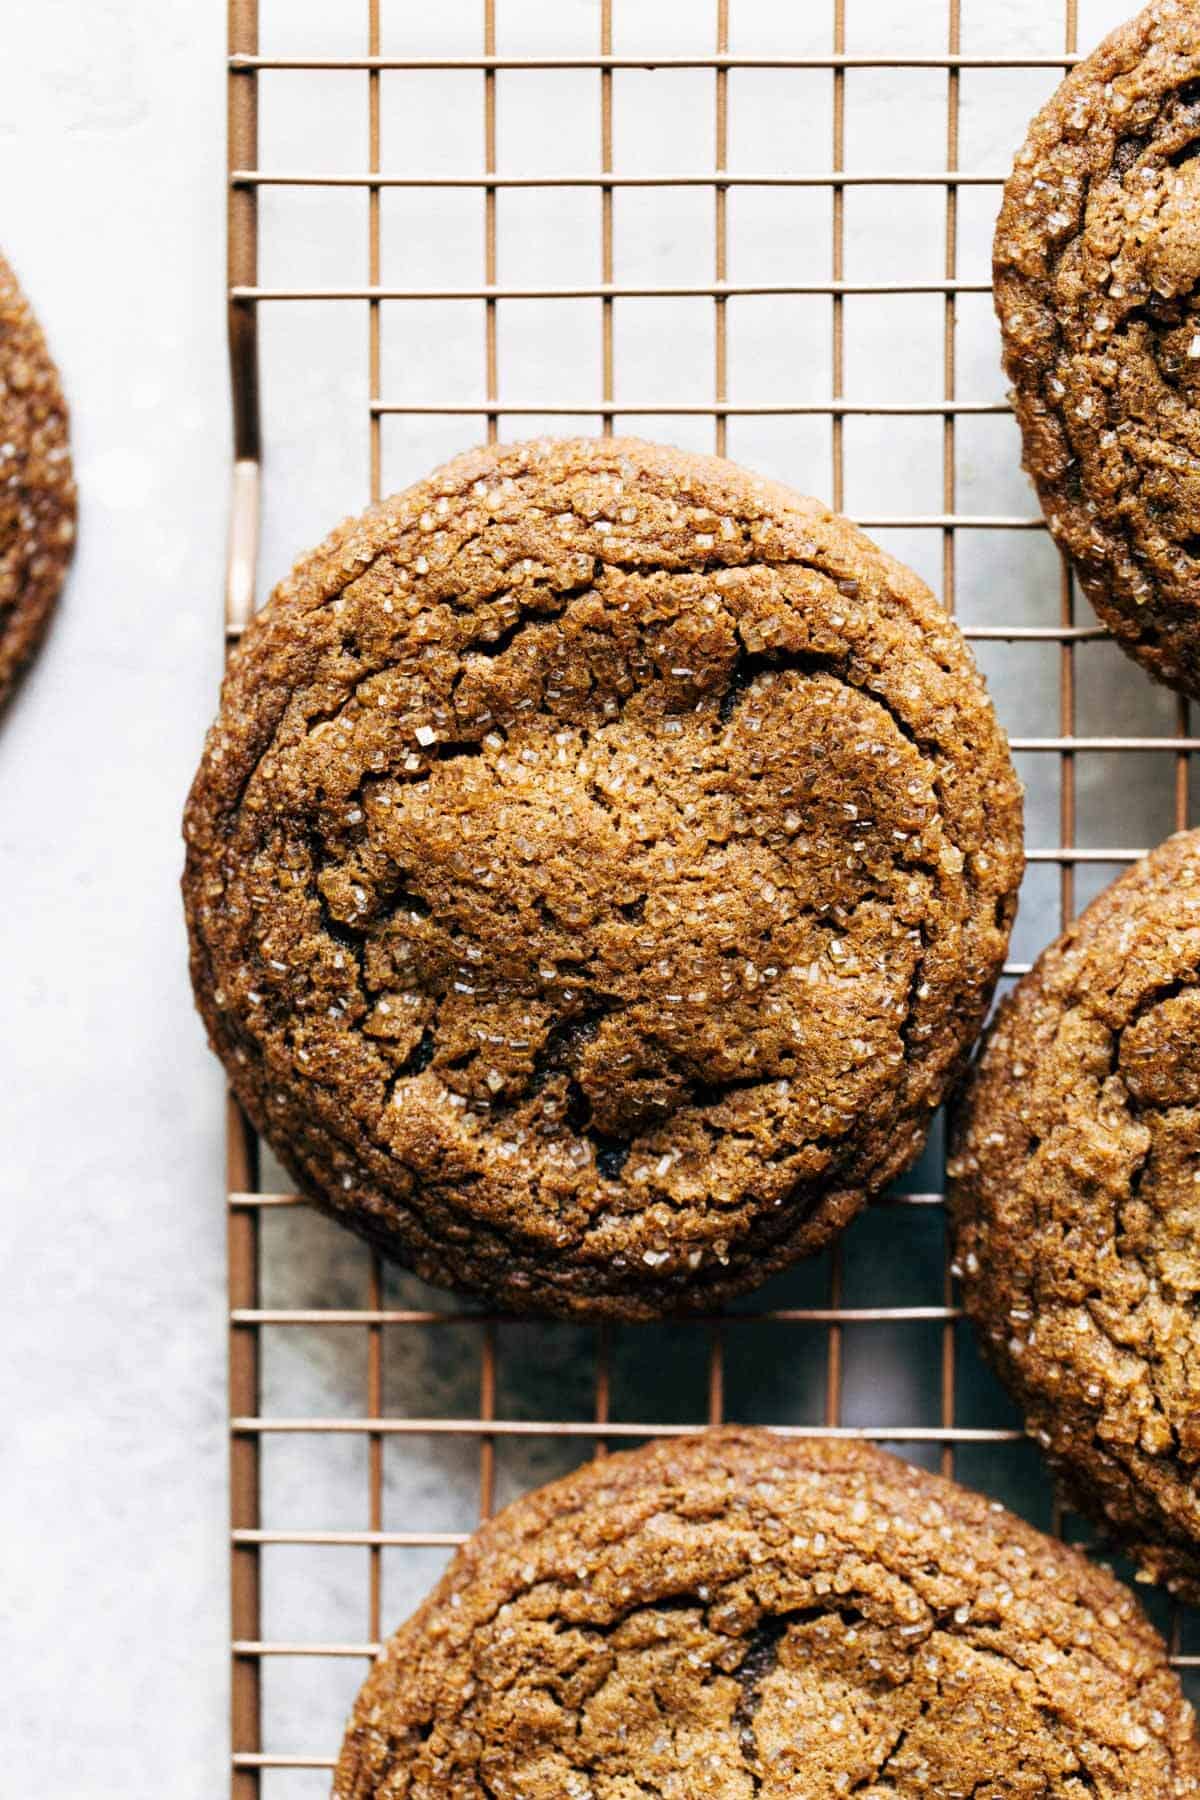
Looking for the perfect Soft Molasses Cookies to make this holiday season? These definitely fit the bill! They’re extra soft on the inside, slightly chewy on the outside, coated in sugar, and full of rich molasses. Not only are they easy to make, but they also look and taste gourmet!
What makes these the BEST Molasses Cookies?
With so many molasses and gingerbread cookie recipes out there, what makes this one so special?
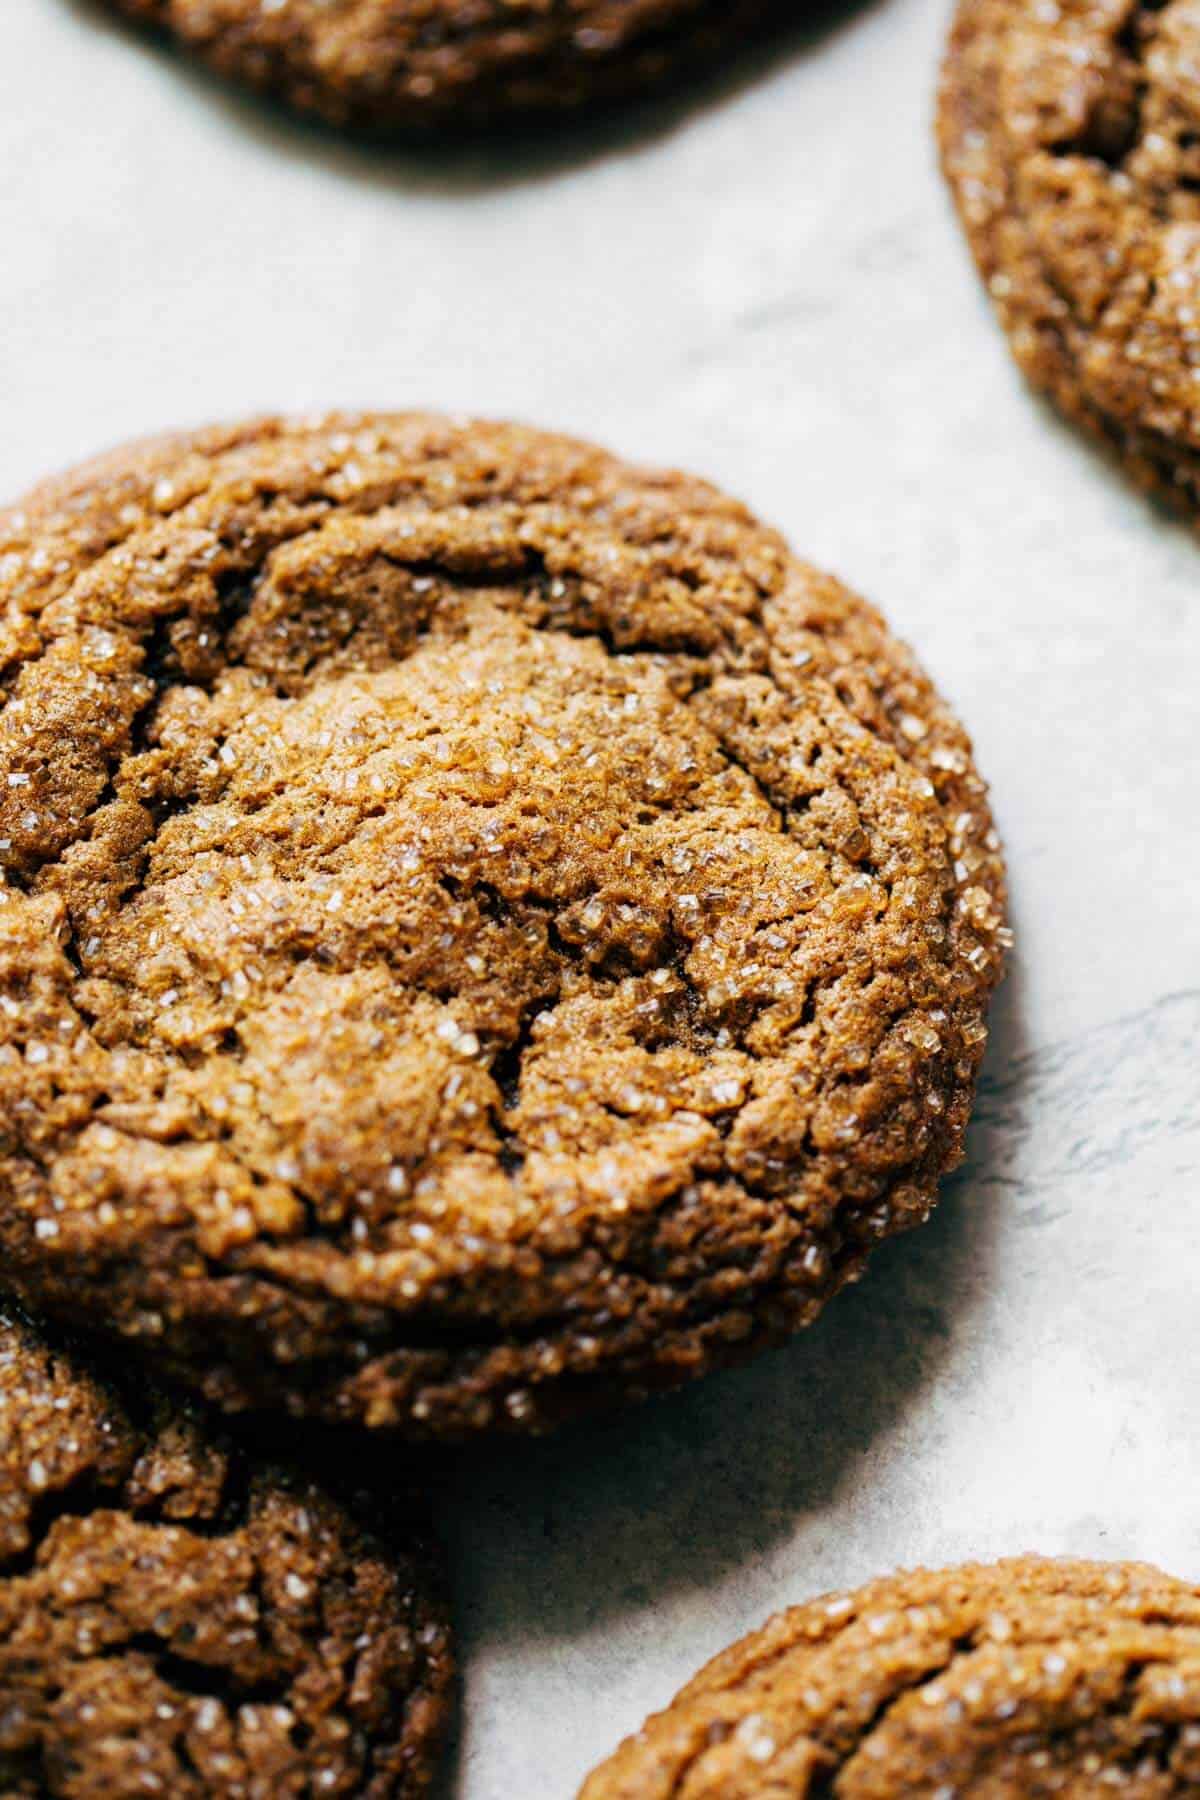
For starters, they have the most perfect texture. They aren’t cakey or crispy and instead have a dense and doughy center and a wrinkly and chewy outside. Most importantly, they are RICH in molasses flavor. This recipe calls for organic molasses which has a stronger flavor, darker color, and thicker constancy. The result is a perfect molasses cookie.
These cookies also continue to get softer and softer as the days go on. I even tried one on day 7 and they were STILL good, making them perfect to make ahead for any holiday event.
Tips for baking soft and chewy molasses cookies
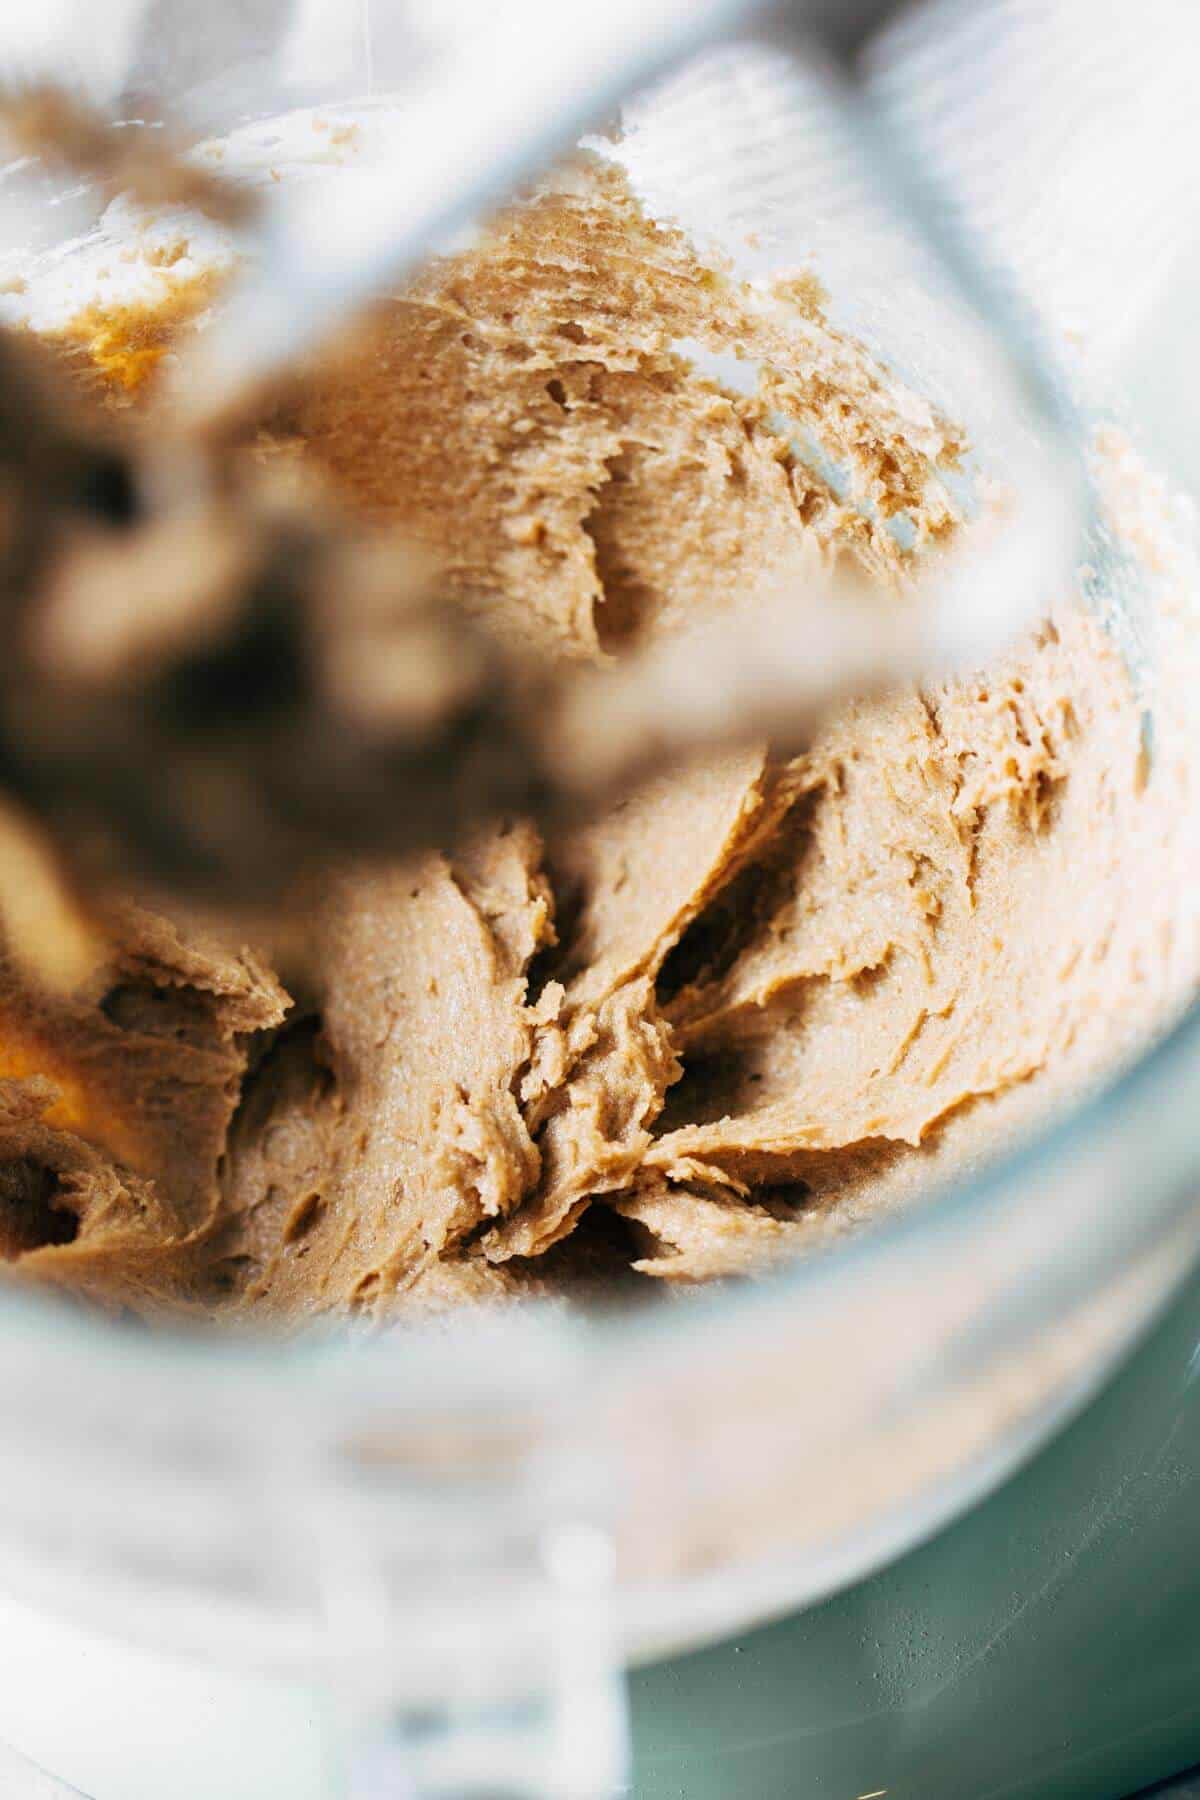
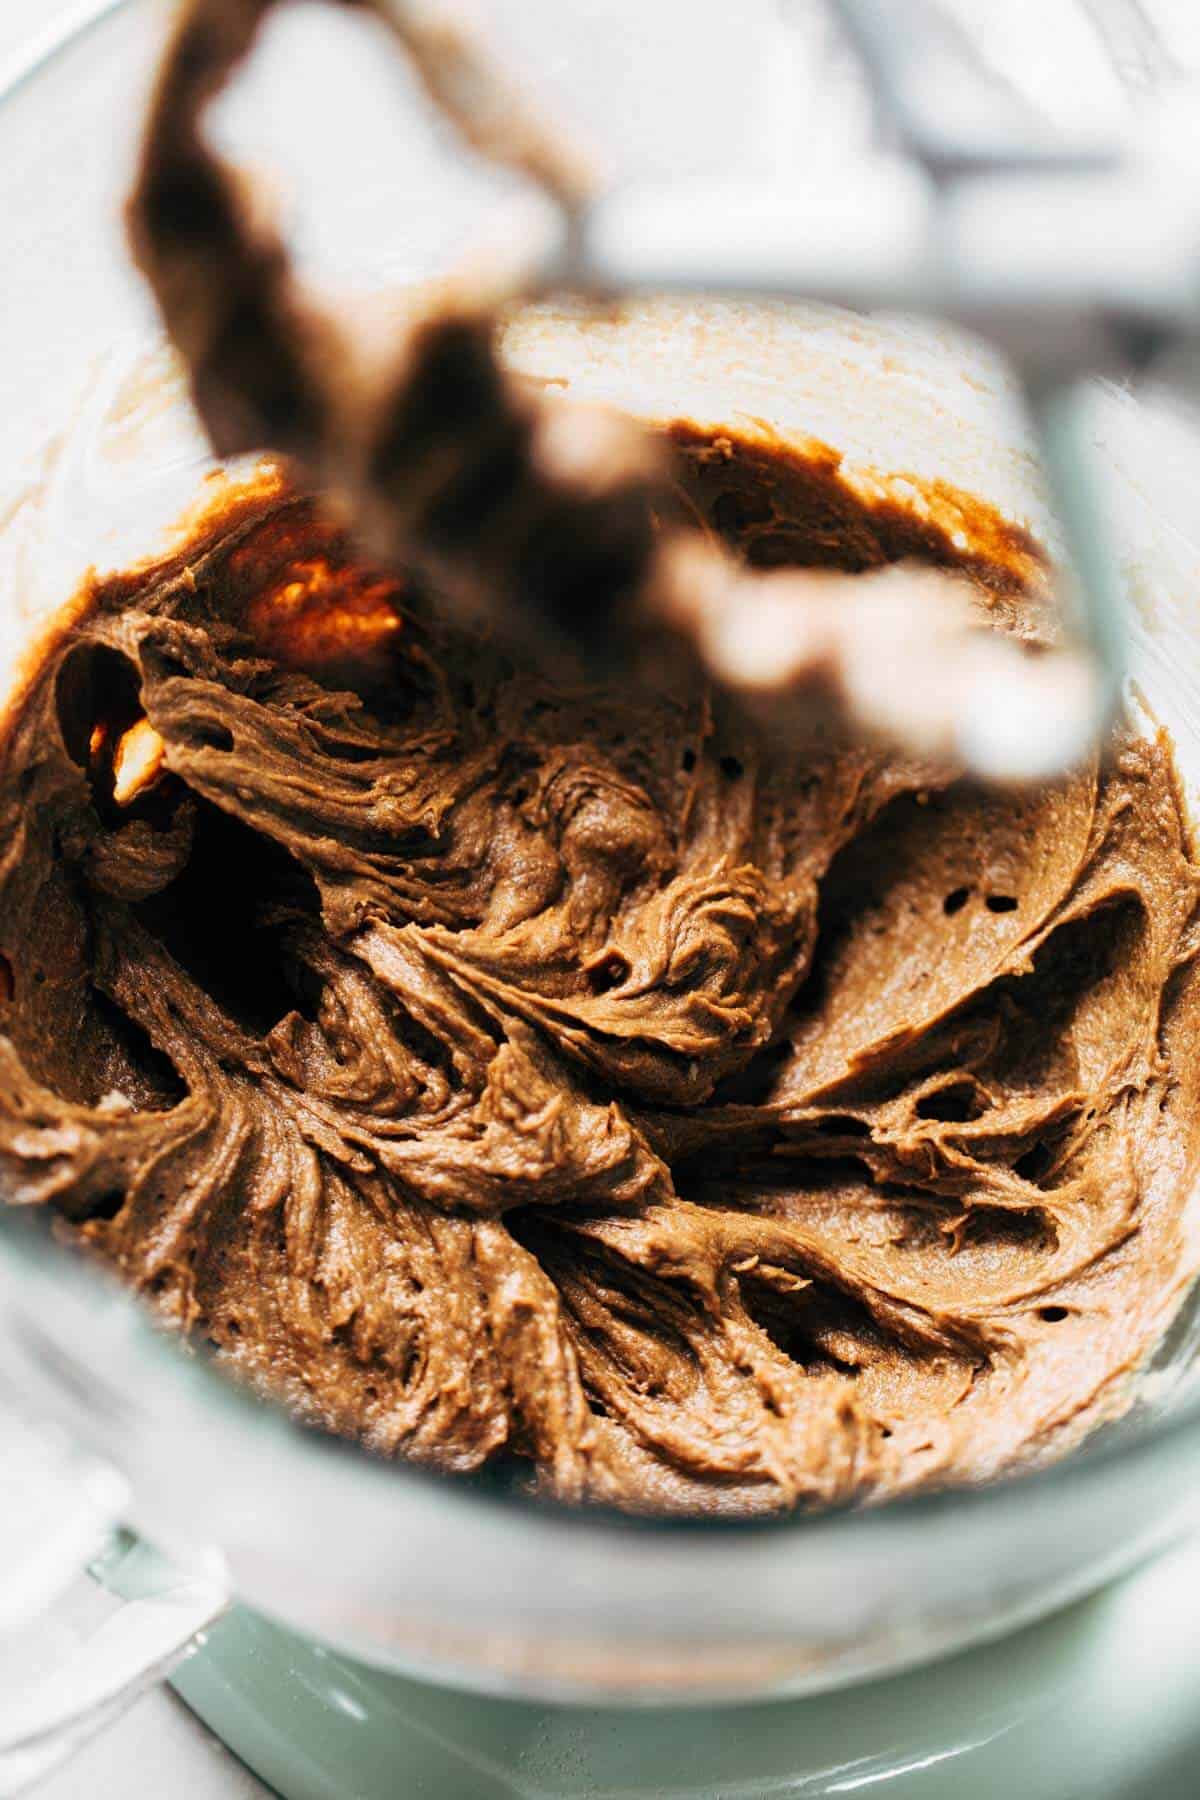
- Butter and sugar – When creaming together the butter and sugar, beat using the paddle attachment on medium-high speed. Mix for about 2-3 minutes until you reach a light and fluffy consistency (first photo above).
- Organic molasses – I’ll get into a bit more detail later, but using organic molasses really makes these cookies!
- Dark brown sugar – Brown sugar is actually just a mix of sugar and molasses, so using dark brown sugar adds an extra kick of molasses to these cookies.
- Cake flour – This is a trick I used in my best ever sugar cookie recipe which is why I knew it would work perfect for these molasses cookies. Cake flour creates a tender and soft texture.
- Chilled dough – Don’t skip this!! Chilling the dough helps to compact the flavor and enhance the texture of these cookies. It’s the reason why this recipe is SO good.
- Preheat the baking pan – When preheating your oven, place the baking pan inside. Baking the first batch of cookies on a warm baking pan will prevent them from spreading too much.
Organic Molasses vs Regular Molasses
When I was testing this recipe, I used the organic molasses I had on hand but once I ran out, I grabbed whatever molasses I could find at the store. I was shocked at how different my next batch turned out!
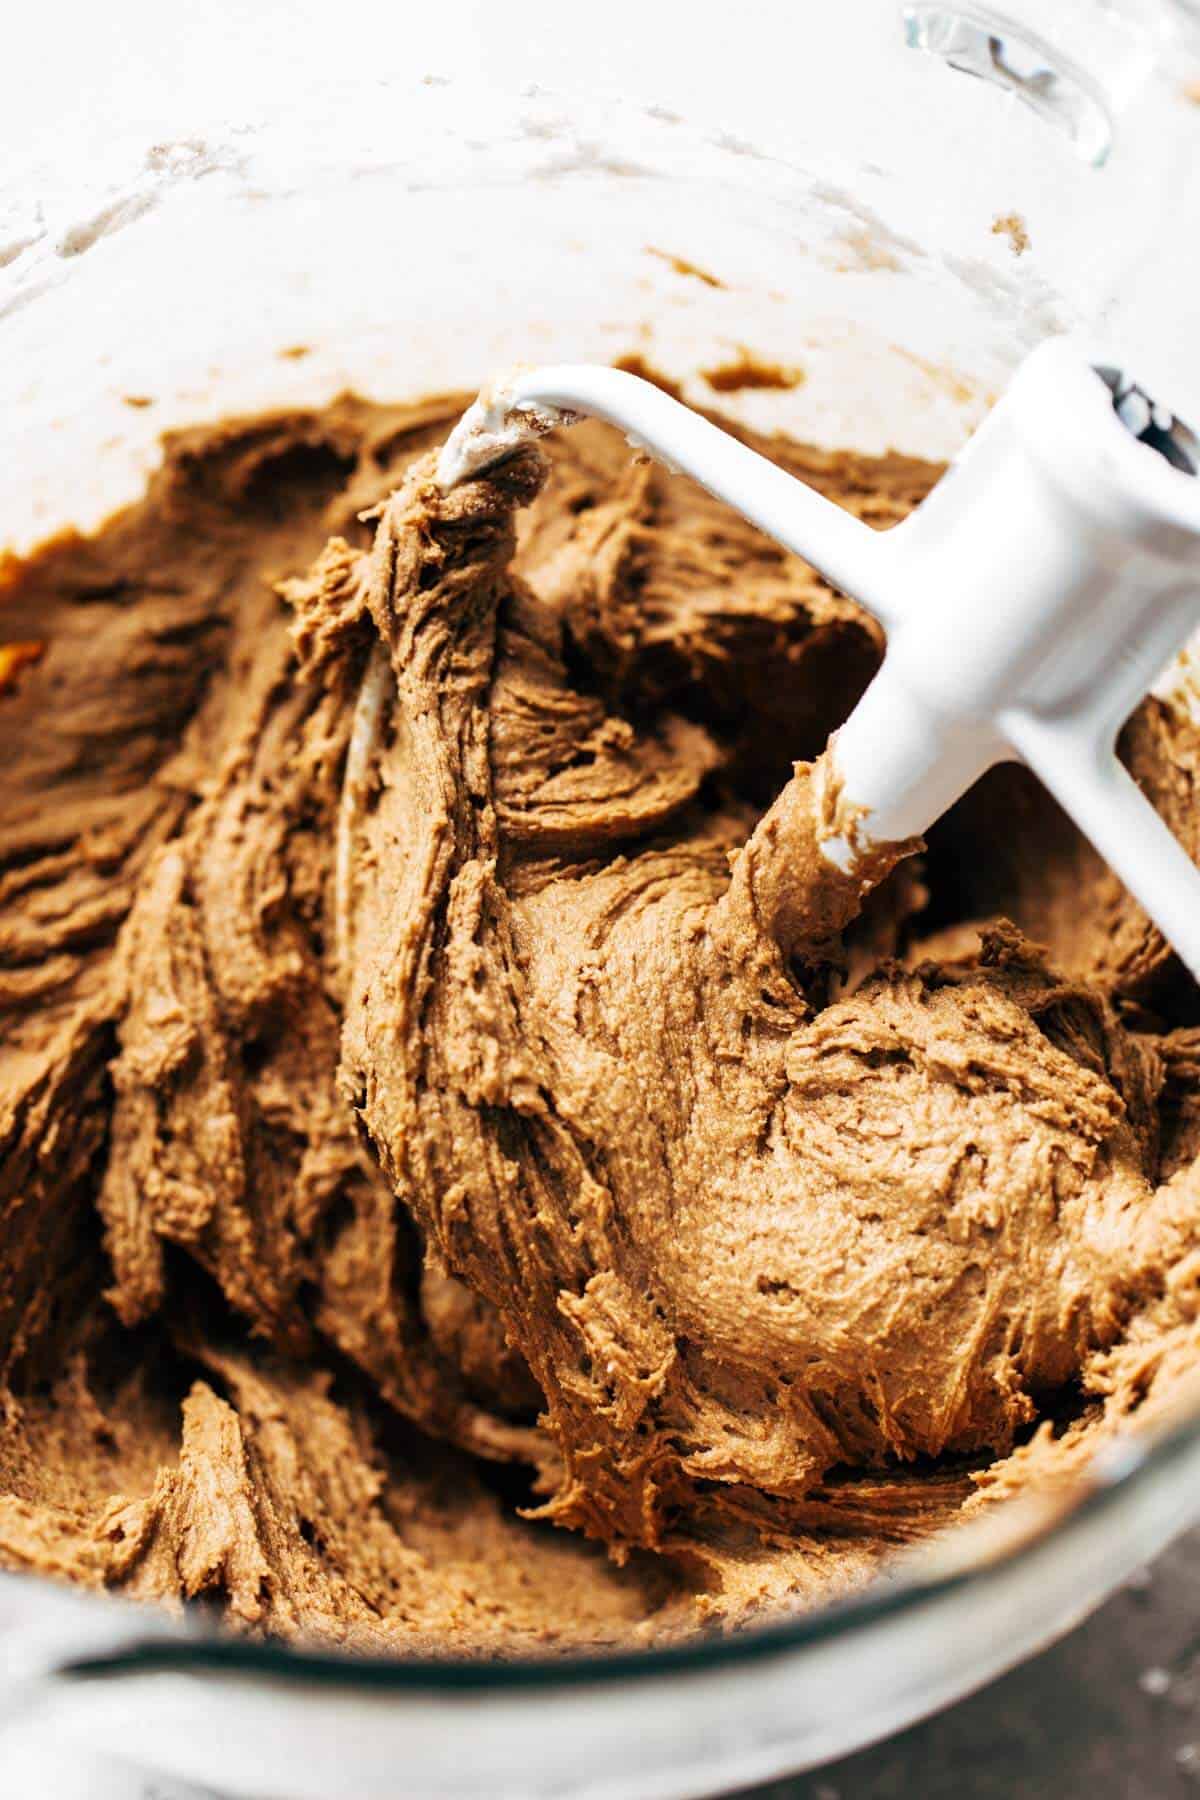
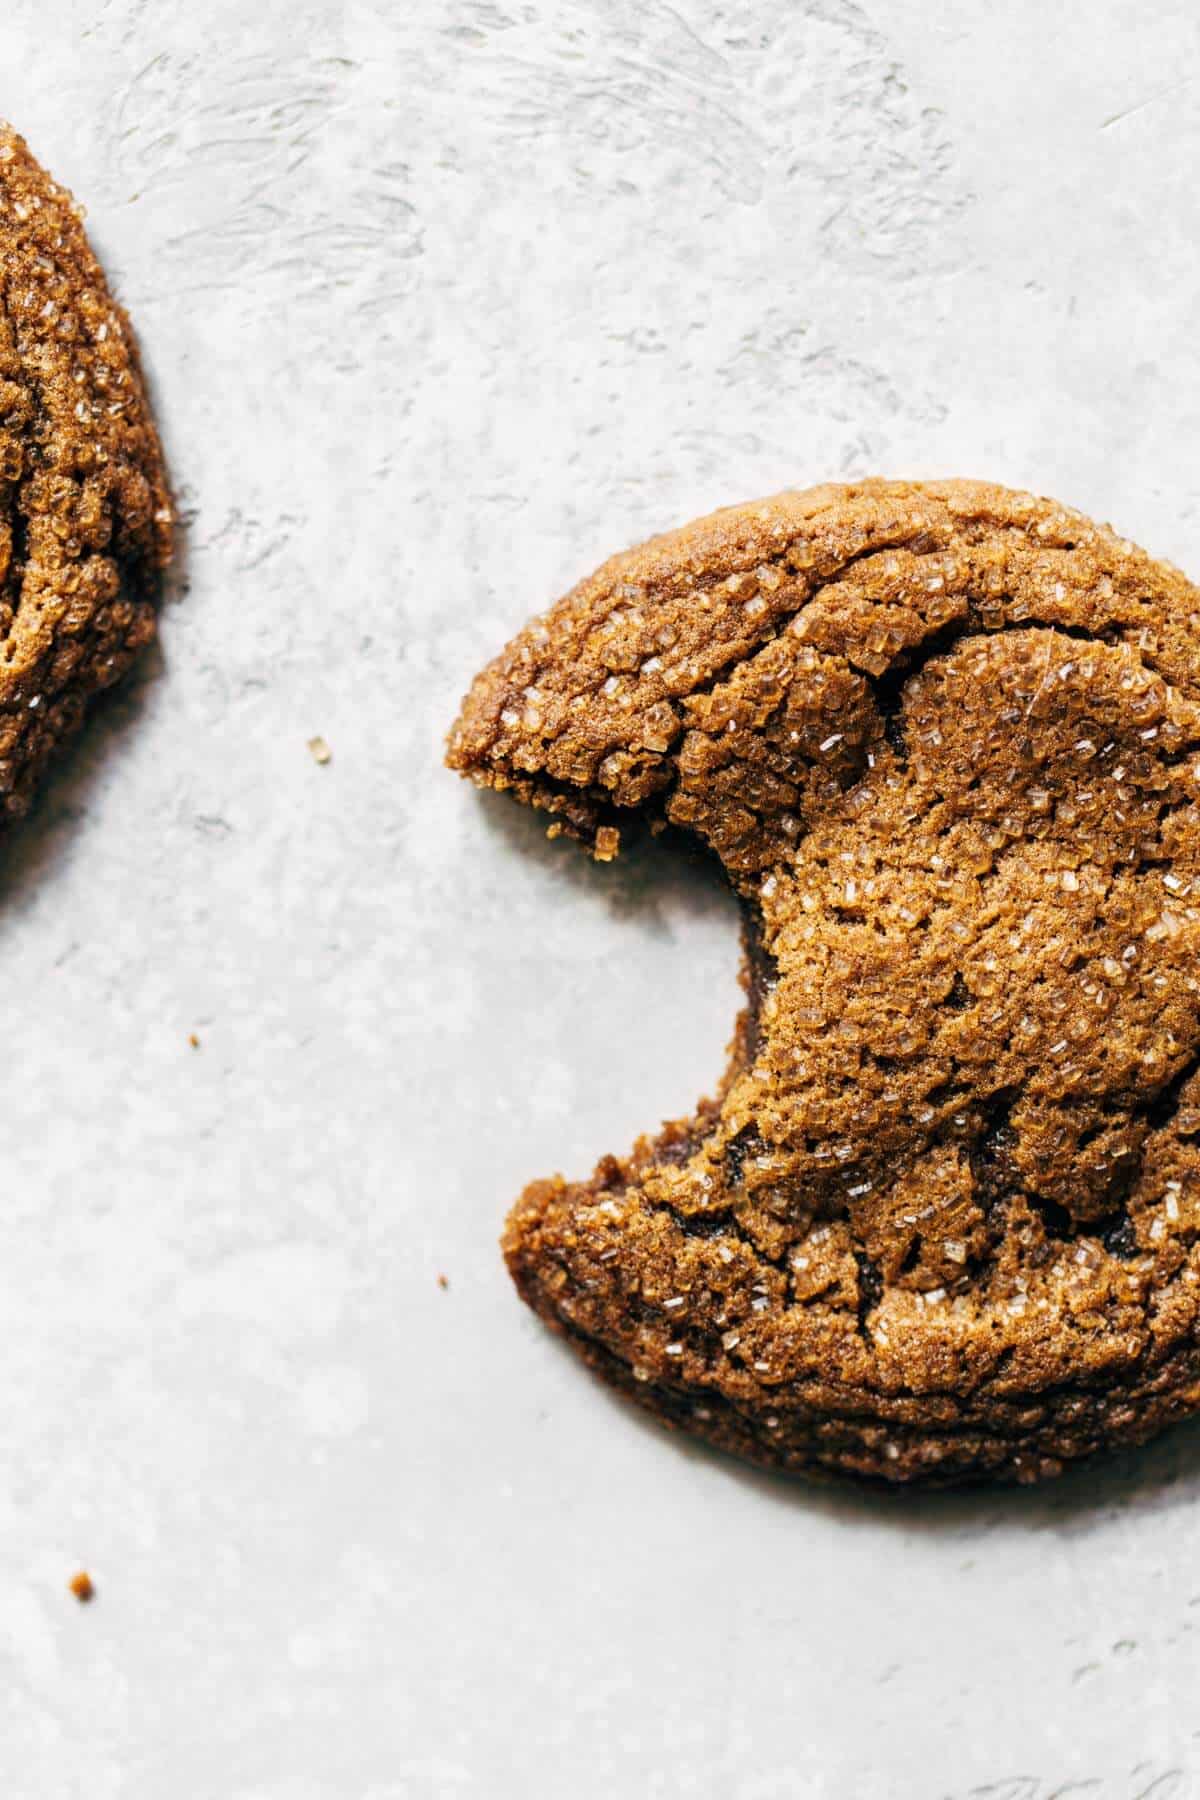
They were still delicious, but I couldn’t figure out why my cookies weren’t as rich and dark as the last batch… until I noticed the major difference in the types of molasses I used. You can see in the photos below, the top cookie is using organic molasses and the bottom cookie is regular. Both are the same exact recipes.
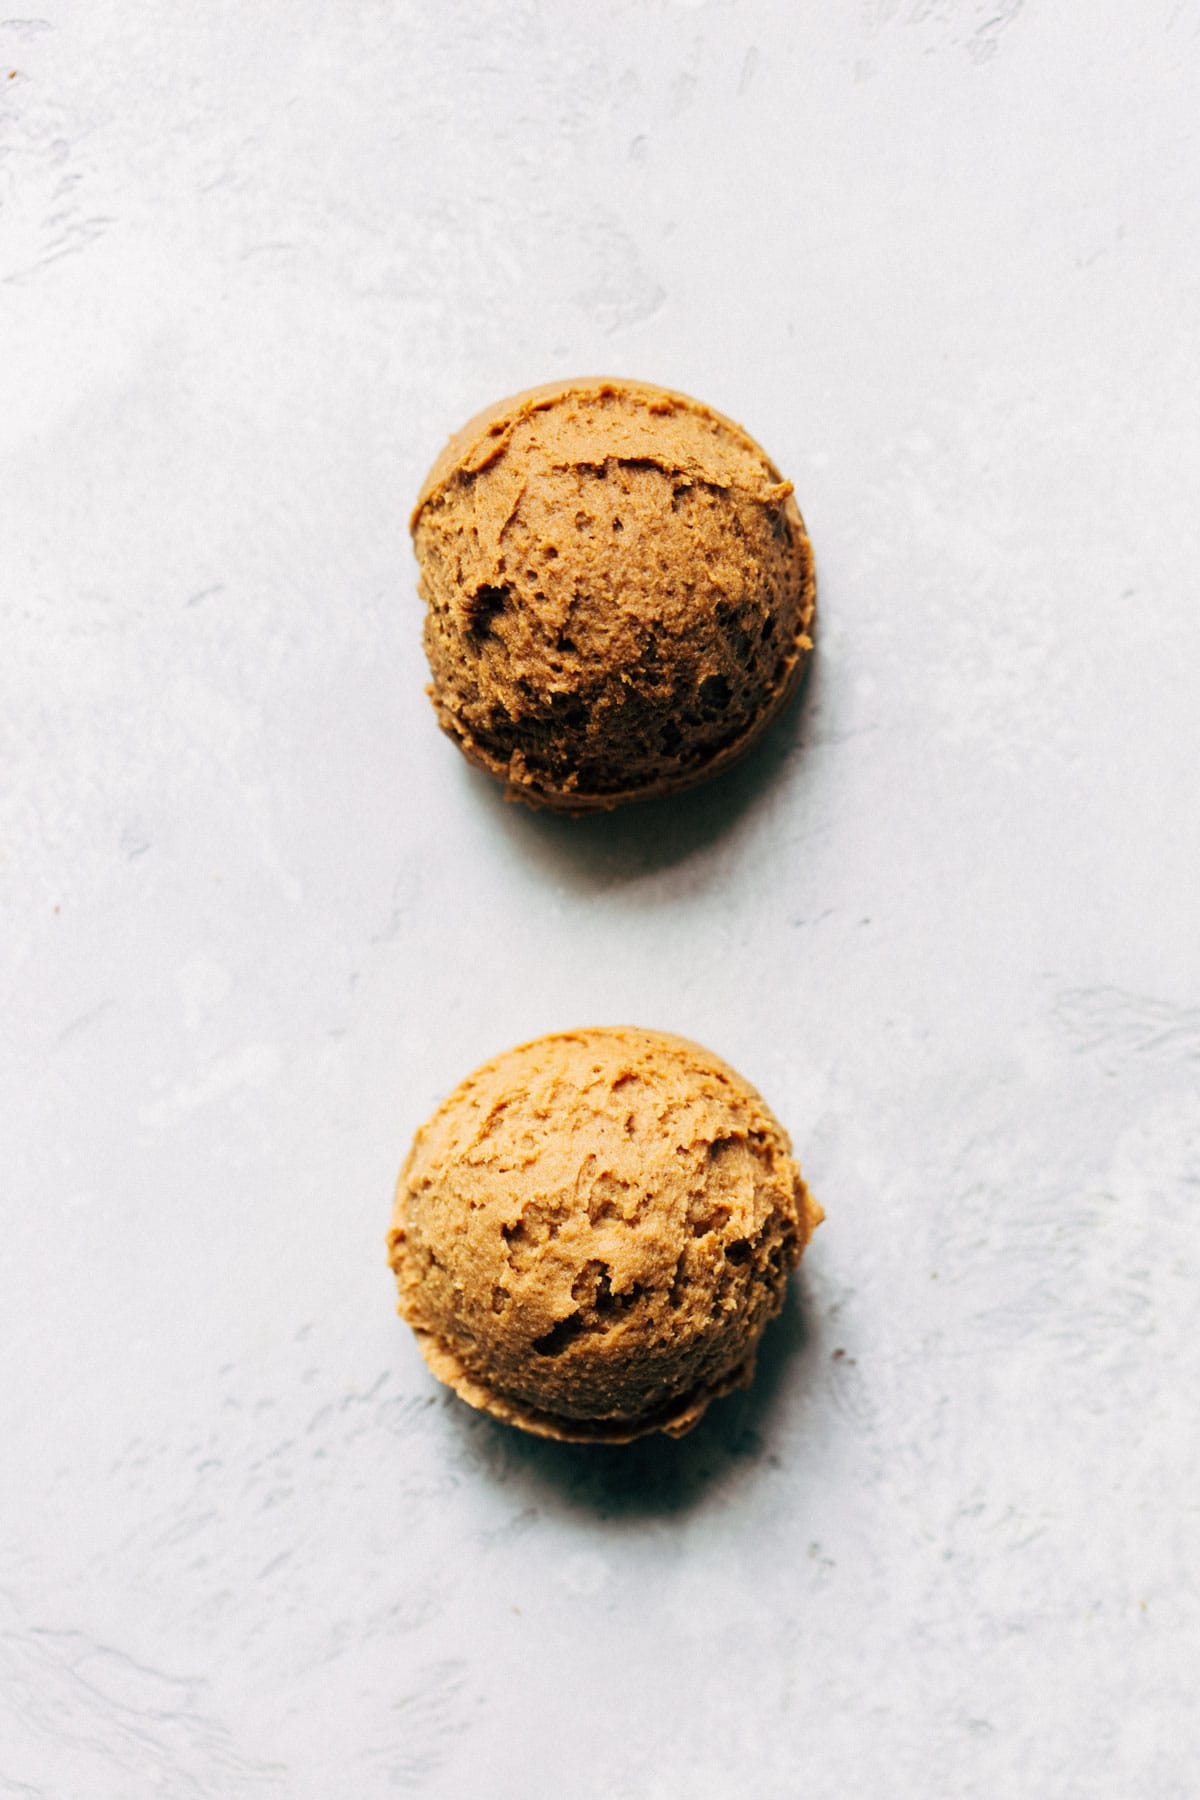
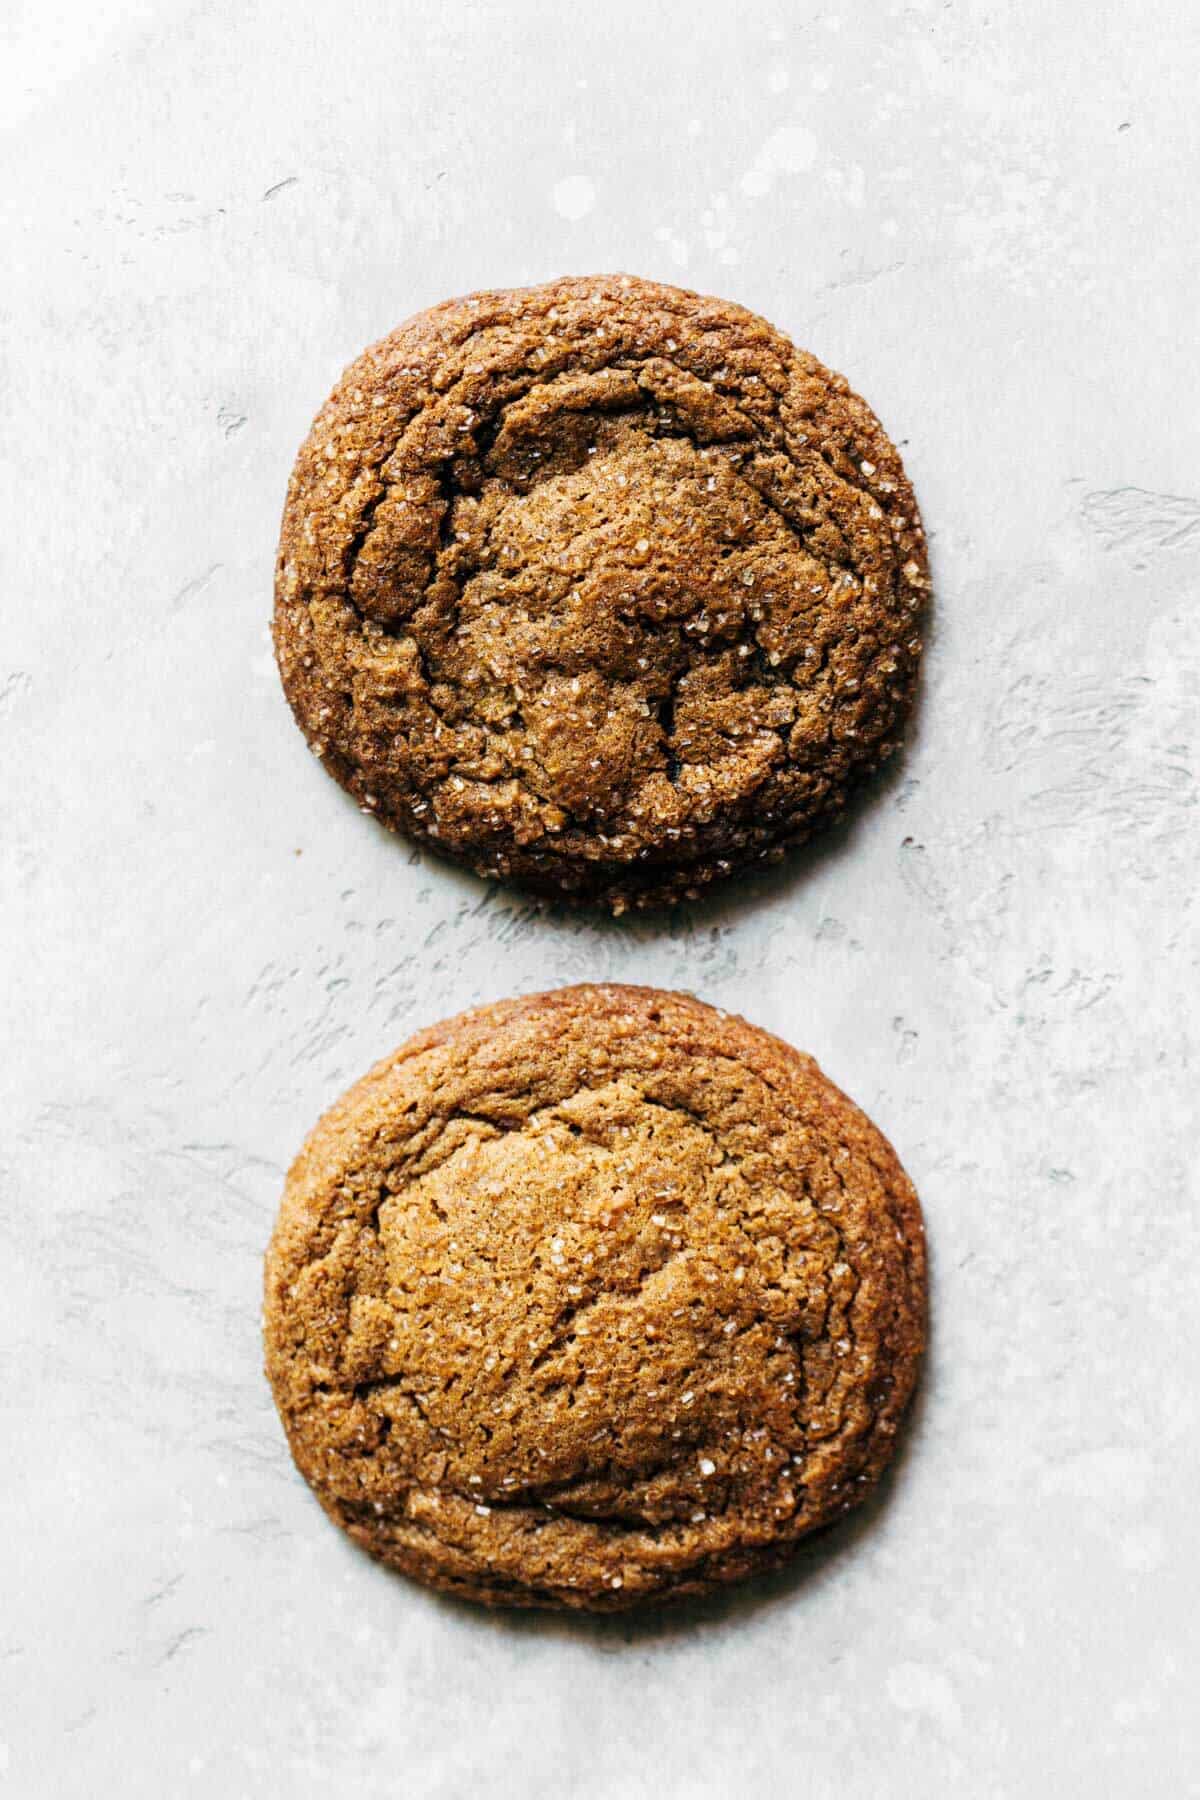
By regular, I mean the molasses that can be found in almost any grocery store. In this case, I used Grandma’s unsulphured molasses for the regular and Wholesome organic unsulphured molasses in the final recipe.
The organic version is a shining example of the phrase “slow as molasses”. As you pour it out of the jar, it’s super thick, dark, and slooowly trickles into the measuring cup. The regular molasses does the same, but it is definitely thinner and pours out much faster.
All of this is to say, use organic if you can! I find mine at Sprouts or Whole Foods or you can purchase it online. I just really like this molasses!
But I also understand that not everyone has access to organic molasses which is totally fine. I mainly wanted to put this point in here in case you’re wondering why your cookies turned out a bit lighter in color. Trust me, they will still taste AMAZING.
Why does the dough need to be chilled?
Do not skip this step! Chilling the dough is the secret to delicious cookies, it’s why almost all of my cookie recipes call for it.
First, chilling the dough gives cookies the perfect texture. As they chill, they’re also losing some of the excess water in dough. It’s both evaporating and also absorbing into the flour.
This allows the cookies to spread nice and even in the oven. It’s also what gives you that chewy outside and soft and doughy inside. Chilled dough takes longer to spread and heat up in the middle, so the center is just barely baked.
Reason number two is the flavor which also comes back to the excess water. As the cookies dry out, the flavors become more and more concentrated. The same concept applies to kool-aid – if you add less water to the mix the flavor is much stronger.
In the end, you’re left with a super rich cookie with the BEST texture. Trust me, the wait is well worth it.
It’s also perfect for the busy holiday season. Whip up the dough the day before and bake them fresh the next day. It saves a surprising amount of time.
How to chill the cookie dough
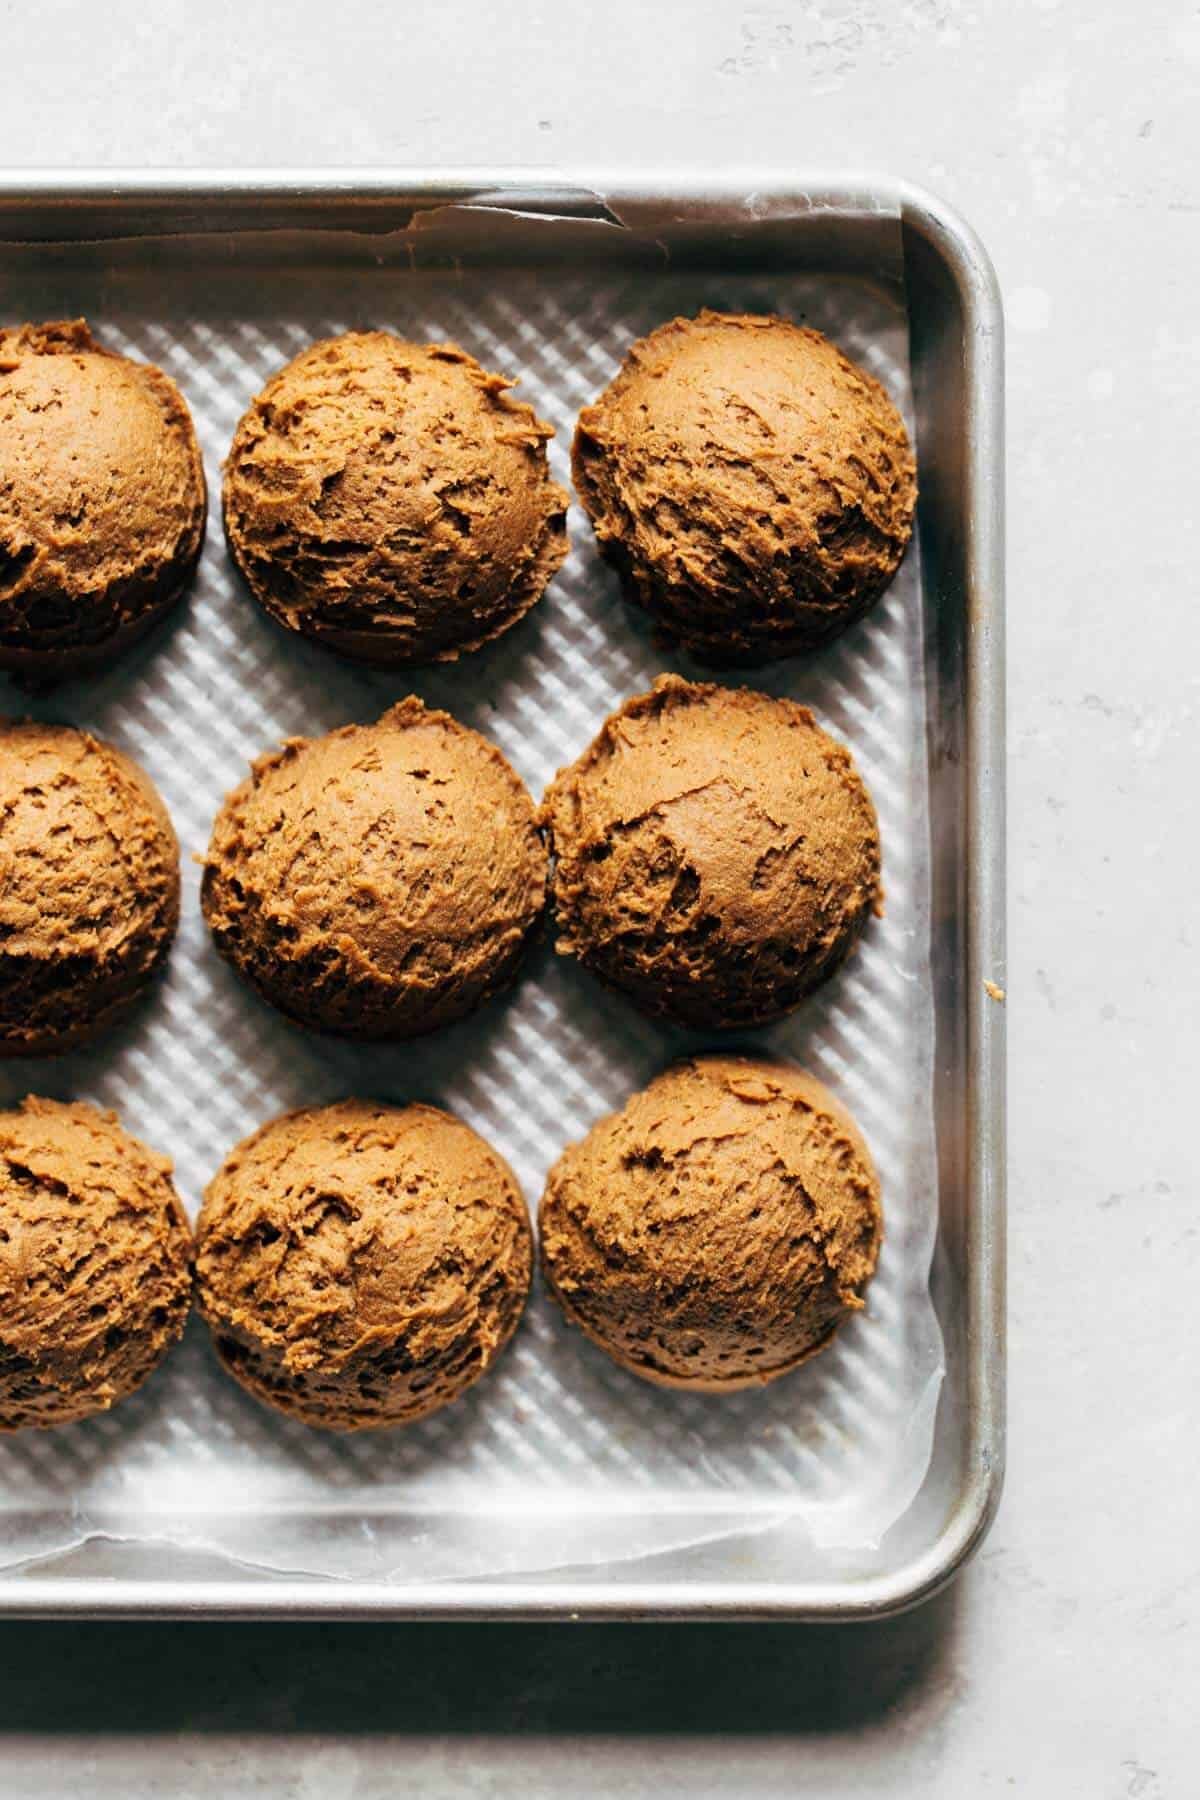
When the dough is freshly made, prep a small baking tray by covering it in wax or parchment paper.
Using a large 2 oz cookie scoop, scoop the cookies out onto the tray, placing them side by side. This recipe makes 13 large cookies.
If you don’t have a large cookie scoop (although I highly recommend it), you can also use a standard cookie scoop which will leave you with about 20 cookies.
Pop the tray into the fridge uncovered. Let the dough chill for at least 4 hours or overnight. There isn’t a huge difference between the two times, but overnight just seems to be more convenient. Just set it and forget it until the next day.
Bake the chilled cookie dough straight from the fridge, right after rolling it in the sugar. The cookie dough should be almost hard as a rock when you place them in the oven.
Keep the remaining cookie dough in the fridge while each batch of cookies bakes.
Molasses Cookies FAQs
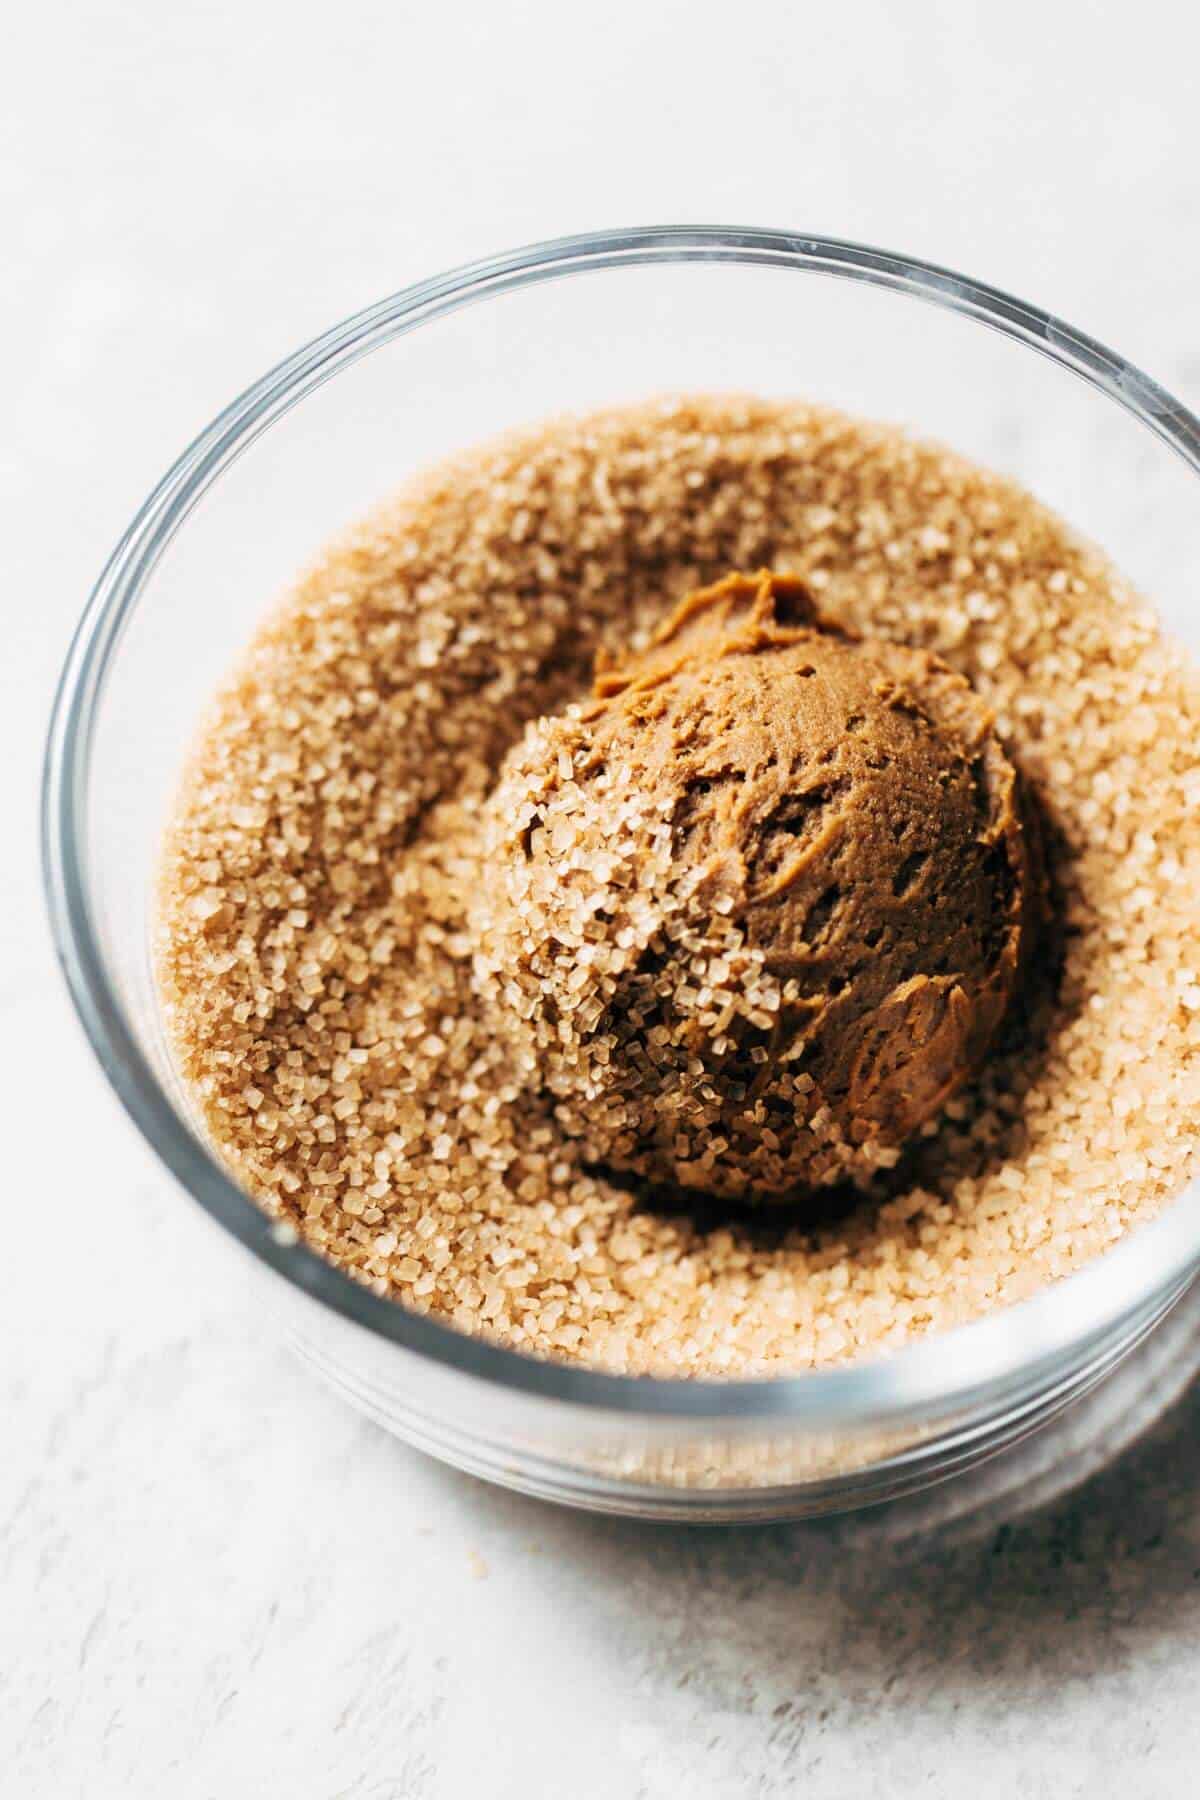
Demerara sugar is a raw sugar made from sugarcane. It has large granules and hints of molasses, which is why it’s perfect for this recipe. Plus, it makes your cookies sparkle! Because the cookies are so soft, the large sugar granules hold up against the higher moisture content in these cookies. It’s actually quite easy to find in any grocery store but if you can’t find demerara specifically, you can also use raw sugar or even regular sugar.
Once the cookies have chilled, roll them in a bowl of sugar. Since they’ll be pretty firm, you may have to apply some pressure to get the sugar to stick. If it REALLY won’t stick, let the cookies rest at room temp for about 20 minutes so that the exterior can soften. Then place them back in the fridge for 30 minutes before baking.
Store these cookies in an air tight container at room temperature for up to 6 days. Make sure to stack them directly on top of one another because they continue to get softer and softer as the days go on. If you just randomly place them in a container, they will warp and bend if they aren’t all laying flat.
This could be caused by a couple things. First, make sure you whipped your butter and sugar properly and that your butter was at room temperature before starting. If the mixture wasn’t pale and fluffy before adding the eggs and molasses, the cookie dough didn’t have enough air in it.
This could also be due to your chilling time. If you didn’t allow them to chill long enough, the cookies will spread super thin in the oven.
Lastly, it could be the amount of flour used. If there isn’t enough flour in the dough, the wet to dry ratio will be off balance, creating a thin dough. Your final dough should be sticky and easy to scoop, but it should also hold its shape once scooped. If it’s too thin, add a tablespoon of flour at a time. It shouldn’t take more than 1-2 tablespoons.
For more of the BEST holiday cookie recipes, check out my:
- Spiced Gingerbread Cookie Bars with Chocolate Chips
- Chewy Molasses Spice Cookies
- SOFT Gingerbread Cookies (Vegan option!)
- Hazelnut Blossom Cookies
- Gingerbread Sandwich Cookies with Buttercream Frosting
Make sure to tag me @butternutbakery on Instagram and comment below if you make these Soft Molasses Cookies. To pin this recipe and save it for later, you can use the button on the recipe card, the buttons above or below this post, or on any of the photos above. Happy baking!
Print
Soft Molasses Cookies
- Total Time: 32 minutes + 4 hours to chill
- Yield: 13 large cookies
Description
These molasses cookies are soft on the inside, slightly chewy on the outside, and coated in a sugar crust. With the rich flavor of molasses and ginger, these are the perfect holiday treat.
Ingredients
- 1 cup cake flour (120g)
- 1 1/2 cups all purpose flour (192g)
- 1 tsp salt
- 1 1/2 tsp baking soda
- 1 tsp cinnamon
- 1 tsp ginger
- 1/4 tsp clove
- 1 cup unsalted butter, room temp (225g)
- 1 cup dark brown sugar, packed (200g)
- 1/4 cup organic molasses (88g) *SEE NOTES
- 2 tsp vanilla extract
- 1 large egg
- Demerara or raw sugar for coating
Instructions
- Combine the cake flour, all purpose flour, salt, baking soda, and spices in a bowl. Set aside.
- In the bowl of an electric mixer (fitted with the paddle attachment), cream together the butter and sugar until light and fluffy. This should take 2-3 minutes on medium-high speed.
- Once fluffy, mix in the molasses, vanilla, and egg.
- Pour in the dry ingredients and mix until combined. Your dough should be sticky but easy to scoop.
- Scoop out 13 large cookies (using a 2oz scoop) or 20 regular cookies onto a small tray lined with wax paper. The dough should hold its shape once scooped. If it’s too thin, add an extra tablespoon of flour to the dough.
- Chill the dough for at least 4 hours or overnight.
- When they’re ready to bake, place a large baking sheet lined with parchment paper inside the oven and preheat it to 350F.
- Roll the cookie dough in the sugar, applying some slight pressure to get the sugar to stick.
- Remove the baking sheet from the oven and place 4-5 large cookies (or 5-6 medium cookies) spaced about 2 inches apart. Place the remaining cookie dough back in the fridge. It’s important to keep the dough cold at all times.
- Bake for 12-14 minutes for large cookies (or 10-12 for medium cookies). The edges should be slightly wrinkly and the center will be puffed up. The cookies will settle and darken as they cool.
- Allow them to rest on the baking sheet for a couple minutes before transferring to a cooling rack.
- Finish baking the rest of the batch and enjoy!
Notes
Organic molasses is preferred for this recipe, but not entirely necessary. If you use regular molasses, your cookies will turn out a bit lighter in color but still just as delicious.
- Prep Time: 20 minutes
- Cook Time: 12 minutes
- Category: Baking
- Cuisine: American
Join Our Community

Meet Jenna
I’m the creator, baker, and photographer behind Butternut Bakery. Here I share desserts for every diet because I believe everyone should have a chance to indulge!


Soft, chewy, and great flavor!