Raspberry Lemon Cheesecake Bars
If you love the zesty taste of lemon and the sweetness of fresh raspberries, these Raspberry Lemon Cheesecake Bars are for you! Perfect for summer, they feature a buttery shortbread crust, creamy lemon cheesecake, and a refreshing raspberry lemon layer, all in one bite!
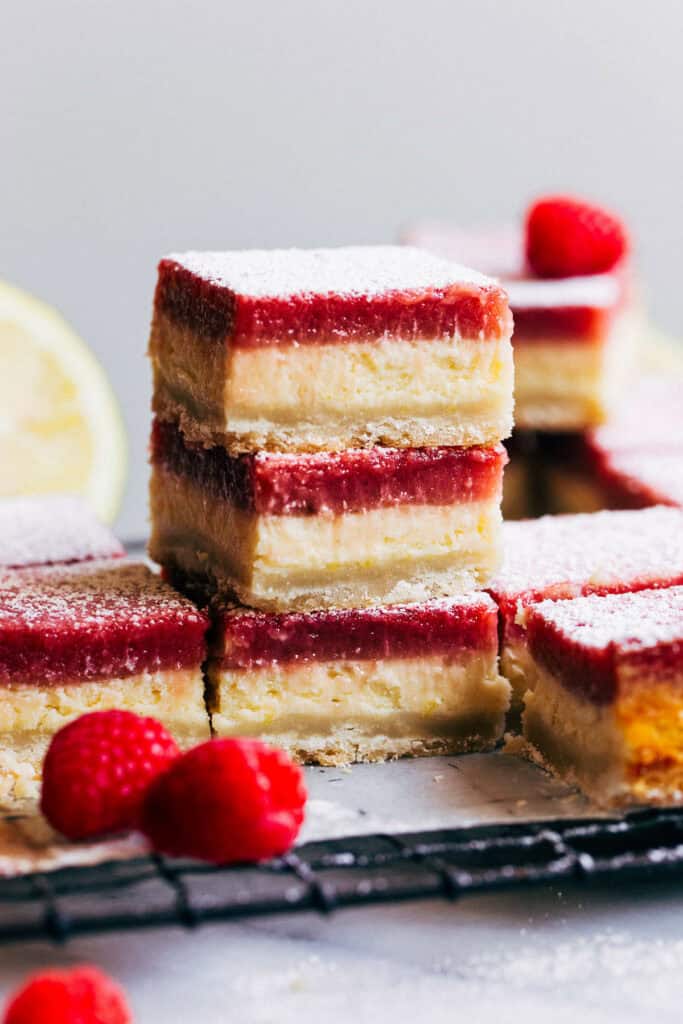
When the summer heat rolls in, there’s nothing better than a dessert that’s both refreshing and doesn’t weigh you down. That’s why I love incorporating bright, zesty flavors into my summer treats! There’s something about a citrusy tang that instantly cools you down, and when you add the natural sweetness of fresh fruit like berries, you’ve got a match made in summer heaven. It’s the same reason why my Lemon Raspberry Cake is such a hit. Each bite offers a balance of zest and sweetness that’s just so satisfying when the sun’s blazing outside!
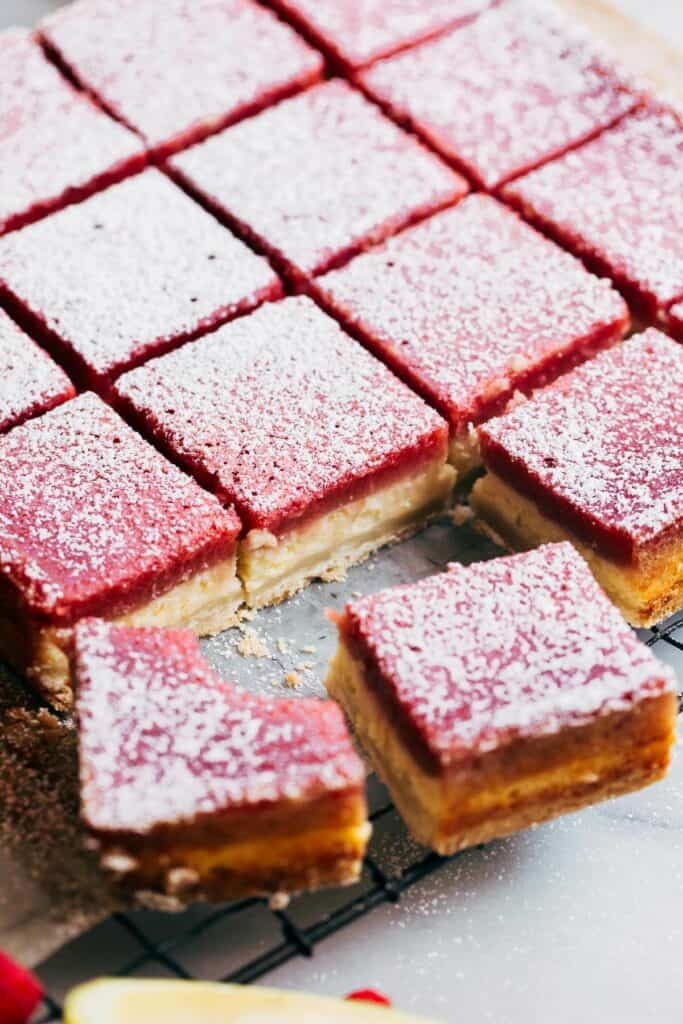
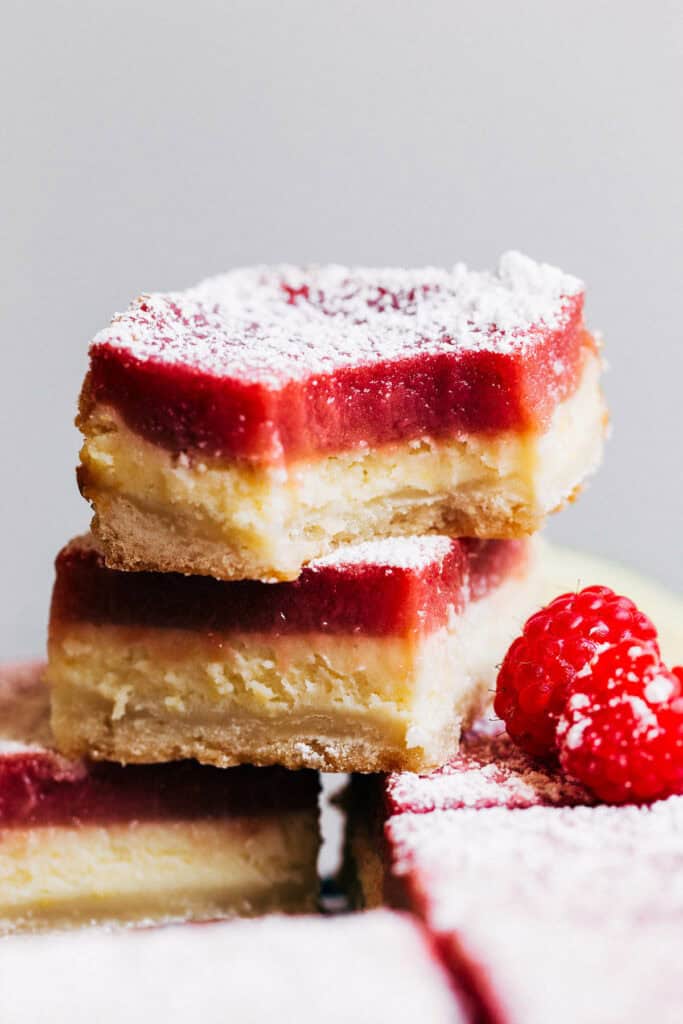
Inspired by those classic flavors, I decided to blend them into a creamy cheesecake bar. These dessert bars feature a buttery shortbread crust that’s perfectly crumbly, topped with a smooth and creamy lemon cheesecake layer, and finished with a sweet raspberry lemon filling. Each bite has a mix of textures, the crunch of the crust, the silkiness of the cheesecake, and the slightly tart raspberry topping that pulls it all together. It’s like eating pink lemonade bars and cheesecake all in one!
They’re not just delicious, but they’re visually stunning, too, with a beautiful pink lemonade color that is completely natural, coming from the raspberries. These bars are perfect for picnics, BBQs, or just because you want a taste of summer. Once you try them, you’ll see why they’re my go-to treat for sunny days!
Tips for Baking Raspberry Lemon Cheesecake Bars
- Bring all your ingredients to room temperature before you start. This helps everything blend together perfectly.
- Line your baking dish with parchment paper, leaving some extra hanging over the sides for easy lifting later.
- Use a hand or stand mixer with a paddle attachment to mix the shortbread crust ingredients just until they come together. Over mixing can make the crust tough.
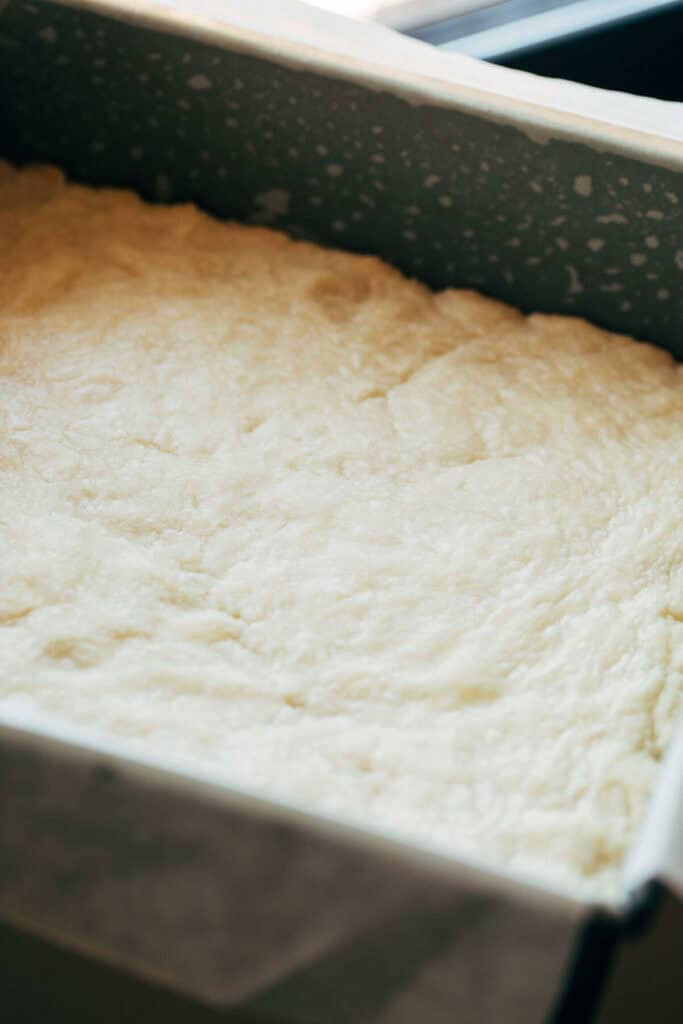
- Press the shortbread crust firmly and evenly into the pan, making sure to cover the bottom completely for a solid base.
- For an extra burst of lemon flavor in the cheesecake layer, rub the lemon zest into the sugar with your fingers to release the fragrant oils.
- Give the cheesecake layer to cool before adding the raspberry lemon filling; this helps keep the layers from blending together.
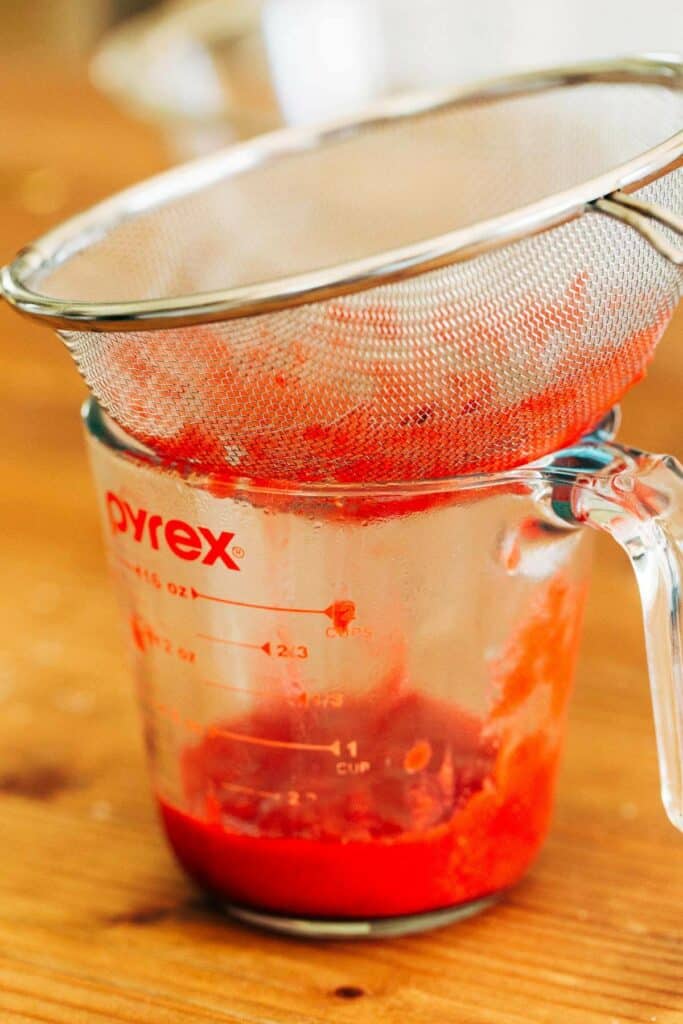
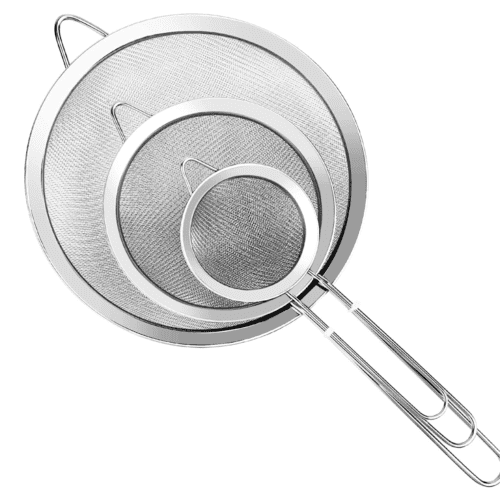
- Run the raspberry sauce through a fine mesh strainer to get rid of the seeds and achieve a smooth, velvety filling.
- Pour the raspberry lemon filling gently around the edges of the cheesecake layer to keep those pretty layers distinct and separate.
- Bake the bars until the center has a tight jiggle when you nudge the pan; this means they’re perfectly set but still creamy.
- Let the bars chill thoroughly in the refrigerator before slicing to get those clean, beautiful cuts you’re aiming for.
Fresh or Frozen Raspberries
You can easily use either fresh or frozen raspberries depending on what’s in season or what looks good at the store. Fresh raspberries bring a vibrant color and a burst of juicy flavor that’s hard to beat. They’re perfect when raspberries are in season, giving you that just-picked taste.
On the other hand, frozen raspberries are super convenient and available year-round. Plus, they tend to be a bit more budget-friendly. The only downside with frozen raspberries is they can release more liquid, so you thaw them first and might need to cook them down a bit longer to achieve the right consistency for the filling.
How To Slice Cheesecake Bars
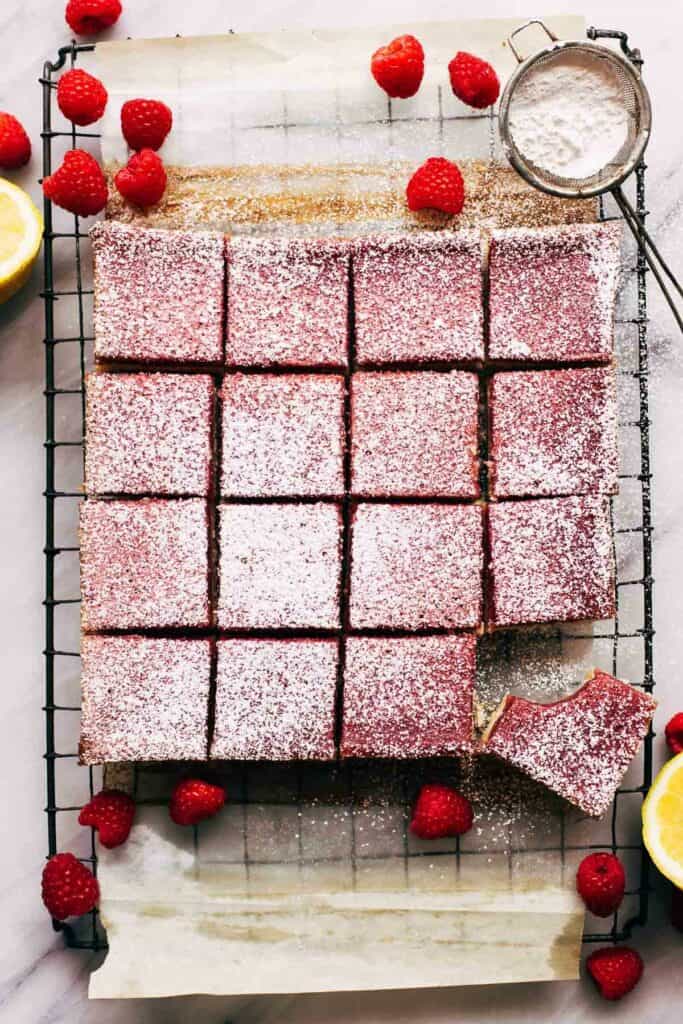
In order to get beautiful, clean slices after the cheesecake bars set, you’ll want to follow a few simple tips. First, make sure the bars are thoroughly chilled. This helps them hold their shape. Use a large, sharp knife and run it under hot water, then wipe it dry before making each cut. This prevents the knife from sticking to the cheesecake and keeps the layers intact. Wipe the blade clean between each slice for the cleanest cuts. For an extra touch of elegance, dust the bars with powdered sugar right before serving!
Raspberry Lemon Cheesecake Bars FAQ
For the shortbread crust, swap out the all-purpose flour with your favorite gluten-free flour blend. Just make sure it’s a 1:1 substitute. Check that the cornstarch you’re using is gluten free as well. For the raspberry lemon filling, the only adjustment needed is to use gluten-free all-purpose flour instead of regular flour. Check all other ingredients for fillers and anything that may contain gluten!
Yes, you can substitute other berries like blueberries or strawberries. Just make sure to adjust the cooking time for the filling as needed for the right texture.
The bars are done when the center has a tight jiggle when you nudge the pan. This makes sure they are set but still creamy and not overbaked.
Absolutely, these bars can be made a day in advance. Just store them in the refrigerator and slice them right before serving. Chilling overnight is best for the texture and firmness of the bars.
If this happens, the cheesecake layer might not have cooled enough. Make sure to let it cool for at least 10 minutes before adding the raspberry filling.
Using low-fat cream cheese will result in a less creamy texture. For the best results, stick with full-fat cream cheese for that rich, velvety consistency.
Keep the bars in an airtight container in the refrigerator for up to five days. Place them in a single layer in the container, and don’t stack to keep the top layer from getting smudged.
For longer storage, wrap the bars individually in plastic wrap, then place them in a freezer-safe bag or container. They can be frozen for up to three months. Thaw them in the refrigerator overnight before serving.
For more fresh berry recipes, check out my:
- Brown Sugar Berry Crumble Bars
- Fruity Cheese Danish
- Pistachio and Raspberry Thumbprint Cookies
- Lemon Blueberry Loaf
- Roasted Strawberry Cheesecake
- Blueberry Cream Cheese Cobbler
- Fresh Strawberry Sheet Cake
- Wild Blueberry Crumble Bars
Make sure to tag me @butternutbakery on Instagram if you make these raspberry lemon cheesecake bars. I love seeing my recipes come to life in YOUR kitchen! To pin this recipe and save it for later, you can use the button on the recipe card, the buttons above or below this post, or on any of the photos above. Happy baking!
Watch how to make these raspberry lemon cheesecake bars!
Print
Raspberry Lemon Cheesecake Bars
- Total Time: 3 hours 27 minutes
- Yield: 16 bars
Description
These raspberry lemon cheesecake bars are a combination of fresh raspberries, lemon bars, and cheesecake! They’re baked with a buttery shortbread crust, creamy lemon cheesecake, and a layer of raspberry lemon filling on top. Top with a dusting of powdered sugar and these bars taste just like pink lemonade!
Ingredients
Shortbread Crust
- 1/2 cup (112g) unsalted butter, room temp
- 1/2 cup (50g) powdered sugar
- 1 cup (132g) all-purpose flour
- 2 tbsp cornstarch
- Pinch of kosher salt
Lemon Cheesecake
- 1/2 cup (108g) granulated sugar
- Zest of 1 lemon
- 1 8 oz block full fat Philadelphia cream cheese, room temp
- 1 large egg
- 1/2 tsp vanilla extract
Raspberry Lemon Filling
- 1 pint fresh raspberries (or 2 cups frozen thawed)
- Juice of 2 lemons
- 3 large eggs
- 1 cup (210g) granulated sugar + 1 tsp (for the raspberries)
- 3 tbsp all-purpose flour
- Powdered sugar, for dusting
Instructions
Shortbread Crust
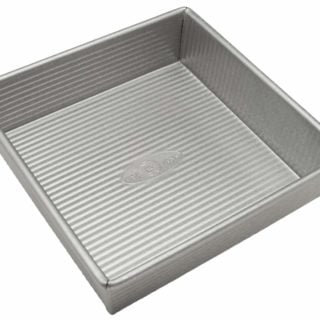
- Preheat the oven to 350F and grease the inside of an 8×8 baking dish. Line with two sheets of parchment paper so that the inside of the pan is fully covered.
- In a bowl using a hand or stand mixer with the paddle attachment, mix together the butter and sugar until smooth.
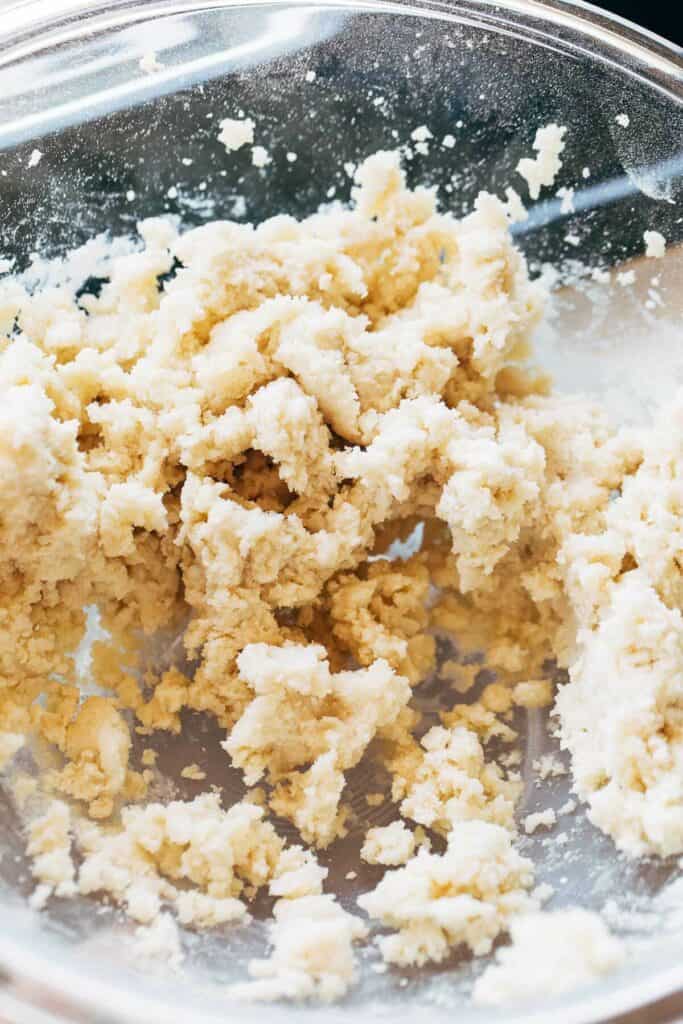
- Then add in the flour, cornstarch, and salt and mix. It will appear crumbly but all ingredients should be well combined.
- Press the dough into the bottom of the pan and bake for 12 minutes.
Lemon Cheesecake
- While that bakes, prepare the cheesecake layer.
- In a large mixing bowl using a hand or stand mixer (I like to reuse the shortbread bowl and just wipe it clean), add the sugar and zest. Rub the two together with your fingers to release even more lemon flavor.
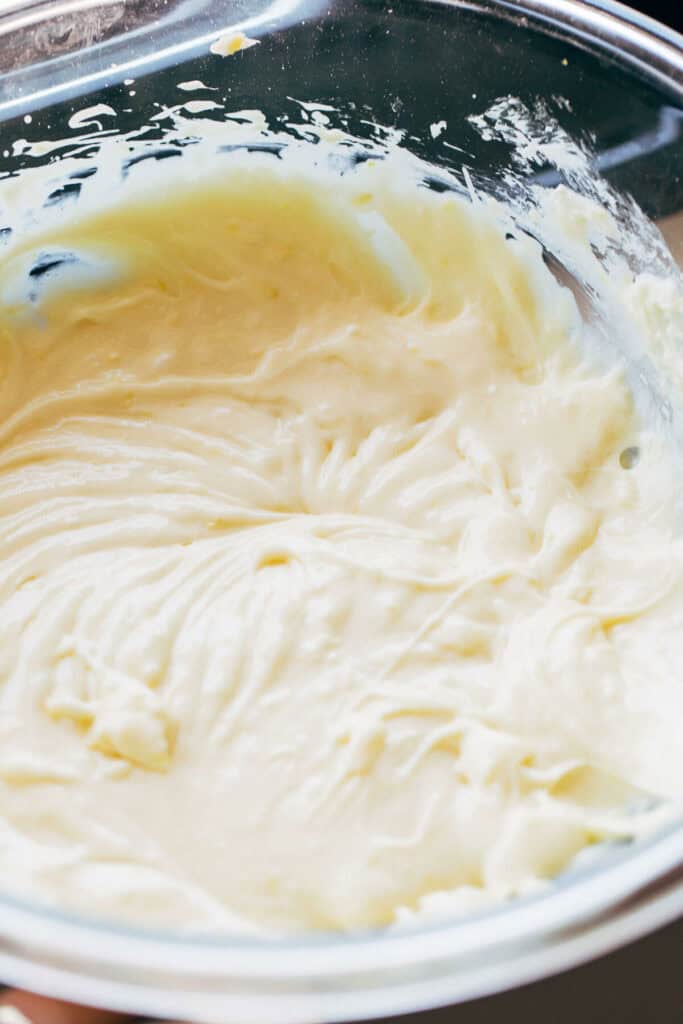
- Now add the cream cheese and mix until smooth.
- Scrape down the bowl and mix in the egg and vanilla.
- Pour the filling over the baked crust and spread even. Bake for 20 minutes.
Raspberry Lemon Filling
- Only start on this step once the cheesecake is removed from the oven. We need to give it time to cool so that the raspberry layer doesn’t sink into the cheesecake layer.
- Starting with the raspberries, add them to a small saucepan and sprinkle with 1 teaspoon of sugar. Place over medium heat.
- Using a wooden spoon, mix and mash until the raspberries are completely broken down. Once bubbling, stir and continue to heat for 5 minutes or until slightly thickened.
- Run the sauce through a fine mesh strainer to remove the seeds. You should be left with a little over ¼ cup of raspberry reduction.
- To the raspberry reduction, add the lemon juice and stir to combine.
- Now in a large mixing bowl (again, I use the same bowl as the shortbread and cheesecake and wipe it clean), whisk together the eggs, sugar, and flour.
- Pour in the raspberry lemon sauce and whisk to combine. The mixture should be very liquid.
- Now that about 10 minutes have passed, the cheesecake should be set. Gently pour the filling around the edges of the cheesecake layer (as these are the most firm). Constantly move the bowl around as you’re pouring to prevent the filling from sinking in one spot.
- Once all the liquid is poured, carefully transfer the pan back to the oven and bake for 25-30 minutes.
- It’s done when the center has a tight jiggle when the pan is nudged.
- Allow the bars to cool at room temperature for about 30 minutes, then transfer to the refrigerator and chill uncovered for a few hours or overnight.
- Before serving, remove from the pan and dust with powdered sugar. Enjoy!
- Prep Time: 30 minutes
- Chill Time: 2 hours
- Cook Time: 57 minutes
- Category: Dessert
- Method: Baking
- Cuisine: American
Join Our Community

Meet Jenna
I’m the creator, baker, and photographer behind Butternut Bakery. Here I share desserts for every diet because I believe everyone should have a chance to indulge!


These were so delicious and turned out beautifully! I made them for Easter and the whole family absolutely loved them. Thank you so much for sharing this recipe! I will definitely be making them again.
I love all of Jenna’s recipes and I am determined to make them all. Just made these last night for a work event and they are SO tasty! Silky texture and all the layers compliment each other beautifully. I did bake them for the full recommended time at each baking step and I let them chill overnight in the fridge. I think I would recommend freezing them for a little before slicing because they are VERY soft and don’t hold their shape as beautifully as the ones in the picture. My raspberry layer was also not bright red like the photo, it was more of a pale pink and after baking the top looked kind of light brown. I figured that would be okay since the powdered sugar would cover it though. However, I made the mistake of putting the powdered sugar on before I left my house to drive to work and by the time I got to work the powdered sugar had melted into the bar and turned into a gooey clumpy brown mess. Sadly this dessert did not turn out very pretty at all but it was still tasty. Wait until seconds before serving to put the powdered sugar on! Otherwise they were tasty and I would try them again.
I had the same issue with my raspberry layer fading to a pink/gray color – I thought I messed something up. But still tasty!
Wow! Simple to make. Made with a blueberry topping, fantastic. A dessert that will impress your guests.