Maple Pecan Sticky Buns
These maple pecan sticky buns are just as delicious as they sound! Light and fluffy cinnamon rolls are baked with a sweet and sticky maple syrup with loads of chopped pecans. They bake into soft cinnamon clouds with a layer of caramelized sticky goodness on top.
This post is sponsored by Danish Creamery but all thoughts and opinions are my own. Thank you for supporting the brands that make Butternut Bakery possible!
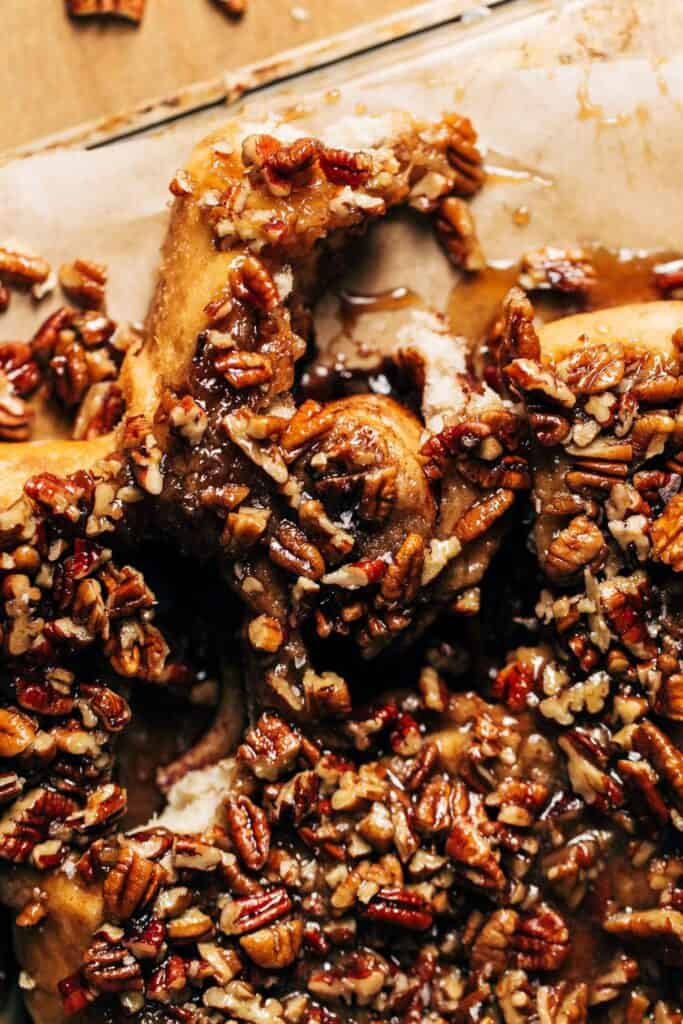
How are sticky buns different from cinnamon rolls?
The two aren’t very different from each other. Both are made nearly the same, but sticky buns are baked with a layer of sweet buttery syrup and chopped pecans on the bottom.
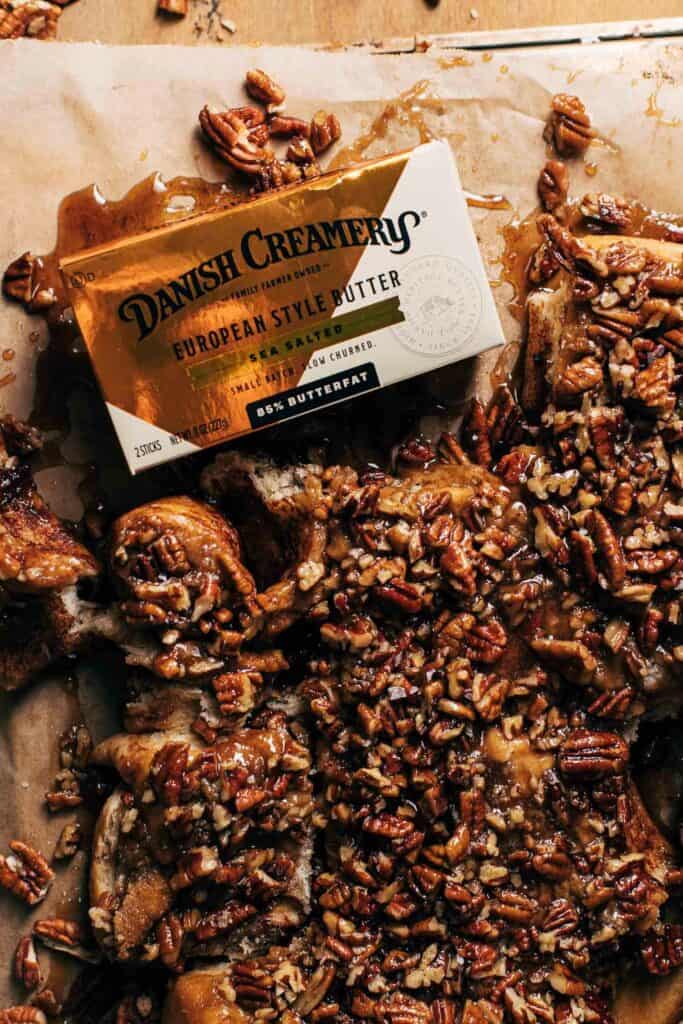
Once baked, the pan is inverted to expose the sticky caramelized pecans on top. Alternatively, cinnamon rolls are simply baked and smothered in icing.
What makes these maple pecan sticky buns so good?
Not only are these baked using my popular homemade cinnamon rolls recipe, but they’re made with EXTRA pecans and rich Danish Creamery European Style Butter.
Rolls – The base of this recipe is a bed of light and fluffy rolls baked with a flavorful cinnamon swirl. The contrast between the pillowy rolls and the rich caramelized pecan topping is absolute HEAVEN.
Topping – This recipe does not skimp on the topping. It’s made with extra butter, maple syrup, brown sugar, and double the pecans. This might sound too rich, but it’s all balanced out by using Danish Creamery sea salted butter.
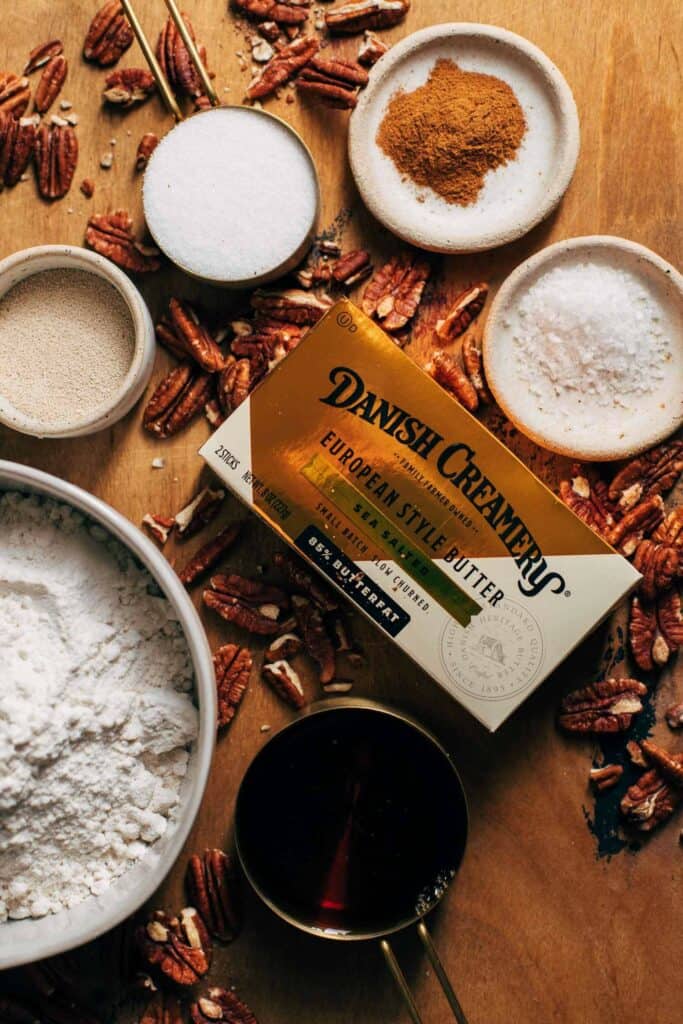
Danish Creamery Butter – This recipe is very butter-forward as it’s used in the dough, in the filling, and in the topping. To get the most flavor out of these rolls, I use Danish Creamery European Style Sea Salted Butter. It’s made with high quality cream which provides so much flavor and it has a high butterfat content, making it extra rich and creamy. The hint of sea salt also helps counteract the sweetness of the entire dish.
Tips for making pecan sticky bun dough
This is a foolproof recipe and the rolls turn out perfect every single time (trust me, I’ve made these MANY times). But if you’re brand new to working with yeast, or it’s your first time making sticky buns from scratch, here are a few times to follow:
- The Yeast – For the best buns, use a yeast with fast activation as it allows the rolls to rise quickly. It’s the secret to that fluffy, soft, and moist texture!
- Wet Ingredients – The water, milk and butter must be warmed before adding to the dry ingredients. This is to help activate the yeast, so it’s important that the mixture isn’t too hot. If it’s too hot, it will kill the yeast. If it’s too cool, the yeast won’t activate. Microwave in 15 second intervals until the mixture is just warm to the touch.
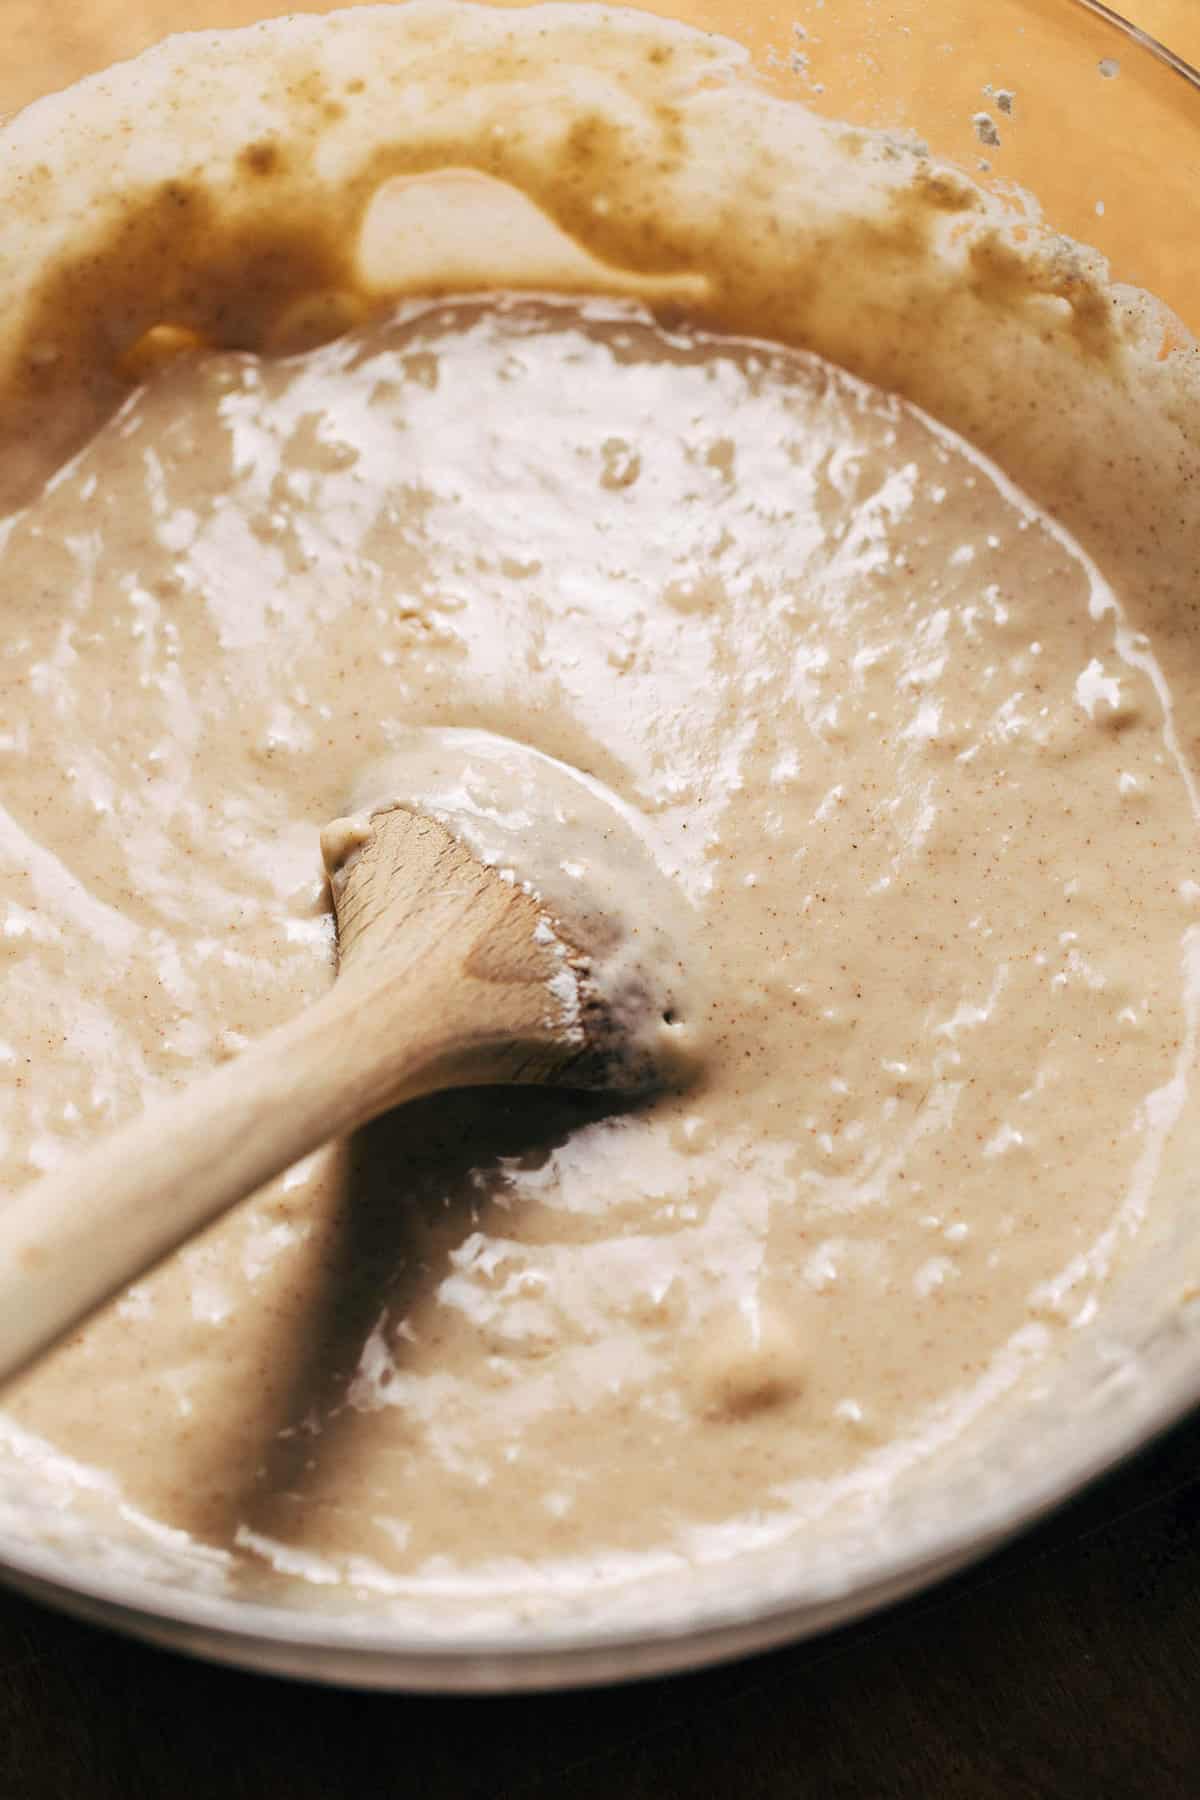
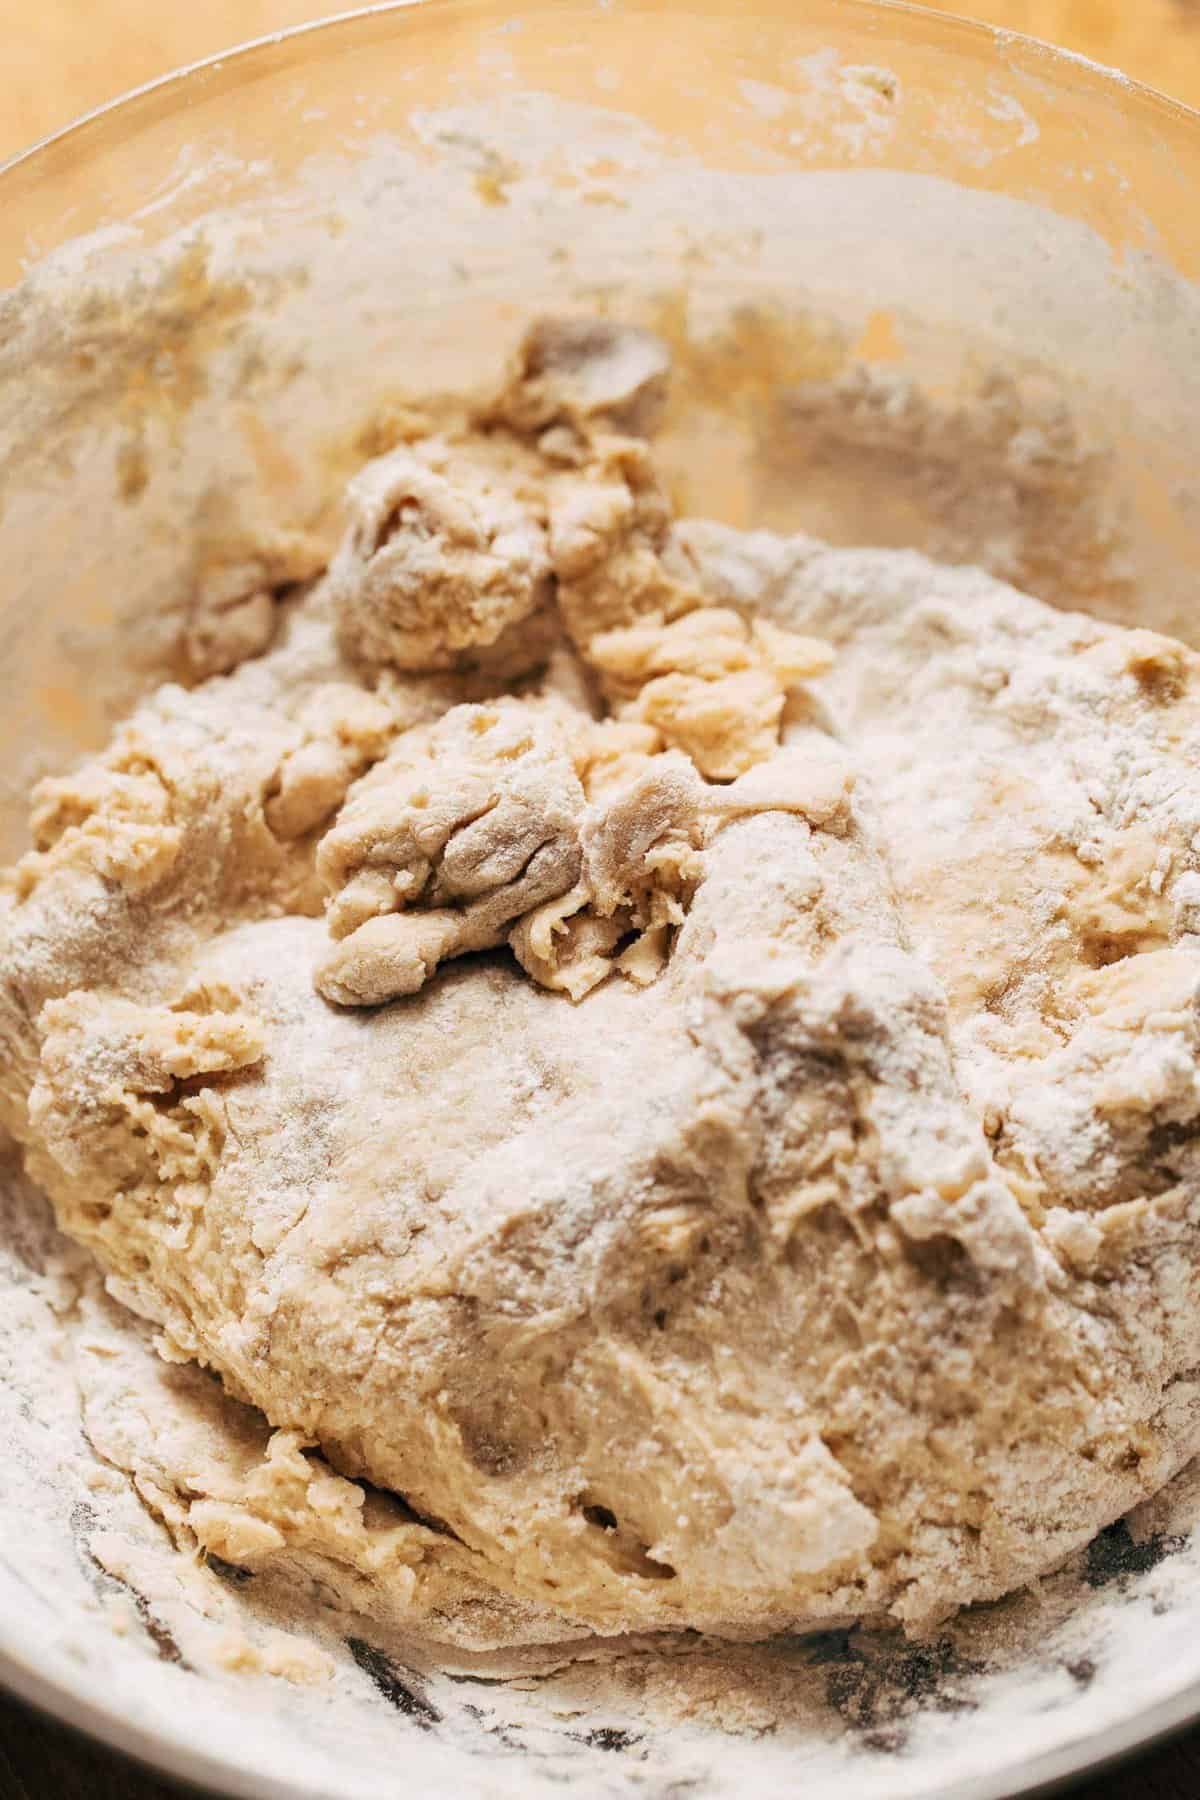
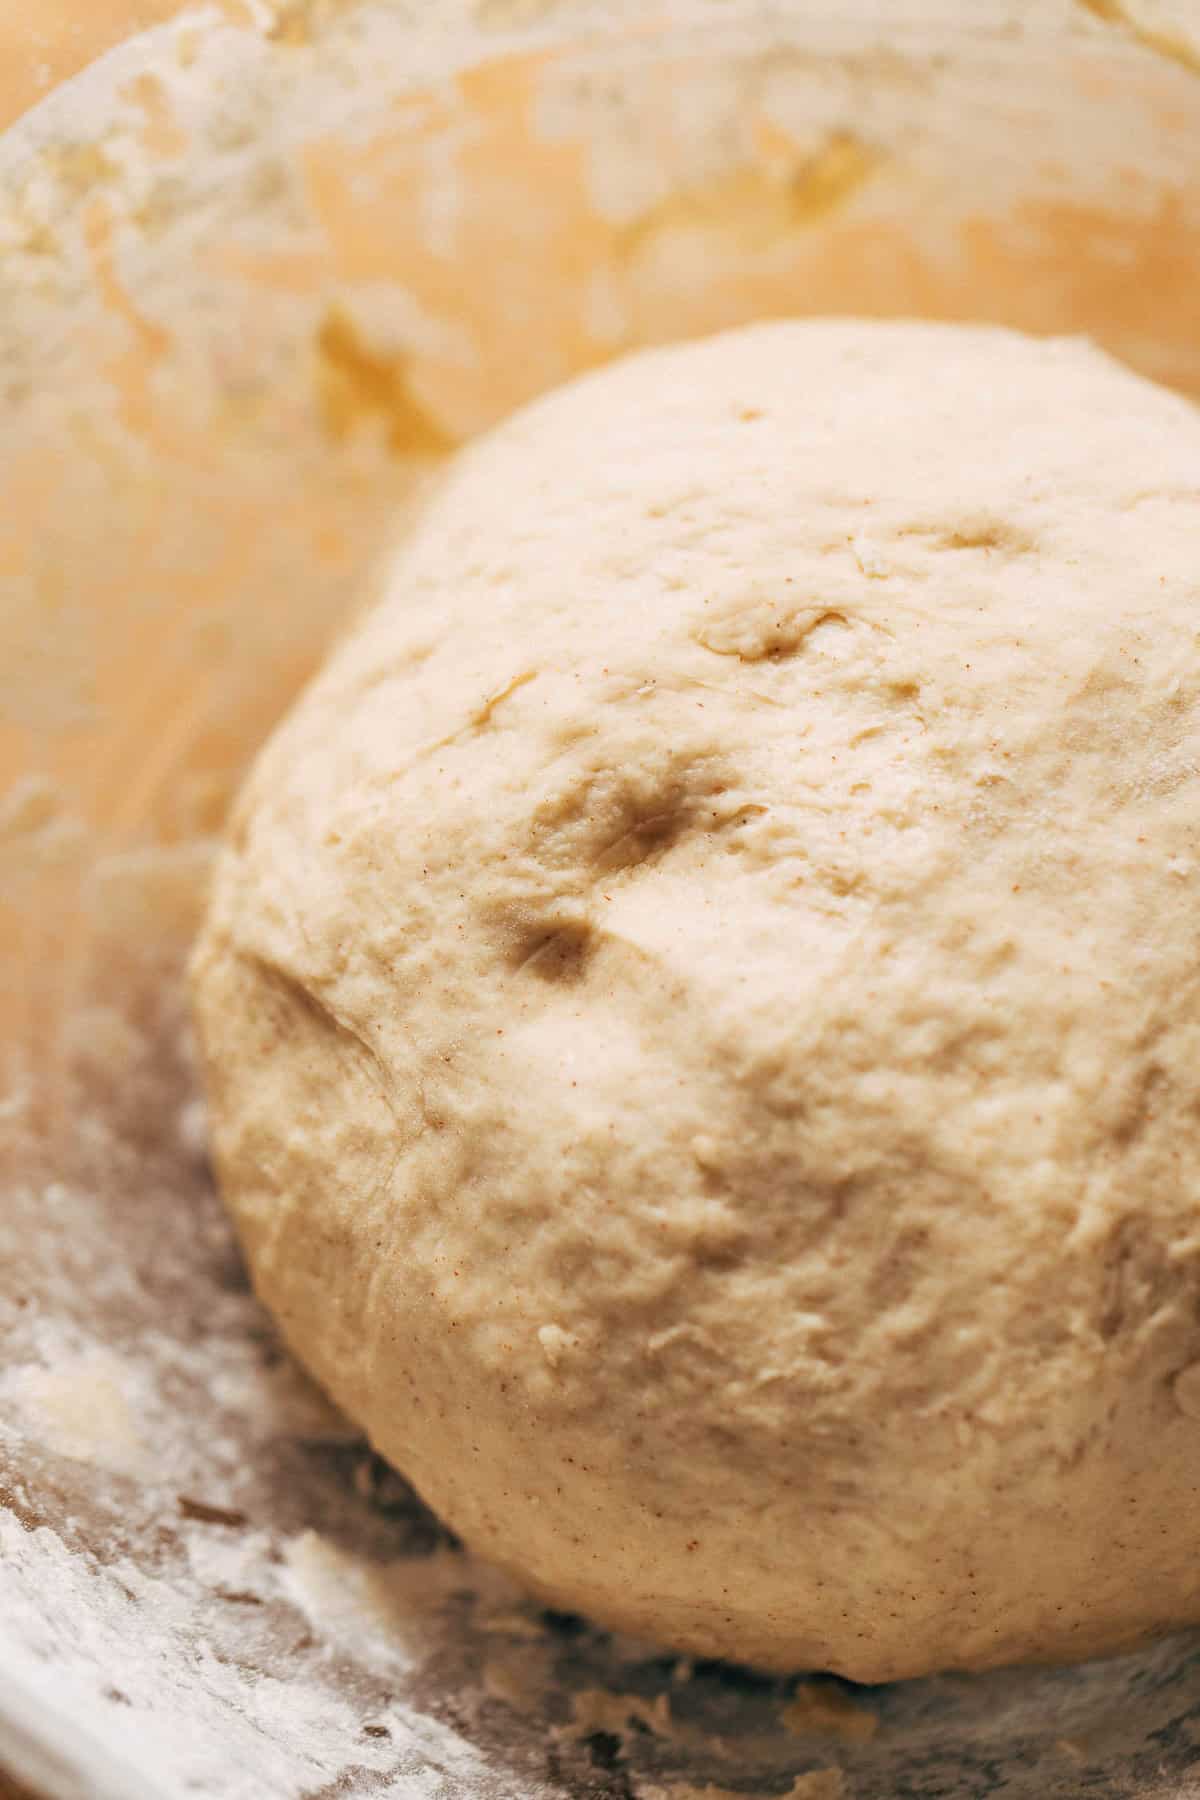
- Mixing and Kneading – To make this a mixer-free recipe, we gradually add the flour in order to hydrate the dough without overwhelming it. It goes in 3 phases. The first is a few thin and wet batter. The second is a thick but very sticky dough, and the third is a shaggy dough that’s still sticky but more manageable. At this point, it’s time to knead the dough until it’s smooth.
- The Stick Test – After kneading, the dough should still feel sticky because your fingers will be covered in the dough. Give them a rinse and then with a dry finger, press it into the surface of the dough. If it sticks, keep kneading. If it bounces back with a clean finger, then it’s ready.
Once the dough is finished, let it rest for 10 minutes before filling, rolling, and cutting. This allows the dough to rise, gives the dry ingredients a chance to fully absorb, and the gluten strands to relax. After 10 minutes, the dough will nearly double in size and become much easier to roll out.
Maple pecan sticky bun topping
After the dough has been filled, rolled, and sliced, it’s time to make the sticky bun topping.
My recipe is a combination of maple syrup, light brown sugar, and Danish Creamery European Style Sea Salted Butter.
The Danish Creamery butter adds so much flavor to the topping while also balancing out the sugar and maple syrup. It cuts through the sweetness to allow that maple flavor to really come through.
All three ingredients are heated in a saucepan JUST until melted. To add even more flavor, an entire tablespoon of vanilla extract is mixed in along with another pinch of salt for good measure.
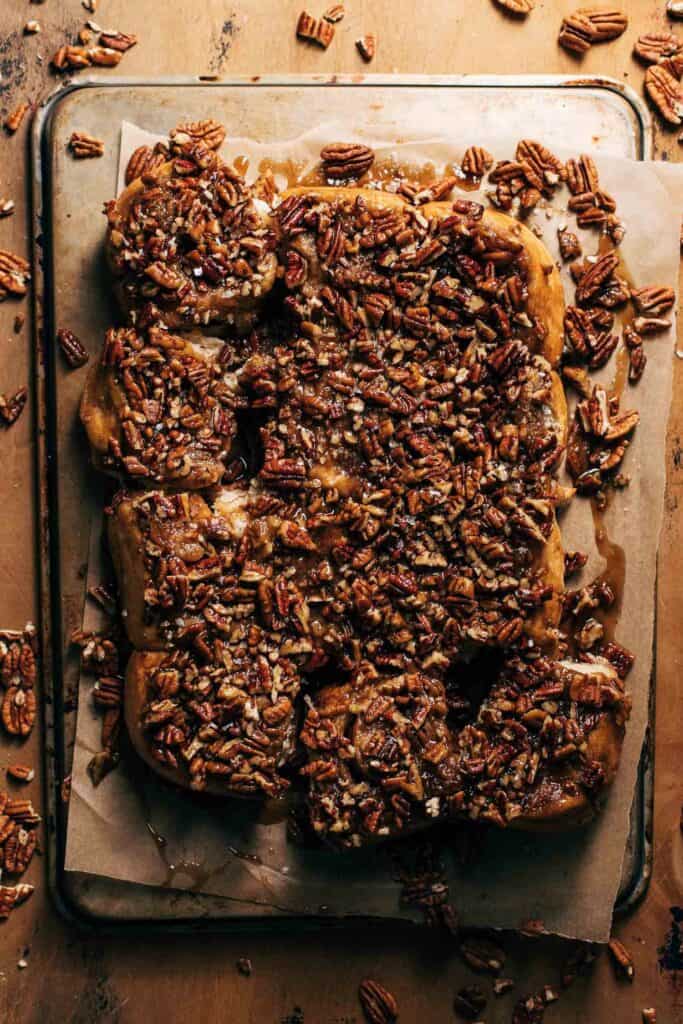
The syrup is then poured into the bottom of a 9×13 baking dish and sprinkled with a hefty layer of chopped pecans.
When chopping the pecans, I recommend a chop that’s between fine and rough. Too fine and you will lose the pecan texture, but too rough and the rolls will be a bit too chunky.
Now the rolls have a nest of syrup and pecans to bake in!
How to invert pecan sticky buns
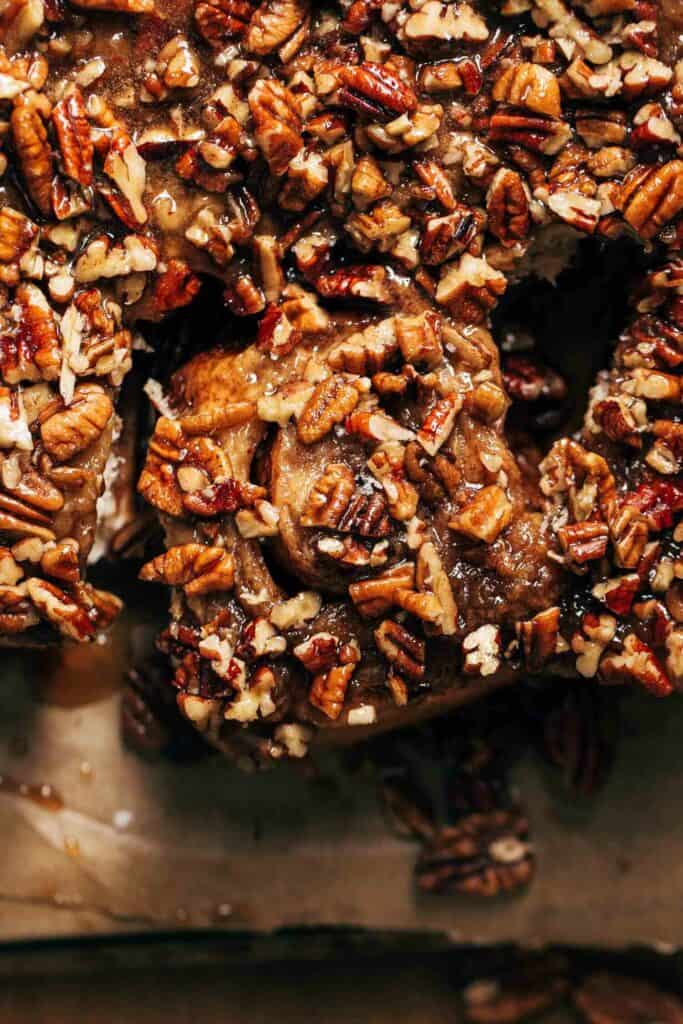
The trickiest part of this entire recipe is flipping the pan over to reveal the pecan filling on top.
Luckily I’ve done this many times (and have experienced a couple spills) so we can all learn from my mistakes. Here are my top tips for flipping your sticky buns:
- Cooling – Allow the buns to cool for about 10 minutes. It’s important that the buns are still very warm, but it’s safer to flip the pan once it has had some time to cool.
- Mitts – I highly recommend using oven mitts with a grippy texture, especially if your pan is heavy on its own. The grips will stop the pan from slipping as you flip.
- Serving Tray – For these sticky buns, I like to flip them out onto my largest baking pan. This is because it’s light weight and also has a ridge to catch any of the syrup that might run off.
- Speed – Move fast! Flipping only works if it’s one quick movement, otherwise the rolls will slip and slide all around in the pan.
It’s nerve wracking at first, but revealing that delicious caramelized topping makes it all worth it in the end!
How to store pecan sticky buns
Store the buns in an airtight container at room temperature. They’ll keep for about 2-3 days, and this time can be extended by storing them in the refrigerator.
To reheat, just pop a roll in the microwave for about 10-15 seconds.
For more rolls and buns, check out my:
- BEST Homemade Cinnamon Rolls
- Gluten Free Cinnamon Rolls
- Monkey Bread Skillet
- Banana Bread Cinnamon Rolls
- Pecan Pie Babka
- Pumpkin Cinnamon Rolls
Make sure to tag me @butternutbakery on Instagram and comment below if you make these maple pecan sticky buns. To pin this recipe and save it for later, you can use the button on the recipe card or on any of the photos above. Happy baking!
Watch how to make these maple pecan sticky buns:
Maple Pecan Sticky Buns
- Total Time: 2 hours
- Yield: 12 rolls
Description
These maple pecan sticky buns are insanely delicious! Light and fluffy cinnamon rolls are baked with a caramelized maple pecan topping. They’re soft, sticky and loaded with savory crunchy pecans
Ingredients
Rolls
- 4 1/2 – 5 cups all purpose flour
- 1/4 cup (50g) granulated sugar
- 2 packets instant yeast (4 1/2 tsp)
- 3/4 tsp kosher salt
- 1 tsp ground cinnamon
- 1 cup (250ml) water
- 1/2 cup (118ml) milk
- 5 tbsp Danish Creamery European Style Sea Salted Butter, sliced
- 1 large egg
Filling
- 1/4 cup (55g) Danish Creamery European Style Sea Salted Butter, room temp
- 1/2 cup (100g) light brown sugar, packed
- 2 tbsp ground cinnamon
Maple Pecan Topping
- 2 cups pecan halves, chopped
- 3/4 cup (185g) Danish Creamery European Style Sea Salted Butter
- 1/2 cup (160g) pure maple syrup
- 1 cup (200g) light brown sugar, packed
- 1/2 tsp kosher salt
- 1 tbsp vanilla extract
Instructions
Rolls
- In a large mixing bowl, whisk together 2 cups flour, sugar, yeast, salt and cinnamon.
- In a heat-safe glass, combine the water, milk and butter (cut into tablespoons). Heat in the microwave for 30 sec – 45 sec, until warm to the touch but not hot. The butter will not melt completely.
- Pour into the dry ingredients with the egg and mix with a wooden spoon.
- Add in 2 more cups of flour and mix. It should turn pretty thick and sticky at this point.
- Add in 1/2 cup of flour and mix again. It should now turn shaggy and become difficult to stir. Once it reaches that point, set the spoon to the side and use your hands to mix and knead the dough.
- It will be sticky, so add another 1/4 cup of flour and continue to mix and knead by hand. It should turn into a smooth mass that’s soft and tacky.
- With a clean finger, press it into the dough. If your finger is sticking, add another 1/4 cup of flour and knead. If it’s not, then shape it into a ball and let it rest uncovered for 10 minutes.
- When the 10 minutes is up, the dough should have puffed up quite a bit but not quite doubled in size.
Filling
- Place the dough on a lightly floured surface and pat it into a rough rectangle shape. Roll it into a 14×16 inch rectangle using a rolling pin.
- Spread the room temperature butter into a thin and even layer, leaving about 1/4 inch border all around the outside of the dough.
- Sprinkle with the brown sugar and spread it even with your hand. Then top it with the cinnamon.
- Working from the 16 inch end of the dough, roll it up into a log. Place your hands at each end of the log and give it a gentle squeeze in to compact the log of dough. It may have stretched out a bit during the rolling process so this brings it back together.
- For best results, use unflavored dental floss to cut the rolls. If you don’t have floss, you could also use really thin sewing thread. If using a sharp knife, gently saw back and forth and try not to press straight down into the rolls. This will squish them into an odd shape.
- Using the floss, slide it under the roll and toss both ends of the floss over top. Pull them through to create a cut. Cut off the two ends of the log and then cut the remainder into 12 pieces.
- Cut the entire log in half, then cut those two halves in half to create 4 segments. Cut each of those 4 segments into 3 rolls to get a total of 12. Leave the rolls where they are while we make the pecan topping.
Maple Pecan Topping
- Combine the butter, maple syrup, and brown sugar in a saucepan over medium heat. Melt down and stir until completely smooth.
- Remove from heat and mix in the salt and vanilla.
- To a 9×13 baking dish, pour the sticky syrup on top to cover then bottom of the pan. Then sprinkle with the chopped pecans.
- Place the rolls in the pan.
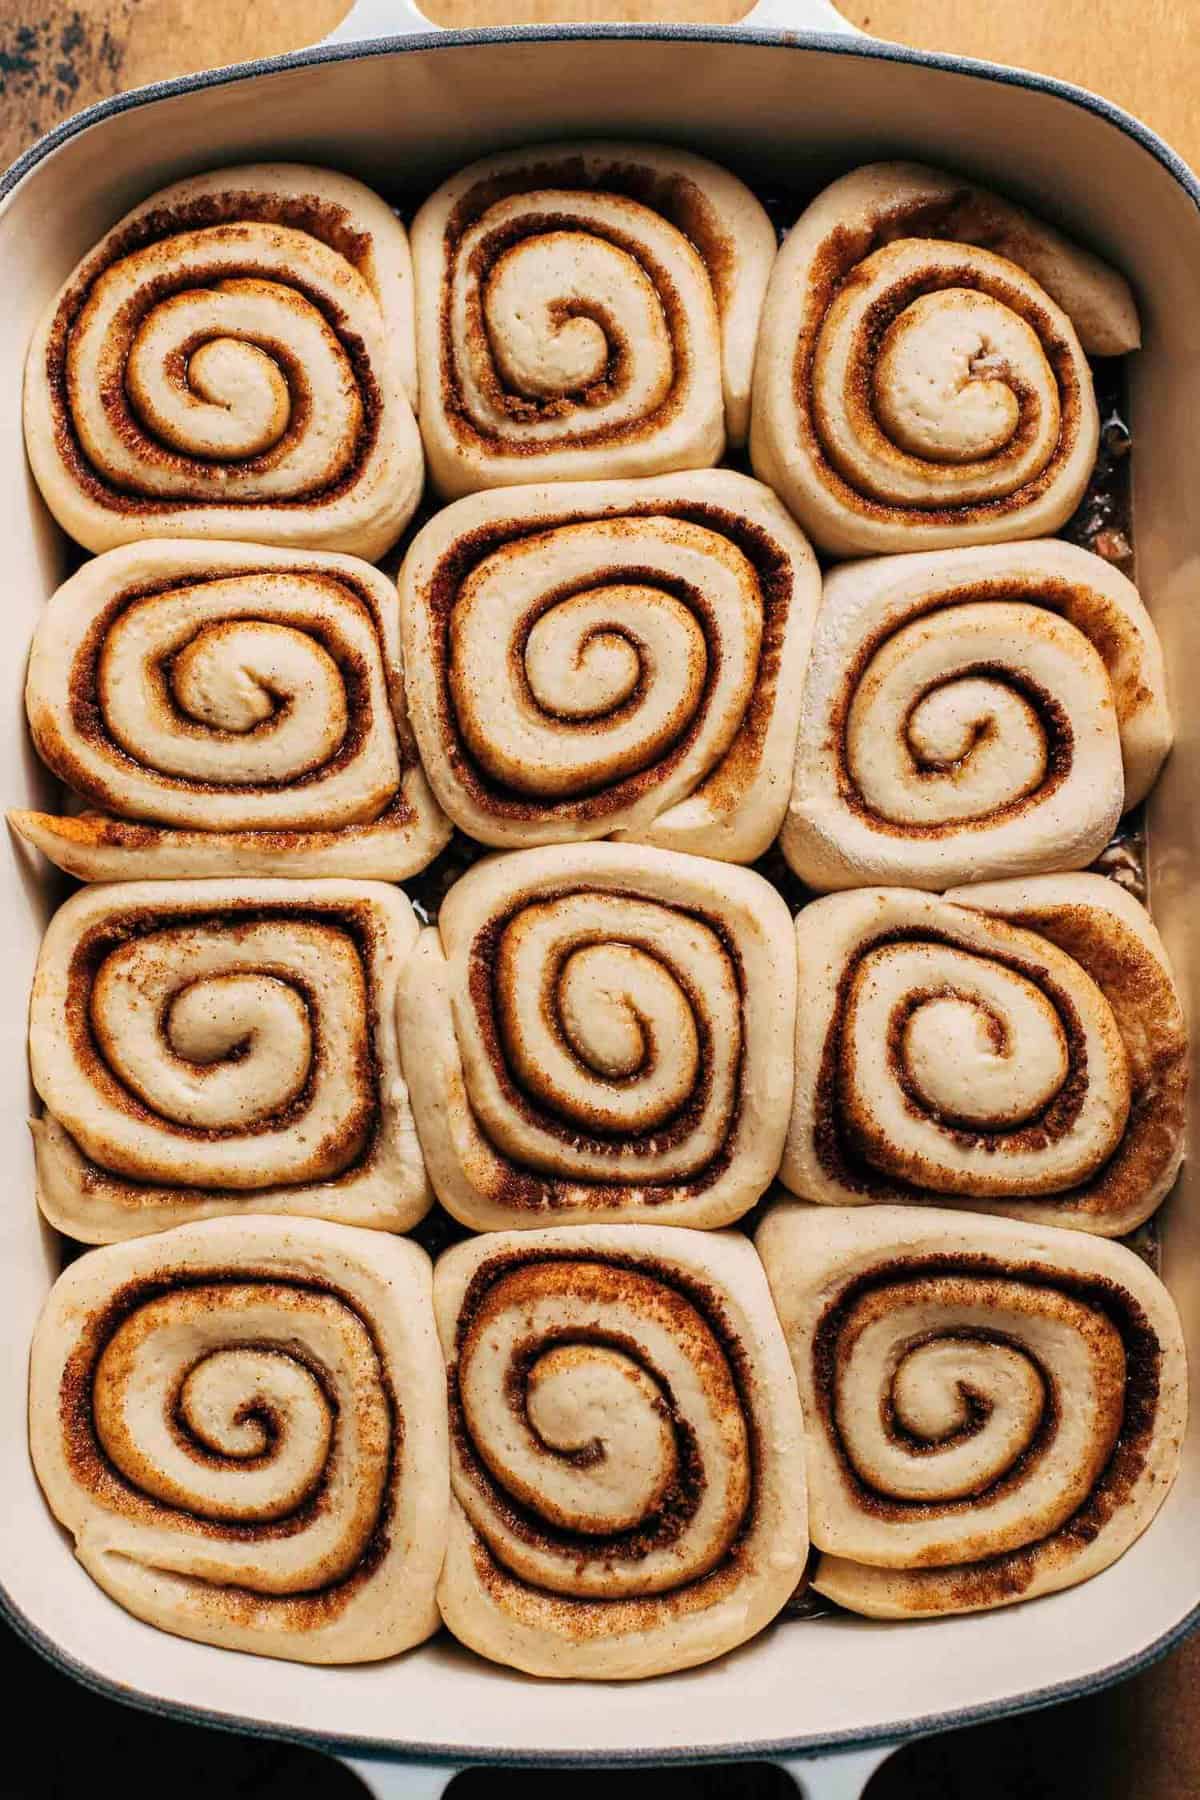
- Place in a warm spot and cover with a towel to rise for 1 hour. If you live in a colder climate, preheat the oven to the lowest temperature. Once it’s ready, turn the oven off and place the rolls inside. This creates a warm environment for the rolls to proof.
- Preheat the oven to 350F (first remove the rolls if you proofed them inside) and check on the rolls. They should have doubled in size and now take up the entire dish.
- Bake for 30-35 minutes or until the tops are a light golden brown.
- Allow the rolls to cool for 5 minutes, then invert the pan onto the serving platter and dig in!
- Prep Time: 1 hour 30 minutes
- Cook Time: 30 minutes
- Category: Dessert
- Method: Baking
- Cuisine: American
Join Our Community

Meet Jenna
I’m the creator, baker, and photographer behind Butternut Bakery. Here I share desserts for every diet because I believe everyone should have a chance to indulge!

Do you think these can be made ahead of time and frozen prior to baking? Thanks!
This recipe was simple, very little fuss, quick (relative to making homemade rolls like this), and SO DELICIOUS. I’ll absolutely be making these again!
These are incredible! Made them exactly as written, except for the proofing which was an error on my part. We cut the extras and froze. Let them thaw on counter for a few minutes and then a quick warm up in the microwave. Tastes just as good today as they did two weeks ago. I may never buy a breakfast pastry again.
I made this today and so delicious. I made half for plain cinnamon rolls since my kids doesn’t like pecans 🤩, overall so divine..