Leftover Halloween Candy Cookie Bars
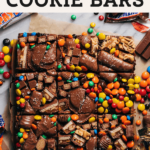
If you’re wondering how to use up that bowl of candy sitting on your counter, these leftover Halloween candy cookie bars are the way to go! They’re perfectly soft, chewy, and loaded up with your favorite candies. Whether you throw them on top or mix them in, you can’t go wrong with these delicious cookie bars.
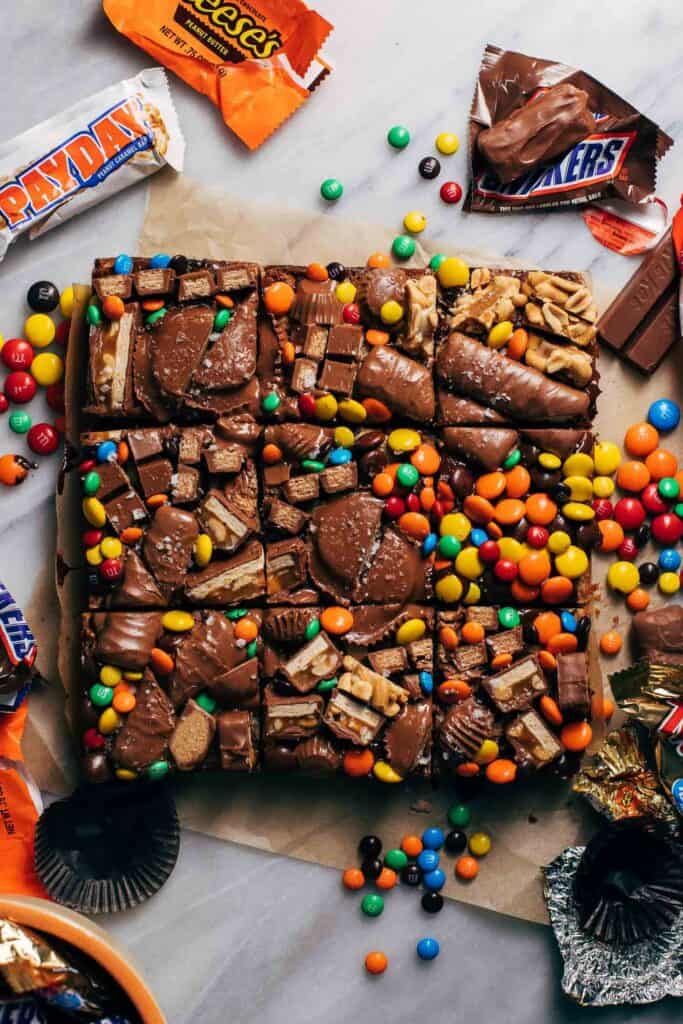
What to do with leftover halloween candy
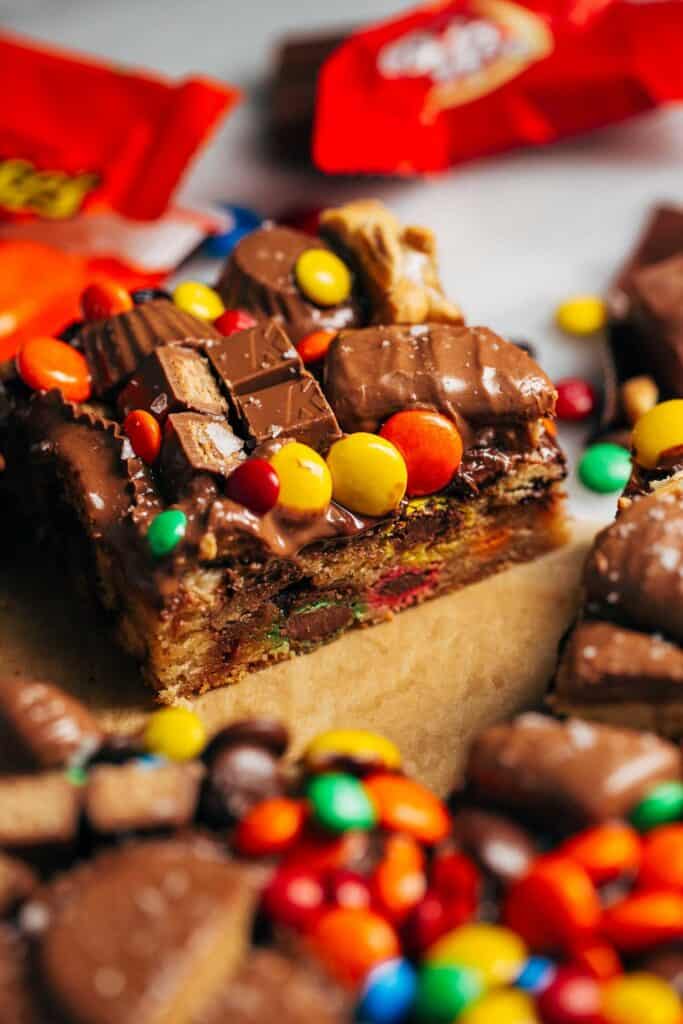
Take those fun-sized candies to the next level with these cookie bars. They’re chopped up and baked inside these dense and chewy bars which for some, that’s enough, but I needed to take it a step further!
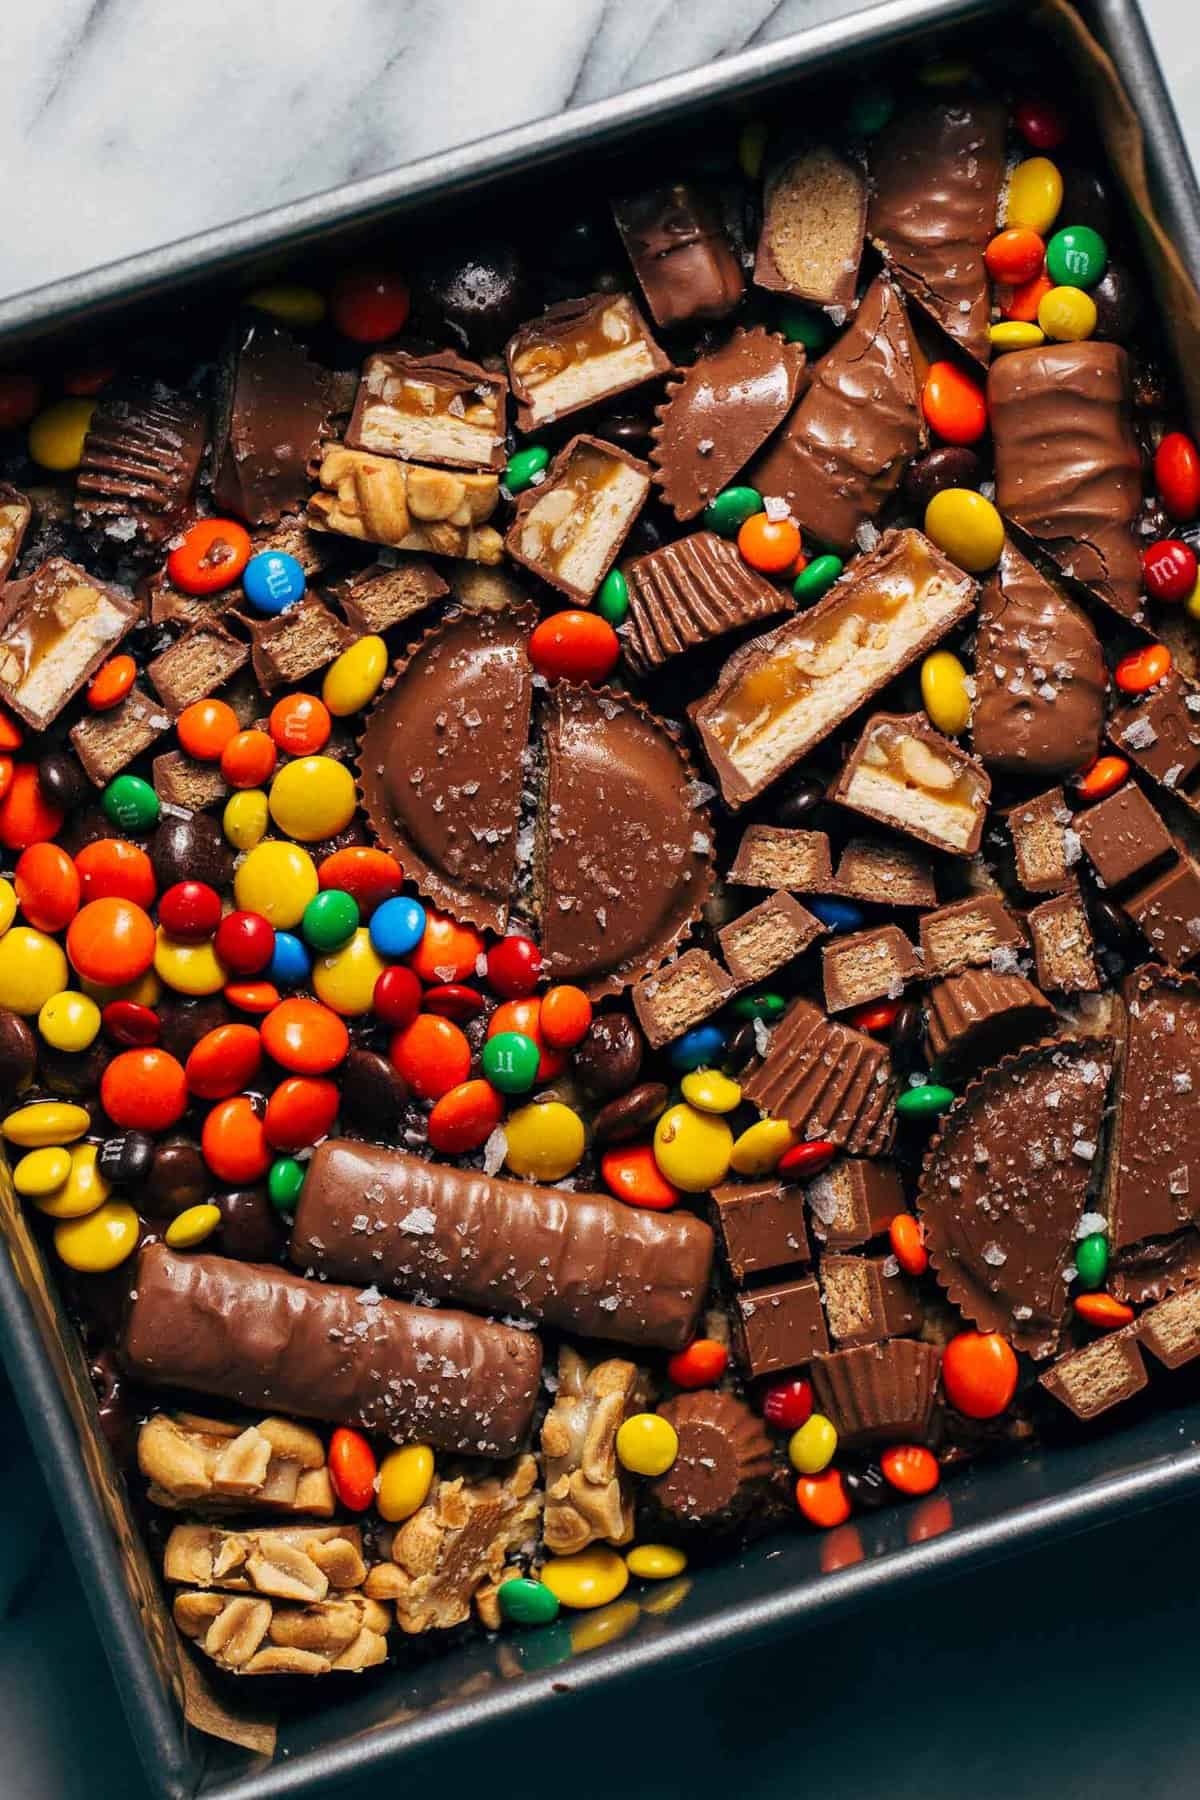
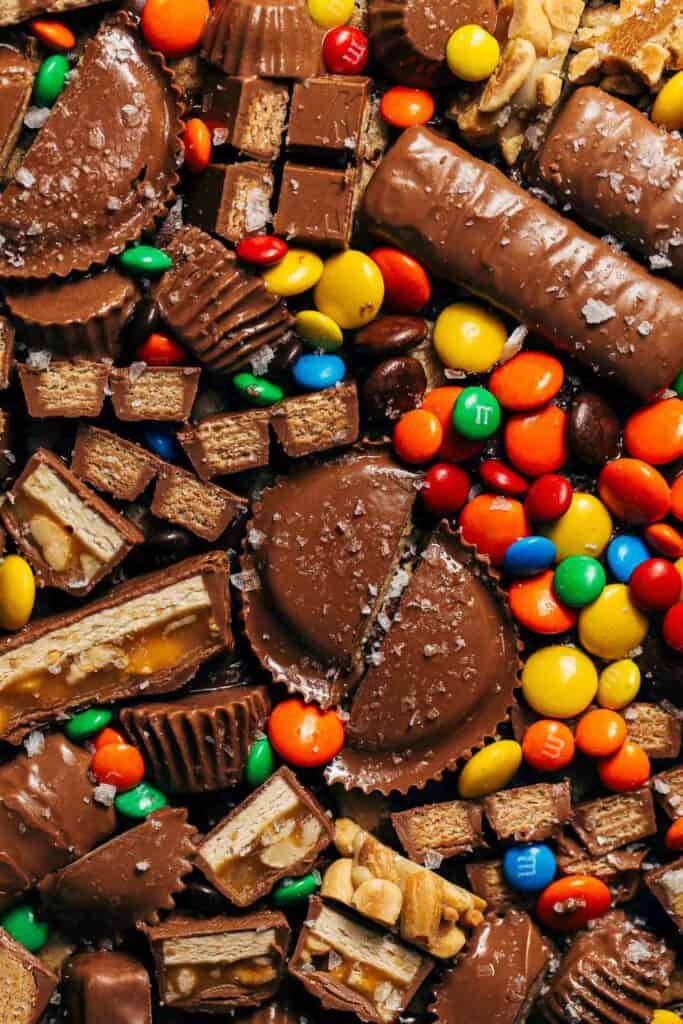
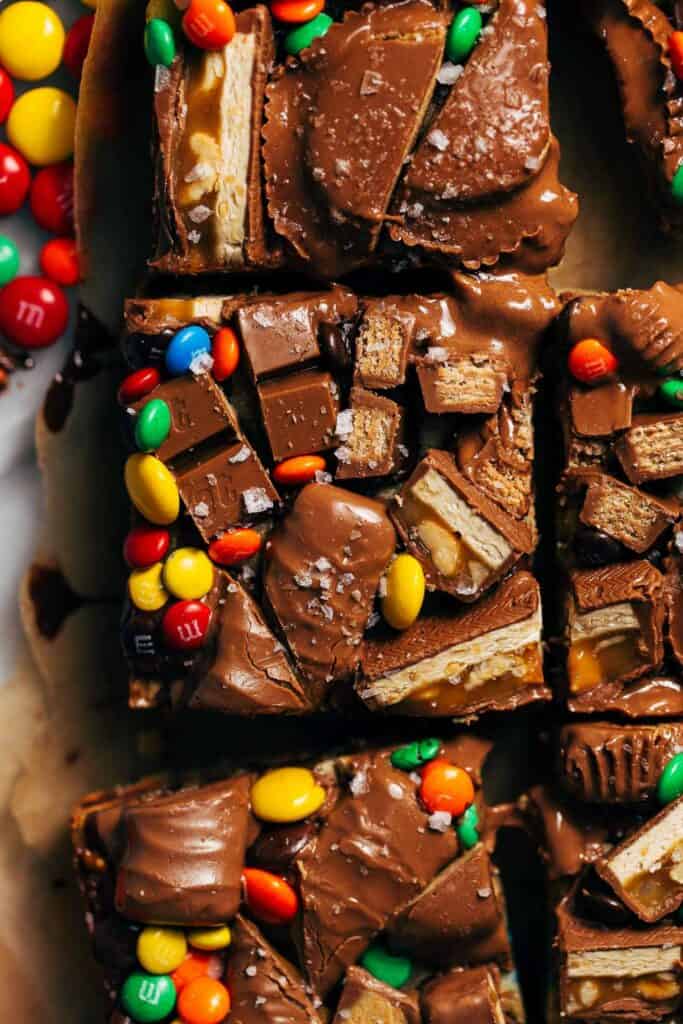
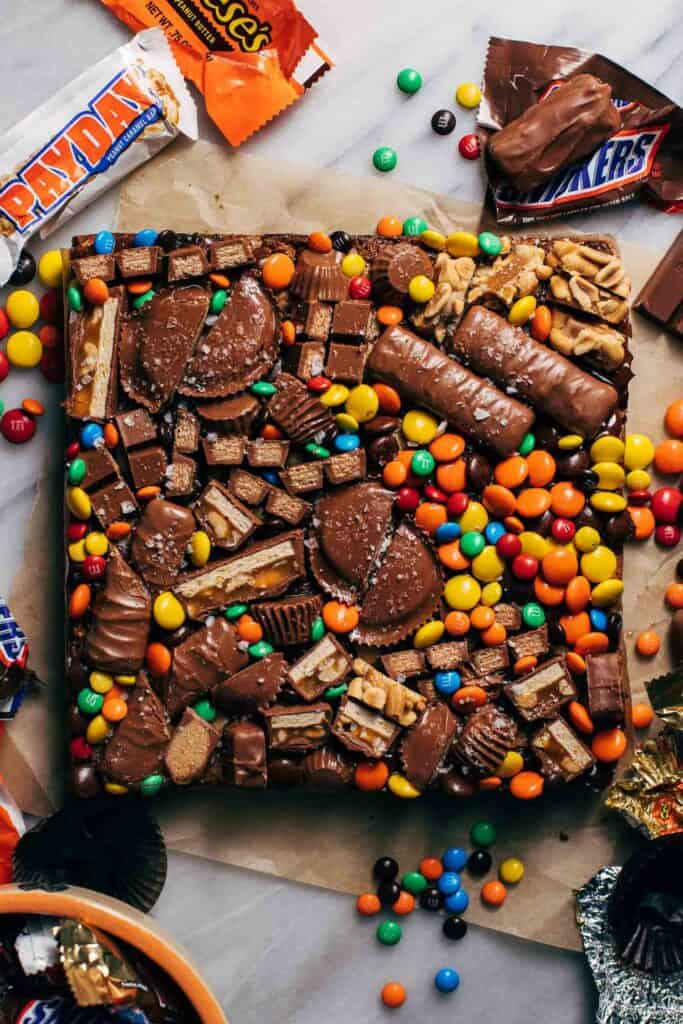
After they’re baked, these cookie bars are piled with even more candy. It’s so fun to fit the different shapes and sizes together to completely cover the surface of these bars.
To prevent these bars from being TOO rich (although I can’t lie…these are not for the faint of sweet tooth), a hefty pinch of flaky sea salt is added on top. Which now I think I need to add flaky salt to every individual candy I eat from here on out.
What kind of candy works best in leftover halloween candy cookie bars?
Any variety of chocolate candies will work in this recipe. This includes M&M’s, Hershey’s, Kit-Kat, Snickers, Twix, Butterfinger, Reese’s, Milky Way…the list goes on.
Stay away from any sugar-based candies like gummies or candy corn. They’ll completely melt into puddles in these bars…plus they probably just won’t taste that great in this recipe.
Are the cookie bars too sweet with all that candy?
You might be thinking that all this candy could lead to a super sweet and rich cookie bar. BUT this recipe is specifically made to withstand all that extra sugar.
First, these Halloween cookie bars are made with a little extra salt. That doesn’t mean these cookie bars are salty, it just helps to balance out all the candy.
Then even more salt is sprinkled on top after the extra candy decorations are added. For regular cookie bars this would be total salt overkill, but for these super rich Halloween candy cookie bars it’s just the right amount.
The cookie bars also use a bit less sugar overall. Only 3/4 cup is added to the dough which is just enough to create a soft and chewy texture, but not too much to where each bite gives you a cavity.
How to prep your halloween candy for baking
Candy is used in two different ways for these candy bars:
- Inside – Candy is chopped up and mixed in to the dough before baking. It’s important to chop tiny bite-sized chunks so there’s an even distribution throughout. This can also be a mix of any candy you like!
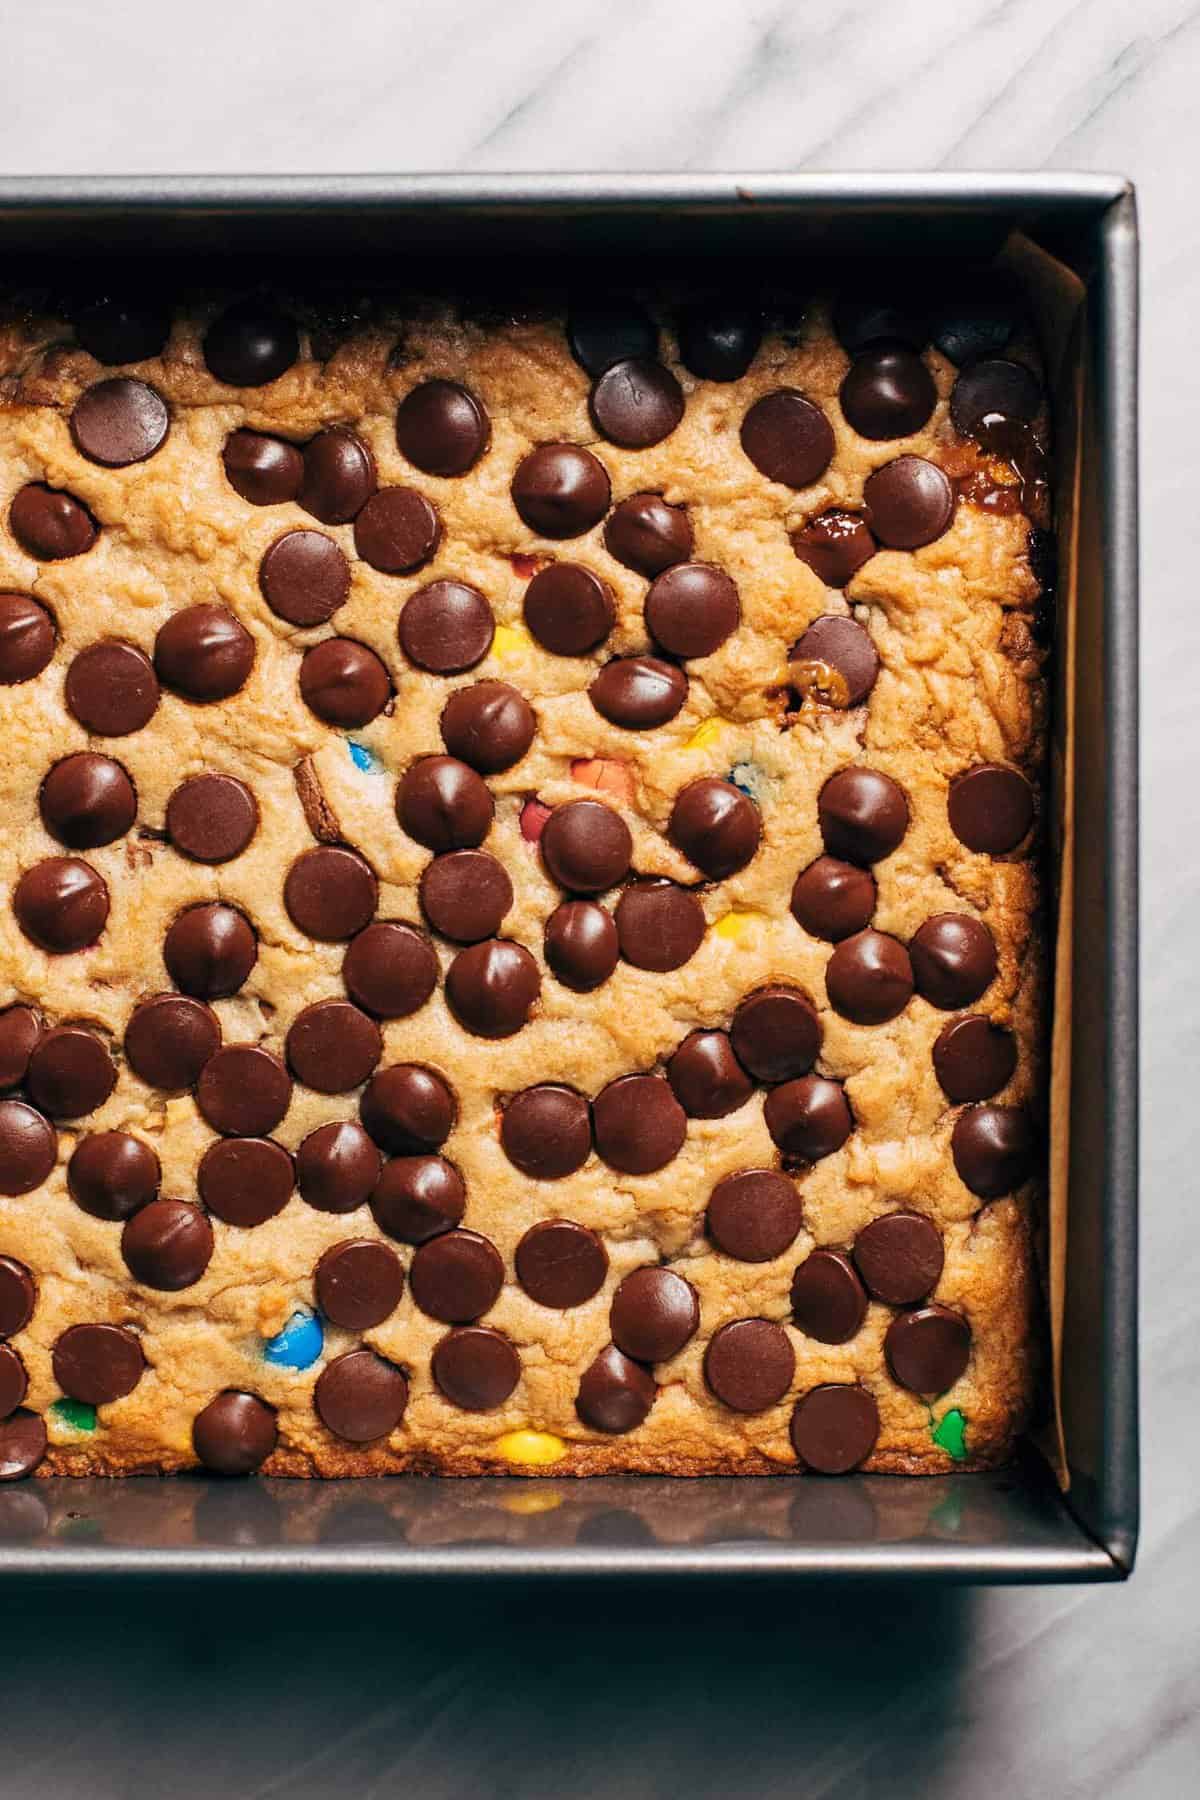
- On Top – The loads of Halloween candy on top is frozen before it’s placed. This is to prevent the candy from instantly melting since they’re placed on top of the piping hot bars.
The bars are baked with an even sprinkle of chocolate chips on top. Once baked, those chocolate chips melt and act as the glue to hold the candy on top.
Candy on top of these bars can be kept whole, roughly chopped, sliced in half…it’s really your own creative process for this final step. Just have fun and make sure every inch of the surface is covered!
How to store your halloween candy cookie bars
These cookie bars are best enjoyed at room temperature, but can be stored in a container in the refrigerator or at room temperature.
They will keep longer in the refrigerator (about 4-5 days), but will remain just as good at room temperature (about 2-3 days).
Can this recipe be made gluten free?
I haven’t tested it, but I think this recipe could work well with a gluten free baking flour substitution. Also make sure to use gluten free candies!
For more Halloween recipes, check out my:
- Monster Brookies
- Sorting Hat Butterbeer Cupcakes
- Black Velvet Cake
- Mini Pumpkin Hand Pies
- Snickers Chocolate Caramel Tart
- Halloween Sugar Cookies
- Vampire Bite Negroni
Make sure to tag me @butternutbakery on Instagram and leave a review below if you make these Leftover Halloween Candy Cookie Bars. To pin this recipe and save it for later, you can use the button on the recipe card, the buttons above or below this post, or on any of the photos above. Happy baking!
Watch how to make these leftover halloween candy cookie bars:

Leftover Halloween Candy Cookie Bars
- Total Time: 1 hour 25 minutes
- Yield: 16 bars
Description
When you buy way more Halloween candy than you needed, make these leftover Halloween candy cookie bars! They’re soft, chewy, and loaded with candy chopped candy bits. Pile more candy on top to REALLY load them up. You can never have too much candy!
Ingredients
- 1/2 cup (110g) unsalted butter, melted
- 1/2 cup (105g) light brown sugar, packed
- 1/4 cup (50g) granulated sugar
- 1 large egg
- 1 tsp vanilla extract
- 1 1/3 cup (175g) all purpose flour
- 1/2 tsp baking powder
- 3/4 tsp kosher salt
- 1 1/4 cup chopped candy (tiny bite-sized pieces), plus more for the top
- 1/2 cup dark chocolate chips
- Flaky sea salt, for sprinkling on top
Instructions
- For the candy that will be going on top of the cookie bars, chop what is needed and place in the freezer (this does not include the 1 1/4 cup of chopped candy going inside the bars).
- Preheat the oven to 350F and grease and line a square 8×8 baking dish.
- In a small bowl whisk together the flour, baking powder, and salt.
- In a large mixing bowl whisk together the butter and sugars, followed by the egg and vanilla.
- When smooth and well combined, use a rubber spatula to fold in the dry ingredients followed by the chopped candies.
- Spread the batter into the pan and top with an even spread of dark chocolate chips. They will melt and become the glue that holds all the candy on top, so get a good even cover of chocolate.
- Bake for 25-30 minutes.
- Right when they’re done baking, pull the candy from the freezer and immediately decorate the bars while the chocolate chips are still melted.
- Top with a generous pinch of sea salt and refrigerate for about 30 minutes, or until the bottom of the pan is no longer hot.
- Lift the bars out, slice, and enjoy!
- Prep Time: 30 minutes
- Cooling Time: 30 minutes
- Cook Time: 25 minutes
- Category: Dessert
- Method: Baking
- Cuisine: American
Join Our Community

Meet Jenna
I’m the creator, baker, and photographer behind Butternut Bakery. Here I share desserts for every diet because I believe everyone should have a chance to indulge!
I forgot to add my stars but these are wonderful!
These are delicious! I made it with some leftover candy and took to work. It got really good reviews! I definitely recommend! I was afraid it would be to rich but it wasnt at all.
These are absolutely spectacular! Wow. Incredibly dangerous to have around!
delish. only giving 4/5 because they are very very sweet but super easy to make and were a crowd pleaser at my office.
How much candy do you recommend reserving for the top after it’s done baking? Like a cup? Thank you!
Delicious! At first I thought this was going to be too thin, but the candy layer on top makes this all make sense.
Perfect use of halloween candy that tastes amazing. These bars are the perfect amount of sweet and salty. Thanks for the great recipe!
Hi. Could you double and make in a 9×13 pan?
Do you think this recipe would work with a gf substitution?
This is a fantastic idea Jenna! Perfect timing for all the candy that will be entering my house tomorrow!