Frosted Halloween Sugar Cookies
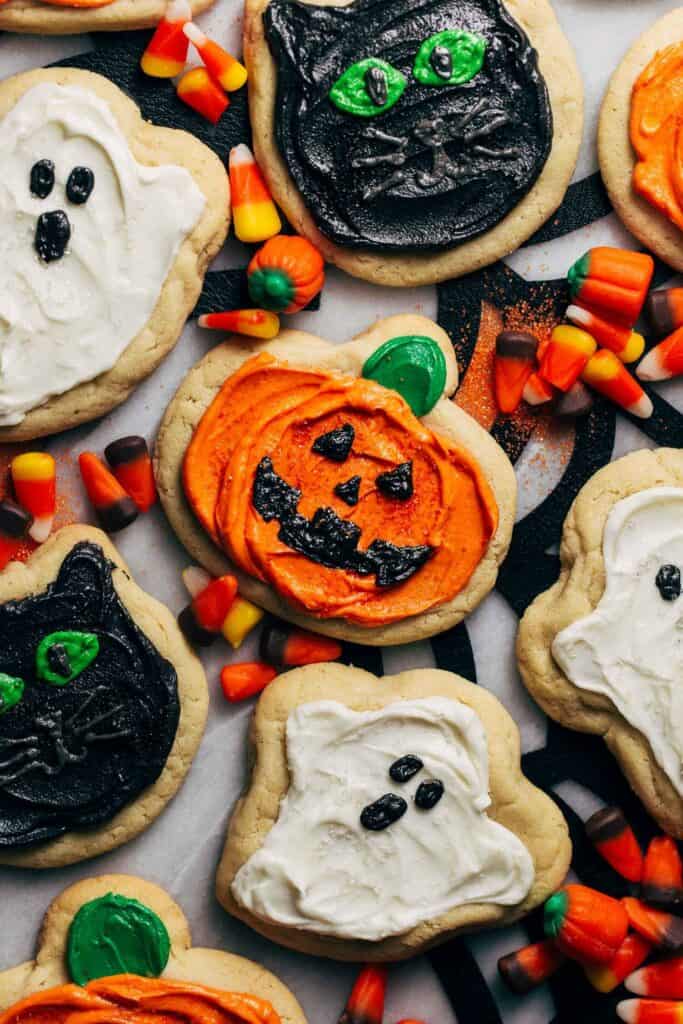
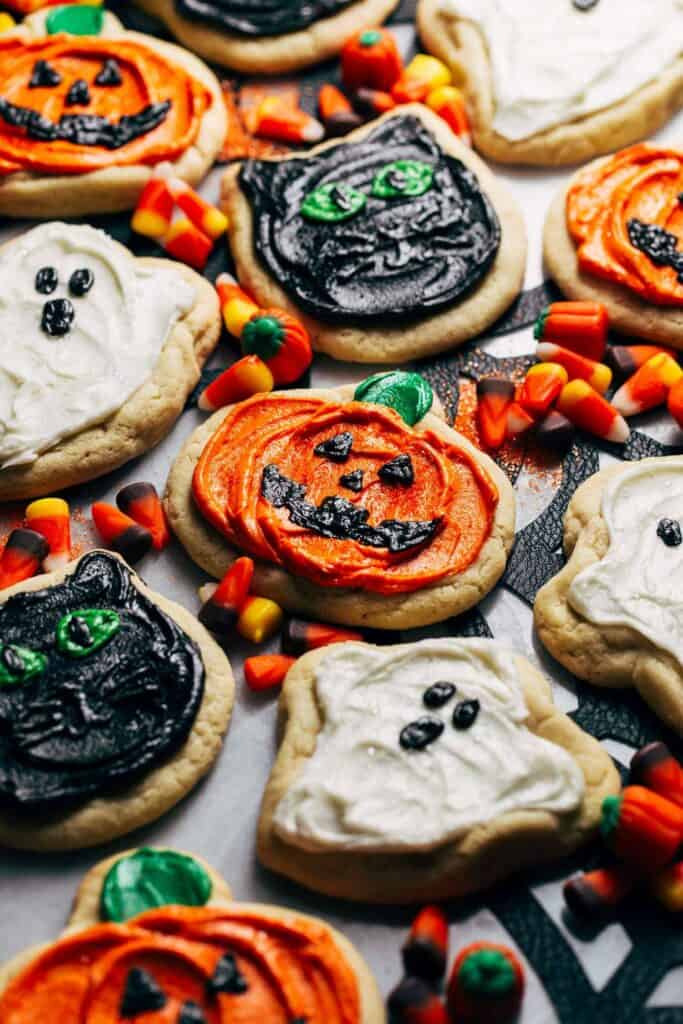
These Halloween cookies are like the classic Lofthouse frosted sugar cookies but made into shapes! The soft sugar cookie dough is molded into pumpkin, ghost, and cat shapes before baking. Each cookie is then frosted in vanilla buttercream to bring out their adorable designs.
What Makes These the BEST Halloween Cookies?
Typically, decorated sugar cookies are made the cut-out way. This is made with a firm dough that’s rolled out and cut into shapes.
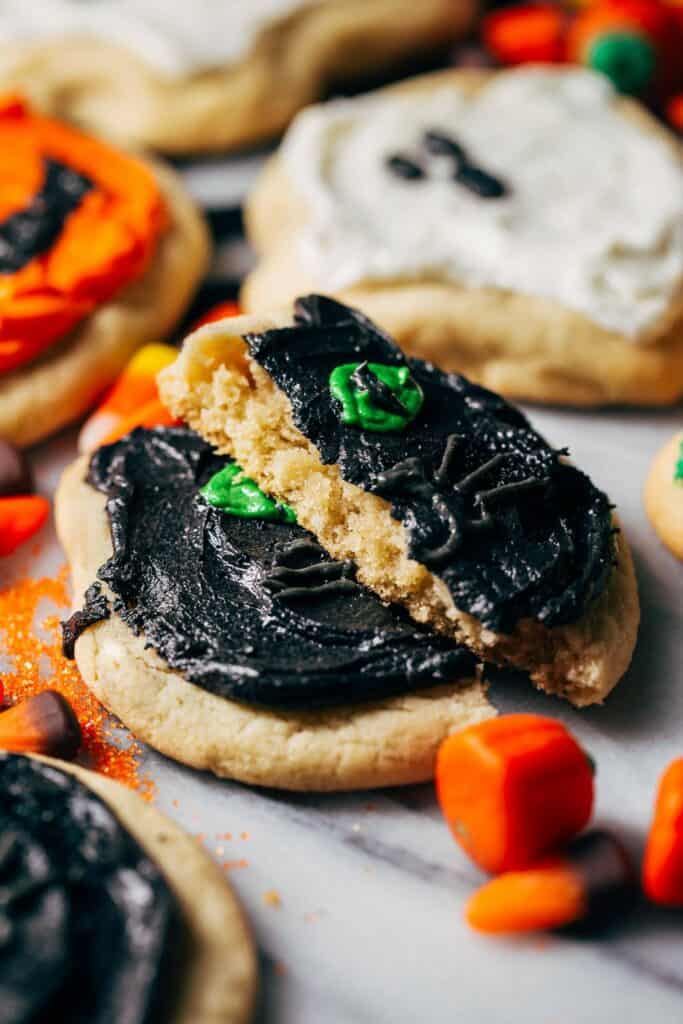
But for these Halloween sugar cookies, they’re made with a soft dough that’s molded into a shape before baking. Once cooled, you’re left with an incredibly moist and tender cookie that tastes bakery-worthy.
To achieve that delicious texture, these Halloween cookies are baked with a combination of butter and oil. The butter is there to add flavor, while the oil keeps these cookies super moist and tender. It’s just the right balance to where you can’t taste the oil, but we still get too reap all the textural benefits!
Additionally, these cookies are baked in bakery-style amounts. In other words, they’re big! This not only makes them extra special, but big cookies also bake better. It takes longer for the oven heat to reach the center which leaves us with a super dense and tender center.
After the cookies have cooled, they’re decorated with a simple homemade vanilla buttercream with just 3 colors – orange, black, and green. The decorating process requires minimal piping so anyone can make them!
Tips for Baking Soft Sugar Cookies
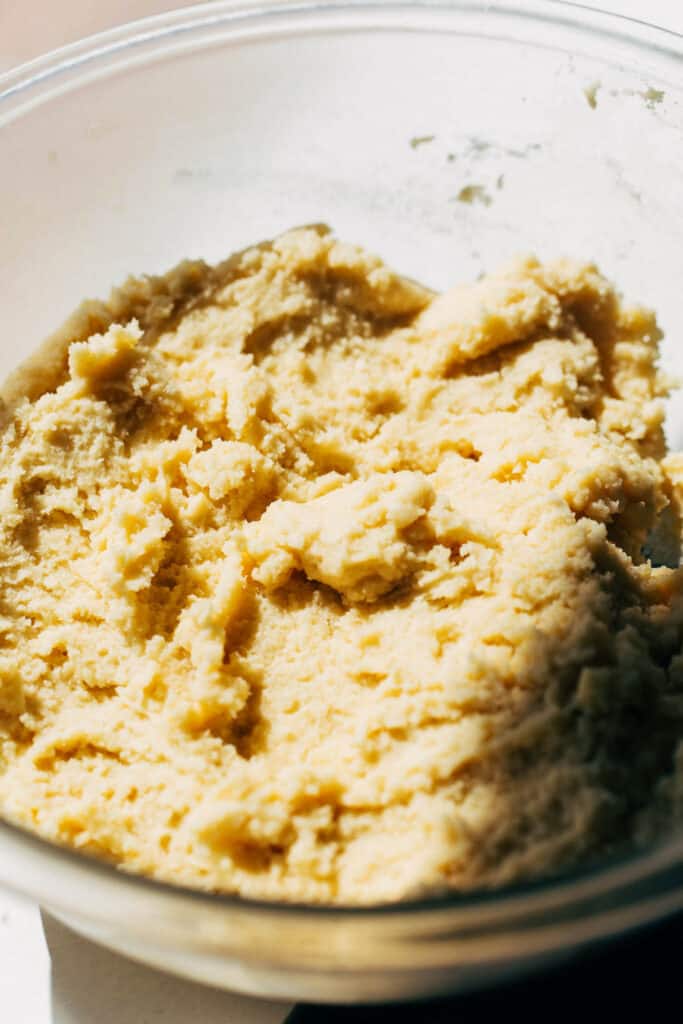
- Flour – I say this in every post, and for good reason. It’s the number one reason why most recipes fail, especially for cookies. If there’s too much flour, the cookies will turn out dry and they will not spread. If possible, measure the flour with a food scale. Otherwise, to ensure the exact amount, gently spoon the flour into the measuring cup and level if off with a flat edge. If scooped directly into the flour container, the flour packs down into the cup which could leave you with 1/4 cup or more of added flour.
- Cornstarch – Don’t skip this ingredient! It helps create an extra tender sugar cookie.
- Butter – Start with room temperature butter! The soft butter is mixed with sugar to create tiny little air pockets which helps the oven heat freely flow through the cookie. If the butter is too firm, this process cannot happen.
- Mixing – Right when the dough comes together, stop mixing! Over worked dough can lead to tough cookies.
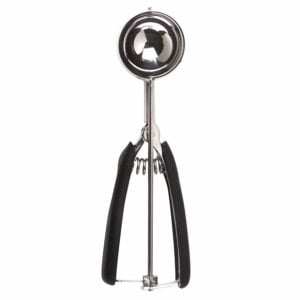
- Scoop – Use a large cookie scoop, or 3 tablespoons worth. The larger size is key to a tender and soft center.
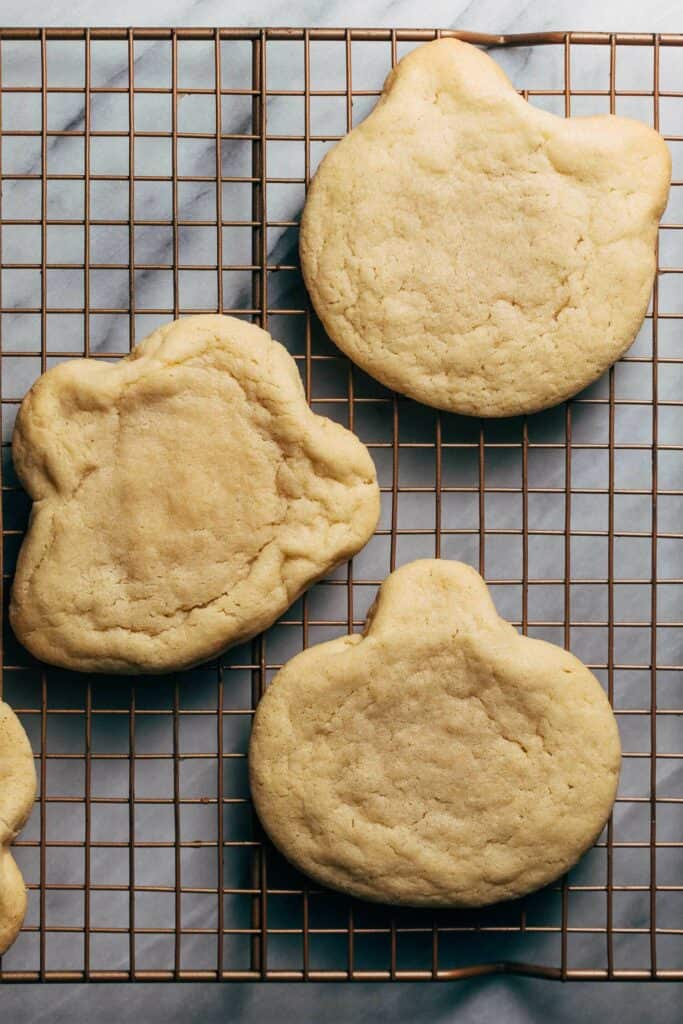
- Appearance – The cookies may look a bit too puffed when they’re fresh from the oven, but they should settle and flatten out as they cool.
How to Make Halloween Cookie Shapes
Rather than rolling out and cutting shapes into the dough, this cookie dough is shaped from the cookie dough ball itself.
Making a pumpkin, a ghost, and a cat, each shape starts with a basic cookie dough ball.
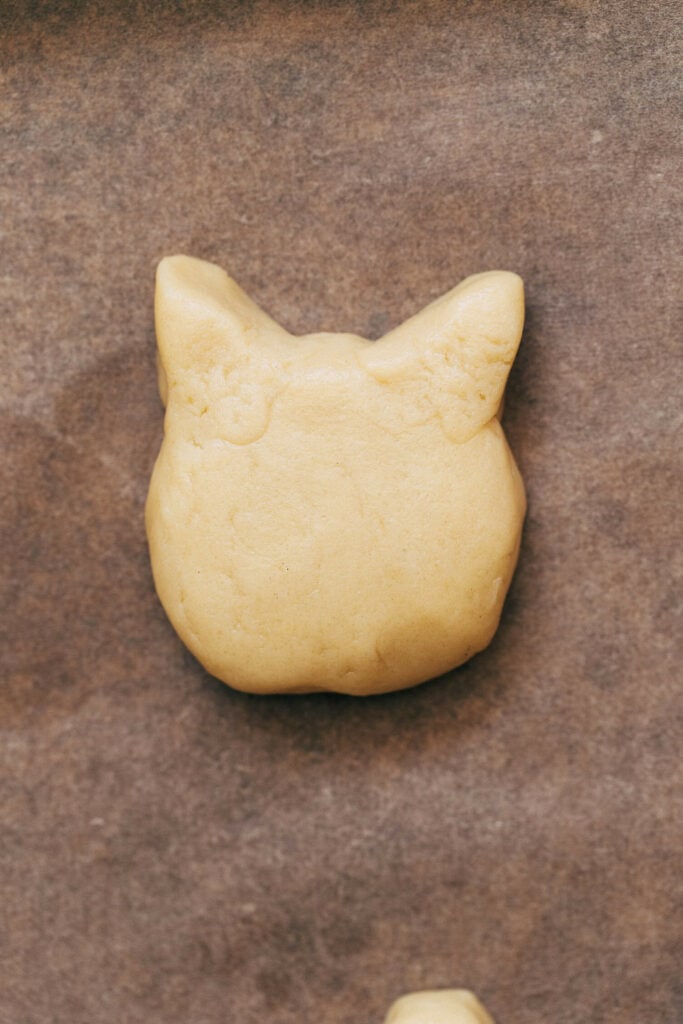
The ball is rolled smooth and then slightly flatted with your palm. Apply just enough pressure to create a flat surface on top but with about a 1/4 inch thickness.
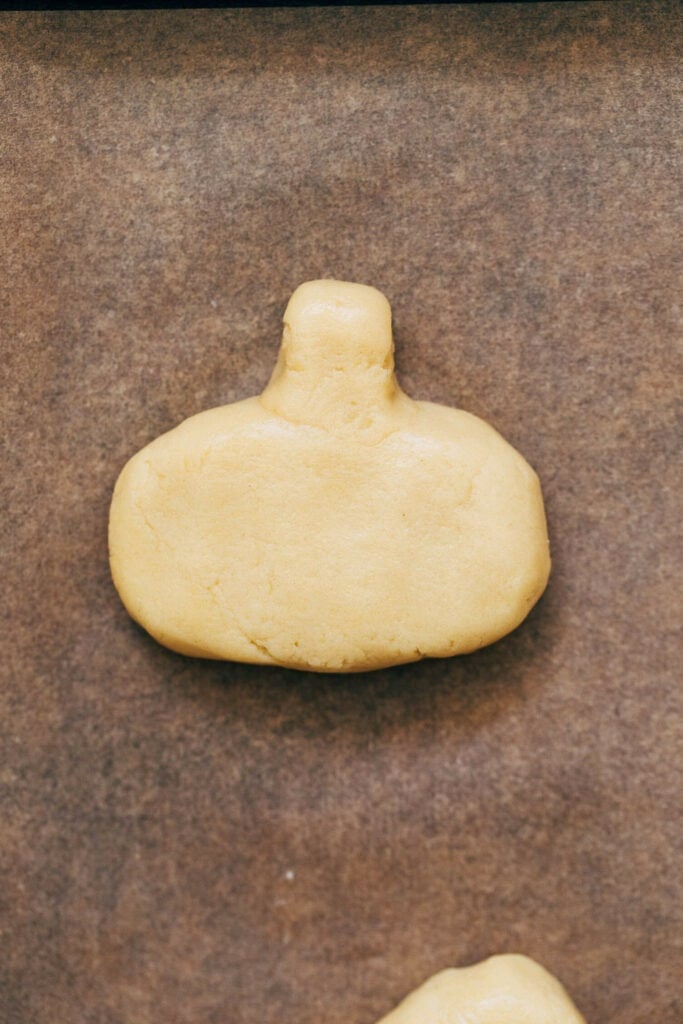
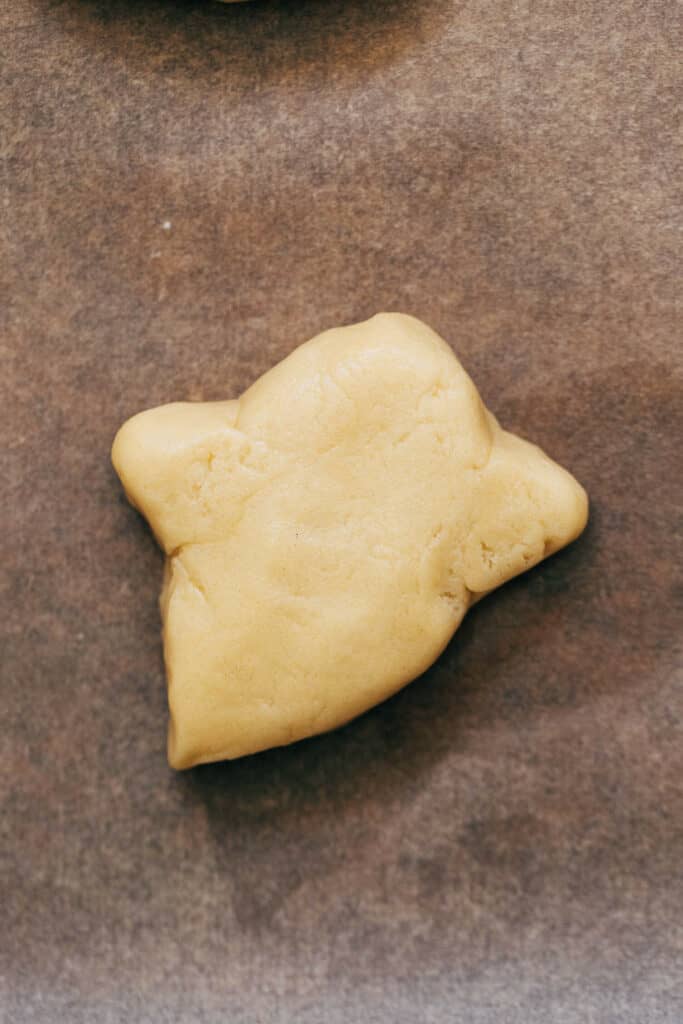
For the pumpkin, the ball is shaped into an oval. For the ghost, it’s shaped into a teardrop, and for the cat it’s shaped into a circle.
To create distinctive shapes, each ball of cookie dough is molded with one or two additional cookie dough pieces.
For the pumpkin, a small amount of dough is attached to the top to create a stem. For the ghost, two small amounts of dough are attached to each side to create the little arms. For the cat, two pieces of dough are attached to the top to create ears.
When making these shapes, really try to exaggerate the angles because the cookies spread quite a bit once baked. So mold really sharp ears or an oblong pumpkin will bake into the perfect rounded edges needed to bring these characters to life.
What to do if the cookies spread too much
This recipe is all about creating shapes so if your Halloween cookies completely lose their shapes and spread too much, here’s what you can do:
- Chill the Dough – The dough must chill for a minimum of 30 minutes, but chilling longer will allow the dough to hold its shape better once baked. Chill for about 2 hours if you find that your cookies are spreading too much.
- Mold the Dough – When the cookies are fresh from the oven, use a butter knife or your fingers and (carefully) pinch and nudge the dough back into place. The cookies are pliable when straight from the oven so make sure to work fast.
- Butter – When making the dough, use a basic unsalted butter. Avoid Irish or European-style butters as these contain more butterfat. The fattier the butter, the more the cookies will spread.
Halloween Sugar Cookies FAQs
I haven’t tested it, but I think this dough could work with a gluten free baking flour. Sub the all-purpose flour with a cup-for-cup gluten free baking flour.
Yes, but I suggest chilling for 30 minutes first. Then mold all of the cookies and place them on a tray. Cover the tray and chill overnight.
These cookies need oil, so substitute either a melted coconut oil or olive oil.
The recipe as written will not set firm. If you refer a harder frosting, add another 2 cups of powdered sugar to the recipe. You can also add a tablespoon of meringue powder.
Unfortunately not, as liquid is not as pigmented as gel food coloring. This extra liquid will make the frosting too thin.
Sure! Just roll the dough into a ball and lightly press flat with your palm. Bake as instructed.
Store the cookies in an air tight container in the refrigerator. They will remain tasting delicious for about 5 days.
For more Halloween recipes, check out my:
- Black Velvet Cake
- Monster Brookies
- Monster Cookies
- Halloween Candy Cookie Bars
- Sorting Hat Cupcakes
- Full Moon Brownie Cupcakes
- Pumpkin Cupcakes
- Vampire Bite Negroni
Make sure to tag me @butternutbakery on Instagram and comment below if you make these Halloween sugar cookies. To pin this recipe and save it for later, you can use the button on the recipe card or on any of the photos above. Happy baking!
Watch how to make these frosted halloween sugar cookies:

Frosted Halloween Sugar Cookies
- Total Time: 3 hours
- Yield: 12 cookies
Description
These Halloween sugar cookies are made with a soft sugar cookie dough that’s shaped into three adorable creatures – a jack-o-lantern, a ghost, and a black cat. Topped with sweet buttercream, these Halloween cookies are brought to life with colorful decorations!
Ingredients
Halloween Sugar Cookies
- 2 1/2 cups (320g) all-purpose flour
- 2 tbsp cornstarch
- 1 tsp baking soda
- 1/2 tsp kosher salt
- 10 tbsp unsalted butter, room temp
- 1 cup (200g) granulated sugar
- 1/4 cup (50g) vegetable oil
- 1 large egg + 1 egg yolk
- 2 tsp vanilla extract
Vanilla Buttercream
- 1 cup (210g) unsalted butter, room temp
- 3 cups (300g) powdered sugar
- 1 tsp vanilla extract
- 1–2 tbsp milk
- Gel food coloring (orange, black, and green)
- 1–2 tbsp black cocoa powder
Instructions
Halloween Sugar Cookies
- In a medium-sized bowl, whisk together the flour, cornstarch, baking soda, and salt.
- In a large mixing bowl using a hand or stand mixer with the paddle attachment, mix together the butter and sugar until smooth and fluffy (about 2 minutes on medium-high speed).
- Scrape down the bowl and pour in the oil. Mix for about a minute to incorporate.
- Add in the egg, egg yolk, and vanilla and mix on medium-high speed for another 2-3 minutes.
- Dump in the dry ingredients and mix on medium-low speed just until incorporated. Switch to a rubber spatula and give the bowl one more mix by hand to make sure everything is well combined.
- Cover the bowl and chill the dough for at least 30 minutes.
- Once chilled, preheat the oven to 350F and line a large baking sheet with parchment paper.
- To make the pumpkin dough, use a large cookie scoop (3 tbsp worth) to scoop out one ball. Roll it between your hands and shape into a long oval. Place the oval on the baking sheet and lightly press it flat with your palm. Then take a small piece of dough and mold it to the top of the oval to make the pumpkin stem (see post for pictures of each shape).
- To make the ghost, scoop another ball and roll it between your hands. Shape it into a teardrop and place it on the baking sheet at a diagonal. Lightly press it flat with your palm and then grab two small chunks of dough. Place a piece of dough on either side of the tear drop and mold it into the shape.
- To make the black cat, scoop a ball and roll it between your hands. Place in on the baking sheet and lightly press flat with your palm. Take two small pieces of dough and place at the top of the ball to mold into pointy cat ears.
- You should be able to fit about 4 cookies on the baking sheet. Place the remaining dough in the refrigerator.
- Bake the cookies for 12-14 minutes or until lightly golden on the edges with a puffed and slightly underdone center. Right when they’re pulled from the oven, use a butter knife or your fingers (carefully) to reinforce the shapes if they seem to have spread too much.
- Transfer to a cooling rack and continue baking the rest of the dough.
Vanilla Buttercream
- When the cookies have completely cooled, make the frosting.
- Using a hand or stand mixer with the paddle attachment, add the butter and 1 cup of powdered sugar. Mix until smooth.
- Add in the remaining sugar along with the vanilla and 1 tablespoon of milk. Mix to combine.
- If the frosting appears too thick, mix in the remaining tablespoon of milk if needed.
- To decorate – first spread a layer of the plain white frosting onto each ghost cookie.
- Once all the ghosts are covered, scoop out a small amount of frosting from the bowl and place in a small dish. Drop in some green gel food coloring as this well be for the pumpkin stems and cat eyes.
- Spread a stem onto each pumpkin. Transfer the rest of the green to a piping bag fitted with a small tip and set it aside (this will be for the cat eyes).
- Now scoop a little less than half of the frosting from the bowl and place into a separate dish. Drop in some orange food coloring and mix. Spread the frosting onto all of the pumpkin cookies.
- Then scoop almost all of the remaining frosting into a separate bowl, leaving a small amount (about 1/4 cup) of white behind. If you have any remaining orange frosting, you can also add this into the bowl where we will be making the black frosting.
- In this separate bowl of frosting, add in black gel food coloring and 1 tablespoon of black cocoa powder. Mix and add more food coloring or more cocoa powder as needed to create a deep color.
- Frost all of the black cat cookies and then pipe on the green eyes. Transfer the leftover black frosting to a piping bag fitted with a small round tip.
- Pipe on the ghost and jack-o-lantern faces. There should still be some leftover black frosting so squeeze the rest into a dish and mix with the remaining white frosting to create a gray color.
- Transfer the gray frosting to a piping bag fitted with a small round tip and pipe on the center of the cat eyes as well as the nose, mouth, and whiskers.
- Top with sprinkles if desired and enjoy!
Equipment
 Buy Now →
 - Prep Time: 1 hour 25 minutes
- Cooling Time: 1 hour
- Cook Time: 35
- Category: Dessert
- Method: Baking
- Cuisine: American
Join Our Community

Meet Jenna
I’m the creator, baker, and photographer behind Butternut Bakery. Here I share desserts for every diet because I believe everyone should have a chance to indulge!


I’ve made these 3+ times and for Valentines I shaped into hearts with my hands! So easy and they are easily the best frosted sugar cookies I’ve tried. I might try and hand shape a bunny for Easter haha we will see! The buttercream frosting is AMAZING too.
Loved these cookies! Made them with my kids, and everyone thought they were professionally done! Cant wait to try your sugar cookie recipe for christmas cookies!
I made these cookies yesterday for a Halloween party and they came out perfectly. Everyone loved them – they are so cute and delicious! The instructions were very clear and detailed. I opted for a more firm frosting to ensure they transported well, so using 2 extra cups of powdered sugar (5 cups total) per the text was the right amount. Other than that, I made them as instructed, and it was a really fun recipe. Thanks Jenna!