Chocolate Chip Cookie Butter Bars
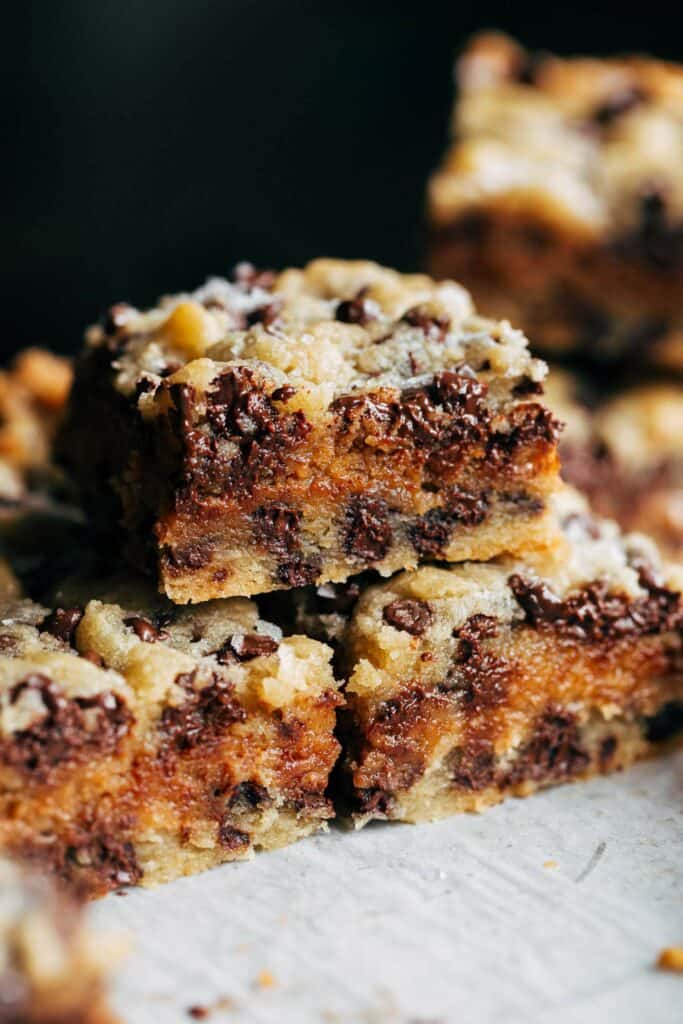
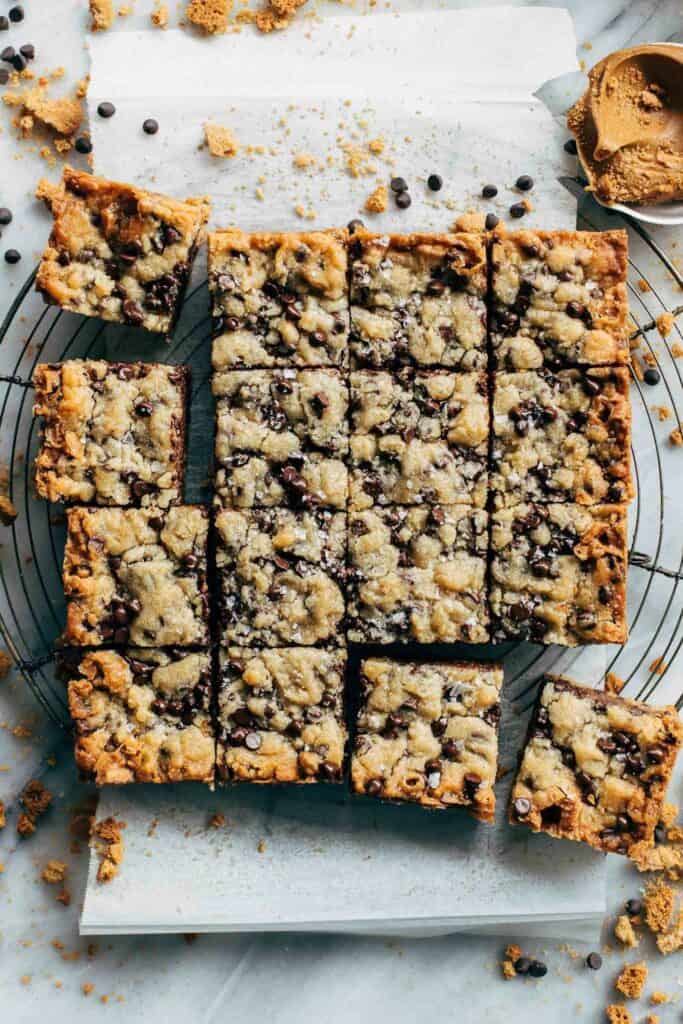
Biscoff cookie butter meets classic chocolate chip cookies in this recipe for Chocolate Chip Cookie Butter Bars! This delicious dessert layers rich, spiced cookie butter between soft chocolate chip cookie dough for the best combination of spiced flavor with a smooth and soft texture!
This recipe holds a special place because it’s one of the first recipes I posted on Butternut Bakery! What better way to celebrate it than revamping the recipe to take it to the next level. After tweaking the recipe a bit, I found the best combination of ingredients that has a much better balance of sweetly spiced cookie butter and perfectly salted chocolate chip cookie dough to make the perfect cookie bars!
What is Biscoff cookie butter?
Biscoff cookie butter is a spread made from crushed Biscoff cookies, which are caramelized shortbread biscuits with a hint of cinnamon and other spices. This creamy spread has a rich, sweet flavor and a consistency similar to peanut butter but without any nuts and works so well in recipes like Cookie Butter Blondies or Cookie Butter Marshmallow Treats. In this recipe, the cookie butter is layered between homemade chocolate chip cookie dough, adding a rich, spiced flavor to the bars and making them extra moist and tasty!
Layered Cookie Bars
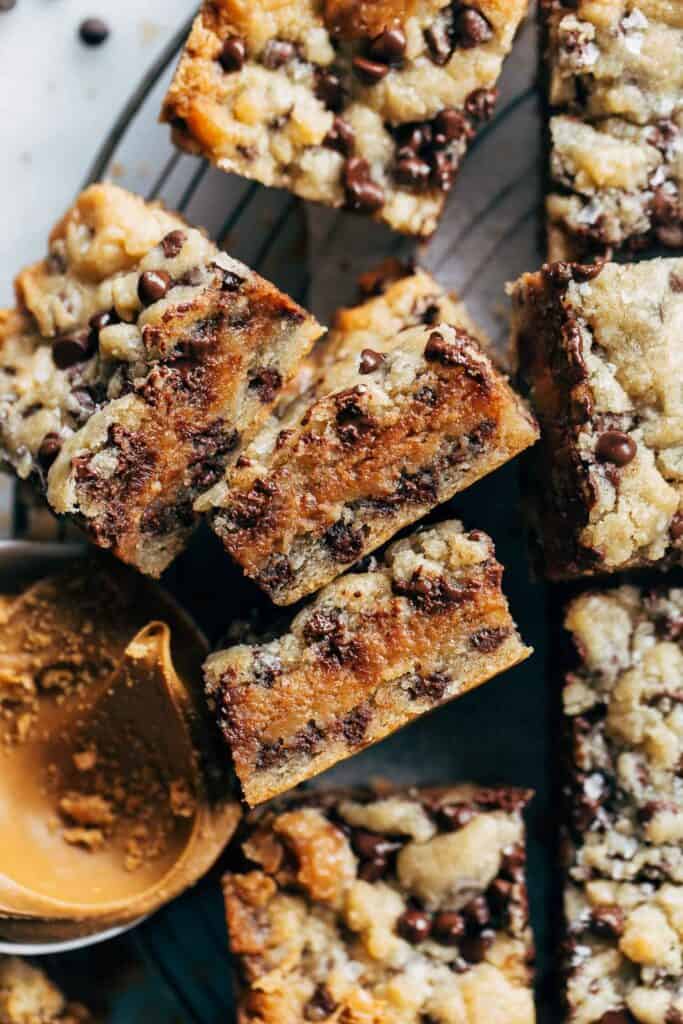
Making a layered cookie bar is easy and is the best way to make a dessert with different flavors and textures. You’ll press half the chocolate chip dough into a pan for the bottom layer, then add a layer of Biscoff cookie butter dough for a creamy, spiced middle, and top it off by crumbling the rest of the cookie dough on top to create a textured top. Bake for about 30 minutes or until the bars are golden brown and ready to be cooled and sliced.
These cookie bars with Biscoff are great for BBQs, picnics, or holiday parties. They pair well with coffee, milk, or a scoop of vanilla ice cream! And if you love cookie bars like I do, make sure you check out my recipes for Brown Butter Chocolate Chip Cookie Bars, Monster Cookie Bars, or Salted Caramel Chocolate Chip Oat Cookie Bars!
Expert Baking Tips
- Use room temperature unsalted butter and egg for the cookie dough to ensure it creams well with the sugars for a light and fluffy texture.
- Mix the cookie dough just until combined to make sure it’s not overworked. Cookie dough that is mixed too much will lead to a tougher texture.
- For a soft, gooey texture, very lightly underbake the bars by checking them a few minutes before the timer goes off.
- Stir the chocolate chips into the dough by hand to prevent over mixing and to distribute them evenly.
- Let the bars cool completely in the pan before slicing to ensure they set properly and don’t fall apart.
- If the cookie butter is too thick to spread, mix in a little bit of milk at a time to achieve the correct consistency.
- You can use a stand mixer or an electric hand mixer to make this recipe.
Cookie Bar Topping Ideas
Use these fun topping ideas to customize your cookie bars, adding flavor and texture!
- Salted Caramel sauce
- Vanilla ice cream
- Whipped cream
- Butterscotch chips
- Crushed nuts (peanuts, pecans or walnuts)
- Chocolate ganache
- Cookie butter drizzle
- Toasted coconut flakes
- Melted white chocolate
- Crushed pretzels
Cookie Butter Bars FAQs
The cookie bars are perfectly baked when the edges are golden brown, and the center is set but still soft. Insert a toothpick in the center; it should come out with a few moist crumbs attached.
Yes, you can make these cookie bars gluten free by substituting the all-purpose flour with a gluten-free flour blend. Make sure the blend is a cup for cup substitute, and check that your other ingredients are also made without gluten.
You don’t need to, but chilling the dough for at least 30 minutes before baking can help the flavors come together and help create a firmer texture.
Place the cookie bars in an airtight container at room temperature for up to 5 days or up to 7 days if stored in the fridge. To keep them fresh, place a piece of parchment paper between each layer of bars to prevent them from sticking together.
To freeze, wrap each individually in plastic wrap, then place them in a zip-top freezer bag. They can be frozen for up to 3 months. Thaw at room temperature or in the refrigerator before serving.
For more cookie bar recipes, check out my:
- Brown Butter Chocolate Chip Cookie Bars
- Monster Cookie Bars
- Salted Caramel Chocolate Chip Oat Cookie Bars
- Gooey Oatmeal Fudge Bars
- Cookie Butter Blondies
- Strawberry Pop Tart Bars
Make sure to tag me @butternutbakery on Instagram if you make these chocolate chip cookie butter bars. I love seeing my recipes come to life in YOUR kitchen! To pin this recipe and save it for later, you can use the button on the recipe card, the buttons above or below this post, or on any of the photos above. Happy baking!
Watch how to make these chocolate chip cookie butter bars:
Chocolate Chip Cookie Butter Bars
- Total Time: 1 hour 20 minutes
- Yield: 16 bars
Description
These soft chocolate chip cookie bars are sandwiched with a layer of cookie butter dough in the center. They’re so rich and buttery with melty chocolate chips and creamy cookie butter in every bite.
Ingredients
Chocolate Chip Cookie Butter Bars
- 1/2 cup (110g) unsalted butter, room temp
- 1/2 cup (100g) granulated sugar
- 1/4 cup (55g) light brown sugar, packed
- 1 large egg
- 1 tsp vanilla extract
- 1/2 tsp kosher salt
- 1/2 tsp baking powder
- 2 cups (264g) all-purpose flour
- 1 cup (170g) mini semi-sweet chocolate chips, plus more for topping
- Flaky sea salt, for topping
Cookie Butter Dough
- 1/2 cup (120g) Biscoff creamy cookie butter
- 1/4 cup (55g) unsalted butter, melted
- 1 tsp vanilla extract
- 1/2 tsp kosher salt
- 1 cup (100g) powdered sugar
- 2 tbsp cornstarch
- 2 tsp milk
Instructions
Chocolate Chip Cookie Butter Bars
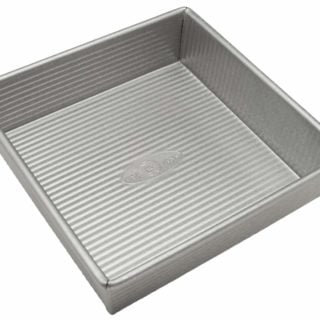
- Preheat oven to 350F and grease and line an 8×8 pan with parchment paper. Allow the paper to hang over the sides for easy removal.
- Starting with the cookie base, using a hand or stand mixer with the paddle attachment, mix together the butter and sugars until light and fluffy.
- Then mix in the egg and vanilla, followed by the salt and baking powder.
- Pour in the flour and switch to a rubber spatula to mix in the flour by hand.
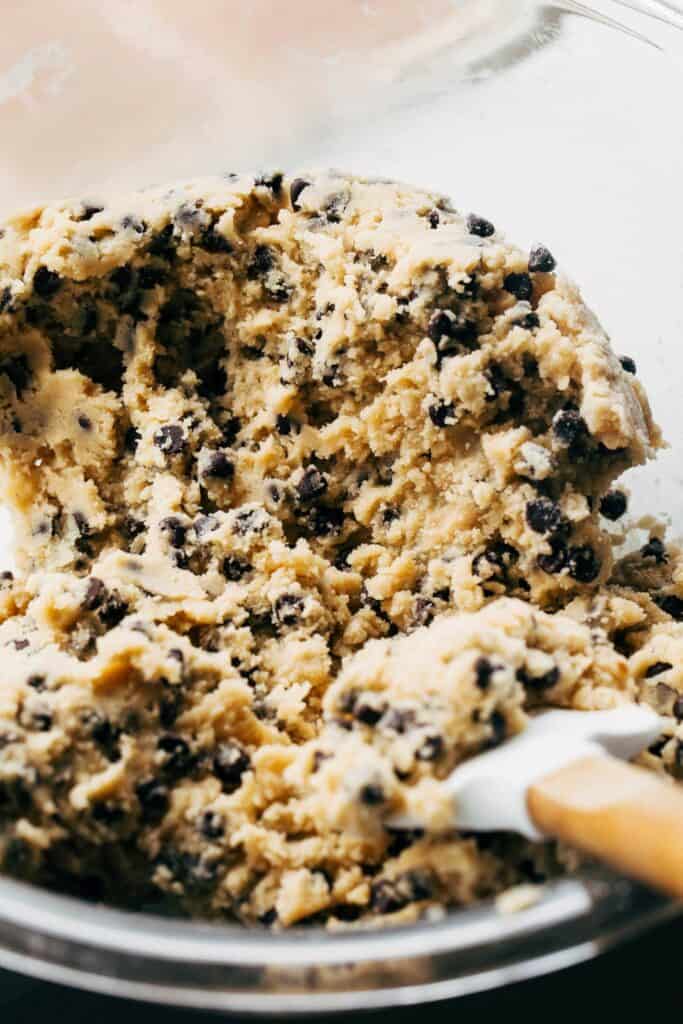
- Just before the flour is fully combined, pour in the chocolate chips and continue to fold by hand. The dough will appear very thick and dry, but it will come together. Make sure all dry patches are fully worked in.
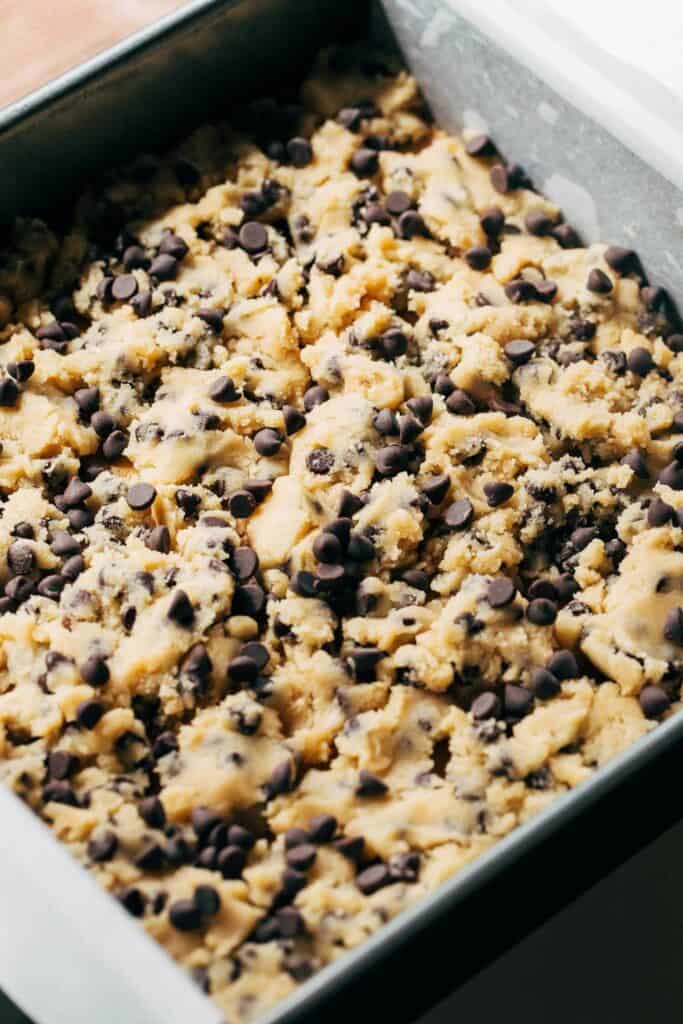
- Take half of the dough and press it into the bottom of the 8×8 pan. It will be a very thin layer. If half of the dough isn’t enough, grab little pinches of the other half to fill in any gaps. Set the pan and additional dough aside.
Cookie Butter Dough
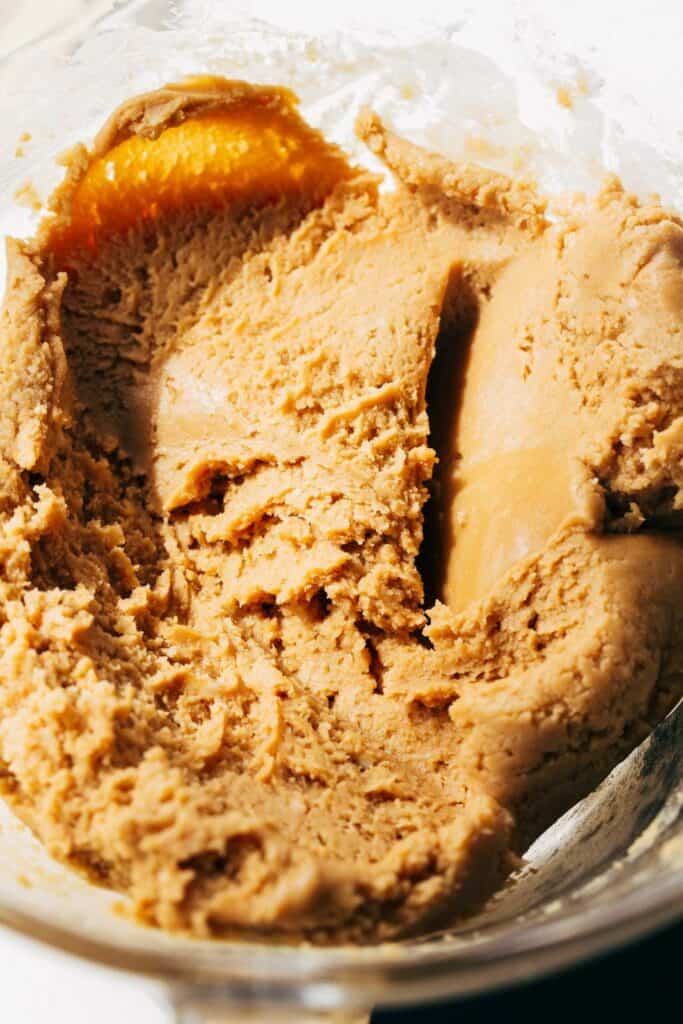
- In a medium bowl, whisk together the cookie butter and melted butter.
- Once smooth, whisk in the vanilla and salt.
- Switch to a rubber spatula and mix in the powdered sugar. It will appear very thick and dry so at this point, mix in the cornstarch and milk. The dough should be similar to a play-doh consistency.
- Press the cookie butter dough into an even layer on top of the chocolate chip cookie dough.
- Crumble the remaining chocolate chip cookie dough on top, making sure to cover as much of the cookie butter layer as possible.
- Sprinkle with a handful of more chocolate chips and bake for 28-32 minutes.
- When it’s fresh from the oven, use the tip of a butter knife to press down the golden brown edges. This is because as the bars cool, the center will sink more than the edges so pressing down the sides will ensure the bars cool nice and level.
- Top with a sprinkle of flaky sea salt and allow the bars to cool for at least 30 minutes.
- To slice, run a knife along the edges of the bars to release them from the pan (the cookie butter layer can sometimes stick to the sides). Then lift the bars out, slice, and enjoy!
Equipment
 Buy Now →
 - Prep Time: 20 minutes
- Cooling Time: 30 minutes
- Cook Time: 30 minutes
- Category: Dessert
- Method: Baking
- Cuisine: American
Join Our Community

Meet Jenna
I’m the creator, baker, and photographer behind Butternut Bakery. Here I share desserts for every diet because I believe everyone should have a chance to indulge!


Outrageously good ! Fabulous recipes- thank you so much
These chocolate chip cookie butter bars are a huge hit!!!
Coworkers rated this a 10/10. One said “wtf this is so good.” I have a feeling they’ll be requesting this again. Oh – I added in butterscotch chips.
These bars are absolutely amazing. I would give them 10 stars.
I made these this week, and my family LOVED them. They were so delicious! I was craving something more intensely chocolatey, so I replaced 1/4 cup of the flour with dark cocoa powder and added 2 tablespoons of milk to counter the extra-absorbing/dryness of the cocoa. They were otherworldly. Love your recipes!
I came across this recipe on my instagram feed. I instantly was intrigued and just so happened to find the Biscoff cookie butter at my local grocery store (hadn’t noticed it before). I have been making these in bulk and serving them on our guided canoe trips. (I own and operate a river outfitting service in Montana.) These have become the new requested recipe. I just wanted to share this feedback. I modified the recipe slightly for larger amounts. Thank you!
Is it okay to use regular size chocolate chips instead of mini?
I halved the recipe and put it in a 4 inch cake pan! However, my layers were not as defined and for some reason the cookie butter mixture spilled over the top. Still delicious, just turned out a little messy!
Whoever created cookie butter was a genius! These are beautiful, too. I’m loving those layers!
Can’t wait to try these. I love cookie butter (and chocolate). I may have to drizzle them with a touch of peanut butter too.