Gooey Chocolate Chip Skillet Cookie
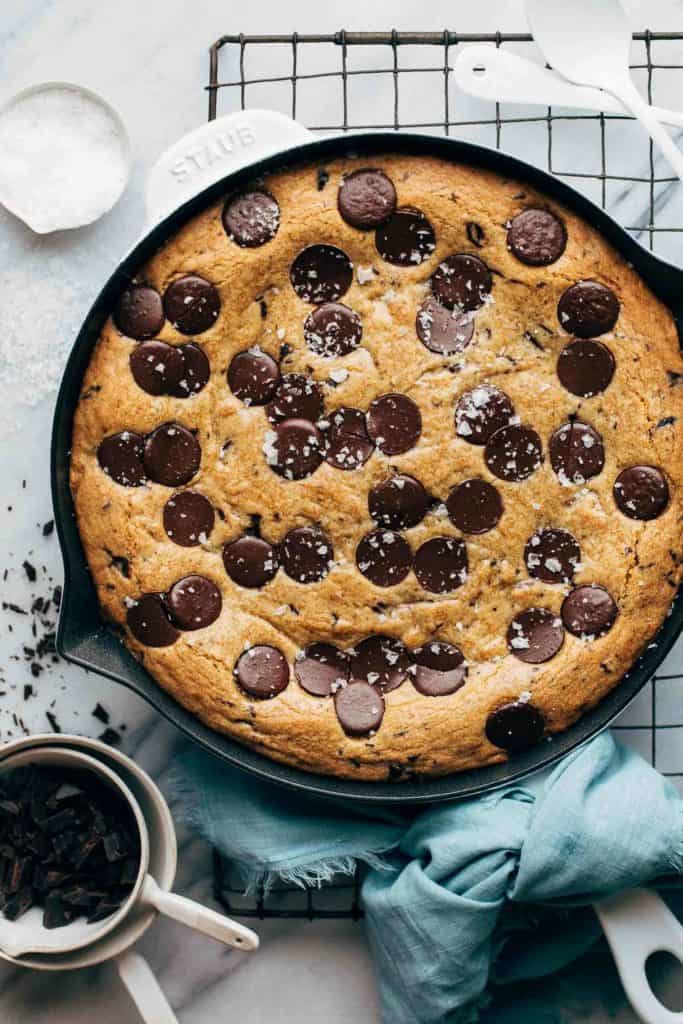
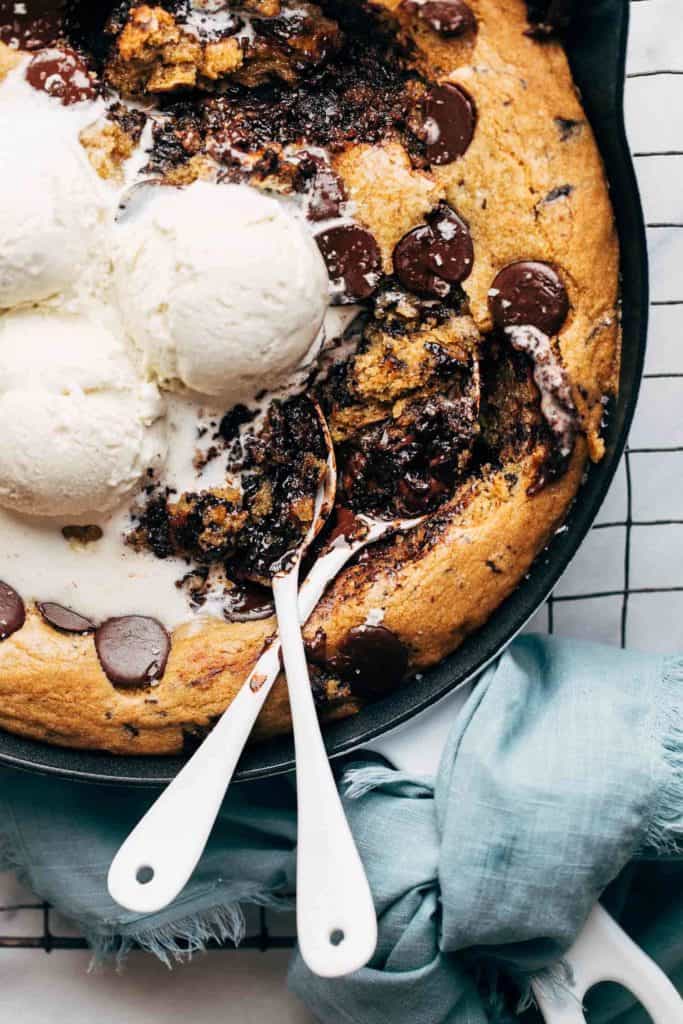
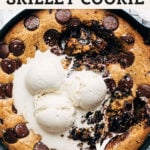
This is the ULTIMATE chocolate chip skillet cookie. It’s ooey gooey and loaded with melty dark chocolate. By using a few key ingredients, the texture is super tender and melt-in-your-mouth. Just top with ice cream and dig right in!
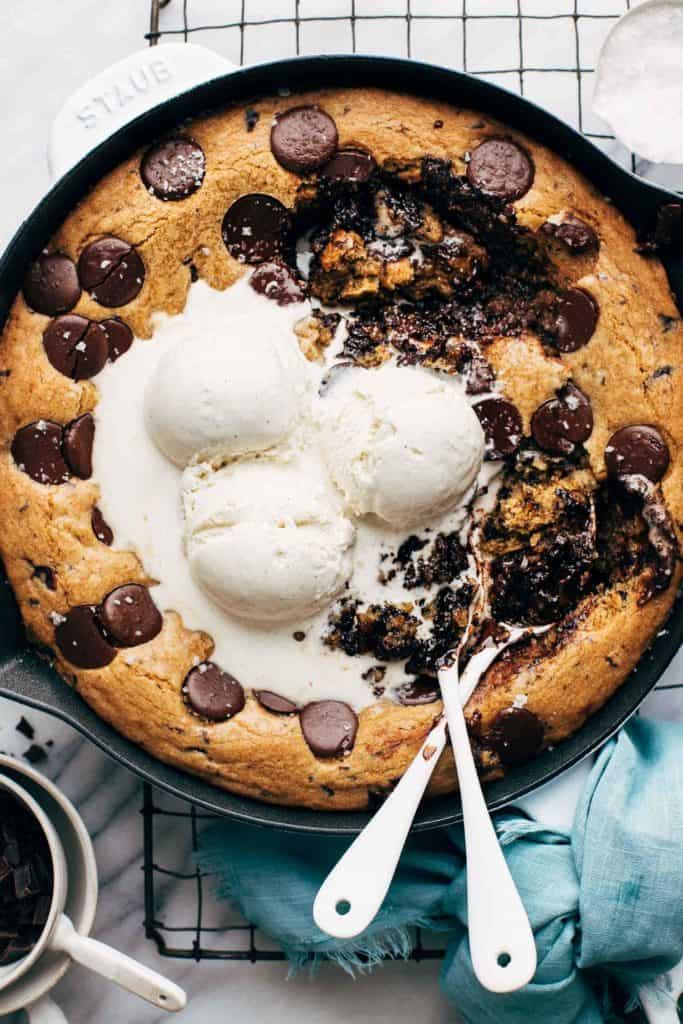
What makes this the BEST chocolate chip skillet cookie?
With so many skillet cookie recipes out there, why make this one? For starters, this skillet cookie recipe has a unique texture that’s both light and gooey. It also has a rich flavor that’s not overly sweet. So let’s break this down:
- European Style Butter – To take this recipe up a notch, I highly recommend using European style butter. This cultured butter is aged like a fine wine, giving it a rich flavor with much more body than basic butter. In other words, it takes this skillet cookie from plain to gourmet with one simple ingredient.
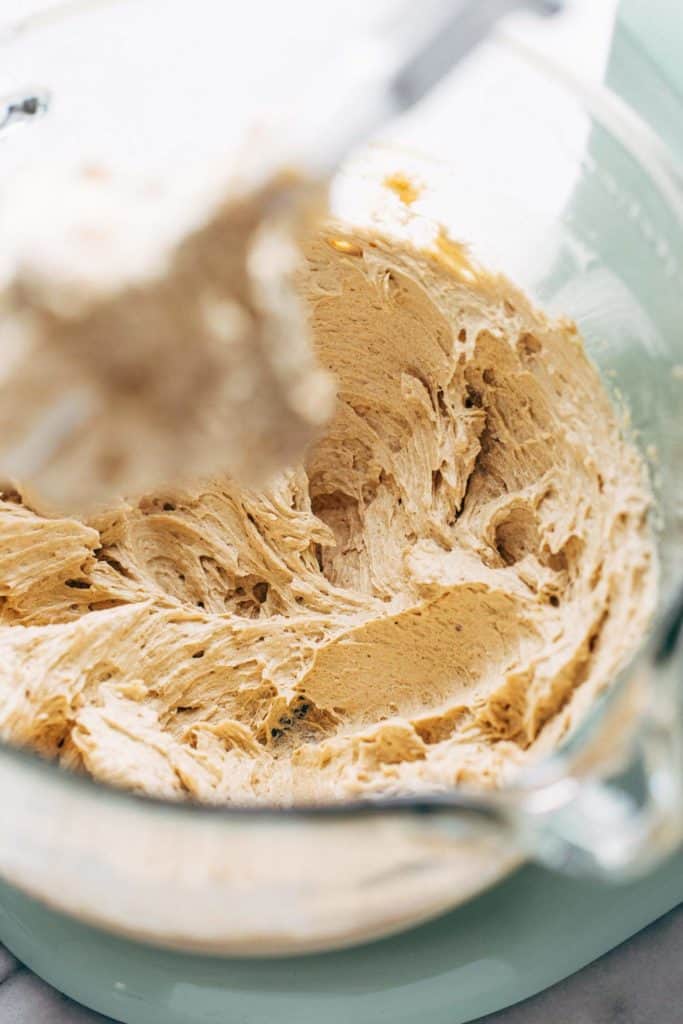
- Emulsification – Much of this recipe is spent mixing, both with the butter and sugar and then with the eggs. By mixing in the eggs on high speed for a longer period of time, they begin to emulsify the dough. This means it bridges the gap between the water and fat molecules within the dough. In the end, you’re left with a light but sturdy skillet cookie that melts in your mouth.
- Acidity – A bit of lemon juice is added to the dough which helps activate the baking soda. With the activation, the cookie becomes light in consistency, but the texture still remains ooey gooey due to the richness of the other ingredients.
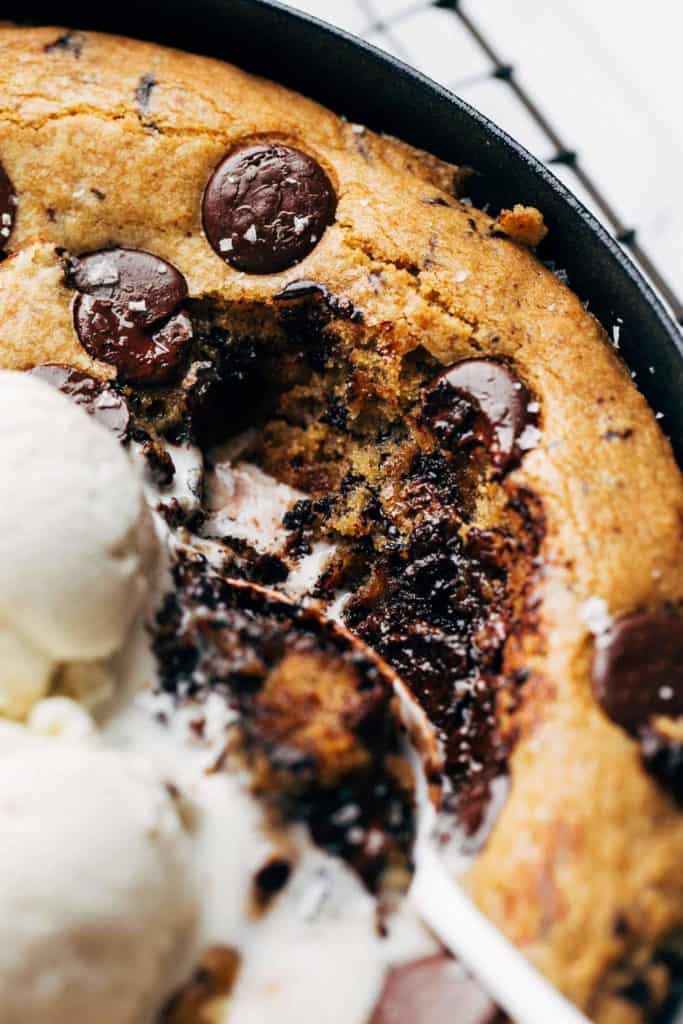
- Dark Chocolate – This skillet cookie is mixed with 90% cacao dark chocolate. The higher the cacao, the meltier the chocolate. In other words, it’s like puddles of chocolate all throughout the cookie that remain that way even after the cookie has cooled.
- Sea Salt – With all this richness, a sprinkle of sea salt on top of this warm skillet cookie helps balance out the flavors. It not only mellows the sweetness, but it enhances the chocolate flavor to make this skillet cookie even more delicious.
Tips for making a skillet chocolate chip cookie
Skillet cookies never cease to amaze me, mainly because they’re SO easy to make and yet they taste SO delicious. It’s always a no fail recipe, but here are a few things to keep in mind to ensure it turns out JUST right:
- Properly measure the flour – I say this in every post, and for good reason. It’s the number one reason why most baking recipes fail. If there’s too much flour, the skillet cookie will turn out dry and dense. If you can, measure the flour with a food scale. Otherwise, to ensure you use the exact amount needed, gently spoon the flour into your measuring cup and level if off with a flat edge. If you scoop directly into the flour container, it packs it down into the cup which could leave you with 1/4 cup or more of added flour.
- Ingredient temperatures – Make sure the butter and eggs are at room temperature before starting. The butter must be soft in order to mix into a creamy consistency. As for the eggs, cold eggs added to a room temperature batter can disrupt the consistency and evenness of the bake. To bring them up to room temp quickly, add the eggs to a bowl of warm water and let them sit for 15 minutes before use.
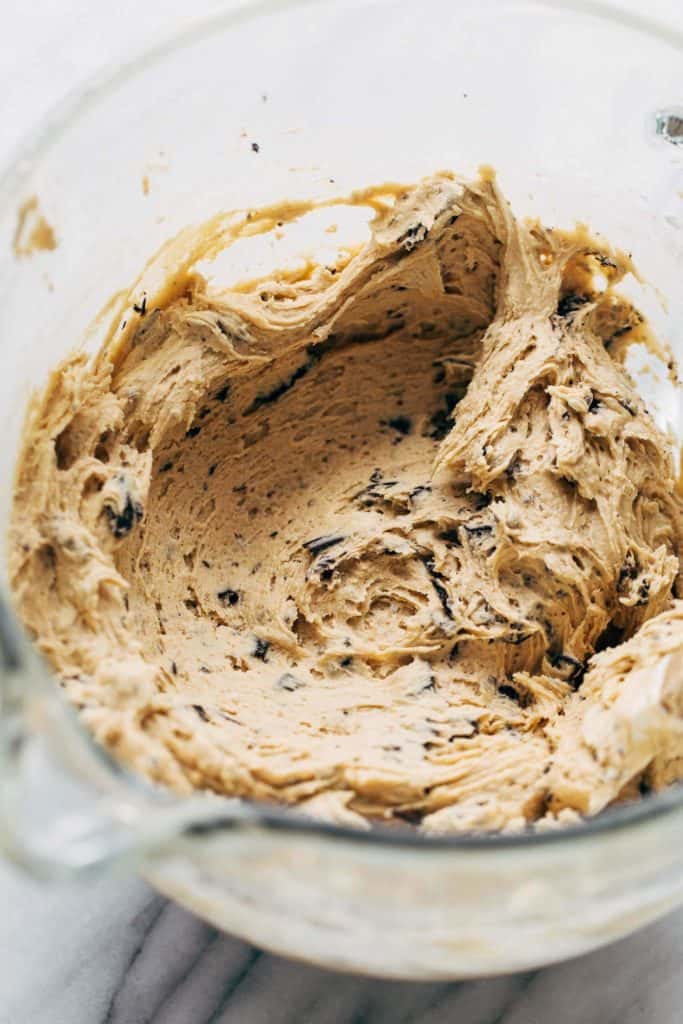
- Mixing speeds – The recipe starts by creaming together the butter and sugar. This means that the two should be fully mixed for at least 2 minutes on high speed. The mixture should turn pale and fluffy. Then, mix in the eggs on high speed for another 2 minutes. This is the emulsification process I mentioned earlier. Once the dry ingredients are added, this is when we turn the speed down and mix low and slow. Stop RIGHT when all of the ingredients come together as over mixing can lead to a tough skillet cookie.
How to bake a skillet cookie
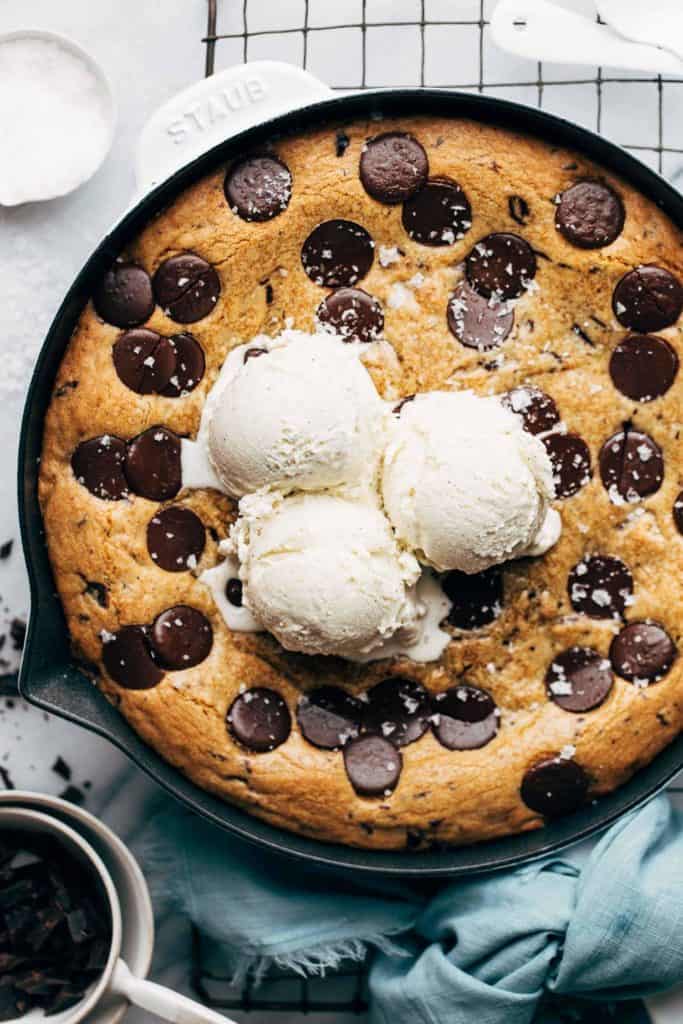
Skillet cookies and regular cookies follow the same baking principle – under baked is much better than over baked. Especially when it comes to skillet cookies because that ooey gooey texture is best eaten with a spoon.
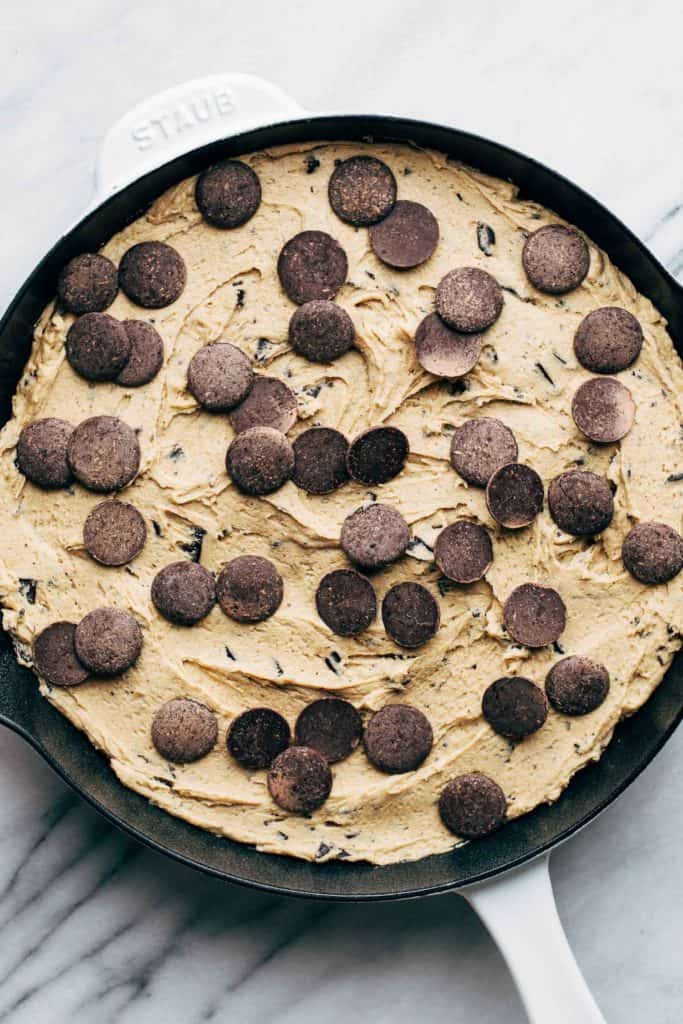
To get the perfect bake, start by spreading the dough even in the skillet. The edges should be the same depth as the center. Otherwise, if there’s a mound of dough in the center, it will have a hard time baking through and the edges will turn out over baked.
Then, bake for your desired time. 25 minutes is the perfect amount to get a super gooey center that isn’t too runny. If you like a more well-done skillet cookie, bake for an additional 5-8 minutes.
Allow the cookie to cool for about 15-20 minutes before digging in. This allows the dough to settle and thicken in the center. But because it’s baked in a skillet, it will remain warm for a longer period of time because the pan holds on to heat very well.
Frequently Asked Questions – Chocolate Chip Skillet Cookie
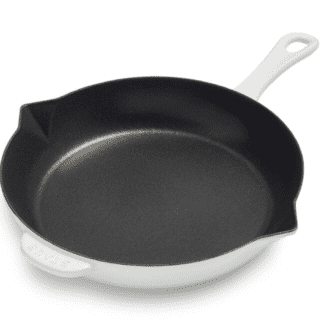
I recommend a 10u0022 cast iron skillet as these conduct heat the best – giving you a golden edge and melty center. Otherwise, I recommend any oven-safe skillet. Here is the Staub one I used, but I also love this inexpensive cast iron skillet by Lodge.
Although I haven’t tested it, I would assume swapping the flour with a good gluten free baking flour would work! In this case, I would suggest omitting the cornstarch in this reciped. My favorite GF flour is Bob’s Red Mill 1-to-1 gluten free baking flour.
I don’t recommend adjusting the quantities of ingredients as that can completely throw off the cookie. In other words, don’t mess with perfection 😉
I recommend a good quality 90% cocoa dark chocolate, one that you can find in the candy aisle vs the baking aisle. But you can also use any chocolate you prefer, whether that’s dark chocolate chips or semisweet chocolate.
If you don’t scoop ice cream on top, the cookie can keep for a few days. I recommend covering the leftovers in foil and storing in the refrigerator. Then to heat back up, bake at 300F for about 5 minutes or until warmed through.
For more skillet desserts, check out my:
- Gooey Skillet Brownie (GF, DF)
- Nutella Stuffed Deep Dish Skillet Cookie
- Sweet & Salty Compost Skillet Cookie
- Caramel Oatmeal Chocolate Chip Skillet Cookie (GF)
Make sure to tag me @butternutbakery on Instagram and comment below if you make this skillet chocolate chip cookie. To pin this recipe and save it for later, you can use the button on the recipe card or on any of the photos above. Happy baking!
Print
Gooey Chocolate Chip Skillet Cookie
- Total Time: 50 minutes
- Yield: 10″ skillet cookie
Description
This is the GOOIEST chocolate chip skillet cookie! It’s extra tender and loaded with melty dark chocolate – topped with sea salt and vanilla ice cream.
Ingredients
- 1 cup unsalted butter (I recommend European style, but you can also use vegan butter), room temp
- 1 cup (200g) dark brown sugar, packed
- 1/2 cup (100g) granulated sugar
- 2 large eggs + 1 egg yolk, room temp
- 2 tsp vanilla extract
- 1 tsp lemon juice
- 2 3/4 cup (360g) all purpose flour *see notes for GF option
- 1 tbsp cornstarch
- 1/2 tsp baking soda
- 1/2 tsp salt
- 5 oz (about 1 1/4 cup) extra dark chocolate**, chopped
- 1/2 cup chocolate wafers***, for sprinkling
- Flaky sea salt, for sprinkling
Instructions
- Preheat the oven to 350F and lightly coat a 10″ cast iron skillet with nonstick spray.
- In a large bowl using a hand or stand mixer with the paddle attachment, add the butter, dark brown sugar, and sugar. Mix on medium-high speed until light and fluffy (about 2-3 minutes).
- Scrape down the bowl and add in the eggs. Mix again on medium-high speed for another 2-3 minutes, or until the mixture is pale and creamy (see picture in post for reference).
- Scrape down the bowl and mix in the lemon juice and vanilla.
- In a separate bowl, whisk together the flour, cornstarch, baking soda, and salt.
- Pour half of the dry ingredients into the wet ingredients and mix on low speed. Once almost combined, mix in the rest of the dry ingredients again on low speed.
- Just before that’s combined, toss in the chopped dark chocolate and use a rubber spatula to fold in by hand.
- Scoop the dough into the skillet and spread it even. Top with the chocolate wafers and bake for 25 minutes, or until the edges are a pale golden brown (the cookie will darken as it cools). If you want a more well-done cookie, bake for an additional 5-8 minutes.
- When the cookie is still warm, sprinkle with a few pinches of fine sea salt and allow it to cool for about 15-20 minutes. Top with ice cream if desired and dig in!
Notes
*GLUTEN FREE – Although I haven’t tested it, I believe gluten free flour would work well in this recipe. Sub the flour with gluten free baking flour. I like Bob’s Red Mill 1-to-1 gluten free baking flour. I would also suggest weighing the flour rather than measuring by cups, to ensure accuracy.
**DARK CHOCOLATE – I recommend a good quality 90% cocoa chocolate (I used Lindt) – one that you would find in the candy aisle and not the baking aisle. You can use any chocolate you like, but this will give you the meltiest texture and its slight bitterness helps balance out the richness of the cookie.
***CHOCOLATE WAFERS – I used Guittard bittersweet chocolate wafers on top but you can opt to use any chocolate you like, whether that’s more of the chopped chocolate or additional chocolate chips.
- Prep Time: 25 minutes
- Cook Time: 25 minutes
Join Our Community

Meet Jenna
I’m the creator, baker, and photographer behind Butternut Bakery. Here I share desserts for every diet because I believe everyone should have a chance to indulge!


I made this last night and it was amazing. I had to bake it for a few extra minutes because I made the dough ahead of time and it was cold. Just the perfect amount of sweet. And still soft and gooey this morning!
I made this ahead and reheated as suggested. It was a huge success and i would say enough for ten peeps because it’s so gooey and rich.
Hi!!
Can the dough be made ahead? I won’t have time to whip it up while we have company so I was hoping there was a good way to prepare the dough before hand?
Thank you!
This cookie is to die for! I’ve been dying to try a skillet cookie recipe for a while, and this did not disappoint. It is just as described– crispy on the outside and nothing but gooey goodness on the inside. It is the perfect mix of sweet, salty, and rich without any one being too much. I love to bake and whenever I want to try something new, I always search the butternut bakery blog first. And now we have another family favorite. Thank you!
I halved the recipe and made a mini skillet version and it was so yummy! This is my favorite skillet cookie I’ve made! The flavor of the cookie is amazing and the sea salt on top is the perfect way to finish it! I will be making this skillet cookie again very soon!
Made this this weekend and it turned out SO good! My boyfriend and I almost ate the entire cookie between the two of us because we just could not stop!
Made it in a blink of an eye two nights ago and it is absolutely perfect! Hands down the best skillet cookie I’ve ever baked.
And the best part is that is doesn’t get very hard the next day – you can still eat it like a regular cookie and the flavour and texture are on point!
This turned out more cakey than I expected. Did I bake it too long? Incorrectly measure the baking soda? Still delicious!