Banoffee Icebox Cake
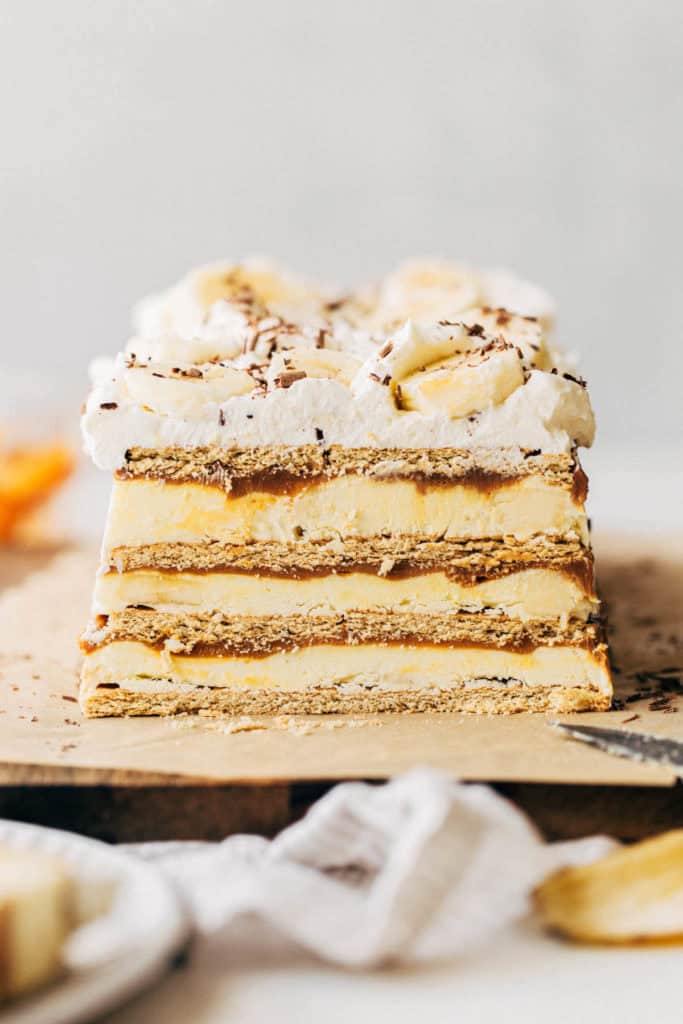
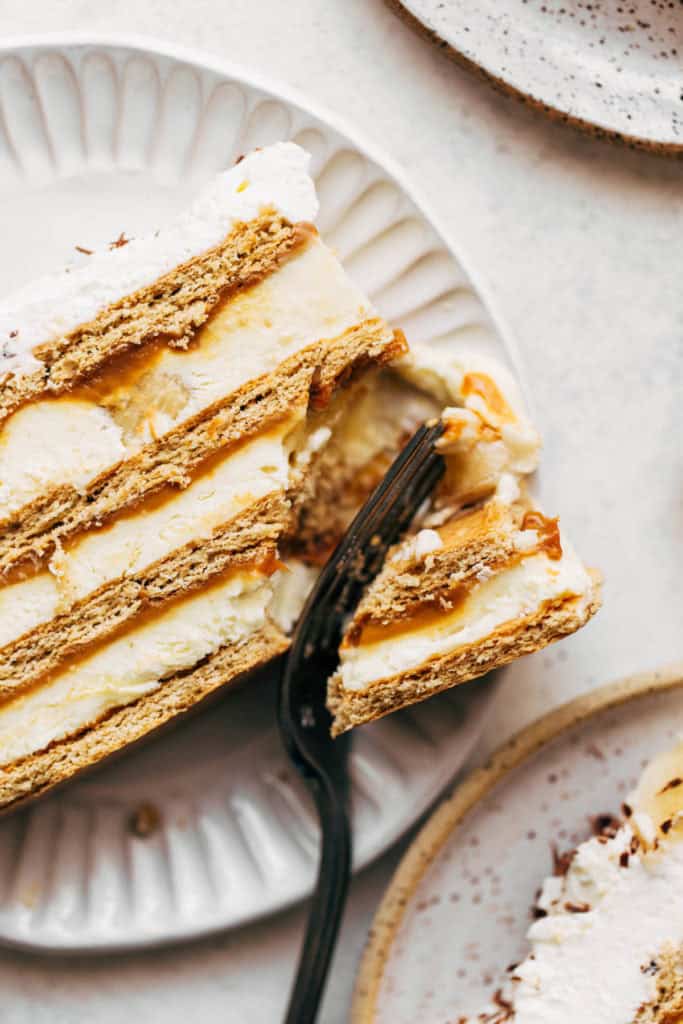
This banana icebox cake is made to taste just like a creamy banoffee pie. Layers of graham cracker, rich banana cream, and gooey dulce de leche make up this delicious frozen dessert. It’s so easy to make, requires less than 10 ingredients, and tastes just as amazing as it looks!
What is icebox cake?
An icebox cake is typically made up of wafers or cookies and some sort of creamy mixture. These are all layered together in a container and placed into the refrigerator or freezer to firm up. As it chills, the cookies become more tender as they soak up the moisture from the cream. The most common icebox cake is a zebra cake made up of chocolate wafers and whipped cream. This is something I had all the time as a kid!
What is banoffee?
Banoffee is a very popular pie that consists of a graham cracker crust with a toffee/dulce de leche and banana filling. It’s all topped off with whipped cream and chocolate shavings. The name comes from the ingredients – “banana” and “toffee”. It’s an indulgent pie comprised of two very delicious flavors that just work so well together.
What is in this banoffee icebox cake?
To marry the two together, this icebox cake is made up of three main layers:
- Graham Crackers
- Homemade Banana Cream Pudding
- Dulce De Leche
Each are layered together three times in a loaf pan, wrapped up, and frozen solid. Once it’s frozen, the cake then thaws at room temperature for about 45 minutes to soften. The end result is a chilled but creamy icebox cake with lush banana cream, rich dulce de leche, and tender graham crackers.
Tips for making the BEST banana cream pudding
I’m giving Magnolia Bakery a run for their money on this one. They are so well known for their rich banana pudding, and this one is just as thick, creamy and delicious.
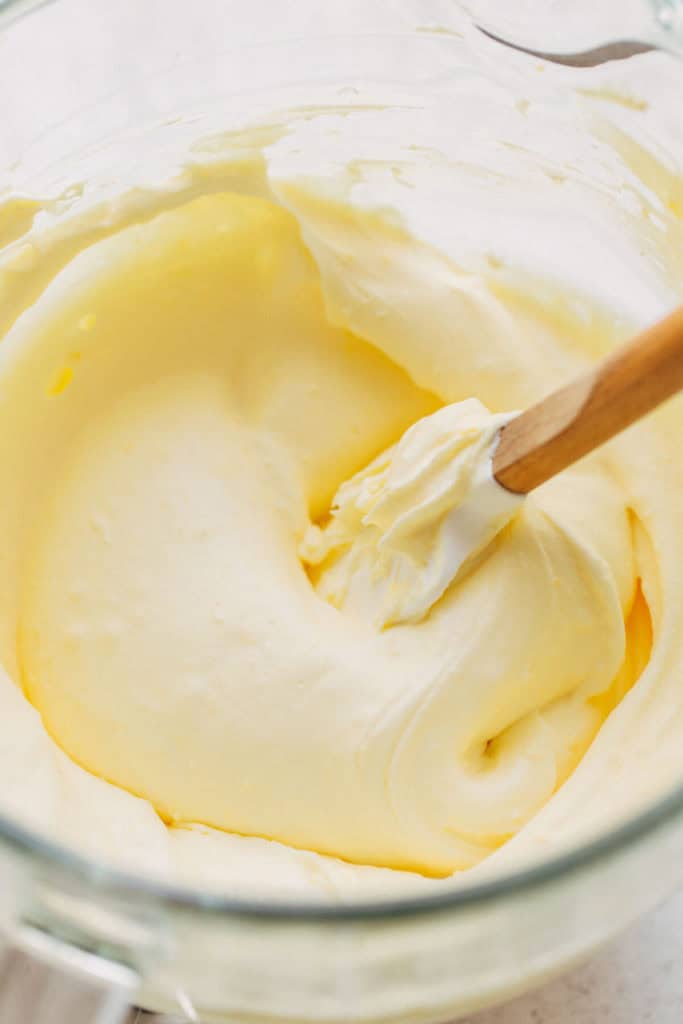
The banana cream pudding is made up of two main components (which you can guess from the name): whipped cream and vanilla pudding.
The whipped cream is made with a bit of cream cheese to create a thicker and sturdier consistency. It’s VERY important to work with room temperature cream cheese otherwise your banana pudding will turn out a bit lumpy.
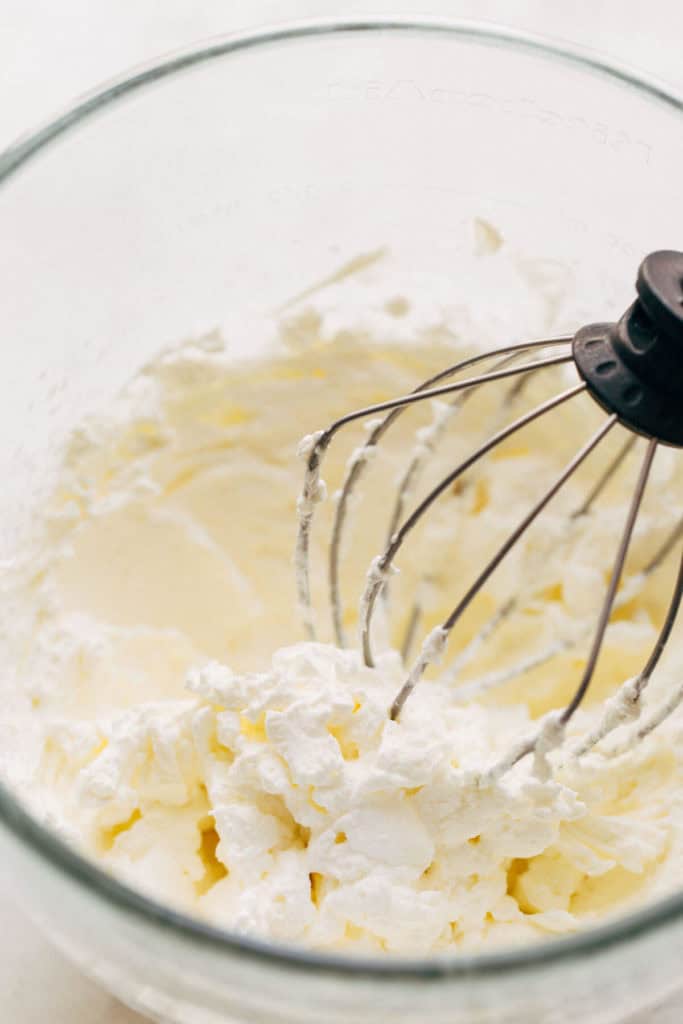
When making the whip, mix the cream cheese until smooth and then sloooowwwly pour in the heavy cream. If you pour it in all at once, the cream cheese will curdle. Once the cream cheese and whip thin out enough, you can then dump in the rest of the heavy cream and whip on high speed until it’s light and fluffy.
For the banana pudding, the same process applies but it a separate bowl. More cream cheese is mixed (at room temperature) until smooth. Then slowly pour in your milk until it starts to thin out. Before it turns liquid, mix in a packet of vanilla pudding mix. Then, once that’s smooth, mix in the rest of the milk.
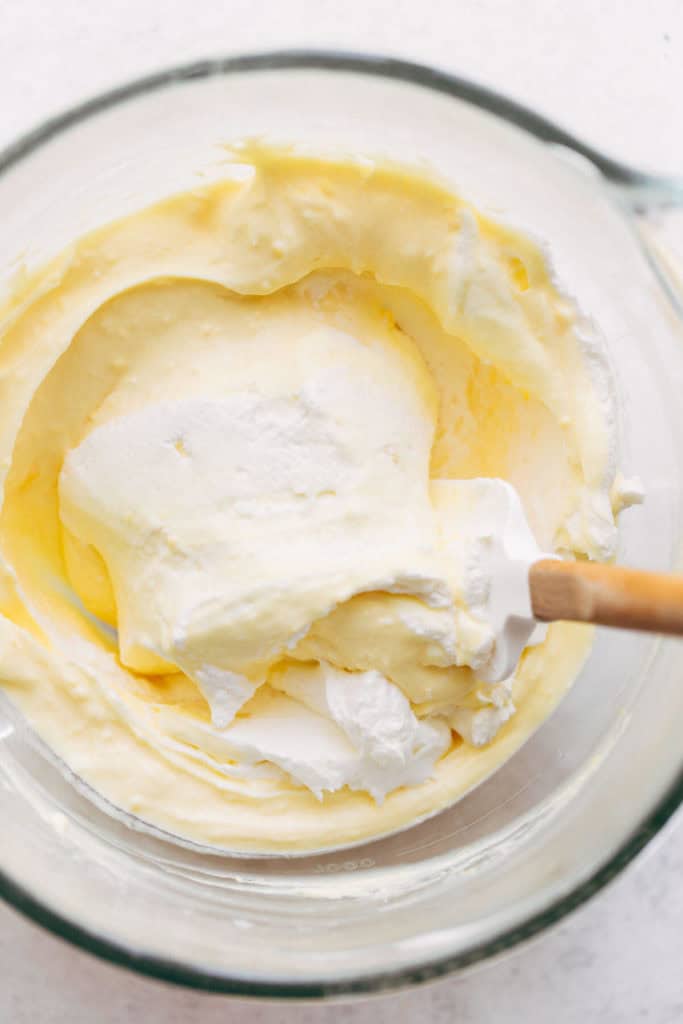
It’s all a process of slowly incorporating ingredients in order to achieve a really smooth texture. Once the cream and pudding are mixed separately, you then gently fold the whipped cream into the pudding. In the end it should look like the picture above!
This is then chilled for 20 minutes to thicken even further. Do not fold in banana slices until you’re just about ready to assemble the icebox cake. I found the bananas would brown if they were refrigerated before frozen.
Banana Icebox Cake Assembly
Luckily, the only layer of this cake that needs to be made from scratch is the banana cream pudding. The rest is just graham crackers and dulce de leche.
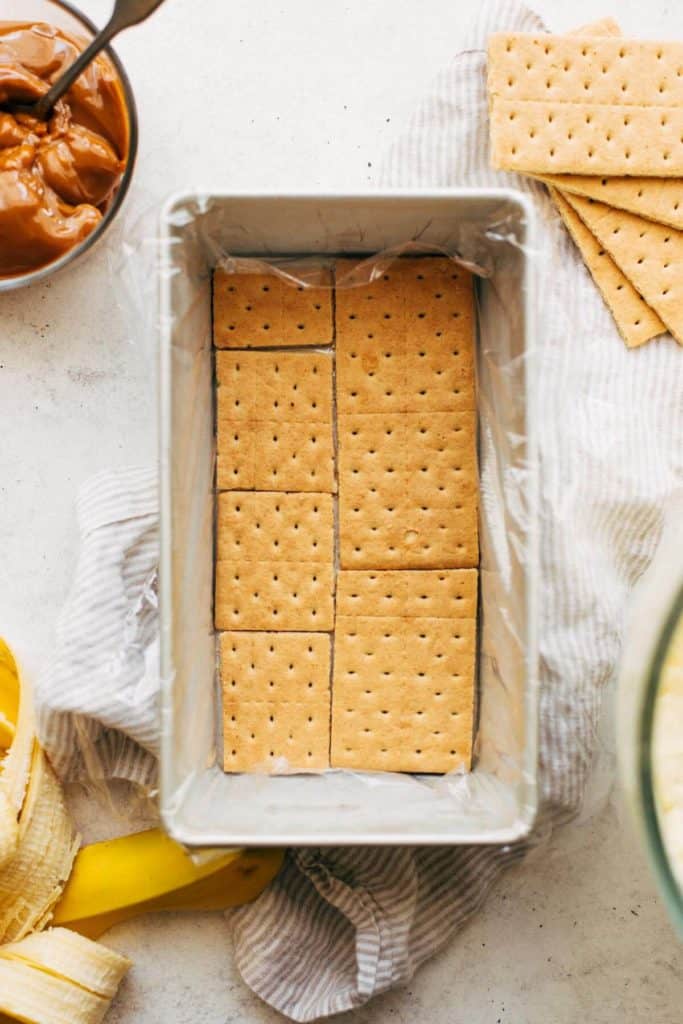
To make your icebox cake, you will need a 9×5 loaf pan. Place a sheet of plastic wrap inside the pan so that it covers the bottom and two longest sides. Allow the plastic wrap to hang over the sides while you assemble the cake.
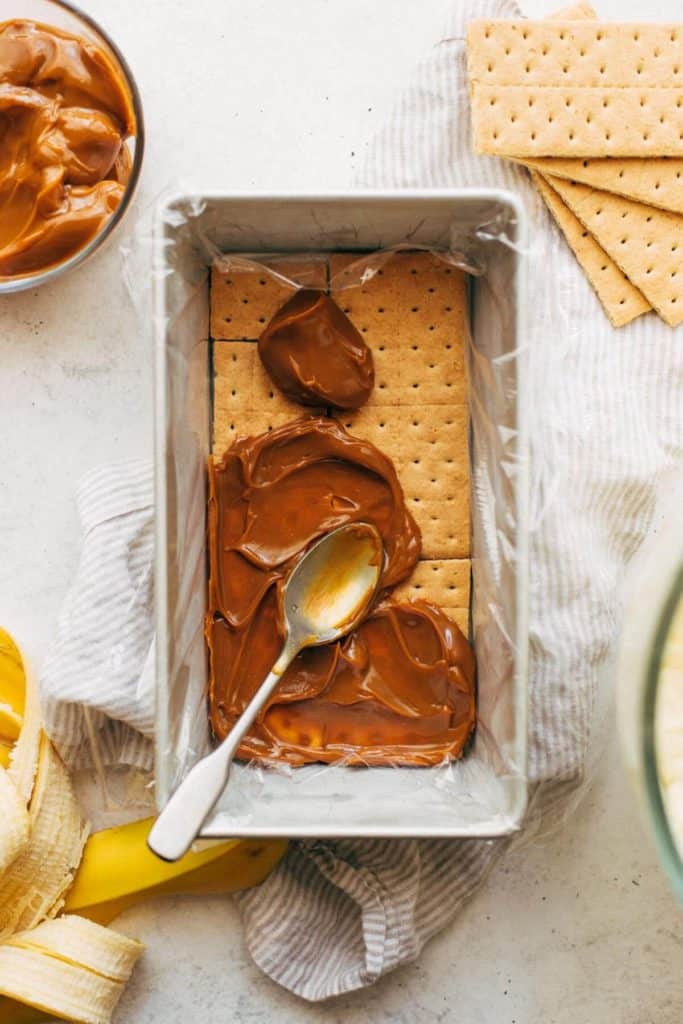
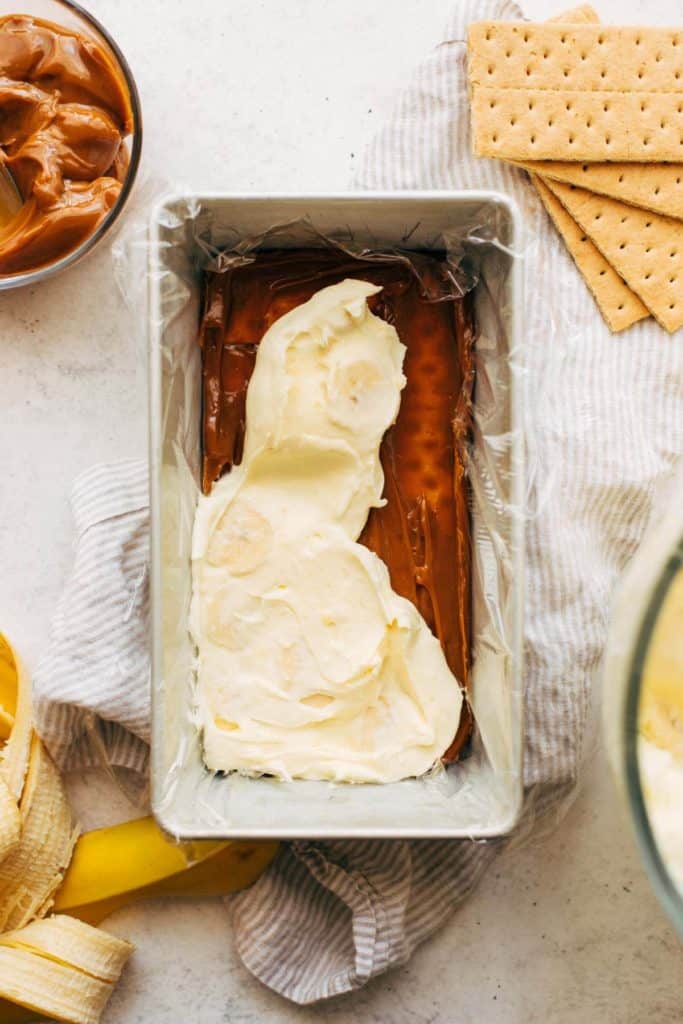
Layer the bottom in graham crackers, cutting them down to size so they completely cover the base. Then spread on a thin layer of dulce de leche (about 2 hefty spoonfuls). Once that’s down, spread a thick layer of the banana cream on top.
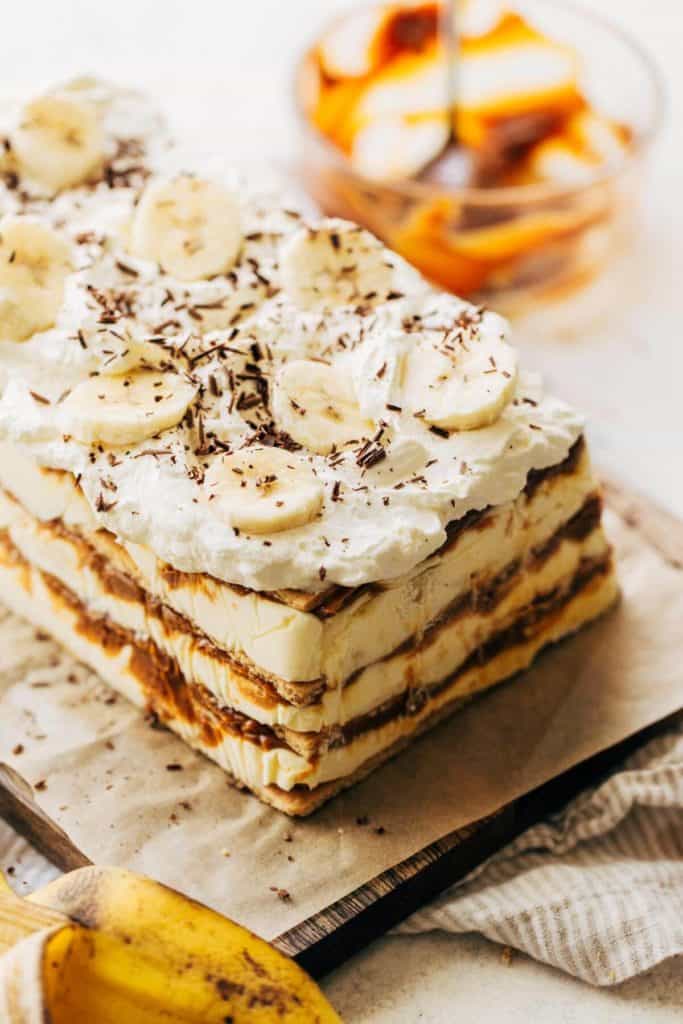
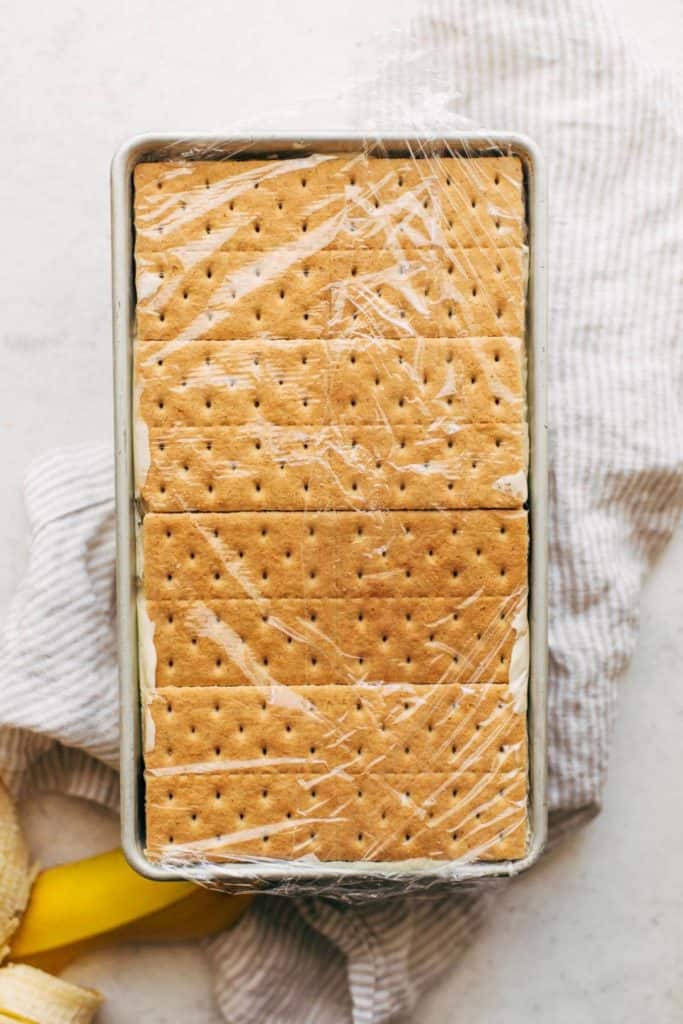
Repeat this process two more times, so you have three layers each of the three ingredients. Top the cake off with a layer of graham crackers and cover in the plastic wrap overhang. Then cover the pan in foil and freeze for at least 4 hours or overnight.
Where can I find dulce de leche?
This is typically found near the cans of sweetened condensed milk or evaporated milk in the baking aisle of most grocery stores. If it’s not there, it could be in the Hispanic foods section. Wherever you find it, make sure to pick up a few cans. It’s something I always like to keep handy in my pantry as a simple addition to any dessert!
Can I make this recipe gluten free?
Yes! The only thing that’s not gluten free is the graham crackers, which you can easily swap with gluten free graham crackers.
How to serve icebox cake
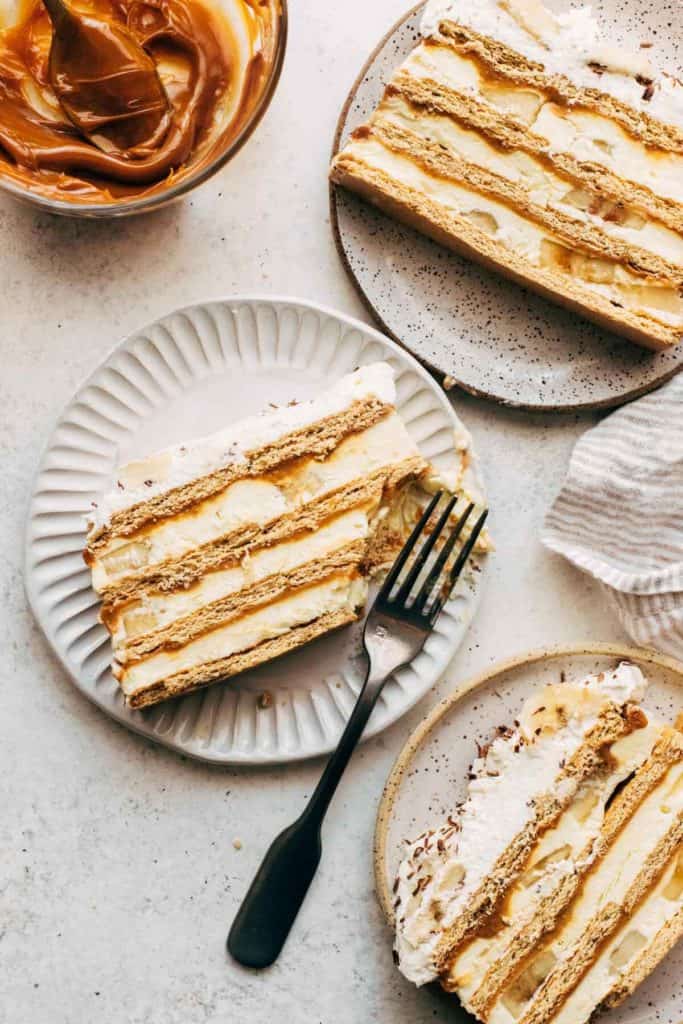
When you release the cake from the pan, it should be frozen solid. You can serve it this way, but I prefer to allow the cake to soften at room temperature. Let the cake sit at room temp for 30-45 minutes before serving. It will still be cold but the banana and dulce de leche filling will become much creamier and softer.
How to store icebox cake
For the whipped cream topping, only add this when you are ready to serve the icebox cake. Otherwise, with any leftovers, I recommend scraping off the topping and turn the cake back into the loaf pan. Cover and freeze for up to 1 month.
For more frozen desserts, check out my:
- Churro Ice Cream
- Peanut Butter and Jelly Ice Cream
- Peaches and Cream Ice Cream
- Peanut Butter Brownie Ice Cream Sandwiches
Make sure to tag me @butternutbakery on Instagram and comment below if you make this Banoffee Icebox Cake. To pin this recipe and save it for later, you can use the button on the recipe card or on any of the photos above. Happy baking!
Print
Banoffee Icebox Cake
- Total Time: 1 hour + 4 hours chilling
- Yield: 10-12 slices
Description
Layers of graham crackers, banana cream pudding, and dulce de leche frozen into a delicious icebox cake.
Ingredients
Banana Icebox Cake
- 1 1/2 cups (360g) heavy cream
- 8oz cream cheese, room temp and divided
- 1 1/2 cups (360g) whole milk
- 3.4oz vanilla pudding mix (or banana pudding mix)
- 2 large bananas
- 2 sleeves graham crackers *see notes for GF option
- 13.4oz can dulce de leche
Toppings (optional)
- Chocolate shavings
- 1/2 banana, sliced
Instructions
Banana Cream Pudding
- In a large bowl, using a hand or stand mixer with the whisk attachment, mix 4oz of the cream cheese until smooth. Slowly pour in about 1 tablespoon of cream at a time with the mixer running. Once the cream cheese and cream are smooth and thinned out, pour in the rest of the cream and whip on high speed for 3-5 minutes or until light and fluffy.
- Scoop the whipped cream into a separate bowl and place about 1 cup of the whipped cream in a separate container. Place that container in the refrigerator as this will be the whipped cream topping for when the cake is done.
- In that same mixing bowl (no need to clean it out), mix the other 4oz oz of cream cheese and follow the same process as before. Slowly pour in the milk until the mixture begins to thin and smooth out. Just before the cream cheese and milk turns thin, mix in the packet of pudding mix. Once that’s incorporated, return to slowly pouring in the milk until everything is well combined.
- Scoop the whipped cream into the vanilla pudding mixture and use a rubber spatula to fold it in. When you can no longer see any ribbons of whipped cream, stop mixing and place the bowl in the refrigerator to chill for 20 minutes.
- When the 20 minutes is up, mix in the slices of 2 bananas and set aside.
Assemble
- Grab a 9×5 loaf pan and lay a sheet of plastic wrap inside the pan so that it covers the bottom and the two longest sides of the pan. Allow the excess to hang over the sides.
- Line the bottom of the pan with a layer of graham crackers, cutting them down so they completely cover the base.
- Spread an even and thin layer of dulce de leche on top (about 2 heaping spoonfuls).
- Spread a thick layer of the banana cream pudding on top.
- Repeat this process two more times: graham crackers, dulce de leche, and banana cream. Top the cake with a layer of graham crackers and cover in the plastic wrap overhang. Cover the pan in foil and freeze for at least 4 hours or overnight. *The longer it freezes, the softer the graham crackers get. It can freeze for up to 2-3 weeks.
- To release, run a sharp knife along the two shortest sides of the pan (the ones not covered in plastic wrap). This should release the cake enough for you to lift it or turn it out of the pan. If it’s really stick, soak a towel or paper towels in warm water and wrap it around the pan. Let it sit for a few minutes and then try to release the cake again.
- Decorate the top with the reserved whipped cream, chocolate shavings, and banana slices. Allow the cake to set out at room temperature for about 30 minutes to thaw. Then slice and enjoy!
Notes
GLUTEN FREE – Use gluten free graham crackers to make this dessert gluten free. Options include: Nairn’s GF Oat Grahams, Pamela’s GF Honey Graham Crackers, or any thin and crispy gluten free cookie like Pepperidge Farms GF Butter Crisp cookies or Enjoy Life Vanilla Honey Graham cookies.
- Prep Time: 1 hour
Join Our Community

Meet Jenna
I’m the creator, baker, and photographer behind Butternut Bakery. Here I share desserts for every diet because I believe everyone should have a chance to indulge!


Would this be weird with frozen bananas? Could I still slice and fold in?
Can I try making this DF?