Bakery Style Chocolate Chip Cookies
These are the BEST bakery style chocolate chip cookies! So much so that you honestly cannot tell a difference, and your friends and family will be asking what bakery you bought them from. By incorporating a few secret ingredients that bakeries ACTUALLY use to get that rich flavor and texture, you can easily make your own delicious thick and gooey chocolate chip cookies right at home. They’re dense, big, rich, and loaded with so many layers of buttery, chocolatey, and salty flavor.
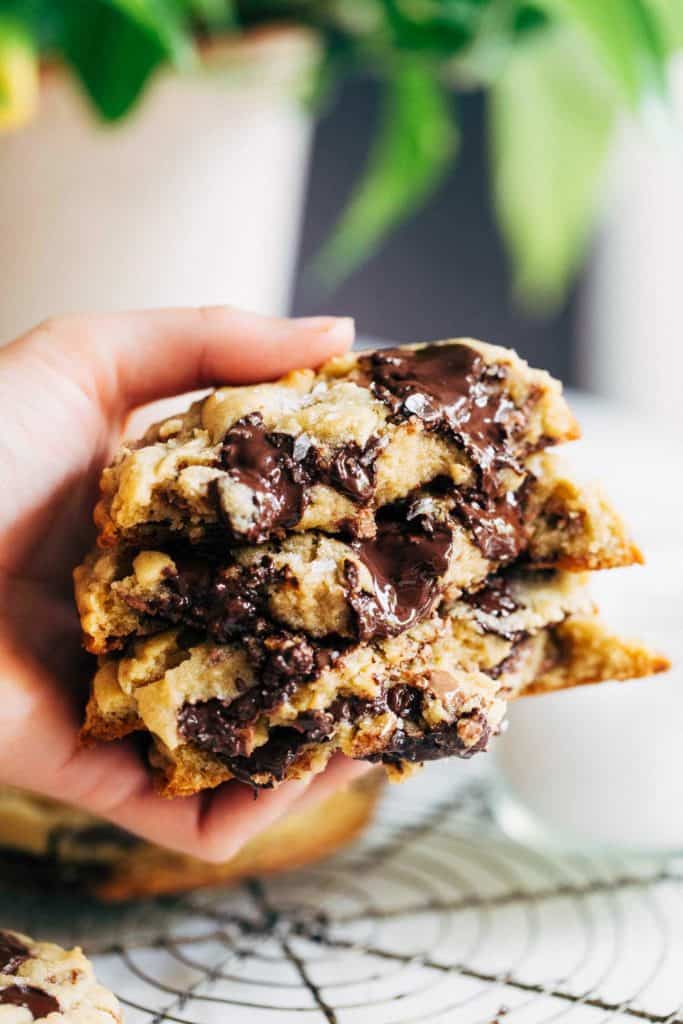
The secret ingredients to making bakery style chocolate chip cookies at home
So, what makes the chocolate chip cookies you buy in a bakery so special? It might be the technique or the tools then use, but ingredients play a HUGE roll in the flavor and texture of their cookies. By using the same high-quality ingredients (that they like to keep secret), you can acheive that same richness right at home. Here’s what you will need to make your own bakery style chocolate chip cookies:
European Style Butter
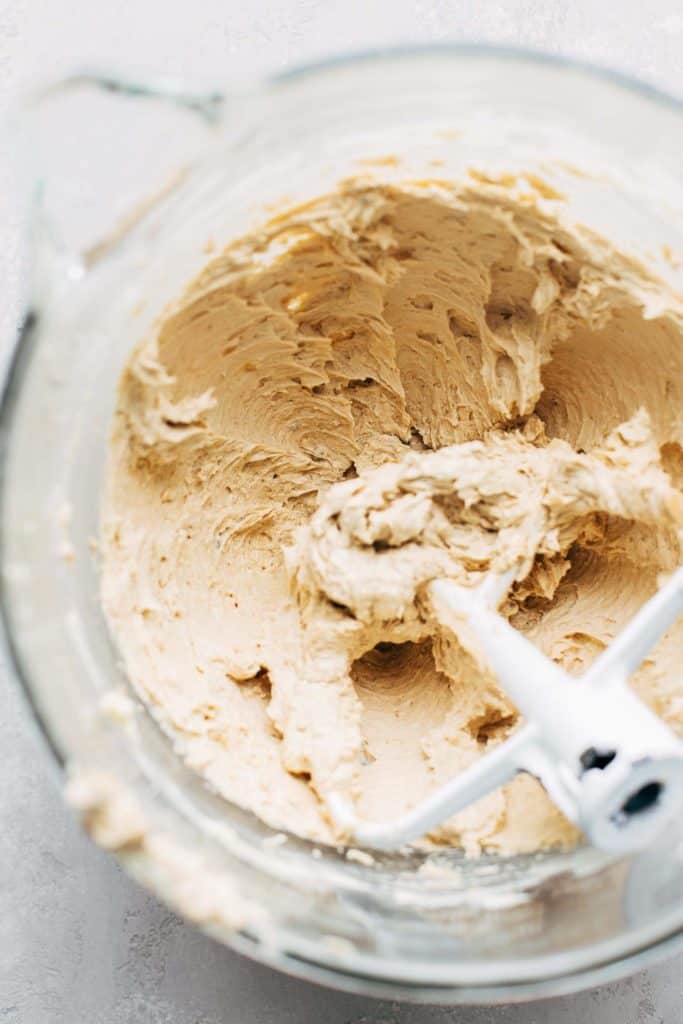
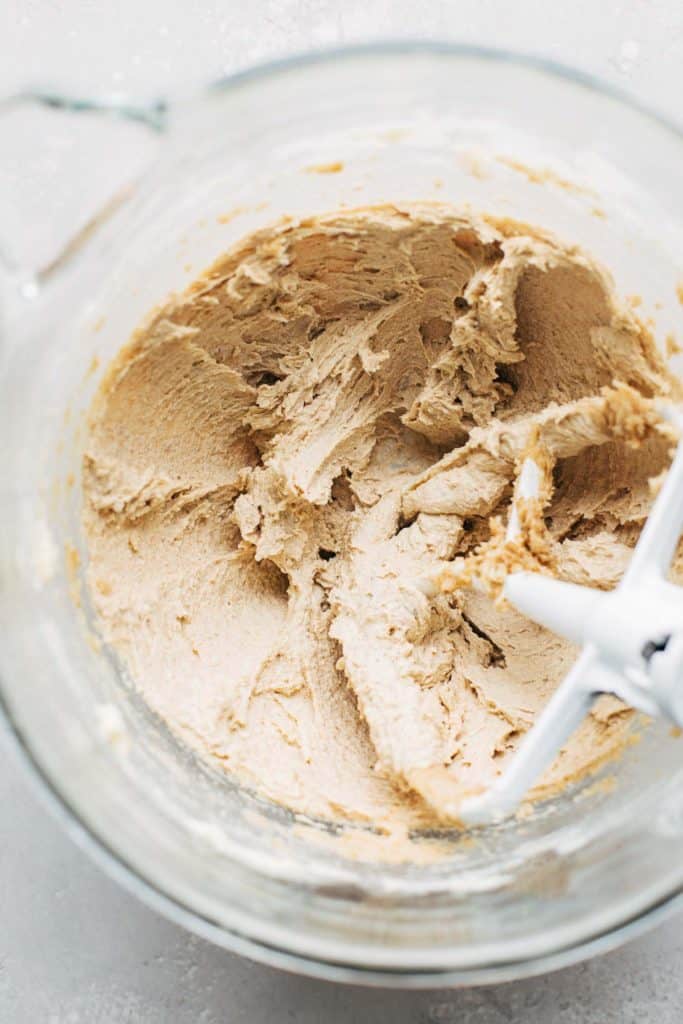
I guarantee that about 90% of bakeries use this specific type of butter in their recipes. Why? Because it adds SO much flavor. Also know as cultured butter, European style butter is made by churning fresh cream to separate the fat solids. Typical butter stops here, but European style butter adds bacterial cultures to the churned cream. Then, it rests for a few days to ferment and develop a rich flavor. The end result is a creamy and flavorful butter that makes any dessert 10x better.
You can also tell a difference in the color and texture of European style butter compared to your standard butter, as it has a deeper yellow color and an extra creamy texture. As the base of this dough, the butter plays a huge roll in the overall outcome of these cookies which is why it’s important to start with a high quality ingredient.
High Quality Chocolate
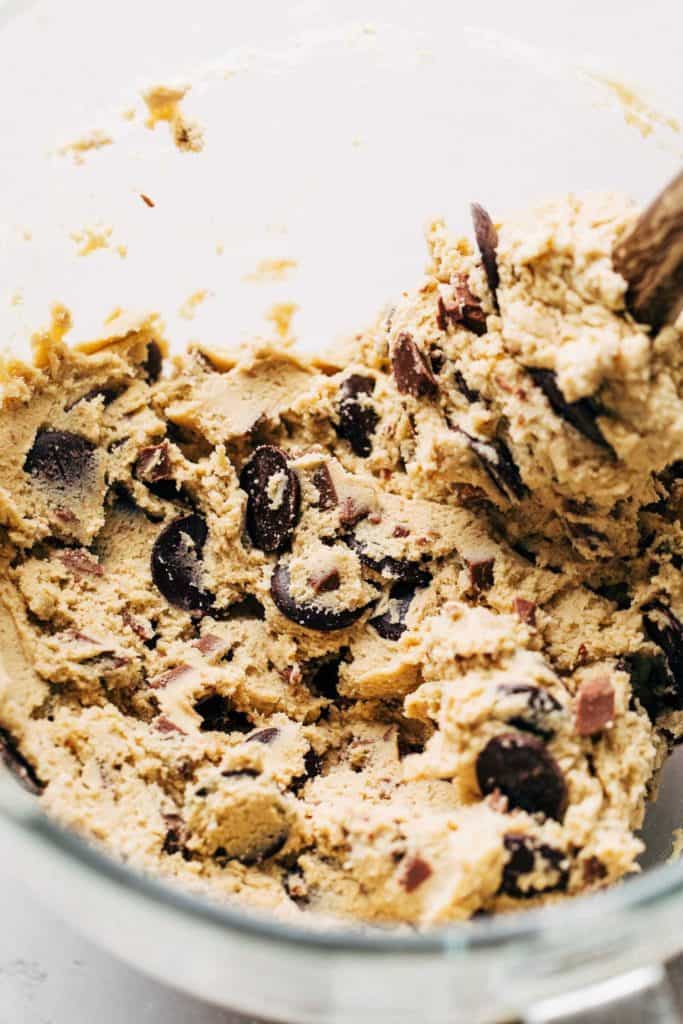
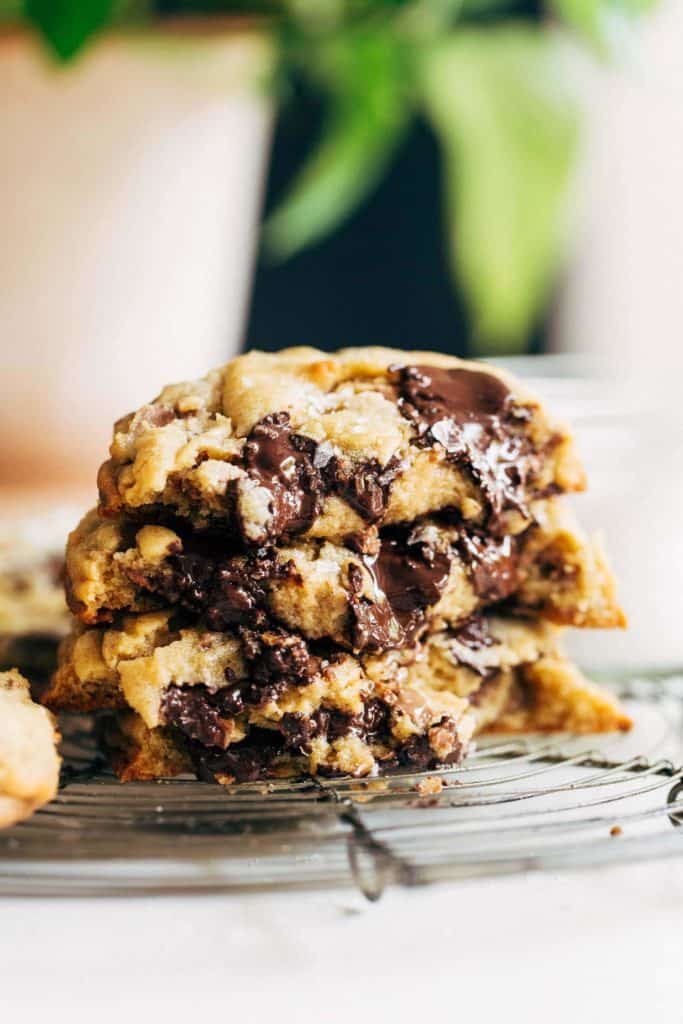
The type of chocolate plays a major role in these cookies. To add more depth and layers of flavor, I use a combination of dark and milk chocolate. Most cookies just use semisweet chocolate, which is fine if you’re going for a basic chocolate chip cookie. But by using two opposing flavors, each bite takes your taste buds on a roller coaster. You’re able to experience both the sweet creaminess of milk chocolate and the deep bitterness of dark chocolate, but without one or the other completely overpowering the flavor.
The quality of chocolate you use also makes a world of a difference in the final outcome of your cookies. Not only does good quality chocolate just taste better, but it also melts beautiful and blends seamlessly into that ooey gooey center. If you want top-notch cookies, I recommend using dark chocolate by Guittard, especially their bittersweet chocolate wafers which you can find at Whole Foods. If you can’t get the wafers, most grocery stories carry Guittard dark chocolate chips which is another great option. And if you can’t get Guittard, opt for Ghirardelli dark chocolate chips.
For the milk chocolate, I use a Lindt milk chocolate bar that’s usually found in the candy section at your local grocery store. I prefer a chocolate bar because you can control the size of the milk chocolate pieces. By chopping the chocolate very fine, you get an even scatter of milk chocolate throughout the cookie without a huge glob that can overpower your taste buds. As far as brands go, Lindt will give you the best outcome because it is SO soft and creamy. You can also use Chocolove, but stay away from milk chocolate chips or Hershey’s chocolate bars as these will not give you the same flavor and texture.
Sea Salt
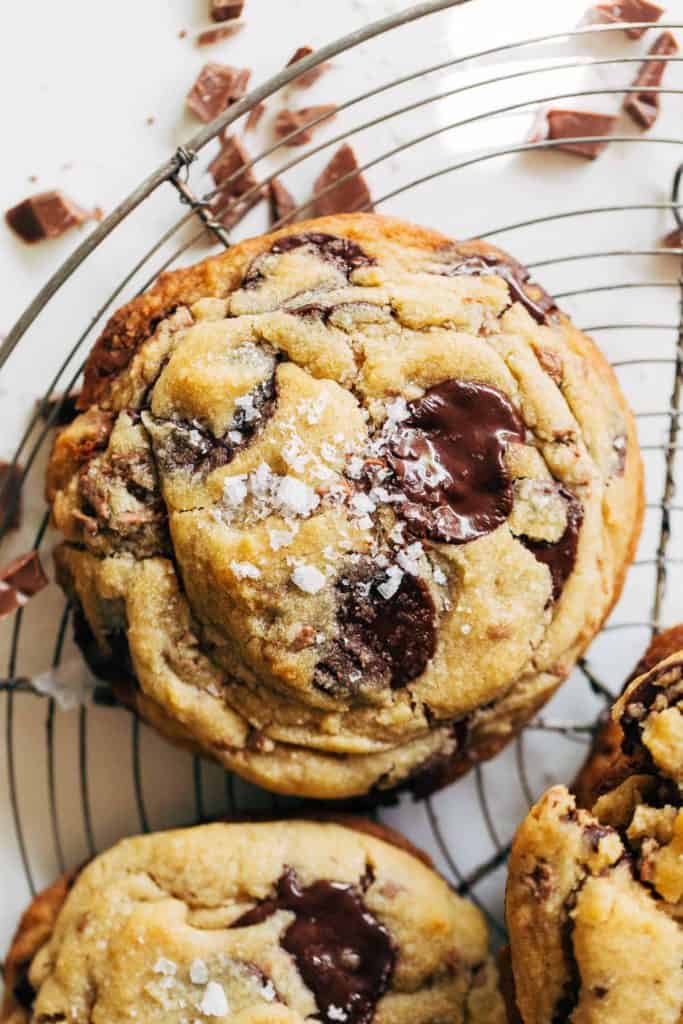
This may not be as big of a secret, but flaky sea salt makes a huge difference in ANY cookie! By finishing your warm cookies with a sprinkle of flaky sea salt, all of your efforts in creating a delicious and rich chocolate chip cookie are intensified.
This bit of salt goes a long way as it helps bring out all the flavors of these bakery style chocolate chip cookies. How does this work? Salt helps balance out sweetness, naturally. By doing so, it prevents each bite from wacking you over the head with sweetness and allows you to fully appreciate the other flavors that are going on within the cookie. Trust me, you wouldn’t think that salt would play that big of a role in these cookies but you can definitely tell when it isn’t there.
Tips for making thick bakery style chocolate chip cookies
Now that we have a better understanding of what makes these cookies so good, let’s go over what can happen during the baking process. Here are my top tips to ensure your cookies turn out perfect:
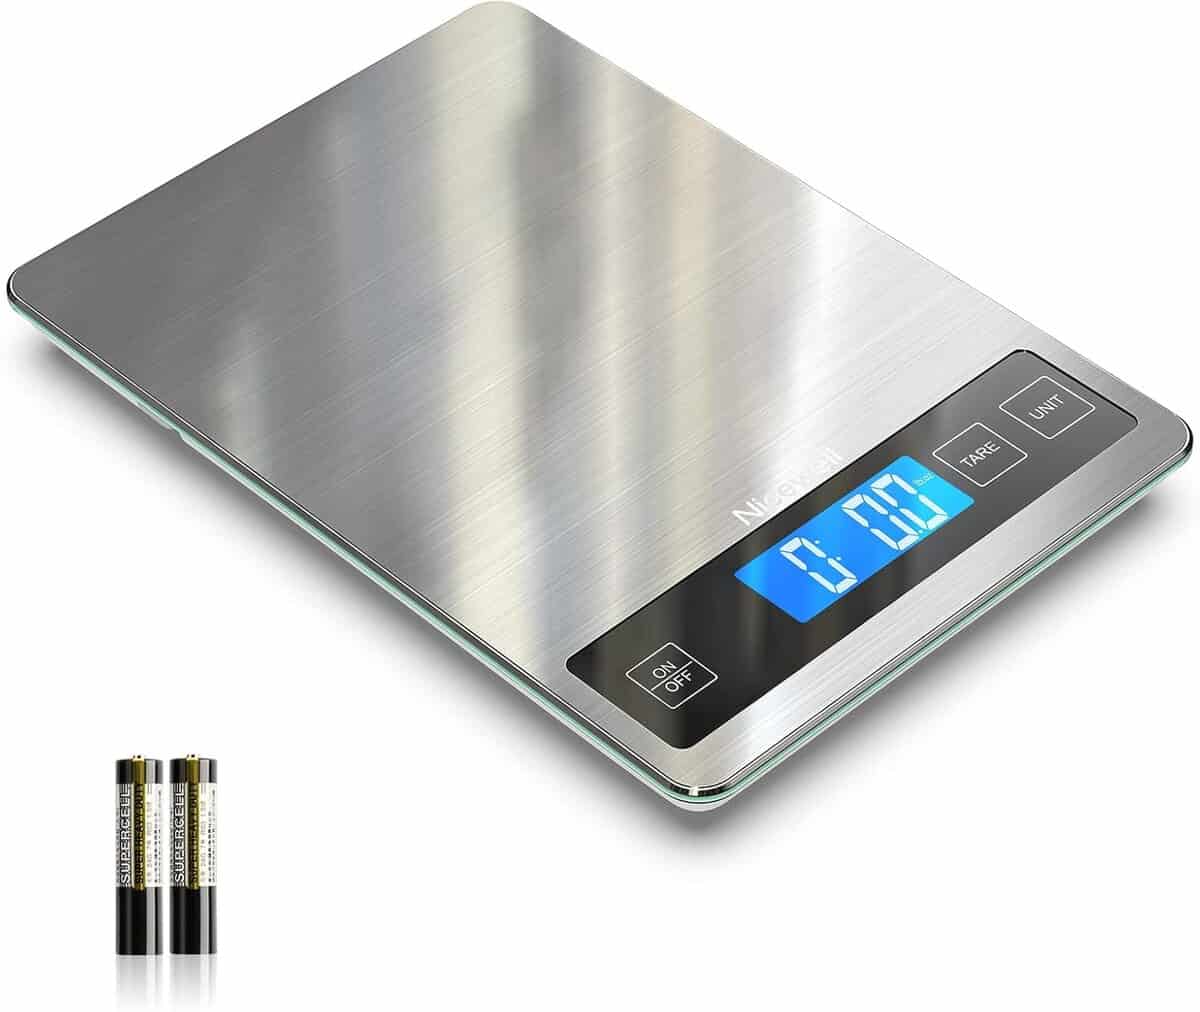
- Properly measure the flour – I say this in every post, and for good reason. It’s the number one reason why most recipes fail, especially for cookies. If there’s too much flour, the cookies will turn out dry and they will not spread. If you can, measure the flour with a food scale. Otherwise, to ensure you use the exact amount needed, gently spoon the flour into your measuring cup and level if off with a flat edge. If you scoop directly into the flour container, it packs it down into the cup which could leave you with 1/4 cup or more of added flour.
- Use room temperature eggs – This is very important, although it’s a step that often goes overlooked. If you mix cold eggs into the room temperature butter and sugar, it will rapidly chill the butter and create a thick dough. This consistency will prevent the cookies from spreading as they should. To quickly bring your eggs up to the right temperature, place the whole egg (in the shell) into a dish and fill it with hot water (not boiling hot, but hot from the tap). Let it sit for about 15 minutes and then your eggs should be ready to crack in to the dough.
- Don’t over mix – It’s very easy to over mix this dough as there is a ton of chocolate to distribute throughout it. To prevent this from happening, add in the chocolate just before the flour is fully combined. Then, fold in the mix ins just until they’re well distributed. Over mixing can lead to a tough cookie, so be careful during the last few steps in making this dough.
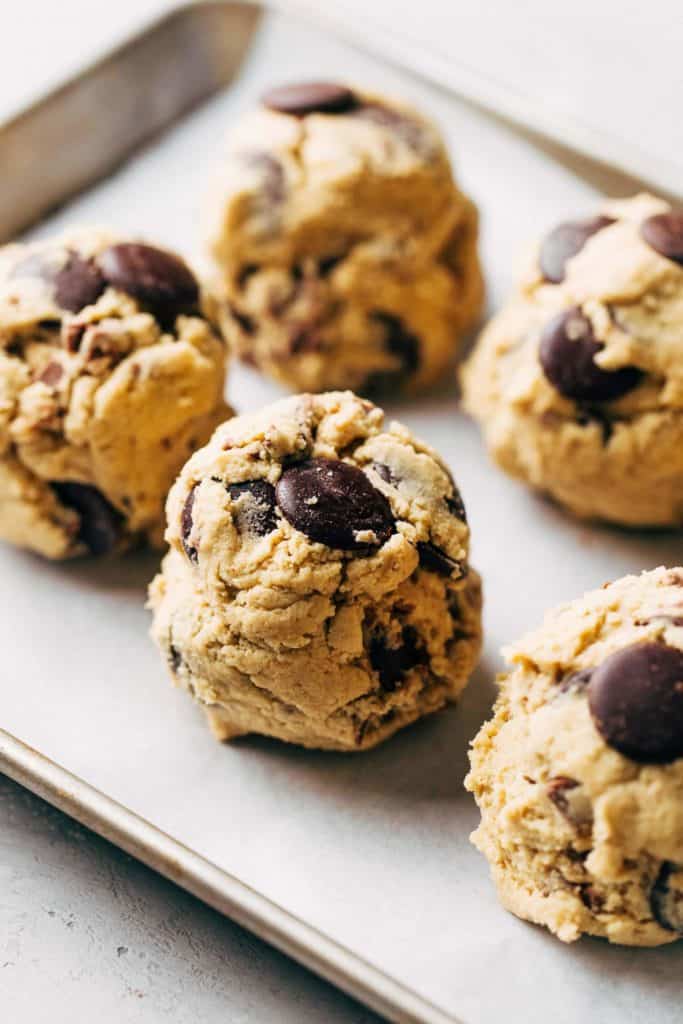
- Resist the urge to make smaller cookies – These cookies are measured out to be 6 oz each, and this is purposeful. Not only is it due to the fact that bakeries always make large cookies, but it also has to do with the balance of temperature and dough. With a larger cookie, it’s more difficult for the over to heat the center. Because of this, the edges begin to golden and crisp up while the center remains soft and doughy. With smaller cookies, this balance is disrupted and it’s much more difficult to achieve that same texture.
- Let the dough chill overnight – Have patience, as all good things come to those who wait. By chilling the dough overnight, you’re allowing the flour and sugar to fully absorb thus intensifying the flavor. It also allows the butter to solidify so your cookies bake slow and steady in the oven.
Bakery Style Chocolate Chip Cookies: Frequently Asked Questions
This could be due to a few things, so I recommending reading my baking tips above to help troubleshoot. It could either be that too much flour was used, the eggs were too cold before mixing, or the dough was over mixed.
Can you? Yes. But should you? I don’t recommend it. If you prefer a smaller cookie, try my soft chocolate chip cookies or BEST chocolate chip cookies. The reason why these cookies are so large is so you can get that signature gooey texture in the center. If the cookies are smaller, they’ll likely turn out a bit more cakey.
Again, I highly recommend using European or cultured butter as this will give you the BEST flavor and texture. If you can’t get your hands on some, regular butter will do the job.
For dark chocolate, I recommend Guittard bittersweet chocolate wafers or Trader Joe’s 72% dark chocolate chips. For milk chocolate, I like the Lindt milk chocolate bars.
Yes. Once the dough has chilled overnight, place the dough balls into a freezer safe storage bag. They should keep for up to 3 months. To bake, place the cookie on a baking sheet lined with parchment paper and preheat the oven to 340F. Bake for 18-20 minutes, then wack the tray against the counter a couple times. Then cool and enjoy!
To reheat an already-baked cookie, preheat the oven to 325F and bake for about 5 minutes.
For more of my BEST chocolate chip cookie recipes, check out my:
- BEST Chocolate Chip Cookies
- Peanut Butter Chocolate Chip Cookies
- Butter Pecan Chocolate Chip Cookies
- White Chocolate Macadamia Nut Cookies
- Salted Butterscotch Chocolate Chip Cookies
- Brown Butter Chocolate Chip Cookies
- Crispy Chocolate Chip Cookies
Make sure to tag me @butternutbakery on Instagram and leave a review below if you make these Bakery Style Chocolate Chip Cookies. To pin this recipe and save it for later, you can use the button on the recipe card, the buttons above or below this post, or on any of the photos above. Happy baking!
Watch how to make these bakery style chocolate chip cookies:

Bakery Style Chocolate Chip Cookies
- Total Time: 35 minutes + overnight chill
- Yield: 6 large cookies
Description
These are the ULTIMATE bakery style chocolate chip cookies that you can make right at home. They’re large and in charge with a gooey center, chewy edges, and rich flavor using a few secret ingredients.
Ingredients
- 2 1/4 cup (292g) all purpose flour
- 1 tsp cornstarch
- 1/2 tsp baking powder
- 1/4 tsp baking soda
- 1/2 tsp salt
- 1 cup (220g) unsalted European style butter,* room temp
- 3/4 cup (150g) dark brown sugar, packed
- 1/4 cup (50g) granulated sugar
- 1 large egg + 1 egg yolk, room temp
- 1 1/2 tsp vanilla bean paste (or 2 tsp vanilla extract)
- 1 cup (160g) good quality dark chocolate wafers or chips
- 3/4 cup (130g) good quality milk chocolate bar, chopped
- Flaky sea salt for sprinkling
Instructions
- Note: the cookie dough will need to chill for at least 4 hours or overnight.
- In a medium bowl, whisk together the flour, cornstarch, baking powder, baking soda, and salt. Set aside.
- In a large mixing bowl using a hand or stand mixer with the paddle attachment, add the butter and sugars. Beat on medium-high speed until pale and fluffy.
- Scrape down the bowl and add in the eggs and vanilla. Beat on medium-high speed again for about 3 minutes or until pale and creamy.
- Scrape down the bowl and give it a good mix again.
- Dump in the dry ingredients and mix on low-medium speed until it’s almost combined.
- Remove the bowl from the stand and add in the chocolate. Use a rubber spatula to fold it in and work in the remaining bits of dry ingredients. Do not over mix.
- Add a sheet of wax or parchment paper to a food scale and another sheet to a small cookie tray. Weigh out each cookie to be 6 oz (this is equal to 3/4 cup if you do not have a food scale). Shape the dough so that it’s fairly tall (see picture in post for reference) and place the dough balls side-by-side on the tray. Press a few extra chocolate chips on top if desired.
- Let the dough chill uncovered for at least 4 hours or preferably overnight.
- To bake, preheat the oven to 350F and place 3 cookies on a large baking sheet lined with parchment paper. Make sure they’re well spaced apart.
- Bake for 13-16 minutes, or until the edges are a pale golden color and the center looks dull on the surface but doughy in the middle. If the cookies still have a mound in the center after 13 minutes, keep baking for another 2-3 minutes and it should smooth out.
- Right when you remove the tray, wack it against the surface of your oven or countertop a couple times. This will help flatten out the cookie and give you a rich and dense center. Use a fork to scoot in any edges that look a bit wonky. **If your cookies did not spread properly, see the FAQ section in this post.
- Sprinkle the warm cookies with a bit of sea salt and let them settle on the baking sheet for about 3-5 minutes.
- When they’ve firmed up a bit, transfer to a cooling rack and continue to bake the rest of the cookies. **See notes for freezing instructions.
- Enjoy warm for a more gooey center or cooled for a dense and soft cookie. Enjoy!
Equipment
 Buy Now →
 Notes
BUTTER – I HIGHLY recommend using European style (also known as cultured) butter here in order to get that rich bakery-style flavor. You’d be surprised by how much depth it adds to a cookie. If you can’t get your hands on some, it’s OK to can use standard unsalted butter.
HOW TO FREEZE – Once the dough has chilled overnight, place the firm cookie dough balls into a freezer safe ziplock bag. They will keep in the freezer for up to 3 months. When you want a fresh cookie, place the frozen cookie dough on a baking sheet lined with parchment paper, then preheat the oven to 340F (yes, 340, not 350). Bake for 18-20 minutes or until the edges are golden. Wack the pan against the counter a couple times to help flatten them out, then cool and enjoy!
- Prep Time: 20 minutes
- Cook Time: 15 minutes
- Category: Dessert
- Method: Baking
- Cuisine: American
Join Our Community

Meet Jenna
I’m the creator, baker, and photographer behind Butternut Bakery. Here I share desserts for every diet because I believe everyone should have a chance to indulge!


Best cookies ever! Thank you for this recipe, this is what a perfect cookie tastes like
This is the best cookie I have ever made, and I have tried a lot of recipes. I would like to try it making 3 oz cookies next time. It was flexible…I used tillamook butter, didn’t have corn starch, and only had morton’s table salt. I also did mini m&ms for valentine’s day rather than chocolate. The texture and taste was great. It truly was the best cookie I’ve ever made.
Sounds amazing! You can definitely make smaller cookies, just be sure to reduce the bake time by a couple minutes.
These cookies are amazing!! They’re even better after sitting for a day too. I want to make these into a double chocolate chip cookie, using cocoa powder. Do you have any recommendations for doing this?
I have a double chocolate chip recipe that I based off of this one!
What chocolate do you recommend?
I linked the chocolates I like to use in the recipe 🙂
Is it okay to use light brown sugar or will it ruin the recipe? Very excited to make these!
You can use light brown!