Peanut Butter Banana Upside Down Cake
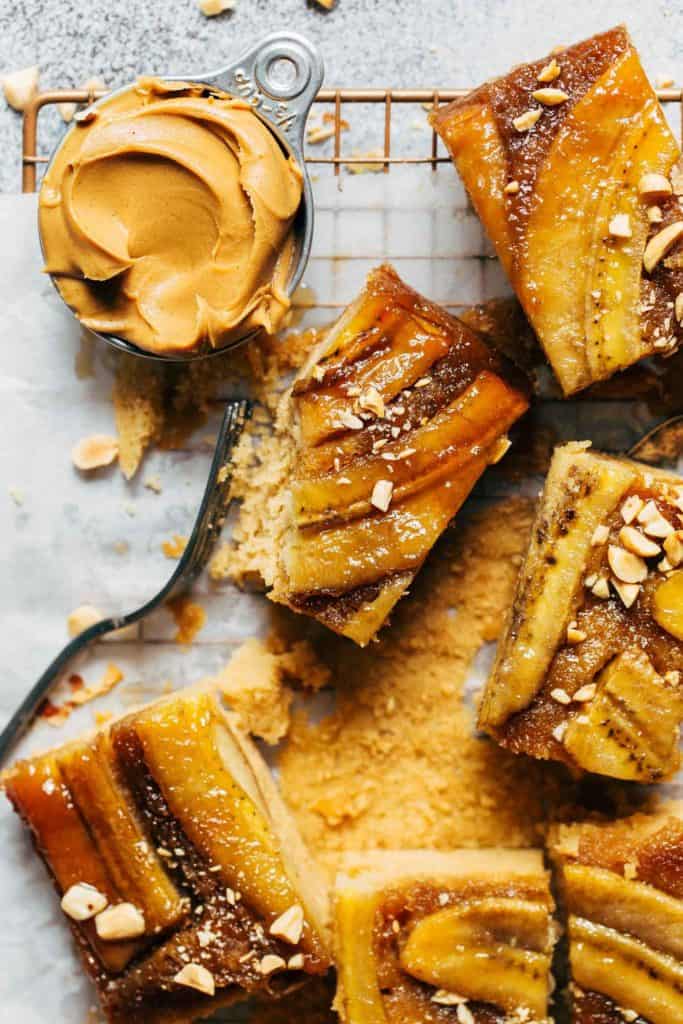
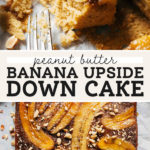
This is unlike any other banana upside down cake because it’s made with a moist peanut butter cake! Caramelized bananas are baked in peanut butter cake batter, providing the best combination of sweet banana and rich nuttiness.
This post is sponsored by Danish Creamery but all thoughts and opinions are my own. Thank you for supporting the brands that make Butternut Bakery possible!
Peanut butter and banana will forever be my favorite flavor combination. If you grew up on peanut butter and banana sandwiches like me, you understand the amount of nostalgia that comes along with it! The fatty richness of peanut butter paired with the sweet creaminess of bananas is just a match made in heaven, which is why I knew I had to bring the two together in a banana upside down cake.
This moist peanut butter cake recipe is baked with a layer of thick sliced bananas resting in a bed of caramel. To make this cake extra special, I’m using my favorite European style butter by Danish Creamery. This slow churned butter provides an extra layer of flavor in both the caramel AND the cake, and creates a delicious rich texture. It’s the secret baking ingredient that helps elevate any dessert!
What makes a banana upside down cake?
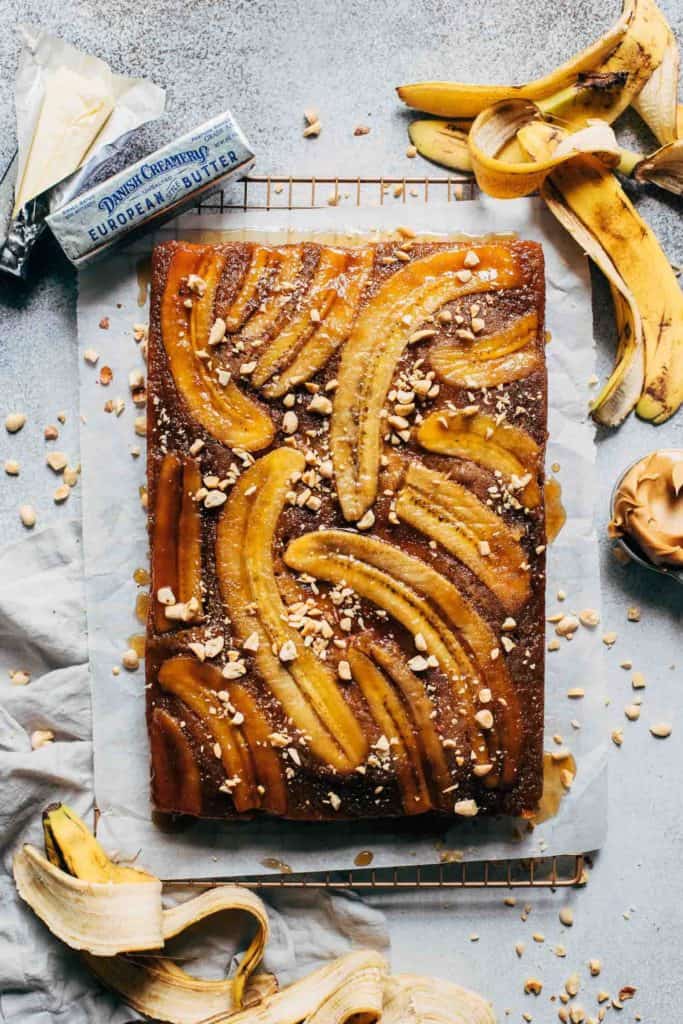
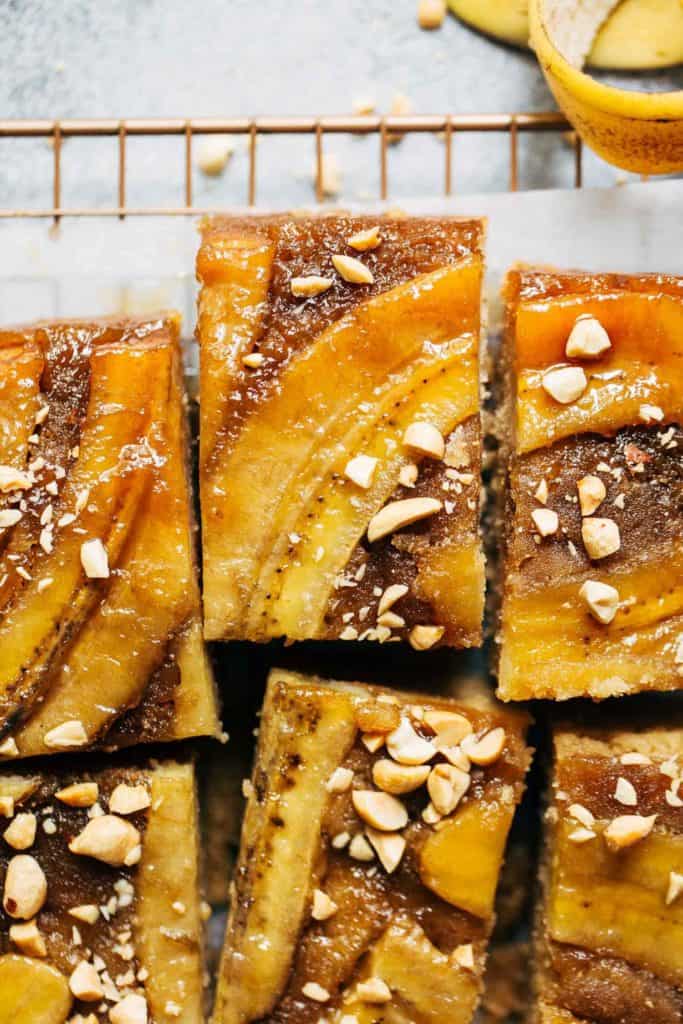
If you’ve never had a banana upside down cake, prepare to have your mind blown. It essentially takes the place of frosting on top of a cake, as it’s a layer of sweet caramelized bananas on top of a warm sheet cake. The term “upside down” comes from the fact that, once baked, the cake is turned upside down to reveal the bananas on the surface.
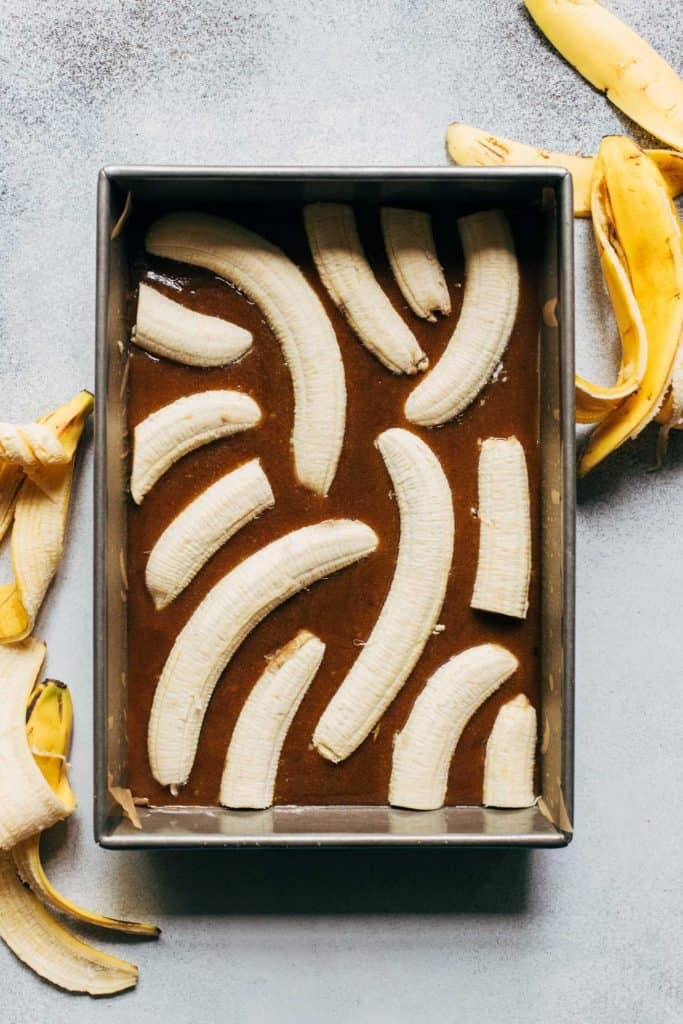
This is because the bananas are baked at the bottom of the cake, sitting in a pool of butter and brown sugar. Then the cake batter is poured on top. As the cake bakes, that butter and sugar turn into caramel and tenderizes the bananas. When the cake has baked and cooled, flipping the cake upside down takes the bananas from the bottom to the top of the cake. This reveals a beautiful layer of bananas and glossy caramel that sinks into and drips down the sides of the cake. It’s quite the spectacle and tastes just as good as it sounds!
How to make moist peanut butter cake
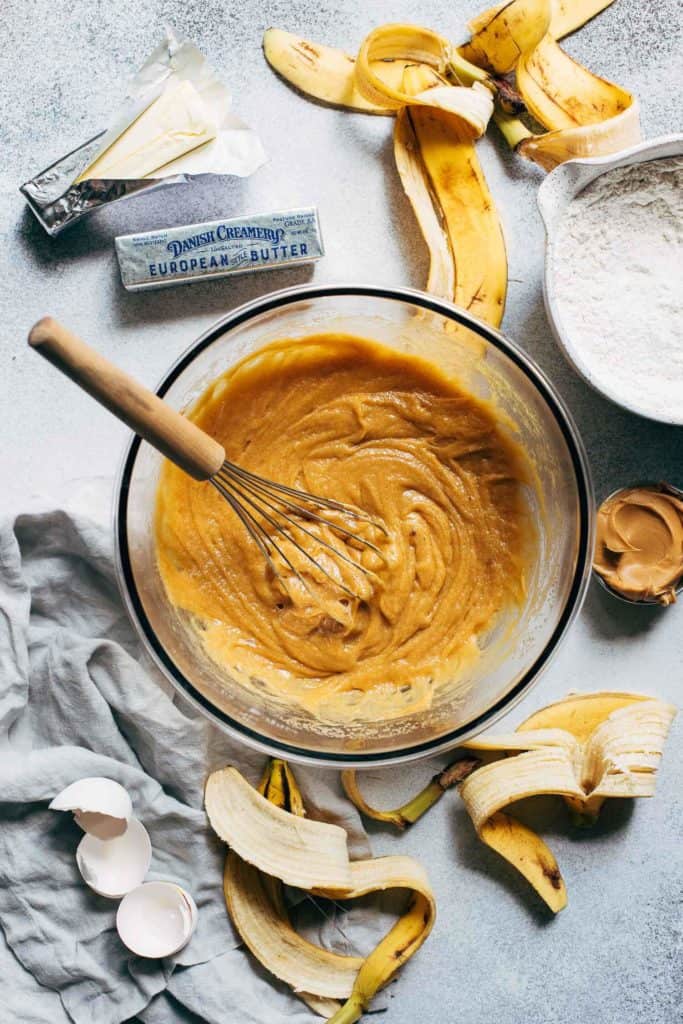
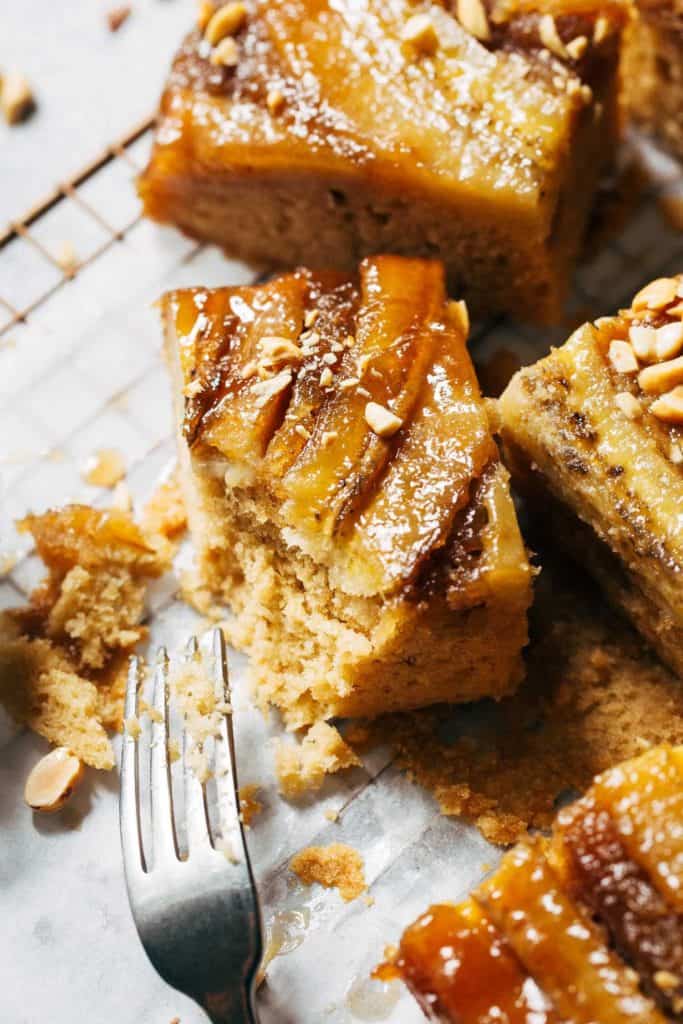
In theory, peanut butter cake sounds amazing. The rich nuttiness of peanut butter wrapped up on a moist and fluffy cake is like a dream. Unfortunately, incorporating peanut butter into cake can get a bit tricky. Especially because the density and fattiness of peanut butter, as it tends to weigh down batter. This is great for desserts with ooey gooey textures, but not so great for light and fluffy cakes. I had to test this recipe quite a few times to get the texture just right, providing a moist and fluffy cake with tons of peanut butter flavor. Here’s how it’s done:
- Leaveners – This recipe calls for just baking powder, as this provides a consistent well-rounded lift. Since the surface of the cake turns into the bottom of the cake once turned upside down, it’s important to bake a banana upside down cake with a flat surface. Baking powder provides the perfect even lift across the entire cake, creating a fluffy texture that’s not too dense or too light.
- Butter – Since the peanut butter containers a high content of fat, baking this cake with oil would have created a heavy texture. But I needed something a bit more rich than traditional butter, as I wanted it to pair well with the richness of the peanut butter. In comes Danish Creamery! Their European style butter provides an extra layer of flavor AND moist texture. European style butter is slow churned for a velvety texture and high butterfat. The butter then sits for a certain amount of time, allowing the flavors to fully develop just like a fine wine.
- Flour – I say this in every post, and for good reason. It’s the number one reason why most recipes fail. If there’s too much flour, the cake will turn out dry and crumbly. If you can, measure the flour with a food scale. Otherwise, to ensure you use the exact amount needed, gently spoon the flour into your measuring cup and level if off with a flat edge. If you scoop directly into the flour container, it packs it down into the cup which could leave you with 1/4 cup or more of added flour.
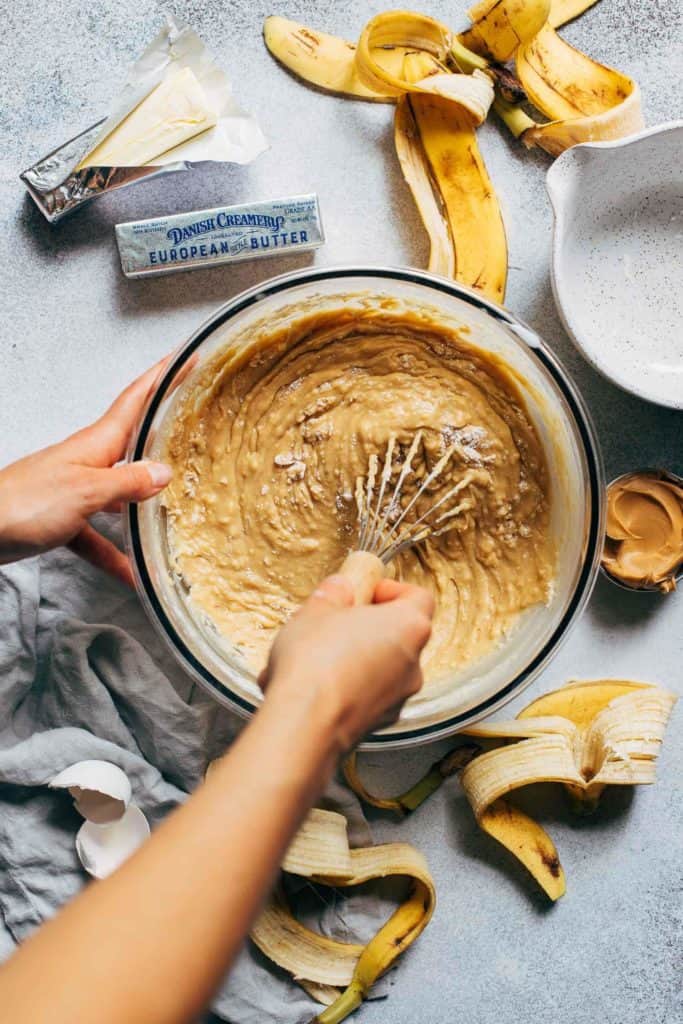
- Mixing – The entire batter is mixed by hand which is good for two reasons. 1 – This means the recipe requires zero special equipment. 2 – Mixing by hand makes it much easier to control just how much you mix. Over mixing cake will likely deflate the center once baked. By mixing JUST until the batter comes together, the cake will turn out tender and fluffy.
When to turn out banana upside down cake
The timing here is crucial, because if you turn it out too soon the cake may crumble. If you turn it out too late, the caramel will stick to the paper and peel off some of the cake along with it. So, after the cake has been removed from the oven, set another time for 10 minutes. This amount of time is just enough to allow the cake to slightly cool, while still allowing that caramelization to remain warm and fluid.
When turning it out, first lift up on the sides of the parchment paper to loosen the cake. Then, place a cooling rack or serving tray on top of the cake pan. With one hand covering the cooling rack and the other placed underneath the cake pan (using a hot pad as the pan is still warm), quickly flip the cake pan over top the cooling rack and place everything down together. Then, carefully lift the cake pan off of the cake and peel back the parchment paper to reveal your banana cake.
What is the best peanut butter to use?
Depending on the recipe, some require traditional creamy peanut butter and others need natural drippy peanut butter. Since natural peanut butter tends to be more oily and heavy, go with traditional creamy peanut butter as this will not weigh down the cake. As far as substitutions, you can us any nut or seed butter, as long as it’s creamy and no-stir.
How to store banana upside down cake
Keep the cake in a cake container and store it in the refrigerator and it will keep for up to 5 days. This will slow the browning of the bananas. Otherwise, I highly recommend serving this cake fresh and warm to get the most out of the flavor and texture.
For more delicious banana dessert recipes, check out my:
- Chocolate Chip Banana Bread
- The BEST Banana Scones
- Banana Bread Cinnamon Rolls
- Banoffee Icebox Cake
- Banana Coffee Cake
Make sure to tag me @butternutbakery on Instagram and comment below if you make this Peanut Butter Banana Upside Down Cake. To pin this recipe and save it for later, you can use the button on the recipe card or on any of the photos above. Happy baking!
Watch how to make this peanut butter banana upside down cake:
Peanut Butter Banana Upside Down Cake
- Total Time: 1 hour 10 minutes
- Yield: 16 slices
Description
A moist peanut butter cake baked with caramelized bananas
Ingredients
Banana Topping
- 4–5 yellow bananas (not ripe)
- 10 tbsp Danish Creamery unsalted European style butter, melted and warm
- 1 1/4 cup (260g) light brown sugar, packed
Peanut Butter Cake
- 2 1/2 cups (330g) all purpose flour *see notes for GF option
- 2 tsp baking powder
- 1/2 tsp salt
- 1 cup (200g) granulated sugar
- 1/2 cup (100g) light brown sugar, packed
- 3/4 cup (200g) creamy peanut butter
- 1/2 cup (110g) Danish Creamery unsalted European style butter, melted and cooled
- 2 tsp vanilla extract
- 3 large eggs, room temp
- 1 cup (240ml) whole milk, room temp
Instructions
Banana Topping
- Preheat the oven to 350F and grease and line a 9×13 baking dish with parchment paper, ensuring it covers the entire bottom of the dish and up the two longest sides.
- Vigorously whisk together the warm melted butter and brown sugar until the butter is no longer separated and it forms a paste-like consistency.
- Pour the mixture into the prepared baking dish and spread it in an even layer, completely covering the bottom of the pan.
- Peal your bananas and slice them down the center lengthwise. Place the bananas, cut side down, into the butter and brown sugar. Try to cover as much of the surface as possible, evenly spacing the bananas (see picture in post for reference). Set aside.
Peanut Butter Cake
- In a medium bowl, whisk together the flour, baking powder, and salt. Set aside.
- In a large mixing bowl, whisk together the sugars, peanut butter and melted butter.
- Once smooth, whisk in the vanilla and eggs.
- Alternating between the dry ingredients and the milk, mix the dry ingredients in thirds and the milk in two. So mix dry, then milk, then dry, then milk, then dry. The batter should be thick but still easy to whisk.
- Cascade the batter over top the bananas, constantly moving the bowl as you don’t want the batter to collect all in one spot. This can disrupt the distribution of the bananas underneath.
- Evenly spread the batter and bake for 45-50 minutes or until the edges and surface are lightly golden and a toothpick in the center comes out lean with a few moist crumbs.
- Remove the cake from the oven and set a timer for 10 minutes. After the 10 minutes, lift the edges of the parchment paper just to help loosen the cake. Then, place a cooling rack or serving tray upside down on top of the cake pan.
- With one hand on top of the cooling rack and another underneath the pan, flip the cake onto the rack and set everything down. Lift up the pan and peel pack the paper to reveal the caramelized bananas underneath.
- Slice and serve while the cake is still a bit warm. Enjoy!
Notes
GLUTEN FREE – Although I have not tested it, I believe this cake would work well with gluten free flour. Substitute the regular flour with a good quality gluten free baking flour – one with xanthan gum in the mix. I also suggest weighing the flour rather than measuring by cups, to ensure accuracy.
- Prep Time: 30 minutes
- Cook Time: 40 minutes
Join Our Community

Meet Jenna
I’m the creator, baker, and photographer behind Butternut Bakery. Here I share desserts for every diet because I believe everyone should have a chance to indulge!

I love it! I just made this. Oh! If only I could share the smell with you guys! Amazing! The cake is super moist and spongy. Only next time I would make the sugary layer a little thinner. It was a too sweet for me. Only a few millimetres will be enough. For the rest, it is perfection!
Huge fan!! Do we need to use whole milk or may we substitute for a plant milk?
I came over from your tik tok to search for this cake because you didn’t leave the measurements (and I reallyyy wanted to make it) and then I actually found your recipe! Yay I’m excited to try this!
Looks great can’t wait to try it I love the whole rest of your recipes I’m baking them one by one they’re all great. My girlfriend absolutely loves them and she thinks I’m a great cook and even better Baker. Thank you so much for helping my baking skills, and helping me get closer to my girlfriend thank you again.
Hi dear Jenna❤️
I wnt to try this yummy recipe,but I can’t find the butter that you named
Can I use any other butter?