Chocolate Peanut Butter Marshmallow Treats
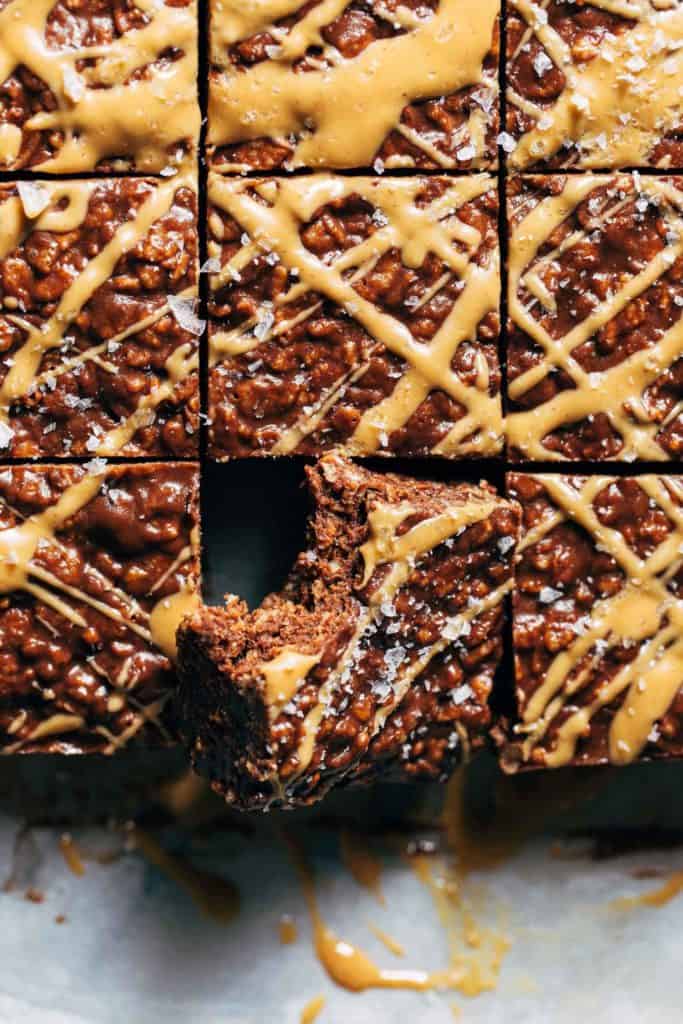
If you need a super quick and easy recipe that everyone will love, these marshmallow treats are it! They’re just as soft and gooey as a good rice krispie treat, but with peanut butter and chocolate melted into the mix. Once melted, mixed, pressed, and chilled in a pan, these bars slice into thick and rich marshmallow treats. Top with more melted peanut butter or toss these marshmallow bars in powdered sugar! I’ve also included a simple cereal swap to make these gluten free if needed!
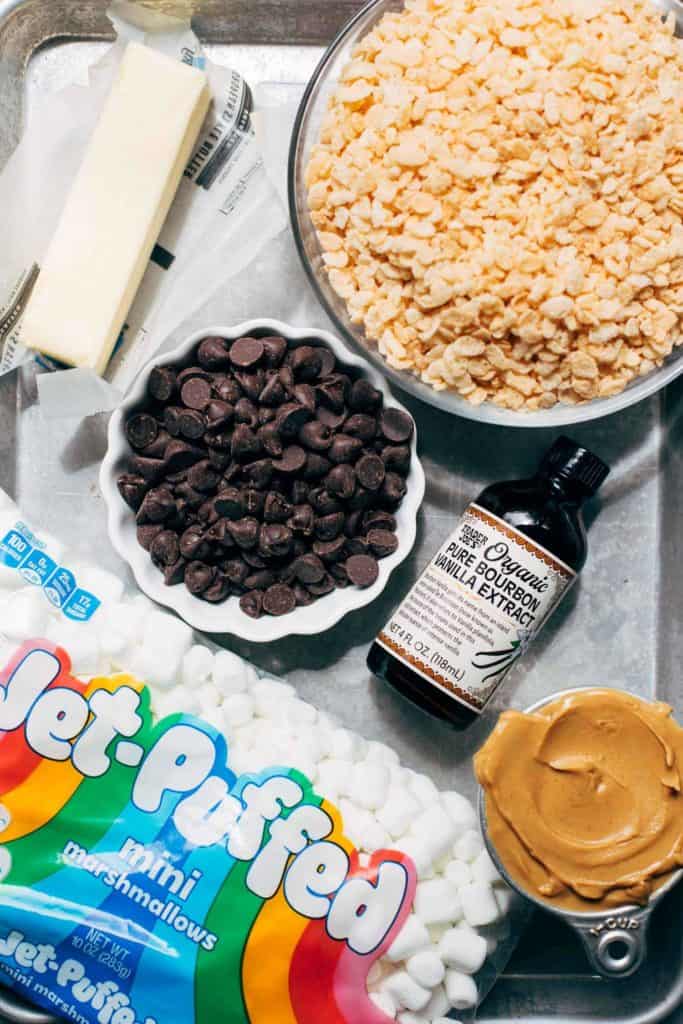
Chocolate peanut butter marshmallow treats ingredients
This recipe only requires 6 basic ingredients that you either have on hand OR can easily pick up at any local grocery store! Here’s what you’ll need:
- Butter
- Chocolate Chips
- Peanut Butter
- Marshmallows
- Rice Cereal
- Vanilla Extract
These ingredients can also be easily subbed in to adjust to most food sensitivities!
If you need these to be gluten free, swap the rice cereal with Rice Chex or certified gluten free puffed rice cereal.
To make these dairy free and vegan, swap the butter with plant-based butter and sub in dairy free chocolate chips. I like Trader Joe’s semisweet chocolate chips or Enjoy Life, and Miyokos or Earth Balance for the butter.
If nuts are off the table, simply sub in sunflower seed butter. My favorite is creamy SunButter.
No matter how you mix it, these bars turn out delicious either way!
Tips for making the BEST marshmallow treats
To get the most out of this simple recipe, follow these super simple tips:
- Butter – For the biggest flavor payoff, use quality butter such as cultured or European style butter. It’s much more flavorful than standard butter and will lend a rich chocolate marshmallow treat.
- Creamy Peanut Butter – Stick with the standard creamy peanut butter for this recipe like Jif or Skippy. It lends the best consistency.
- Chocolate – This is another ingredient to splurge on as good chocolate makes ALL the difference. I love Guittard dark chocolate chips in the red bag but don’t be fooled by the name as they lean more towards semisweet in flavor.
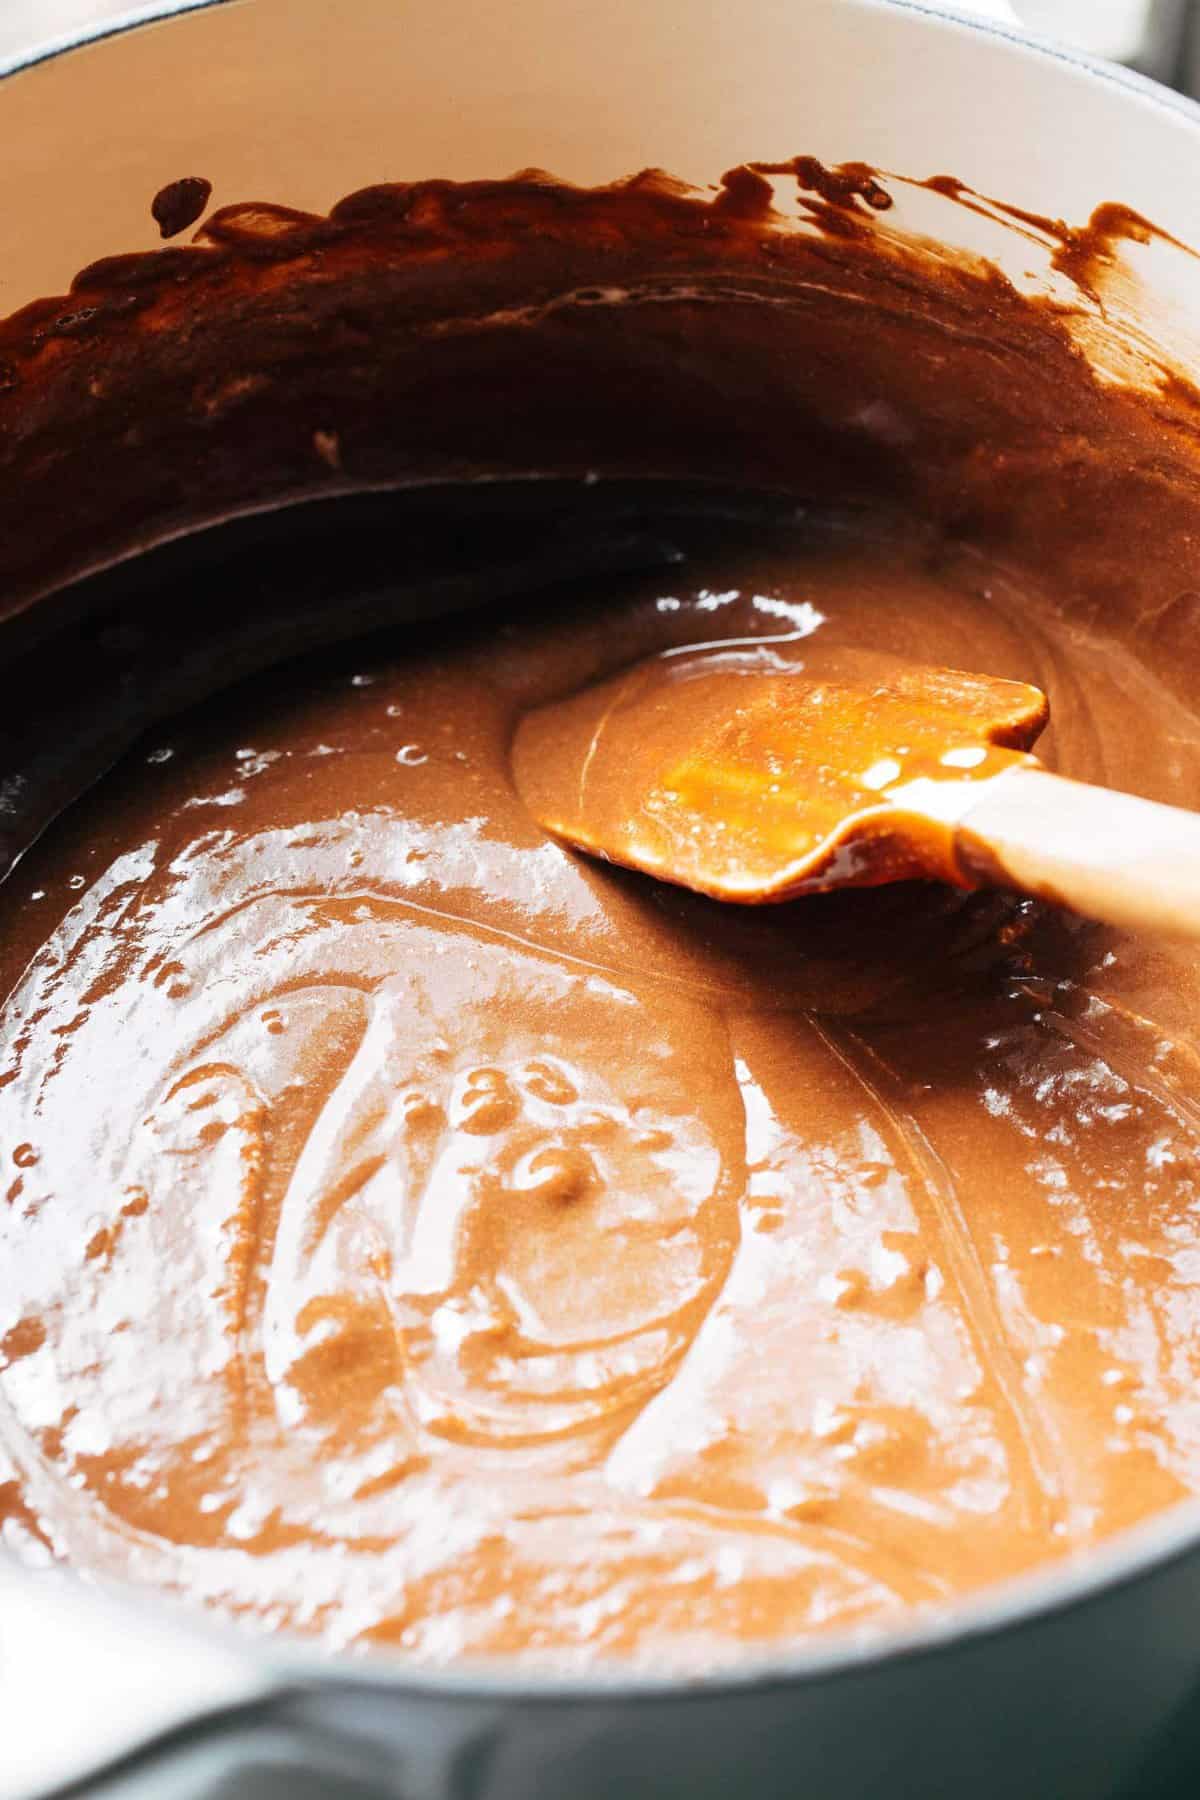
- Melting – I usually like to partially melt down the marshmallows when I make marshmallow treats, but not this recipe! Make sure everything is completely melted and smooth before tossing in the cereal.
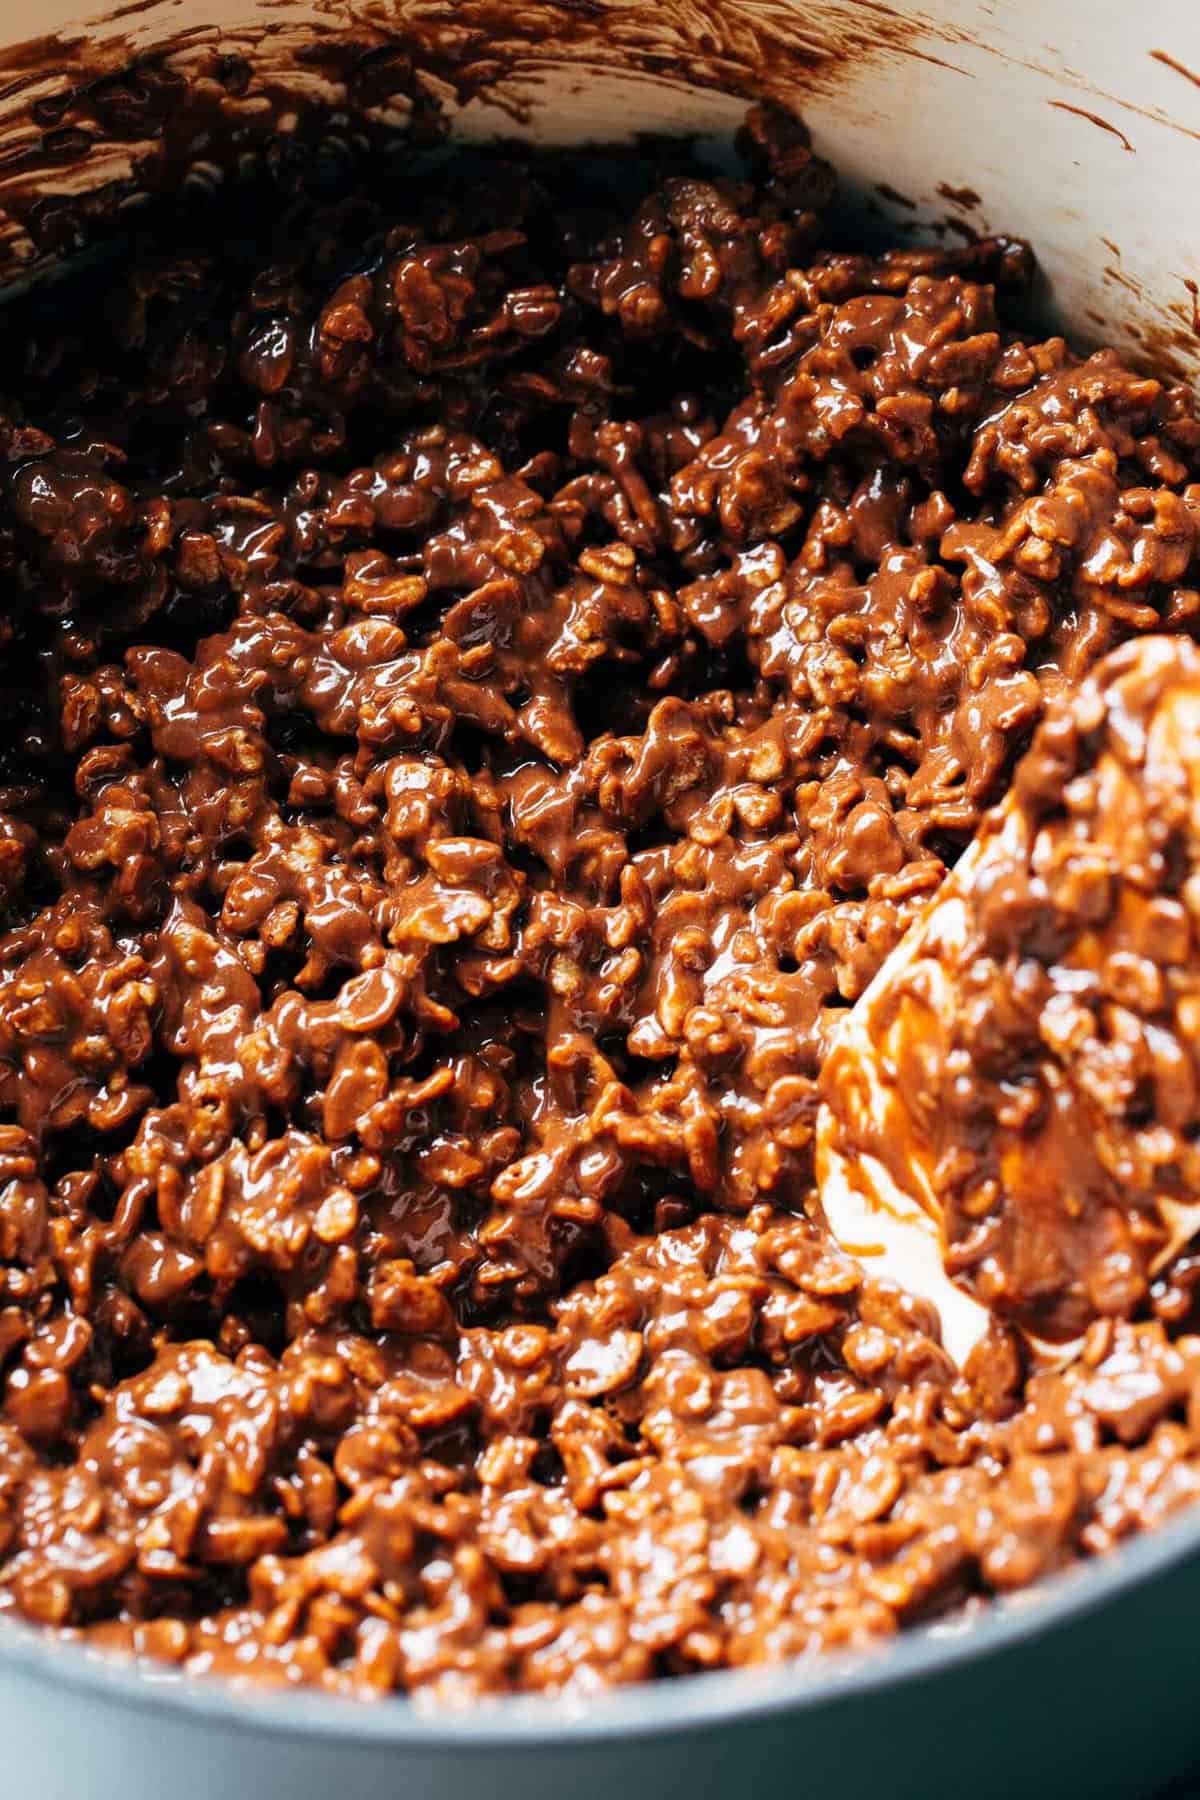
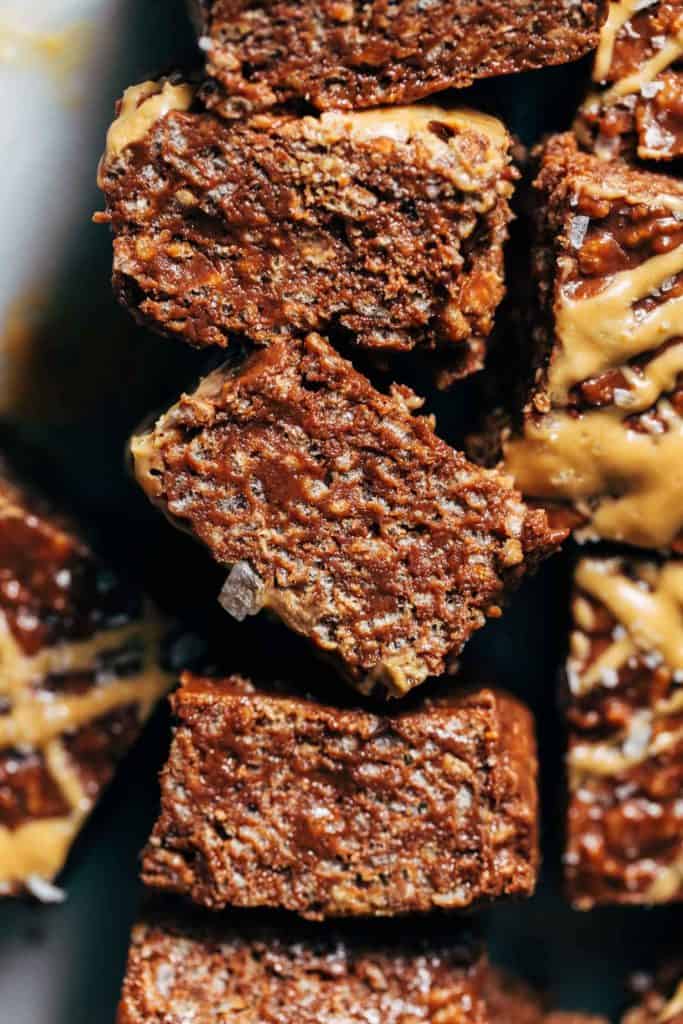
- Pressing – Really pack the mixture down into the baking pan. The more tightly packed the bars, the better the consistency. They’ll turn out super dense and gooey but with a satisfying crunch from the cereal.
- Sea Salt – This is completely optional, but I top almost all my desserts with flaky sea salt! Sprinkle a few pinches on top after drizzling with more peanut butter.
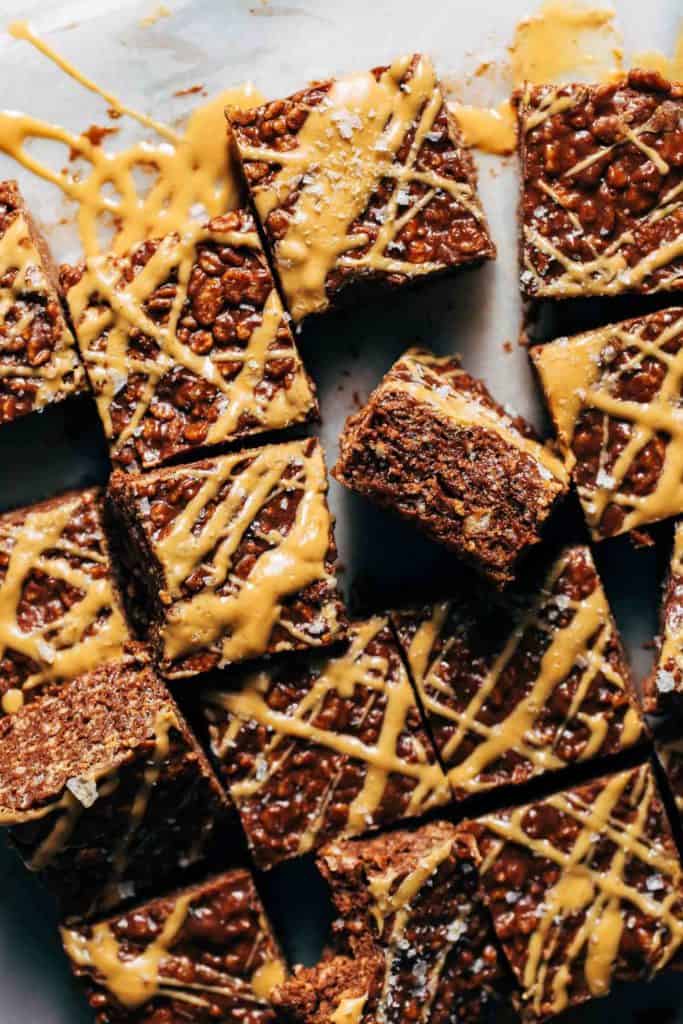
How to slice and serve peanut butter chocolate marshmallow treats
After the mixture is pressed into the pan, chill the bars in the refrigerator just until set.
To test for doneness, lightly touch the surface. If it appears dull and feels firm, they’re ready. If they’re shiny and a bit tacky, allow them to chill a bit longer.
Then, when lifting the bars out of the pan, there shouldn’t be any sort of give in the center. If the bars bend in the middle when lifted, they aren’t ready.
When slicing, use a large knife and make quick and swift cuts. Try not to drag the knife long the bars as this can lead to messy slices.
Now they’re ready to eat! Although I personally like to let mine rest at room temperature for about 20 minutes as they’ll turn extra soft and gooey.
How to store marshmallow bars
Keep these bars in an airtight container at room temperature where they’ll keep for about 4 days! I don’t recommend storing in the refrigerator as they can turn stale faster this way.
For more no bake recipes, check out my:
- Cookie Butter Marshmallow Treats
- Toffee Crunch Brown Butter Marshmallow Treats
- Puppy Chow Marshmallow Treats
- Salted Peanut Butter Christmas Trees
- Lucky Charms Marshmallow Treats
Make sure to tag me @butternutbakery on Instagram and leave a review below if you make these chocolate peanut butter marshmallow bars. To pin this recipe and save it for later, you can use the button on the recipe card, the buttons above or below this post, or on any of the photos above. Happy baking!
Print
Chocolate Peanut Butter Marshmallow Treats
- Total Time: 15 minutes
- Yield: 9 bars
Description
These easy no bake marshmallow treats are like extra gooey rice krispie treats with chocolate and peanut butter melted in! They’re so quick to make but yield a thick and rich marshmallow treat that tastes way better than any basic version.
Ingredients
- 1 cup (250g) creamy peanut butter (plus 2 tbsp to drizzle)
- 1 cup (185g) semisweet chocolate chips
- 1/2 cup (110g) unsalted butter
- 1 10oz bag mini marshmallows
- 1 tsp vanilla extract
- 4 cups (120g) puffed rice cereal *GF option here
- powdered sugar for coating (optional)
Instructions
- Grease and line an 8×8 pan with parchment paper. Allow the paper to reach over the edges of the pan for easy removal.
- In a large pot over medium heat, melt down the peanut butter, chocolate, and butter.
- Add in the marshmallows and continue to stir until melted and smooth.
- Remove from heat and stir in the vanilla, followed by the rice cereal.
- Dump the mixture into the prepared pan and press it in evenly.
- Chill the bars for about 45 minutes or until set.
- If coating with powdered sugar, cut the bars into 9 large bars or 16 small bars. Fill a gallon ziploc bag with a few heaping spoonfuls of powdered sugar, add the sliced bars, and gently shake. Enjoy once the bars are fully coated!
- If topping with the peanut butter drizzle, when you’re ready to serve, melt the 2 tablespoons of peanut butter in the microwave then drizzle over top and cut into 9 large bars or 16 small bars and enjoy!
Notes
GLUTEN FREE CEREAL OPTIONS – Sadly, most puffed rice cereals are not gluten free but some still are! If you’d like to make these gluten free, choose a certified gluten free puffed rice cereal or swap in rice chex instead.
- Prep Time: 5 minutes
- Cook Time: 10 minutes
Join Our Community

Meet Jenna
I’m the creator, baker, and photographer behind Butternut Bakery. Here I share desserts for every diet because I believe everyone should have a chance to indulge!
These are incredible! Thanks so much for sharing.
Yay! Enjoy!
Super easy/quick treat! Everyone loved these.
Thank you!
I made a few changes to the recipe based on what I had. I used crunchy peanut butter instead of creamy and I didn’t have any chocolate chips so I used 1/2 c cacao powder and cocoa krispies. They turned out awesome, will definitely make these again but will make sure I have chocolate chips for it. Thank you these were so quick, easy and delicious!
If I make these in a 9×12 pan, do I double the recipe?
I used Kwik Trip butter and Walmart generic brand chocolate chips, marshmallows, peanut butter and rice krispies because I am cheap and these were still fantastic! I would 100% make again, a very easy but a delicious treat.