Lunch Lady Brownies
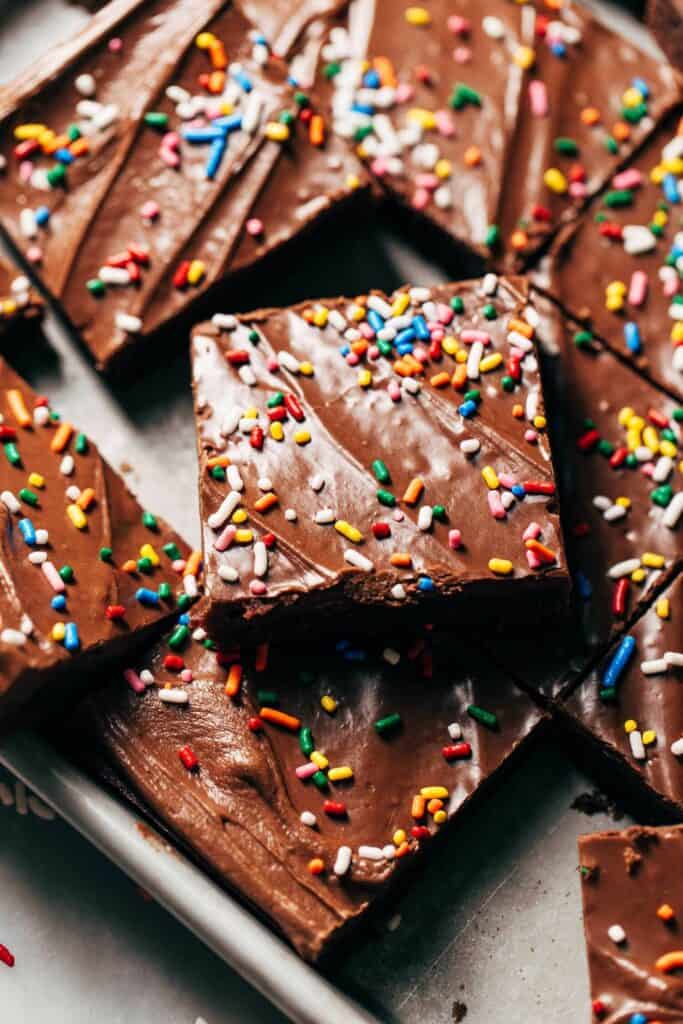
These lunch lady brownies are an old fashioned classic. Thin and fudgy chocolate brownies are topped with a sweet chocolate frosting. It’s a no fail brownie recipe that will make you feel all kinds of nostalgia!
How to make lunch lady brownies
This is the easiest brownie recipe you will ever make! Not only is the batter quick and simple, but it’s also easy to tell when the brownies are done baking.
To start, melted butter and cocoa powder are stirred together. This may seem a bit backwards compared to typical brownie batters, but the warmth of the butter helps activate the cocoa and cut its bitterness.
Then the flour and sugars are mixed in. Another step that feels a bit wrong, but combining all of the dry ingredients with the butter (fat) helps coat the flour to create a barrier between the dry and wet ingredients.
What this does is slow the process of strengthening the gluten strands, thus creating a super tender and fudgy brownie.
Last but not least, the eggs and vanilla are mixed in. A whole tablespoon is mixed in to add an extra layer of classic flavor. It’s very traditional to this old fashioned recipe!
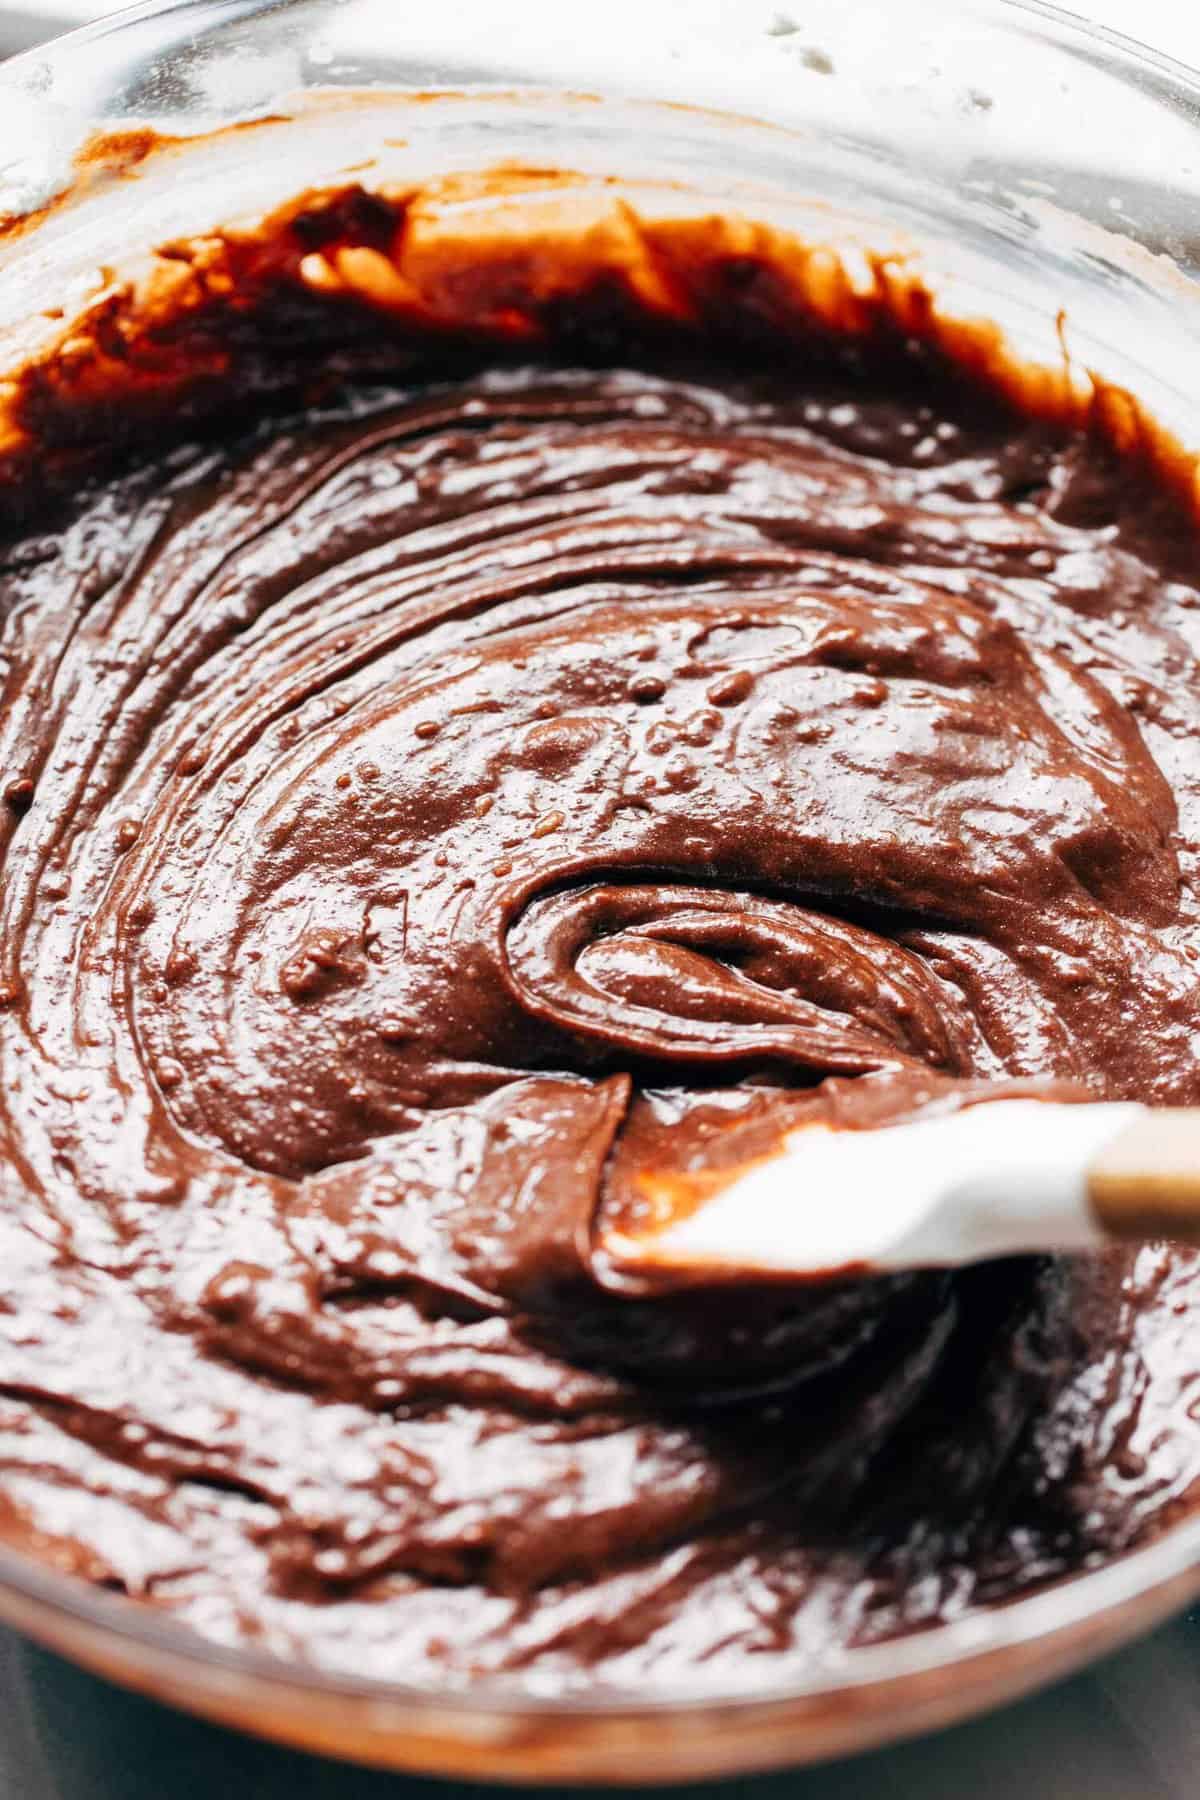
In the end, you’re left with a rich and glossy brownie batter. It’s basically the poster child for all brownie batters.
Best baking pan for lunch lady brownies
This brownie recipe is very forgiving and flexible, so it can be baked in two different sized pans.
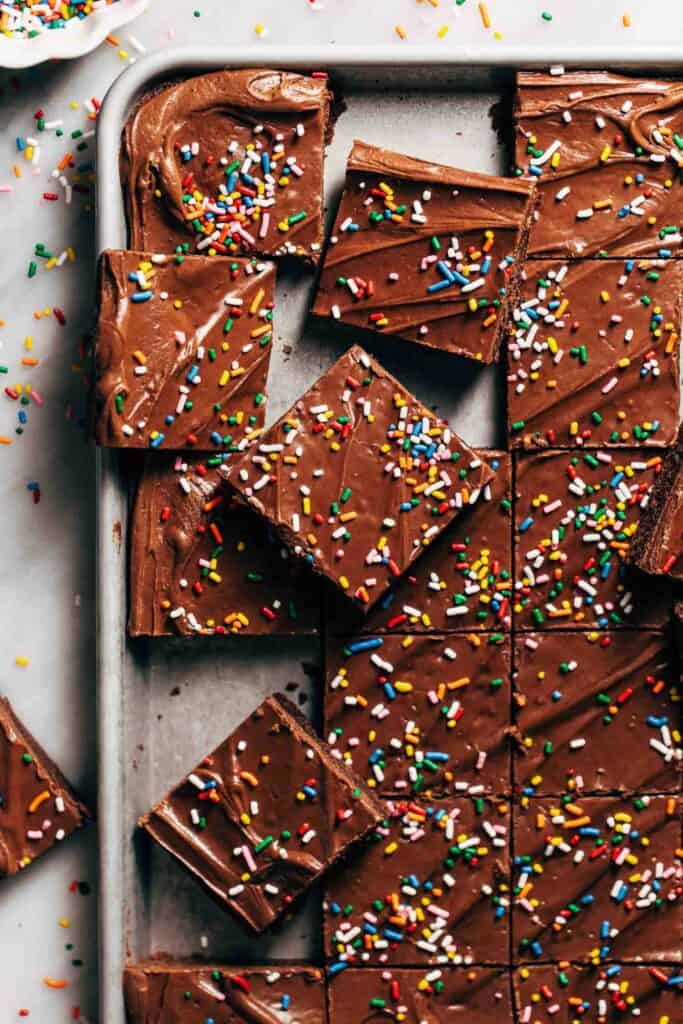
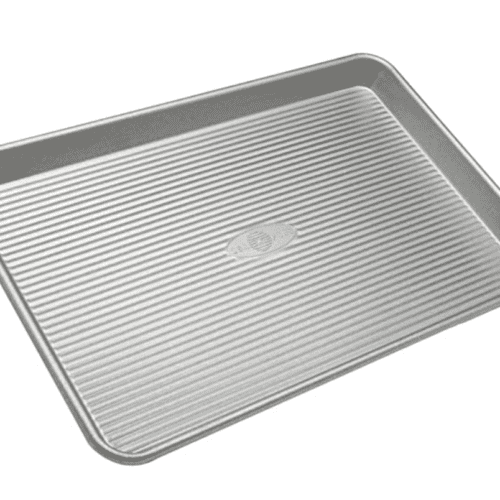
For a classic thin and fudgy brownie, bake in a 10×15″ jelly roll pan. This is my preference because I remember those school lunch cafeteria brownies being so thin in the best way.
But a jelly roll pan isn’t an incredibly common baking pan, so a 9×13″ baking pan will also do the trick! It has to bake for 5 or so additional minutes, but it will yield the same tender and fudgy consistency…only thicker!
Either way, I always recommend baking in a light colored aluminum pan. These conduct heat the best for all types of baking, especially brownies.
How to tell when the brownies are done
Most brownies pose a major guessing game as far as doneness. You can’t use a toothpick because by the time the toothpick comes out clean, the brownies are way over done!
Luckily that’s not the case with these brownies and a toothpick isn’t even needed.
To test for doneness, look at the surface of the brownies. It should appear matte with some small bubbles throughout. Tap the surface with your finger and if it doesn’t stick and you can feel some resistance in the center, they’re done!
How to make brownie frosting
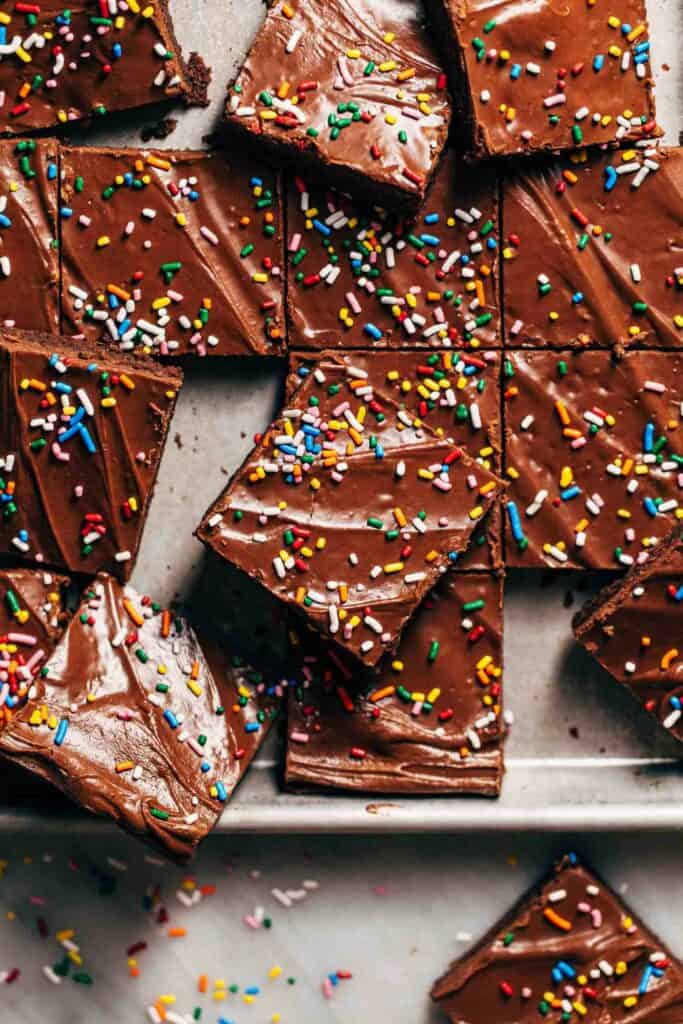
It’s not a lunch lady brownie recipe without the frosting! This is what makes these brownies different from the rest as they’re topped with a thin layer of glossy and sweet chocolate frosting.
It’s made up of four main ingredients:
- Butter
- Cocoa Powder
- Powdered Sugar
- Milk
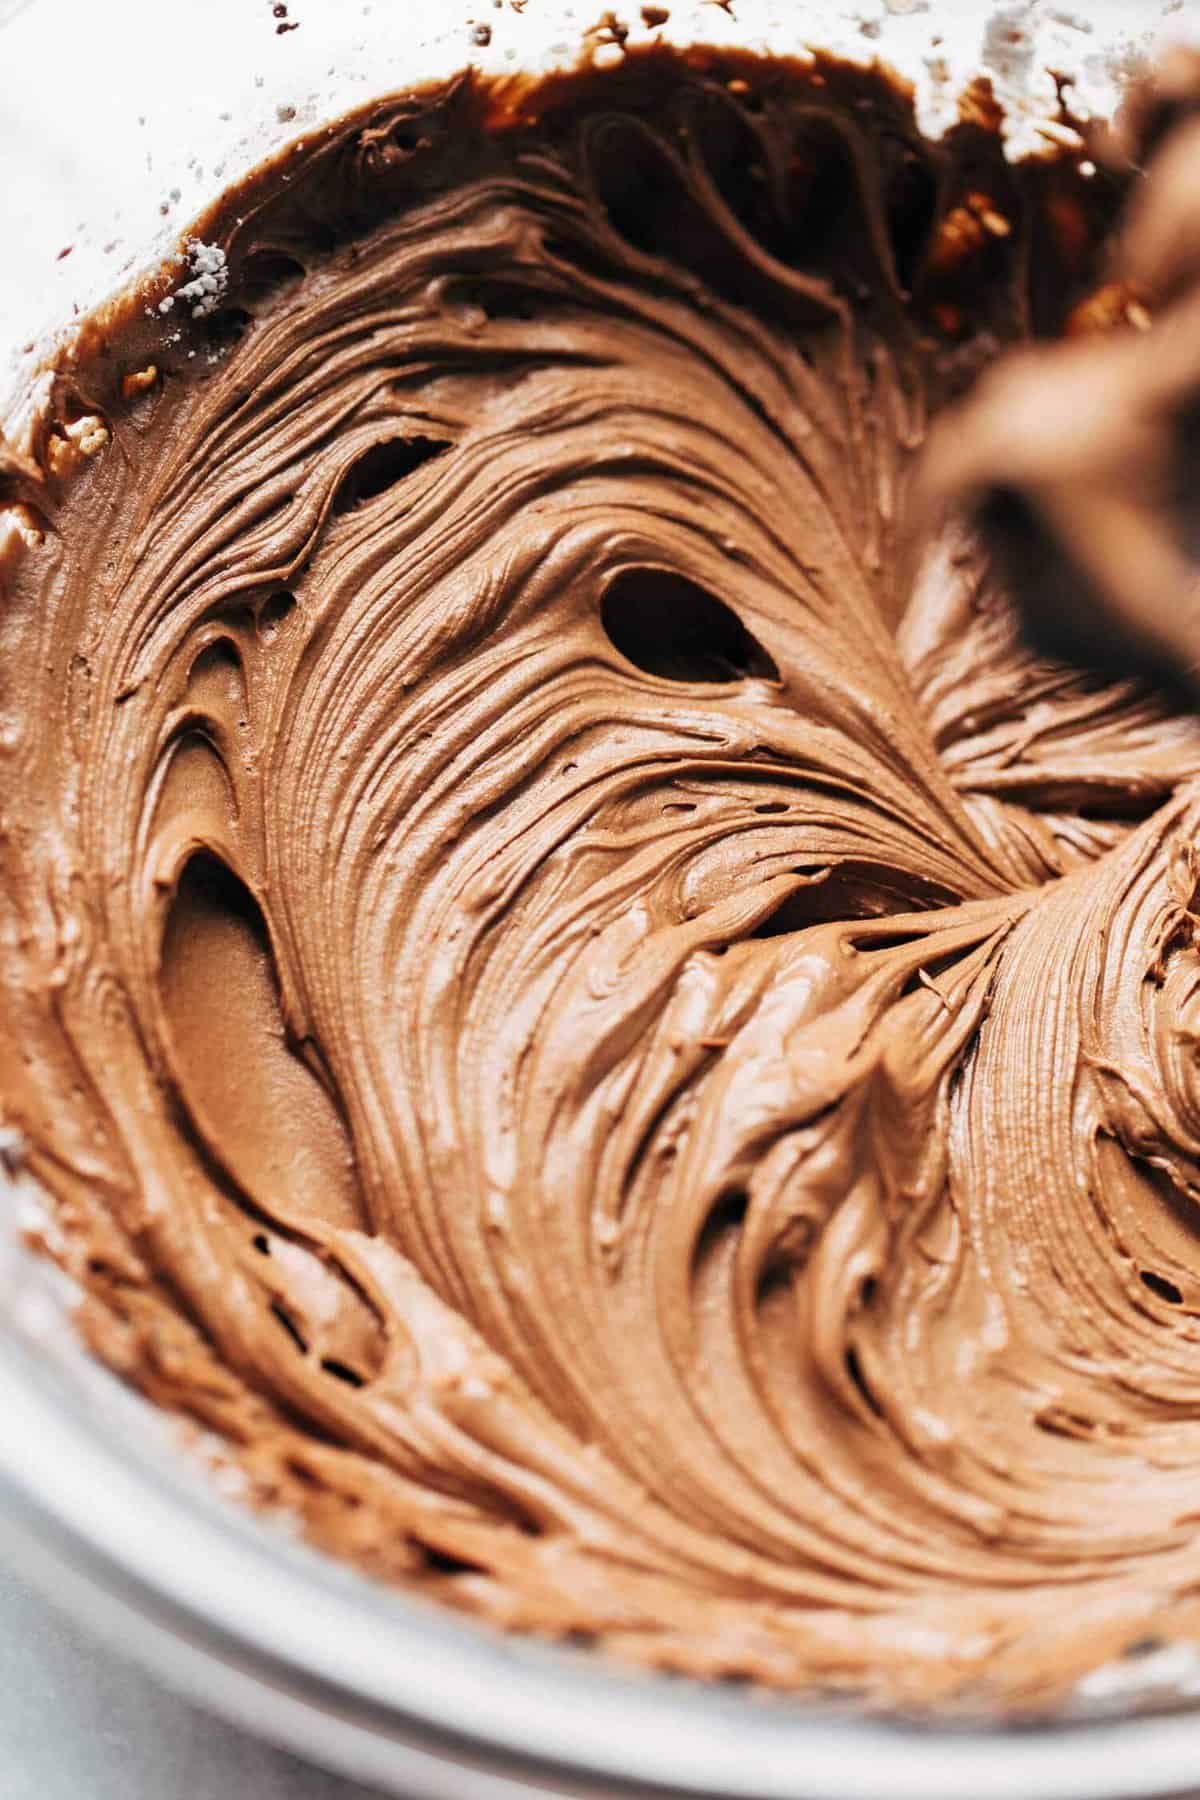
Vanilla and salt are added into the mix to help enhance the flavor. But once all of the ingredients are mixed together, it creates an incredibly smooth and silky chocolate frosting – one that’s a bit softer than traditional buttercream.
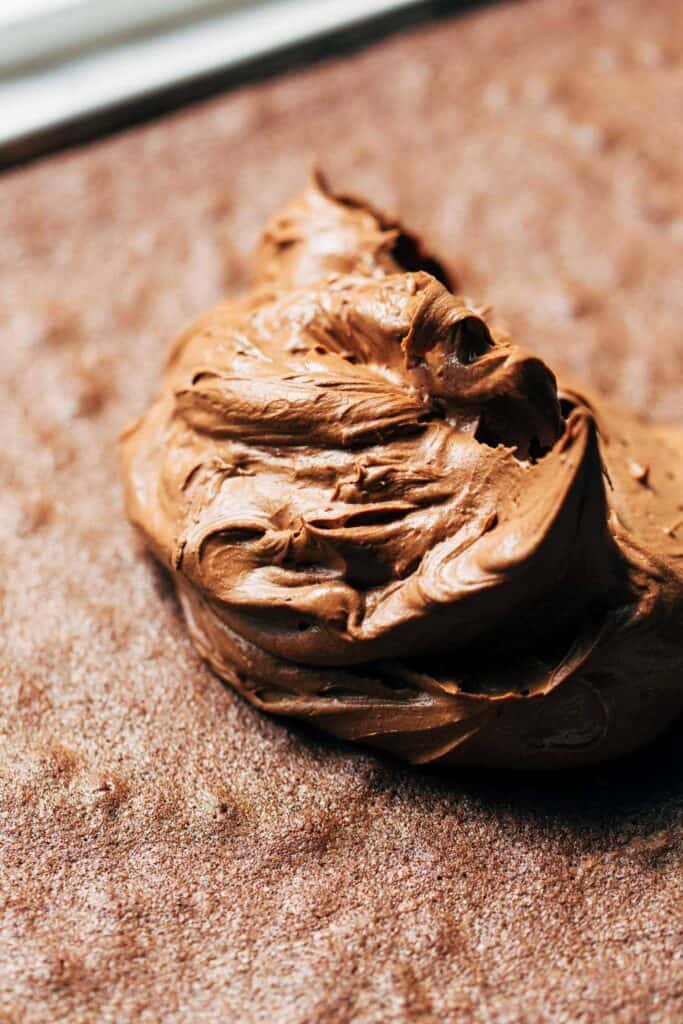
Now here’s a step that I often avoid with my recipes – spreading frosting on top of a warm dessert. It’s usually a big no no because we never want the frosting to melt all over!
That’s just not this case with these frosted brownies. The chocolate frosting is spread on top of the warm brownies to create a soft and silky layer.
The brownie and frosting melt together into the most delicious pairing. Right after the frosting is spread on top, add a few pinches of sprinkles and allow the brownies to cool.
How to serve lunch lady brownies
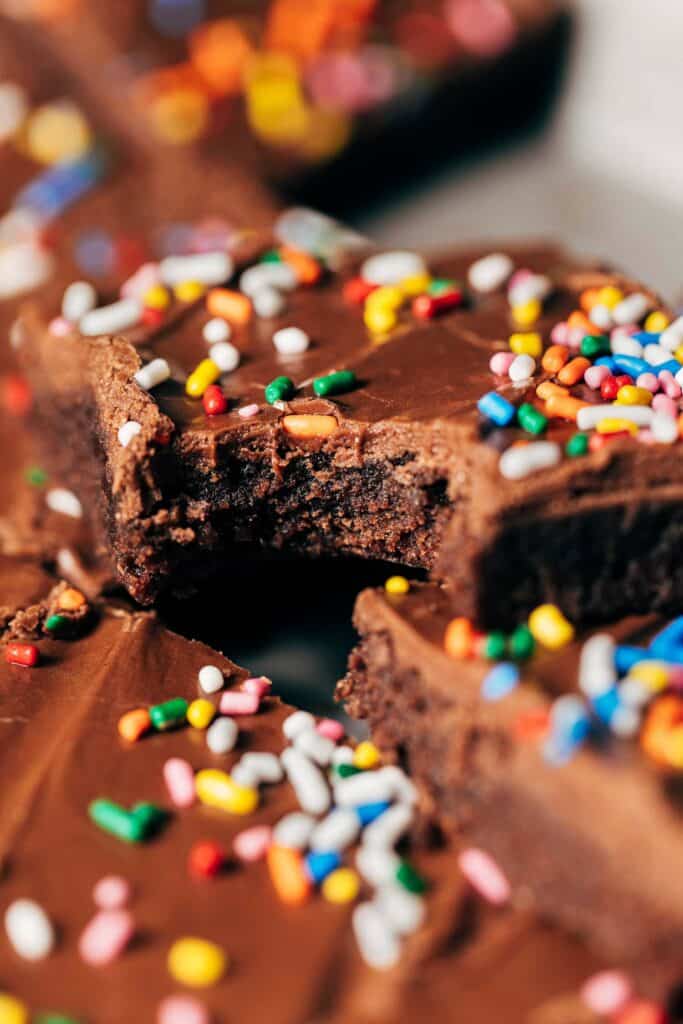
These brownies are best when they’re room temp or even slightly warm. That’s the magic of this recipe is that you don’t have to wait forever for the brownies to cool completely before slicing. They’re thin, sturdy, and hold up well when they’re still warm!
Lunch Lady Brownies FAQs
I haven’t tested it myself, but I think this recipe could work well with a gluten free baking flour. Just make sure it’s a cup for cup flour and I suggest weighing it for accuracy. Otherwise, spoon the flour into a measuring cup and level it off for a light and fluffy cup of flour.
Yes, you can use light brown sugar but for the best flavor and texture I suggest sticking with dark brown sugar!
Yes, feel free too swap in dutch process cocoa for a rich and dark color.
Cover the brownies or store in an airtight container and keep them in the refrigerator. But if it’s just for a day, they can be kept at room temp.
Lunch lady brownies and cosmic brownies definitely toe the same line, but the main difference is that lunch lady brownies are sweeter – think milk chocolate for these brownies vs semisweet chocolate for cosmic brownies!
For more brownie recipes, check out my:
Make sure to tag me @butternutbakery on Instagram and leave a review below if you make these lunch lady brownies. To pin this recipe and save it for later, you can use the button on the recipe card, the buttons above or below this post, or on any of the photos above. Happy baking!
Watch how to make these brownies:

Lunch Lady Brownies
- Total Time: 1 hour 35 minutes
- Yield: 24 brownies
Description
These lunch lady brownies are extra fudgy and filled with nostalgia! They’re just like those thin and sweet brownies they would serve in the school cafeteria…only these are way better. And with sprinkles!
Ingredients
Lunch Lady Brownies
- 1 cup (220g) unsalted butter, melted
- 2 tbsp vegetable oil
- 1/2 cup (50g) unsweetened cocoa powder
- 1/2 tsp salt
- 2 cups (265g) all purpose flour
- 1 cup (200g) granulated sugar
- 1 cup (200g) dark brown sugar, packed
- 4 large eggs, room temp
- 1 tbsp vanilla extract
Chocolate Frosting
- 1/4 cup (55g) unsalted butter, softened
- Pinch of salt
- 1/4 cup (25g) unsweetened cocoa powder
- 2 1/2 cups (270g) powdered sugar
- 1/4 cup (55g) milk
- 1 tsp vanilla extract
- Rainbow sprinkles
Instructions
Lunch Lady Brownies
- Preheat the oven to 350F and grease a 10×15 jelly roll pan or 9×13 baking pan.
- In a large bowl, whisk together the butter, oil, and cocoa powder.
- Stir in the salt, flour, and sugars.
- Whisk in the eggs and vanilla.
- Pour the batter into the prepared pan and spread it even.
- For the jelly roll pan, bake for 15-20 minutes. For the 9×13 pan, bake for 25-30 minutes.
- The brownies are done when the surface appears matte, bubbly, and the center is bouncy to the touch.
Chocolate Frosting
- Right when the brownies are pulled from the oven, make the frosting.
- In a bowl using a hand or stand mixer with the paddle attachment, mix together the butter, salt, and cocoa powder.
- Mix in the powdered sugar one cup at a time, followed by the milk and vanilla.
- Spread the frosting on the warm brownies and top with sprinkles.
- Allow the brownies to cool completely. Then slice and enjoy!
- Prep Time: 30 minutes
- Cooling Time: 45 minutes
- Cook Time: 20 minutes
- Category: Dessert
- Method: Baking
- Cuisine: American
Join Our Community

Meet Jenna
I’m the creator, baker, and photographer behind Butternut Bakery. Here I share desserts for every diet because I believe everyone should have a chance to indulge!



Just made these for the first time, and they’re delicious. Really hoped they would be since it’s hard to justify using 4 eggs in one recipe right now. I used a sheet pan and cooked for 22 minutes. I could’ve pulled them 1-2 minutes sooner. I love that you frost them while warm – no waiting around for things to cool, and the frosting gets that super appealing shiny/crackly texture.
I only have salted butter. Should I just omit the extra salt in the batter? (Love this recipe! I make them for every event!)
Can you make these with light brown sugar or does it have to be dark?
Incredible! Best homemade brownies I’ve ever made, I love that they are thin but still super fudgey.
Can these be made gluten-free?