The BEST Gluten Free Cinnamon Rolls
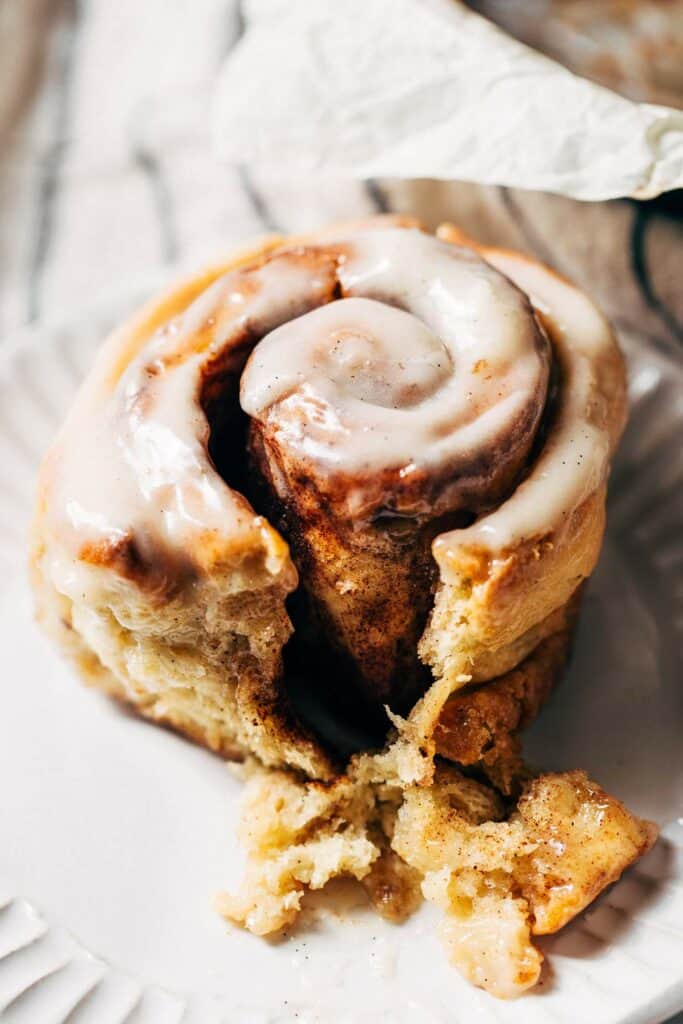
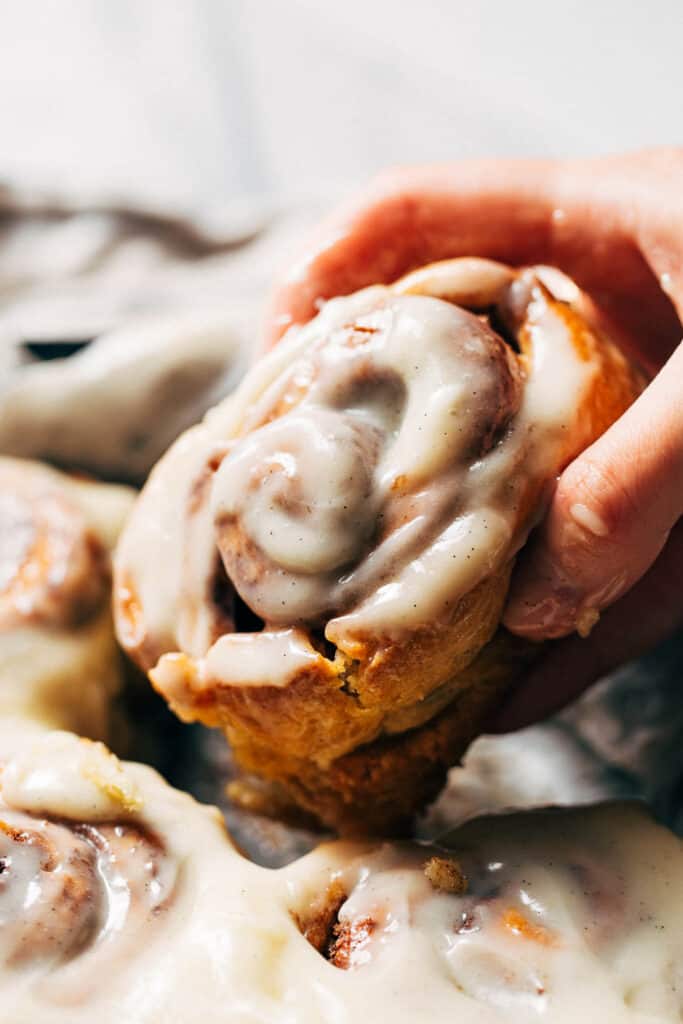
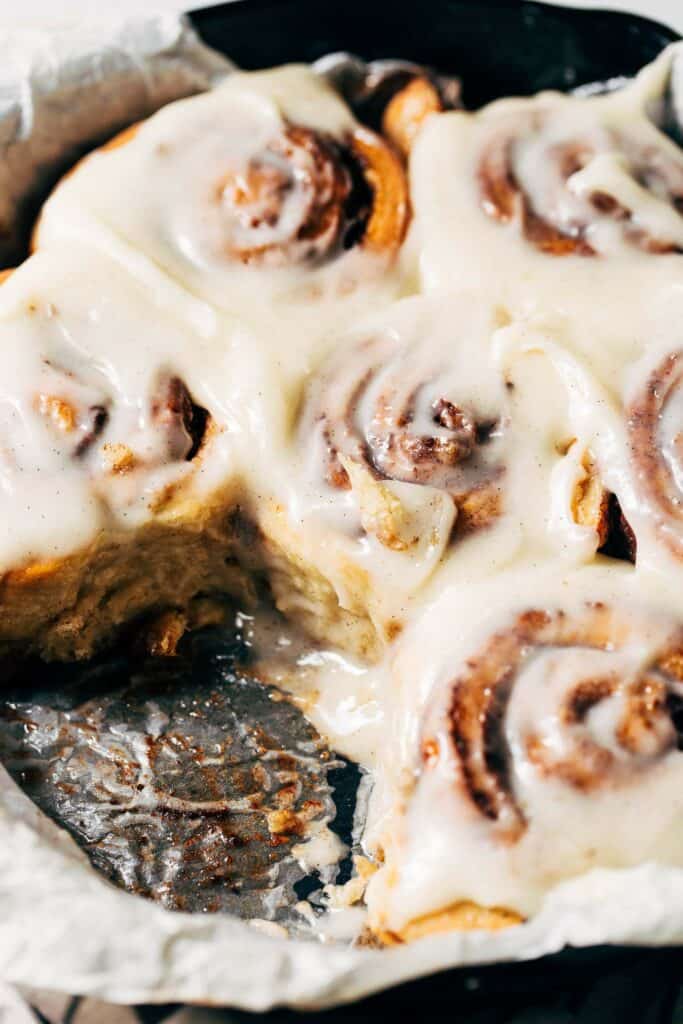
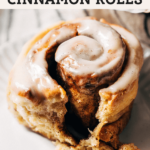
These are hands down the BEST homemade gluten free cinnamon rolls. So good, in fact, that you can’t even tell they’re gluten free. The texture is soft and pillowy with a gooey cinnamon sugar filling and vanilla bean cream cheese icing. They’re not sandy, gritty, gluey, or mushy. It’s simply a delicious homemade cinnamon roll.
What to expect from this gluten free cinnamon roll recipe
It’s no secret that gluten free baking can be tricky, especially when it comes to yeasted doughs and bread making.
The texture sometimes isn’t quite right, the dough is a bit more difficult to work with, and it requires a slew of different gluten free flours that you will probably only use for that one specific recipe.
For this recipe, I made it my mission to ensure that none of the above happens.
- Taste – First and foremost, you can feed these cinnamon rolls to someone who isn’t gluten free and they would have zero clue. They have a bounce to them that is usually only found in gluten-filled rolls but without having that odd gluey or mushy texture. They taste just like my very popular BEST homemade cinnamon rolls.
- Flour – It was very important to me to make a recipe that didn’t require a laundry list of individual gluten free flours. Not only is it more expensive, but they just end up taking up space in your pantry for much too long. So for this recipe, it requires only one gluten free flour mix. Even better, it requires the exact amount that comes in a bag so there’s no flour measuring! Outside of this, cornstarch is used to roll out the dough and I have confidence that most gluten free pantries already contain this ingredient.
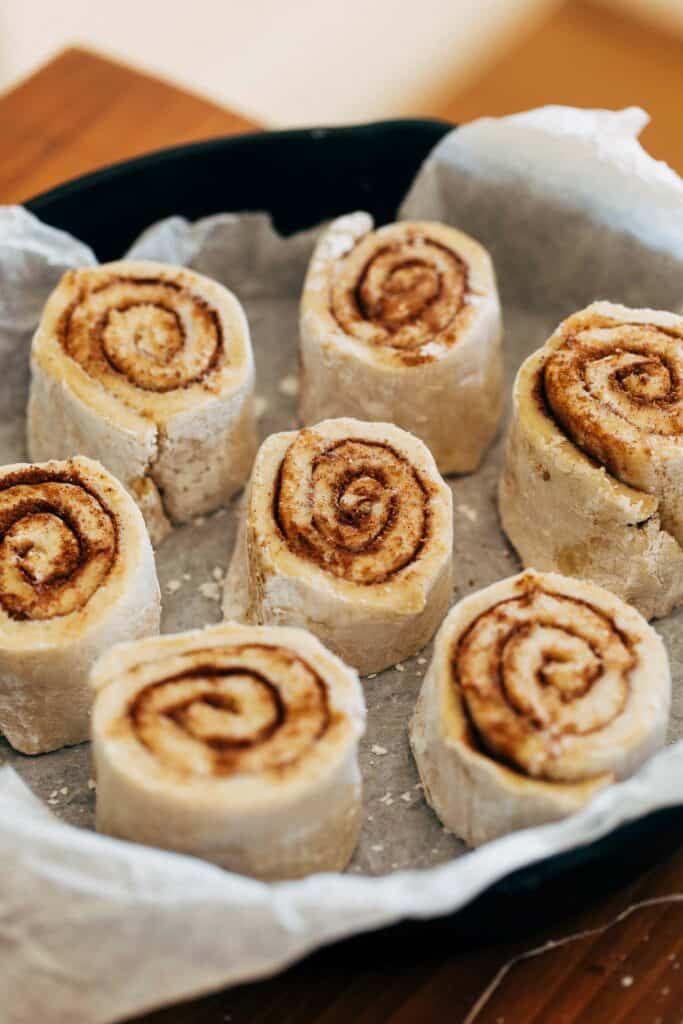
- Ease – While the dough itself is VERY sticky, my process for rolling out and cutting the dough makes it very easy to work with. This recipe also works just like a regular cinnamon roll recipe. Make the dough, roll it out, fill, slice, and rise before baking.
Flour mix for gluten free cinnamon rolls
If you follow me on Instagram, then you saw the mayhem that ensued when testing these rolls! I tried and failed many many times with a few different gluten free flours, ultimately landing on a specific mix that made the absolutely best gluten free cinnamon rolls.
This is not sponsored, but the Bob’s Red Mill homemade bread mix is the ONLY gluten free flour used in this recipe. It creates the bounciest, softest, and most plush gluten free cinnamon rolls you have ever had. *I picked it up a Whole Foods but the website has a store locator tool to find the product near you, otherwise it can be purchased online.
It’s a protein-enriched gluten free blend which is exactly what this yeasted dough needs. Not only does protein help boost the yeast, but it also creates a much stronger dough.
Because of this, I cannot recommend making these rolls with anything but this bread flour mix. I tried cup for cup gluten free flours and another protein enriched gluten free flour (which made the rolls taste like beans), and none of them came close to making quality cinnamon rolls.
On the plus side, the recipe calls for exactly 1 bag of this bread flour mix so there’s no measuring of flours! Just open the bag and dump it in the bowl.
Tips for making the BEST gluten free cinnamon rolls
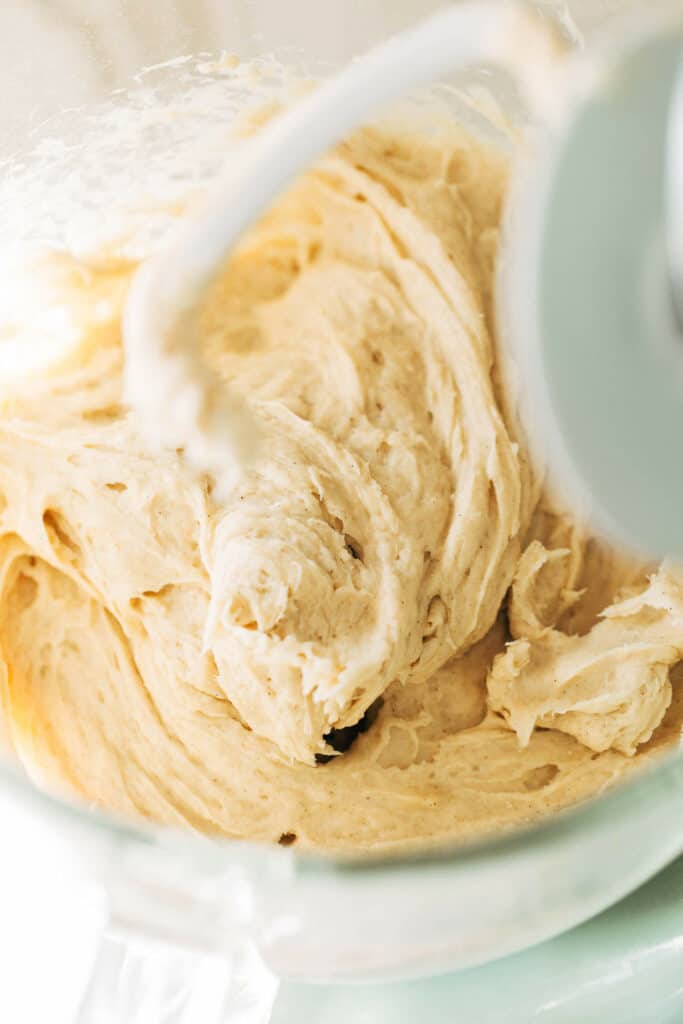
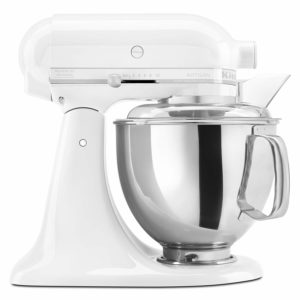
- Mixer – I really try not to make recipes that absolutely require a stand mixer but in this case, it’s really needed. The dough is incredibly sticky so mixing it by hand would be a mess. Plus, the dough needs a good five minutes on the dough hook to create the stretchiest and smoothest dough possible.
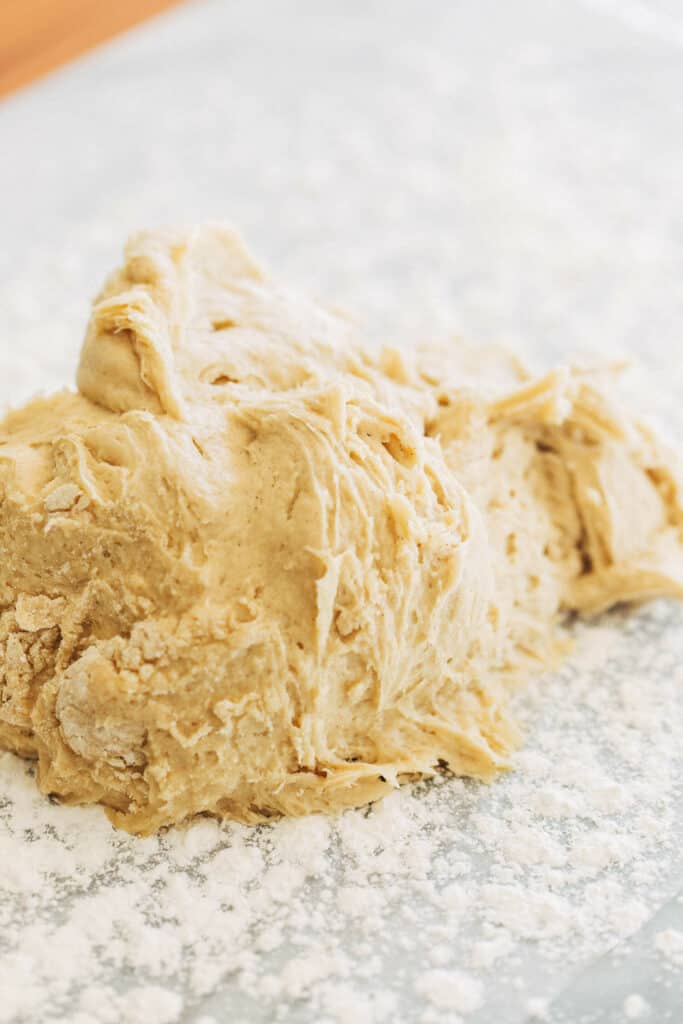
- Rolling – To prevent the rolls from becoming too dry or sandy, the dough must be soft and sticky. Because of this, it’s important to roll out the dough on a bed of cornstarch. Lay down a sheet of plastic wrap and liberally dust the entire surface with cornstarch. Plop down the dough and dust the top with more cornstarch. Lucky cornstarch is very absorbent so once the dough is coated underneath and on top, it’s very easy to press and roll out.
- Filling – Since the dough is very soft, it also requires VERY soft butter. If the butter is too hard, spreading on a soft surface will be a nightmare. For the best consistency, slice the butter and place in a microwave safe dish. Heat for about 15 seconds or until it just starts to melt. Then use a fork to mash the butter into a silky smooth consistency.
- Slicing – Once the dough is rolled up (which should be easy thanks to the cornstarch), I recommend slicing with flavorless floss. Since the dough is soft, a knife will easily warp the shape of the rolls. So instead, thread floss underneath the log and cross of the top to pull through and cut.
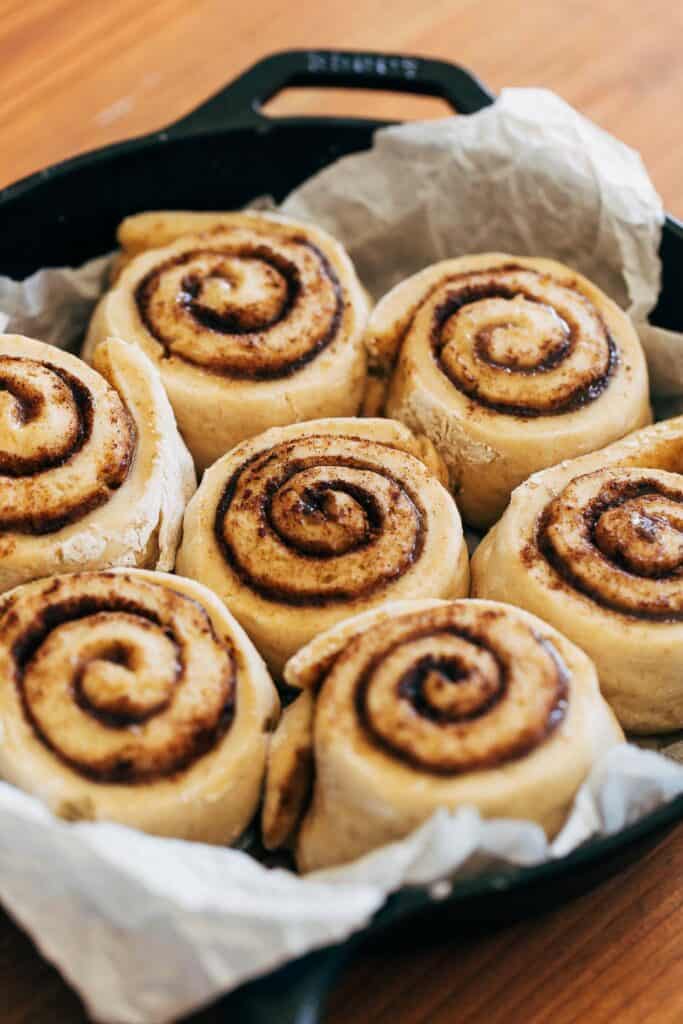
- Rise – Gluten free flour is quite heavy, so these rolls need a little help with rising. To create the best warm environment, preheat the oven to the lowest temperature possible. Once it’s there, turn off the oven and place the rolls inside. They’ll easily puff up in a very warm space.
Baking pan sizes for gluten free cinnamon roll dough
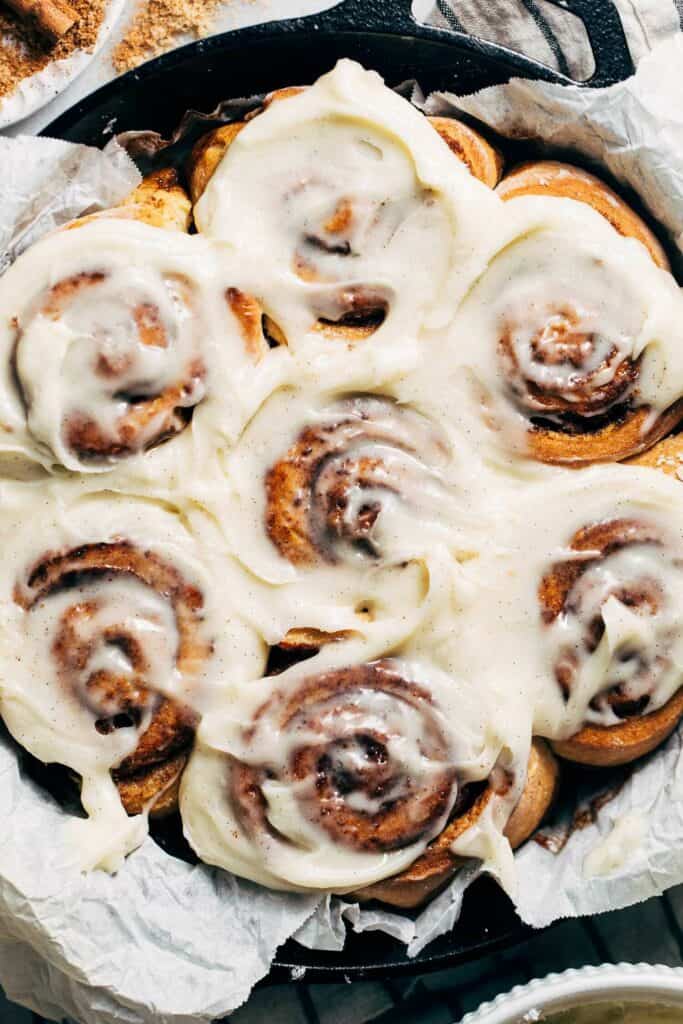
It’s very important to be conscious of the dough spacing inside the baking pan. For this recipe, I use a 10.25″ cast iron skillet which perfectly fits 7 rolls. Each roll is well spaced apart with about an inch between each one.
This provides just enough space for the rolls to puff up and grow without crowding the pan. If the rolls are too spaced together, you run the risk of the rolls coming out doughy and underdone.
Luckily, these rolls can be baked in pretty much any size baking pan as long as they are well spaced apart. For example, cut the the dough into 12 rolls and they should fit nicely in a 9×13 baking dish.
The rolls can also be split between two smaller pans if needed. Again, as long as there’s an inch between every roll they should bake just fine! But for the best results, I also suggest following the exact recipe.
Gluten Free Cinnamon Rolls FAQs
Yes! Simply sub in vegan butter where regular butter is used. Vegan cream cheese can also be used in the icing.
Yes! Outside of subbing the butter and cream cheese, the eggs are the only non-vegan ingredient. Swap the eggs with a vegan egg replacer, following instructions on the bag as to how to substitute one whole egg and one egg white.
After the rolls have puffed up in the baking pan, cover and chill overnight. Then to bake, allow the rolls to come up to room temperature before placing in the oven.
Unfortunately this recipe only works with instant yeast. The heavy gluten free dough needs a quick boost to create the fluffiest rolls.
The only flour that can be used in this recipe is the bread flour mix. I tested quite a few gluten free cinnamon rolls using a cup for cup mix but it yielded either a roll that was too mushy or too gritty.
If you plan on eating the rolls without a couple days, they can be kept covered at room temperature. Otherwise, allow the rolls to cool and then cover and chill. They’ll keep in the fridge for about 4-5 days.
Pop a roll in the microwave for about 15-20 seconds and it should be good as new!
For more delicious gluten free recipes, check out my:
- Gluten Free Chocolate Chip Cookies
- Gluten Free Vanilla Cupcakes
- Gluten Free Chocolate Cupcakes
- Gluten Free Chocolate Cake
- Gluten Free Banana Bread
- Gluten Free Oatmeal Chocolate Chip Cookies
Make sure to tag me @butternutbakery on Instagram and leave a review below if you make these gluten free cinnamon rolls. To pin this recipe and save it for later, you can use the button on the recipe card, the buttons above or below this post, or on any of the photos above. Happy baking!
Watch how to make these gluten free cinnamon rolls:

The BEST Gluten Free Cinnamon Rolls
- Total Time: 2 hours
- Yield: 9 rolls
- Diet: Gluten Free
Description
These gluten free cinnamon rolls are so good that they taste JUST like regular rolls! They’re soft and pillowy with a gooey cinnamon sugar filling and a sweet vanilla bean cream cheese icing on top. This recipe also only requires one flour mix and they don’t come out gritty or mushy AT ALL! It’s simply an absolutely delicious cinnamon roll.
Ingredients
Gluten Free Cinnamon Rolls
- 1 16oz bag Bob’s Red Mill Gluten Free Bread Mix *SEE NOTES
- 1/2 cup (100g) granulated sugar
- 4 1/2 tsp (or two packets) instant yeast
- 1 1/2 tsp baking powder
- 1/2 tsp baking soda
- 1 tsp kosher salt
- 1 1/4 cups (300g) water
- 1/2 cup (110g) unsalted butter, sliced into tablespoons (vegan butter can be subbed)
- 1 tsp apple cider vinegar
- 1 large egg + 1 egg white **SEE NOTES for vegan substitute
- Cornstarch, for dusting
Cinnamon Sugar Filling
- 6 tbsp unsalted butter, very soft (vegan butter can be subbed)
- 1/2 cup (100g) light brown sugar, packed
- 2 tbsp ground cinnamon
Vanilla Bean Cream Cheese Icing
- 1/4 cup (55g) unsalted butter, room temp (vegan butter can be subbed)
- 4 oz cream cheese, room temp (vegan cream cheese can be subbed)
- 1 1/2 cups (170g) powdered sugar
- 1 tsp vanilla bean paste (or vanilla extract)
Instructions
Gluten Free Cinnamon Rolls
- Using a stand mixer with the dough hook attachment, add in the bread flour mix (discard the yeast packet), sugar, instant yeast, baking powder, baking soda, and salt. Wiz it around for about a minute to mix everything together.
- In a heat safe measuring glass, add the water, butter, and vinegar. Microwave for 1-2 minutes or until it’s warm to the touch but not piping hot. It’s important that it’s warm, otherwise the yeast will not activate. It’s also ok if the butter doesn’t completely melt.
- With the dough hook running on medium speed, slowly pour in the warm mixture. Use a rubber spatula to mix in any of the dry ingredients that may still cling to the sides of the bowl.
- Once it’s nearly mixed, add in the egg and egg white.
- Turn the mixer on medium-high speed and mix for a good 5 minutes to create a smooth and slightly stretchy dough.
- After those 5 minutes, allow the dough to rest for 10 minutes. In the meantime, lay down a sheet of plastic wrap over your work surface and liberally dust in cornstarch. The dough will be rolled out into a 13×19″ rectangle so make sure to cover enough of the surface for this size.
- After 10 minutes, scoop out and plop the dough in the center of the bed of cornstarch. Dust the top of the dough with some more cornstarch and begin to press the dough down into a rectangle.
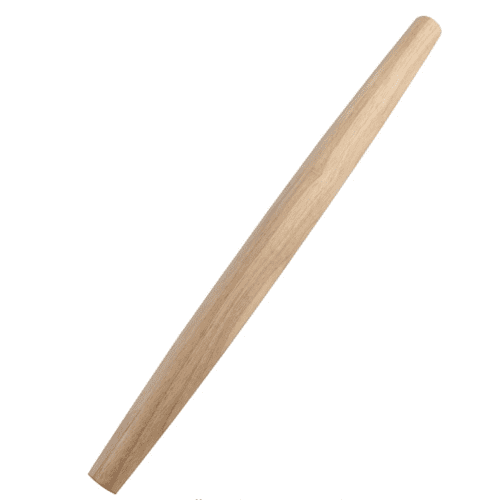
- If you don’t have a rolling pin, the dough an be fully pressed out as it’s very moldable. But for ease, I suggest using a rolling pin to roll into our 13×19″ rectangle. Mold the edges to create as even sides as possible.
- Now it’s very important that the butter is VERY soft, otherwise it can tear the dough when spreading. A trick I like to use is to slice chilled butter into tablespoons and place in a heat safe dish. Microwave for about 15 seconds or until it JUST starts to melt. Then use a fork to mash the butter into a very smooth and spreadable consistency.
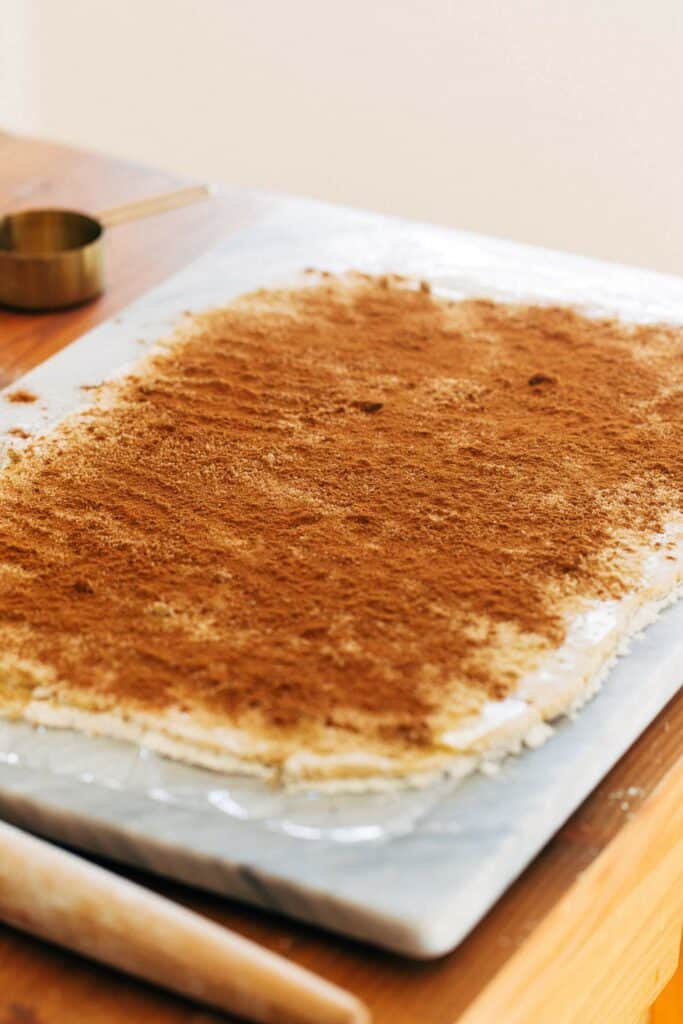
- Spread the butter all over the dough. Then sprinkle with brown sugar and pat it even. Dust the top with cinnamon.
- Roll the dough up into a tight log. This should be easy thanks to the pile of cornstarch underneath but if you run into any issues, use the plastic wrap to help guide the rolling. Use a pastry brush to dust off any excess cornstarch on the log.
- Using flavorless floss, cut about 3 inches off of each end (I like to bake these two pieces in a small loaf pan so they don’t go to waste). Then cut the remaining dough into 7 rolls.
- Crinkle up a sheet of parchment paper, then unwrap it and place it inside a 10″ cast iron skillet. Arrange the rolls so that they have a good half inch between them with 1 roll in the center and the other 6 surrounding it.
- Preheat the oven to the lowest temperature possible. Once it’s preheated, turn the oven off and place the rolls inside. Allow the rolls to rise in the warm oven for 45 minutes – 1 hour. (For overnight rolls, cover and chill the rolls after they have puffed up. Then bring to room temp the next day and bake as instructed).
- After the hour is up and the rolls have doubled in size, remove them from the oven and preheat to 350F.
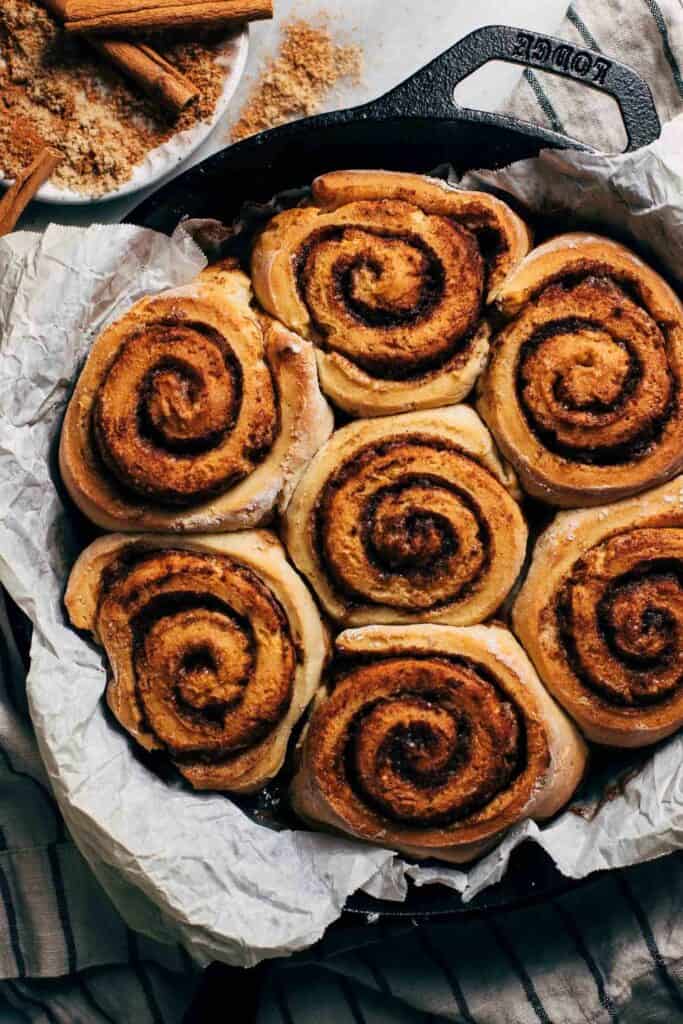
- Bake the cinnamon rolls for 25-30 minutes or until the top is golden brown. You can also test by poking the rolls with your finger. They’re done when they have a soft spring to them.
- While the rolls cool, make the icing.
Vanilla Bean Cream Cheese Icing
- Place the room temperature butter and cream cheese in a small mixing bowl.
- Use a fork to mash and mix the two together until smooth.
- Mix in the powdered sugar a 1/2 cup at a time, followed by the vanilla.
- Once smooth, dollop on the top of each roll and spread it smooth.
- Dig in while the rolls are still warm and ENJOY!
Notes
*BREAD FLOUR MIX – This is not sponsored, I just found that throughout my testing this mix makes the BEST cinnamon rolls. This specific flour mix must be used as I tried this recipe with other gluten free flour mixes (like cup for cup) and it did not work. They turned out too mushy and sandy. I suggest using the store locator on their website to find a store near you that carries the mix. Otherwise it can be purchased on their website or on Amazon.
**EGG REPLACER – I have tested this recipe with a vegan egg replacer and it works great! This is a powdered egg substitute typically found in the baking aisle. To replace 1 whole egg and 1 egg white, mix together 1 tbsp + 1 1/2 tsp of the egg replacer with 4 tbsp water.
- Prep Time: 1 hour 30 minutes
- Cook Time: 30 minutes
- Category: Dessert
- Method: Baking
- Cuisine: American
Join Our Community

Meet Jenna
I’m the creator, baker, and photographer behind Butternut Bakery. Here I share desserts for every diet because I believe everyone should have a chance to indulge!


Omg! Amazing! We just traveled to NYC for some “famous” gluten free cinnamon rolls and your recipe is by far the best we ever had! So easy to follow and came out perfect!!! Thank you for your genius!
Yay! Thank you!
AMAZING! These are absolutely amazing. My 10 year old son went gluten-free only a little over a week ago. He’s been having a hard time adjusting. When his sister asks for cinnamon rolls for breakfast this weekend (something we do on special occasions…we live in SC and got SNOW today!), I started searching for a gluten-free alternative for him. After reading the comments for this one, I decided to give it try. I made the dough today and plan to bake them in the morning, but I went ahead and baked the end pieces this afternoon. Oh my goodness!! They are so delicious! You really CAN NOT tell these are gluten-free (I was still a little skeptical even after reading the reviews). I’m so happy these turned out so well. It was my first time making homemade cinnamon rolls of any kind (I usually just get the canned ones) and the recipe was easy to follow. It even made me giggle a couple of times (“Wiz it around” being my favorite.). I really enjoyed making these and look forward to trying more of your recipes.
So glad to hear!! Thank you!
Easy to make and the rolls are fluffy and delicious but the frosting is way too sweet, and that’s coming from someone with a HUGE sweet tooth. I’d 10000% suggest reducing the powdered sugar to 3/4 cup