Creamy Chocolate Fudge Pops
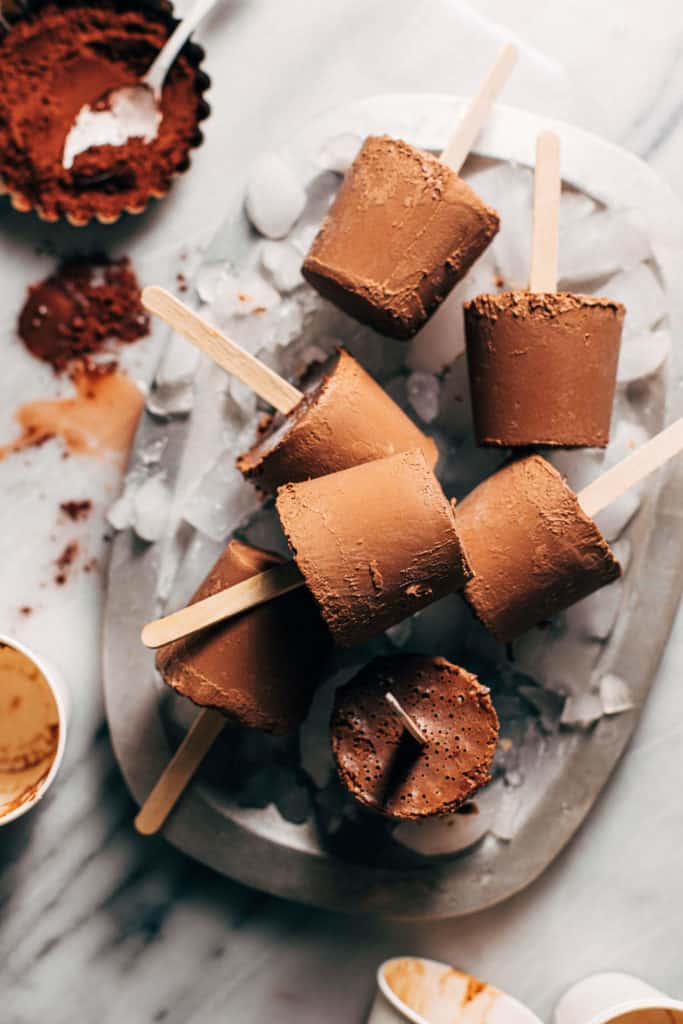
These fudge pops were my FAVORITE treat when I was growing up (and still are). Every summer my mom would make these easy fudge pops by freezing chocolate pudding in paper cups. We always had them stocked in our freezer because I would eat one every single day! So this is my version of her recipe, but it’s now completely dairy free and EXTRA rich and creamy.
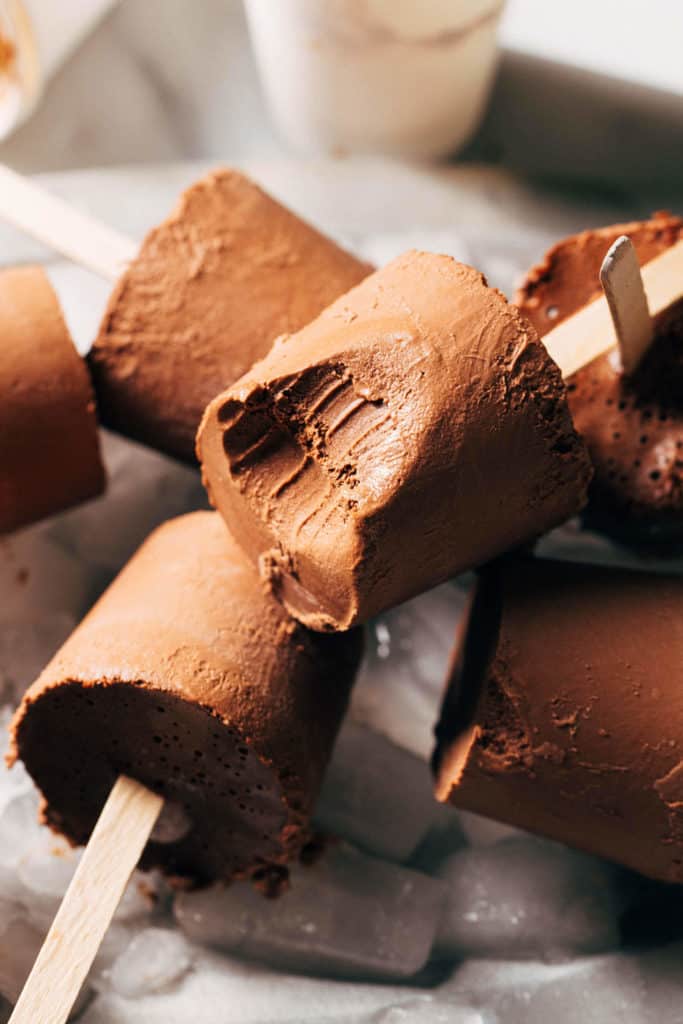
How to make dairy free fudge pops
The key to making super creamy fudge pops is to make a pudding base. This recipe is made using a dairy free fudge pudding that’s super easy to make! Just blend together all of these ingredients:
- Coconut Milk
- Cashews
- Cocoa Powder
- Vanilla
- Maple Syrup
- Melted Chocolate + Coconut Oil
The coconut milk and cashews are what makes these fudge pops so creamy. Full fat coconut milk from a can is rich and thick, while cashews help amp up that richness to create a thicker consistency.
Just make sure to use soaked cashews! Soaking cashews in hot water beforehand plumps them up and makes the cashews SUPER soft and tender. This is how they’re able to blend seamlessly into the pudding mix.
Cocoa powder, vanilla, and maple syrup are all added for flavor and the melted chocolate and coconut oil are there for flavor AND consistency. Once frozen, the chilled chocolate is what helps these pops hold their shape.
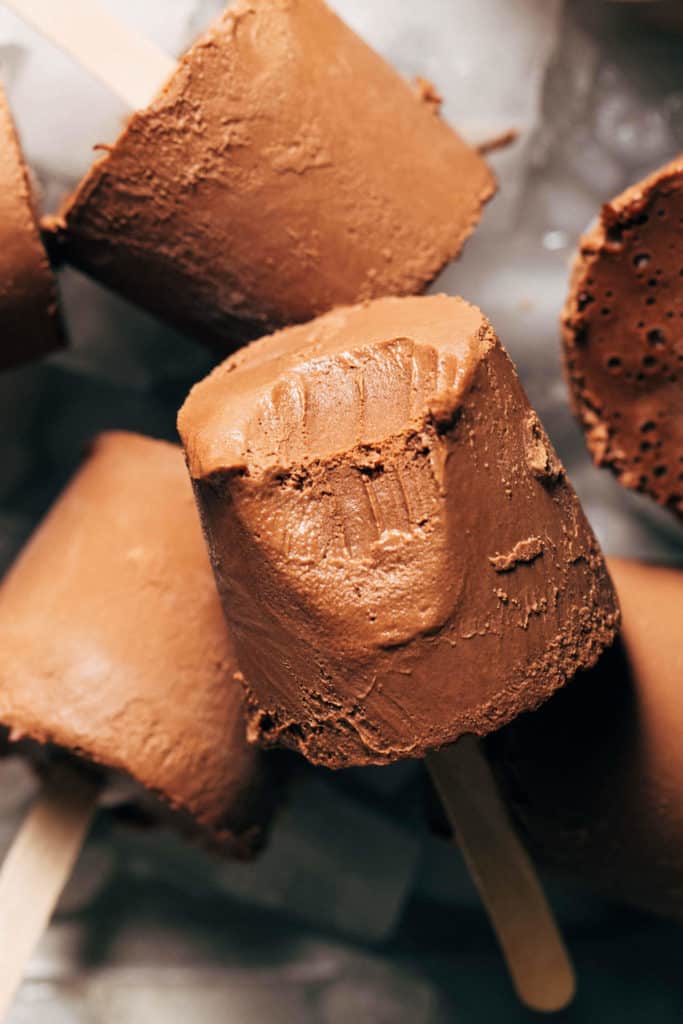
Once everything is blended, it should be a super thin consistency – almost like chocolate milk.
The mixture is simply poured into paper cups, stuck with popsicle sticks, and frozen until firm. Then they’re ready to enjoy!
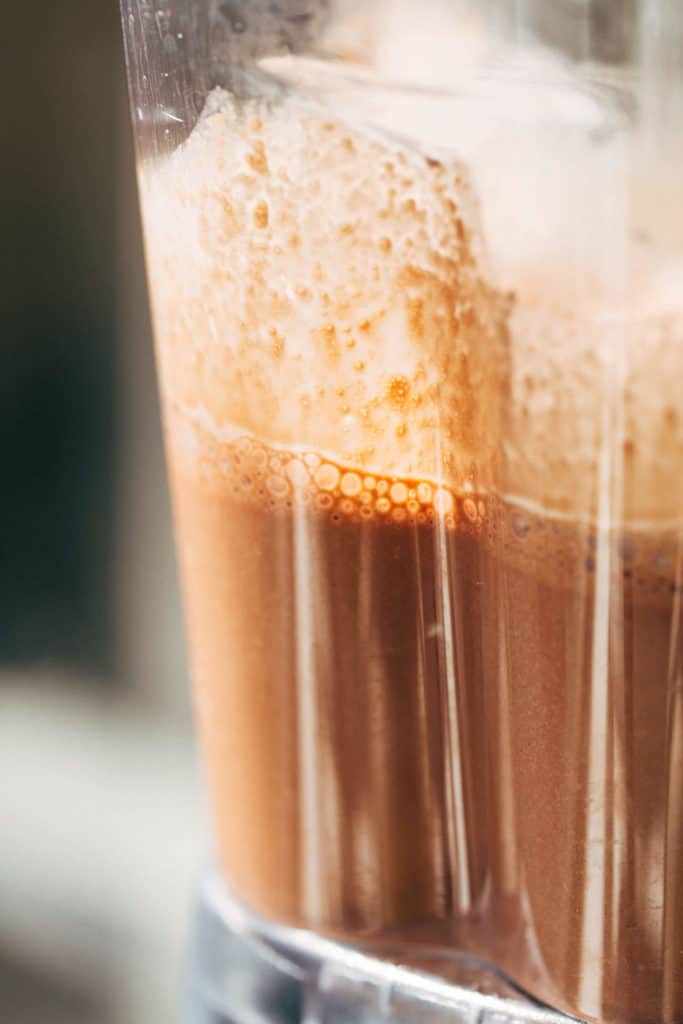
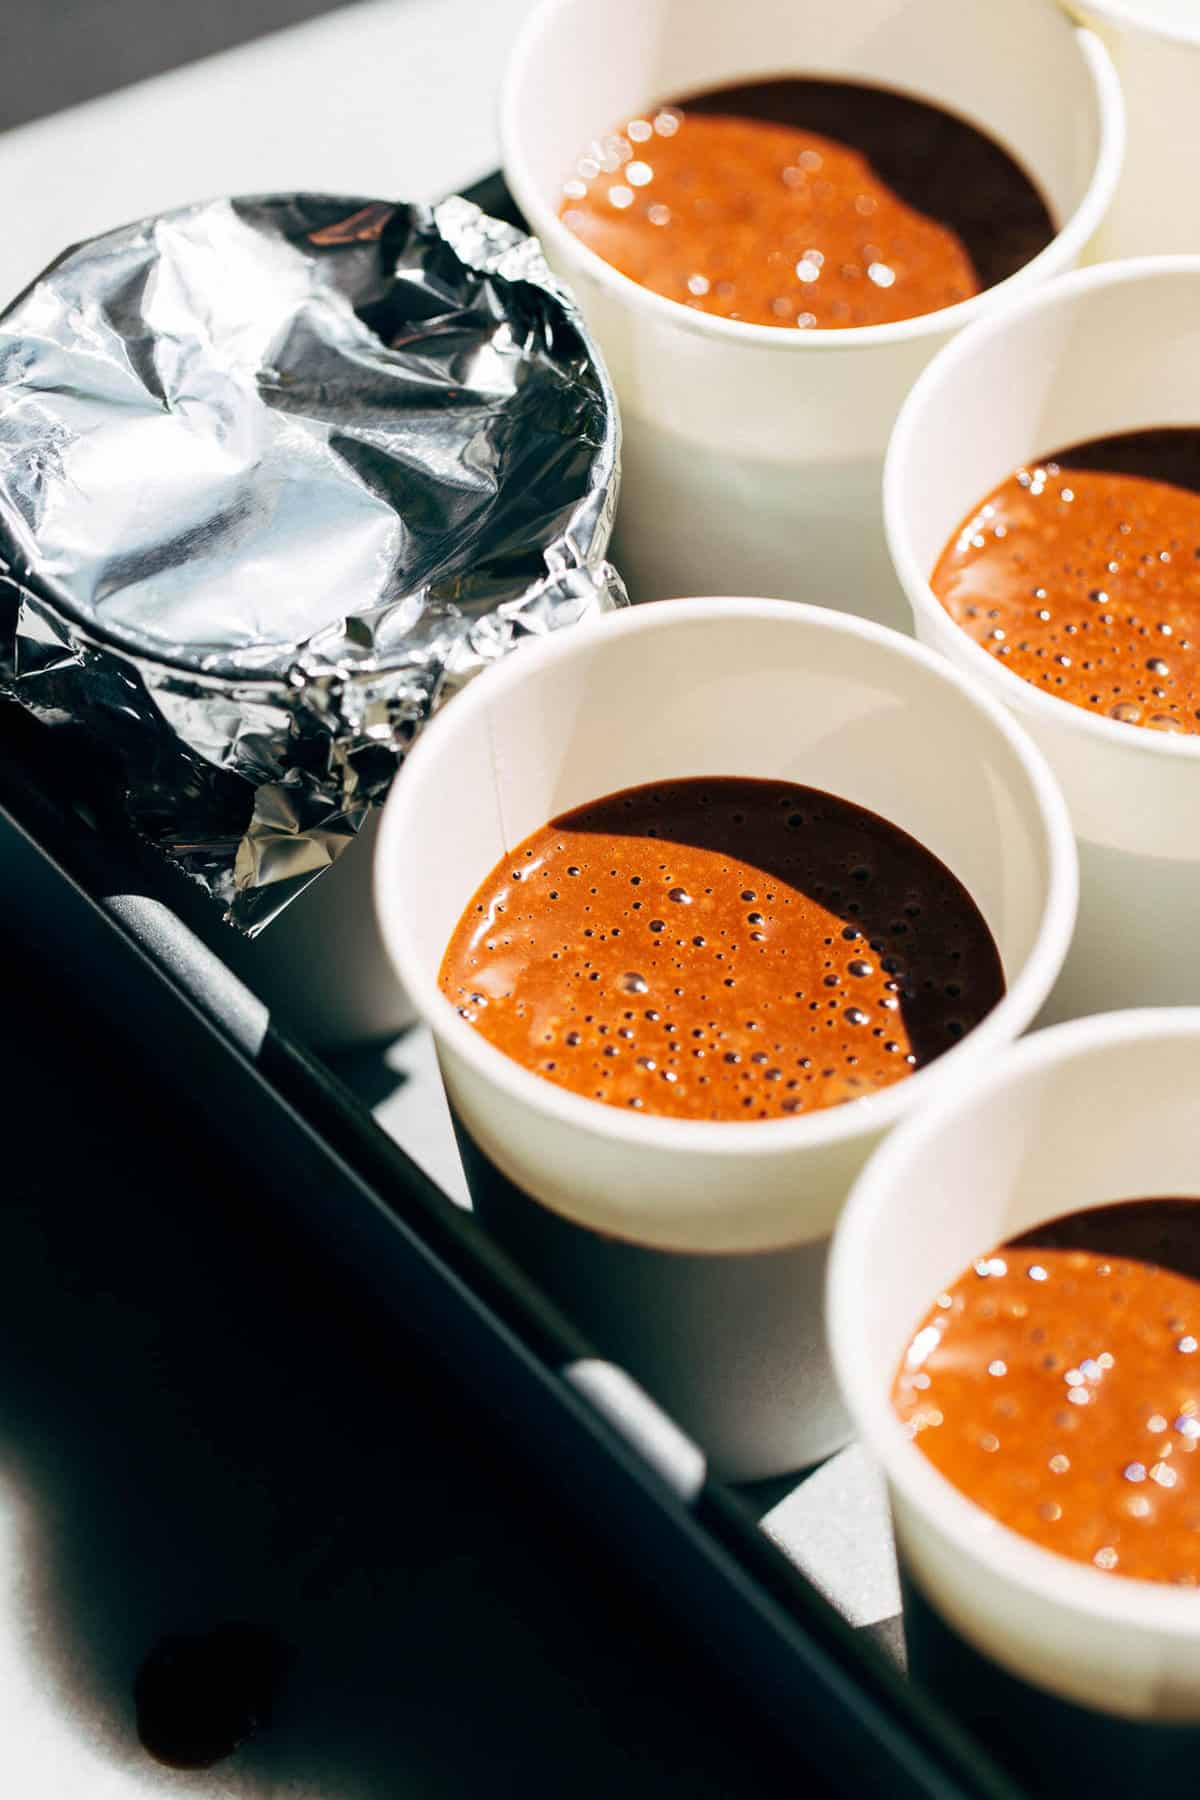
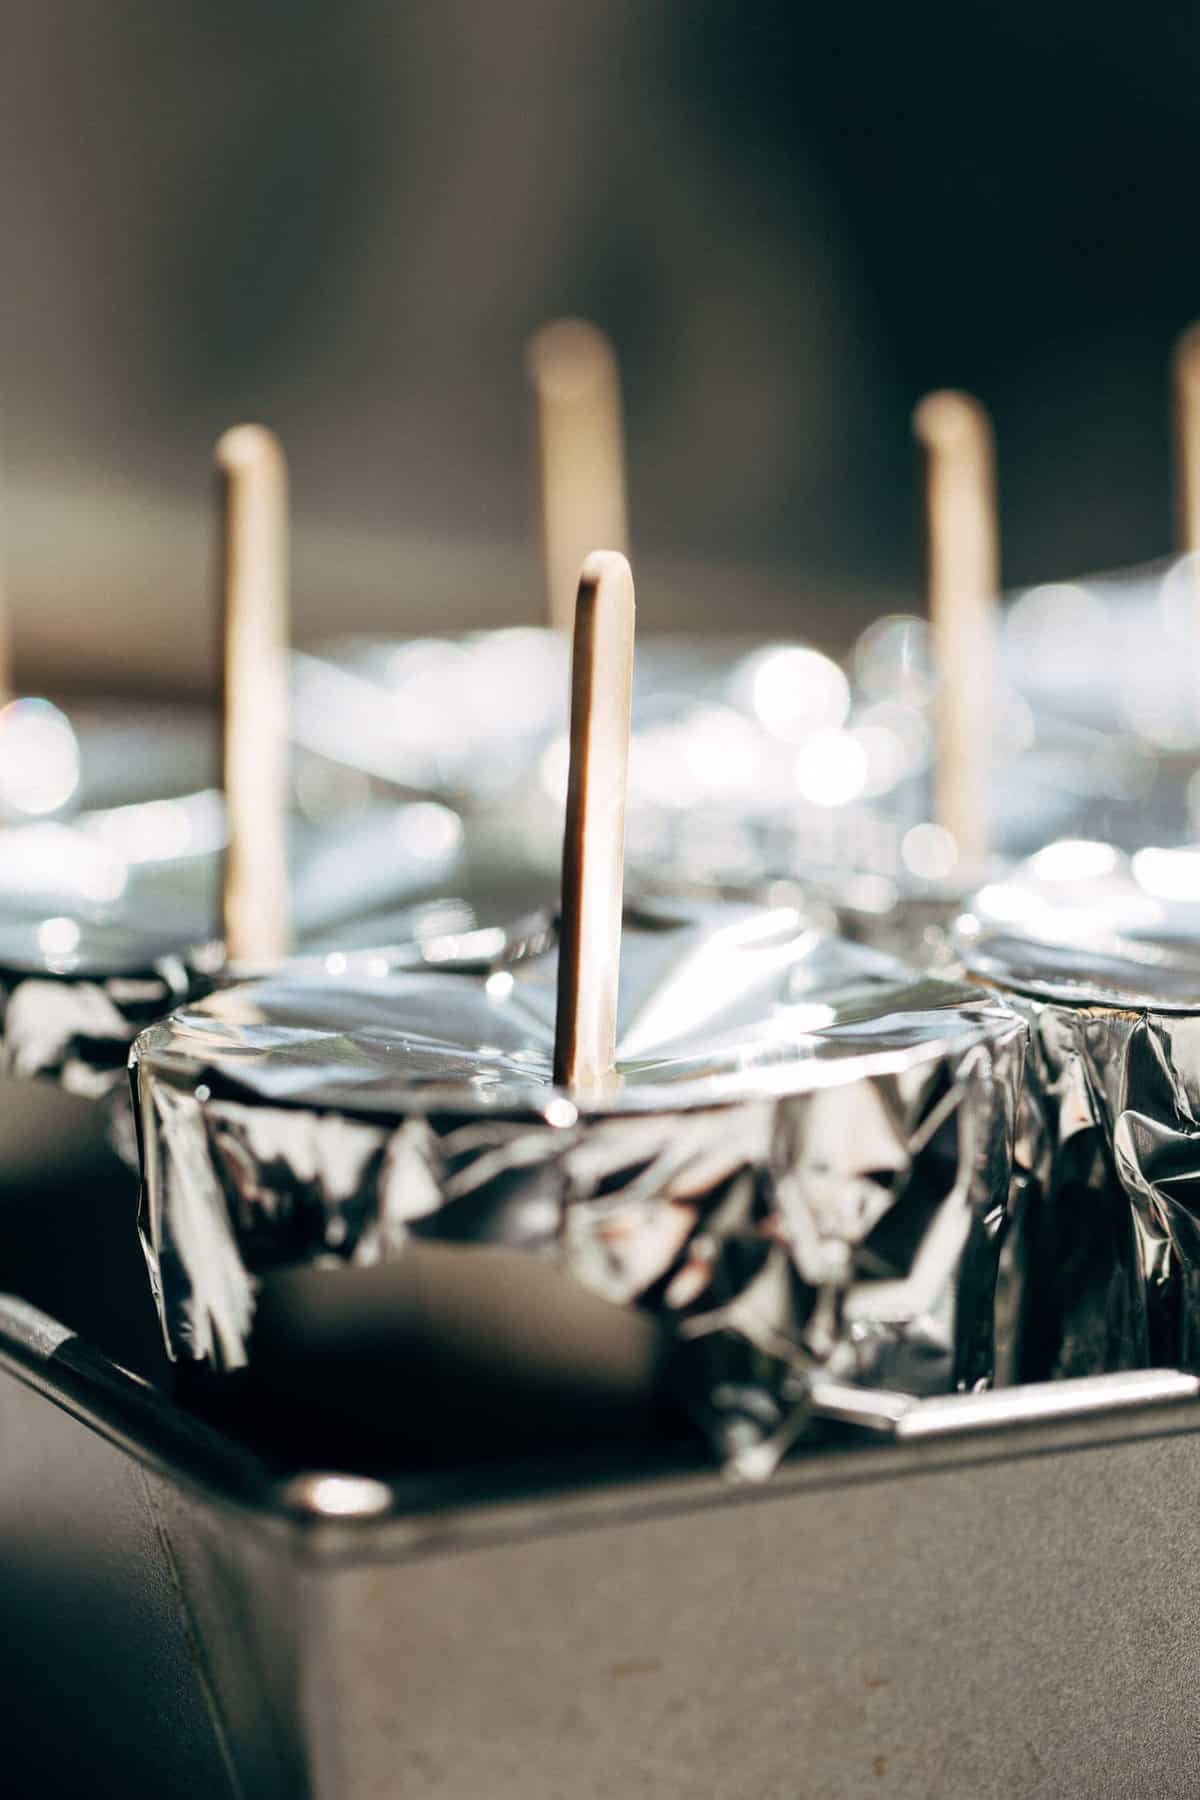
Homemade fudgesicle molds
To stay true to my moms recipe, I used small 6 oz paper cups to form these chocolate pudding pops.
For this method, pour the pudding mixture into the cups (filling about 2/3 of the way), cover in foil, and stick a popsicle stick in the center.
But this recipe can be made in ANY popsicle mold of your choosing. I’ve also made them in regular silicone popsicle molds and they turn out the exact same.
So it really doesn’t matter how you freeze them, just as long as they’re frozen solid before releasing from their molds!
How to release frozen fudge pops
When the cups are completely frozen, take your pop out of the freezer and let it sit at room temperature for about 15 minutes.
Then, roll the cup between two hands to warm up the sides. Once you see a slight release around the ring of the pop, it should slide right out.
How to make this recipe nut free
Although I haven’t tested it on this specific recipe, I’ve swapped cashews for sunflower seeds in other recipes and it worked well! Just make sure to prep the seeds the exact same as the cashews. Soak them in hot water until tender before use.
Adjusting the sweetness of these fudge pops
What I love about this recipe is how easy it is to customize the flavor. When I make these, I use regular dairy free semisweet chocolate which is usually made with cane sugar. This adds extra sweetness to these fudge pops which makes them taste just like my moms recipe.
But if you prefer to make a refined sugar free version with sugar free dark chocolate, the pops will definitely have a more dark chocolate flavor.
In this case, to amp up the sweetness, adjust the amount of maple syrup in this recipe. Start with 1/4 cup, then taste the mix. Blend in a couple tablespoons of additional maple syrup until you reach the desired sweetness. But do not use more than 1/2 cup total!
Chocolate pudding pop mix-ins
HOT TIP – If you refrigerate the pudding mix, it will turn into a super creamy dairy free chocolate pudding!!
But if you’re looking to add more flavor to these chocolate fudge pops, feel free to mix in your favorite treats! My mom would sometimes mix in chopped peanuts or crushed Oreos. Either way, with or without, these fudge pops will be so so delicious.
For more delicious dairy free desserts, check out my:
- Fudgy Vegan Brownies
- Dark Chocolate Almond Butter Vegan Fudge
- Salted Caramel Brownie Vegan No Churn Ice Cream
- Vegan Peanut Butter Cup Cheesecake Bars
Make sure to tag me @butternutbakery on Instagram and leave a review below if you make these chocolate pudding pops. To pin this recipe and save it for later, you can use the button on the recipe card, the buttons above or below this post, or on any of the photos above. Happy baking!
Watch how to make these creamy chocolate fudge pops:

Creamy Chocolate Fudge Pops
- Total Time: 30 minutes + 4 hours freezing
- Yield: 8 pops
- Diet: Vegan
Description
These chocolate fudge pops are just like the ones my mom used to make when I was a kid, only these are dairy free! Just blend, pour, and freeze into the most delicious and creamy pudding pops that are perfect to snack on all summer long.
Ingredients
- 1 cup (200g) dairy free semisweet chocolate chips* I like Trader Joe’s or Enjoy Life
- 1 tbsp coconut oil
- 1 can (13.5 fl oz) unsweetened full fat coconut milk
- 1 cup (150g) raw unsalted cashews, soaked
- 2 tbsp cocoa powder
- 1/4 cup (80g) pure maple syrup
- 1 tsp vanilla extract
Instructions
- First, place the cashews in a heat safe bowl and pour over enough boiling water to completely cover them. Allow the cashews to sit for at least 20 minutes to soften and plump up before moving on to the next step.
- In a heat safe bowl, microwave the chocolate chips and coconut oil in 30 second intervals until smooth. It shouldn’t take more than 90 seconds total. Set aside.
- When the cashews are soft and tender, drain out the water.
- In a high speed blender, add the coconut milk, drained cashews, cocoa powder, maple syrup, and vanilla.
- Blend on high speed for about 3 minutes or until completely smooth. It should look like chocolate milk.
- With the blender running, pour in the melted chocolate. Keep blending for a few additional minutes to ensure everything is well combined.
- Fill your popsicle molds of choice. I used eight 6oz paper cups, but you can also use a silicone popsicle mold.
- If using the paper cups, evenly distribute the pudding between each cup. Cover each cup with a small square of foil and then puncture a hole in the center of the foil with a small pairing knife.
- Slide in a popsicle stick and transfer the cups to the freezer to freeze for at least 4 hours or until completely firm.
- To release the fudge pops, let it sit at room temp for about 15 minutes. Then roll the cup between your hands to warm up the sides. You’ll be able to see a slight release around the sides when looking down into the cup. Pop it out and enjoy!
Notes
CHOCOLATE CHIPS – The chocolate chips I used were sweetened with sugar. If you’d prefer to make naturally sweetened fudge pops, opt for stevia sweetened dark chocolate chips or unsweetened dark chocolate. Then play around with the amount of maple syrup for your desired sweetness. Up to 1/2 cup of maple syrup can be used in this recipe.
- Prep Time: 30 minutes
- Category: Dessert
- Method: No Bake
- Cuisine: American
Join Our Community

Meet Jenna
I’m the creator, baker, and photographer behind Butternut Bakery. Here I share desserts for every diet because I believe everyone should have a chance to indulge!



Do these pudding pops using coconut ingredients have a more pronounced ‘coconut’ flavor that may overpower the flavor of ‘chocolate’?
Definitely more chocolate and barely any coconut!
These fudge pops are so delicious and incredibly easy to make! I will definitely continue to make these in the future. It feels like a healthier alternative to the store bought, and they’re so much yummier! I even got my dad who is a picky eater to try it and he devoured the whole thing.
What was ur Mom’s dairy version? Can you reply or post her recipe? Thx