Chocolate Filled Red Velvet Cookies
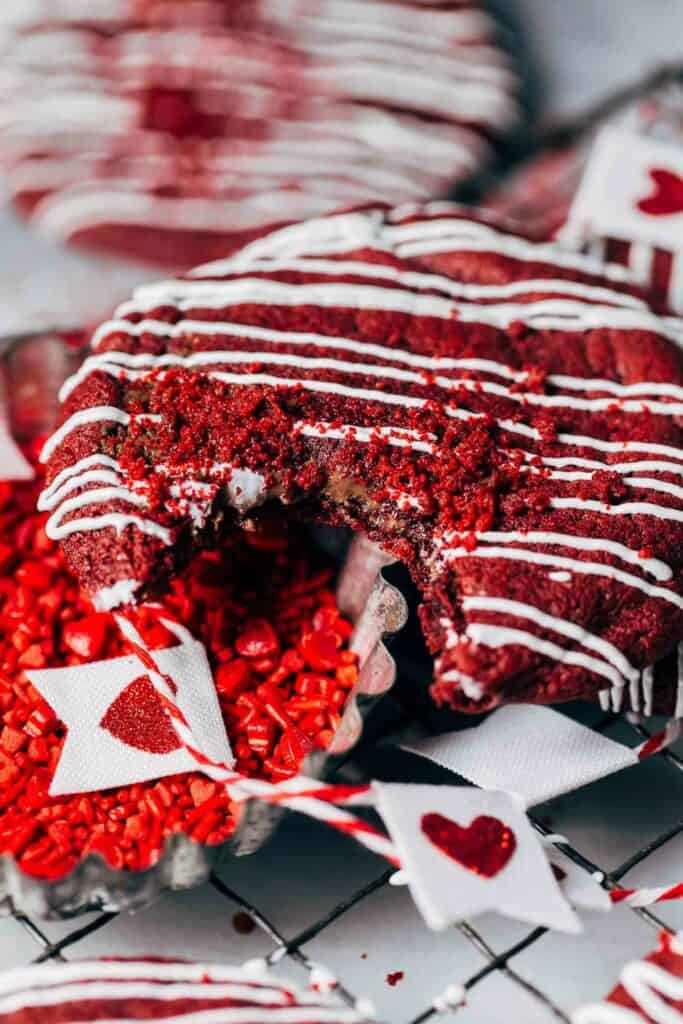
These red velvet cookies are perfect for Valentine’s Day! Not only are they soft, rich, and moist, but they’re also filled with a layer of creamy chocolate and drizzled with decorative white chocolate. Each bite is so decadent and full of delicious red velvet flavor.
This post is sponsored by SunButter and all thoughts and opinions are my own. Thank you for supporting the brands that make Butternut Bakery possible!

How to Make Moist Red Velvet Cookies
Achieving moist red velvet cookies involves a combination of the right ingredients and proper baking techniques. Here are some tips to ensure your red velvet cookies turn out moist and delicious:
- Use Brown Sugar – Just a bit of brown sugar adds so much richness to these cookies. The subtle hint of molasses creates a moist consistency and elevates the overall taste.
- Properly Measure Flour – Use the spoon and level method to measure flour. Scoop flour into the measuring cup with a spoon and level it off with a flat edge. This helps prevent packing too much flour into the cup.
- Don’t Over Mix the Batter – Over mixing the batter can lead to tough cookies. Mix the ingredients until just combined to avoid overworking the gluten in the flour.
- Gel Food Coloring – Too much liquid can affect the spread and texture of a cookie. So instead of liquid food coloring, this recipe requires red gel food coloring. Much less is needed as it’s more potent than liquid.
- Cocoa Powder – A tiny bit is all that’s needed to create that red velvet flavor. Just make sure to use regular unsweetened and not dutch process.
- Underbake Slightly – Red velvet cookies are best when slightly underbaked. They will continue to set as they cool on the baking sheet. Aim for the edges to be set, but the centers to be soft.
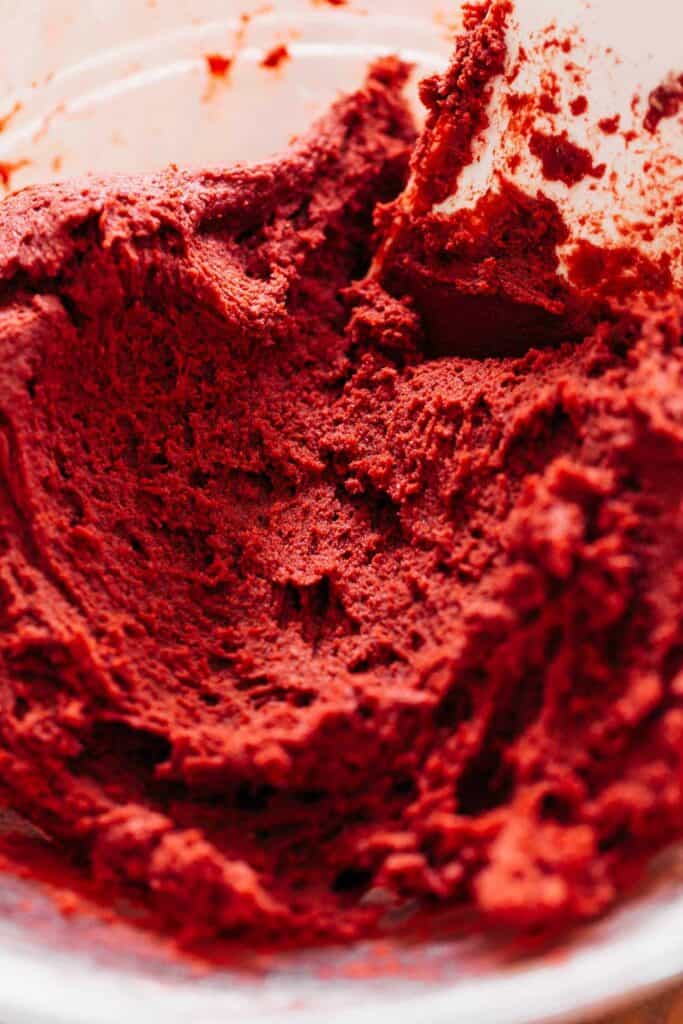
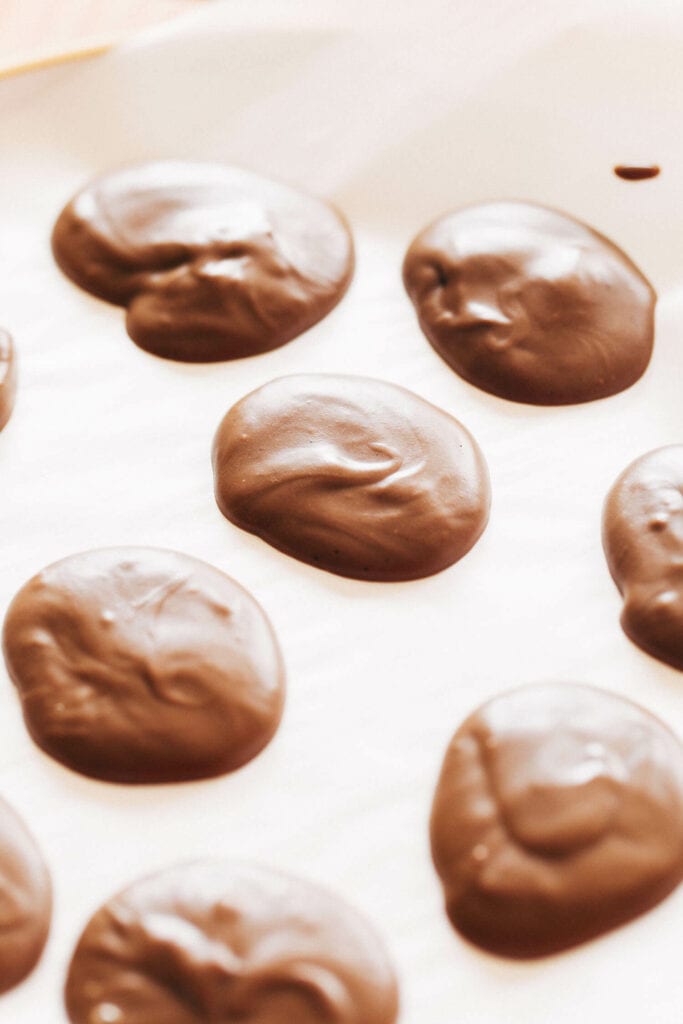
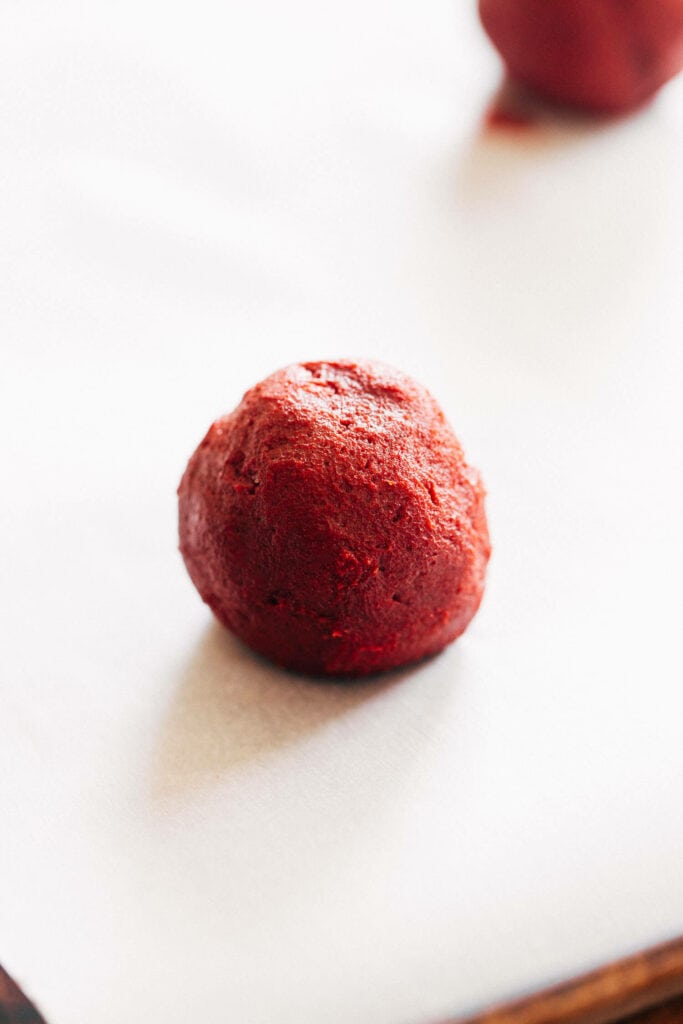

Red Velvet Cookies Stuffed With Chocolate
The best part about this recipe is the chocolate filling. It’s so rich and creamy and pairs so well with the subtle cocoa flavor of the red velvet cookie.
To make this filling quick, easy, and delicious, each cookie is filled with Chocolate SunButter. The creamy consistency spreads along with the cookie for an even bake and the sweetness is just right. Instead of overpowering the cookie, it brings out even more of the chocolate notes while also staying true to the red velvet flavors.
The Chocolate SunButter is dolloped onto a sheet of parchment paper and frozen. Freezing the SunButter makes it much easier to stuff inside the cookie dough.
Once the dough has chilled and the SunButter frozen, the cookie dough is scooped and flatted into a disk.
A pad of Chocolate SunButter is placed inside and the dough is sealed up to completely conceal the chocolate.
As the cookies bake and spread, the SunButter spreads as well to create a thin layer of chocolate through the entire cookie.
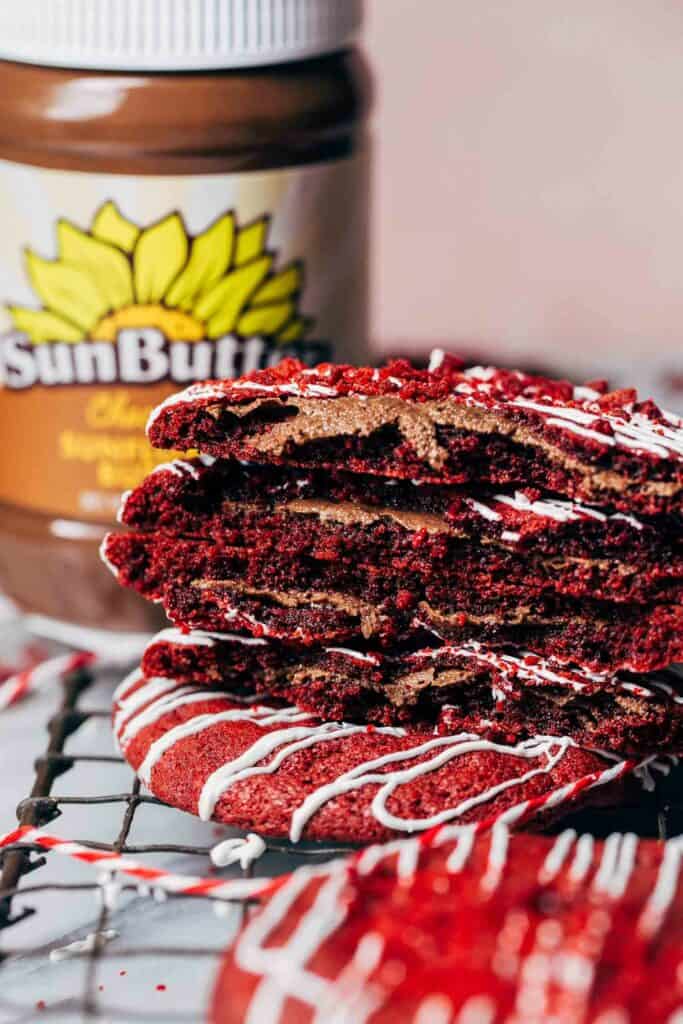
Red Velvet Cookies FAQs
Yes, you can make the cookie dough and chill for up to 48 hours. To do so, chill the dough for 30 minutes (as originally instructed), then scoop and fill all the cookie dough balls. Place the cookie dough balls in a container and chill in the refrigerator. Then bake as usual. Note that the cookies will be thicker.
Use basic unsweetened cocoa powder. Don’t use dutch process cocoa powder as it’s less acidic than regular unsweetened cocoa. This can throw off the spread and texture of these cookies.
I don’t suggest this as you will need extra liquid to get the same payoff as gel. This extra liquid can alter the texture and spread of the cookies.
You can either leave out the coloring, or substitute it with beet powder. I suggest trying 1 tablespoon.
Red velvet cookies stay fresh for about 3-5 days when stored in an airtight container at room temperature. To extend their freshness, you can store them in the refrigerator for up to a week or freeze them for a longer shelf life.
For more red velvet recipes, check out my:
- Red Velvet Bundt Cake
- Red Velvet Pound Cake
- Mini Red Velvet Brownie Cheesecakes
- Natural Red Velvet Cake
Make sure to tag me @butternutbakery on Instagram and comment below if you make these red velvet cookies. To pin this recipe and save it for later, you can use the button on the recipe card or on any of the photos above. Happy baking!
Watch how to make these chocolate filled red velvet cookies:

Chocolate Filled Red Velvet Cookies
- Total Time: 1 hour 32 minutes
- Yield: 10 cookies
Description
These delicious red velvet cookies are so rich and moist AND filled with creamy chocolate! They’re just the perfect treat to make for Valentine’s Day.
Ingredients
Chocolate Filled Red Velvet Cookies
- 1/2 cup (108g) unsalted butter, room temp
- 1/2 cup (100g) granulated sugar
- 1/3 cup (75g) light brown sugar, packed
- 1 large egg
- 1 tsp vanilla extract
- 1 tsp red gel food coloring
- 2 tbsp unsweetened cocoa powder (not dutch process)
- 1/2 tsp baking soda
- 1/4 tsp kosher salt
- 1 1/3 cup (175g) all-purpose flour
- 1/3 cup Chocolate SunButter
- White candy melts (or white chocolate), to drizzle on top
Instructions
Chocolate Filled Red Velvet Cookies
- In a large bowl using a hand or stand mixer with the paddle attachment, mix together the butter and sugars until light and fluffy.
- Then mix in the egg, vanilla, and gel food coloring.
- Scrape down the bowl and add in the cocoa powder, baking soda, and salt. Mix until well incorporated.
- Add in the flour and use a rubber spatula to mix the dough by hand, ensuring the dough is fully combined without over mixing.
- Cover the bowl and chill for at least 30 minutes.
- In the meantime, line a plate with parchment paper and scatter heaping teaspoon dollops of Chocolate SunButter on top. Stick them in the freezer to harden.
- After the 30 minutes, preheat the oven to 350F and line a large baking sheet with parchment paper.
- Using a large cookie scoop (3 tbsp worth) scoop a ball and press it flat in your palm (the dough should be soft and slightly sticky).
- Place a frozen pad of Chocolate SunButter in the center and seal up the ball. *Between each batch, return the SunButter back to the freezer and the dough back to the refrigerator.
- Arrange 4 stuffed cookie dough balls on a baking sheet and bake for 12-14 minutes, or until the edges appear dry and the center is pale, puffed, and slightly underdone.
- Immediately after pulling the cookies, use the inside curve of a fork to nudge in the sides to create uniform cookies.
- Allow the cookies to sit on the pan for a couple minutes, then transfer to a cooling rack and continue baking the rest of the batch.
- Once cooled, melt the candy melts and drizzle on top. Add some sprinkles, if desired, and enjoy!
Equipment
 Buy Now →
 - Prep Time: 1 hour
- Cooling Time: 20 minutes
- Cook Time: 12 minutes
- Category: Dessert
- Method: Baking
- Cuisine: American
Join Our Community

Meet Jenna
I’m the creator, baker, and photographer behind Butternut Bakery. Here I share desserts for every diet because I believe everyone should have a chance to indulge!


Once again, a top tier cookie that my coworkers can’t get enough of.
Hi! Making these for a MDW party 🙂 The recipe says you can chill the dough for up to 48 minutes – did you mean hours? I am asking because I want to make the dough 1-2 days ahead of time and freeze if possible. Thanks!
Can we use regular chocolate chips in the middle instead of sunbutter chocolate?