Red Velvet Pound Cake
This red velvet pound cake is the IDEAL pound cake. It’s dense and buttery but also tender with a tight crumb. The batter is made in a very specific way to yield the best consistency, and it’s then divided to create a red velvet batch. These two batters are swirled together to create the most gorgeous slices of red velvet pound cake!
This post is sponsored by Danish Creamery but all thoughts and opinions are my own. Thank you for supporting the brands that make Butternut Bakery possible!
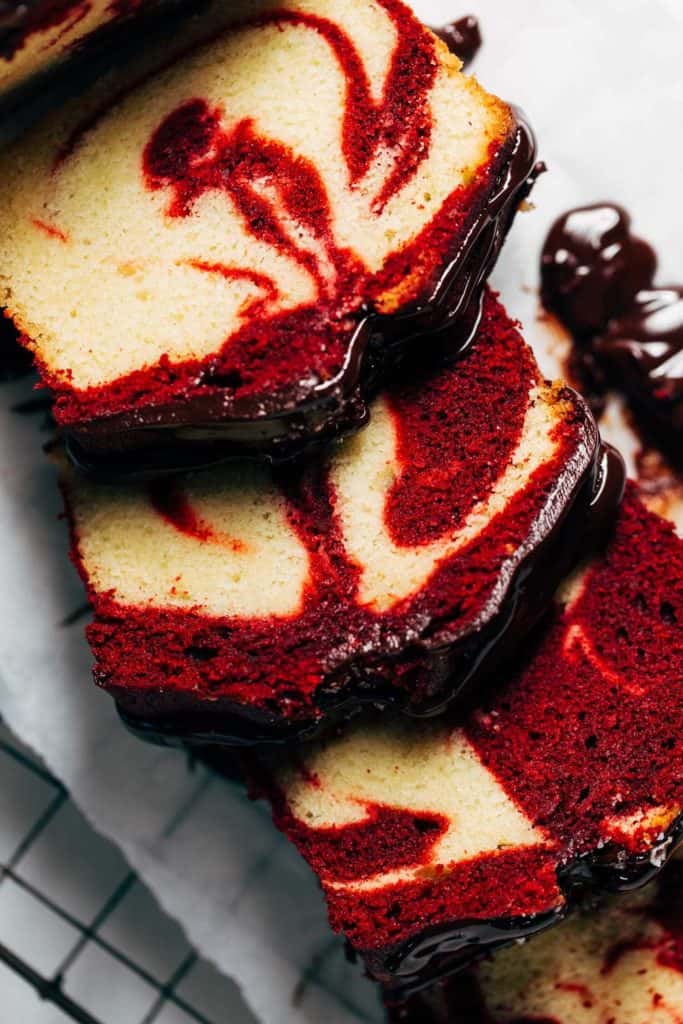
What makes this red velvet pound cake so good?
Pound cake is heavier than traditional cake because it uses much more butter. But this heaviness does not yield a chewy or tough texture. In fact, it’s the exact opposite! Here’s what goes in to making this red velvet pound cake both buttery AND tender:
- Danish Creamery Butter – Since butter plays a major role in any good pound cake recipe, it’s important to use a good quality and flavorful butter. Danish Creamery butter is made with high quality cream and slow churned to creamy perfection, so you can imagine just how good it is in this pound cake! It’s also lightly salted which prevents the cake from turning too sweet.
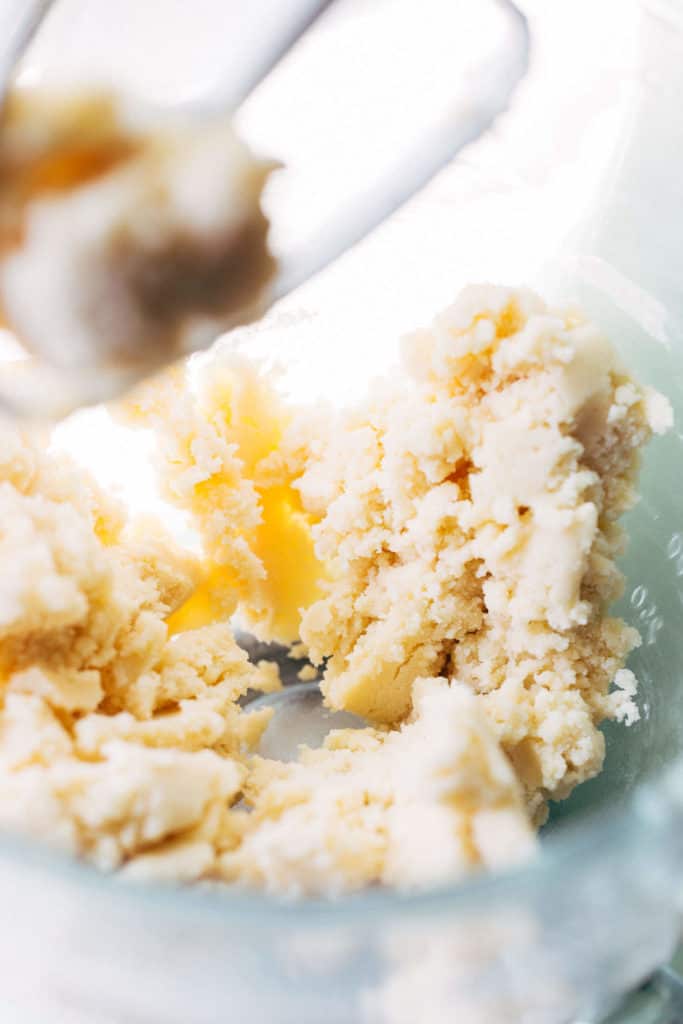
- Reverse Creaming – The reason why this cake is so tender is because of how the ingredients are combined. It feels a bit backwards, but all of the dry ingredients (including the sugar) are mixed with the Danish Creamery butter BEFORE adding any liquid ingredients. The butter essentially coats the flour in a layer of fat, providing a protective barrier that slows down gluten formation. The lack of strong gluten strands = a soft and tender texture.
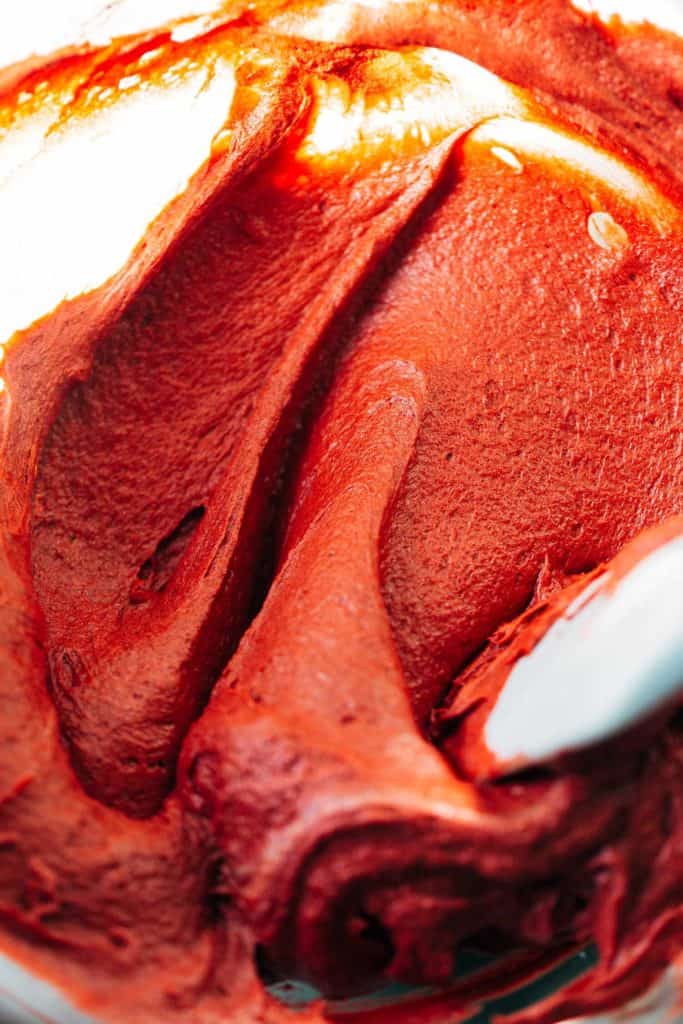
- Dutch Process Cocoa – After the entire batch is made, it’s split into two. Two thirds of the batter is scooped out, so the remaining one third is ready to transform into red velvet. Dutch process cocoa is used to flavor the red velvet, giving it a super smooth and light chocolate flavor. I prefer dutch process here because it’s not as acidic as regular cocoa, and it has a deep color that allows the red velvet swirl to really stand out.
- Tapping – Once the pan is filled, tap it against the counter before baking. This not only levels out the batter, but it also knocks out any air bubbles so the crumb of this cake can be incredibly smooth.
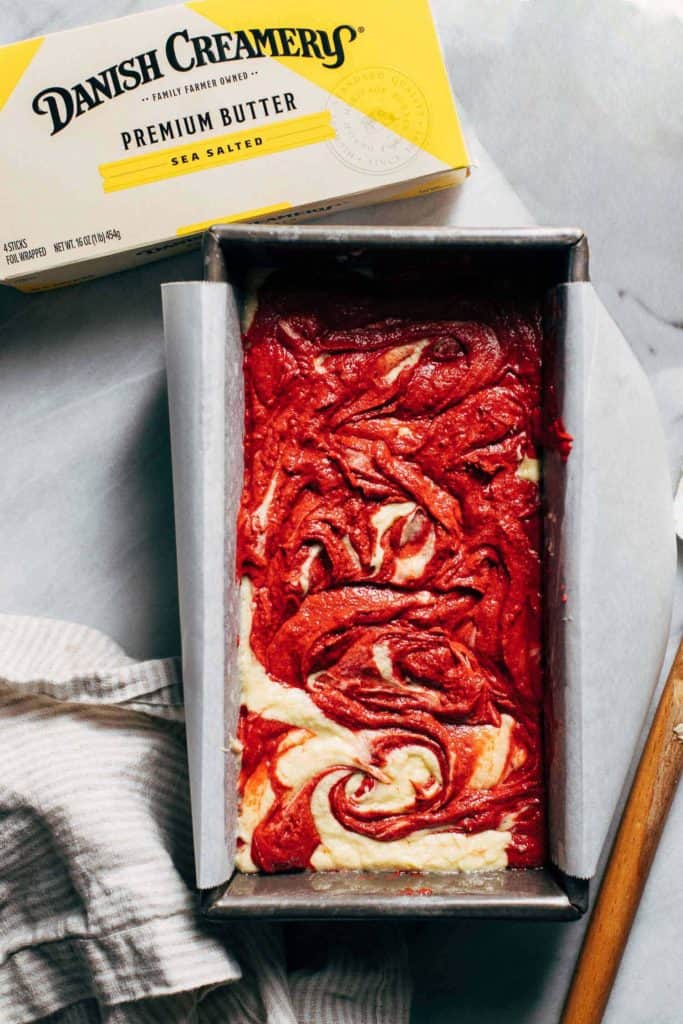
How to swirl red velvet pound cake batter
Once the batter is split in two and prepped accordingly, it’s time to fill the pan! Here’s how to swirl two batters together:
- Scoop – Use a spoon to scoop globs of each batter into the bottom of the loaf pan. Place enough globs to cover the bottom and make sure to alternate the colors. This step should use up half of each batter.
- Swirl – Use a butter knife to gently swirl the globs together. Don’t over do it, just make one pass through to break up the color blocks.
- Repeat – Do this all over again in one more layer on top. When swirling the top layer, only dig the knife in about half way. Do not try to swirl the bottom of the pan as that has already been done.
Once the pan is tapped and the batter is smoothed out, it’s ready to bake!
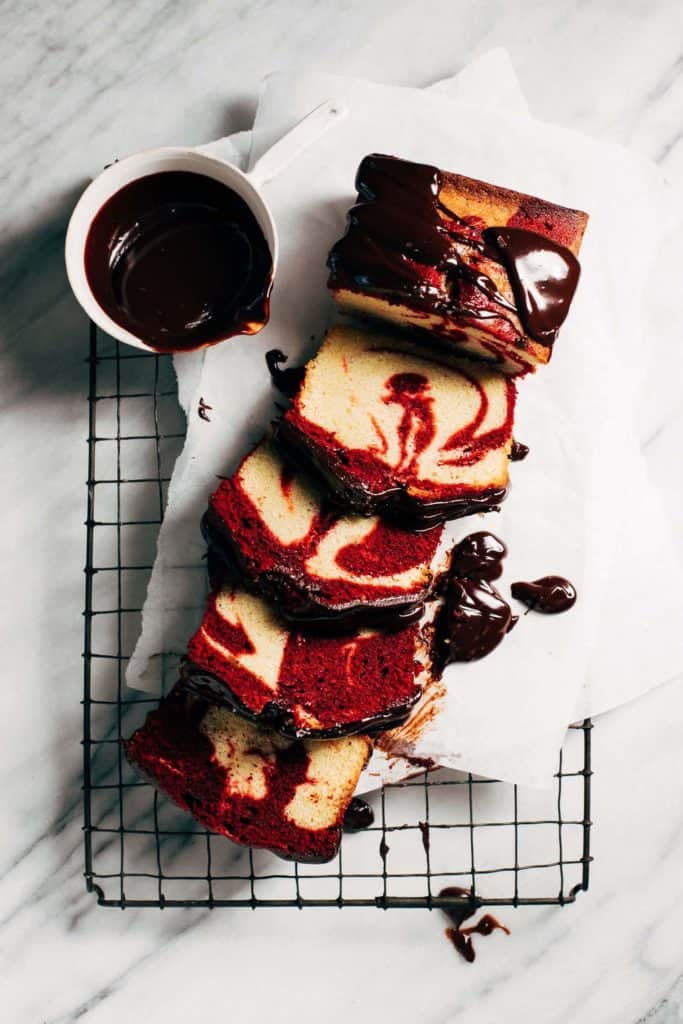
What is the best pan to use for a loaf pound cake?
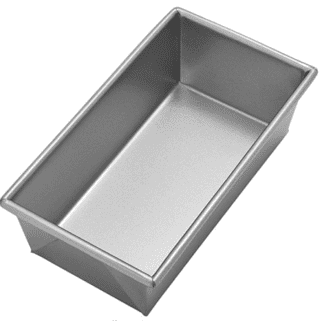
Since pound cake has a dense crumb, it loves to grow nice and tall. Because of this, a more narrow loaf pan is perfect for pound cake. This recipe calls for a 1 pound loaf pan which is about 8.5 x 4.5 inches.
I also recommend using an alloy steel pan (a medium aluminum color). This material heats up and cools down fast, which allows the center of the cake to bake much more even.
That being said, a standard 9×5 loaf pan can be used in any material. But for the best results, I always suggest alloy steel!
How to make chocolate ganache
Since red velvet has a very faint chocolate flavor, a drizzle of chocolate ganache on top of this cake is the perfect pairing.
Ganache is VERY easy to make and only requires two ingredients – chocolate and cream. For best results use a bar of semisweet chocolate and chop into small pieces. I stay away from chocolate chips when making ganache, mainly because chips have a coating that allows them to hold their shape when baked. This can sometimes change the consistency of the ganache.
Add the chopped chocolate to a bowl, and the heavy cream to a measuring glass. Microwave the measuring glass until the cream is steaming hot. Pour the cream over the chocolate and shake the bowl a bit to ensure every single piece of chocolate is submerged.
Wait about 1 minute to allow the hot cream to melt the chocolate, then whisk the two together until it’s rich and glossy!
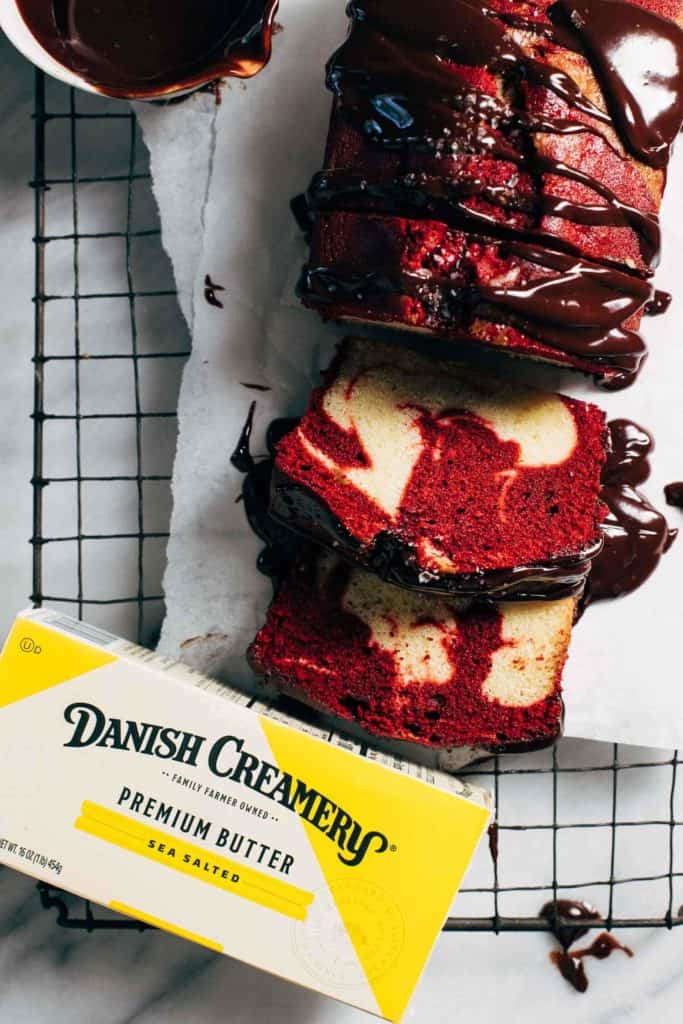
Can this red velvet pound cake be made gluten free?
I have not tested it, but I do assume that this recipe would work well with a good quality gluten free baking flour. Just make sure it has xanthan gum in the mix and weigh it rather than measure by cups.
How to store red velvet pound cake
Store the cake in an air tight container either at room temperature or in the refrigerator. It will keep at room temp for a couple days, but for any longer it will need to stay in the refrigerator. The freshness lasts for a max of about 5 days.
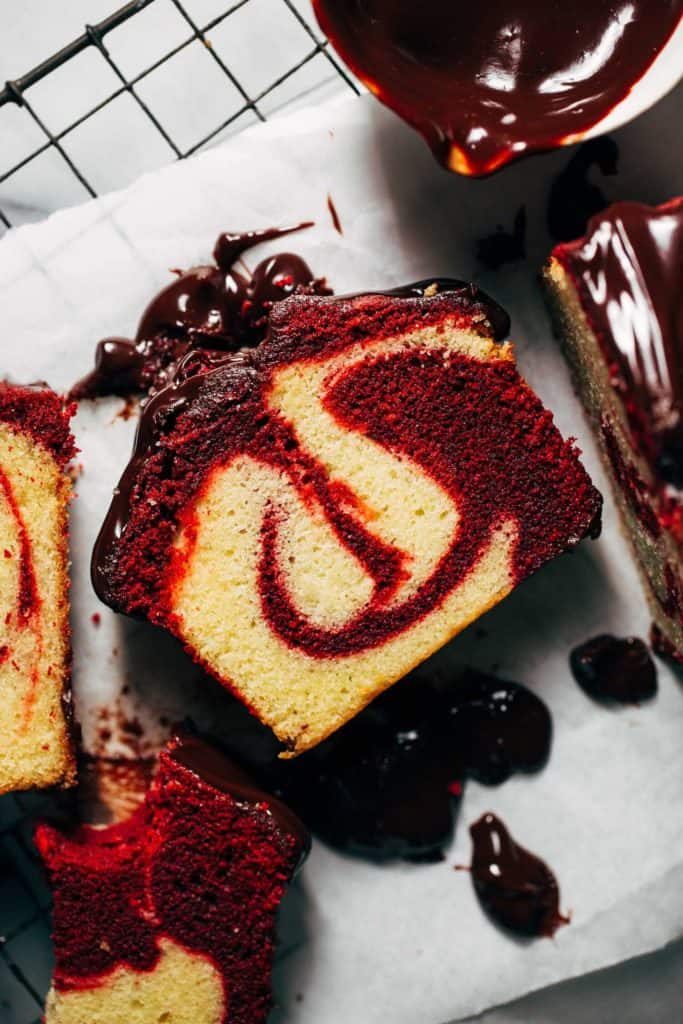
For more red velvet recipes, check out my:
Make sure to tag me @butternutbakery on Instagram and comment below if you make this red velvet pound cake. To pin this recipe and save it for later, you can use the button on the recipe card or on any of the photos above. Happy baking!
Watch how to make this red velvet pound cake:

Red Velvet Pound Cake
- Total Time: 1 hour 30 minutes + 30 minutes cooling
- Yield: 8-10 slices
Description
This red velvet pound cake is a buttery and rich cake swirled with light chocolate red velvet swirls. It’s topped with chocolate ganache to bring in even more chocolate flavor!
Ingredients
Red Velvet Pound Cake
- 1 1/2 cups (195g) all purpose flour
- 1 tsp baking powder
- 1/8 tsp salt
- 1 cup (200g) granulated sugar
- 1 cup (210g) Danish Creamery salted butter, room temp and sliced
- 2 tsp vanilla extract
- 3 large eggs
- 2 tbsp any mild oil (vegetable, canola, avocado)
- 1/4 cup milk
- 1/2 tbsp liquid red food coloring
- 1 tbsp dutch process cocoa powder
Chocolate Ganache
- 4 oz semisweet chocolate, chopped
- 1/2 cup (118ml) heavy cream
- Flaky sea salt for sprinkling
Instructions
Red Velvet Pound Cake
- Preheat the oven to 350F and grease and line a 1 pound loaf pan with parchment paper. Allow the paper to hang over the sides for easy removal.
- In a large mixing bowl using a hand or stand mixer with the paddle attachment, combine the flour, baking powder, salt, and sugar.
- Add in the sliced butter and mix on medium-low speed until it forms a clumpy batter with the butter completely smoothed out.
- In a separate bowl, combine the vanilla, eggs, oil, and milk. Beat to combine.
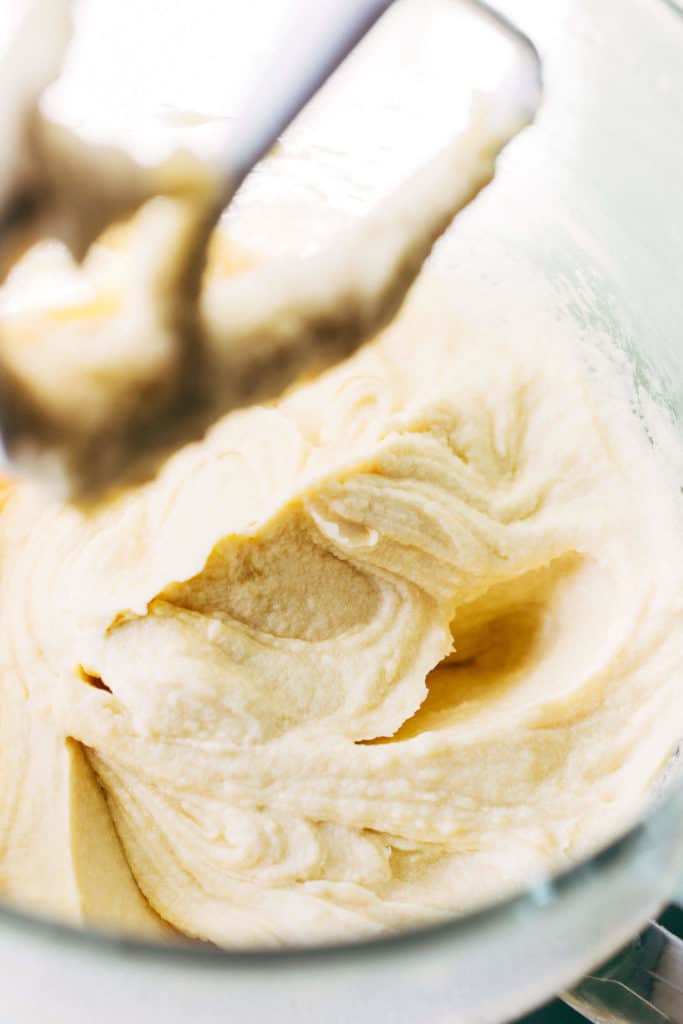
- With the mixer on medium-low speed, slowly pour in the egg mixture. Keep mixing until the batter is smooth.
- Scoop out about 2/3 of the batter and place into a bowl off to the side.
- To the remaining 1/3 batter, add the food coloring and cocoa powder. Mix to combine.
- Now with the two batters, alternate adding spoonfuls of the white and red batter until the bottom of the loaf pan is covered.
- Gently swirl the two colors together using a butter knife, then repeat this process to create another layer of red and white spoonfuls. Swirl again, but be careful not to swirl TOO much, just enough to blend out the blocks of color.
- Tap the pan against the counter a few times to help smooth out the surface. Then bake for 1 hour to 1 hour and 10 minutes, or until a toothpick in the center comes out clean with a few moist crumbs.
- Allow the cake to cool in the pan for about 30 minutes, then remove and transfer to a cooling rack.
Chocolate Ganache
- While the cake is still a bit warm, make the ganache.
- Add the chopped chocolate to a bowl, and the heavy cream to a measuring glass.
- Microwave the cream for about 1 minute, or until bubbling and steaming.
- Pour the hot cream over the chopped chocolate and let it sit for about a minute. Then whisk to combine.
- Drizzle the ganache over the pound cake and top with a sprinkle of sea salt (optional). Enjoy!
Equipment
 Buy Now →
 Notes
SALT – If you need to use unsalted butter, use a total of 1/2 tsp of salt in the pound cake batter.
- Prep Time: 20 minutes
- Cook Time: 1 hour 10 minutes
- Category: Dessert
- Method: Baking
- Cuisine: French
Join Our Community

Meet Jenna
I’m the creator, baker, and photographer behind Butternut Bakery. Here I share desserts for every diet because I believe everyone should have a chance to indulge!
Made this recipe for Memorial Day. It was lovely! The swirl came out beautifully. The cake was buttery. Thank you for the recipe! I posted on my Instagram for others to save and make❤️
xoxo @sinfull_sweets
Made it today and omg, tastes sooo good, soft and moist. I messed up with the food coloring and used yellow instead of red so it came out looking like a marble loaf cake, still perfect with a cup of coffee
I cooked for the hr recommended and the outside is very hard. The loaf also doesn’t rise as expected.
I’d love to try these as cupcakes. I’ll try baking for 25-30mins to start
Just took this out of the oven a little ahead of an hour, and it’s burnt. What a shame, took me ages to do all the swirling, and everything covered in red food colouring. I thought an hour seemed a long time but trusted the recipe. I think you should recommend checking from 40 mins maybe?
So so so good, so moist and such a good texture.
Can we do this without egg and if yes what is the substitute??
Would this recipe work with a Bundt pan? If yes, at what temperature and cook time?
Delicious and easy! Used a bundt pan to try making this more festive for a friend’s birthday (350 for 40 minutes) and had to use gel coloring since that’s all the store had. Still came out moist, buttery, rich and incredible.
This looks amazing! I was wondering, would I be able to use flaxseed egg instead?