Brownie Bottom Nutella Pie
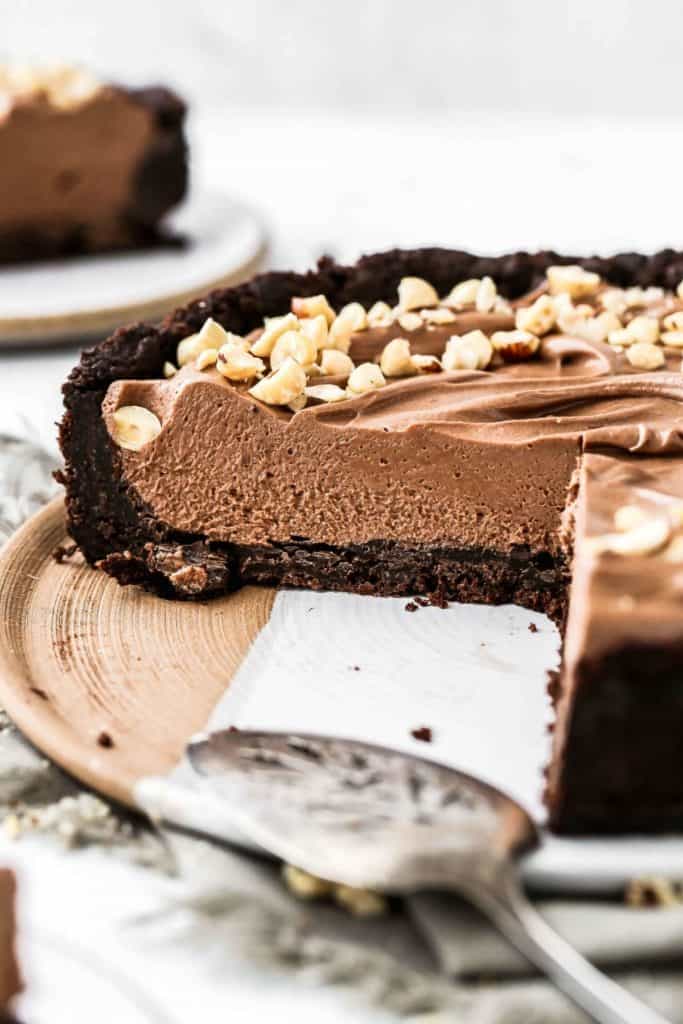
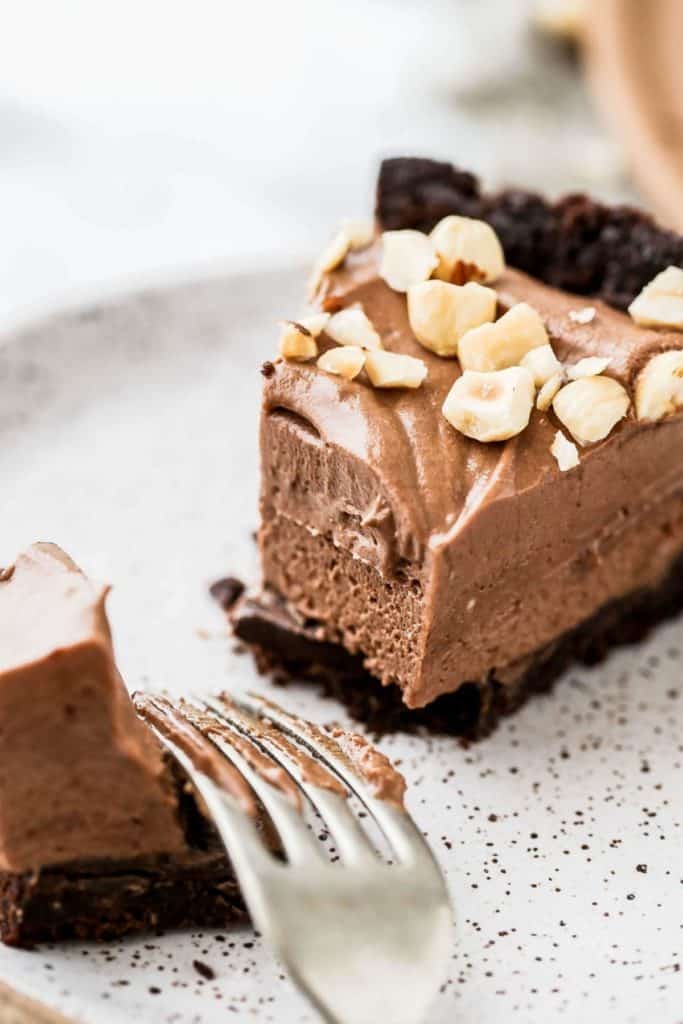
I ditched the typical crust for this Nutella pie recipe and made it a BROWNIE Bottom Nutella Pie! It’s one of my favorite Nutella desserts because you have a fudgy brownie bottom crust with a silky no bake Nutella pie filling. It’s SO delicious and so easy to make!
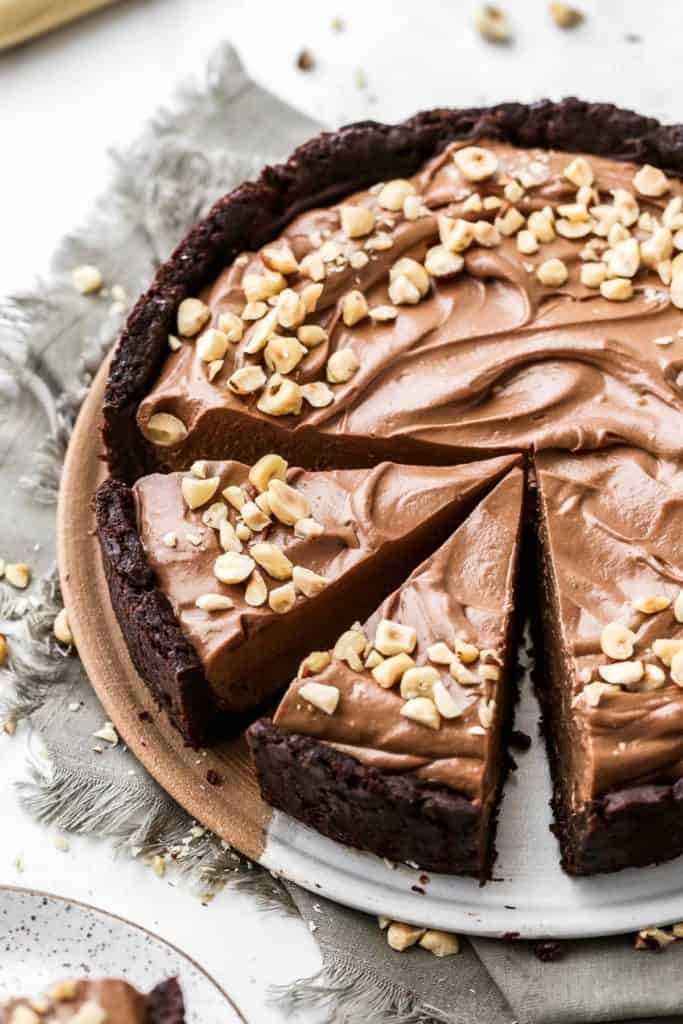
What I love about this easy Nutella pie
I love this Brownie Bottom Nutella Pie recipe mainly because it is so simple, and you can easy hack it with a few easy short cuts!
Since we’re going homemade for the rest of the pie, I took a little short cut and used a box mix for the brownie base. In my book, boxed brownies are almost as good as it gets. I even made a better than boxed chocolate fudge brownie recipe because I love them so much! So for that reason, it’s totally acceptable to cheat and use a mix.
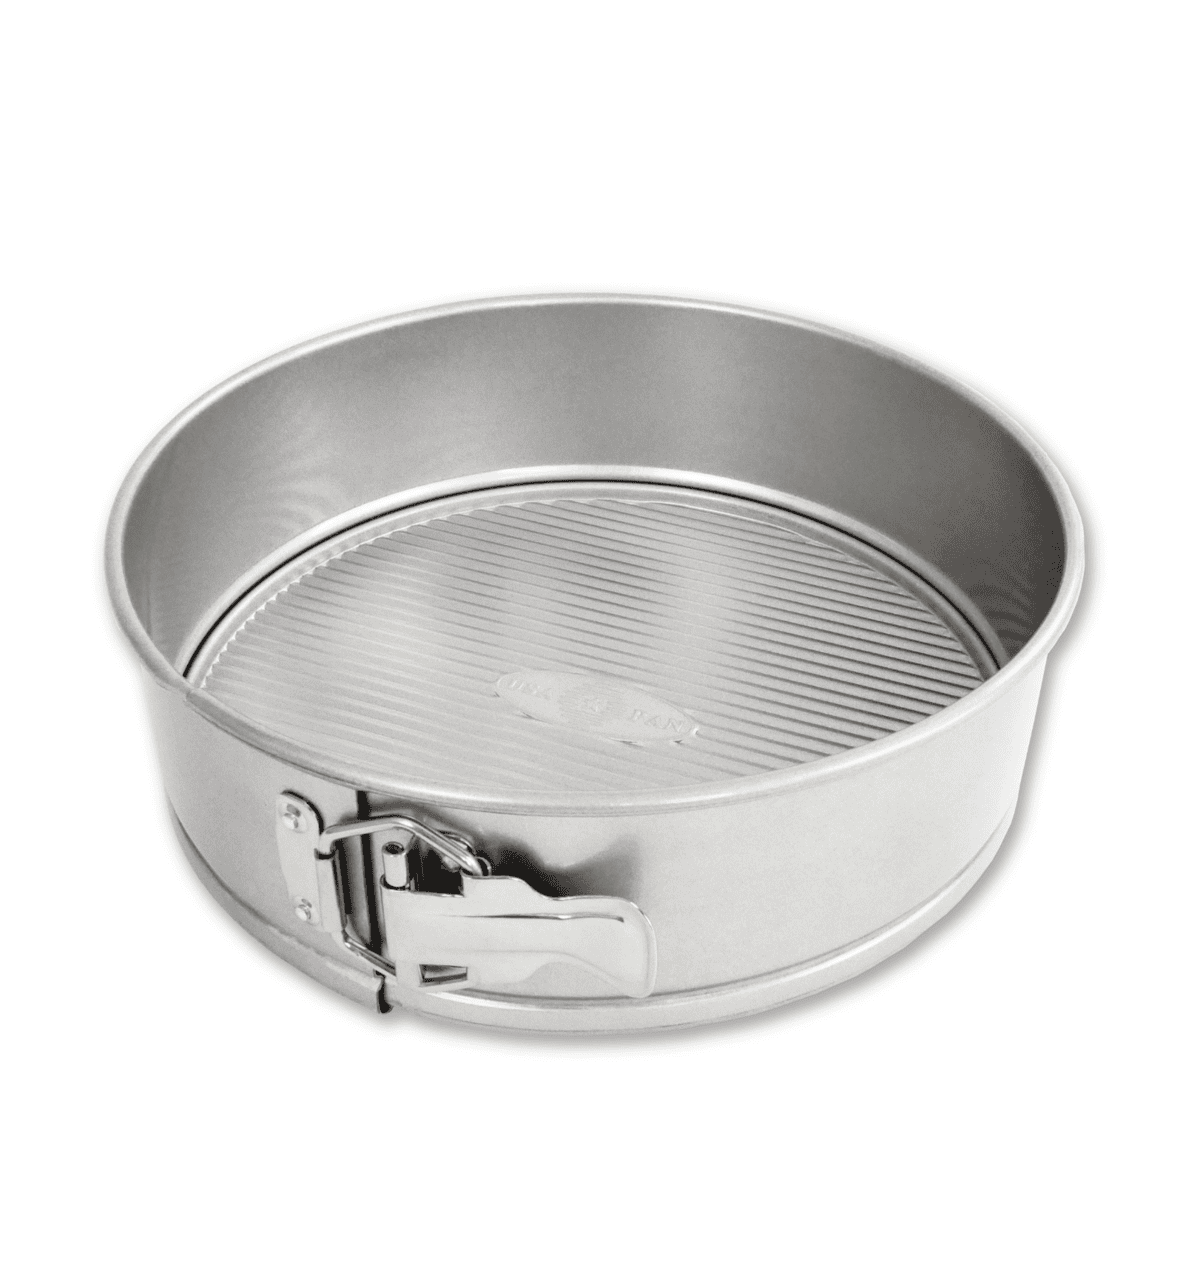
To form the crust, you will need a 9 inch springform pan, although you could also use a regular pie dish for this recipe.
And because this is a pretty big Nutella pie, you will need a family size brownie mix. You could also use two regular mixes which will leave you with a few brownies leftover for snacking. It’s a win win!
While the brownies are still warm, press them into the bottom and sides of your springform pan. It should reach about 2 inches up the sides.
Also, I recommend leaving out the crust as they’re tougher to press into the pan. Again, more snacking. MANY brownie edges were eaten during this process!
After you’ve pressed in the brownies, melt down some chocolate and spread a thin layer on the bottom and up the sides. This creates a barrier so that the moisture from the filling doesn’t sink into the brownies. No one wants a soggy pie!
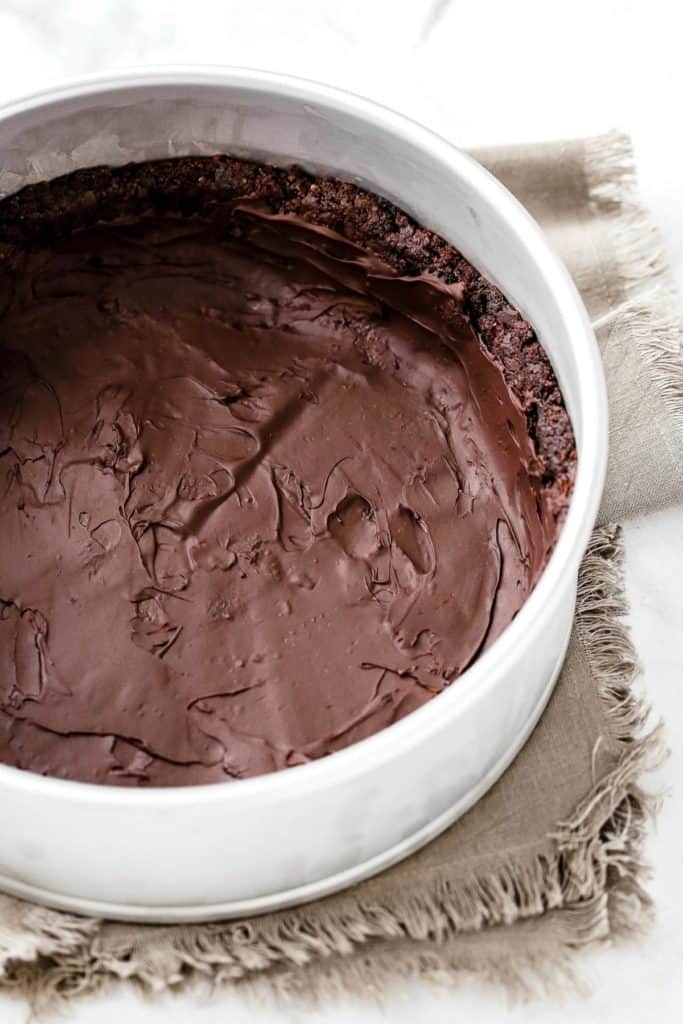
Making the no bake Nutella pie filling
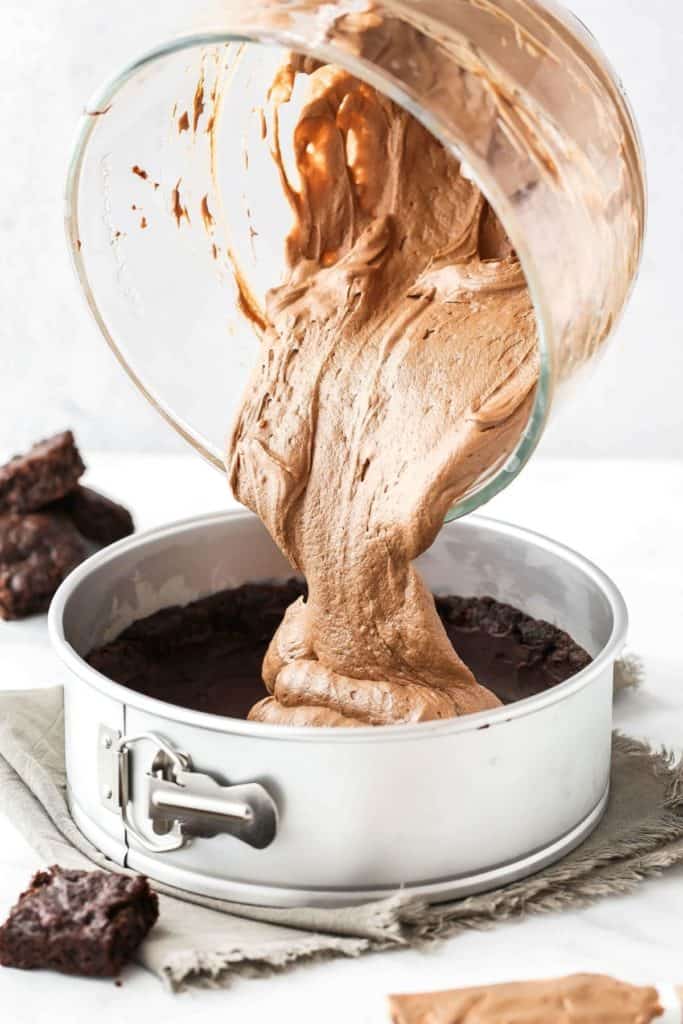
The Nutella pie filling is made up of just 5 ingredients: room temperature cream cheese, powdered sugar, (optional) espresso powder, salt, Nutella, and heavy cream. That’s it!
The espresso powder gives this recipe a subtle kick of flavor and pairs well with the chocolate brownie base, but you can leave it out if you don’t like it, or if you don’t have any to hand.
How to remove skins from raw hazelnuts
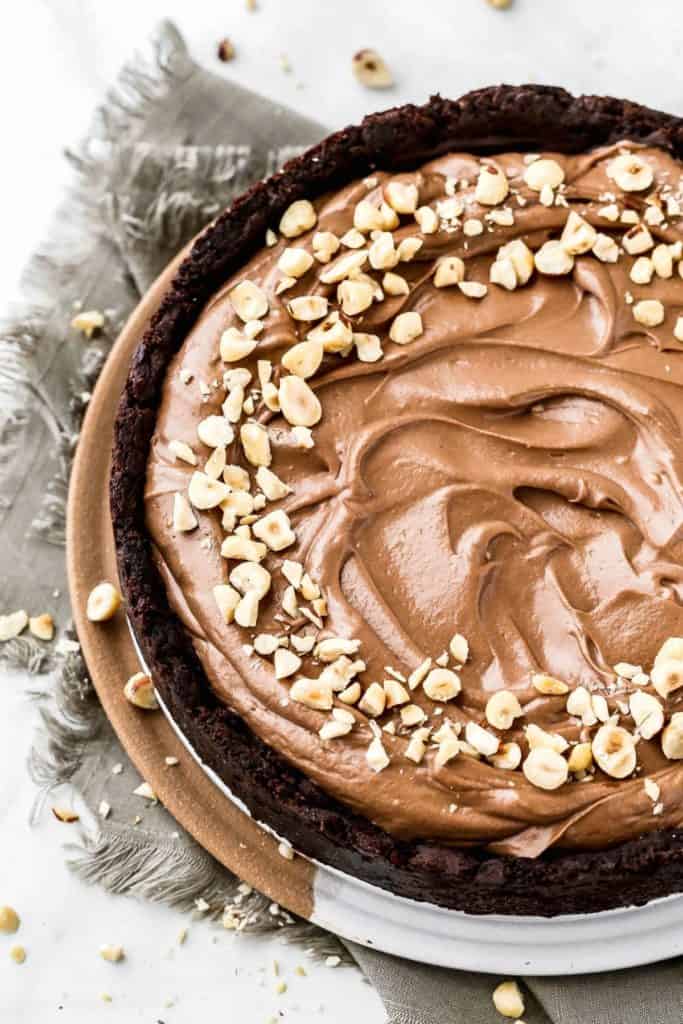
For the topping, I sprinkled on some roughly chopped hazelnuts. Not only are they used for decoration, but they also add a nice crunch to this otherwise soft and silky pie.
But, before adding them to the pie, you will need to remove their skins as they taste a bit bitter. You can purchase hazelnuts with the skins removed but they’re a little tough to find and tend to cost more. Luckily it’s easy to remove them yourself!
All you have to do is toast them in the oven at 350F for 10 to 15 minutes or until you can see the skins starting to blister.
Toss your hazelnuts in a container with a lid, preferably a glass jar, and shake it around to loosen up the skins. Then, just pluck out your skinned hazelnuts, chop, and sprinkle on top!
How to make this Nutella pie gluten free
I actually made this twice, once with a regular brownie mix and another time with a gluten free brownie mix. Simple Mills just came out with their new almond flour brownies and I HAD to try them! What better way to test them out than to turn them into a brownie crust?
Both mixes worked PERFECTLY. Since brownies are so soft and firm up as they cool, really any brownie mix would work here. It’s so easy to make the swap to create a GLUTEN FREE Nutella pie.
The best way to serve your Nutella pie
The best way to serve this pie is while it is still slightly chilled. It doesn’t have to be fresh from the fridge but the filling could become too soft if it sits at room temperature for too long.
You also want to sprinkle on the chopped hazelnuts after the pie has set. Otherwise, they might sink right into the surface and disrupt that beautiful swirly top you worked so hard to perfect!
Another thing to keep in mind is that chocolate layer between the brownie and the pie filling. Because of that, make sure to cut your pie with a sharp knife in order to break through that layer.
Serve it up by itself, with some whipped cream on top, extra Nutella, or anything you think would go great with this Nutella pie!
FAQs
I love that using boxed mix makes this pie so much easier to make. But if you want, click through for my favorite homemade brownie recipe.
If you want to create some texture on the top, make some small swooping motions with the back of a spoon right after you’ve filled the pie.
For more easy Nutella desserts:
- Nutella Stuffed Chocolate Chip Cookies Recipe
- Deep Dish Skillet Nutella Cookie Pie
- Nutella Truffles with Heavy Cream
- Hazelnut Thumbprint Cookies
- Chocolate Hazelnut Tahini Brownies Recipe
Make sure to tag me @butternutbakery on Instagram or comment below if you make this Brownie Bottom Nutella Pie. To pin this recipe and save it for later, you can use the button on the recipe card, the buttons above or below this post, or on any of the photos above. Happy baking!
Print
Brownie Bottom Nutella Pie
- Total Time: 4 hours 50 minutes
- Yield: 8-10 slices
Description
Nutella pie with a brownie bottom crust! It’s made in a springform pan to mold the brownie crust that contains the no bake Nutella pie filling. It’s so easy to make and tastes SO GOOD.
Ingredients
Brownie Crust
- 1 family size brownie mix, or two standard sizes (regular or gluten free)
- 1/2 cup (90g) dark chocolate chips, melted
Nutella Pie Filling
- 8 oz cream cheese, room temperature
- 1/4 cup (40g) powdered sugar
- 1/2 tsp instant espresso powder
- 1/4 tsp salt
- 1 1/4 cups (350g) Nutella
- 1 cup (240g) heavy cream
- 1/4 cup chopped hazelnuts, optional
Instructions
Brownie Crust
- Bake the brownies according to the instructions on the box.
- While the brownies are still warm, press them into a 9″ springform pan. Cover the bottom and about 2 inches up the sides. Omit the brownie crusts where you can and they can be saved as a snack or crumbled on top of the pie later.
- When the crust has cooled to room temperature, spread a very thin layer of the melted chocolate on the bottom and up the sides of the crust. Place in the fridge for about 30 minutes to set.
Nutella Pie Filling
- Using a hand or stand mixer with the whisk attachment, whip the heavy cream on high speed until you reach stiff peaks, about 5 minutes. Set aside.
- In a separate bowl, mix together the room temperature cream cheese, sugar, espresso powder, and salt. Then mix in the Nutella.
- Scoop half of the whipped cream into the Nutella mixture and fold gently (using a rubber spatula) until it’s almost fully combined. Then fold in the other half of the whipped cream until your mixture is completely smooth and no streaks remain.
- Pour the filling into the chilled crust and smooth out the top. Place in the refrigerator for 4 hours to set.
- Once set, top with chopped hazelnuts and/or leftover brownie crumbs. Enjoy!
Equipment
 Buy Now →
 Notes
The best way to serve this pie is while it is still slightly chilled. It doesn’t have to be fresh from the fridge but the filling could become too soft if it sits at room temperature for too long.
- Prep Time: 30 minutes
- Chill Time: 4 hours
- Cook Time: 20 minutes
- Category: Dessert
- Method: No Bake
- Cuisine: American
Join Our Community

Meet Jenna
I’m the creator, baker, and photographer behind Butternut Bakery. Here I share desserts for every diet because I believe everyone should have a chance to indulge!


Do you think this could be made and frozen ahead of time? Like up to a couple weeks?
WOW!!! This pie is absolutely delicious and so easy to make! What’s the waiting period between finishing one and making another? Asking for a friend.
Do you bake the brownies in a 9×13 pan and then remove them and “smoosh” them in the springform pan? Just unsure how this part goes. Thank you.
Hi Jenna, I’ve made this recipe twice and both times it’s been a big hit. The second time I made ganache to line the bottom and found it to be better than using simply melted chocolate. The ganache gives a bit more when you slice the pie. Also, there is enough left over to drizzle on the top. The tahini swirl brownies are a big hit as well.
Hi! It should definitely be OK to serve 2 days later. Since the crust is lined in chocolate, there shouldn’t be any soggy or seeping issues. Just make sure to keep it in the springform pan, wrap it in foil or plastic wrap, and store in the fridge until you’re ready to serve.
Oooh thanks a lot! I was thinking to store it in a cake holder and wrap it with clining wrap… And pray for it not to metk during my 2 hour ride!
Hello Jenna from the UAE! I am looking forward to try this recipe, I have a question; how long ahead to you think I can bake this delicious pie? I want to bake it 2 days before serving it (as I live far from the city I am. Also concerned about transportation!)
Much appreciated! Love your recipes!
Hello Jenna from the UAE! I am looking forward to try this recipe, I have a question; how long ahead to you think I can bake this delicious pie? I want to bake it 2 days before serving it (as I live far from the city I am. Also concerned about transportation!)
Much appreciated! Love your recipes!