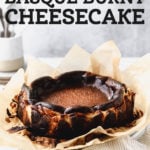
Basque Cheesecake
This classic, foolproof recipe for Basque Cheesecake is a delicious, crustless Basque baked cheesecake recipe I just know you’re going to love! With a caramelized crust and super creamy center this is honestly the easiest cheesecake recipe you’ll ever make!
What is a basque cheesecake?
I’m going to explain this right up front so you don’t think this Burnt Basque Cheesecake is an April fools joke. Yes this is for real, an intentionally burnt cheesecake.
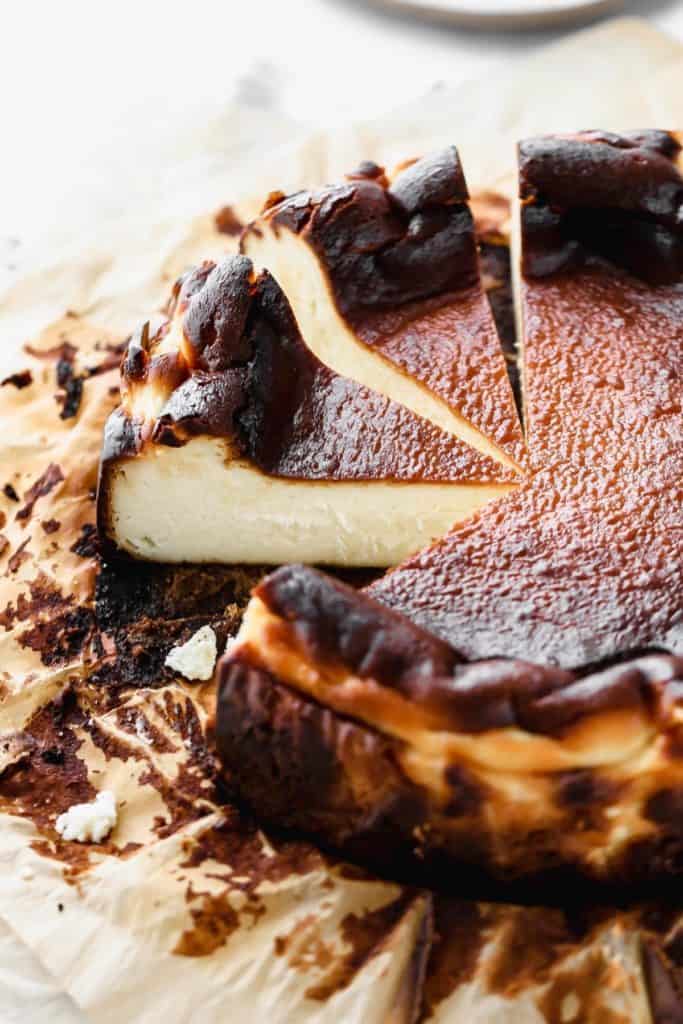
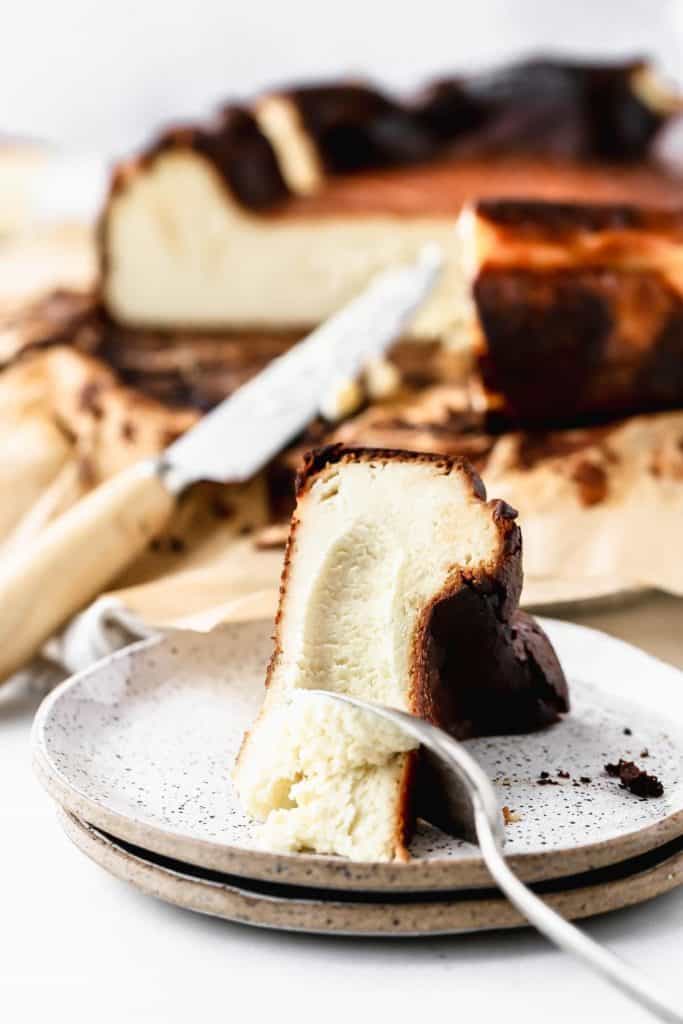
This burnt basque cheesecake originates in Basque Country (hence the name). It’s a crustless cheesecake that’s starting to become a trend in the US. It’s main difference from a New York Style Cheesecake is that it is crustless, and has a golden, beautiful caramelized exterior. It also has a much lighter texture and flavor.
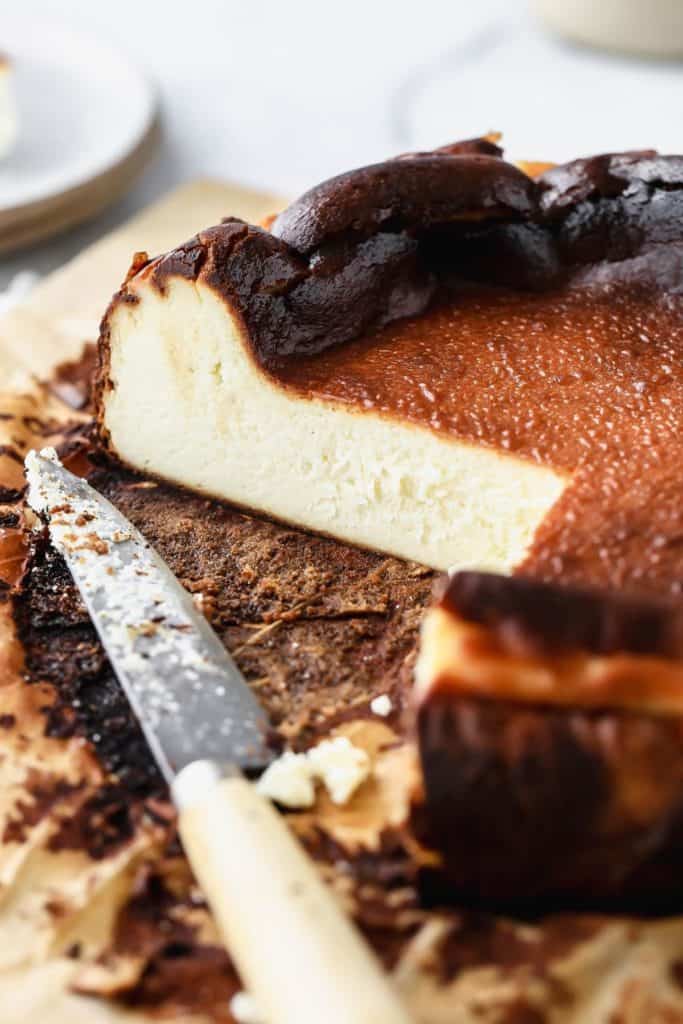
The cheesecake is baked at a high temperature in order to get that burnt exterior and super creamy interior. It’s more traditional to have a custard-like center but I tweaked this recipe for a more solid texture.
This reason why it’s so good is the same reason why creme brûlée is. The bitterness of the burnt exterior mixed with the sweet and creamy interior help to balance each other out. Kind of like salty and sweet desserts!
Prepping your pan for burnt cheesecake
Everything about this cheesecake recipe is unique, starting with how you prep the pan.
For starters, there’s no crust so we don’t have to pre-bake or prepare for that first step.
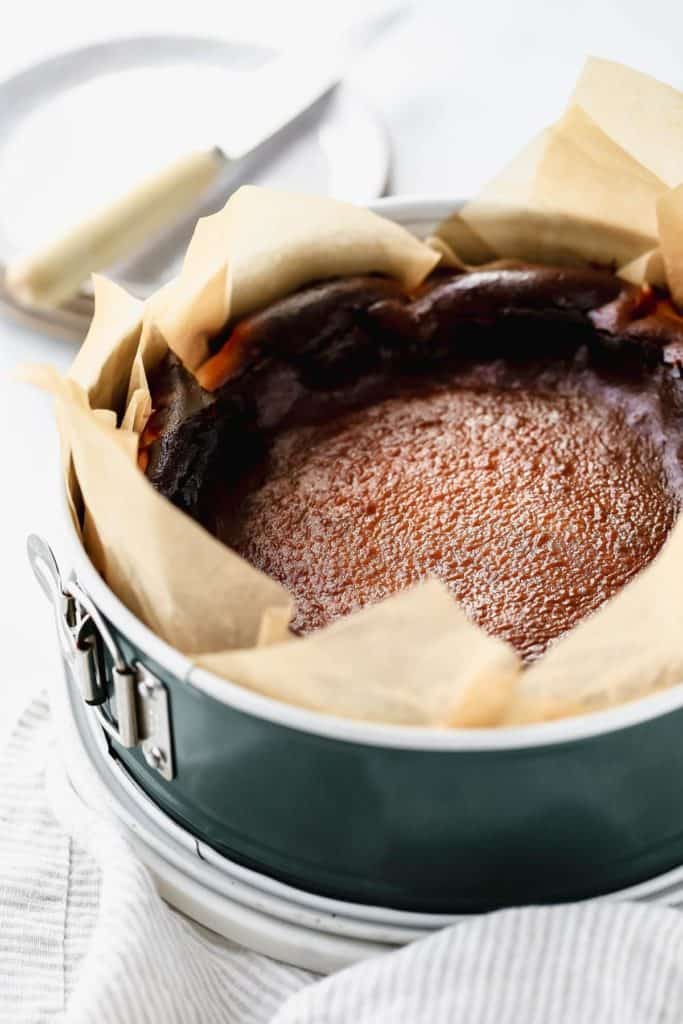
Instead, you coat the entire pan with butter. Then, press in one layer of parchment paper so the sides stick up. Smear on another layer of butter and press in one more layer of parchment paper.
You want to make sure the paper reaches about 2 inches above the pan as this cheesecake puffs up quite a bit as it bakes.
Also fold in the wrinkles to get the edges as smooth as possible. It doesn’t have to be perfect. The more “rustic” style looks good on this cheesecake!
The easiest cheesecake you’ll ever make in your life
I don’t know about you, but baking cheesecake stresses me out. Between the careful mixing and the water bath, there’s just so many things that can go wrong.
Enter cheesecake’s alter ego. Seriously, it is so hard to mess up this basque burnt cheesecake recipe. It consists of a very short list of ingredients and it’s almost impossible to over bake it… cause… you know… it’s burnt and all.
To make burnt basque cheesecake, you mix up the ingredients, pour it into your pan, and bake. No water bath, no temperature changes, just let it do it’s thing. Talk about a low maintenance recipe.
Serving your basque burnt cheesecake
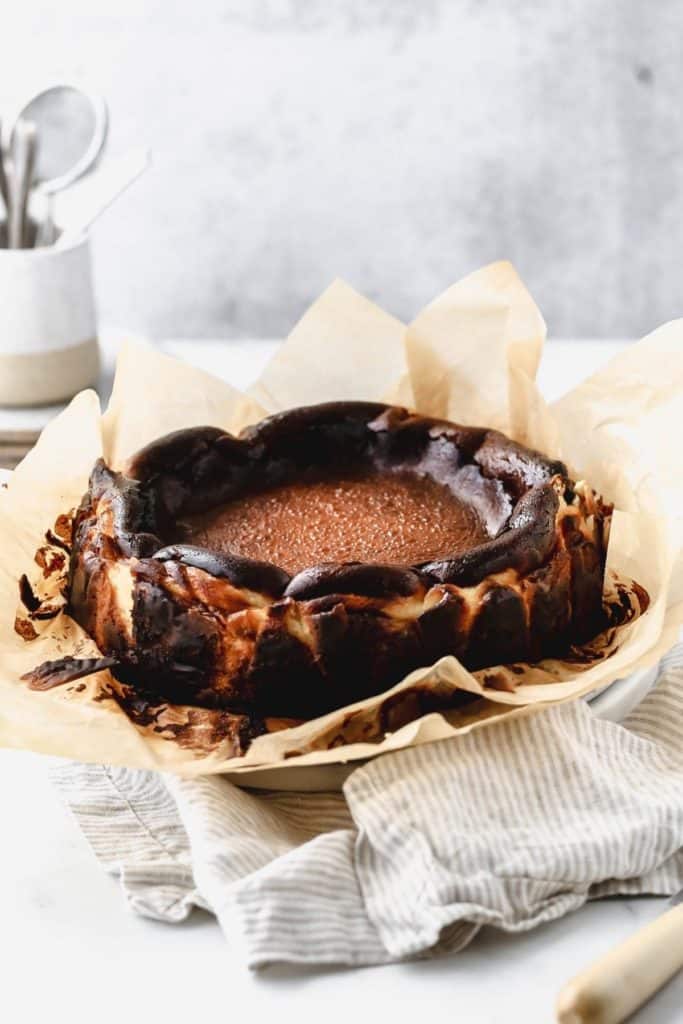
It’s traditional to serve it at room temperature as opposed to regular cheesecake. Let it cool in the pan, remove, slice, and serve. That’s a far cry from the hours we spend waiting for cheesecake to set up in the fridge.
This is where I didn’t stick to tradition. I let my cheesecake chill in the fridge overnight out of habit. It still gave me a super creamy center so it’s really up to you as to when you’d like to serve it!
Top it with fruit, chocolate, whipped cream, caramel… whatever you’re feelin’. This cheesecake is a blank slate that can be enjoyed alone or with a little something extra!
For more cheesecake recipes, check out my:
- Funfetti Birthday Cheesecake (with a cake bottom!)
- Classic Baked Vanilla Cheesecake
- Baked Salted Caramel Cheesecake
- Best Baked Chocolate Cheesecake with Philadelphia
- No Bake Blueberry Cheesecake Bars (Vegan)
Make sure to tag me @butternutbakery on Instagram if you make this Burnt Basque Cheesecake Recipe. I love seeing my recipes come to life in YOUR kitchen! To pin this recipe and save it for later, you can use the button on the recipe card, the buttons above or below this post, or on any of the photos above. And if you have any questions, ask me on Instagram! That’s the best way to reach me. Happy baking!
Print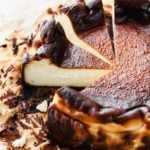
Basque Cheesecake
- Total Time: 2 hours 15 minutes
- Yield: 8-10 slices
- Diet: Gluten Free
Description
This basque cheesecake is an intentionally burnt cheesecake which provides a bitter outer layer and extra creamy inside. It’s the easiest cheesecake you will ever make!
Ingredients
- 2 pounds (four 8oz blocks) full fat cream cheese, room temp
- 1 1/2 cups (300g) granulated sugar
- 5 large eggs, room temp
- 1 tsp vanilla extract
- 1 3/4 cups (420g) heavy cream
- 1 tsp salt
- 1/4 cup (33g) all-purpose flour
Instructions
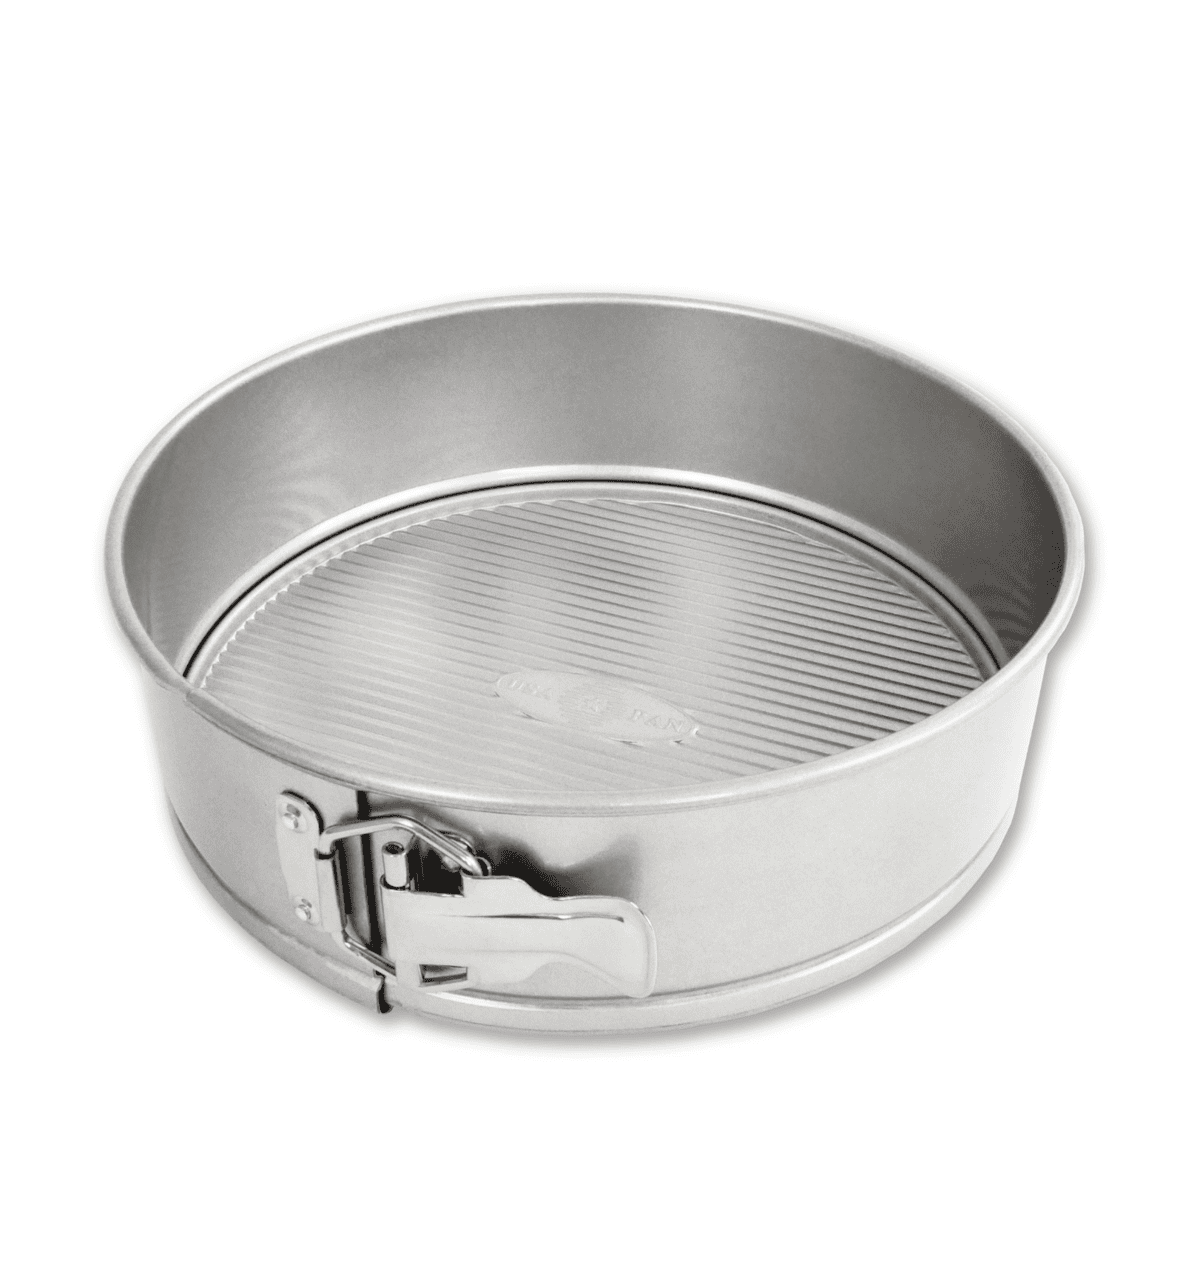
- Preheat the oven to 400F and butter the inside of a 9″ springform pan.
- Press two layers of parchment paper into the bottom and up the sides. They should stick up about 2 inches above the edge of the pan.
- Cream together the cream cheese and sugar on medium low speed using a hand or stand mixer with the paddle attachment.
- Mix in the eggs one at a time on low speed and then the vanilla.
- Pour the heavy cream in a slow and steady stream while the mixer is on low speed. Once smooth, sift in your flour and salt and fold to combine.
- Bake for 60-65 minutes or until the top is completely burnt and it has a slight jiggle to it.
- Let it cool to room temperature for about an hour then remove from the pan and slice. You can also leave it in the pan and place it in the fridge for a couple hours to completely set (my personal preference). Enjoy!
- Prep Time: 15 minutes
- Cooling Time: 1 hour
- Cook Time: 1 hour
*Some of the links above are affiliate links, which pay me a small commission for my referral at no extra cost to you!
Join Our Community


Meet Jenna
I’m the creator, baker, and photographer behind Butternut Bakery. Here I share desserts for every diet because I believe everyone should have a chance to indulge!

Hi Jenna,
Can I half the recipe and still use a 9 inch pan? For what temp and how long do you think I should bake it? Thank you i love this recipe!
Loved this! My cheesecake really stuck to the parchment paper on the sides though making for a messy (not cute and rustic) presentation. Any tips or tricks you could suggest?
This recipe works is great! I cut the sugar down to slightly over 1 cup and it still taste divine!
I used an 8 inch cake pan and filled the extras in silicon cups. The baking time for this was a bit off… the top started to over burn after 20 mins. I turned down the temperature to 180C and completely off once the top is fully burnt, took about 40 mins baking time. Tested it for a jiggle… and that was when i knew it was done.
How do you test if its really cooked? When i baked it the last time, the middle part is still underbaked. It’s watery. I read that when its jiggly its cooked already but based on experience sometimes it works sometimes it does not. Even after putting it in the fridge. Any tips?
The sides of mine did not rise as high. My oven did not distribute the heat evenly so one side is more burnt. The cake did split a little at the edges. Other than that it tasted great. I added some yuzu in the batter.
Hi,
Do I use the convection setting on my oven or just regular baking? Thanks
I have a glass baking pie plate also for making apple pie. Can I use this for the recipe?
This cake is amazing! I’ve never wanted to attempt a cheesecake before but this was so easy and it tastes wonderful.
I wonder if it’s possible to bake this cheesecake with a sugar substitute, such as stevia. I’m guessing it won’t “burn” the same way, as stevia doesn’t caramelize. What do you think?
Amazing! Best cheesecake ever. Put lemon zest and was delish. Going to try orange zest next time