Cinnamon Sugar Apple Butter Pie
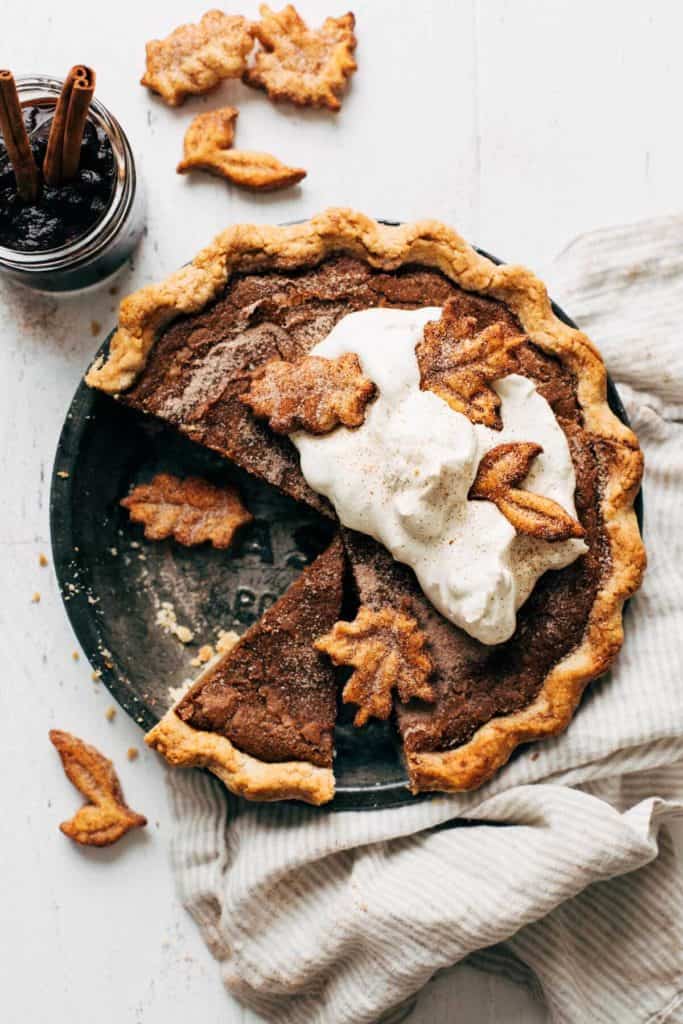
This apple butter pie is unlike any other pie you’ve had! Its custard-base filling is made with cozy apple butter and topped off with a layer of cinnamon sugar. It creates a crackly crust on top that’s sweet and so delicious. This entire pie is also baked in a buttery and flaky gluten free pie crust! You’d never even know that it’s gluten free, but it makes this dessert accessible to everyone around your Thanksgiving table.
This post is sponsored by Bob’s Red Mill but all thoughts and opinions are my own. Thank you for supporting the brands that make Butternut Bakery possible!
How to make gluten free pie dough
You may think gluten free pie dough just can’t match up to regular pie dough. How can you get that tender, flaky, and buttery texture without any gluten? Let me tell you, this gluten free pie dough has it all. It’s so good that you would never even know it’s gluten free! Here are a few tips to keep in mind to ensure it turns out just right:
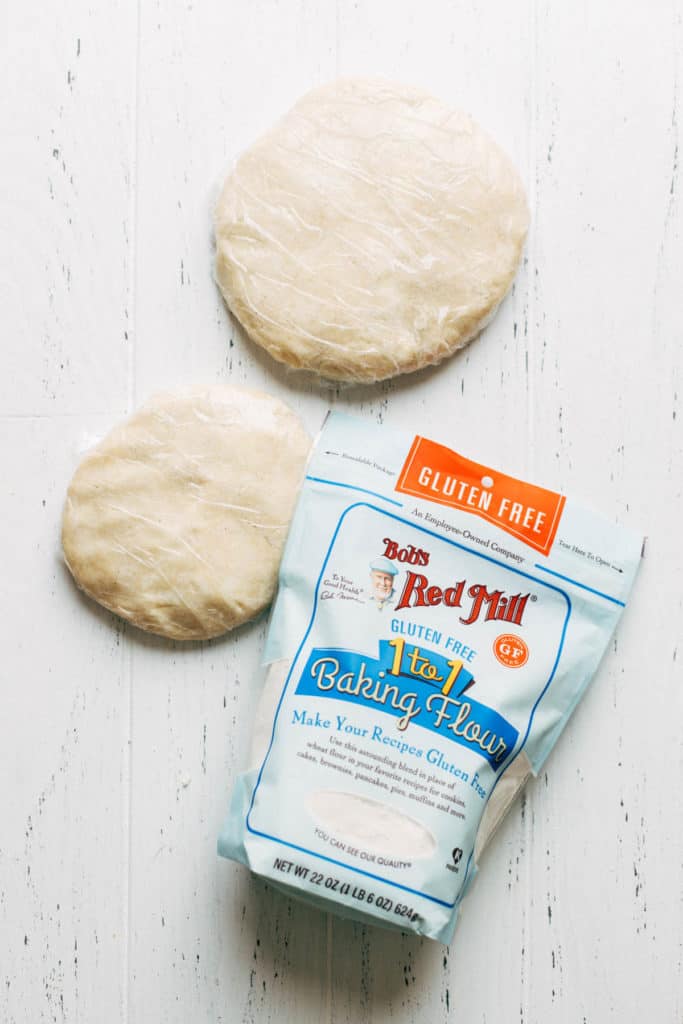
- Use Bob’s Red Mill Gluten Free 1-to-1 Baking Flour – This is hands down by favorite gluten free baking flour. Is the best flour I can find that closely mimics regular flour, giving this pie recipe the buttery and flaky crust that it needs. And because there can be variability in gluten free flours, I recommend sticking with this Bob’s Red Mill gluten free flour. It already has xanthan gum mixed in, which helps hold the crust together, and it’s easy to work with. It’s the entire reason why this pie crust is able to closely resemble a regular pie crust, so don’t skip out on it!
- Measure properly – When adding the gluten free flour to your mixing bowl, make sure to measure it properly. Otherwise, you’ll have way too much flour in the dough and it will turn out dry and crumbly. If you have a food scale, I highly recommend weighing the flour. If not, spoon the flour into your measuring cup and level it off with a flat edge. This prevents the flour from packing down into the cup, leaving you with way too much.
- The butter – The butter must be very cold before add it to the dry ingredients. I also recommend using a really high quality European style butter for the best results. It adds richness to this pie dough, and the higher fat content helps make the dough a bit more pliable.
- The sour cream – Rather than adding more water, I opted to add sour cream to the dough. It’s typically added to regular pie dough recipes to prevent the gluten from forming. Since that’s not an issue here, I found that the sour cream added a slightly tangy flavor to the crust while also making the dough more moldable.
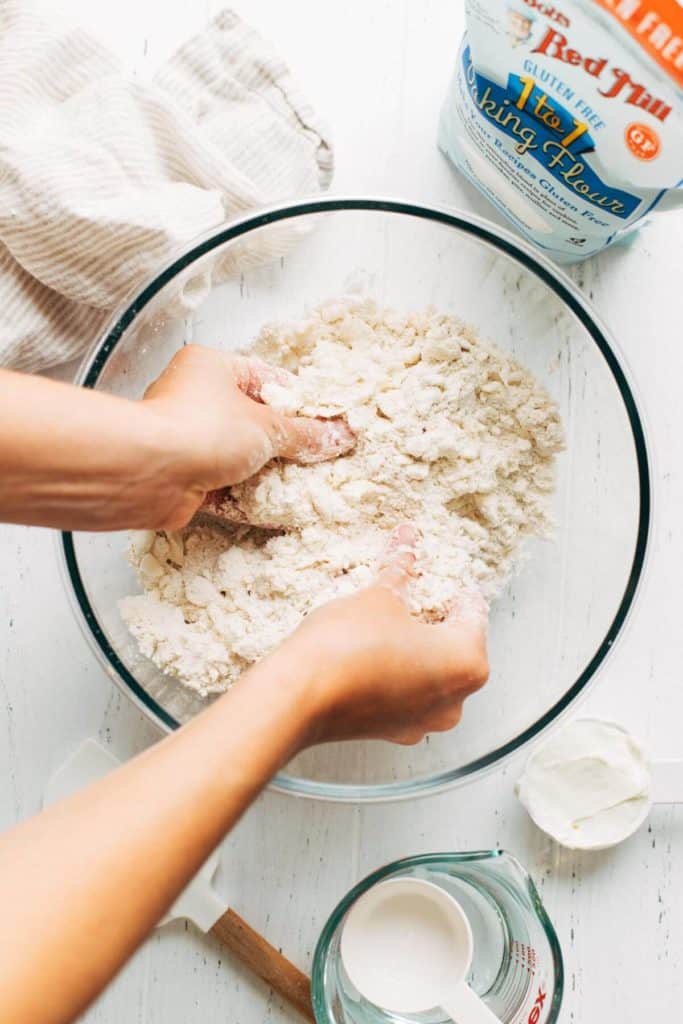
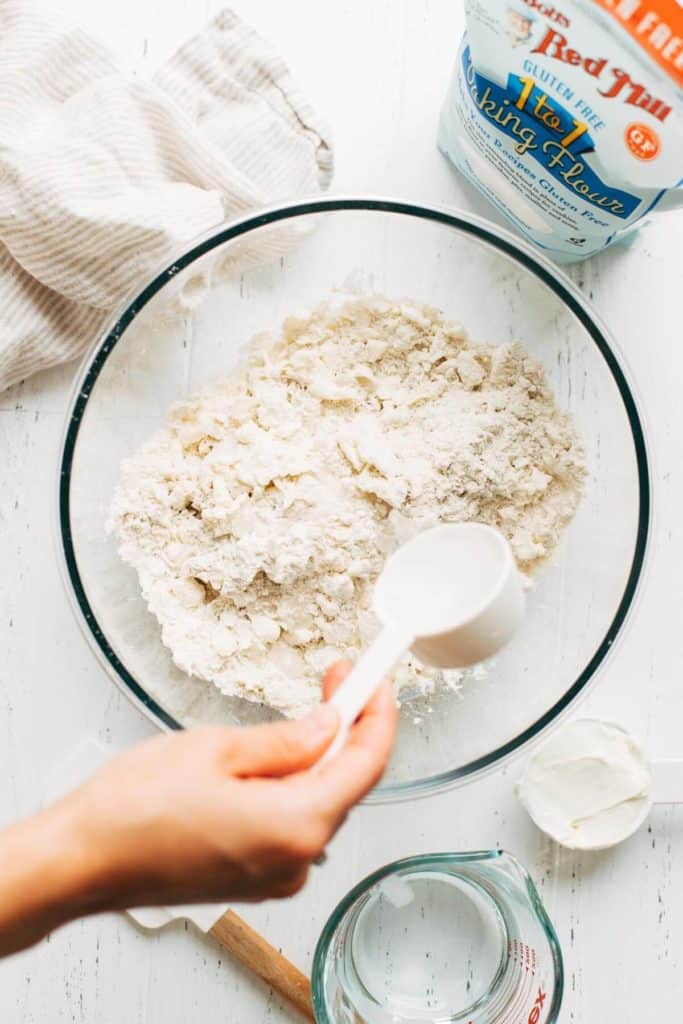
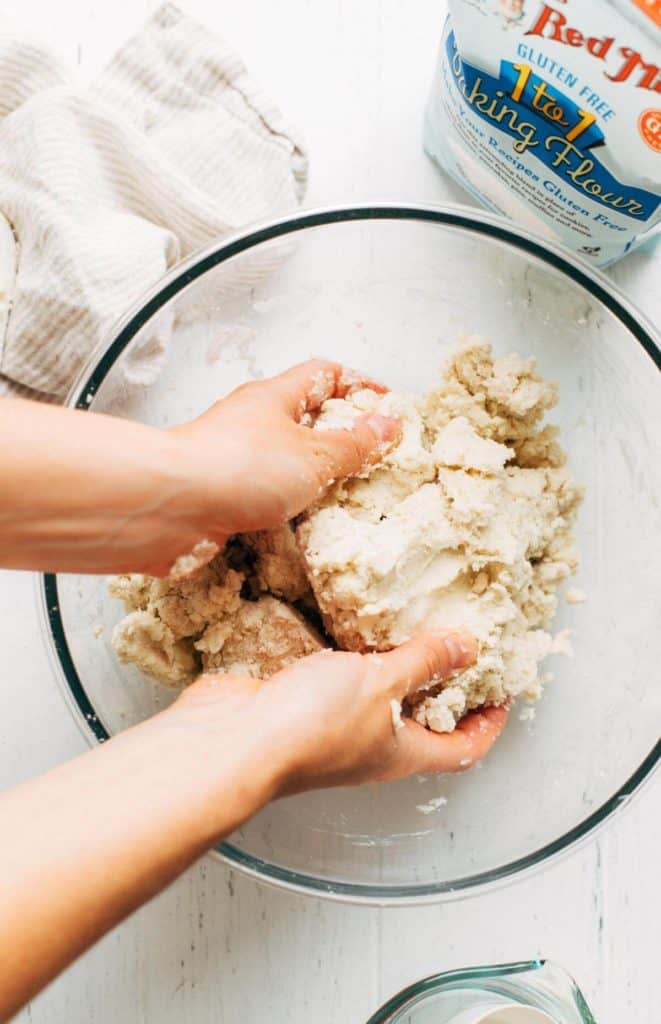
Once all of the ingredients are added to the bowl, it might look a bit crumbly. Use your hands to work it together. If it still won’t form a mass, add 1 tablespoon of water at a time until it comes together. Otherwise, it should look like the bottom left photo below.
Why is pie dough par-baked?
For most custard-based pies, the pie dough is par-baked. This is the process of baking the crust before the filling is added.
Doing so helps create a barrier between the crust and the filling. Since it’s a wet filling, it could easily make the crust very soggy on the bottom. But with par-baking, this creates a strong bottom crust that will stay firm and tender once the filling is added.
How to par-bake gluten free pie dough
Once the bottom crust is formed into the pie dish, brush the bottom and sides with an egg white. This creates an even stronger barrier between the crust and the filling, and is something I do with almost all of my pie recipes. To prevent it from sticking to the parchment paper, freeze the pie until the egg white is set.
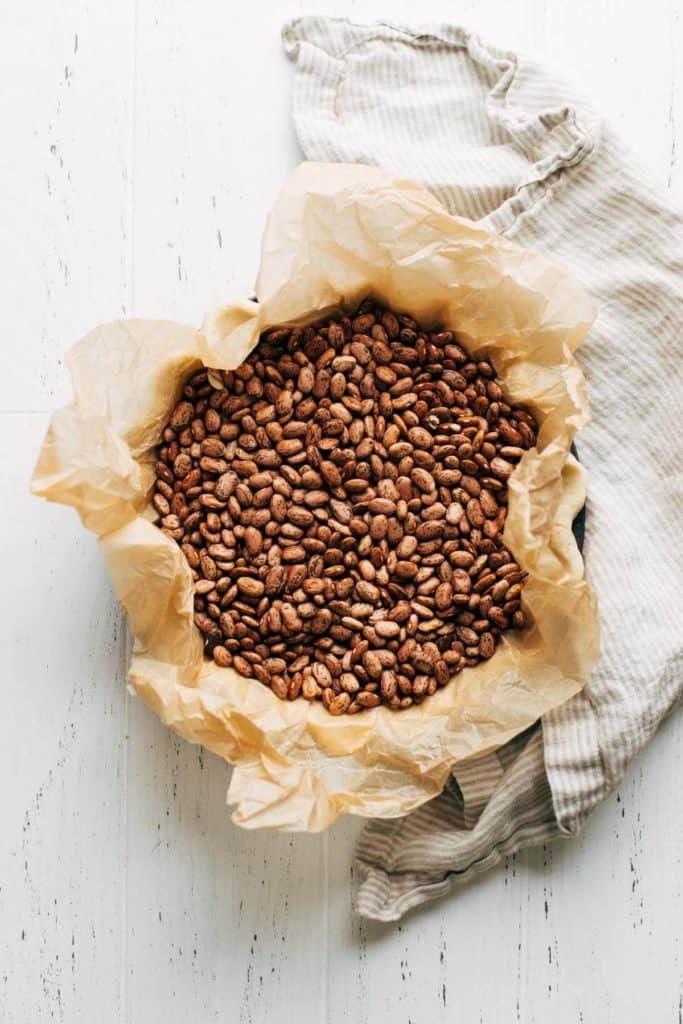
Then, crumple up a large sheet of parchment paper and then unravel it. Using a wrinkled piece of parchment paper makes it much easier to fit into the pie shell.
Once the parchment paper is placed inside the chilled pie shell, fill it to the top with pie weights or dry beans. This weight stops the crust from bubbling up or shrinking down into the pan. It essentially keeps everything in place as it bakes.
The shell is then baked for 15 minutes. This allows everything to set and settle on the inside, but the exterior will still appear a bit raw. That’s why the pie is then baked for another 5 minutes without the weights or the parchment paper. This is what creates the top seal all around the edges and inside the crust. Without that extra 5 minutes, the crust could turn out soggy once the entire pie is baked.
How to make decorative pie leaves
When the pie dough is freshly made, it is separated into 2 halves with one being slightly larger than the other. The larger half is used as the bottom crust, and the smaller half is used to create decorative pie leaves on top.
Simply roll out the dough and stamp out the leaves using some cookie cutters. These are the ones I used. Transfer the leaves to a baking sheet lined with parchment paper and set the pan in the refrigerator until they’re ready to bake. The leaves will bake right along the par-baked crust until golden brown.
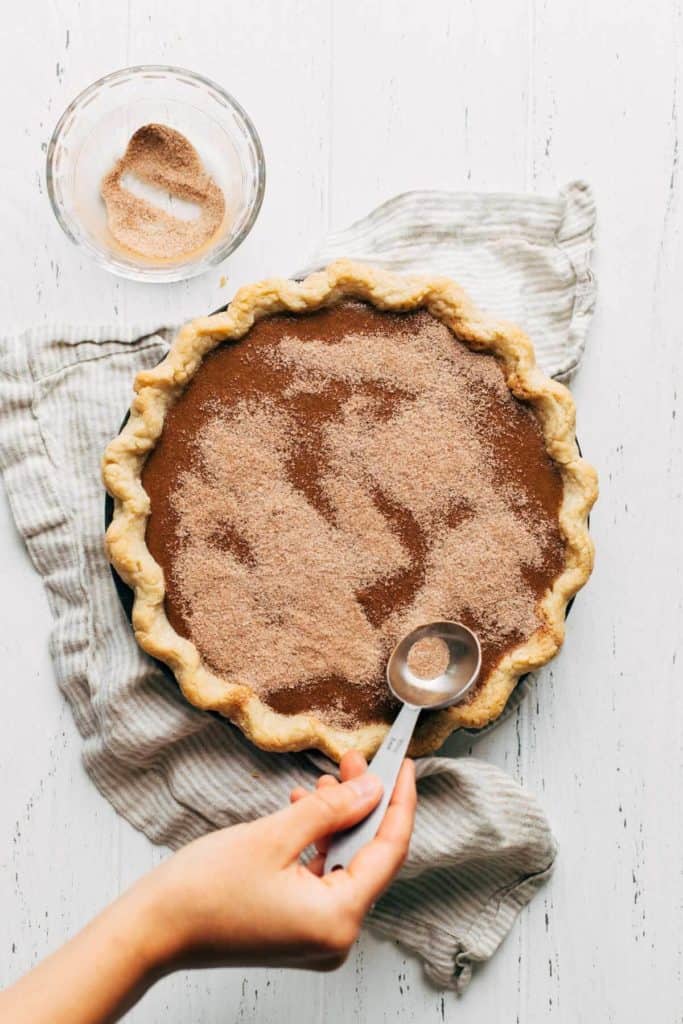
When they’re still warm, toss the leaves in a dish of cinnamon sugar. It’s important that they’re warm during this step, otherwise the sugar won’t stick.
What is the best kind of apple butter to use?
Any store bought apple butter will work for this recipe, but a darker apple butter is preferred. I find they have a deeper flavor and a bit sweeter than other apple butters. I also recommend using a good quality apple butter rather than a store-brand version. These are made with better ingredients and have a stronger flavor.
How to tell when the pie is done
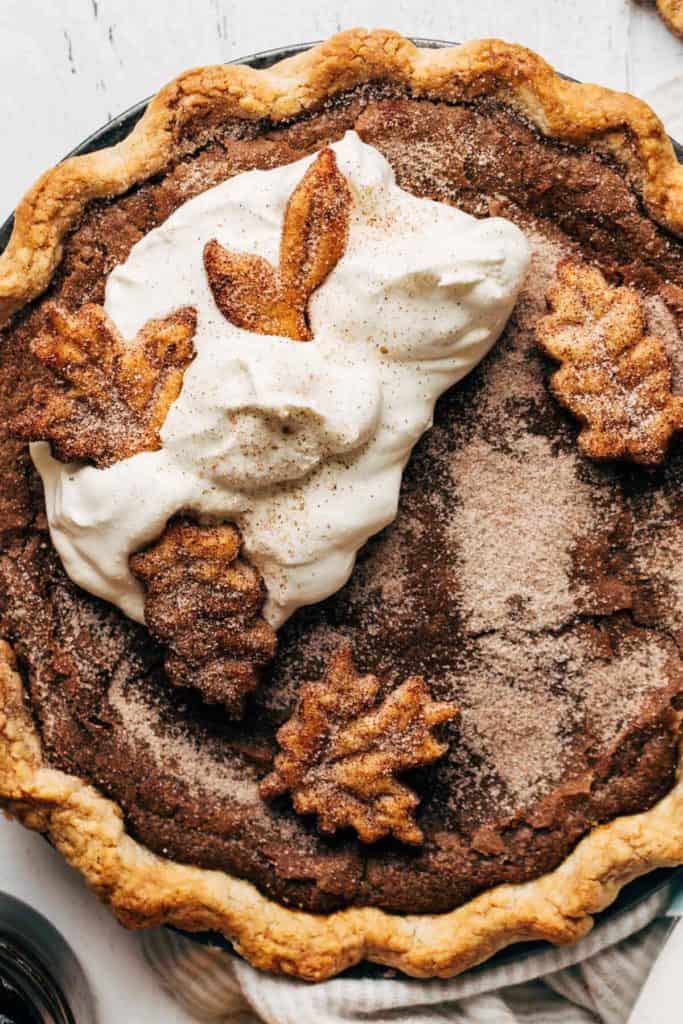
The pie is ready to take out of the oven when the center is puffed and does not jiggle when nudged. Continue to bake for another 5-10 minutes until it’s ready.
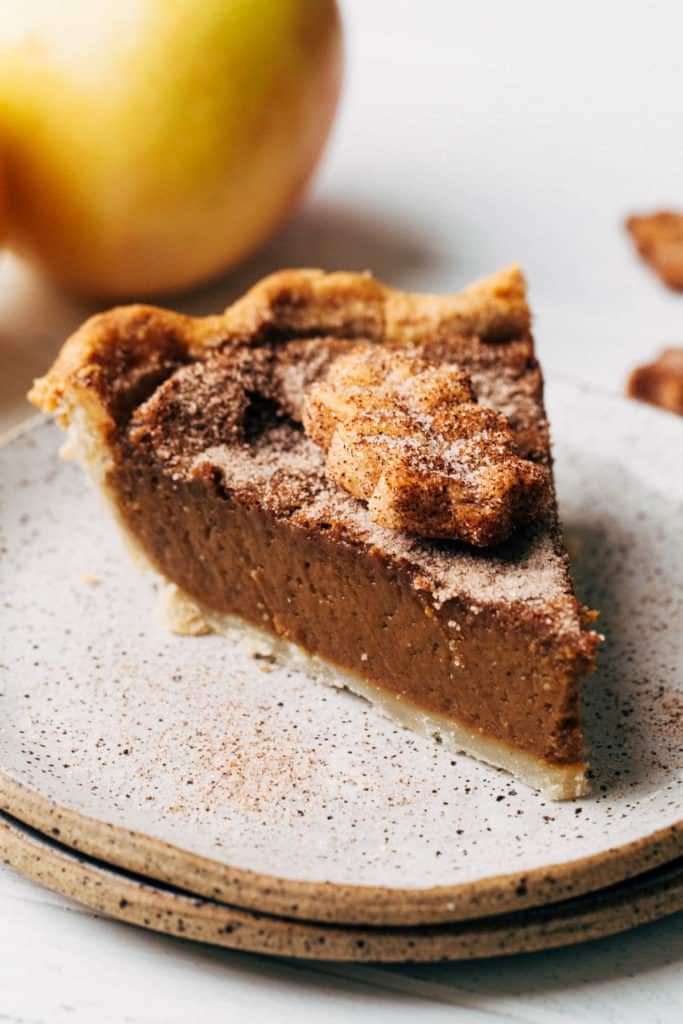
The pie will then settle and flatten as it cools, creating many cracks and ridges all over the surface of the pie. This is due to the layer of cinnamon sugar on top, creating a crackly and flaky crust.
The most important step in this pie recipe
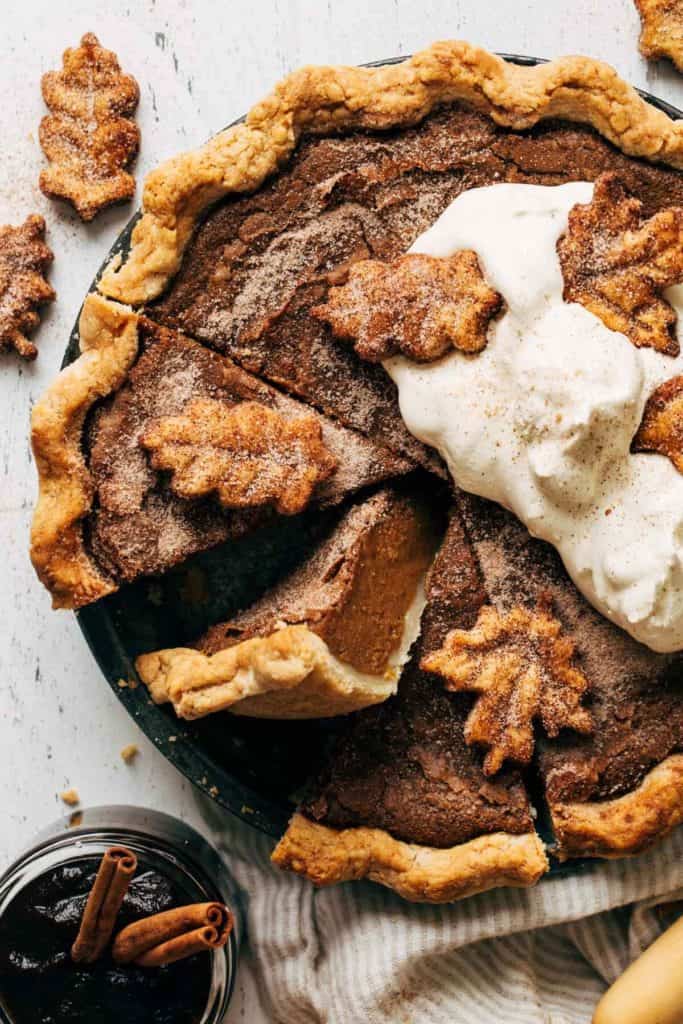
When the pie is baked, allow it to cool for 30 minutes, then transfer to the refrigerator uncovered to chill for at least 2 hours. Don’t skip this step! It’s important to let the very center of the pie to set firm. If you cut into it too soon, the pie will be too thin and runny. That’s why this pie is perfect to make a day ahead because it can chill in the refrigerator overnight.
How to serve your apple butter pie
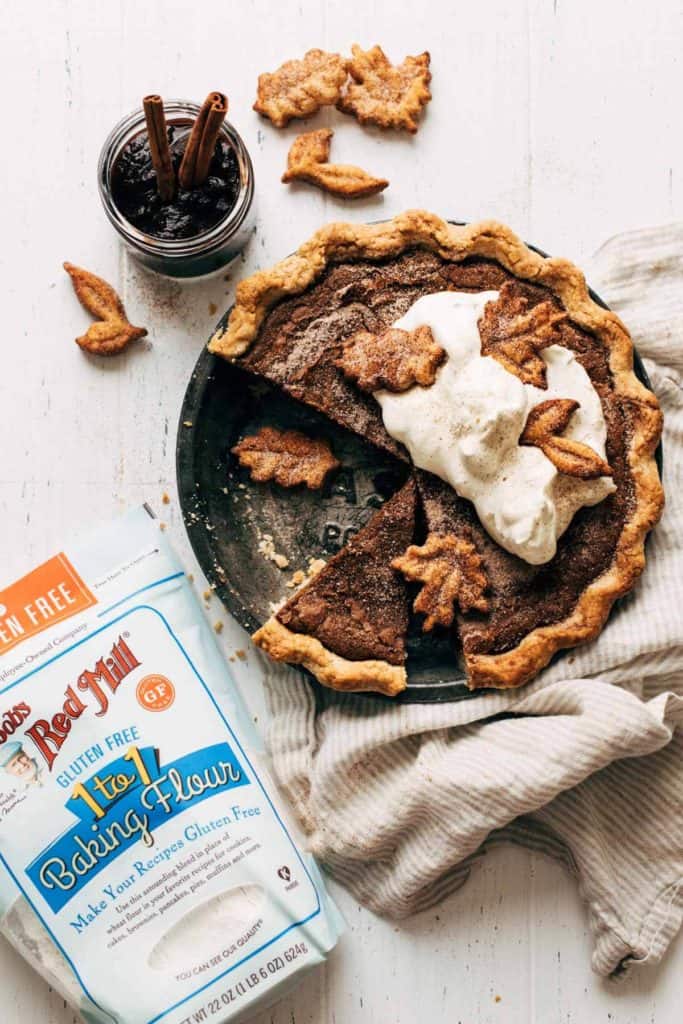
Right when you’re ready to serve, top with the whipped cream and pie leaves. Don’t top it with whipped cream and then store it overnight, as the whipped cream may melt all over the pie.
How to store the pie and how long does it keep?
If you have leftovers without any whipped cream on top, you can store the pie in an air tight container at room temperature for up to 3 days. Otherwise, it can keep in the refrigerator for up to 1 week.
For more delicious pie recipes, check out my:
Make sure to tag me @butternutbakery on Instagram and comment below if you make this Apple Butter Pie. To pin this recipe and save it for later, you can use the button on the recipe card or on any of the photos above. Happy baking!
Print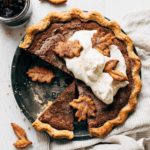
Cinnamon Sugar Apple Butter Pie
- Total Time: 1 hour 60 minutes + 4 hours cooling
- Yield: 8-10 slices
Description
This custard-based pie is made with apple butter and topped with a layer of cinnamon sugar – all baked in a flaky gluten free pie crust!
Ingredients
Gluten Free Pie Crust
- 2 1/2 cups (345g) Bob’s Red Mill 1-to-1 Gluten Free Baking Flour
- 1 tbsp sugar
- 1/2 tsp salt
- 1 cup (220g) unsalted butter, cold and cubed (European style preferred)
- 1/4 cup ice water
- 1/4 cup (60g) sour cream
Apple Butter Pie Filling
- 1 cup (270g) apple butter
- 3 large eggs, divided
- 1/4 cup (50g) dark brown sugar, packed
- 1 tbsp Bob’s Red Mill 1-to-1 Gluten Free Baking Flour
- 1/2 tsp cinnamon
- 1/2 tsp salt
- 14oz sweetened condensed milk
- 1 tsp vanilla
Topping
- 1 1/2 tbsp granulated sugar
- 3/4 tsp ground cinnamon
- Homemade or store bought whipped cream
Instructions
Gluten Free Pie Crust
- In a large bowl, whisk together the gluten free flour, sugar, and salt.
- To the bowl, add the cubed butter and toss to coat the cubes in flour.
- Using your fingers, two forks, or a pastry cutter, work the butter into the flour until the butter is evenly dispersed into small pea sized lumps. If the butter starts to melt, place the bowl into the refrigerator to chill for 30 minutes before continuing.
- Pour in the 1/4 cup of ice water and stir to evenly hydrate. Then mix in the sour cream.
- If the dough looks too dry and crumbly, try working it together with your hands. If it’s easily able to form into a large mass, it’s ready. If it’s still too crumbly, mix in 1 tbsp of water at a time until it’s properly hydrated.
- Split the dough into two pieces, one that’s slightly larger than the other. One will be for the bottom crust and the other will be for the pie leaves on top.
- Place the two pieces of dough onto two separate sheets of plastic wrap. Form into a 1-inch thick disk and wrap tightly. Chill for at least 1 hour.
- After 1 hour, remove the larger piece of the pie dough and let it sit at room temperature for about 10 minutes. Then, roll it out onto a well-floured surface using the gluten free flour.
- As you roll, continue to flour the surface underneath. Do this more often in the beginning stages as it’s easy to move around the dough when it’s more compact. Continuous flouring early on will prevent the pie dough from sticking to the surface when it comes time to transfer it to the pie dish.
- It may crack in a few places, so I like to switch off between rolling the dough and pushing it into shape using my fingers.
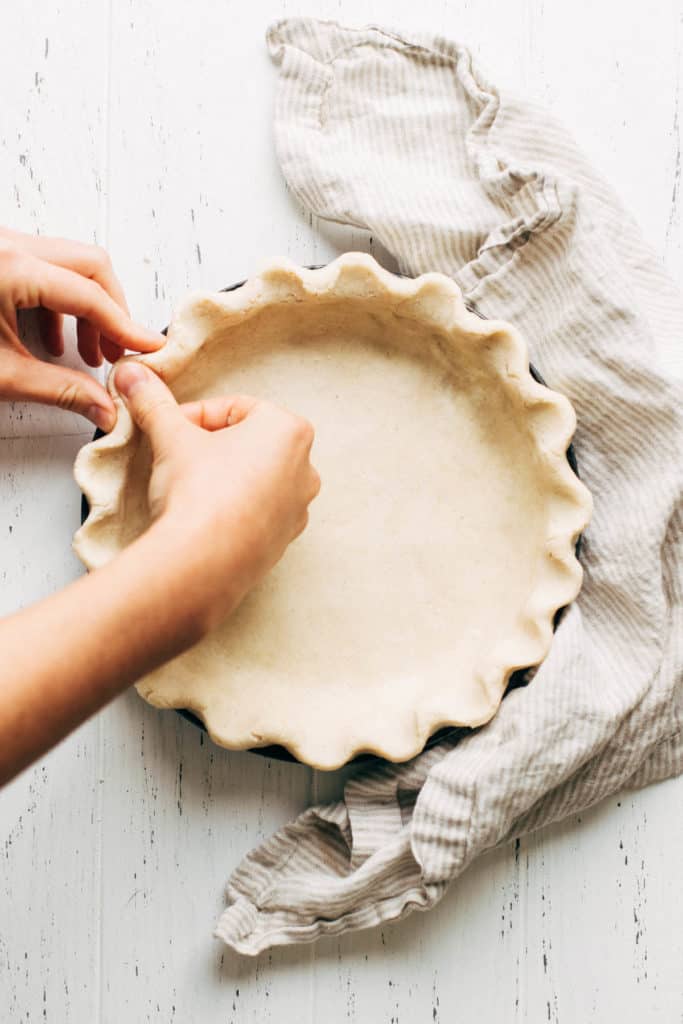
- Once it’s rolled out to a diameter that’s about an inch larger than your pie dish, carefully roll the pie dough onto your rolling pin and then roll it back into the pie dish. Carefully lift the edges and press the pie dough into the sides of the dish. Use your fingers to patch up any cracks.
- Tuck under any excess overhang and crimp the edges.
- Take 1 egg allotted for the pie filling and separate the egg white and the yolk. Save the yolk for the filling and use the egg white to brush the bottom and sides of the pie dough. This will create a barrier between the pie filling and the pie dough, so the bottom will not turn soggy.
- Freeze the pie shell until the egg white is frozen solid (about 15 minutes). While it freezes, preheat the oven to 400F and roll out the second half of dough.
- Press out the leaves using cookie cutters (I used these) and transfer to a small baking sheet lined with parchment paper. Place the pan in the refrigerator.
- Once frozen, tear off a square sheet of parchment paper that’s a bit larger than the pie dish. Wrinkle it up into a ball and then open the sheet (it’s easier to mold into the pie shell when it’s wrinkled). Place into the pie shell and fill with pie weights or dry beans (see picture in post for reference).
- Bake the shell and leaves for 15 minutes. Then remove the pie weights and parchment paper and bake for another 5-8 minutes, or until the center no longer looks soft and raw. If the leaves are golden brown by the 15 minute mark, you can remove those from the oven. If not, bake for another 5 minutes with the pie shell.
- Make the cinnamon sugar topping and toss to coat the warm pie leaves. Reserve the rest of the mixture for the pie filling.
- Allow the pie shell to cool while you make the pie filling.
Apple Butter Pie Filling
- In a large bowl, whisk together the apple butter, 2 large eggs + 1 egg yolk, and sugar.
- Whisk in the flour, cinnamon, and salt.
- Finally whisk in the sweetened condensed milk and vanilla.
- Pour the filling into the pie shell and top the rest of the cinnamon sugar mixture.
- Bake at 400F for 10 minutes. Then reduce to 350F and bake for 30-40 minutes.
- Allow the pie to cool at room temperature for 30 minutes, then transfer to the refrigerator to chill uncovered for at least 2 hours to set. It can also be left overnight.
- Once it’s ready, top with whipped cream and enjoy!
- Prep Time: 1 hour
- Cook Time: 40 minutes
Join Our Community

Meet Jenna
I’m the creator, baker, and photographer behind Butternut Bakery. Here I share desserts for every diet because I believe everyone should have a chance to indulge!

I am not a big fan of crust so I made this the way I make my pumpkin pie recipe… it is also similar to a custard so I just pour it in the pie plate and bake it without a crust. I was a bit worried because I only had about 11 oz condensed milk from using it for a previous recipe, so I used two eggs only. It turned out perfectly firm with nice caramelization around the edges! Love the cinnamon sugar on top. I will certainly make it again, it’s definitely a quick easy and delicious way to use apple butter!!
I made this twice now. It might be a new favorite. It is so delicious and beautiful. I love the texture and unique flavor.
Very good! I made the mistake of overwhipping the filling and the extra air caused it to puff up too much and crack. My second attempt with minimal mixing did the job!