Homemade Cosmic Brownies
These homemade cosmic brownies taste just like the real deal but with way more chocolate flavor! They’re fudgy, rich, and sprinkled with their signature candy coated chocolates. These brownies are also so easy to make and do not require any special equipment. Just mix, bake, and enjoy!
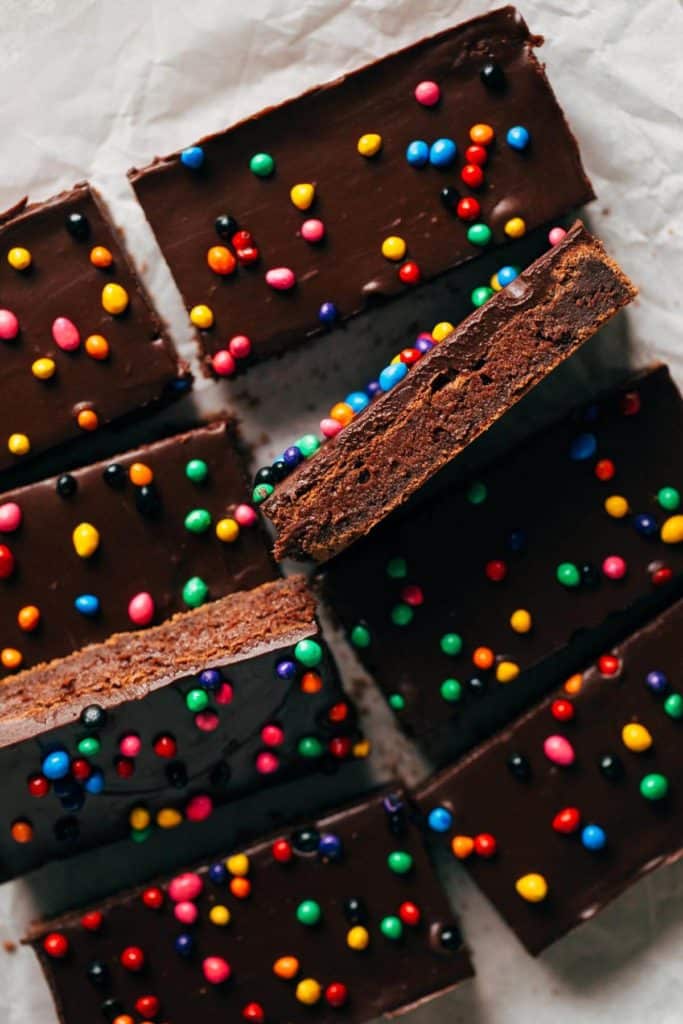
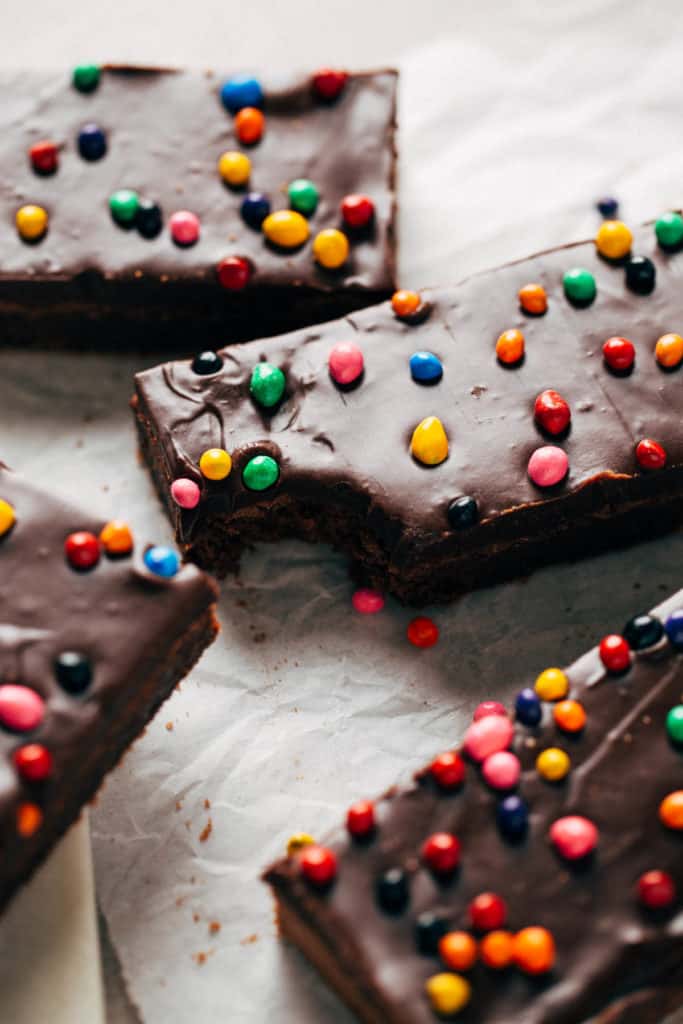
What are cosmic brownies?
They basically taste like childhood. I remember cosmic brownies being one of my FAVORITE Little Debbie treats, next to star crunch and oatmeal cream pies. But cosmic brownies are a pre-packaged brownie with a really dense and fudgy brownie topped with a soft and creamy chocolate icing.
So what makes them “cosmic”? Surprisingly, they were inspired and named after the Cosmic Bowling trend that started in the late 90s. The bright candy coated sprinkles against the dark chocolate brownies are to resemble the bright neon contrasts in cosmic bowling, like what you would see under a black light.
I never knew this until doing my research for this post, but now it definitely makes sense and makes me feel even more nostalgic when I think of cosmic brownies!
How to make fudgy brownies
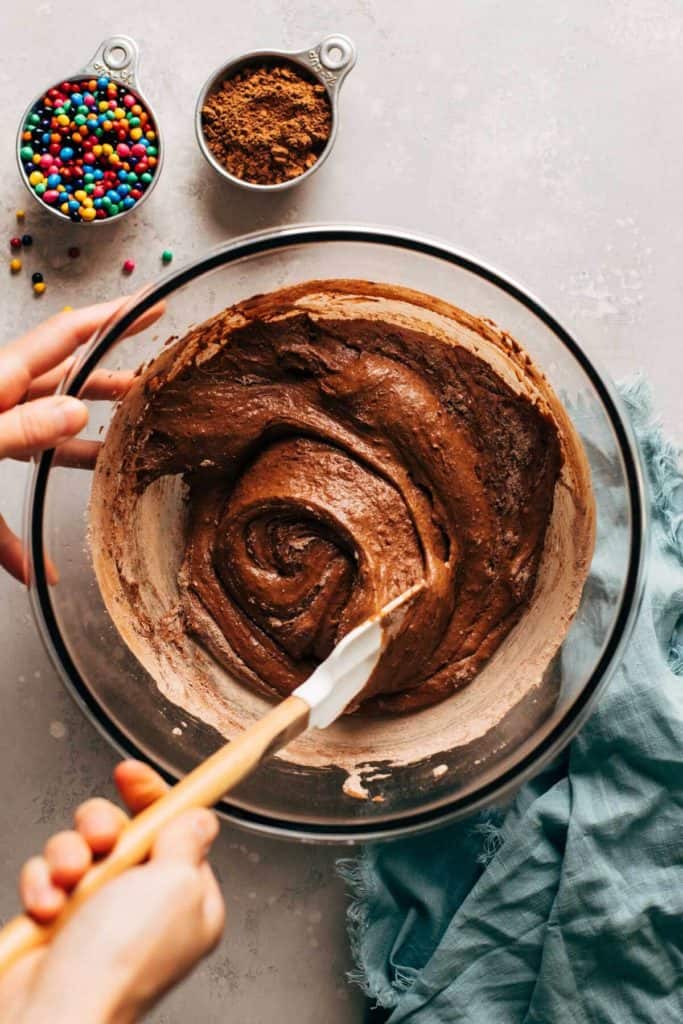
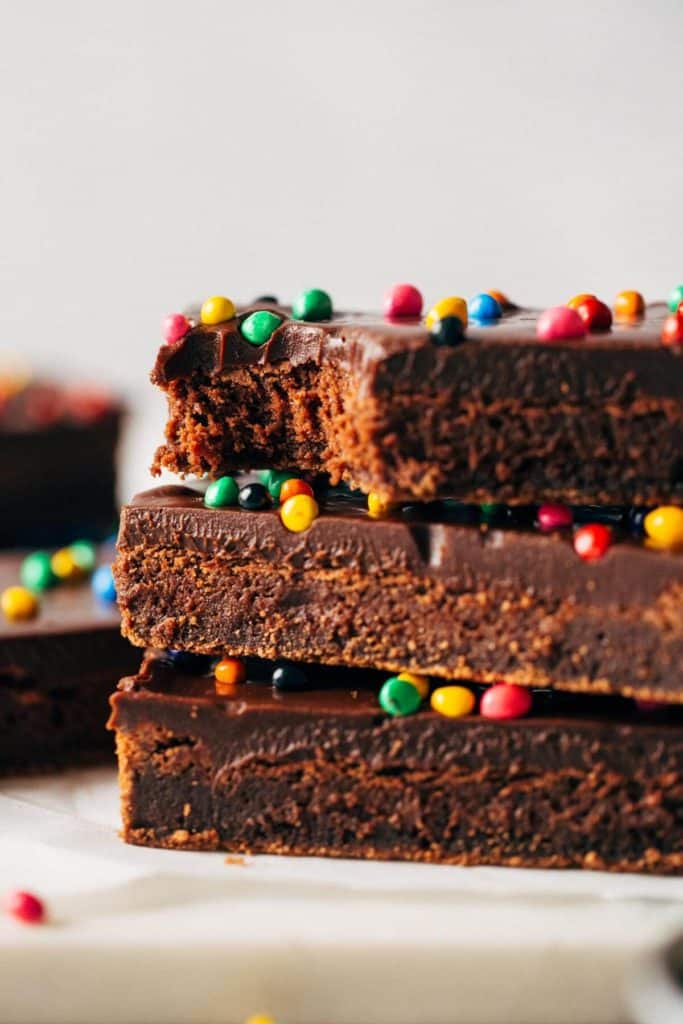
Cosmic brownies are so dang good because they have that delicious dense, fudgy and chewy texture. So in order to recreate that same richness, I pulled out all the stops to create a brownie just like the real deal. Here’s how to achieve that same texture:
- Use a mix of light brown sugar and granulated sugar. Light brown sugar adds some chewiness to these brownies, while granulated sugar easily dissolves into the batter. Combining the two will give you a chewy brownie with a really smooth finish.
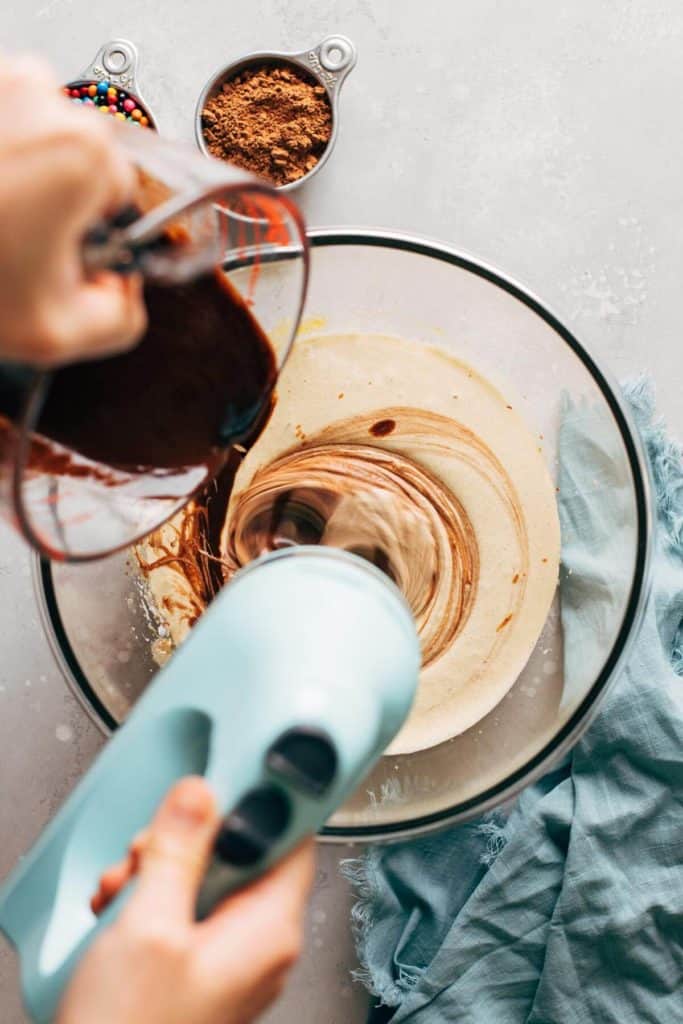
- Whip the sugar with the eggs. Doing so will help dissolve the sugar, giving you a really creamy texture and crackly and glossy brownie top.
- Use both chocolate and cocoa powder. Melted chocolate is what gives these brownies their fudginess. As the brownies cool, that chocolate will slowly start to to solidify, giving you a really dense but soft texture. This is why I love using chocolate alongside cocoa powder, not only to help with the texture but also to boost that chocolate flavor.
- Slightly under bake the brownies. 20-25 minutes is the sweet spot to get the perfect bake. The center will still be a bit underdone, but will set up as it cools. Otherwise, if you over bake the brownies, you’ll be left with a more dry and cakey texture.
The chilling process seals the deal. If you dig right into these brownies when they’re still warm, they’ll be a soupy mess. Chilling will help tighten up their texture, giving you a dense but soft and fudgy brownie.
What is on top of a cosmic brownie?
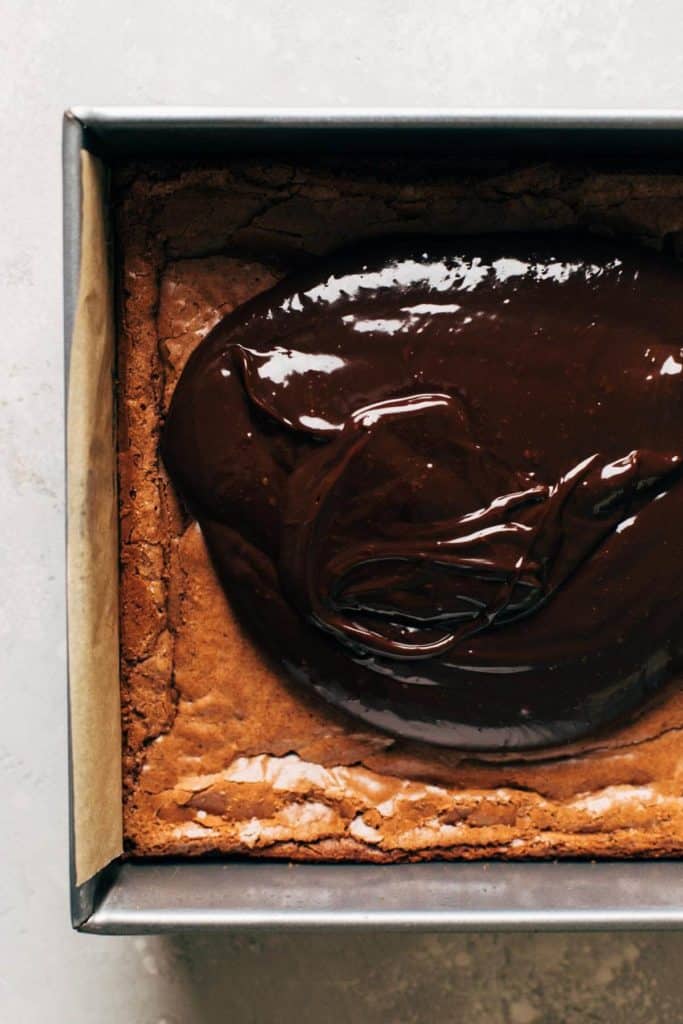
To pair with that delicious fudgy brownie base, cosmic brownies are topped with even more chocolate. True cosmic brownies are topped with chocolate icing, but for my recipe I opted for chocolate ganache. It gives you a creamier finish and much more chocolate flavor. Plus, the brownies are already sweet enough and don’t need even more sugar on top.
Chocolate ganache is also very easy to make and only takes a couple minutes to whip up. Oh, and it only requires 2 ingredients; chocolate and heavy cream.
The heavy cream is heated until boiling, then gets poured over the chocolate. The cream slowly heats and melts the chocolate for about 30 seconds, then it’s ready to whisk into a smooth consistency.
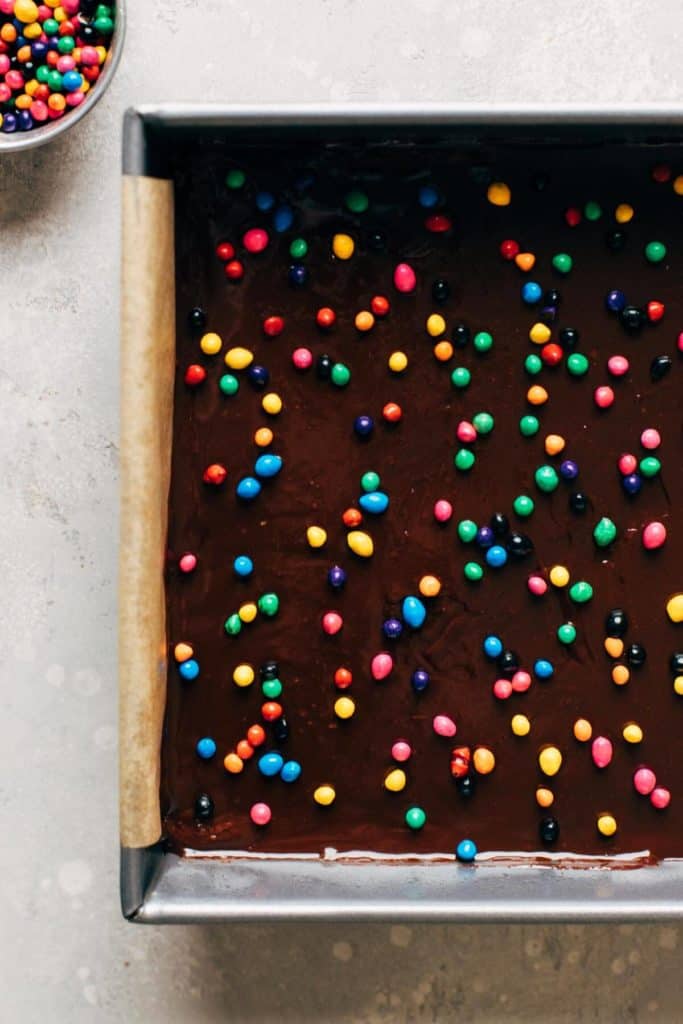
In the end you’re left with a glossy, smooth, and rich ganache that’s poured over the chilled brownies. Once leveled out, you can top with your rainbow candy sprinkles.
How to slice homemade cosmic brownies
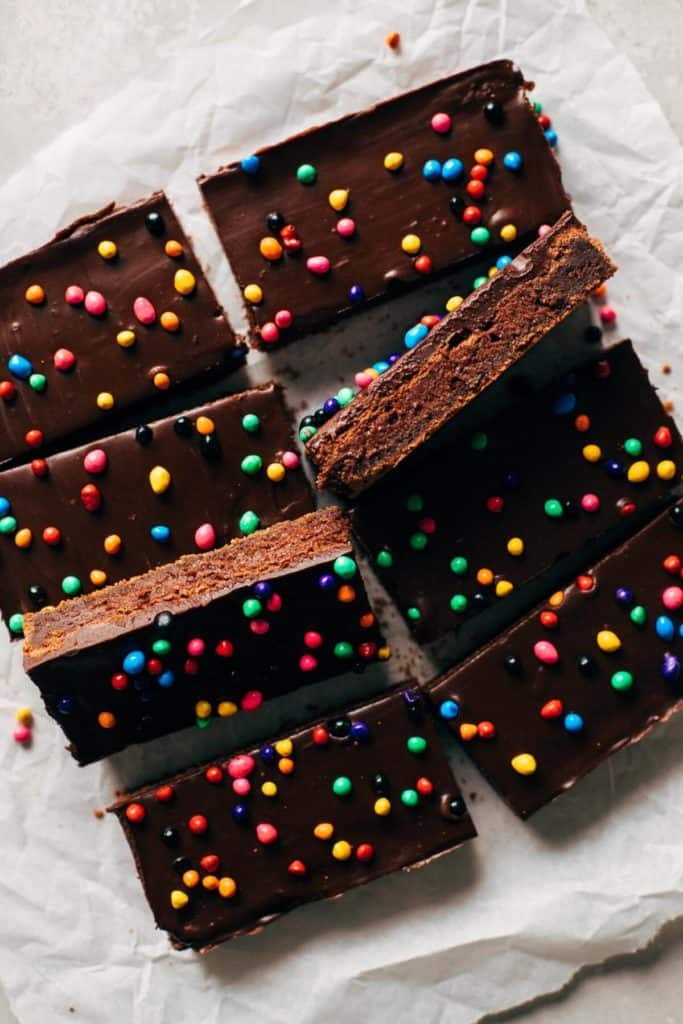
Cosmic brownies always come in a pack of two in a large rectangular shape. So to stay true to the original, I opted to slice these brownies into 8 bars. But you can also slice these brownies into 16 even squares.
To slice, I recommend working with the bars when they’re completely set and chilled. Each slice should also be one quick motion, so use a very large and sharp knife. Never drag the knife along the brownie as the brownie will stick to the sides of the knife and drag all down that slice, give you very uneven edges.
Also make sure to wipe off the knife between each cut to prevent any sticking and dragging.
How to store homemade brownies
I recommend keeping these in the refrigerator as they are best served when chilled. Store in an air tight container in the refrigerator for up to one week.
Can I make these gluten free?
I haven’t tested it, but you can try swapping the all purpose flour with a good 1-to-1 gluten free baking flour with xanthan gum in the mix. I recommend this one by Bob’s Red Mill.
For more brownie recipes, check out my:
- Better Than Boxed Chocolate Fudge Brownies
- Peppermint Brownies
- Brown Butter Brownies
- Tahini and Peanut Butter Swirl Brownies
- Salted Caramel Brownies
Make sure to tag me @butternutbakery on Instagram and comment below if you make these Cosmic Brownies. To pin this recipe and save it for later, you can use the button on the recipe card or on any of the photos above. Happy baking!
Watch how to make these homemade cosmic brownies:
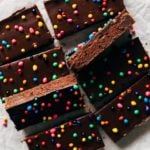
Homemade Cosmic Brownies
- Total Time: 40 minutes + 2 hours chilling
- Yield: 16 brownies
Description
These homemade cosmic brownies taste exactly like the original Little Debbie treat but with so much more flavor!
Ingredients
Brownies
- 10 tbsp unsalted butter
- 4 oz semisweet chocolate, chopped
- 3/4 cup (150g) light brown sugar, packed
- 1/2 cup (100g) granulated sugar
- 2 large eggs
- 1 tsp vanilla extract
- 3/4 cup (95g) all purpose flour
- 1/4 cup (20g) unsweetened cocoa powder
- 1/4 tsp salt
Chocolate Ganache
- 3/4 cup (120g) semisweet chocolate chips
- 1/4 cup (60ml) heavy whipping cream
- Rainbow coated chocolate sprinkles
Instructions
Brownies
- Preheat the oven to 350F and grease and line a square 8×8 baking dish with parchment paper. Let the paper hang over the edges for easy release.
- In a heat safe bowl, melt the butter and chocolate in the microwave in 30 second intervals. Mix between each interval until smooth. It shouldn’t take more than 90 seconds total.
- In a large mixing bowl, whisk together the brown sugar, sugar, and eggs until pale and creamy. It should take about 1-2 minutes of vigorous whisking. Then mix in the vanilla.
- Slowly pour in the chocolate mixture as you continue to whisk. Continue whisking until the chocolate is fully combined.
- Switch to a rubber spatula and add in the flour, cocoa powder, and salt. Fold to combine but don’t over mix.
- Pour the batter into your prepared pan and spread it even. Bake for 20-25 minutes.
- Allow the brownies to cool in the pan for 30 minutes, then transfer to the refrigerator for 1-2 hours to chill completely.
Chocolate Ganache
- Once the brownies have chilled, make the ganache.
- Add the chocolate chips to a small mixing bowl and the heavy cream to a heat safe dish.
- Heat the cream in the microwave for about 1 minute or until bubbling.
- Pour the hot cream over the chocolate and give the bowl and little jiggle to ensure all of the chocolate is covered in the cream. Let it sit for about 30 seconds then whisk to combine.
- Pour the ganache over the cooled brownies and spread it even. Sprinkle the rainbow coated chocolate sprinkles on top.
- Let the brownies chill in the refrigerator again for about 30 minutes – 1 hour or until the ganache is completely set. Then lift out the brownies, slice, and enjoy!
- Prep Time: 20 minutes
- Cook Time: 20 minutes
Join Our Community

Meet Jenna
I’m the creator, baker, and photographer behind Butternut Bakery. Here I share desserts for every diet because I believe everyone should have a chance to indulge!


I love your recipe and actually used it as a base to convert to gluten free for my mom. Made a YouTube video and posted a link to your original recipe for reference 💖💖
I’ve made these twice already and I just found this recipe two days ago. SO GOOD!!! I only had milk chocolate chips the second time around and they weren’t as fudgey tasting but still delicious. They’re so thick and gooey just like a cosmic brownie.
These were so fun to make and turned out great! Everyone had high praises!
These are delicious! If you are a lover of chocolate then these are for you!
Delish I accidentally omitted the vanilla, but still very good and so chocolatey
These brownies taste incredible and are relatively easy to make. They are a bit fudgier and chocolatier than a cosmic brownie, but that’s what the recipe notes promised! I froze these after the first day, and we ate them straight out of the freezer which I definitely recommend! I love a fudgy brownie, so I’m looking forward to trying a few more of your recipes.
Hi there! I’m trying this recipe over the weekend and was wondering if I can double the recipe and bake in a 9×13 pan?
Thanks so much!
Can you refrigerate brownies overnight and do the ganache the next day??
I make these almost weekly!!! They’re that good 🙂