Brown Butter Oatmeal Cookies
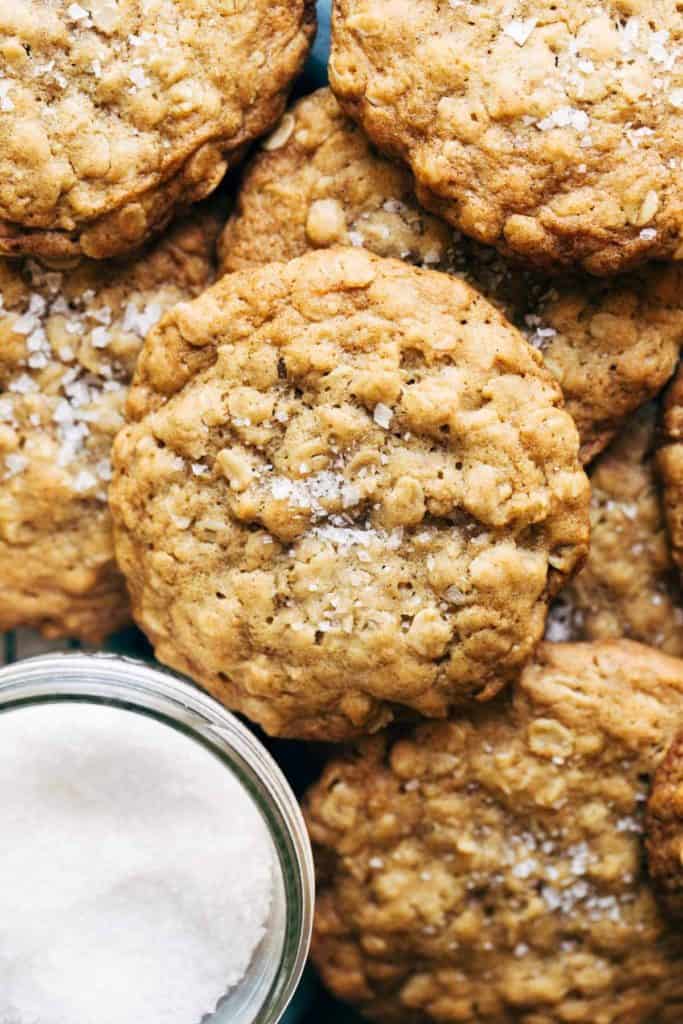
Trust me, you’ve never had oatmeal cookies like these before. They’re soft, chewy, and baked with brown butter for extra rich flavor. These cookies can be made by hand and require very few ingredients. All the flavor is the brown butter so need for extras!
Baking with Brown Butter
I have a separate post all about how to brown butter and ways to bake with it, but it’s especially delicious in these oatmeal cookies. It adds so much flavor to an otherwise basic cookie recipe, allowing the brown butter to stand out and let that richness shine through.
The process of making brown butter is very simple, the key is just knowing exactly when to take it off the heat.
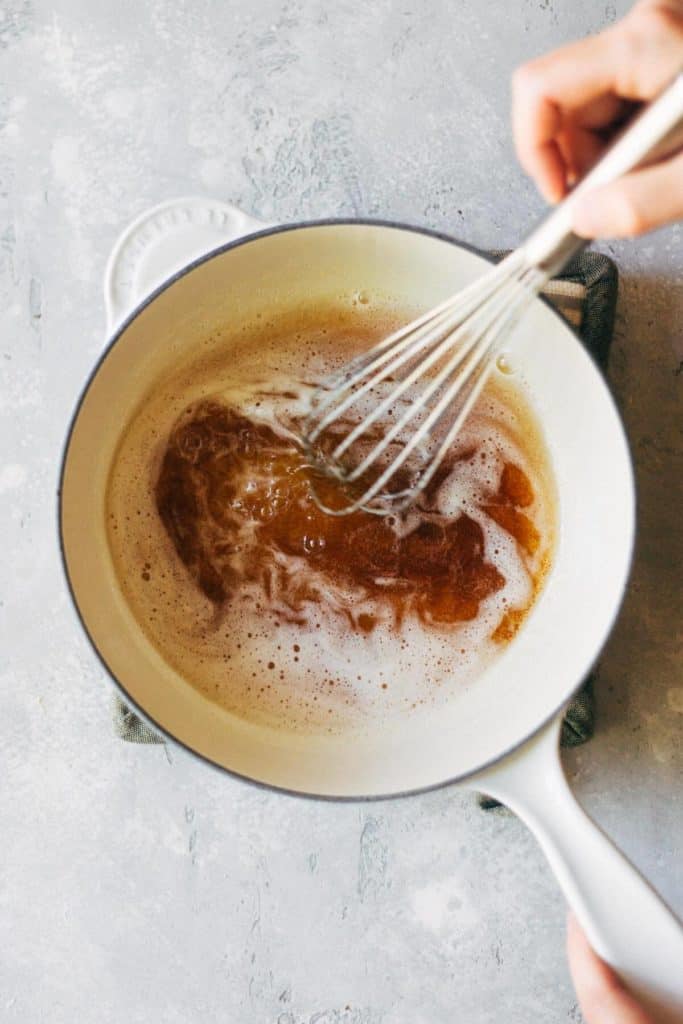
To make it, add your butter to a saucepan over medium heat. Allow it to melt down and bubble (about 5-10 minutes). During this time you’ll be whisking occasionally.
The bubbles will slowly turn into a fine foam. Begin to whisk constantly to prevent the milk solids from burning on the bottom of the pot. These are what separate from the butter to create the browned and toasty flavor.
Keep whisking until the butter turns a light brown color. Remove from the heat and keep whisking until it turns into a rich amber color. Now you have brown butter!
Pour into a measuring glass and scrape up all the brown bits from the bottom of the pan. That’s where the flavor is.
Let it cool at room temperature for about 30-45 minutes, or until it’s no longer warm to the touch. It’s important to let the butter cool completely, otherwise it will melt the sugar and scramble the eggs when making the dough.
How to Make Oatmeal Cookie Dough
Once the brown butter is cooled, it’s time to prep the dough. The recipe itself is very simple and requires a few staple ingredients:
- Brown Butter
- Light Brown Sugar
- Eggs
- Vanilla
- Flour
- Old Fashioned Rolled Oats
- Baking Soda
- Salt
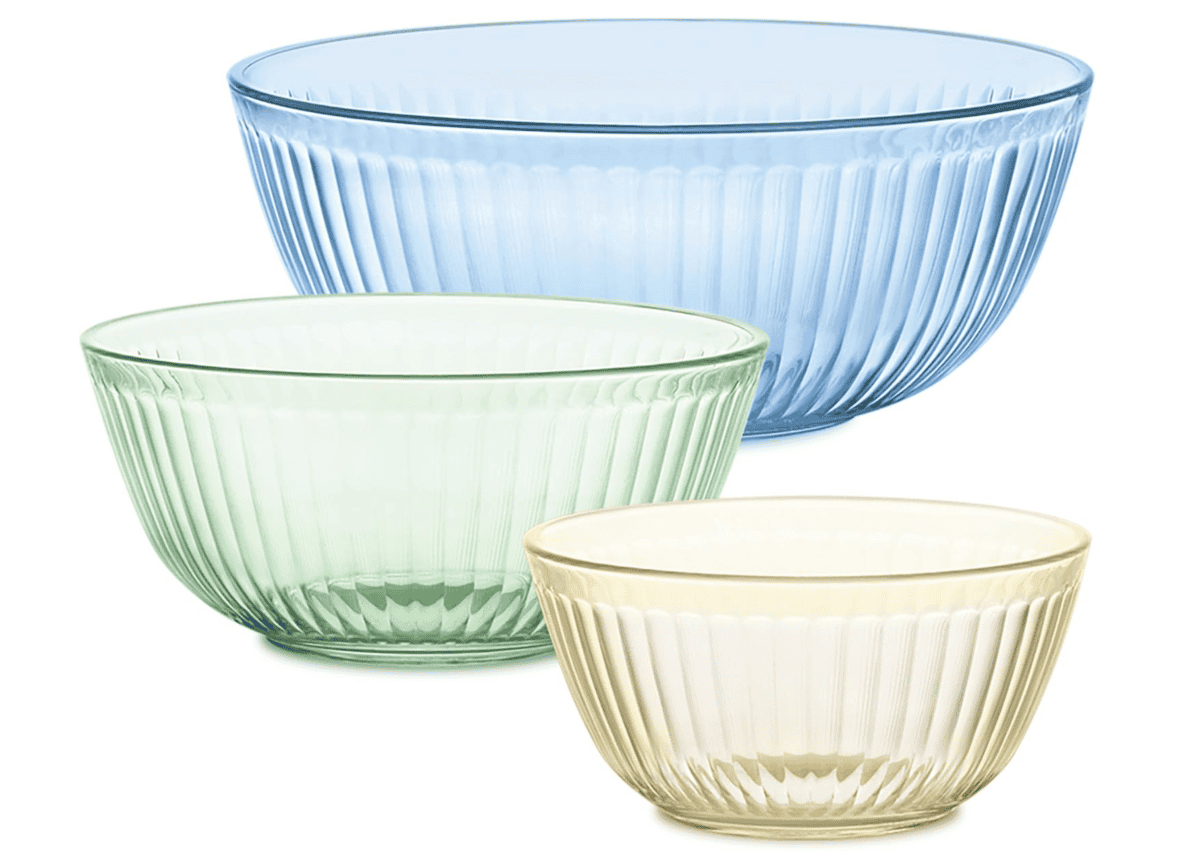
In a medium bowl, whisk together the flour, oats, baking soda, and salt.
In a large mixing bowl, whisk together the butter, brown sugar, eggs, and vanilla. It should turn fairly thick and smooth.
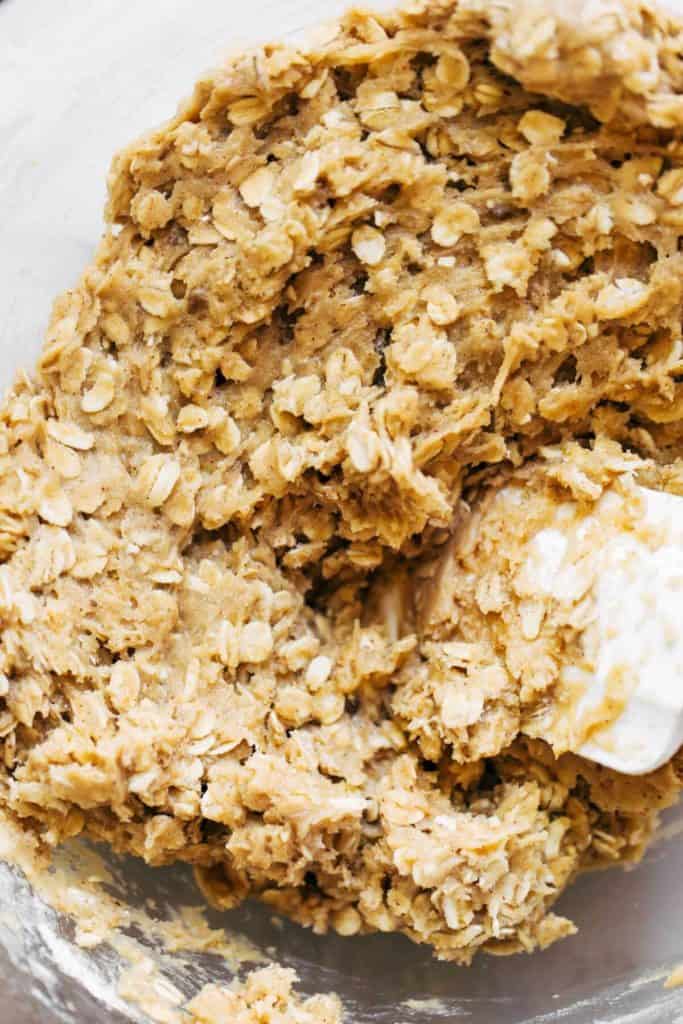
Dump in the dry ingredients and use a rubber spatula to fold the two together. Stop only once all the flour is absorbed as we don’t have to over mix. We want soft and chewy cookies, not tough and hard cookies!
Place the bowl in the fridge uncovered for just 20 minutes. This allows the oats to full absorb the wet ingredients, creating a thicker dough.
Can you use quick oats in oatmeal cookies?
Old fashioned rolled oats are preferred as they provide the best texture, but quick oats are great as a secondary option. Use the same amount and follow all the same instructions.
How to bake soft and chewy oatmeal cookies
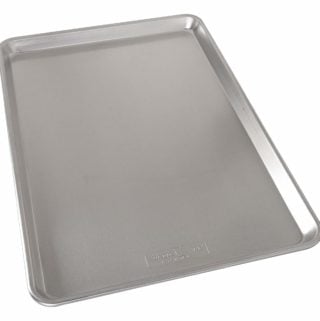
When the 20 minutes is almost up, preheat the oven to 350F and line a large baking sheet with parchment paper.
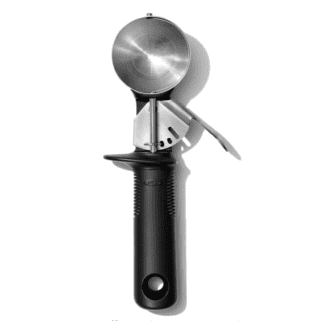
There are a few different options when it comes to scooping the dough. This recipe makes about 15 large 2oz cookies. To make those, you can either use a large cookie scoop or weigh out each cookie using a food scale.
If you prefer smaller cookies, use a regular cookie scoop instead which will make closer to 20-22 cookies.
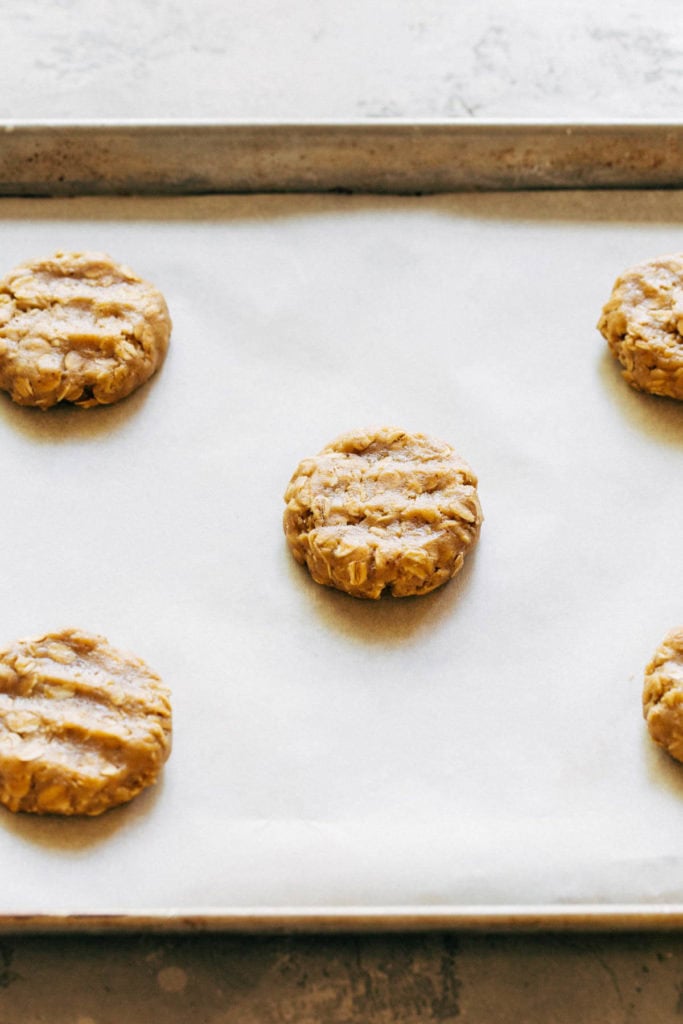
Either way, make sure to roll the dough in your hands into a perfect ball. Place 5-6 cookies on the baking sheet a few inches apart as they spread quite a bit. Gently press them down to where they’re about 1/2 an inch thick.
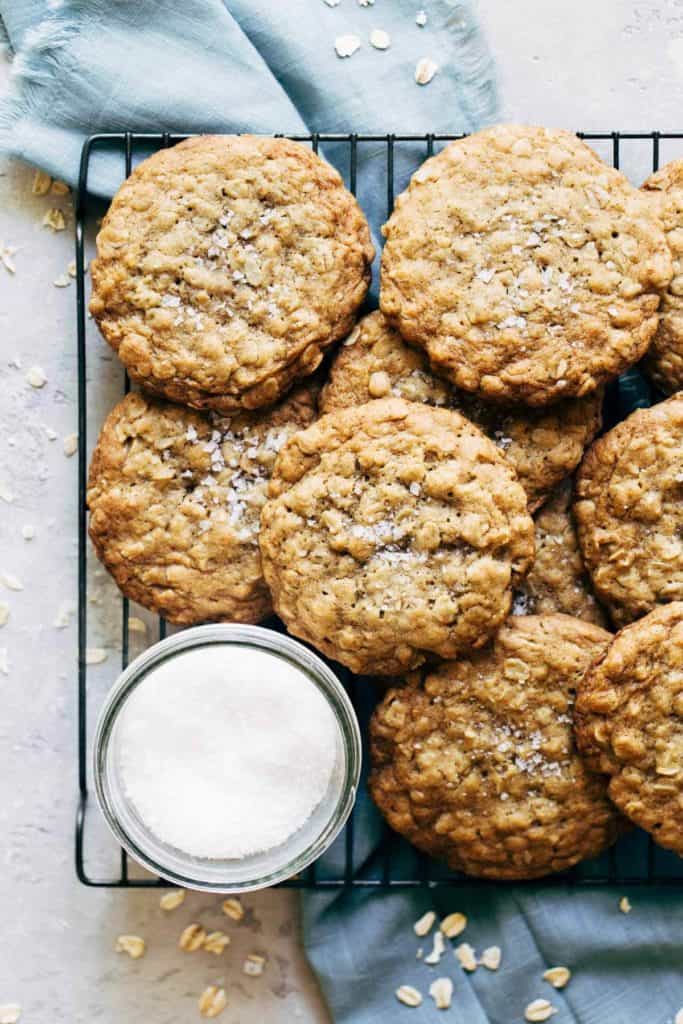
If baking large cookies, bake for 12-14 minutes. If baking regular cookies, bake for 10-12 minutes. You’re looking for a golden brown ring around the edge with a pale and puffed center.
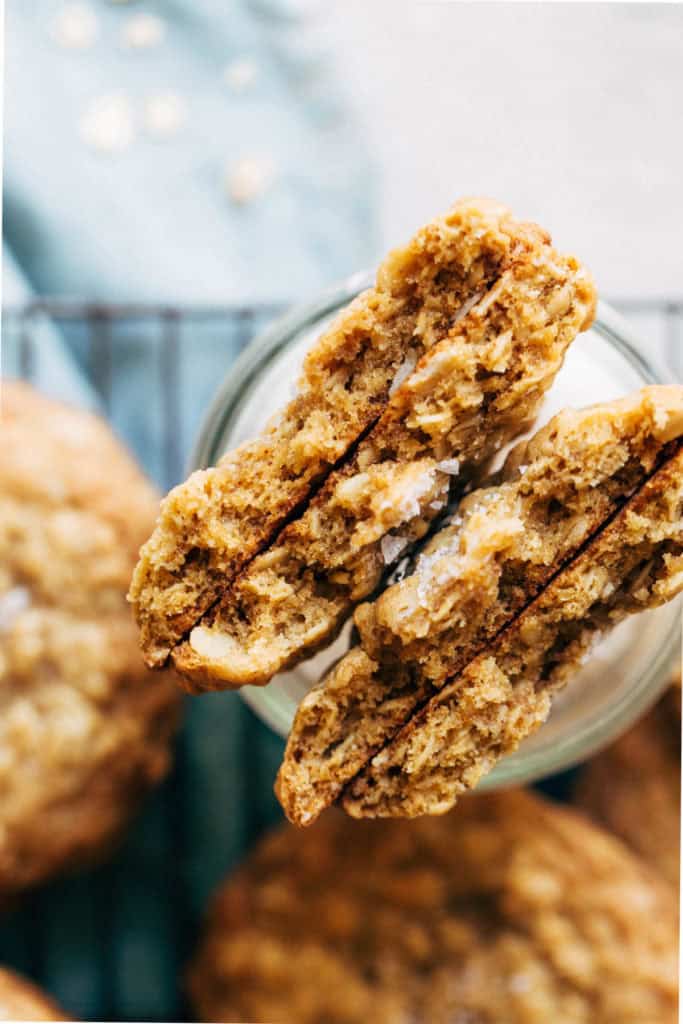
The center will look a little undone, but that’s exactly what we want. The cookies will continue to bake when they’re fresh from the oven, and then settle to create the perfect soft and chewy texture.
Sprinkle the cookies with a little flaky sea salt and allow them to cool before digging in!
Optional Mix-Ins
If you want to take these cookies up ANOTHER notch, feel free to add your favorite mix-ins! For this recipe, chocolate chips, white chocolate chips, butterscotch chips, toffee bits, macadamia nuts, raisins, M&Ms, or any combo of those would be so delicious.
Adding 1 cup of anything would be the perfect amount. I would also recommend reserving a handful for dotting on top when they’re fresh from the oven…mainly for aesthetic purposes.
How to freeze oatmeal cookie dough
Since this makes a pretty big batch, you could either freeze the entire recipe or bake half now and save half for later.
Either way, scoop out the amount you’d like to freeze into round cookie dough balls. Place them on a plate or small tray and freeze for 30 minutes.
Remove from the freezer and add all the cookie dough balls into a zip lock freezer bag. They will keep for up to 1 month.
To bake, remove however many cookies you’d like and leave them at room temperature for about 1 hour or until they’re no longer frozen. Then bake according to the instructions listed in the recipe.
Troubleshooting your cookies
Although it’s a very simple recipe, there are a few things that could go wrong. If you run into any issues, these may be the reasons:
My cookies spread too much
This could be a couple reasons. One, you may have added too much butter. Make sure to measure out the brown butter to 3/4 cup exactly before adding to the dough.
The second reason could be that you forgot to chill the dough for 20 minutes. If you did chill them, then something went wrong with the dough. Don’t worry! If your first batch of cookies baked too flat, keep the dough in the fridge for another hour and try again. This may resolve the issue.
My cookies didn’t spread enough
This could happen for the exact opposite reasons of the first scenario. The main culprit for this is the flour. Make sure to spoon the flour into the measuring cup and level it off. Don’t pack it in or shake it down as this can lead to too much flour in the dough.
And the longer the dough sits in the fridge, the thicker it gets. If you forgot about the dough, just take it out and let it warm up for about 30 minutes at room temperature. This should help.
My cookies are too tough
For starters, under baking is KEY to a soft and chewy oatmeal cookie! When they’re ready to take out of the oven, they should have a golden brown ring around the edge and a puffed and pale center. They will look underdone, but they will continue to bake through once they’re out of the oven.
If they’re baked too long, this can lead to tough cookies. Another reason could be that you overworked the dough. Stop mixing right when all of the flour is absorbed to ensure a soft and tender cookie.
How to store your cookies
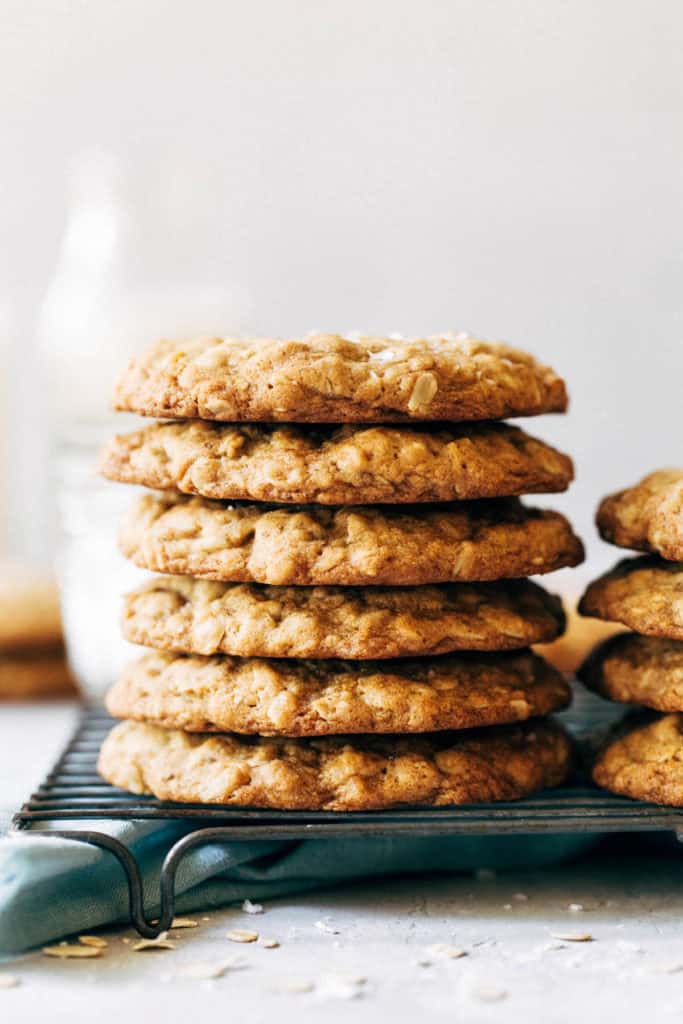
Keep these cookies in an air tight container at room temperature. They’ll keep for up to 5 days but they definitely won’t stick around for that long!
Can I cut the recipe in half?
Yes! Luckily most of the measurements are nice and round amounts, so it’s very easy to cut this recipe right in half. You can either bake the entire recipe and freeze half, or just make half.
The only tricky measurement in the butter. But if you make the brown butter using 8 tablespoons, you should have the right amount of butter for the recipe. To double check, half of 3/4 cup is 6 tablespoons.
Can these cookies be made gluten free?
Yes they can as the dough is very forgiving. Swap the oats with gluten free old fashioned oats and the flour with a 1-to-1 all purpose gluten free baking flour with xanthan gum (I like Bob’s Red Mill). They should bake up just fine!
For more of the BEST cookie recipes, check out my:
- Ultimate Monster Cookies
- Brown Butter Chocolate Chip Cookies
- Peanut Butter Chocolate Chip Cookies
- Maple Snickerdoodles
- Salted Caramel Chocolate Chip Cookies
Make sure to tag me @butternutbakery on Instagram and leave a review below if you make these Oatmeal Cookies. To pin this recipe and save it for later, you can use the button on the recipe card, the buttons above or below this post, or on any of the photos above. Happy baking!
Print
Brown Butter Oatmeal Cookies
- Total Time: 1 hour 12 minutes
- Yield: 15 large cookies
Description
You’ve never had oatmeal cookies like these! They’re soft, chewy, and baked with brown butter for a rich and nutty flavor.
Ingredients
- 1 cup (220g) unsalted butter, browned to make 3/4 cup (160g), melted
- 1 cup (200g) light or dark brown sugar, packed
- 2 large eggs
- 1 tsp vanilla extract
- 1 1/2 cups (200g) all purpose flour
- 2 cups (175g) old fashioned rolled oats
- 1 tsp baking soda
- 1 tsp salt
- OPTIONAL – 1 cup mix-ins (chocolate/white chocolate/butterscotch chips, toffee bits, or nuts)
- OPTIONAL – Flaky sea salt
Instructions
- Start by browning the butter. See my full post here on how to do so. Once browned, make sure to measure it out to exactly 3/4 cup. If you have too much, take out a couple tablespoons. If you don’t have enough, add a bit of water to level it off. Also make sure it’s no longer warm to the touch when adding it to the dough.
- In a medium bowl, whisk together the flour, oats, baking soda, and salt and set aside.
- In a large bowl, whisk together the cooled brown butter, brown sugar, eggs, and vanilla. It should be smooth and slightly thickened to a caramel color.
- Dump in the dry ingredients and fold the two together using a rubber spatula. Stop once the flour is fully absorbed (don’t over mix). If using mix ins, fold those in just before the flour is fully absorbed.
- Place the dough uncovered in the fridge for about 20 minutes.
- When the 20 minutes is almost up, preheat the oven to 350F and line a large baking sheet with parchment paper.
- To scoop the dough you have a few options. You can use a large scoop to make large 2oz cookies, you can weigh each cookie using a food scale to 2oz each, or you can use a regular cookie scoop. The recipe makes about 15 large cookies and 20-22 regular cookies.
- Either way, roll the dough into balls and place them a few inches apart on the baking sheet. Gently press them down to about 1/2 an inch thickness. Return the remaining dough to the fridge. Bake large cookies for 12-14 minutes and regular cookies for 10-12 minutes.
- They’re done when there’s a golden brown ring around the edges and the center is pale and puffed. They’ll look underdone in the center, but they will continue to bake and settle outside of the oven.
- Sprinkle with a little flaky sea salt and transfer to a cooling rack.
- Let them cool for about 15 minutes then dig in!
- Prep Time: 1 hour
- Cook Time: 12 minutes
Join Our Community

Meet Jenna
I’m the creator, baker, and photographer behind Butternut Bakery. Here I share desserts for every diet because I believe everyone should have a chance to indulge!


Fantastic! I modified the recipe a bit. Swapped orange extract for the vanilla, added a teaspoon of Saigon cinnamon, and dried cranberries. Think cranberry orange muffin
These turned out so delicious! I used butterscotch chips and added some lemon zest to bring brightness to contrast with the nuttiness and richness of the brown butter and butterscotch. Finished with flake salt.
I make these all the time. They are a FAN FAVORITE. Sometimes I salt them – sometimes I don’t. For add-ins I’ve used Heath English Toffee Bits or Butterscotch Morsels. I’ve added a teaspoon of Rum Extract (along with the vanilla extract) and they come out perfect every time. I always follow the recipe using grams instead of the cups because the results are always consistent. I’ve emailed a link to this recipe more times than I can remember.
love these cookies. added white chocolate chips. cooked for 11 minutes 30 seconds and they were perfect. thank you!!
I made these cookies and I added raisins. They turned out perfect and they tasted delicious. The added touch of the flake salt turned the flavor up a notch. I will definitely be adding these to my baking rotation.
These were amazing! Cooked perfectly. I put in a cup of Heath bar crunch. Thank you!!!!
Sooo good! Instead of two eggs I did 1 egg and 1 egg yolk as well as adding a tablespoon of milk.🤗
I added a tbsp of espresso powder and toffee bits – unfortunately the toffee bits melted into the dough while cooking, but still delicious!
I’m going to try these. Can the recipe be doubled?
Jenna, thank you for this recipe! I love the crisp buttery edges, the chewy middle and the chose your own adventure mix-ins. I added dark chocolate and it paired beautifully with the oatmeal cookie. Yummy!
I made these with coconut palm sugar, raisins, toasted walnuts, flax meal to replace the eggs, and a mix if barley and AP flours. Nice nutty, caramel taste without being mouth puckering sweet. The palm sugar also lowers the glycemic index a bit, and the flax adds a little more fiber. Healthy? Maybe if you squint 😀