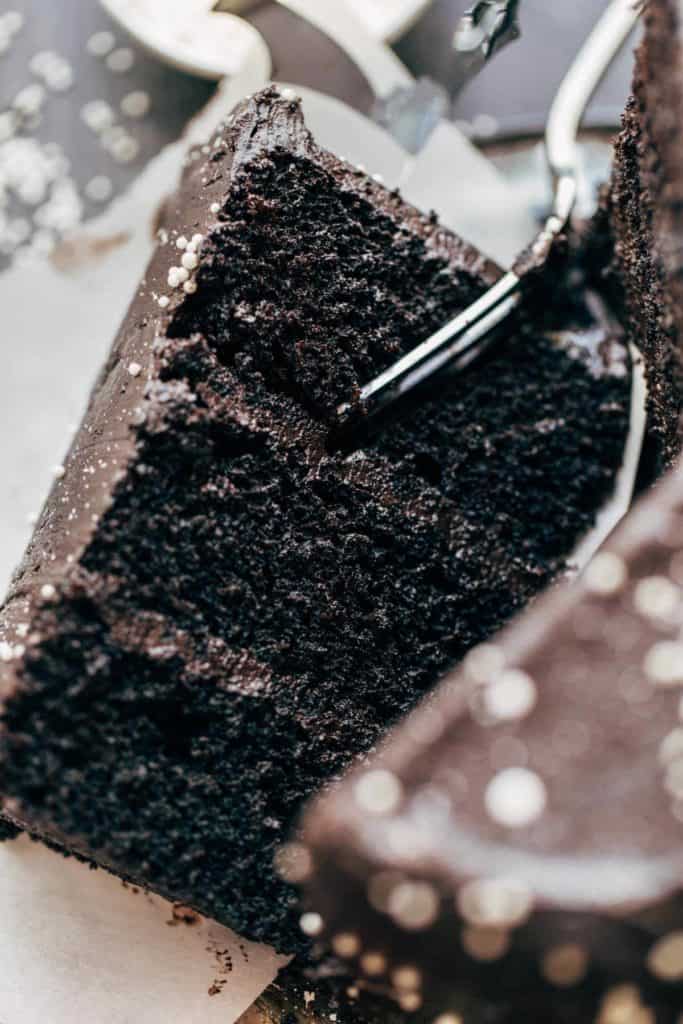
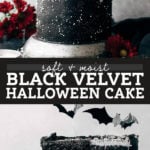
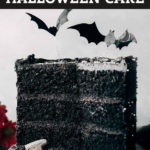
Black Velvet Cake
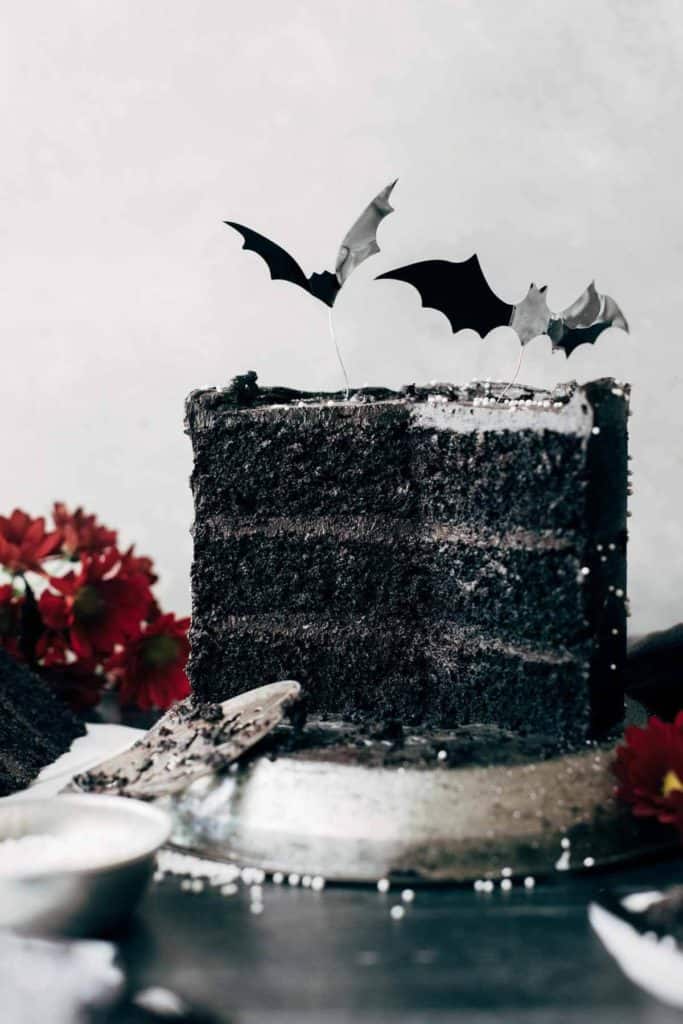
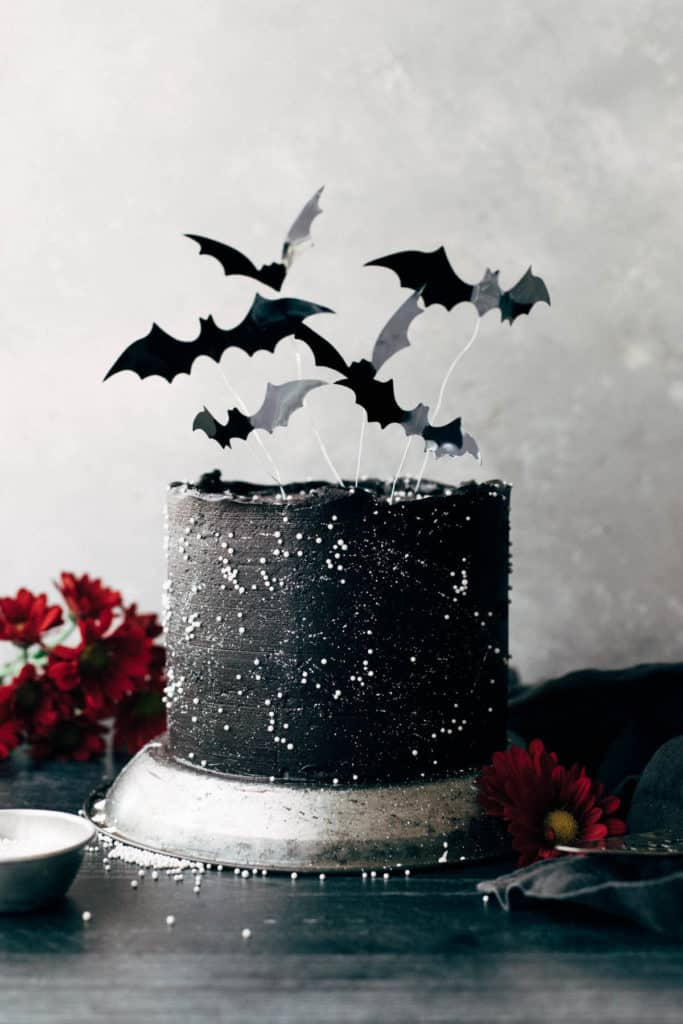
This deep and rich black velvet cake is the perfect dessert for Halloween. Its dark color is made using black cocoa, giving it a unique flavor unlike any other chocolate cake. Each layer is super moist and smothered in silky black cocoa buttercream, splattered with starry white food coloring, and topped with flying paper bats. You can dress it up or down, whether you’re making it for Halloween or just want a simple black velvet cake.
What is black velvet cake?
Black velvet cake is somewhere between a rich and moist red velvet cake and a deep, dark chocolate cake. The process of making it is very similar to red velvet cake, as it calls for a smaller amount of cocoa powder than a traditional chocolate cake but uses vinegar and buttermilk to create a really tender and light texture.
And the texture of black velvet cake is just that. It’s incredibly rich and moist, but without being too dense or heavy like chocolate cake can sometimes be.
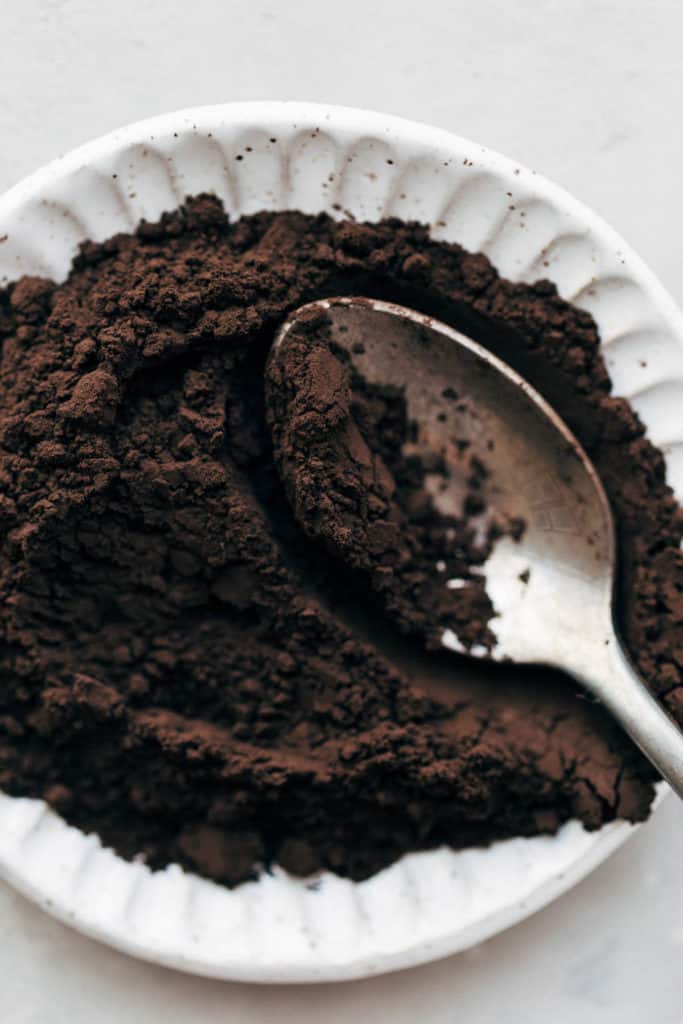
The flavor is also very unique. Black cocoa powder is used to create the gorgeous dark color, giving it a really intense look and flavor. Black cocoa is heavily alkalized, which neutralizes its acidity. This treatment gives it a very dark color and a lower fat content. Traditional cocoa powder has a fat content around 20%, whereas black cocoa powder hits at about 10%.
Because of this, black cocoa powder has a very unique flavor that is deeper than dark chocolate. But it’s not bitter at all. It’s actually very smooth, but helps mellow out the sweetness of the cake.
Where to find black cocoa powder
It’s rare to find black cocoa powder in stores. That’s why I prefer to buy it online and I have the best luck with Amazon. I used this black cocoa powder and it worked very well. You may also be able to find it in specialty health food stores.
Black cocoa powder alternatives
If you don’t have time to wait for shipping, you could also use dutch processed cocoa powder. It’s slightly sweeter and lighter in color than black cocoa powder, but will yield the exact same texture. I find mine at Sprouts, World Market, or Whole Foods.
Tips for baking a soft and moist Halloween cake
The best part about this recipe is that it’s an oil-based cake. That means you can mix the entire cake by hand and it stays incredibly moist for days. To make sure it turns out just right, here are a few tips to follow:
- Allow your chilled ingredients to reach room temperature before mixing into the batter. This will give you a really smooth batter that bakes evenly.
- Don’t over-measure your dry ingredients. If you don’t have a food scale, always spoon your dry ingredients into a measuring cup and level it off with a flat edge. If you scoop directly into the flour or cocoa powder, this compacts it into the cup, leaving you with way too much.
- Careful not to over mix. As soon as the batter comes together, stop mixing. This will give you a tender and light cake, whereas over mixing will give you a tough and dense cake.
- Evenly distribute your batter into each cake pan. Try to get them as equal as possible. Otherwise, some layers will need to take longer to bake than others, or you’ll have a layer that will sink in the middle because it was over filled.
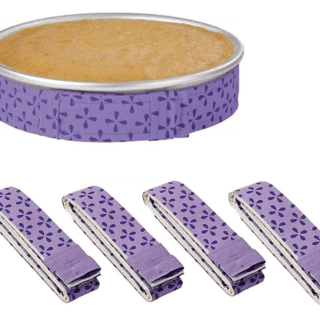
- Use cake strips if you have them. It’s not mandatory, but I always recommend using cake strips as they yield a very even bake all the way through to the center of the cake.
- Allow the cakes to cool completely before decorating. Let them chill for about an hour until they’re completely cooled all the way through. If you try decorating with a cake that’s even slightly warm, the buttercream will melt and the layers will slide all over the place.

How to decorate your cake for Halloween
Here comes the best part, the Halloween cake decorations! Of course, you can always just frost the cake and leave it at that, especially if you aren’t making this for Halloween. But if you choose to make these starry night bat decorations, here’s how to do so:
- Once the entire cake is frosting, place it in the refrigerator for about 20 minutes to partially set. You want the frosting to firm up enough to hold the cake together, but it should still be a bit tacky to allow the sprinkles to adhere.
- In a small dish, combine your white food coloring with a touch of water. Thinning it out makes a much more even splatter on the cake. Using a small and flat paint brush (one that’s clean and has never been used for paint), dip the tip into the food coloring. Don’t saturate the brush, as this will give you very large droplets on the cake. If you’re hesitant, smear some buttercream onto a plate and practice the splatter on there first. When you’re ready, hold the brush about an inch away from the side of the cake. Run your finger along the edge of the brush to flick the food coloring onto the cake. Repeat this process all around the cake.
- Next, take tiny pinches of the white sprinkles and toss them against the sides of the cake in a small but quick motion. Work with small pinches to prevent the sprinkles from rolling all around your kitchen. If they’re still going everywhere, place a large rimmed baking sheet under the cake to help catch the dropped sprinkles.
- Finally, stick in the bats. Using fine floral wire, cut 6 pieces about 6-7 inches in length. Stick the bats to the very end and then make a small loop at the other end (like how you attach a hook to a tree ornament). This loop prevents the bats from sagging to the side or sliding straight into the cake. Place the bats on top of the cake at staggered heights.
Now it’s time to slice and enjoy! If you plan on serving the cake at a later day, stop after the sprinkles and place the bats right before you’re ready to serve the cake. Otherwise, it’s more difficult to store the cake in the refrigerator with the bats sticking out of the top.
Cake I make this cake gluten free?
Although I haven’t tested it, I recommend replacing the flour with Bob’s Red Mill Gluten Free 1-to-1 baking flour. If you prefer not to not risk it, I highly recommend baking the chocolate cake from my toasted coconut gluten free chocolate cake. Using dark chocolate cocoa powder, as the recipe suggests, will still give you a dark cake.
For more halloween dessert recipes, check out my:
- Full Moon Brownie Cupcakes
- Leftover Halloween Candy Cookie Bars
- Snickers Chocolate Caramel Tart
- Cookies & Cream Brownie Pumpkin Cheesecake Bars
Make sure to tag me @butternutbakery on Instagram and comment below if you make this Black Velvet Cake. To pin this recipe and save it for later, you can use the button on the recipe card or on any of the photos above. Happy baking!
Print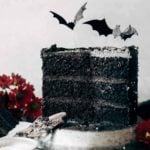
Black Velvet Cake
- Total Time: 1 hour 30 minutes + 1 hour chilling
- Yield: 10-12 slices
Description
This black velvet cake is rich, deep, and not too sweet. It’s the perfect Halloween cake recipe, decorated with starry white paint splatters and flying bats.
Ingredients
Black Velvet Cake
- 2/3 cup (60g) black cocoa powder
- 2 cups (250g) all purpose flour
- 1 1/2 cups (300g) granulated sugar
- 1/2 tsp salt
- 1 tsp baking soda
- 1 1/2 cups (325ml) vegetable or canola oil
- 1 cup (235ml) buttermilk*, room temp
- 1 tbsp white vinegar
- 2 large eggs, room temp
- 2 tsp vanilla extract
Black Cocoa Buttercream
- 1 cup (220g) unsalted butter, room temp
- 1 cup (210g) vegetable shortening
- 2–3 cups (240g – 360g) powdered sugar
- 1 1/2 cups (150g) black cocoa powder
- 1 tsp vanilla extract
Decorations (optional)
Instructions
Black Velvet Cake
- Preheat the oven to 350F and spray (3) 6″ round cake pans with nonstick spray and line the bottoms with parchment paper. I also recommend using cake strips if you have them. See notes for different cake pan options.
- In a large bowl, whisk together the cocoa powder, flour, sugar, salt, and baking soda.
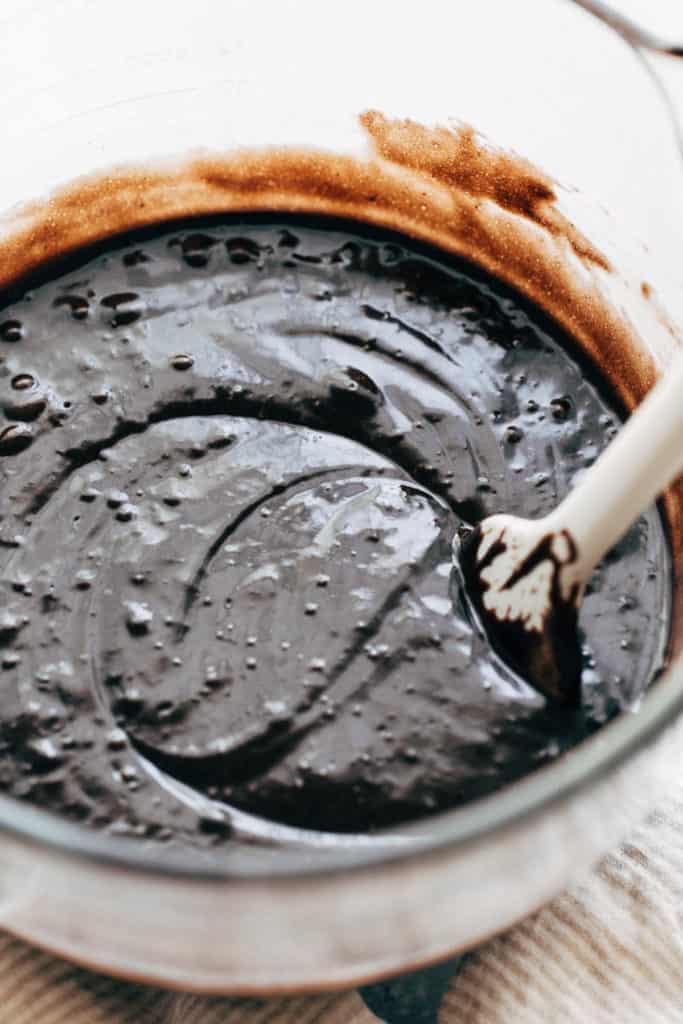
- In a separate bowl, whisk together the oil, buttermilk, vinegar, eggs, and vanilla.
- Slowly pour the wet ingredients into the dry ingredients as you whisk to combine. Switch to a rubber spatula about halfway through as the batter thickens. Fold the batter until smooth.
- Pour into your cake pans and bake for 35-40 minutes, or until a toothpick in the center comes out clean.
- Allow the cakes to cool in the pans for about 20 minutes. Then turn them out onto a cooling rack and peel off the parchment paper. If you plan on decorating the cakes the same day, place them into the refrigerator uncovered to chill for about 1 hour. If you will be decorating at a later day, allow the cakes to cool completely at room temperature, then wrap each in plastic wrap and chill for up to 2 days.
Black Cocoa Buttercream
- In a large mixing bowl using a hand or stand mixer with the whisk attachment, cream together the butter and shortening until smooth and combined.
- Mix in the powdered sugar, 1 cup at a time, and then the black cocoa powder. Finally add in the vanilla.
- If the batter is still too thin, add another cup of powdered sugar.
Assemble and Decorate
- Once the cakes have completely cooled, level off the tops if needed.
- Spread an even layer of buttercream between each cake and then allow the cake to chill for about 20 minutes. Doing so locks the layers in place, so the cake doesn’t slide around when you frost the sides.
- Once set, use the remaining frosting to cover the entire cake. Place the cake back in the refrigerator once more to let the frosting set.
- While it chills, prepare the decorations. For the splatters, combine 1 teaspoon of white food coloring with about 1/2 tsp of water in a small dish.
- For the bats, cut 6 pieces of wire about 6-7 inches long. Using the adhesive strips that came with the bats, stick them on to the ends of each wire.
- Now that the cake is chilled, begin by adding the white splatters. Lightly dip the tip of your brush into the white food coloring and place the brush about an inch away from the cake. Use your finger to run it across the tip of the brush, flicking the food coloring onto the cake. Repeat this process all around the cake.
- Next, toss little pinches of the white sprinkles against the sides of the cake. These can be a bit more random, but work with small pinches to prevent the sprinkles from rolling everywhere.
- Finally, stick the bats into the top of the cake. I find it’s best to make a small loop at the ends of each wire (kind of like you do with tree ornament hooks) and then slide it into the cake. This prevents the wires from tipping over. But if you plan on storing the cake and serving the next day, stick in the bats before serving as it’s more difficult to store the cake with the bats on top.
- Now slice and serve!


Notes
BUTTERMILK – You can also make your own buttermilk from regular whole milk and vinegar. Measure out 1 cup of whole milk and discard 1 tablespoon. Then, add 1 tablespoon of vinegar and mix to combine. Allow the mixture to sit for 10 minutes to thicken and curdle. Also make sure to keep the additional 1 tablespoon of vinegar in this recipe. So if you make your own buttermilk, you will need 2 tablespoons of vinegar total for this cake batter, 1 for the homemade buttermilk and 1 to add separately to the batter.
CAKE PANS – You may also use (2) 8″ or 9″ round cake pans. These cakes will need to bake for a little less time, at around 30-35 minutes. Baking this way will give you wide and short cake.
- Prep Time: 1 hour
- Cook Time: 30 minutes
Join Our Community


Meet Jenna
I’m the creator, baker, and photographer behind Butternut Bakery. Here I share desserts for every diet because I believe everyone should have a chance to indulge!
Made this cake for a birthday and instead I paired it with your cream cheese frosting and it honestly tasted like a giant Oreo, it was so delicious! I’m definitely making this one again!
Best ever! I tried so many I finally found the perfect one!!&
This cake came out amazing and I received many compliments on it! I made it gluten free using the Bobs Red Mill gluten free baking flour and it came out just as perfect.
Can i make the cake from before and store it in the freezer, defrost it and put the buttercream and decorations after days?
I have just found your website and cannot wait to try some of your recipes. Regarding the black buttercream, is it immediately black after making it, or does it take some time to develop the color? Thanks.
Question on measures. 2 cups/250g flour and 1 1/2 cups/ 300 g sugar? Confused how the 2 cups is 250g and 1.5 cups is 300 g?
How many batches of batter would you suggest for a 9”x13” sheet cake? Would one batch be enough? Or would I need a batch and a half?
I just made it today, its amazingly good! i used the black dutched cocoa trader bcos thats what i have and it still came out super black even though i put a little bit less cocao.
I did cream cheese with whipped cream filling on the other side of my cake and its also turn out sooo delicious . Thanks for this recipe i love black velvet now than red.
Im not a very experienced baker so I was pleased how easy it was to make this cake with good results. I used walnut oil instead of vegetables oil and because I didn’t have time to order black cocoa powder I added black food coloring to give that halloween effect. I used chocolate extract instead of vanilla. Also Ieft the dome on the top layer and added a witch hat decoration. (which I find a way to use every year)
Love the cake! Thank you for introducing me to black cocoa! Made a cake for a customer last week using your recipe! Am I able to double the recipe?
Thank you again for sharing, Frances Christian (cpc)