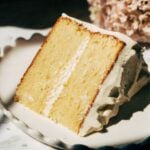
BEST Vanilla Cake
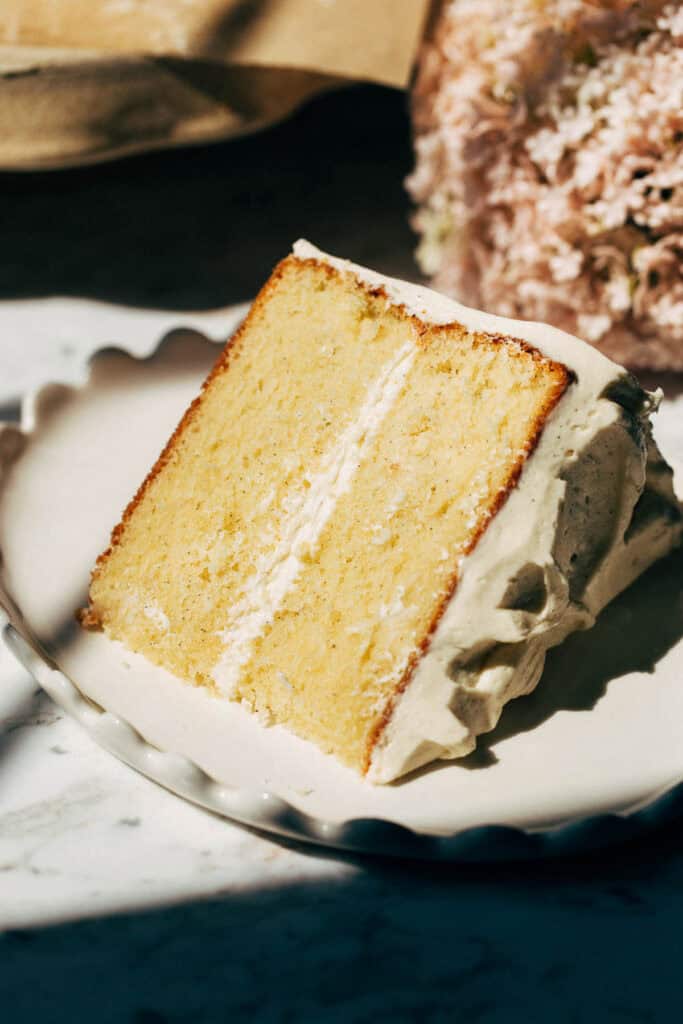
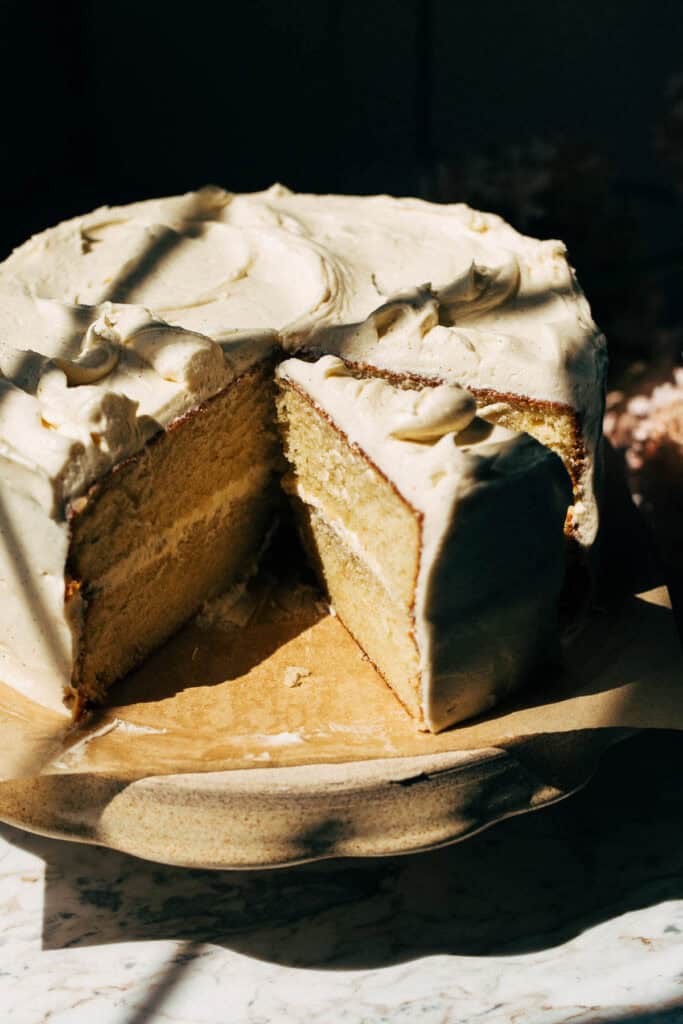
I whole-heartedly believe this is the BEST vanilla cake you can make at home. It’s so plush and bouncy just like a box mix but stays so rich and moist. The flavor is also next level using TONS of vanilla bean paste paired with a not-too-sweet vanilla bean buttercream. This is definitely going to be your new go-to vanilla cake recipe.
Secret to the BEST Vanilla Cake
This recipe is based on my popular vanilla cupcake recipe which was tirelessly tested to perfection. Luckily, the same process and ingredients work for this vanilla layer cake version!
So for this batter in particular, much of the magic comes from the reverse creaming method.
Standard cake batter is made using the traditional creaming method that you’re likely the most familiar with. Start by mixing together the butter and sugar until light and fluffy and then mix in the rest of the wet ingredients followed by the dry ingredients.
This vanilla cake recipe uses the reverse creaming method. It feels a bit backwards at the start, but the first step is to combine all of the dry ingredients including the sugar.
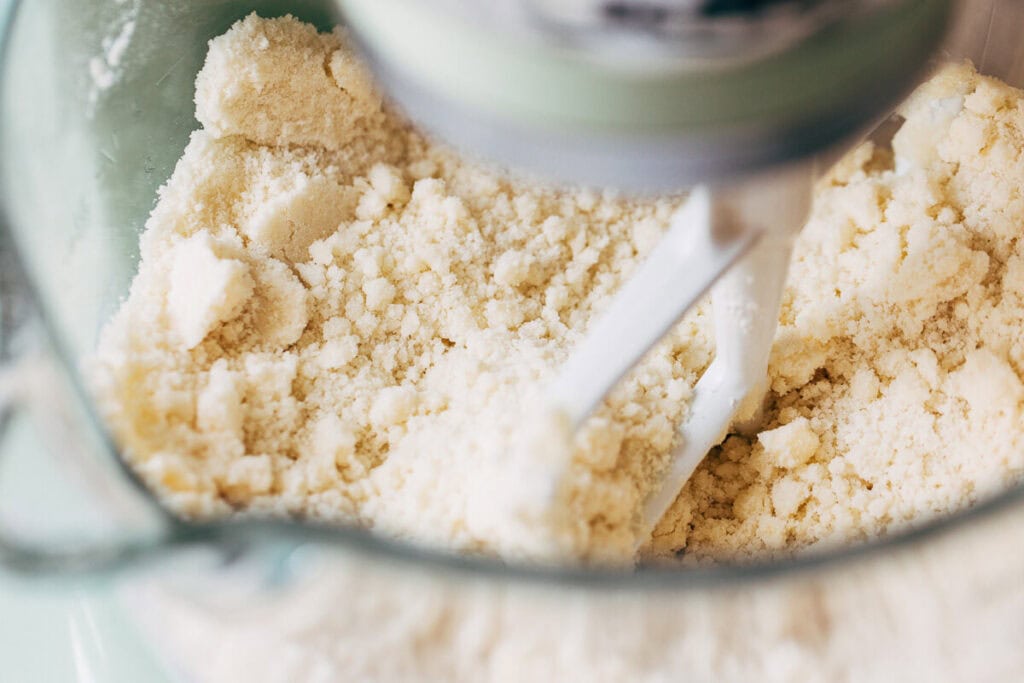
Once combined, the fat (in this case it’s both butter and oil) is mixed straight into the dry ingredients. The fat builds a coating around the flour which slows the formation of gluten. This in turn creates a delicate cake.
Then all of the wet ingredients are combined separately and then poured in to the dry and fat mixture. Overall, this method requires fewer steps and is much easier than the creaming method, in my opinion.
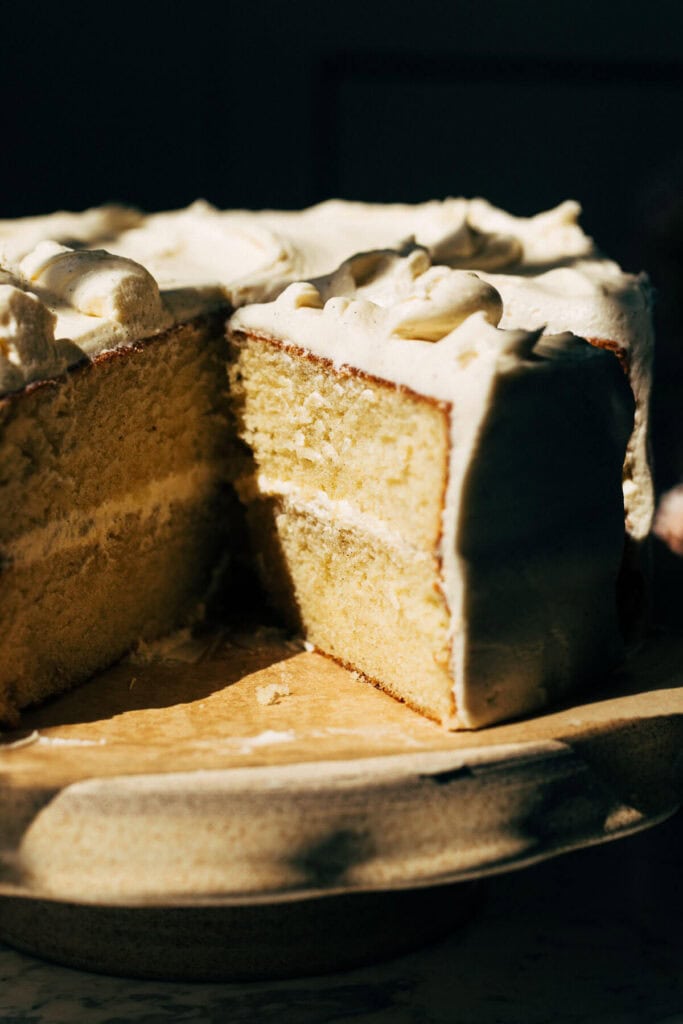
Reverse creaming also changes the crumb of a cake. Rather than having a much more open consistency with many many tiny little air pockets, reverse creaming creates a cake that has a tighter and bouncy crumb.
This is the secret to creating an incredibly tender vanilla cake that’s still so rich and moist!
Vanilla Cake Key Ingredients
A wide variety of ingredients were tested to figure out what creates the best crumb, consistency, and flavor. So these are the shining stars of this recipe:
- Cake Flour – Due to the lower amount of protein in the flour, it creates a light, fluffy, and delicate texture. I included instructions on how to make your own out of all-purpose flour, but I suggest sticking with prepackaged cake flour for the best results!
- Sour Cream – To balance out the lightness of the cake flour, pairing it with sour cream is a match made in heaven. Sour cream creates a more sturdy cake (while adding tons of moisture) which creates a very interesting balance of textures. These cupcakes are light and tender, but also so rich at the same time.
- Water – It may seem like a basic ingredient, but water adds SO much moisture to cakes without weighing it down. It’s surprisingly one of my favorite cake baking ingredients.
- Butter + Oil – You rarely want to use all oil in vanilla cake because the vanilla flavor itself isn’t enough to mask the flavor of the oil. BUT, oil does produce an incredibly moist cake so by using both butter and oil in this recipe, you get the best of both worlds.
- Milk Powder – Just 2 tablespoons of dry milk powder really helps to elevate this cake! Both in flavor and consistency as it’s basically pure protein in powder form. It also creates a lot of structure and bounce.
- Vanilla Bean Paste – Last but not least, the vanilla flavor. I really wanted a TRUE vanilla flavor in these cupcakes and you just can’t get that anywhere else besides vanilla beans. But vanilla beans themselves are rather expensive so vanilla bean paste is the next best thing. It stretches much farther, which is definitely necessary since we’re using an entire tablespoons in this recipe.
More on Milk Powder
Dry milk powder is essentially just milk without the moisture. It’s made by evaporating milk to a point where only the fat and protein remain. What this does in baking is create a sturdy consistency that isn’t tough or chewy. It basically enhances any dessert it touches!
For this vanilla cake recipe, milk powder is there to ensure an even rise while also enhancing the flavor. It adds a sweet smoothness that is very hard to explain, but it’s easy to tell when it’s not there.
If milk powder isn’t in your typical baking pantry, I definitely urge you to try it out for this recipe! Then add 1 or 2 tablespoons to any of your future bakes and watch as it creates delicious cookies, cakes, brownies, and more. I also use it in my brown butter brownies and vanilla cupcakes.
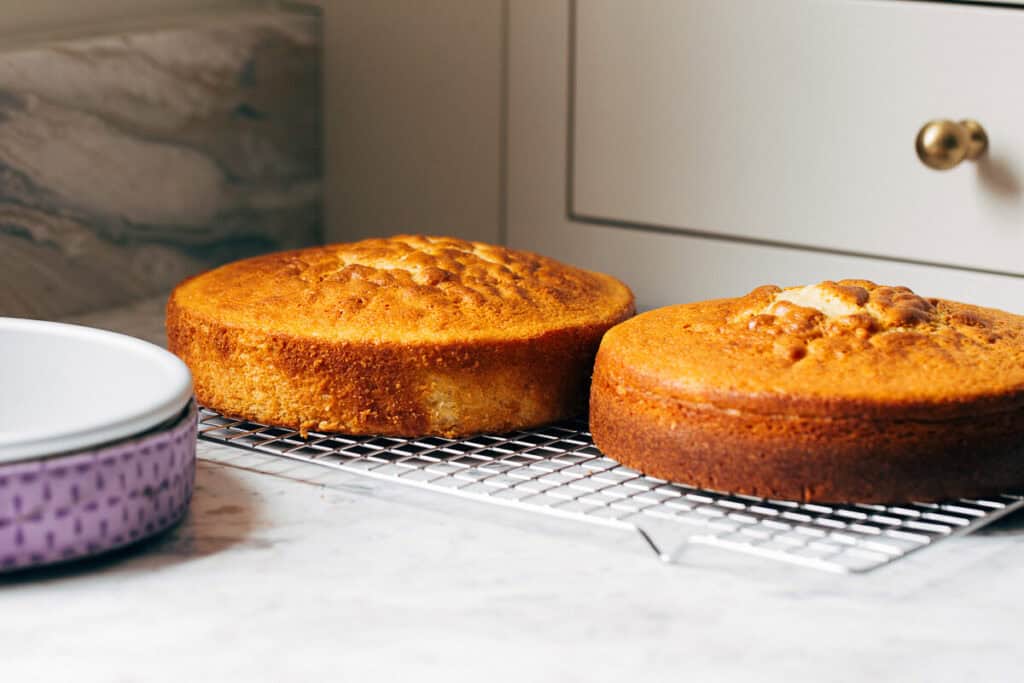
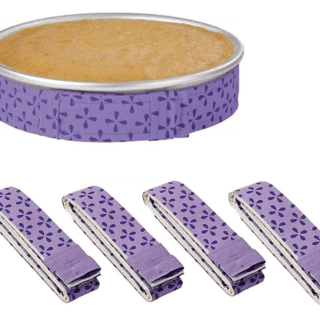
Baking with Cake Strips
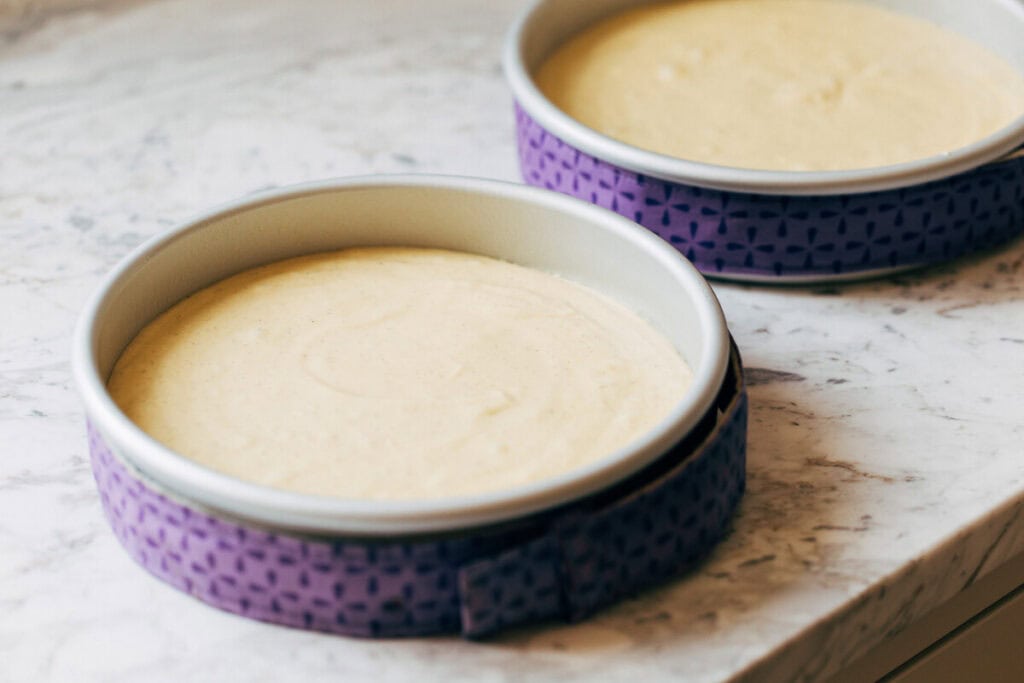
While optional, cake strips really help with this recipe. These are strips of fabric that are dampened and wrapped around each cake pan right before baking. The moisture barrier prevents the heat of the oven from hitting the outside of the cake too quickly. Therefore, the heat has a chance to slowly move from edge to center to create a much more even bake.
In the end, you’re left with a tender consistency all the way through – not just the center! You can see the slight difference in the photo on the right just above this text. The cake on the left was baked with a cake strip and the cake on the right was not. While subtle, you can tell that the cake on the right is much more well-done around the edges compared to the cake baked with the cake strip.
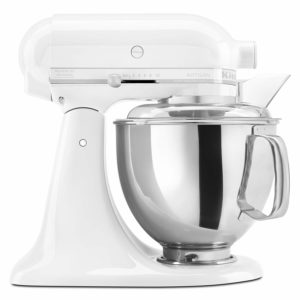
Best Cake Pan Material
Also optional, but this is good information to know especially if you’re an avid cake baker. The best material to use when baking cakes (or baking in general) is light aluminum.
This carries heat the absolute best as it doesn’t get super super hot and it also cools down very fast, leaving you with cakes that have a nice golden crust. So if you’re ever left wondering why your cakes or bakes turn out way too dark around the edges, it could be the pan you’re using.
Really dark metal pans create really dark edges (a good rule of thumb to remember) and glass just don’t hold heat the best. My entire collection of baking pans are ALL light aluminum as it makes a huge difference! The only downside is that they have to be washed by hand…but that’s a small price to pay for the most perfect bakes.
Whipped Vanilla Bean Buttercream
Vanilla cake is only as good as its frosting and this one pairs perfectly with its rich vanilla bean flavor and incredibly creamy consistency.
And while it’s an American buttercream, which is typically VERY sweet, this one is perfectly balanced and will please any frosting hater.
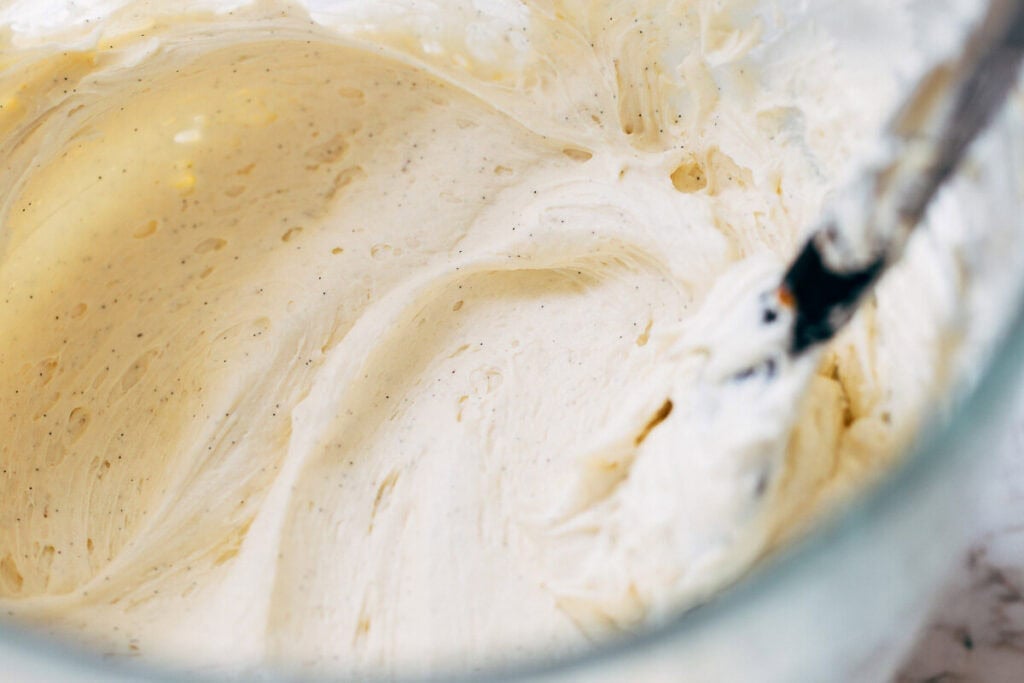
The key is to use very soft butter and whip it for a surprising amount of time. First, the butter is whipped for 5 minutes. Then the bowl is scraped down and mixed for ANOTHER 5 minutes. In the end, the butter will be glossy and nearly white – creating the perfect base for the buttercream. This whipped texture is what allows the frosting to hold its shape so that we don’t have to rely on tons and tons of powdered sugar.
Although there is still some, only three cups of powdered sugar go into this frosting. It’s balanced with a pinch of salt and lots of vanilla bean paste. Last, warm water is added to smooth everything out and create the most silky smooth American buttercream.
Vanilla Cake FAQs
Luckily, this cake is based on a cupcake recipe! Hop on over to my perfect vanilla cupcake recipe for the same flavor and consistency but in cupcake form.
I already have a separate recipe for that! Check out my gluten free vanilla cake recipe that’s just as soft and delicious. I have a gluten free vanilla cupcake recipe as well.
Sure! Divide the batter between 3 8″ cake pans and reduce the bake time by about 5 minutes.
Yes! Just reduce the bake time by about 5 minutes.
Technically, yes. But it’s one of those ingredients that just really elevates this cake. I highly recommend sticking with it if you can!
Yes, you can make a one for one substitute but I definitely prefer the flavor of vanilla bean paste here!
Olive oil can also work, as long as you don’t mind a very slight flavor.
Yes, just bake the cake layers and allow to cool completely at room temperature. Then wrap each layer in plastic wrap and store in the refrigerator for up to 2 days. Frost when needed and enjoy!
Keep the cake in a cake container in the refrigerator where it will last for about 5 days. I prefer room temperature cake, but this one actually tastes really good chilled as well. Totally up to you on how you’d like to serve! It keeps well at room temperature for a couple hours.
For more of the BEST cake recipes, check out my:
- Moist Chocolate Cake
- Funfetti Cake
- Perfect Carrot Cake
- Cookie Dough Cake
- Fresh Strawberry Cake
- Lemon Raspberry Cake
Make sure to tag me @butternutbakery on Instagram and leave a review below if you make this vanilla cake recipe. To pin this recipe and save it for later, you can use the button on the recipe card, the buttons above or below this post, or on any of the photos above. Happy baking!
Watch how to make this vanilla cake:
BEST Vanilla Cake
- Total Time: 2 hours 35 minutes
- Yield: 10-12 slices
Description
Truly the best vanilla cake you can make at home! It’s so plush and bouncy with an incredibly moist consistency. Tirelessly tested, this recipe consists of specially selected ingredients as well as a unique baking technique to create a bakery-worthy vanilla cake recipe.
Ingredients
Vanilla Cake
- 3 cups (336g) cake flour*, spooned and leveled
- 2 cups (400g) granulated sugar
- 2 tbsp dry nonfat milk powder
- 2 tsp baking powder
- 1 tsp baking soda
- 1/2 tsp kosher salt
- 3/4 cup (168g) unsalted butter, room temp and sliced
- 6 tbsp (80g) vegetable oil
- 1/2 cup (120g) water, warm
- 1 cup (240g) sour cream, room temp
- 1 tsp white distilled vinegar
- 2 tbsp vanilla bean paste
- 4 large eggs + 2 egg yolk, room temp
Vanilla Buttercream
- 1 1/2 cups (336g) unsalted butter, room temp (really soft)
- 3 cups (330g) powdered sugar, spooned and leveled
- Pinch of kosher salt
- 1 tbsp vanilla bean paste
- 2 tbsp water, slightly warm
Instructions
Vanilla Cake
- Preheat the oven to 350F and grease the inside of two 8” round cake pans, then line the bottoms with parchment paper. If you have them, wrap the pans in damp cake strips as this will give you the most even bake.
- In a large bowl using a hand or stand mixer with the paddle attachment (a stand mixer makes this recipe easier), mix together the cake flour, sugar, milk powder, baking powder, baking soda, and salt.
- With the mixer running on medium-low speed, drop in slices of the butter one at a time to slowly incorporate into the dry ingredients.
- Once all the butter is added and it has started to break down into small lumps (about 2 minutes), slowly pour in the oil with the mixer still running. Continue to mix for another minute or just until the mixture appears to have a very fine and crumbly texture.
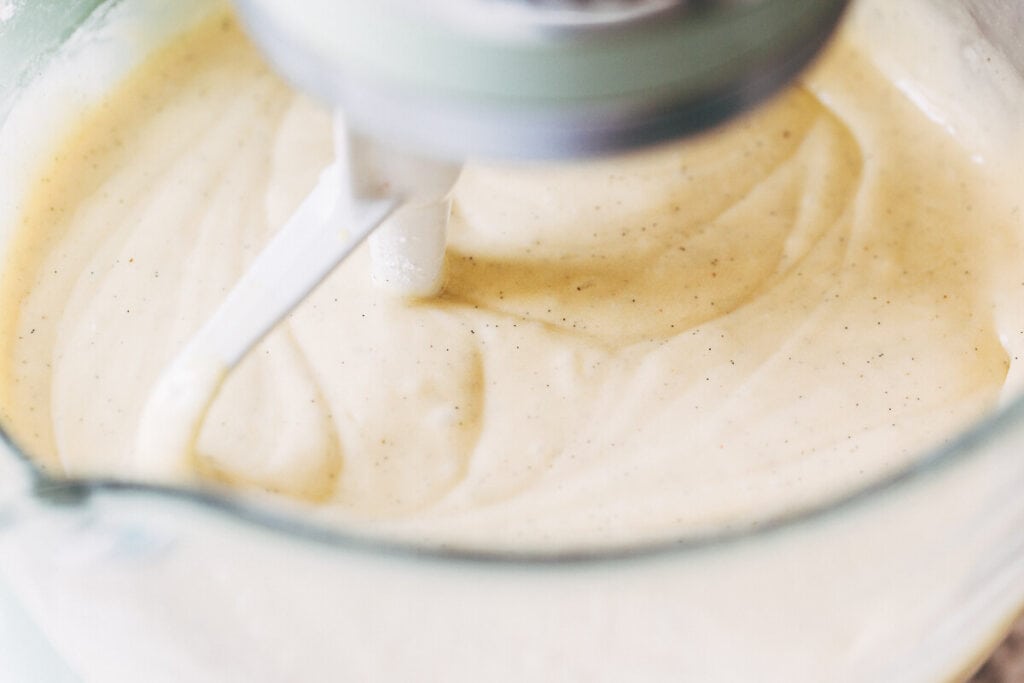
- Now in a two cup measuring glass, mix together the water, sour cream, vinegar, and vanilla. Pour into the batter and mix on medium-low speed until smooth and combined, about 1 minute.
- Crack the eggs into that same 2 cup measuring glass and beat with a fork. With the mixer running on medium-low speed, slowly pour in the eggs. Once all the eggs are added, continue mixing until you reach a very smooth and creamy batter – but careful not to over mix.
- Remove the bowl from the mixer and use a rubber spatula to scrape down the sides and bottom to make sure everything is evenly combined. This will create a pourable batter that isn’t too thin or too thick.
- Divide the batter between the two pans and spread even. Bake the cakes on the middle rack for 35-40 minutes or until the tops are golden and a toothpick inserted comes out clean with a few moist crumbs.
- Allow the cakes to cool in the pan for about 20 minutes, then turn them out onto a cooling rack to cool completely before making the frosting.
Vanilla Buttercream
- Using a hand or stand mixer with the whisk attachment (a stand mixer makes this recipe easier), mix the butter on medium-high speed for 5 minutes. Then scrape down the bowl and mix again for another 5 minutes until the butter is glossy and white.
- Now add in the powdered sugar, salt, and vanilla and mix on medium-low speed just to incorporate, then increase to medium speed until smooth and combined. Last, mix in the water to create a creamy frosting.
- To assemble, slice off the tops of the cooled cakes to create level surfaces. Lay one cake face up and spread a good heaping cup of frosting on top in an even layer.
- Lay the other cake face down on top of the buttercream layer and cover the entire cake with the remaining frosting. If you think your buttercream became a little TOO soft and your cake is having trouble staying in place, pop the cake in the refrigerator for about 30 minutes before continuing.
- Once frosted, it’s ready to slice and serve! It’s best at room temperature, but it’s also really good chilled. Store the cake in a container in the refrigerator and it will keep nice and moist for about 3 days. Enjoy!

Notes
TO MAKE YOUR OWN CAKE FLOUR – While I suggest sticking with prepackaged cake flour, you can make your own at home. Measure 2 spooned and leveled cups of all-purpose flour. Then remove 1/4 cup and replace with 1/4 cup of cornstarch. Sift the two together, then measure out your 2 cups of flour needed for the recipe.
- Prep Time: 30 minutes
- Cooling Time: 1 hour 30 minutes
- Cook Time: 35 minutes
- Category: Dessert
- Method: Baking
- Cuisine: American
Join Our Community


Meet Jenna
I’m the creator, baker, and photographer behind Butternut Bakery. Here I share desserts for every diet because I believe everyone should have a chance to indulge!
Do I need to make any adjustments for baking at elevation? I’m in Denver.
Thank you!
I would do a google search on how to adjust cakes for elevation depending on the elevation that you are at! There are different adjustments for different elevations.
Is there anything I can use in place of the dry milk?
No but you can leave it out of you need to!
I made this cake for a friend’s retirement party. It was perfect. I made some small changes and it came out so flavorful. I used toasted milk powder and olive oil. I also used milk instead of water and made sort of a buttermilk with the vinegar and used 1 yolk instead instead of two.
This is the best vanilla cake l’ve ever made. I made a vanilla bean Italian meringue buttercream and raspberry filling. It was delicious.
I made the vanilla cake only 2 weeks before the event, cooled it completely, wrapped it tightly and froze it.
Once I decorated the cake it was so fresh. I did bake a double batch on 9×13 sheet pans so l couldn’t use the cake strips but either way it was superb. Thank you so much for this recipe.
Sounds amazing! Thanks for sharing!
Absolutely love this recipe!! I’m going to be honest, the measurement of 6 tablespoons of vegetable oil in grams would be so helpful to keep for consistency. You don’t know that offhand do you? Thank you for sharing your amazing recipes. I’ve loved every one I’ve made!! Thank you!! 🩷
Just added it! It’s about 80g
About to try this recipe, but planning on replacing the water with buttermilk – have you tried this? Any thoughts for doing so?
I wouldn’t recommend this!
Am I able to replace some of the flour with dutch cocoa powder to make a chocolate version?
Use my chocolate cake recipe instead!
Does that have a similar texture to this vanilla cake? I am planning to make chocolate and vanilla layers, and I’m looking for a recipe that can be made with both flavors.
Hello! Would I need to make any adjustments to make this in a 9 x 13 cake pan?
Use my funfetti sheet cake but omit the sprinkles!
Can I use dry buttermilk ?
Yes that should work!