Pan-Banging Chewy Peanut Butter Cookies
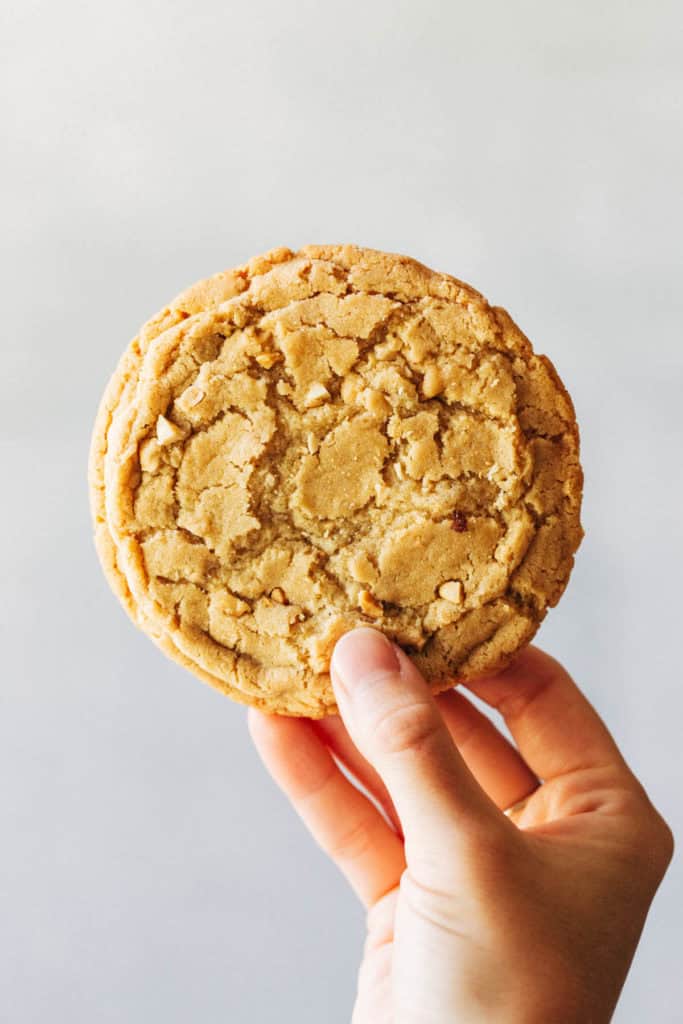
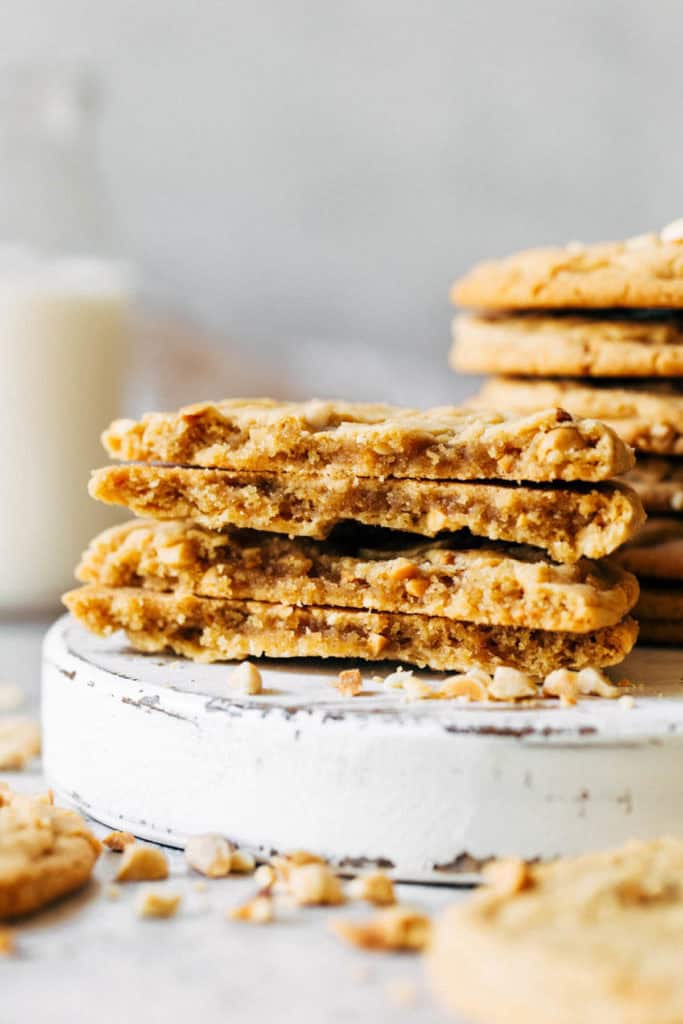
These chewy peanut butter cookies are unlike any other peanut butter cookie! They have a wrinkled and crispy ring around the edges with a soft and peanut buttery center. Using the pan-banging method, it creates the perfect chewy texture that isn’t too tough or dry.
What are pan-banging cookies?
This is a technique used during the baking process. It was first discovered by Sarah Keiffer of The Vanilla Bean Blog. She was baking a batch of chocolate chip cookies but was annoyed by how they just wouldn’t spread and flatten like she wanted them to. So she picked up the pan and dropped it out of frustration, leaving a wrinkled ring around the edge of the cookie.
This sparked an idea, thus repeating the pan-banging process over and over again to get multiple chewy ripples around the cookie. From here, the pan-banging method was created and has since blow up. These famous cookies have been seen just about everywhere for their unique texture, look, and technique.
The process goes as such – bake large cookies for about 10 minutes. Then, drop the pan to knock the air out of the cookies to create ripples around the edges. Return to the oven and bake in 2 minute intervals, banging the pan between each time, until you achieve multiple ripples all around the cookie.
In the end, you’re left with an extra large chewy but flat cookie that’s crispy on the outside and soft on the inside.
How to make peanut butter cookie dough
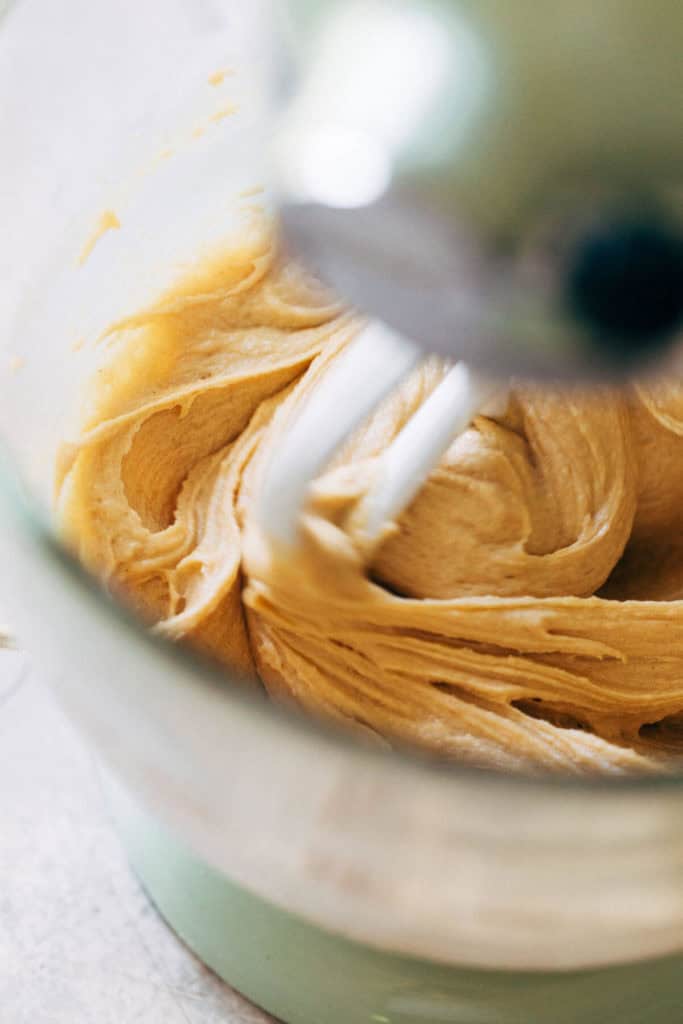
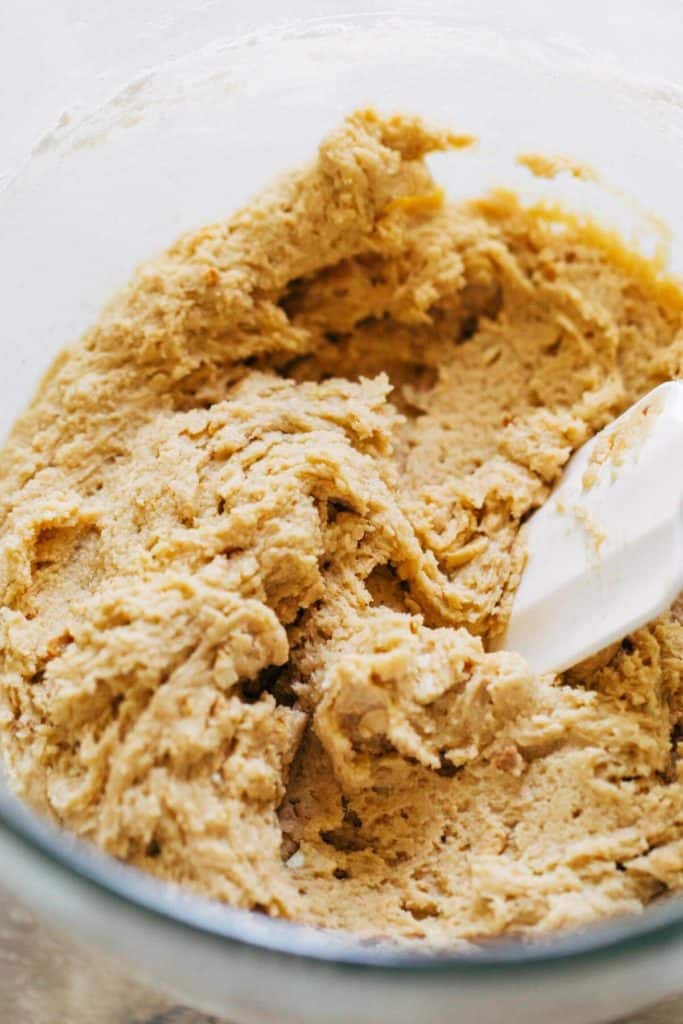
The entire process of making the dough is very similar to any other cookie. Mix together the dry ingredients in a separate bowl, combine the wet ingredients, then mix in the dry ingredients.
Although for this recipe, there is the unique addition of water. This is taken from Sarah’s recipe as it helps thin out the dough just a bit to help it spread in the oven.
The recipe also uses all white sugar. This helps create a crispier texture to help those ripples come to life.
Allow the dough to rest at room temperature for 20 minutes before baking. This allows all of the dry ingredients to fully absorb, ensuring all cookies turn out the exact same.
What is the best peanut butter to use?
I tested this recipe with both regular and natural peanut butters and it didn’t make a huge difference either way. Although, natural nut butters tend to have quite a bit of variance when it comes to texture. Some are thin and drippy while others are thick and creamy once stirred together.
To guarantee they’ll turn out, I recommend using a classic creamy peanut butter like Jif or Skippy as they have a very consistent consistency across all jars. Otherwise, use a thicker natural peanut butter.
What can I use besides peanut butter?
Any nut butter will work, as long as it has the consistency I just mentioned. If you are allergic to all nuts, try using creamy SunButter. I’ve used it in countless recipes and it acts just like any other nut butter, but it’s made with sunflower seeds instead of nuts. And if your cookies turn out green in the middle once cooled, it’s nothing to be alarmed about. There’s a chemical reaction that happens between baking soda and the sunflower seeds which creates a green color. It may look odd but it’s still safe to eat.
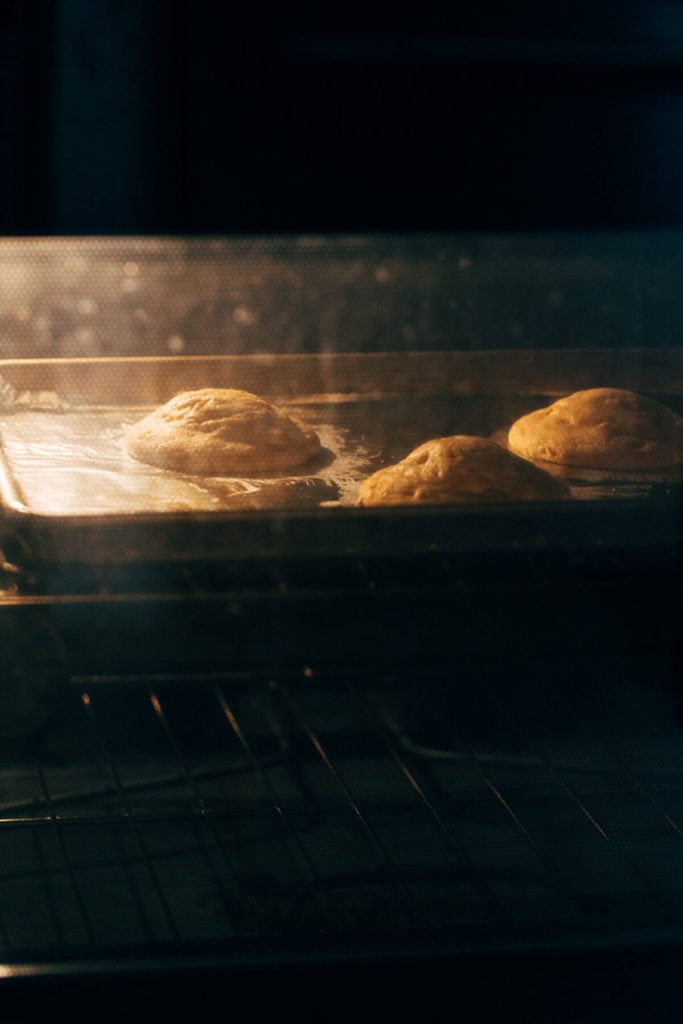
How to bake pan-banging peanut butter cookies – aluminum foil
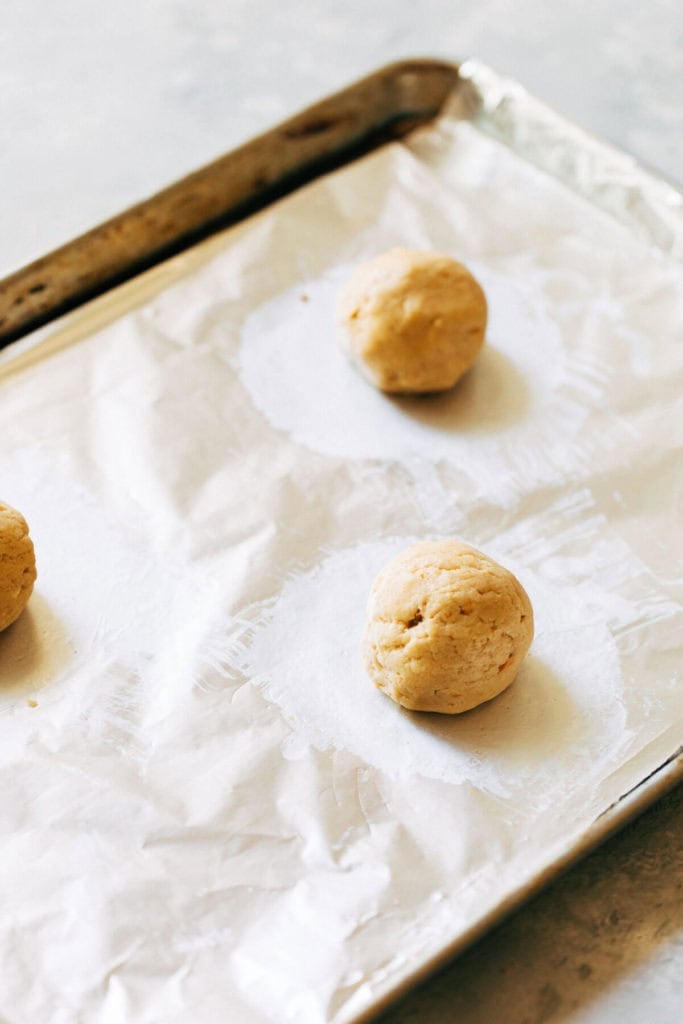
First and foremost, these cookies must be baked on aluminum foil with the dull side facing up. This is a unique step in the pan-banging process that yields the best results.
Why aluminum foil? It provides a slick surface, allowing the cookies to spread evenly and perfectly round. It also helps crisp up the bottom of the cookies to aid in that chewy texture and rippled edges.
Baking these on parchment paper or a silpat is okay, but it will not provide the same exact result that foil can.
How to bake pan-banging peanut butter cookies – size
Another crucial step is to bake large cookies. Each cookie weighs 3oz, which is equal to about 1/4 cup. You can choose to weigh each cookie dough ball, which is the most efficient route to take, or scoop using a measuring cup.
These cookies have to be large in order to slow the baking process. If a smaller cookie is placed in the oven, it will bake through too quickly. The trick to good pan-banging cookies is to allow the edges to slowly bake. That way, each time you bang the pan the edges are able to collapse as they haven’t fully baked.
Then, as the heat begins to hit the center of the cookie, it’s able to spread even more which forces resistance up against the already present ripples. In a smaller cookie, there isn’t enough space for this baking process to happen. Trust me, bigger is better here!
Here is a link to the cookie scoop I use. It’s an ice cream scoop that holds 2oz, so I like to overfill it just a bit to get a 3oz cookie.
How to bake pan-banging peanut butter cookies – amount
Only bake 3-4 cookies at a time. These cookies spread quite a bit, so you’ll need about 3 inches of space between each cookie.
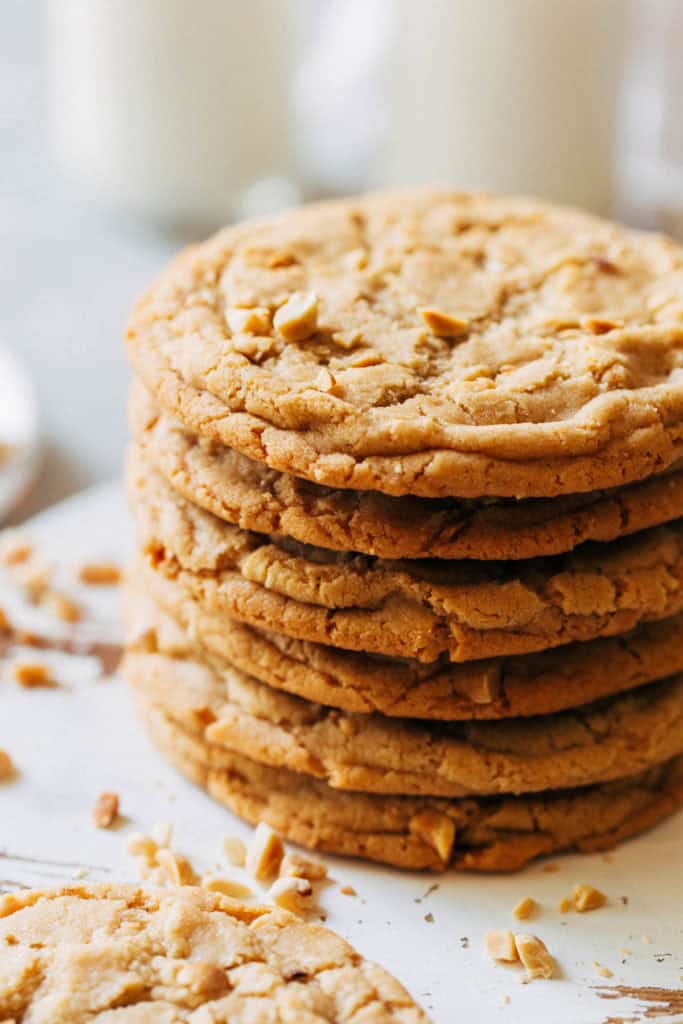
Won’t the cookies stick to the foil?
Nope! The butter in these cookies provides a barrier between the cookie and the foil, so they should slide right off just like they would on parchment paper.
How to bang the baking pan
Sarah’s technique is to simply lift the pan, still inside the oven, and drop it back down. Since these cookies have peanut butter (causing a thicker cookie dough) they need a little extra effort.
Remove the pan from the oven and close the oven door. Lift the pan up off the stove top or counter top (whichever surface you have that’s heat-safe) and slam it back down. Don’t drop it, keep your grip at all times. Repeat 5 times then quickly return the pan back to the oven to continue to bake.
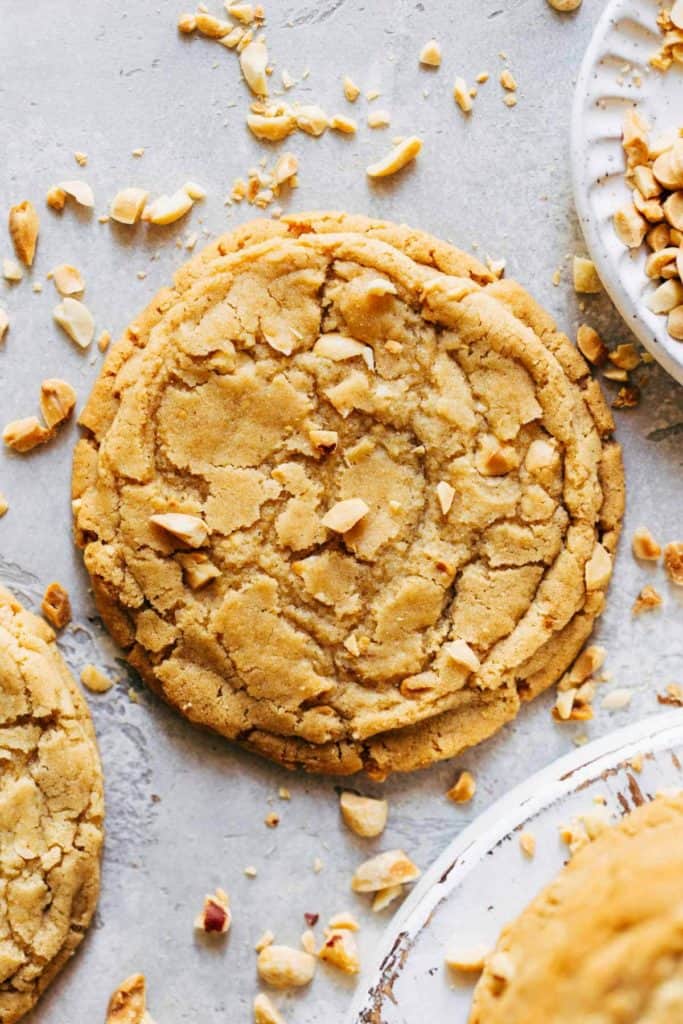
Why didn’t my cookies spread?
If after the first 10 minutes your cookies don’t look like the ones in this post (shown inside the oven), chances are there’s too much flour in the dough. Always make sure to measure your flour properly, which goes for all baking recipes. Spoon the flour into the measuring cup and level it off with a flat edge. Don’t shake it or pack it down and don’t scoop straight from the flour bag or container. This will lead to too much flour, creating a thicker dough that will not spread evenly.
How to store leftover cookies
These cookies are best served warm, but will continue to get chewier and chewier as they cool. Keep any leftovers in a container at room temperature. I recommend heating up a cookie in the microwave for about 10-20 seconds before eating. These should keep for up to 3 days.
For more delicious cookie recipes, check out my:
- Peanut Butter Chocolate Chip Cookies
- ULTIMATE Monster Cookies
- Maple Snickerdoodles
- Brown Butter Oatmeal Cookies
- Soft & Chewy Sugar Cookies
Make sure to tag me @butternutbakery on Instagram and leave a review below if you make these Chewy Peanut Butter Cookies. To pin this recipe and save it for later, you can use the button on the recipe card, the buttons above or below this post, or on any of the photos above. Happy baking!
Print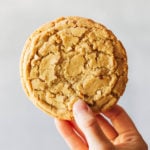
Pan-Banging Chewy Peanut Butter Cookies
- Total Time: 1 hour 40 minutes
- Yield: 11-12 large cookies
Description
These cookies are made with the pan banging method which creates a wrinkled and chewy outside with a soft and peanut buttery center. This recipe is inspired by the famous Pan-Banging Chocolate Chip Cookies by Sarah Keiffer.
Ingredients
- 1 1/2 cups (200g) all purpose flour *see notes
- 1/2 tsp baking soda
- 1/2 tsp baking powder
- 1/2 tsp salt
- 1/2 cup (110g) unsalted butter, room temp
- 1/2 cup (130g) creamy peanut butter *see notes
- 1 1/2 cups (300g) granulated sugar
- 1 large egg
- 2 tsp vanilla extract
- 2 tbsp water
- 1/2 cup finely chopped dry roasted unsalted peanuts *see notes
Instructions
- Line a large baking sheet with foil, dull side up (don’t use parchment paper or a silpat for this recipe).
- In a small bowl, whisk together the flour, baking soda, baking powder, and salt. Set aside.
- In another small bowl, beat the large egg and mix in the vanilla and water. Set aside.
- Using a hand or stand mixer with the paddle attachment, cream together the room temperature butter and peanut butter until smooth (about 1-2 minutes on medium speed). Then mix in the sugar until combined.
- Scrape down the sides and bottom of the bowl and give it another mix.
- With the mixer running, pour in the egg mixture and mix until combined. Scrape the bowl again and mix.
- Dump in the dry ingredients and mix on medium-low speed. Right before the dry ingredients are fully absorbed, toss in the chopped peanuts and mix until the flour disappears.
- Take the bowl off the mixer and use a rubber spatula to scrape down the bowl and give it a light mix by hand, just to ensure it’s well combined. Don’t over mix.
- Allow the dough to rest uncovered at room temperature for 20 minutes. During this time, preheat the oven to 350F.
- After the 20 minutes, scoop the dough into 3oz balls (equal to about 1/4 cup) and roll in your hands. *It’s important to make large cookies, otherwise the pan-banging method will not be as effective* Place 3-4 cookies on the baking sheet well spaced apart. They will spread quite a bit. Leave the rest of the cookie dough balls out at room temperature while the first batch bakes.
- Bake for 10 minutes, then remove the pan and slam it against the counter or stove top about 5 times until the edge deflate. If your counter isn’t heat-safe, make sure to place something underneath the pan like another large baking pan or a stone cutting board.
- Place the pan back into the oven and bake for 2 minutes. Repeat the process. Continue baking in 2 minute intervals, banging between each, for a total bake time of about 16-18 minutes. Stop once the cookies have completely spread and the edges turn a very light golden brown.
- Transfer to a cooling rack and repeat the process with the rest of the cookies.
- These cookies are best served warm, so dig in! Otherwise, store the rest in a container at room temperature and pop a cookie in the microwave for about 10-20 seconds before eating.
Notes
FLOUR – Make sure to spoon the flour into your measuring cup and level it off with a flat edge. Don’t shake it or pack it down into the cup and don’t scoop directly into the bag or container of flour. This will lead to too much flour in the dough, preventing the cookies from spreading as they should.
PEANUT BUTTER – For best results, use classic creamy peanut butter like Jif or Skippy. I tested these with natural peanut butter as well and it didn’t make a huge difference, but there can be a lot of variability in natural nut butters. If you prefer natural, try to use one that’s more thick and creamy rather than fluid and drippy. This goes for any nut butter, whether you choose to use peanut butter or any other variety like almond or cashew.
PEANUTS – Use unsalted in order to have full control over the saltiness of these cookies. If you only have salted, use 1/4 tsp of salt in the recipe rather than 1/2 tsp. I prefer dry roasted, but nuts roasted in oil are also OK to use here.
- Prep Time: 40 minutes
- Cook Time: 1 hour
Join Our Community

Meet Jenna
I’m the creator, baker, and photographer behind Butternut Bakery. Here I share desserts for every diet because I believe everyone should have a chance to indulge!


I made this recipe dairy and egg free with country crock and bob’s red mill egg replacer and they came out perfectly! The recipe is more involved than others, but totally worth it. And thanks for adding the amount in grams so the recipe is fool-proof. I think I may experiment with the next batch swap some of the ap flour for gram flour to add a bit of density and extra chew.
Excellent recipe. My coworkers devour them every time I bring them in. I’ve found 16 minutes to be the ideal cook time for a crunchy outside and a still soft inside, even after cooling.