Peach Cobbler Cheesecake
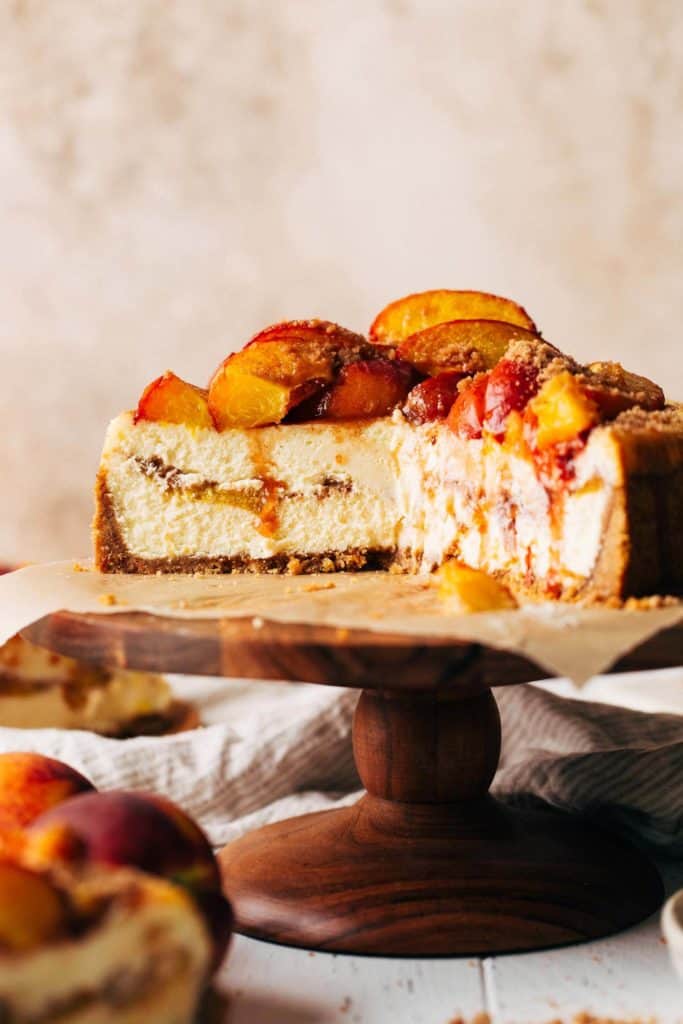
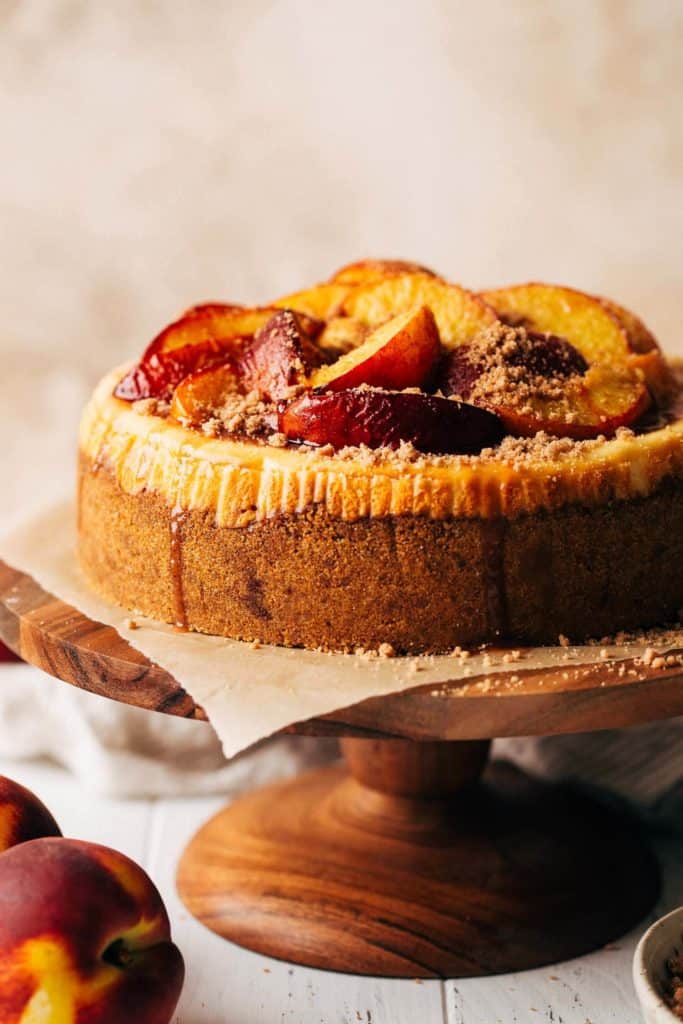
This peach cobbler cheesecake is everything you love about peach cobbler, with added creaminess! This rich cheesecake is baked with a layer of roasted fresh peaches and crumble in the center, and is then topped with more juicy roasted peaches. It’s sweet, tart, creamy, decadent, and the perfect dessert for any peach lover.
What makes this the best peach cobbler cheesecake recipe?
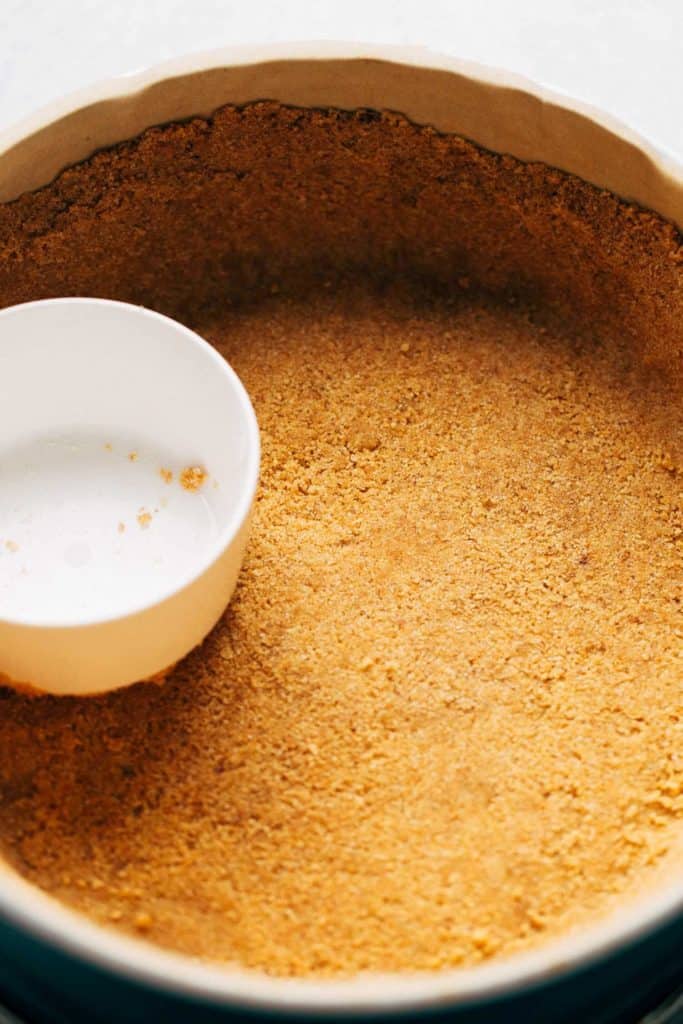
Trust me, this peach cobbler cheesecake tastes as good as it looks! It’s made with my tried and true classic cheesecake recipe, which always turns out thick, creamy, and crack-free. The crust is my go-to graham cracker crust recipe that’s the perfect ratio – not too thick, not too stiff, and not too crumbly.
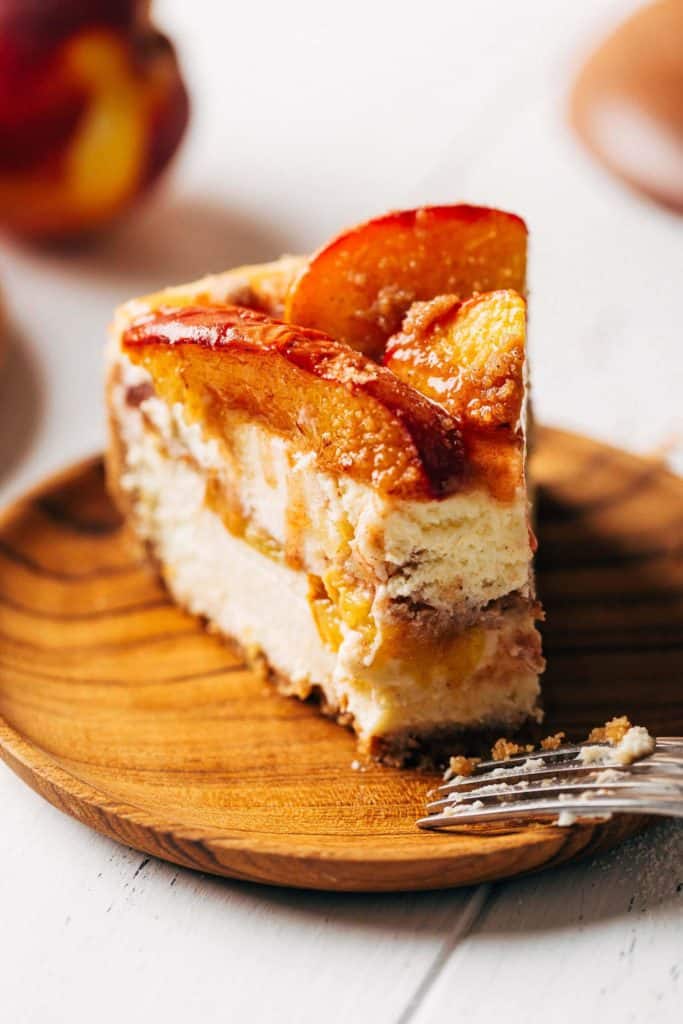
But for the peaches, this is where things get both interesting and delicious. Fresh peaches are cut into thick slices and baked in a coating of butter, sugar, and cinnamon. This caramelizes the outside of the peaches, creating a tender peach that’s bursting with flavor. These roasted peaches are then baked into the center of the cheesecake, alongside a layer of crumble to resemble the topping of peach cobbler. Once baked, you’re left with a rich and creamy cheesecake with a layer of sweet and tart peaches in every single bite.
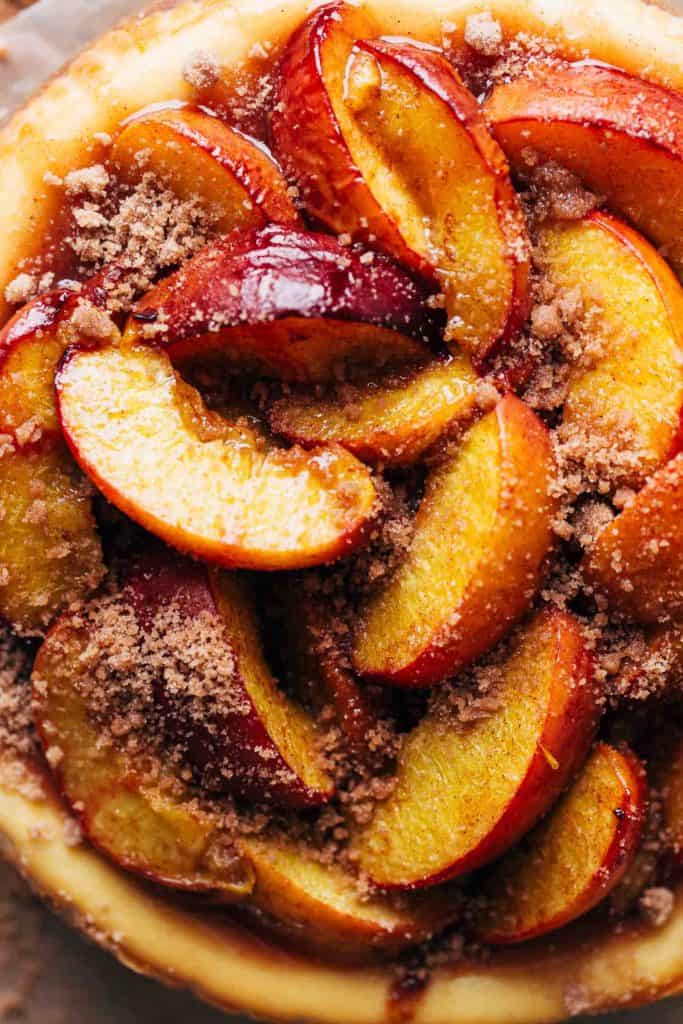
But it does NOT stop there. After the cheesecake has baked and chilled, a pile of fresh roasted peaches are layered on top. They’re glossy, tender, and an absolute show stopper. This is seriously the perfect cheesecake to make for anyone who loves peaches, or make it as a way to celebrate peach season!
How to make roasted peaches
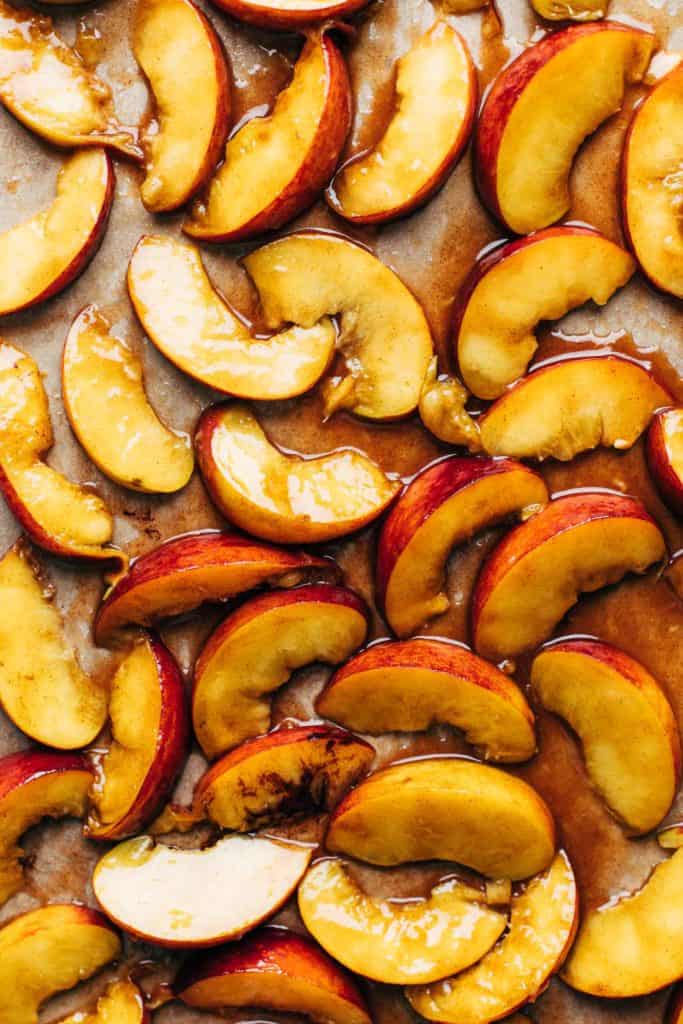
The star of the show is the roasted peaches, and they’re so easy to make. First, slice the peaches into thick wedges. Don’t slice them too thin, otherwise they’ll bake into a mushy texture. You can also choose to peel them or leave the skins on, although the roasting process softens the skins significantly so you can’t even tell they’re there.
Once sliced, they’re tossed in a coating of butter, sugar, and cinnamon. This coating will help caramelize the exterior of the peaches as they bake. But be careful as too much coating will prevent that caramelization process from happening. To fix this issue, scoop the peaches onto your baking sheet, allowing an excess coating to drip off.
Now they’re ready to bake at a high heat for a short amount of time. This will allow the edges to turn golden, but the center remains tender and not too soft. You could honestly use this recipe on its own, filling a bowl with roasted peaches, crumble, and a scoop of ice cream. They’re just that good!
My top tips for baking perfect cheesecake
Now for the fun part, making the cheesecake batter! This is where things CAN get tricky, but if you follow my tips your cheesecake will turn out perfect. For even more details, see my post on classic cheesecake that’s loaded with tips and tricks on how to perfect cheesecake baking. But here’s the essentials:
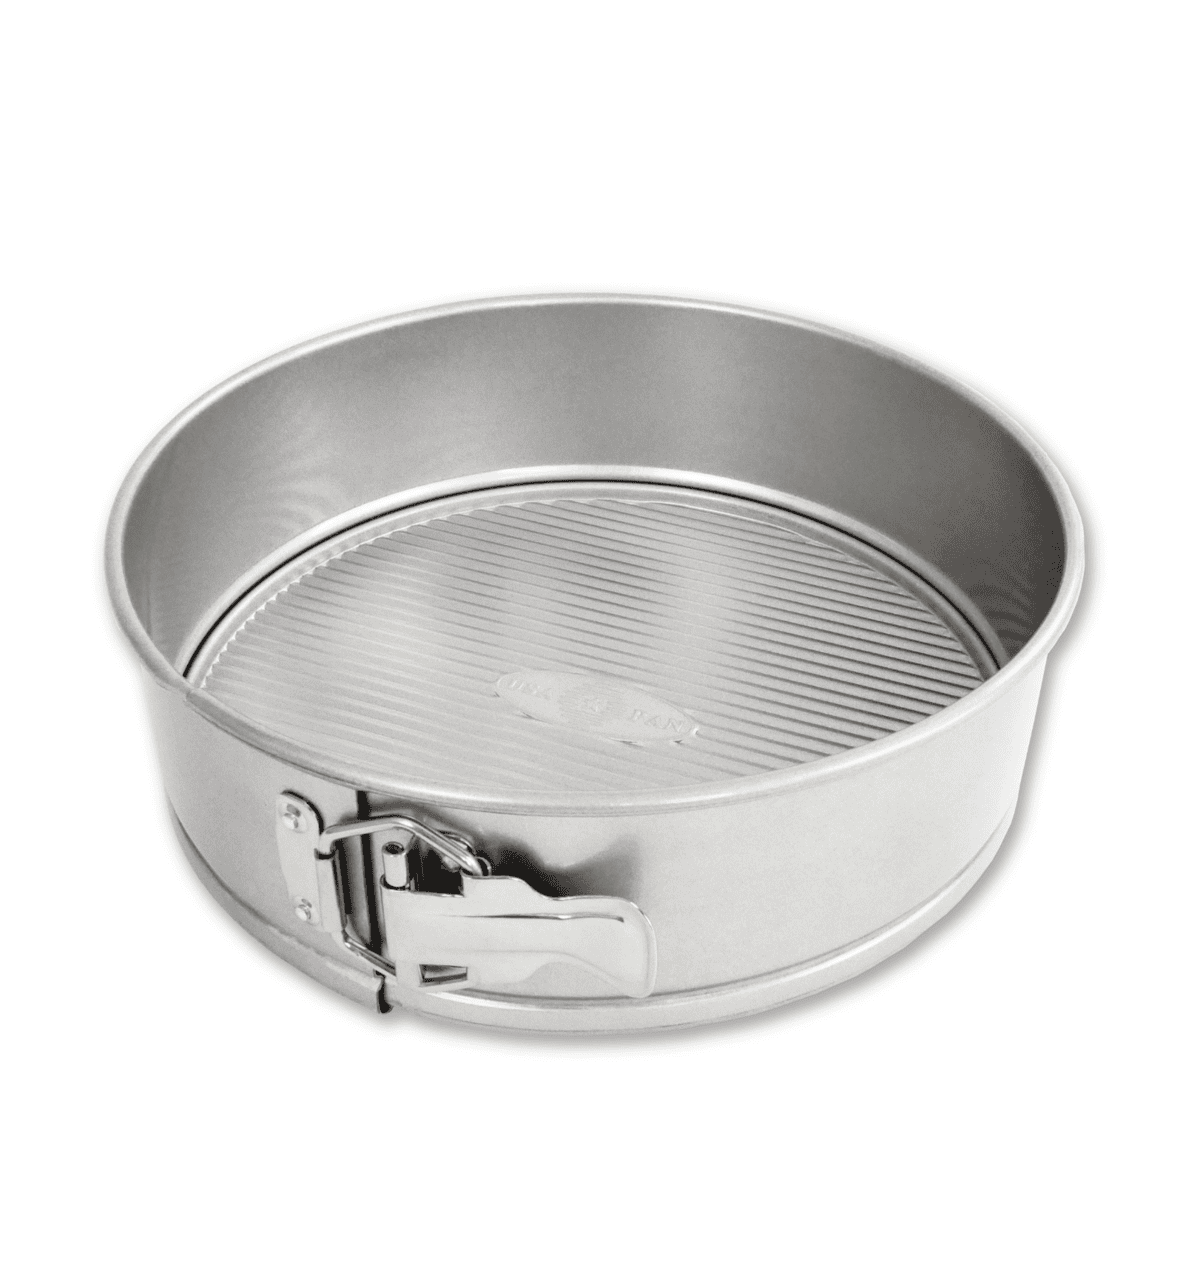
- Parchment Paper – Before adding the crust, line the edges of a springform pan with parchment paper. I found that cheesecake tends to stick to the sides of the pan and as it cools, it shrinks. With the sides sticking to the pan, this creates tension in the center thus forming a big crack. Parchment paper prevents this from happening.
- The Cream Cheese – If you can, always try to use Philadelphia full fat cream cheese. It provides the BEST flavor and texture. And this is not sponsored, it’s just the only cream cheese I’ll ever use.
- Room Temperature Ingredients – Before you start ANYTHING, make sure all of your refrigerated ingredients are at room temperature…especially the cream cheese. This prevents lumps and over mixing (adding too much air to the batter can create cracks). To speed up the process, add the cream cheese (still in the wrappings) and eggs to large bowl of warm water. Let it sit for about 30 minutes and your cream cheese will be perfectly softened.
- Low and slow – Always keep your mixer on LOW speed, whether you’re using a hand or a stand mixer (although stand is preferred). This means the mixing process will take a little bit longer, but it also ensures your cheesecake turns out smooth and crack-free.
- Easy Water Bath – Most importantly, always bake your cheesecake in a water bath. Place a roast pan on the bottom rack of your oven and start a pot of boiling water on the stove top. When you’re ready to bake the cheesecake, pour the boiling water into the roast pan and then place the cheesecake on the middle rack above. Baking in a moist environment prevents the cheesecake from drying out and cracking.
- Jiggle Test – To make sure your cheesecake is done, crack open the door and nudge the pan. If the center wobbles like a bowl of milk, it’s not done. If it jiggles like jello, it’s ready.
- Gradual Cooling – I’ll cover this in more detail later in the post, but allowing the cheesecake to slowly come back to room temperature provides the perfect texture and stops any cracks from forming.
How to layer peach cobbler cheesecake
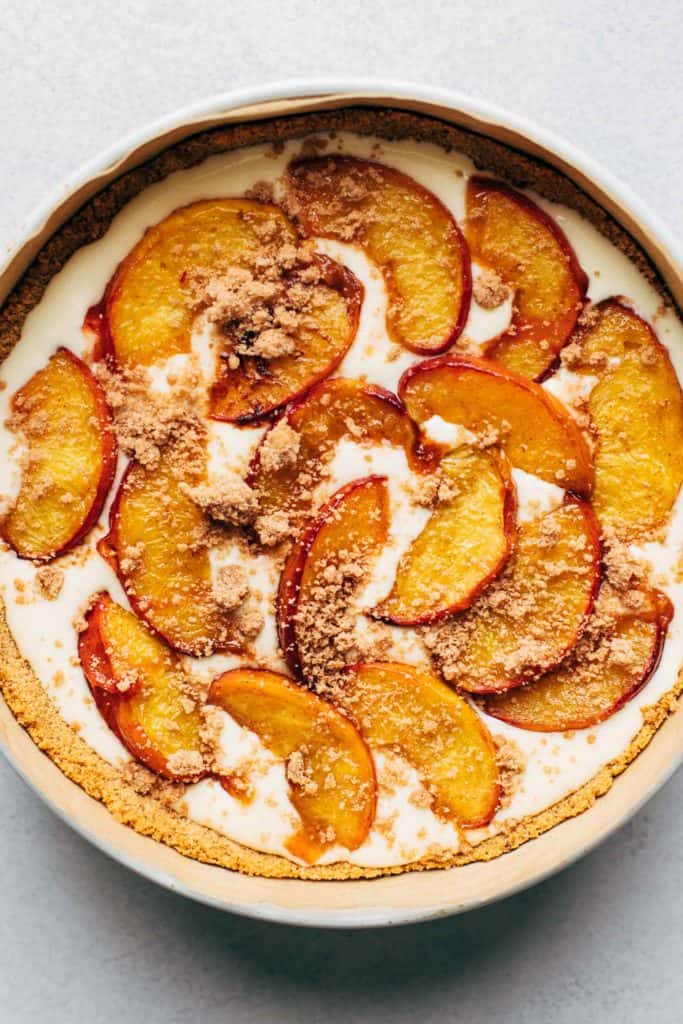
With the crumble prepped, the peaches roasted, and the batter mixed, it’s time to layer up our peach cobbler cheesecake. To do so, pour half of the batter into the cooled crust.
On top gently lay down the peach slices one-by-one, fully covering the surface. The cheesecake batter is somewhat thin, so take your time during this process to ensure the peaches don’t sink into the batter. Then, sprinkle a hefty amount of the crumble on top. I sparingly sprinkled it on top for these images, so you can see the peaches underneath. But after the photo was taken I piled it on!
Then gently pour the rest of the cheesecake batter on top, constantly moving around the bowl so the batter doesn’t all gather in one spot. If this happens, the weight will disrupt the even peach layer underneath. Then just spread the batter even and bake.
Crucial tips for serving peach cobbler cheesecake
First and foremost, allow the cheesecake to cool for at least 4 hours or preferably overnight. This allows the cheesecake to fully settle and develop, creating a dense but creamy texture. If it’s not chilled properly, the center will become too thin and soft.
Once chilled, you can either leave the cheesecake as is or add more roasted peaches on top. With the peaches, you have two options:
- Roast the peaches all at once at the very beginning of the recipe, placing half inside the cheesecake and storing the other half in the refrigerator alongside the cheesecake. Then to serve, pile the cooled peaches on top.
- Roast half of the peaches for the center of the cheesecake, then roast the other half later on when you’re ready to serve the cheesecake.
I prefer the second option, as the freshly roasted peaches look more appetizing then the roasted and chilled peaches. Either way, it tastes amazing. It’s really just for aesthetic preference!
If you’re topping with the fresh peaches, spoon the excess juices on top and let it drip down the sides. Then allow the peaches to cool for about 20 minutes before slicing. Slice with a large and sharp knife so you can easily cut through that pile of peaches AND thick cheesecake.
How to store the cheesecake
Store the cheesecake in a cake container in the refrigerator. It will keep for up to 1 week. You can also store the bare cheesecake (without the peaches on top) and then roasted the peach topping before serving. This will keep the cheesecake fresher for a bit longer.
For more cheesecake recipes, check out my:
- Salted Caramel Cheesecake
- New York Style Cheesecake
- Classic Cheesecake
- Chocolate Cheesecake
- Basque Burnt Cheesecake
- Roasted Strawberry Cheesecake
Make sure to tag me @butternutbakery on Instagram and leave a review below if you make this Peach Cobbler Cheesecake recipe. To pin this recipe and save it for later, you can use the button on the recipe card, the buttons above or below this post, or on any of the photos above. Happy baking!
Watch how to make this peach cobbler cheesecake!
Print
Peach Cobbler Cheesecake
- Total Time: 2 hours + 4 hours chilling
- Yield: 10-12 slices
Description
Peach cobbler cheesecake baked with a layer of roasted peaches and crumble in the center, and topped with a pile of even more juicy roasted peaches.
Ingredients
Crumble
- 3/4 cup (95g) all purpose flour, heat treated
- 1/3 cup (70g) light brown sugar, packed
- 1 tsp cinnamon
- 1/2 tsp salt
- 5 tbsp unsalted butter, cold and cubed
Peaches
- 6 slightly underripe peaches, cut into thick slices
- 4 tbsp unsalted butter, melted
- 3 tbsp light brown sugar
- 1 tsp cinnamon
Graham Cracker Crust
- 2 cups (280g) ground graham crackers (about 2 sleeves)
- 1/3 cup (70g) granulated sugar
- 1/2 tsp cinnamon
- Pinch of salt
- 1/2 cup (110g) unsalted butter, melted
Cheesecake Batter
- 4 8oz blocks full fat cream cheese, room temp
- 1 1/4 cup (255g) granulated sugar
- 2 tbsp cornstarch
- 3 large eggs + 1 egg yolk, room temp
- 2 tsp vanilla bean paste, or 1 tbsp vanilla extract
- 1 cup (250g) sour cream or full fat Greek yogurt
Instructions
Crumble
- Microwave the flour for about 90 seconds in the microwave. This kills any potential bacteria as the raw uncooked crumble will be sprinkled on top of the cheesecake at the end. Let the flour chill in the freezer for about 15 minutes to cool down before making the crumble.
- Combine all of the ingredients in a medium dish, smooshing the butter into the dry ingredients using your fingers or two forks.
- Once it’s evenly moistened and resembles wet sand, place the dish in the refrigerator.
Peaches
- You have two options here. One, you can bake all of the peaches at once and reserve half of them to pile on top of the cheesecake. Two, bake half of the peaches now, only for the filling, and bake the other half once the cheesecake has chilled overnight as these will be piled on top. It’s totally up to you! I just find that freshly roasted peaches look juicier than when they’ve chilled.
- Either way, preheat the oven to 425F and line a large baking sheet with parchment paper.
- Add the peaches to a large bowl with the butter, brown sugar, and cinnamon. Toss to coat.
- Scoop the peaches onto the baking sheet in one single layer. Drip off any excess butter/sugar mixture as you transfer them to the baking sheet.
- Bake for 15 minutes, or until they look tender and juicy. Don’t over bake, otherwise they’ll become too soft and mushy.
- Allow to cool on the pan while you continue with the rest of the cheesecake.
Graham Cracker Crust
- This recipe makes a thick crust that reaches up the sides of the cheesecake. If you prefer just a bottom crust, cut this recipe in half.
- Preheat the oven to 350F. Coat a 9″ springform pan in nonstick spray and line the sides with two strips of parchment paper.
- Combine all of the ingredients in a bowl until evenly moistened. Dump the crust into the pan and spread into a loose even layer with your fingers. Then use the bottom of a flat measuring cup to press it into the bottom and up the sides.
- Bake for 10 minutes, then allow it to cool while you make the cheesecake batter.
Cheesecake Batter
- Drop the temperature to 325F. Place a large roast pan on the bottom rack of the oven.
- Before you start, make sure your cream cheese is softened and the eggs and sour cream are at room temperature. To speed up this process, place the cream cheese (still in the wrappings) and eggs in a bowl of warm water for about 20-30 minutes. Also include the sour cream, but place it in a ziplock bag. Then when you’re ready to use it, just snip off a corner and squeeze it into the batter.
- To start, add the cream cheese, sugar, and cornstarch to a bowl of a stand mixer fitted with the whisk attachment. Mix on LOW speed just until it comes together and forms a smooth texture. Scrape down the bowl and mix on low for another 20 seconds.
- Pause and start a pot of boiling water (about 6 cups) on the stove top. This will be for the water bath that the cheesecake is baked in.
- Back to the batter. Mix in the eggs one at a time on LOW speed. Only add the next when the one prior is just incorporated. After the 2nd egg is mixed in, stop and scrape down the bowl. Mix for 20 seconds then continue with the rest of the eggs. Mix in the vanilla with the final egg yolk.
- Take the bowl off the mixer and fold in the sour cream using a rubber spatula. To fold, run the spatula around the bowl and through the center, dipping up from the bottom of the bowl.
- Pour half of the batter into the cooled graham cracker crust. Then layer half of the peaches on top (about 3 peaches) then sprinkle 3/4 of the crumble (place the rest in the refrigerator). Top with the remaining cheesecake batter and spread it even. Give the pan a couple gentle taps against your counter to release any air bubbles. **If you baked the peaches all at once, store the other half of the peaches in the refrigerator.
- Open the oven door and slide out the bottom rack with the roast pan, just enough to gain access to the pan. Carefully pour the boiling water into the pan and push the rack back in. Place the cheesecake just above the roast pan on the middle rack. So now you should have a roast pan filled with water on the bottom of the oven, and the cheesecake in the middle of the oven.
- Quickly close the door (to stop the steam from escaping) and bake for 1 hour and 15 minutes.
- When it’s done, the edges should be puffed up and the center sunken down. Give the springform pan a gentle nudge. If the center wobbles like a bowl of milk, bake for another 10 minutes. If it jiggles like jello, it’s done.
- Turn the oven off and crack open the oven door with the cheesecake still inside. Leave it there for an hour.
- Then, take the cheesecake out of the oven and let it sit at room temperature for 30 minutes.
- After the 30 minutes, place the cheesecake uncovered in the fridge for at least 4 hours but preferably overnight.
- To serve, pile your roasted peaches on top of the chilled cheesecake and remaining crumble. Now slice and enjoy!
Equipment
 Buy Now →
 Notes
PEACHES – Can you use canned peaches instead? You can, but skip the roasting process and just use them as is. Canned peaches will turn too mushy if roasted.
- Prep Time: 45 minutes
- Cook Time: 1 hour 15 minutes
Join Our Community

Meet Jenna
I’m the creator, baker, and photographer behind Butternut Bakery. Here I share desserts for every diet because I believe everyone should have a chance to indulge!

I’ve made this cheesecake recipe twice. Both times it hit. I’ll definitely be making it in the future. Follow it just as it’s written and you will make the best crowd pleasing cheesecake. Thanks for sharing this recipe! It’s a definite winner!
Perfect recipe, truly wouldn’t change a thing. Just follow steps as instructed and the result will be magical. All my guests couldn’t believe it was homemade.
Absolutely delicious!!
This is my favorite cheesecake recipe!! Not only is the peach a fantastic flavor, but I have used the batter instructions as a base to improvise with the flavors and it turns out perfectly every time. Thank you!
This cheesecake was EVERYTHING I wanted and more. Beautiful carmelized peaches, creamy cheesecake and delicious graham cracker crust. While the instructions were lengthy, the recipe isn’t intimidating due to the detail given. It was so easy and worth it. I got rave reviews!
This cheesecake is amazing! Great recipe, everybody loved it!
Jenna, this cheesecake deserves every single star, it was a showstopper in looks and taste for 2 days, two different crowds!
Your instructions were very specific, easy to follow and my cheesecake looks exactly like yours!
This recipe is AWESOME!! Thank you for writing out all the steps in an easy to follow way!!
Can you use Apples instead of peaches?
This was my first time ever making a cheesecake and I made it for a family get together. It came out perfectly and it was a huge hit! The instructions were very clear. The only issue I had was getting the parchment paper to stick to the springform pan, but I just left it off and it was fine! Can’t wait to try another one of your cheesecake recipes!