Mini Maple Pumpkin Pies
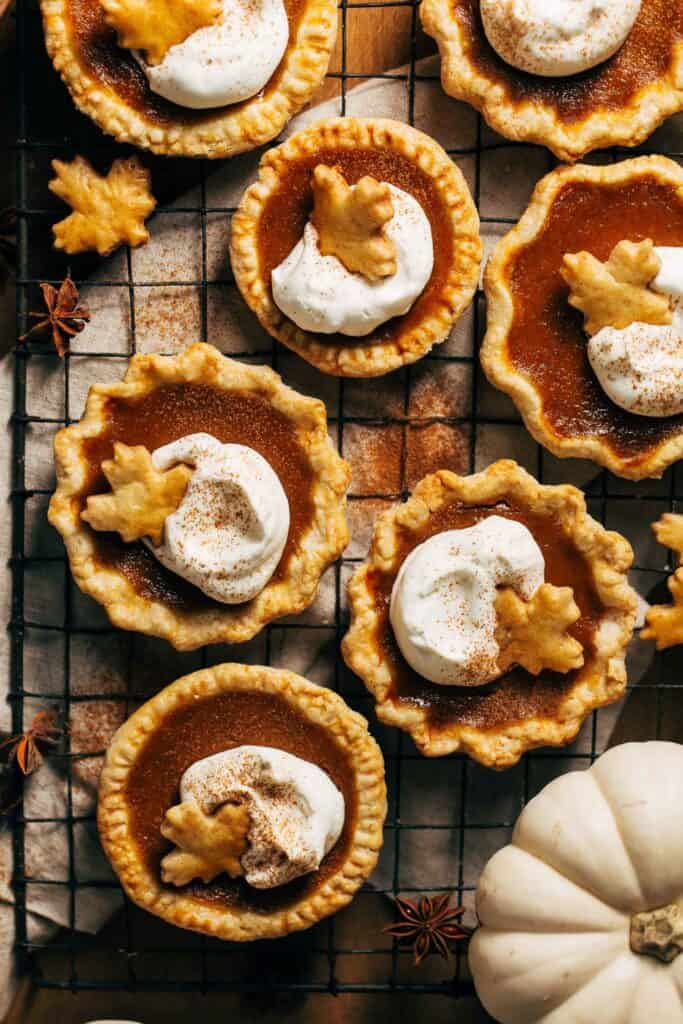
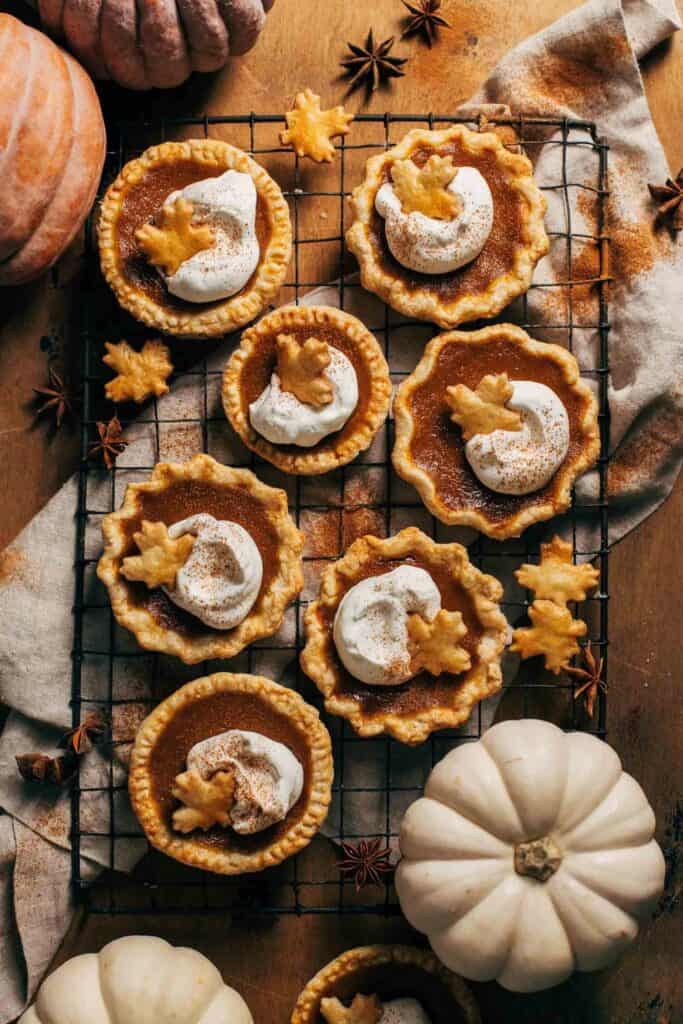
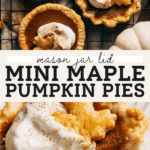
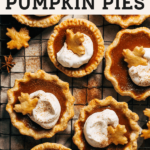
These mini pumpkin pies are such a fun Thanksgiving treat! These pies are baked in mason jar lids and filled with flaky pie crust and maple-sweetened pumpkin pie filling. They’re cookie-sized but with all the deliciousness of a pumpkin pie.
What makes this mini pumpkin pies so good?
Not only are these mini pumpkin pies SO cute, but they also taste amazing!
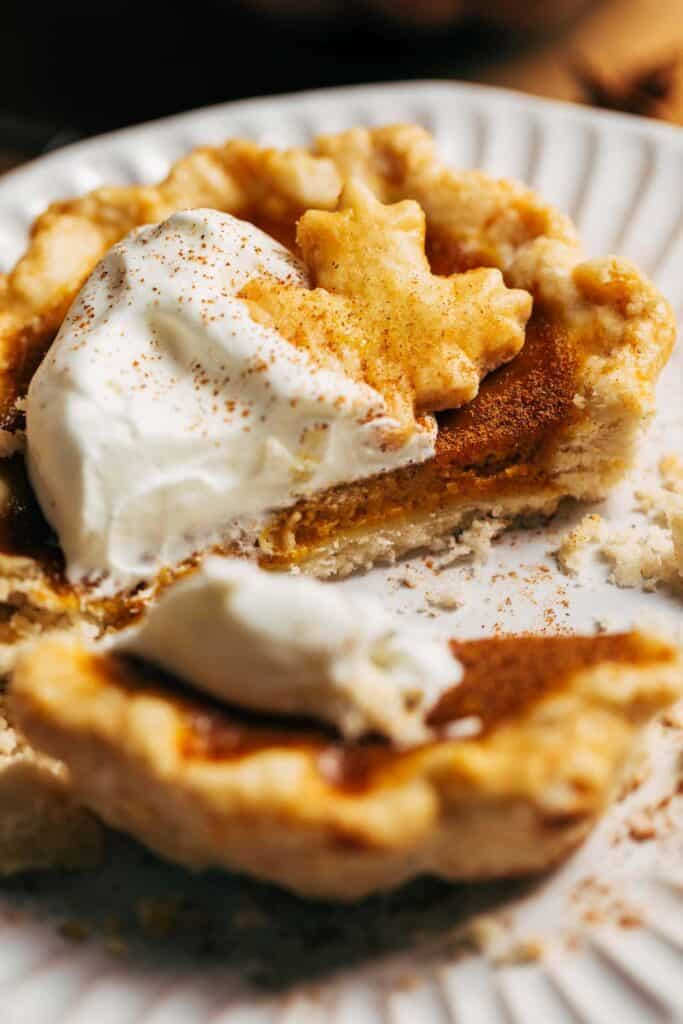
The pie crust is made with lard instead of butter, creating the lightest most tender texture. This is how my grandma made her pie dough as she said it was the secret to achieving the most delicious flaky pie. After this recipe, I’m a true believer.
Lard has a higher melting point than butter, so it makes the crust so easy to work with and it doesn’t absorb into the flour as quickly as butter would. This creates tons of pockets of fat between layers of flour. Once baked, those pockets melt to create many many flaky layers.
As for the filling, these pumpkin pies are sweetened with maple syrup which gives them a delicious well-rounded flavor. Almost like the two are meant to be!
Once baked, these little pumpkin pies have the perfect ratio of crust to filling so these are especially great for pie crust lovers. They’re almost like eating a pumpkin pie cookie!
How to make an all lard pie crust
To be completely honest, I always struggle with pie dough. I have to try really hard to get the consistency just right and it always cracks on me when I roll it out.. that is until I made this all lard pie dough.
Since lard is so soft, the process of making the pie dough itself is SO quick and easy. There’s no cutting in hard lumps of butter, so working the lard into the flour takes seconds.
It also has a higher melting point than butter, so it doesn’t soften as rapidly while handling the dough. And because of this, the lard doesn’t dissolve into the flour as fast as butter which produces the FLAKIEST pie crust.
To enhance the flakiness even more, a bit of vinegar is added to the pie dough. This slows the strengthening process of the gluten strands in the flour, creating a super tender pie crust.
The dough then goes in the refrigerator for only 30 minutes which is just enough time to bring the lard back down to a chilled temperature.
How to bake mini pies in mason jar lids
What’s so unique about this recipe is how these mini pumpkin pies are baked. Typical mini pumpkin pies are baked in a cupcake tin, but I find the visual beauty of pie is lost in those little tiny cups.
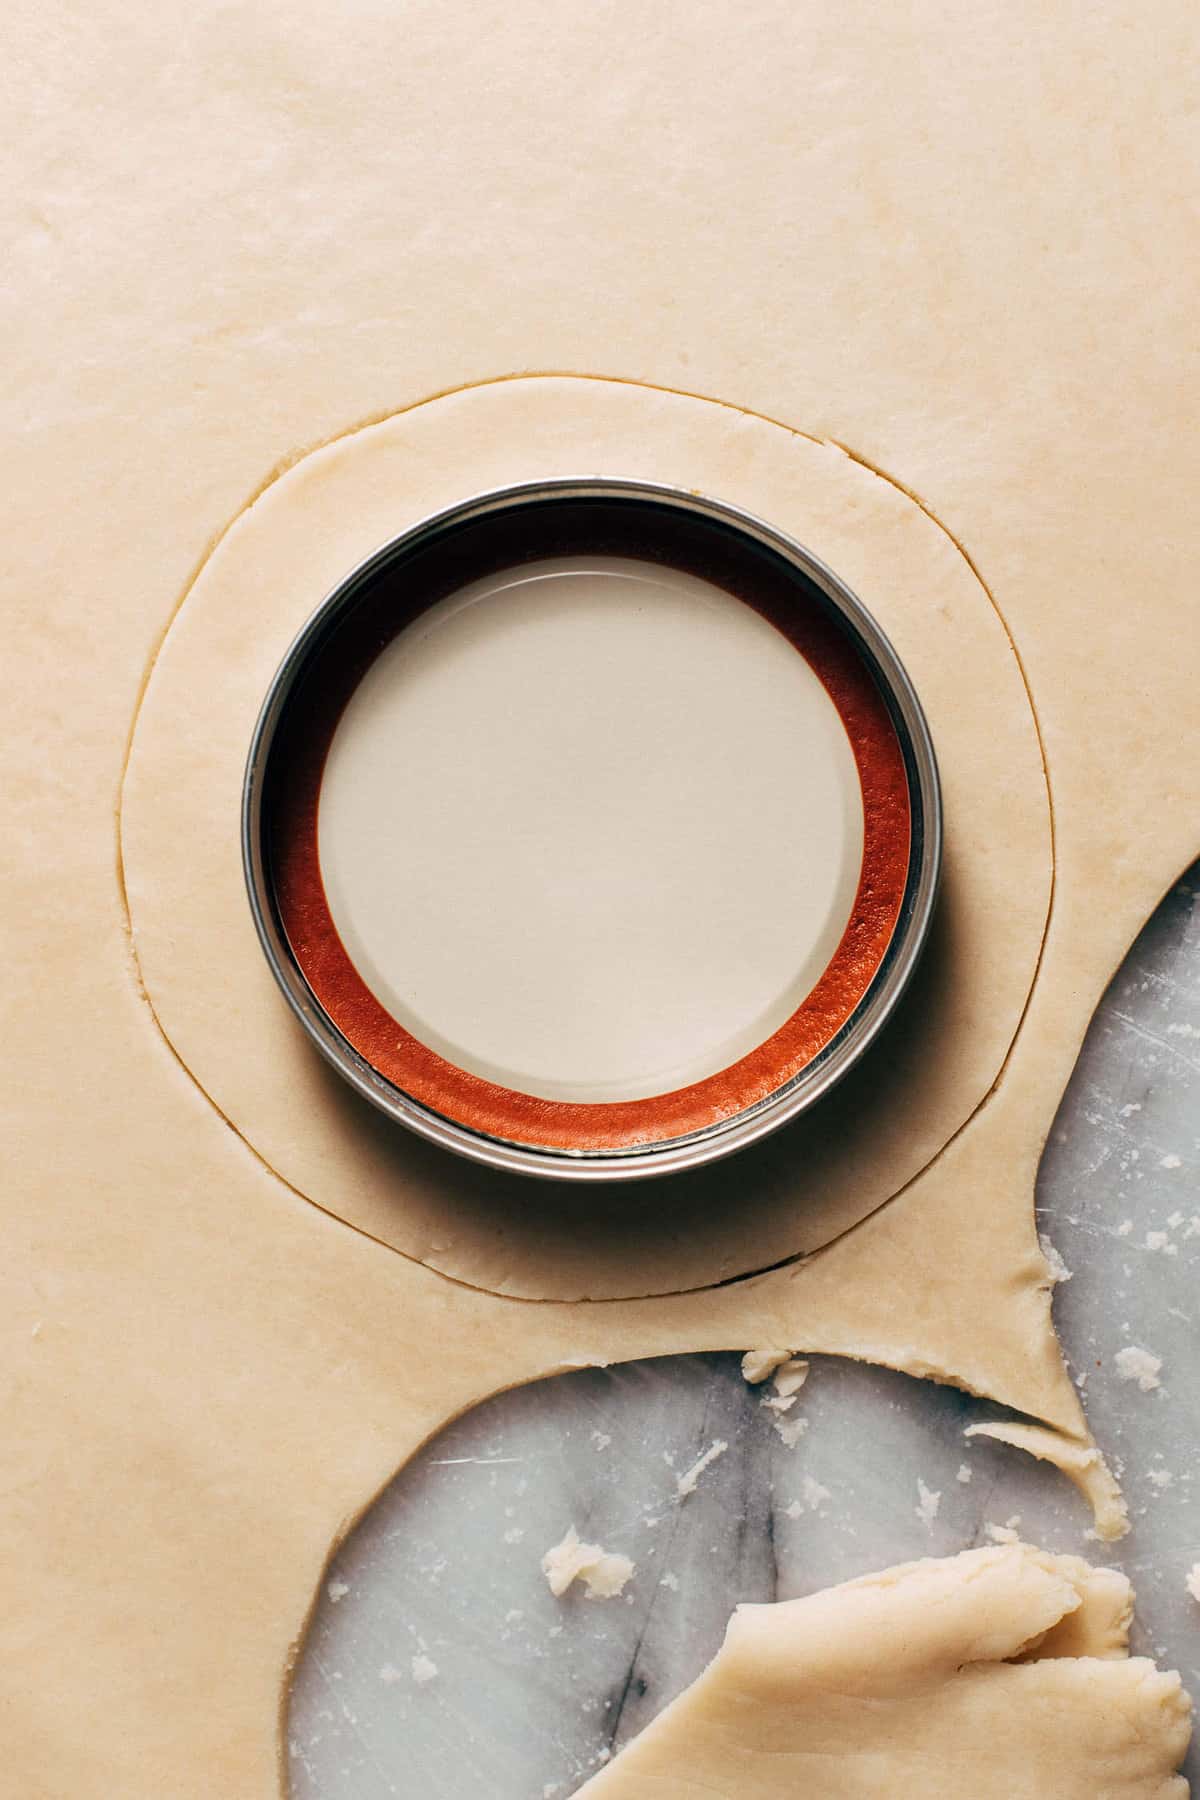
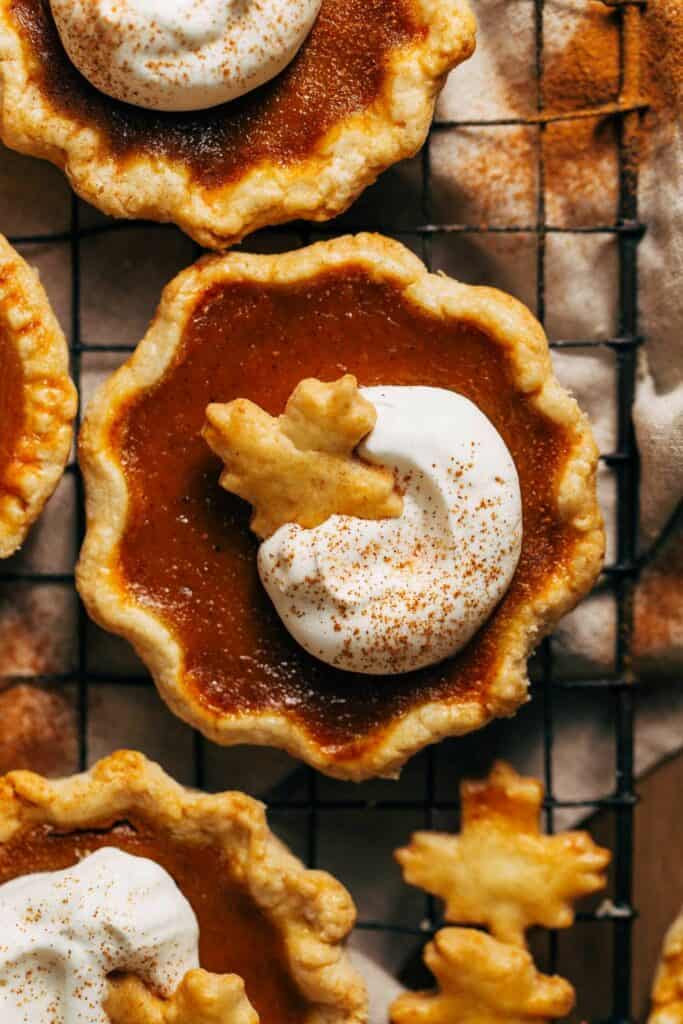
Instead, these pies are baked in mason jar lids! They act just like a pie dish, just mini. For this recipe, I used 3 1/2 inch mason jar lids, but I’ve also baked these in smaller lids and as any size will work.
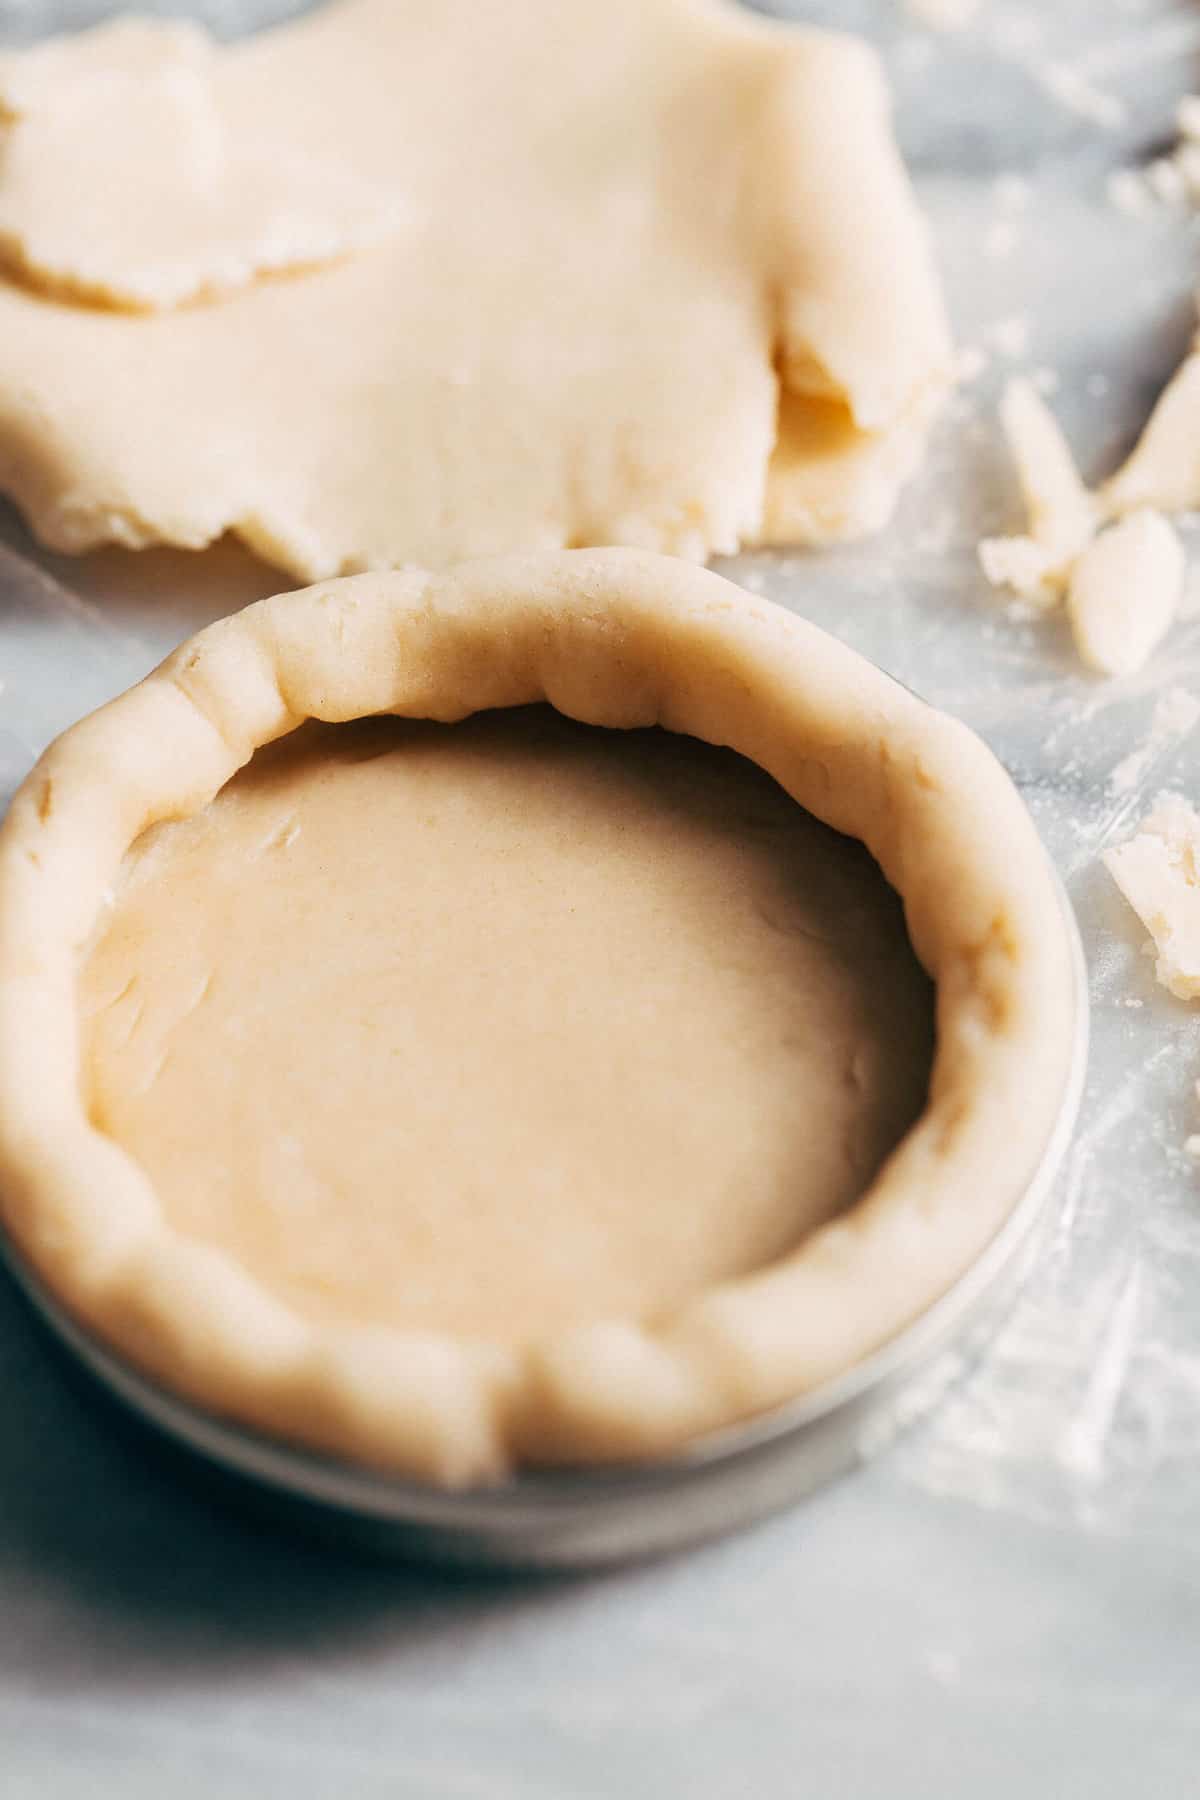
To line the lids, first cut out a circle that’s about 1/2 larger than the lid diameter. Press the dough into the pan and then fold in the excess overhang to create double layer sides. This helps reinforce the pies for a stronger shell.
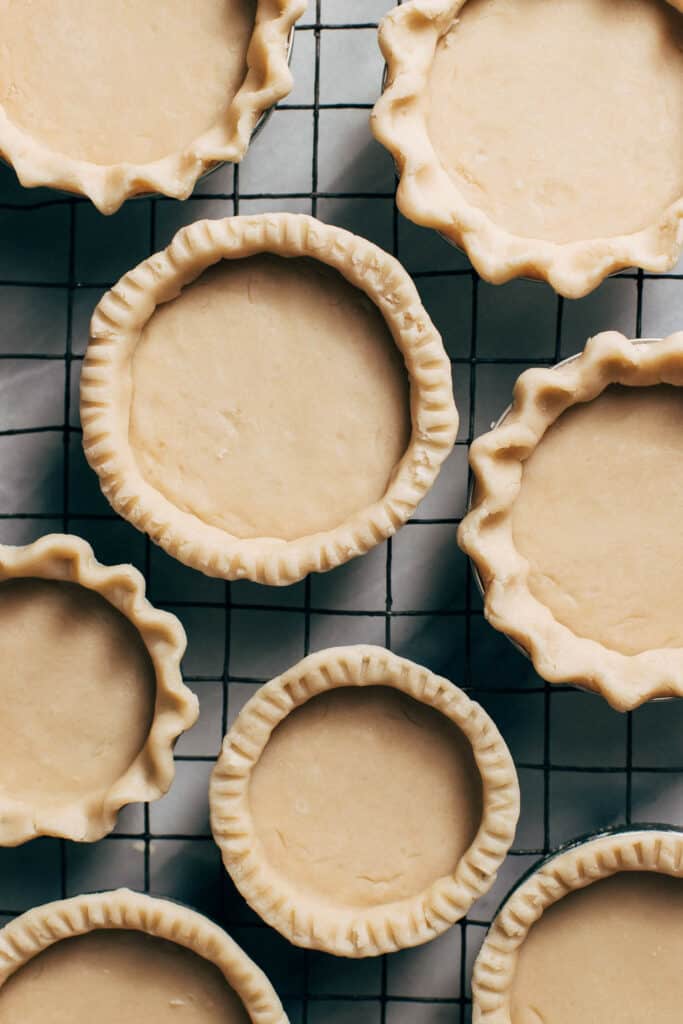
From there, simply crimp the pie edges just like any other pie (only mini) and chill while we make the rest of the pies.
And since they’re mini, there’s also no need to blind bake the crusts. Just fill and bake!
Once baked, allow the pies to cool for about 30 minutes. Then, since the jar lids have a loose bottom, they just pop right out.
Can the dough be made a day in advance?
Yes, the dough can be made a day before and chilled overnight. Alternatively, the pie shells can also be formed and chilled overnight in an airtight container.
Can these mini pies be baked with a different pie filling?
Since they’re so mini, I believe this recipe would work well with most pie fillings. Pecan pie would work great! But if you are wanting to make a fruity pie, I suggest doubling the crust recipe so that each pie can be baked with a double crust.
Maple pumpkin pie toppings
Pumpkin pie just isn’t completely without whipped cream! Top each pie with store bought or homemade whipped cream – 1/2 cup heavy whipping cream whipped with 1/2 tbsp powdered sugar.
I also include instructions on how to create the decorative pie crust maple leaves on top. A little dusting of cinnamon also doesn’t hurt!
How to store mini pumpkin pies
Once baked and cooled, these pies can be store in an airtight container in the refrigerator. They will keep for about 5 days. They can also be served chilled or at room temperature.
For more Thanksgiving dessert recipes, check out my:
- Pumpkin Cupcakes
- Maple Brown Butter Cheesecake
- Pumpkin Cheesecake
- Apple Butter Spice Cake
- The BEST Pecan Pie
Make sure to tag me @butternutbakery on Instagram and comment below if you make these mini pumpkin pies. To pin this recipe and save it for later, you can use the button on the recipe card or on any of the photos above. Happy baking!
Watch how to make these mini maple pumpkin pies:
Mini Maple Pumpkin Pies
- Total Time: 2 hours 30 minutes
- Yield: 8 mini pies
Description
These mini pumpkin pies are SO STINKING CUTE! They’re baked in mason jar lids with an incredibly flaky crust and maple-sweetened pumpkin pie filling. They’re so fun, so adorable, and perfect for Thanksgiving dessert.
Ingredients
Pie Crust
- 2 1/4 cup (300g) all purpose flour
- 1/2 tsp kosher salt
- 2 tsp granulated sugar
- 3/4 cup (156g) chilled lard shortening
- 1/2 tsp apple cider or white distilled vinegar
- 2–3 tbsp ice water
- 1 large egg + 1 tbsp water, for egg wash
Maple Pumpkin Pie Filling
- 1 cup (230g) pumpkin puree
- 1/2 cup (150g) pure maple syrup
- 1 large egg
- 1/3 cup (81g) sour cream
- 1/2 tsp vanilla extract
- 1/2 tbsp cornstarch
- 3/4 tsp pumpkin pie spice
- 1/2 tsp ground cinnamon
- 1/4 tsp kosher salt
- Whipped cream (for topping)
Instructions
Pie Crust
- In a large bowl, whisk together the flour, salt, and sugar.
- Drop in spoonfuls of the lard all throughout the bowl. Then use your hands to work the lard into the dry ingredients until it’s well combined with fine tiny lumps throughout.
- Add the vinegar and 2 tablespoons of ice water. Use a wooden spoon to mix the dough.
- If it still appears too dry, add the additional third tablespoon of water. The dough should turn shaggy but evenly moistened and it should hold its shape when formed together without sticking to your hands.
- Form the dough into a ball and place on a sheet of plastic wrap. Pat it into a 1″ thick disk and wrap tightly. Place in the refrigerator to chill for 30 minutes.
- Once chilled, roll out the dough to about an 1/8th of an inch thickness.
- Place a mason jar lid on top of the dough and cut a circle that’s about 1/2 inch larger than the lid. I’ve made this recipe in larger lids (3 1/2″) and smaller lids (2″) and any size works just fine. Use whatever lids you have around the house!
- Fit the dough inside the lid and fold in the excess dough to create a double lined sides. Crimp the edges to your liking and place the pie shell into the refrigerator while you prep the rest of the shells.
- You should be able to make 8 3.5″ pies, rerolling the dough once or twice. For decoration, cut little maple leaves out of any excess dough.
Maple Pumpkin Pie Filling
- Position a rack on the lower third of the oven and preheat to 375F. Line a large baking sheet with parchment paper.
- In a medium bowl (I used a large 4 cup measuring glass to make pouring easier), whisk together the pumpkin, maple syrup, egg, sour cream, and vanilla.
- Once smooth, whisk in the cornstarch, pumpkin pie spice, cinnamon, and salt.
- Remove the pie shells from the refrigerator and place on the lined baking sheet. Brush the edges of each crust with the egg wash. If you’re making the maple leaves as well, brush each leaf with the egg wash and place on a separate small baking sheet also lined with parchment paper.
- Fill each pie shell with the pumpkin pie batter and give the pies a gentle shake to even out the filling.
- Bake for 30-35 minutes, or until the edges are golden brown and the center is puffed. The leaves only need to bake for 10 minutes.
- Allow the pies to cool for about 20 minutes, then pop them out of the lids by pushing through the bottoms.
- Chill the pies for another 30 minutes, then top with whipped cream and maple leaves. Enjoy!
Notes
JAR LIDS – Mason jar lids are best because they have a removable bottom. This makes it so easy to pop the pies out once baked. Really any size lid will do! If you don’t have lids, mini tart pans will also work.
- Prep Time: 1 hour
- Cooling Time: 1 hour
- Cook Time: 30 minutes
- Category: Dessert
- Method: Baking
- Cuisine: American
Join Our Community

Meet Jenna
I’m the creator, baker, and photographer behind Butternut Bakery. Here I share desserts for every diet because I believe everyone should have a chance to indulge!
I made these for Thanksgiving this year and LOVED them. Great flavor and the prefect size. Using the lids is genius but they a pain to wash to get all of the butter out.
I have never enjoyed pumpkin pie until making your recipe! I halved the recipe and still got 7 pies. The ratio of crust to filling is just right! Thank you for sharing this recipe. I willl make this over and over again!
Looking forward to making these! Where can I find the mini maple leaf cutters?
TIA 🙂