Lava Cakes for Two
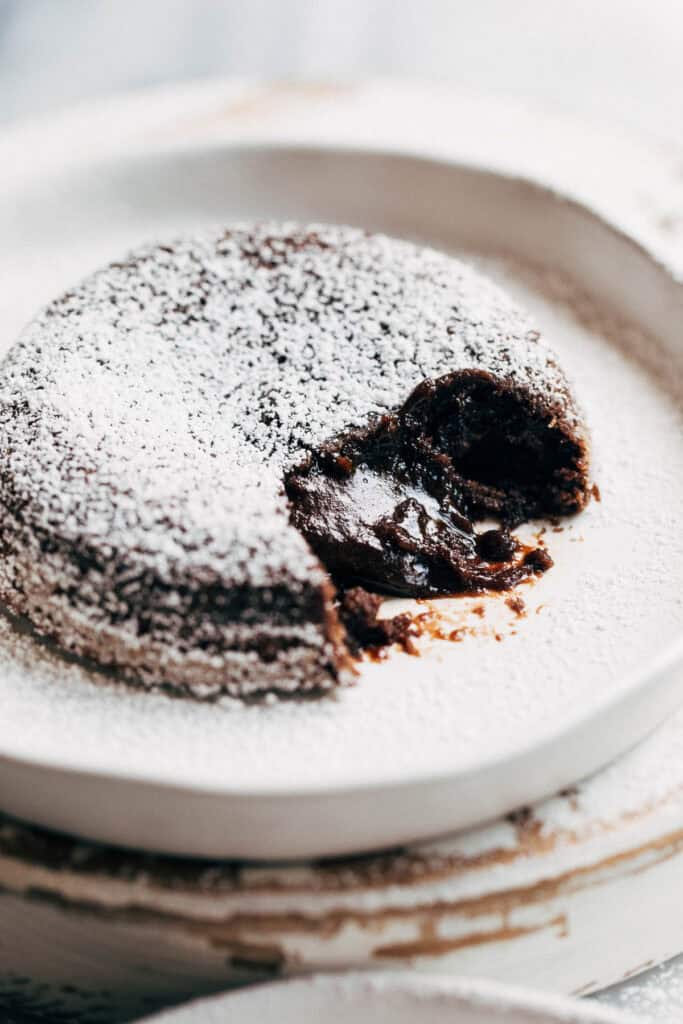
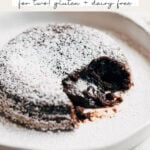
If you’re looking for a quick and easy dessert for two, this is the one! These chocolate lava cakes come together in under 30 minutes and taste like they came straight out of a restaurant. The inside is so rich and fudgy with a light and fluffy chocolate cake shell. Serve with ice cream and dig in!
This post is sponsored by SunButter and all thoughts and opinions are my own. Thank you for supporting the brands that make Butternut Bakery possible!
Before You Start
Lava cakes are very easy to make, just as long as you follow a few simple tips!
- Eggs and Sugar – REALLY whip the eggs and sugar together. Since these cakes don’t rise using leaveners, the air whipped into the eggs is what provides all of the lift. If they aren’t properly mixed, the cakes will turn out dense and tough.
- Ramekins – Prep the ramekins first and make sure every corner is covered in butter and sugar. When warm, the cakes should just slip right out.
- Batter – Bake the batter right away. As soon as it’s mixed, pour into the ramekins and bake.
- Doneness – Lava cakes go against all rules of doneness. These cakes are done with the edges appear baked but the center will look very underdone.
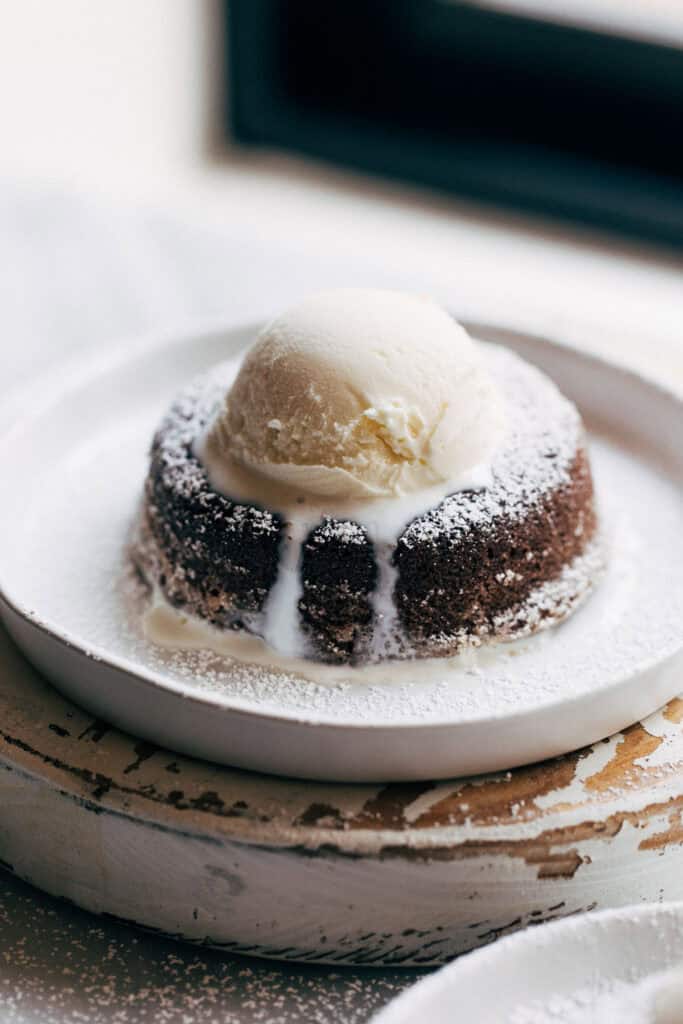
- Serving – Eat right away! These cakes are meant to be served warm as that’s when the fudgy center is at its best. I highly recommend serving with a scoop of cold and creamy vanilla ice cream.
Gooey Gluten Free Lava Cakes
The beauty of this recipe is that it can be made with regular flour or gluten free flour. Same goes for the butter!
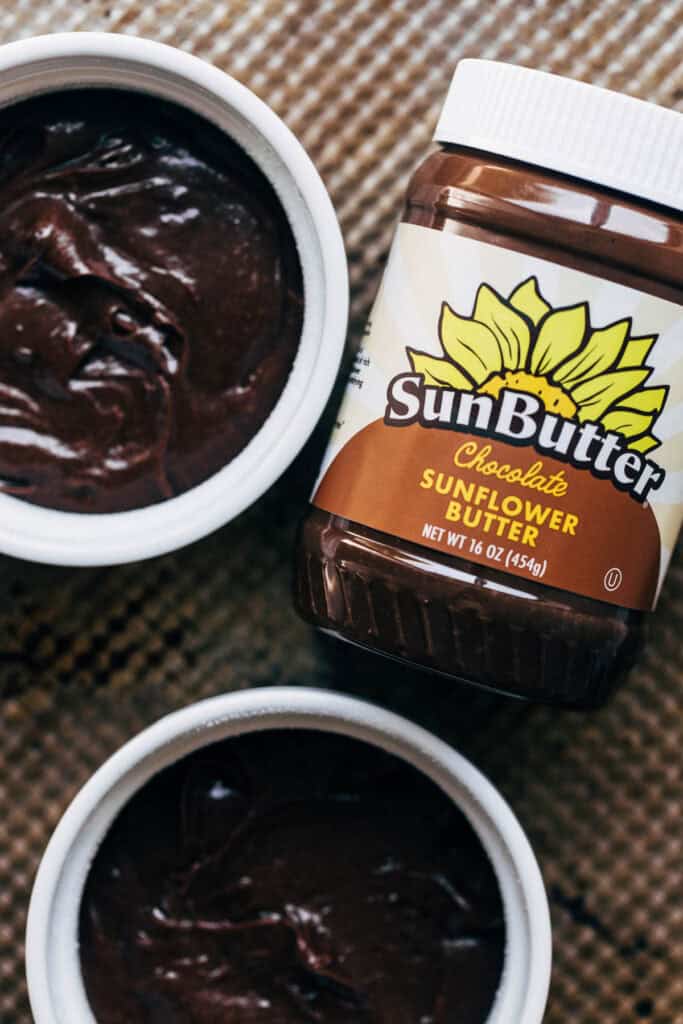
The reason for this is due to the main chocolate ingredient – Chocolate SunButter! It strengthens the emulsification of the batter, allow it to hold together well when made gluten free.
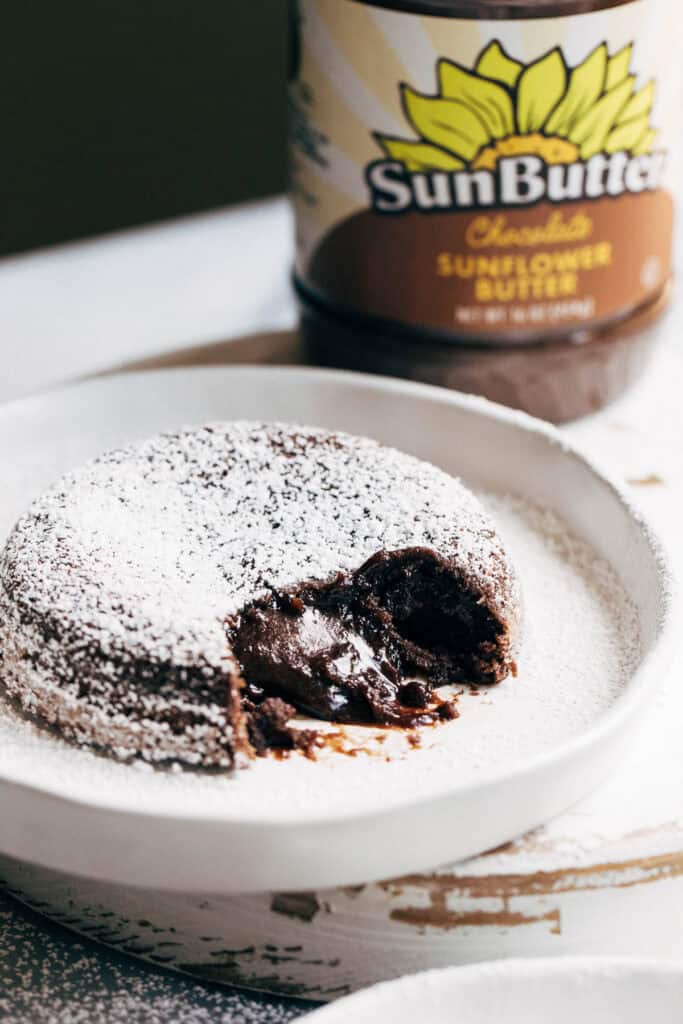
Not only that, but it creates a really rich and fudgy lava center. Think hot fudge sauce vs chocolate syrup. Using creamy Chocolate SunButter creates a thick and gooey center while regular lava cakes (using chocolate chips) creates a thinner chocolate lava.
The flavor is also so delicious. The sweetness is perfectly balanced and adds a slightly roasted flavor these lava cakes.
Lava Cakes FAQs
I used shallow 8 oz ramekins for this recipe (linked at the bottom of the recipe card), but more narrow ramekins can be used. If you use a deeper ramekin, add a couple minutes on to the bake time. If you use an even shallower ramekin (or mini cast iron skillet), reduce the bake time by a couple minutes.
Yes, you can use either dutch process cocoa or regular unsweetened. I just prefer the taste of dutch process.
Unfortunately the eggs do most of the heavy lifting in these cakes, so replacing them could result in a completely different cake.
Sure! Double the recipe to make 4 lava cakes instead of 2.
For more chocolate recipes, check out my:
- Flourless Olive Oil Chocolate Cake
- Fudgy Chocolate Cake
- Gluten Free Fudge Brownies
- Mini Skillet Cookies for Two
Make sure to tag me @butternutbakery on Instagram and leave a review below if you make these lava cakes. To pin this recipe and save it for later, you can use the button on the recipe card, the buttons above or below this post, or on any of the photos above. Happy baking!
Print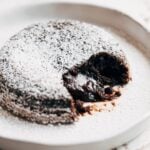
Lava Cakes for Two
- Total Time: 22 minutes
- Yield: 2 cakes
- Diet: Gluten Free
Description
This recipe makes two delicious gooey lava cakes – perfect for date night! They’re so quick and easy to make and can be made regular or gluten and dairy free.
Ingredients
Lava Cakes
Instructions
Lava Cakes
- Preheat the oven to 400F. Butter the inside of two 8 oz ramekins and coat in sugar. Place on a baking sheet and set aside.
- In a heat-safe measuring glass or bowl, melt together the butter and chocolate SunButter in the microwave. Set aside.
- In a small mixing bowl, whip together the sugar, egg, and egg yolk. I recommend using an electric mixer if possible, otherwise you’ll really have to put in some elbow grease. The mixture should turn pale and frothy.
- Then mix in the chocolate mixture with the flour and cocoa powder.
- Split the batter between the two ramekins and bake for 12-15 minutes. They’re done when the edges are puffed and the center looks underdone with a slight wobble.
- Allow to cool for about 5 minutes, then turn out, dust with powdered sugar, and serve with ice cream. Enjoy!
- Prep Time: 10 minutes
- Cook Time: 12 minutes
- Category: Dessert
- Method: Baking
- Cuisine: French
Join Our Community

Meet Jenna
I’m the creator, baker, and photographer behind Butternut Bakery. Here I share desserts for every diet because I believe everyone should have a chance to indulge!



So so good!!!! and I didn’t even use the correct size ramekin, over cooked a bit and used regular cocoa powder. I’ve ordered the ramekins and will use dutch process cocoa powder. Can’t wait to try again. Must be amazing done right!!