How to Frost a Cake
If you find the process of frosting a cake intimidating, or you just want to up your cake-making skills, this post is for you. Today I’m sharing my step-by-step process of how to frost a cake using very basic steps. I’ve used this same simple method for years to create beautiful cakes with clean lines and smooth edges. What I love most about this method is that it doesn’t require loads of special equipment and can be used for any basic layer cake recipe. With practice and repetition, you’ll soon be a pro!
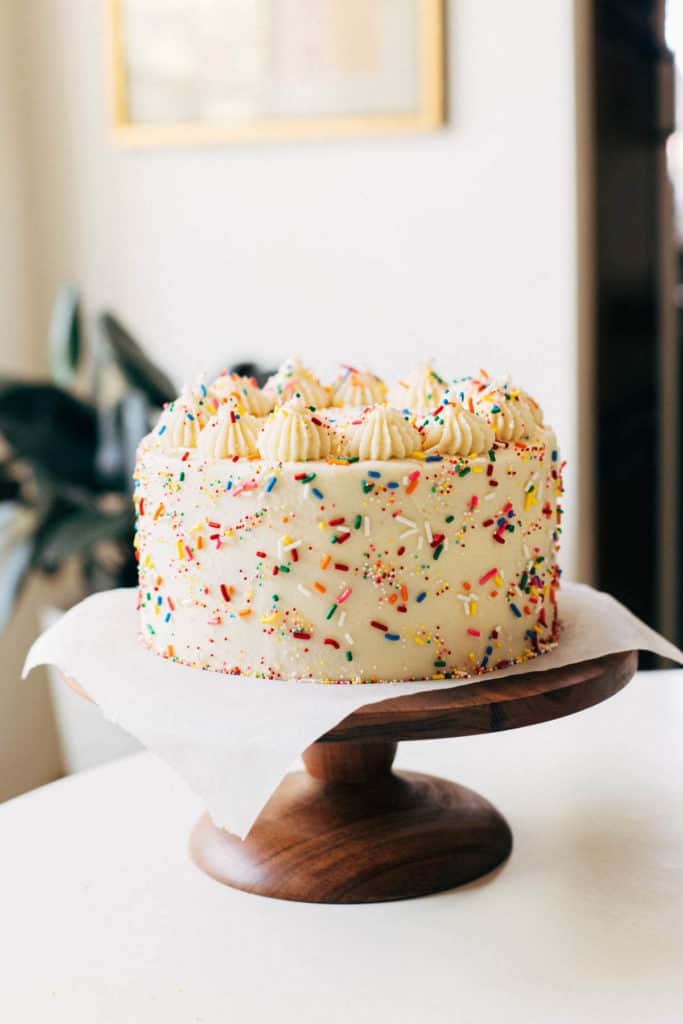
Step One: Prepare the cake layers
Before we even get in to the frosting process, let’s talk cake. You can be a master at the frosting process but if your cakes aren’t prepared or baked properly, the cake will turn out wonky and uneven.
For any layer cake, it’s important to start with completely level cakes. This is how you achieve a clean look with smooth edges. In order to get there, you can take a few different routes depending on the recipe.
In this example, I made my Funfetti Cake recipe. Luckily, this cake bakes pretty even because it’s a rich cake with a tight and moist crumb. But in most other cases, cakes can bake with a rounded dome top which can make for a lopsided layer cake. Because of this, you must level out the top before frosting using a tool called a cake leveler.
If you aren’t familiar, cake leveling is the process of slicing a thin and even layer off the top of a cake to reveal a flat surface. As stated above, most light and fluffy cakes bake with a domed top, which is not ideal for layer cakes. When this happens, the next step is to use a cake leveler. You simply set the level to the right height (just enough to chop off that dome top) and saw it all long the cake.
Note: Only level off the cakes when they have completely chilled – at least 2 hours in the fridge or overnight.
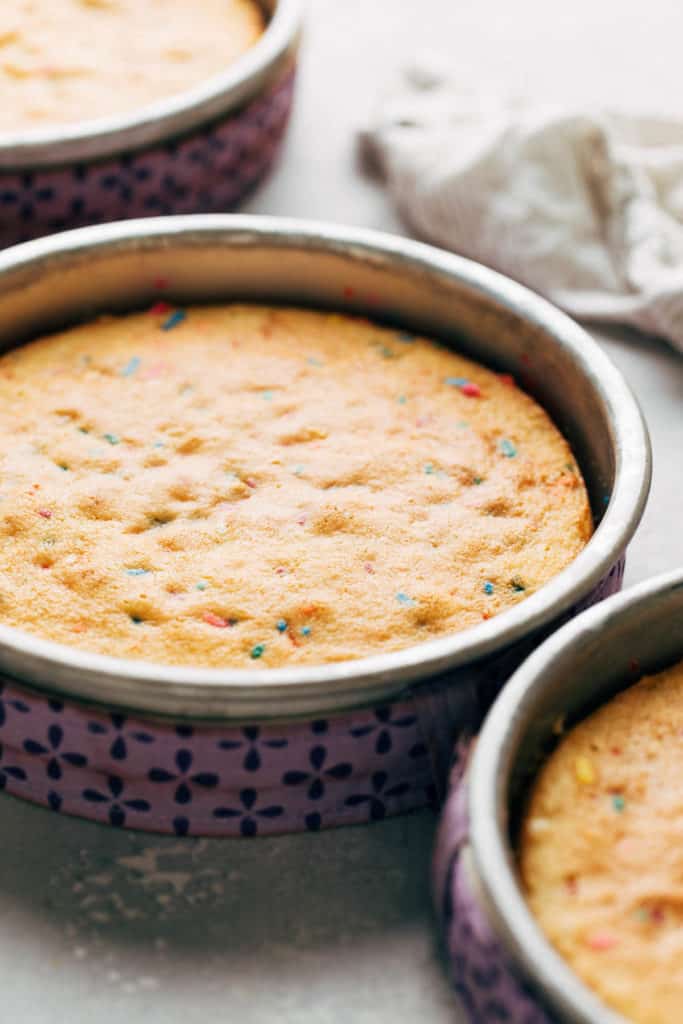
But to get ahead of cake leveling and prevent domes from forming in the first place, bake your cakes using even-bake cake strips. Before baking, the strips are dampened and placed around each cake pan. What this does is prevents the outside of the pans from heating too quickly, providing a much more even bake. Now, this will not always ensure the cakes bake completely flat as all recipes are different, but it will cut down on the severity of the dome thus waisting less cake in the process.
In summary, bake your cakes using cake strips to prevent severe doming. But if your cakes still puff up in the center, use a cake leveler to even out the tops (only after the cakes have chilled) before frosting.
That last bit is very important. Before even thinking about making the buttercream, the cake layers must be completely chilled. When you pull the cakes from the oven, place the cakes (still inside the pans) on a cooling rack. Let them cool for about 30 minutes, then run a knife all around the edge of the pan to help release the cakes.
Turn the cakes out onto the cooling rack. This is when you can do one of two things:
- If you plan on frosting the cake that day, transfer the cakes (still on the cooling rack) to the refrigerator and chill for about 1-2 hours or until completely cooled. They should be firm and easy to handle.
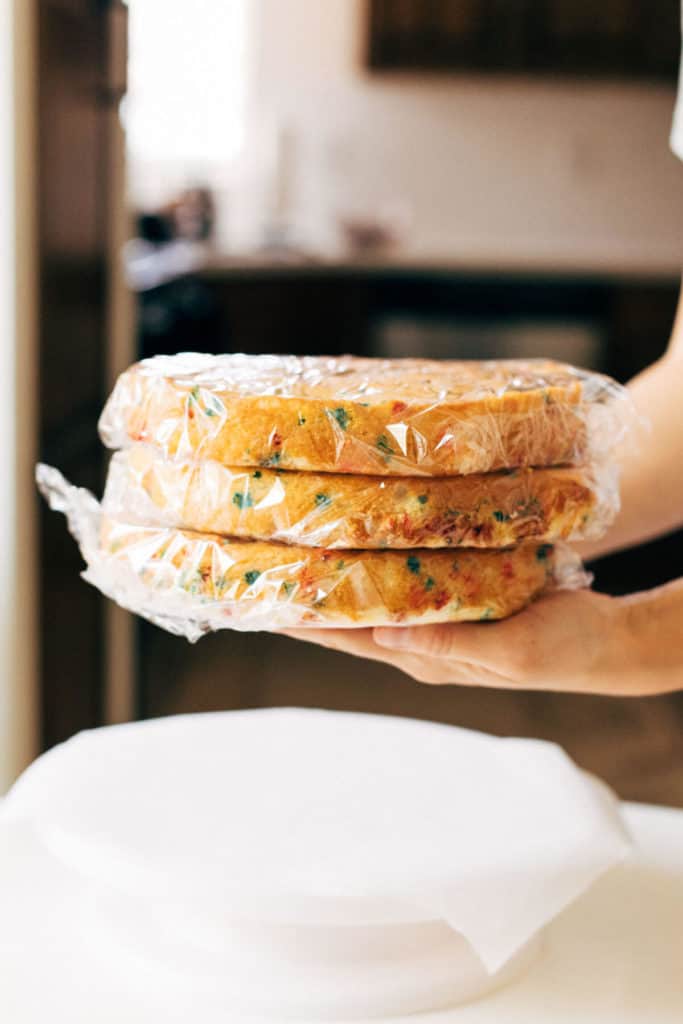
- If you plan on frosting the cake the next day, allow the cakes to further cool at room temperature (another 30 minutes) and then wrap tightly in plastic wrap. Place the cakes into the refrigerator to chill overnight.
If you don’t wrap the cakes before chilling overnight, they tend to dry out. But either way, chilling the cakes before frosting makes them MUCH easier to handle. They won’t break or crumble as you work and your cake will have a stronger structure overall.
Step Two: Stack the cake layers
Now that the cakes have chilled and the buttercream is ready to go, it’s time to get to work. Here is the equipment you will need:
- Cake Turntable to smoothly rotate the cake as you apply the buttercream.
- Rubber Spatula which I’m sure you already have on hand. This is to scoop out the buttercream and dollop on to the cake.
- Small Offset Spatula to spread out the buttercream both between the layers and against the sides of the cake.
- Cake Scraper to smooth out the buttercream for an even finish.
Before you begin, decide what surface you would like to make as the base of the cake. For example, I prefer to place a sheet of parchment paper under the cake as I decorate. Then, I can easily side the cake off of the turntable and on to a decorative cake stand for serving.
If you want something more sturdy and beginner-friendly, I recommend using a cake board. This is a round piece of thick cardboard that’s the same size as the cake. Center this on your turntable and then spread a tiny bit of frosting in the center of the cake board. Place your first cake layer on top and go from there. Cake boards are great because you can easily transfer the cake to any surface at any time.
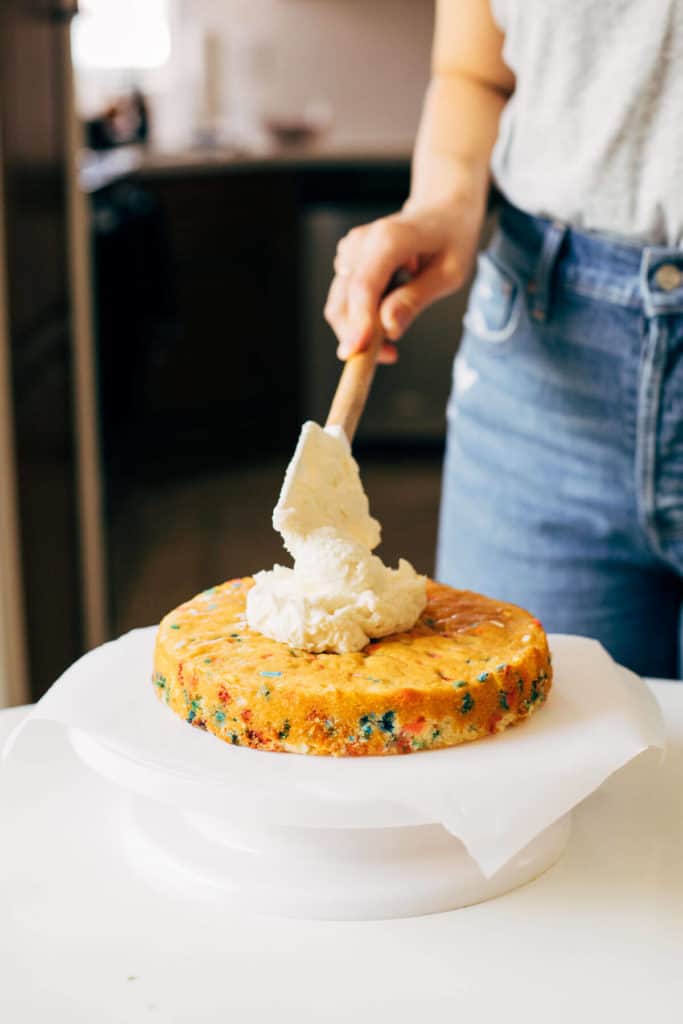
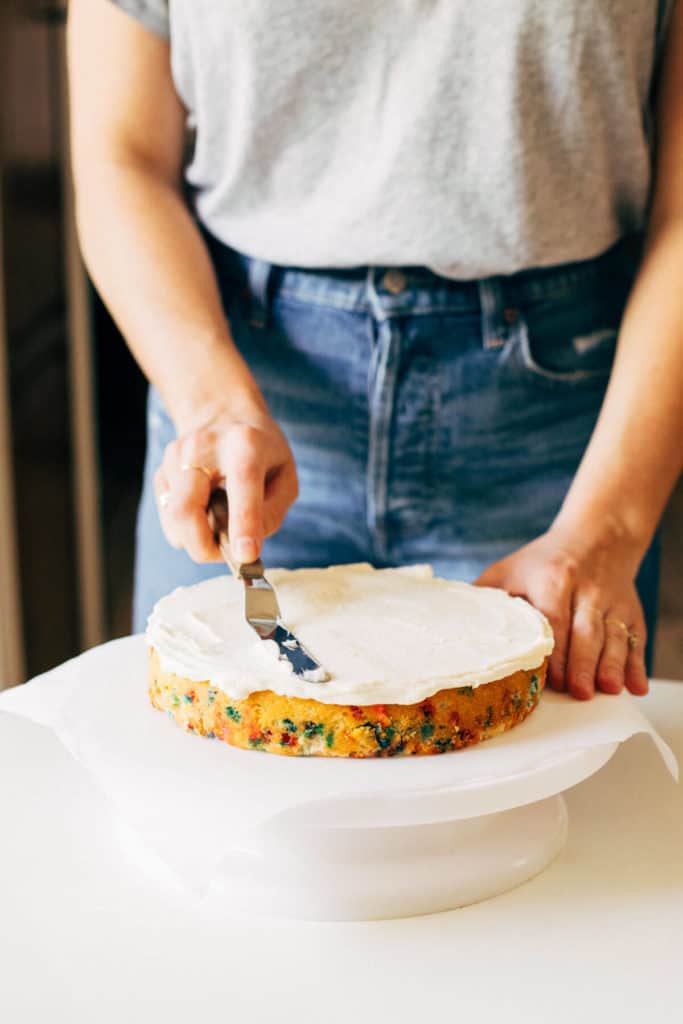
Once you’ve decided on the surface, place your first layer of cake into the center of the turntable and dollop a hefty amount of buttercream on top. The amount will vary depending on the size of your cake (I’m frosting an 8″ cake here), so scoop enough buttercream to create a thin and even layer on top.
Using your offset spatula, spread the buttercream out over the edge of the cake so just a bit is hanging over the edges. This will make it easier to fill in any gaps around the sides of the cake once all three layers are stacked.
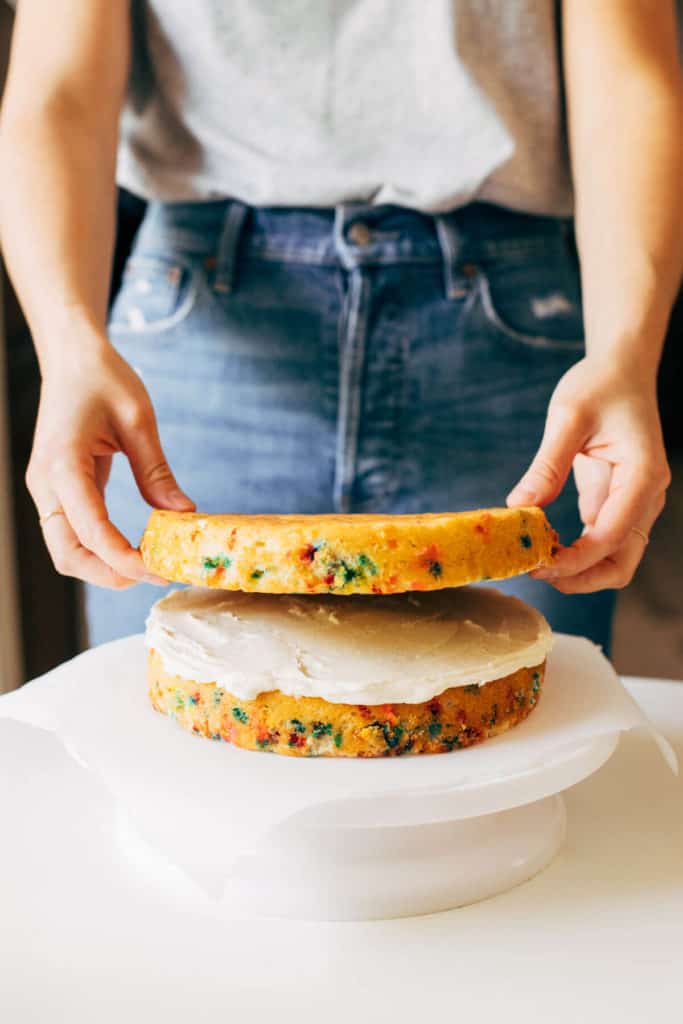
To add the second layer, lean back and line up the edge of the second cake with the edge of the first cake, working with the side of the cake that’s closest to you. Once you’ve lined them up, gently and lightly lower the rest of the cake onto the buttercream. Do not apply any pressure yet. Check all around the sides to make sure the cakes match up. If it’s a little out of line, you can shift the cake to where it needs to go. Once you have it just right, gently press the cake into the buttercream to lock it in place.
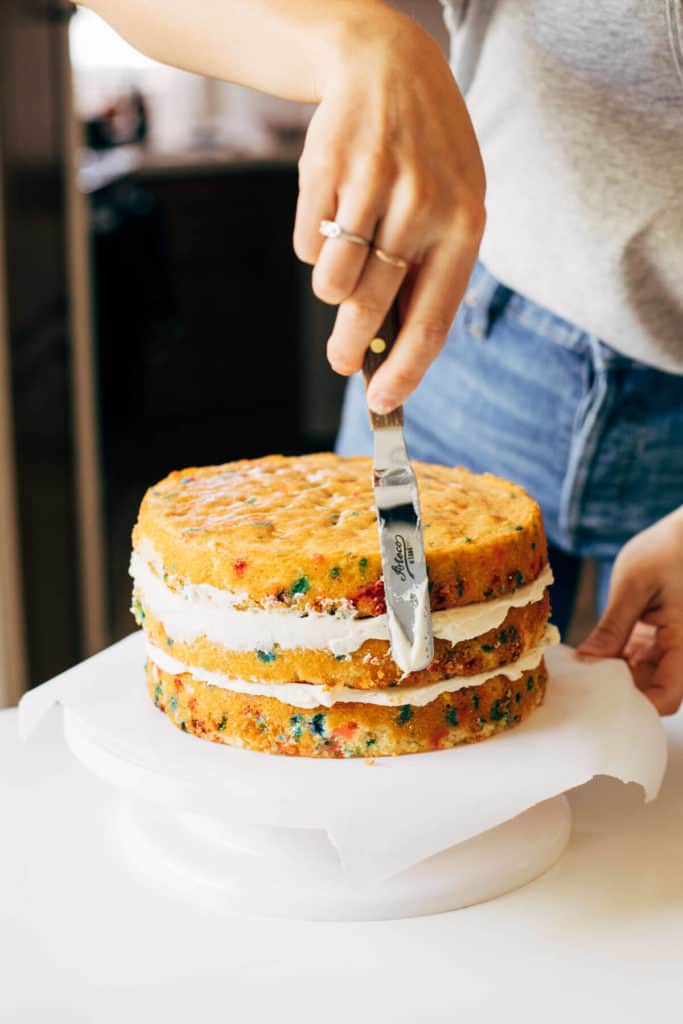
Now once all three layers are stacked, use your offset spatula to spread out any buttercream that’s squishing out the sides. This will fill in the seems between the cake layers.
Step Three: Crumb coat
The crumb coat is a very thin layer of buttercream applied to the entire surface of the cake. This helps lock in any crumbs (hence the name) for a more polished look once the final layer of buttercream is applied.
Now, this may be controversial in the cake world, but a crumb coat does not have to be applied to ALL cakes. Instead, it depends on your assessment of the cake. For example, the cake shown in these photos has very crumbly edges. When removing the cakes from their cake pans, crumbs were falling all over my counter. Because of this, I know that I need to apply a crumb coat. BUT there are also cakes that present minimal to no crumbs. When removing the cakes from their pans, assess the edges. If they hold together without any crumbs, you can skip the crumb coat.
If you’re unsure, you can always apply the crumb coat either way. Skipping it is only to save you some time.
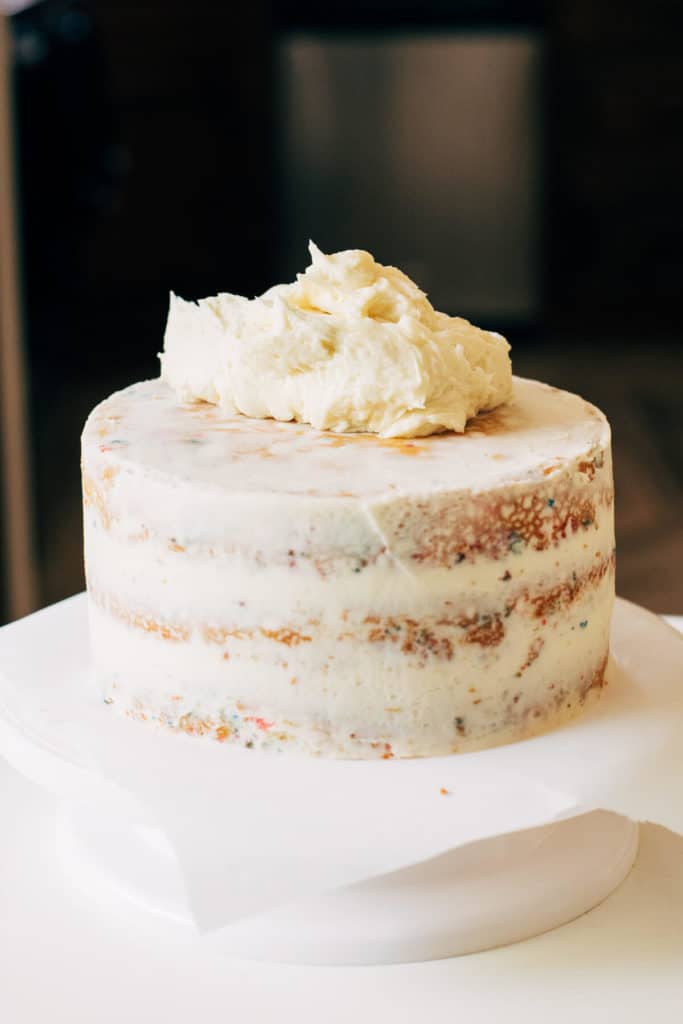
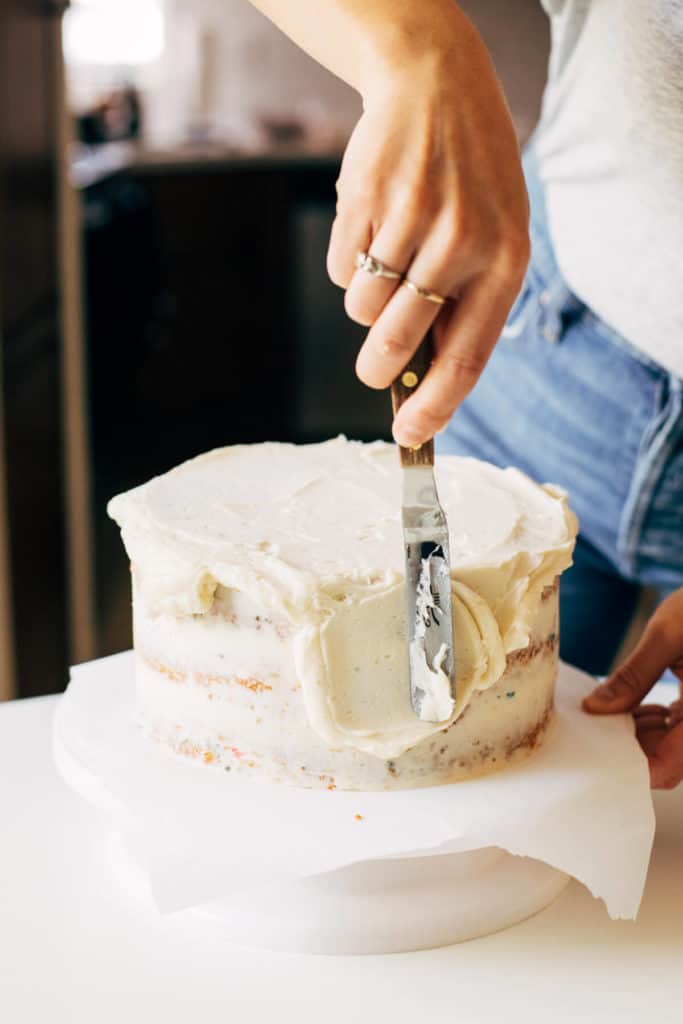
To apply the crumb coat, scoop a hefty dollop of buttercream to the very top of the cake. Using your offset spatula, spread the buttercream across the top of the cake in a very thin layer. Let the excess hang over the edges of the cake.
Once the top is spread even, take the overhang and spread it down the sides of the cake, rocking the spatula back and forth. Don’t fuss over a perfect application, just focus on applying a thin layer all around the cake.
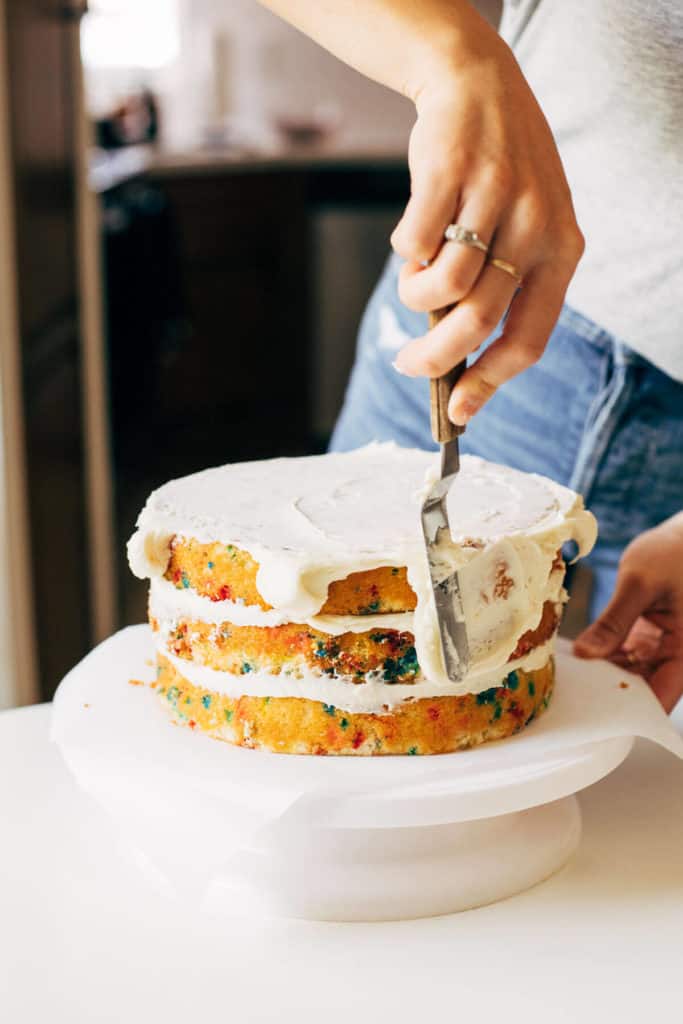
If the overhanging buttercream isn’t enough to reach all the way to the bottom of the cake, scoop a bit of extra buttercream on the tip of the spatula then apply it to any bald spots on the cake.
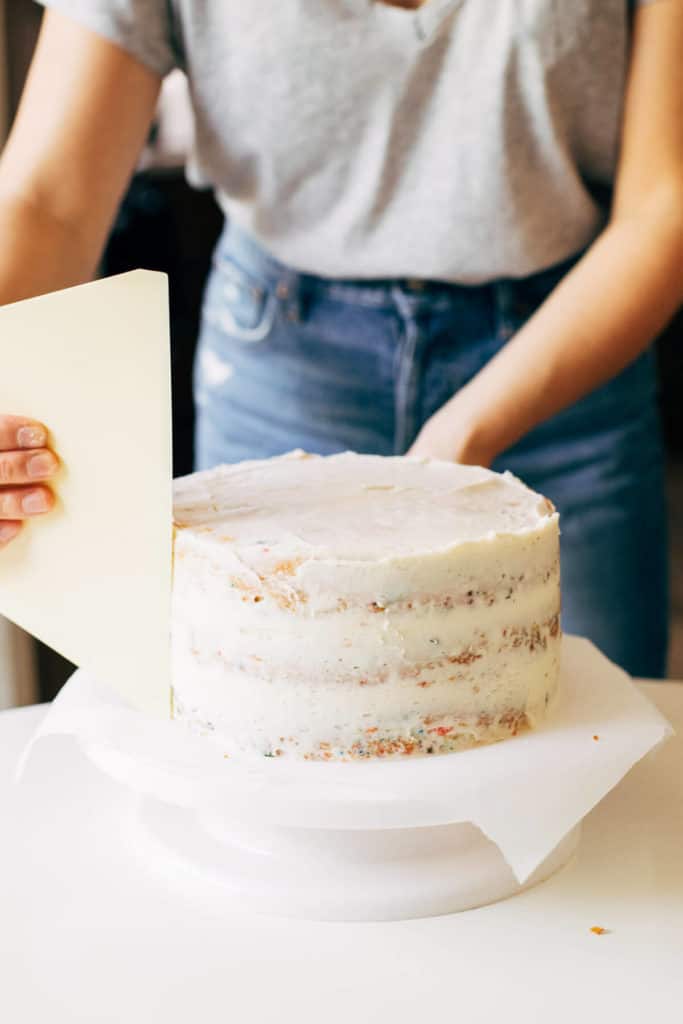
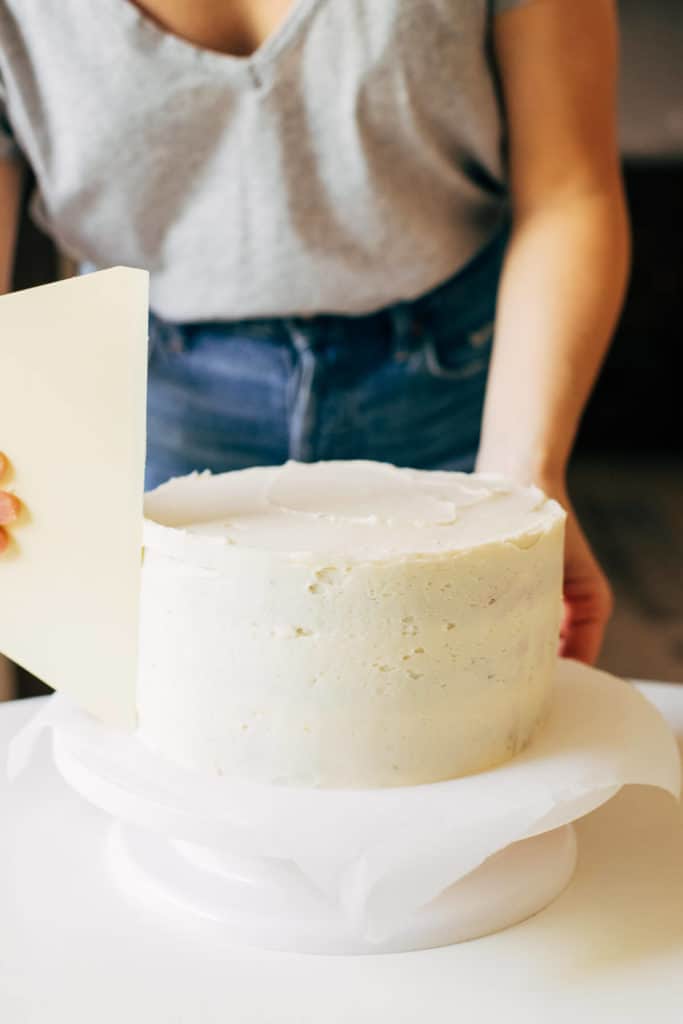
Once you’ve applied the crumb coat, use your cake scraper to even out the sides. Hold it parallel to the side of the cake. Begin to rotate the turntable with your other hand as you press the scraper into the side of the cake. Rotate about 1/4 of your way around the cake, then stop and remove any buttercream that’s now stuck to your scraper. Then repeat until you’ve smoothed out all sides of the cake.
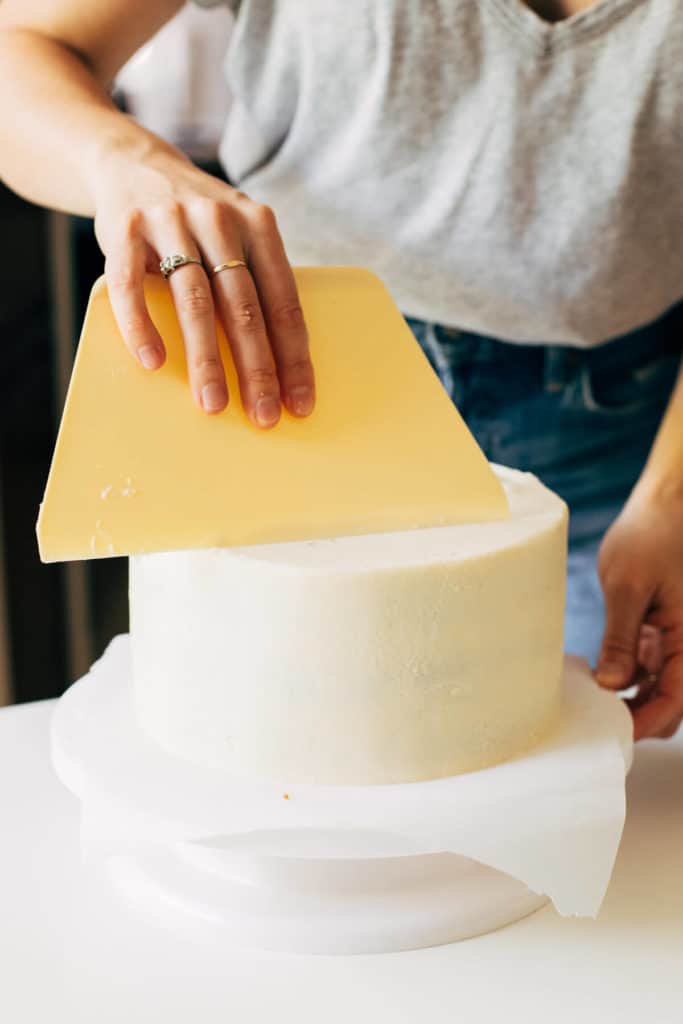
Use your offset spatula or cake scraper (whichever feels more comfortable to you) to smooth out the top of the cake. With the buttercream that’s now sticking straight up around the top edge, hold your spatula or scraper parallel to the top and pull the buttercream in towards the center of the cake.
Now chill the cake in the refrigerator for about 30 minutes to lock the crumbs in place.
Step Four: Apply the final layer of buttercream
Once the cake has chilled with the crumb coat, it’s time to apply the finishing layer of buttercream.
This process is the exact same to the crumb coat, just with a thicker layer of buttercream. Scoop a large amount of buttercream on top of the cake and then spread it out towards the edges, all while maintaining an even and level top.
Spread the overhang down the sides of the cake. Again, only go for application and not perfection during this step.
When the cake is fully covered, use the cake scraper to even out the sides. Follow the same process as you did with the crumb coat, but apply less pressure as you don’t want to expose the cake underneath.
If you have some holes or gaps after you’ve smoothed out the sides, use your offset spatula to apply extra buttercream in those areas. Then, go around the cake again with the cake scraper to smooth out those spots.
Level off the top using your offset spatula or cake scraper and your final layer of buttercream is complete!
Step Five: Cake decorations
There are many ways to decorate a cake, but you can never go wrong with sprinkles and buttercream swirls.
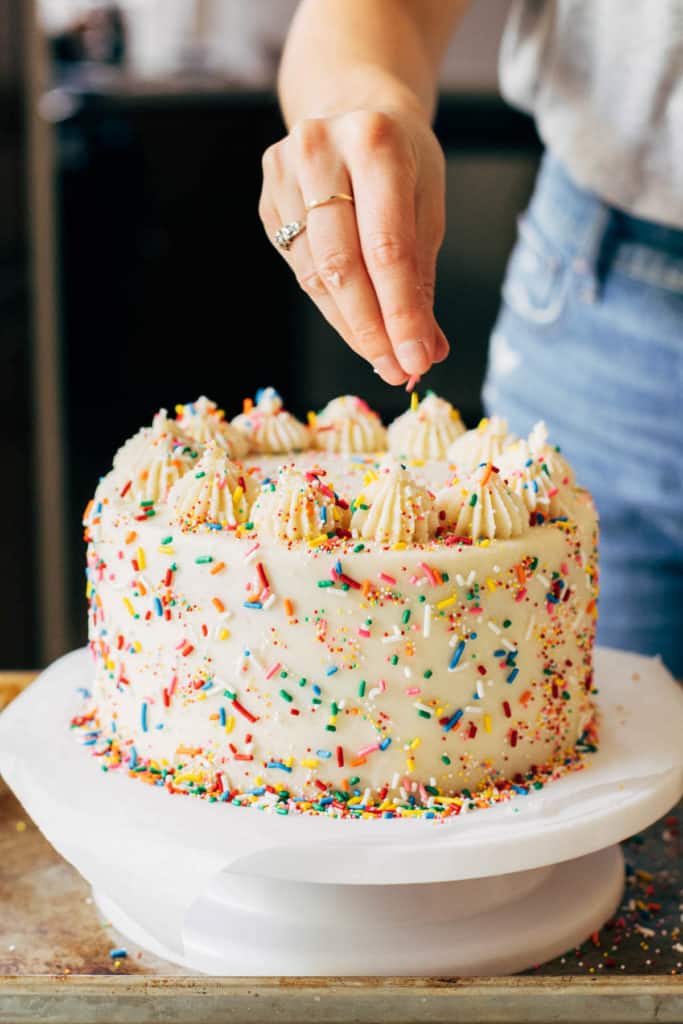
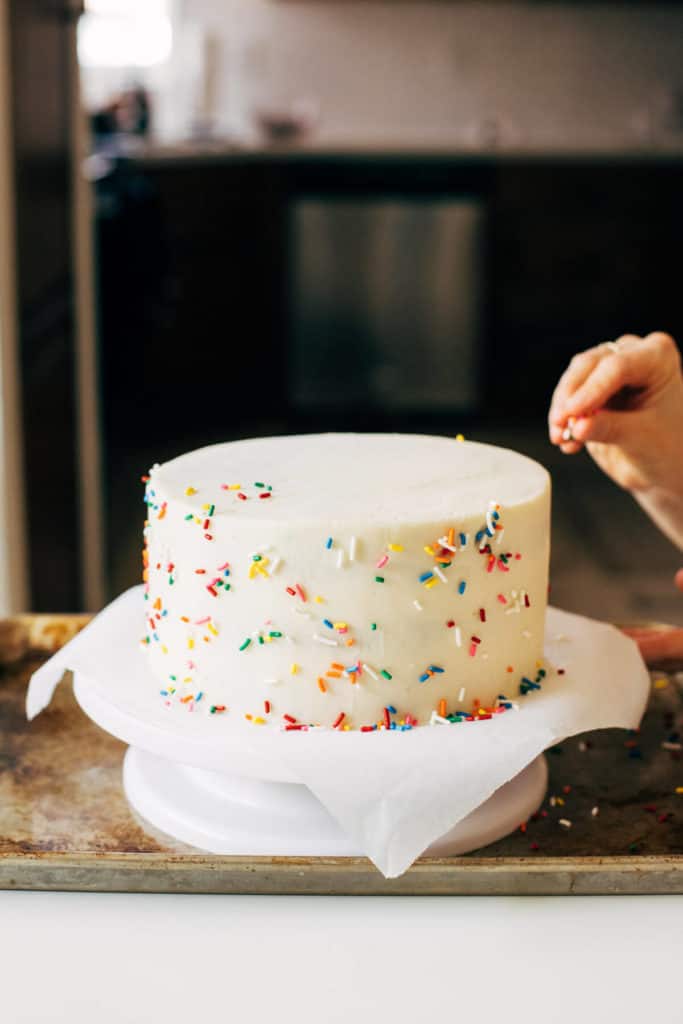
To apply sprinkles to the sides of a cake, do so RIGHT after you’ve applied the final layer of buttercream. If you wait too long, the buttercream will form a dry skin on its surface so the sprinkles will not stick.
To prevent the sprinkles from going everywhere, place a large rimmed baking sheet under your turntable. Then, get down to eye level with the cake and take a small pinch of sprinkles between your fingers. In a very rapid and fast motion, toss the sprinkles against the side of the cake…almost like a birds beak pecking against the cake.
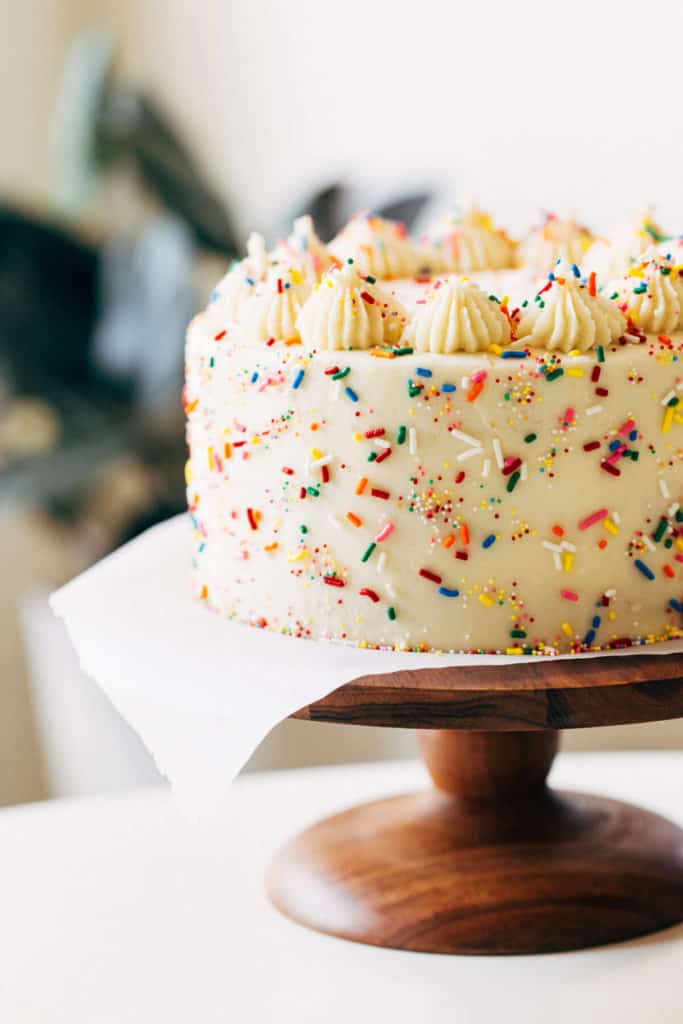
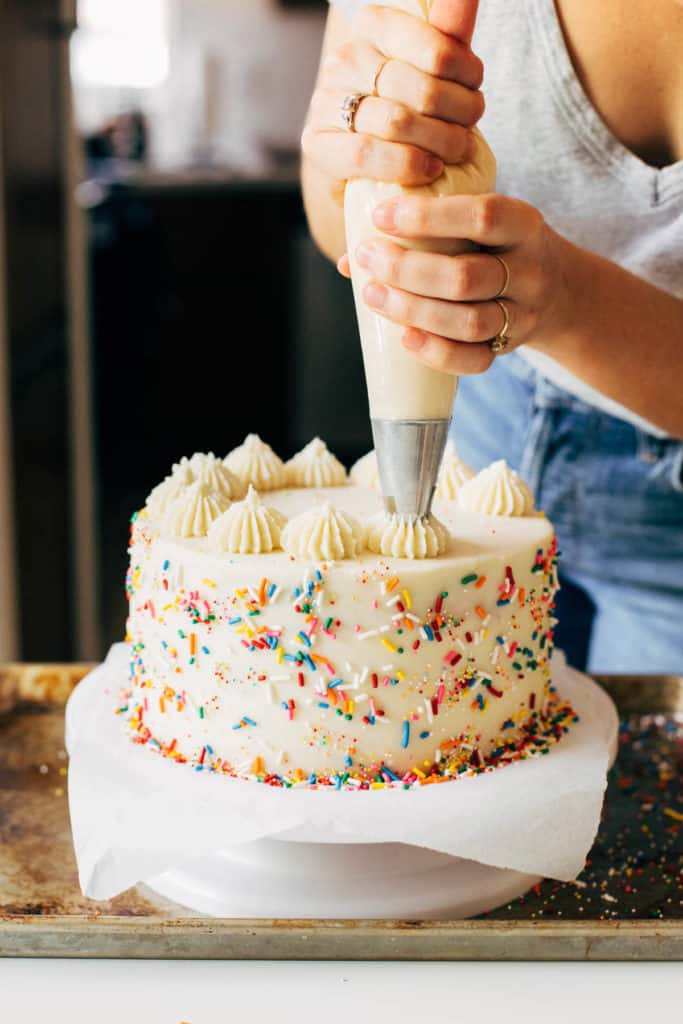
Once all of the sprinkles are applied, use any excess buttercream to pipe on top. For this cake, I used a piping bag fitted with a large French star tip. Pipe swirls or dollops and then add even more sprinkles on top.
Place the cake into the refrigerator for 30 minutes to set and then your masterpiece is ready to serve!
How to store a layer cake
If you plan on serving your cake the day of, you can place it uncovered in the refrigerator as long as you haven’t sliced in to it yet.
If you’ve sliced in to it but still need to store it, press some plastic wrap up against the open section of the cake and then place the entire cake into an air tight container such as this one.
If you’ve finished the cake and plan on serving it the next day, store the cake in the refrigerator in an air tight container such as this one. Either way, it will stay fresh for a couple days in the refrigerator.
Layer cake recipes to practice:
- BEST Funfetti Cake
- Spice Cake with Brown Butter Cream Cheese Frosting
- Fudgy Chocolate Cake
- Sweet Almond Cake
- BEST EVER Carrot Cake
- Gluten Free Coconut Chocolate Cake
- Blackberry Chocolate Cake
Equipment Used:
- Cake Leveler
- Cake Strips
- Cake Turntable
- Rubber Spatula
- Small Offset Spatula
- Cake Scraper
- Piping Bags
- Large French Star Tip
- Cake Container
Join Our Community

Meet Jenna
I’m the creator, baker, and photographer behind Butternut Bakery. Here I share desserts for every diet because I believe everyone should have a chance to indulge!
Excellent tips!!!!!
Beautiful cake! May we get links to both sprinkles you used?
Hi,
This is a beautiful how-to! Love the tips for the equipment. I use a simple syrup for my cakes – do you ever employ that? I find it adds extra moisture on birthday cakes in particular.
Beautiful cake! Would you be able to do a video on this?