Homemade Peanut Butter Cups
These homemade peanut butter cups taste JUST like a Reese’s minus the processed ingredients. Made with only 5 simple ingredients, these peanut butter cups are so easy to make and are completely gluten free, vegan, and refined sugar free. They’re a healthy treat you can snack on all week long!
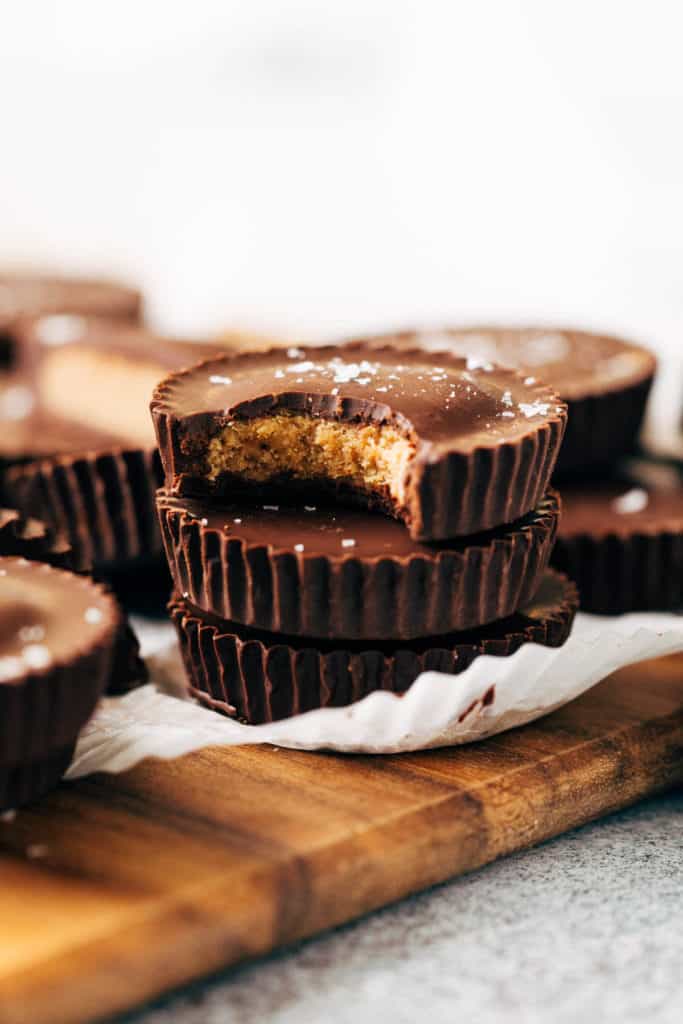
How to make 3 ingredient peanut butter filling
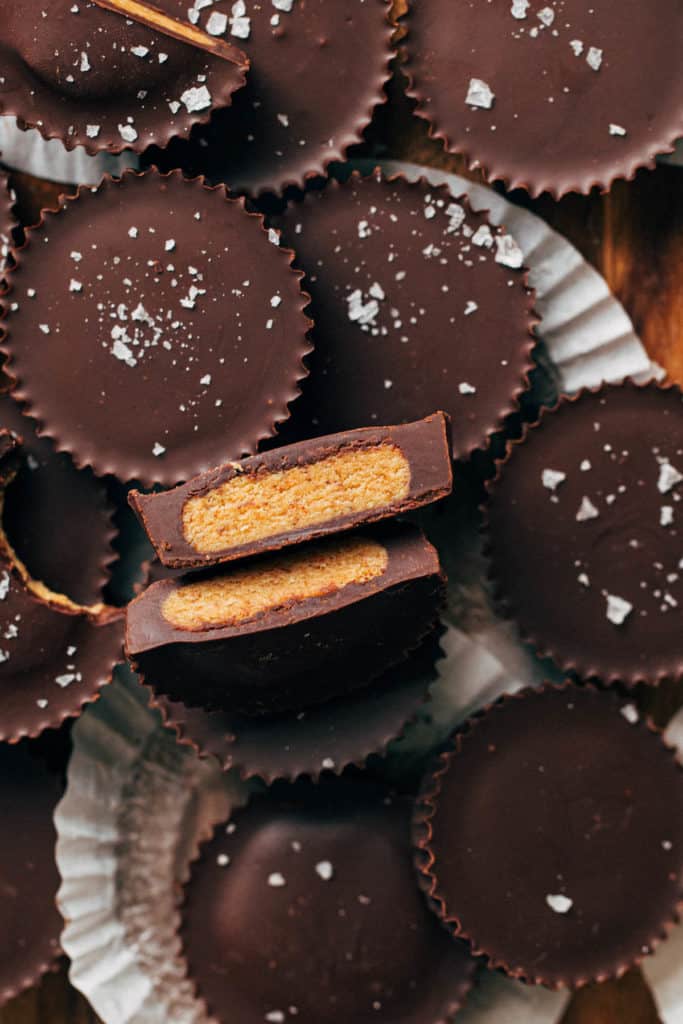
In my opinion, you can’t just fill some chocolate with raw peanut butter and call it a day. Peanut butter cups must have that creamy but somewhat dry filling that’s sweet but also packed full of peanut butter flavor. That’s exactly what you can expect from these peanut butter cups, and it only requires 3 ingredients!
The filling comes together in under 5 minutes and is made in a food processor. Here’s all you need:
- 4 large and pitted medjool dates
- 1/2 cup natural peanut butter
- 1/2 cup almond flour
That’s it! The dates are what give the filling some texture and sweetness, while the almond flour helps thicken the mixture into a dough without completely drying it out.
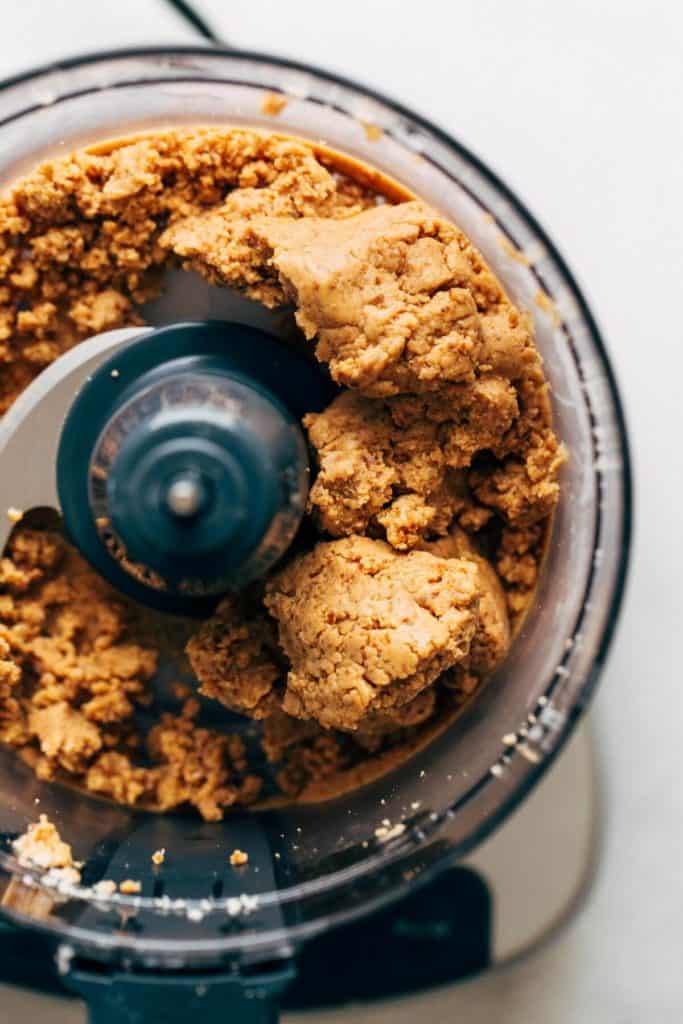
These three ingredients are blitzed together in a food processor until you reach a thick peanut butter dough (just like the photo below).
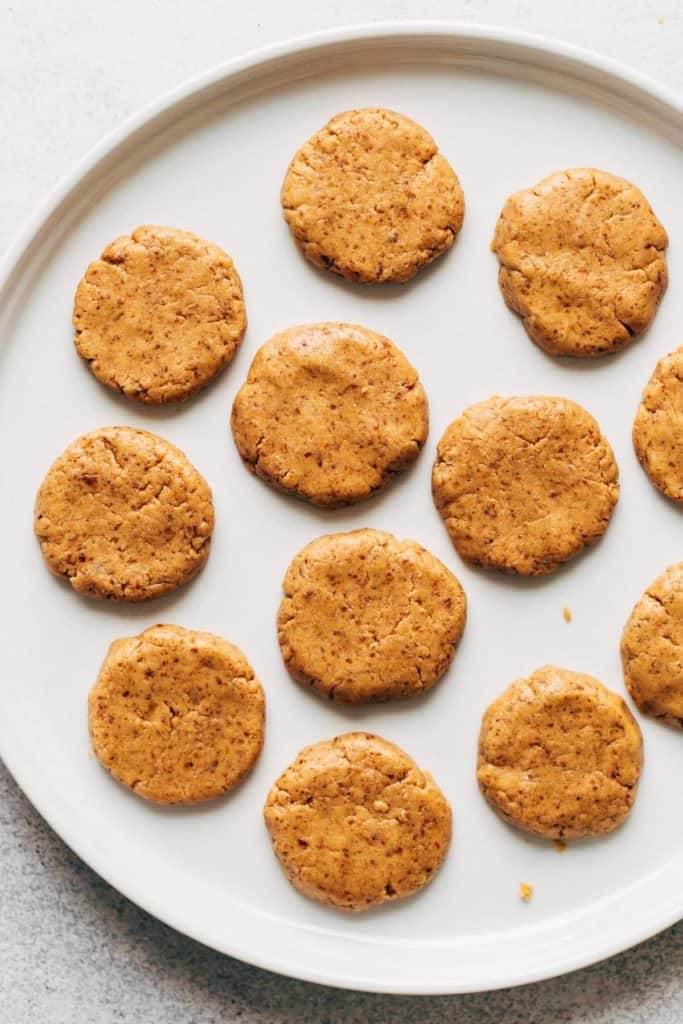
This dough is formed into small peanut butter “patties” to prep for filling the cups.
How to make peanut butter cups
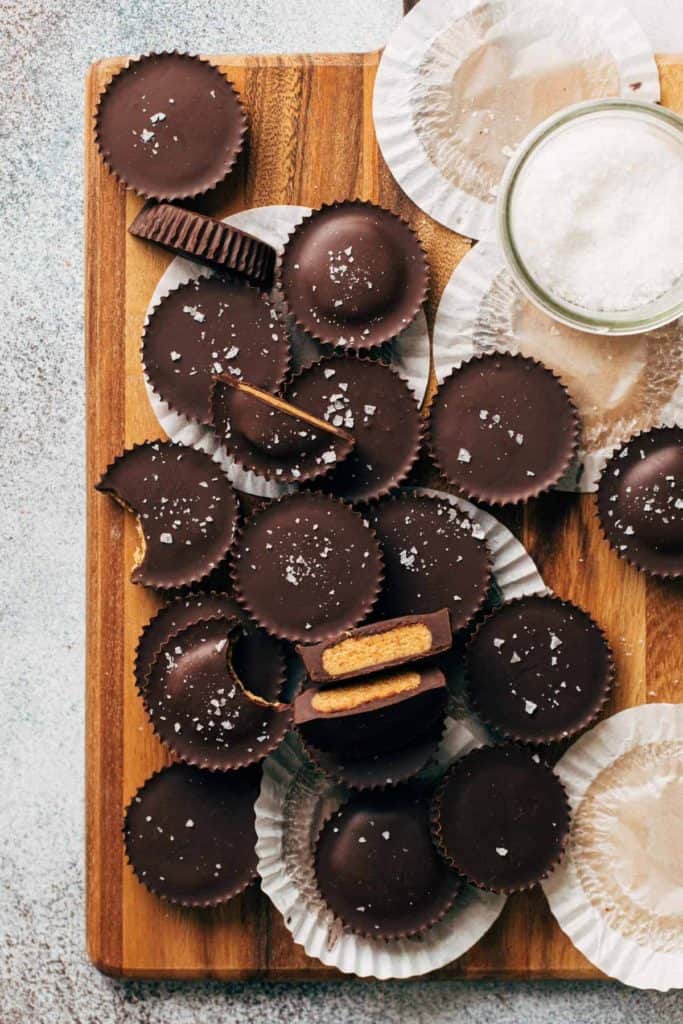
Once the peanut butter patties are formed, it’s time to build these peanut butter cups. And just like the filling, I’m also picky about the texture of the chocolate. When you sink your teeth into a Reese’s peanut butter cup, the chocolate is just as smooth and soft as the filling. It’s creamy and just melts in your mouth.
So for the chocolate in this recipe, it’s melted down with more peanut butter and a bit of coconut oil. This not only creates a smooth and pourable chocolate, but it also gives these peanut butter cups that smooth and creamy chocolate shell.
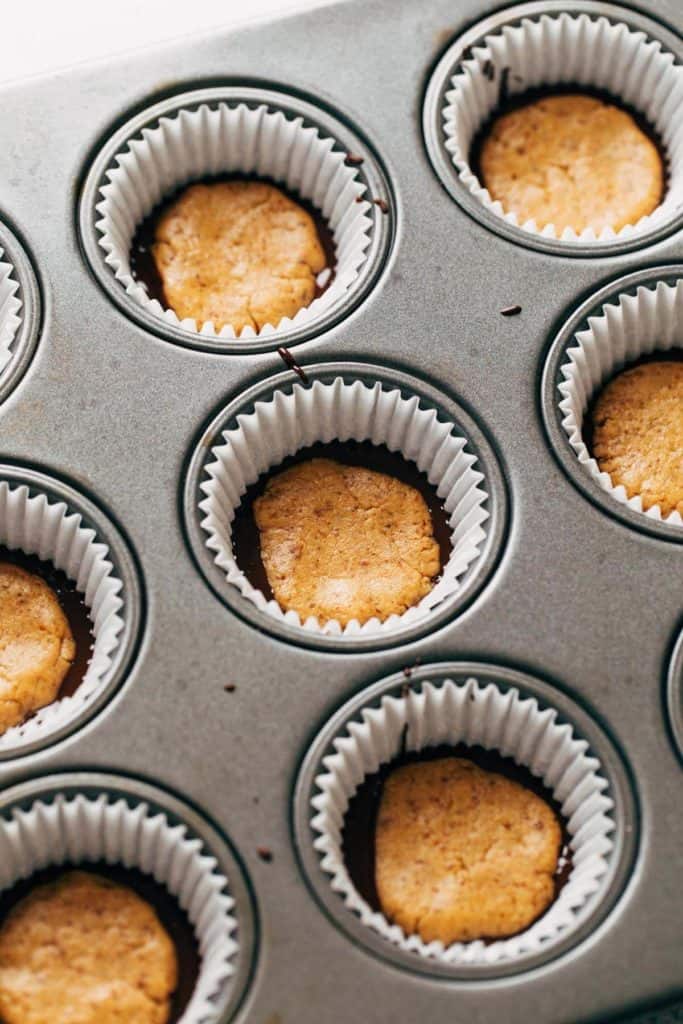
To build these cups, start by lining a cupcake tin with paper liners. Then, fill the base of each liner with a spoonful of the melted chocolate. You may need to nudge it around a bit so that it completely covers the bottom.
Then place your peanut butter patties into the center of these chocolate pools and try not to let the peanut butter touch the sides of the liners. Otherwise, the peanut butter will peak through the sides once they’re unwrapped.
Gently press the peanut butter into the chocolate, careful not to let it touch the very bottom. Then cover the cups with the rest of the chocolate and give the pan an gentle shake and tap to level them out.
Once filled, the cups are chilled for about an hour or until set. Unwrap the cups when they’re firm and chilled, otherwise the paper will stick when they’re at room temperature.
You can enjoy then cold and firm or at room temperature when they’re nice and soft, just like a Reese’s cup!
What can I use instead of peanut butter?
If you have a nut allergy but would still like to try this recipe, I highly recommend using a natural sunflower seed butter, made up of just sunflower seeds. It will still give you that creamy texture that’s essential to any peanut butter cup.
Almond flour substitutions
Your first option is to always use almond flour, but if you have a nut allergy you can sub in oat flour. Just know that it may give the filling a bit more texture.
What is the best type of chocolate to use?
To make these completely refined sugar free, opt to use a dark or semi sweet chocolate that’s sweetened with Stevia such as Lily’s Chocolate. Otherwise, you can use any dark or semi sweet chocolate as long as it’s dairy free!
How long will these homemade peanut butter cups keep?
Store the cups in an air tight container in the refrigerator and they should keep for up to 2 weeks.
For more delicious healthy dessert recipes, check out my:
- Crunchy Peanut Butter Energy Balls
- Healthy Baked Oatmeal
- Brownie Cookie Dough Bars
- Zucchini Muffins
- Healthy Chocolate Chip Banana Bread
Make sure to tag me @butternutbakery on Instagram and comment below if you make these Homemade Peanut Butter Cups. To pin this recipe and save it for later, you can use the button on the recipe card or on any of the photos above. Happy baking!
Watch how to make these homemade peanut butter cups!
Print
Homemade Peanut Butter Cups
- Total Time: 20 minutes + 1 hour chilling
- Yield: 12 peanut butter cups
Description
These homemade peanut butter cups taste just like a Reese’s, but without any processed ingredients. These cups are healthy, gluten free, vegan, and refined sugar free.
Ingredients
Peanut Butter Filling
- 4 pitted medjool dates*, roughly chopped
- 1/2 cup (125g) natural peanut butter (made with just peanuts)
- 1/2 cup (50g) almond flour
Chocolate
- 1 1/2 cups (250g) dark or semisweet chocolate chips (vegan if needed)
- 2 tbsp natural peanut butter (made with just peanuts)
- 2 tsp coconut oil
- Flaky sea salt for sprinkling on top (optional)
Instructions
Peanut Butter Filling
- Line a cupcake tin with 12 paper liners.
- Add all the ingredients to a food processor and blitz until it forms a thick dough.
- Scoop out the dough using a tablespoon, but only scoop just short of a full tablespoon. Flatten into small patties that are just a hair smaller than the diameter of the bottom of the cupcake liners. You should be left with 12-14 patties. Place them on a plate and set aside.
Chocolate
- In a heat-safe bowl, add all of the ingredients and microwave in 30 seconds intervals until smooth. Stir between each interval. It should only take about 90 seconds total.
- Fill the base of each liner with a spoonful of chocolate, gently spreading it so that it completely covers the bottom of the liner.
- Once all liners are filled, lay the peanut butter patties into the center of each liner. Gently press down but don’t let it touch the bottom.
- Cover the cups with another spoonful of chocolate and give the pan a gentle shake and tap to level out.
- Place the pan in the refrigerator and chill for at least 1 hour or until completely set. If using sea salt, sprinkle on top when the cups are halfway through chilling.
- Peel back the paper while the cups are still firm and cold. Enjoy chilled or at room temperature for a more Reese’s-like texture.
Notes
DATES – My favorite dates are from Trader Joe’s because they’re always really soft and sweet. But if you don’t have a Trader Joe’s near you or your dates are a bit dry, soak them in hot water for about 20 minutes before use. Then drain as much liquid as possible before blending. You may need to add a couple extra tablespoons of almond flour to make up for the added moisture, but only add the excess at the very end so you can assess how wet or dry the dough is first.
- Prep Time: 20 minutes
Join Our Community

Meet Jenna
I’m the creator, baker, and photographer behind Butternut Bakery. Here I share desserts for every diet because I believe everyone should have a chance to indulge!


This is so sigma good.😊 67
Beautiful recipes ♥️ So tasty, diverse and easy to prepare.
I love all of your recipes but decided to try these out tonight & woah, so amazing! Great job per usual on another fantastic and delicious recipe.
Great recipe peanut butter cups
So easy to make and taste better than store bought!!
These were phenomenal. I skipped the flower, and I did run out of chocolate a little early, I plan to make them again and I would use one and 3/4 of a cup of chocolate. Huge hit!
Funny question, but why do you add peanut butter to the chocolate? Is it to make it bind together better?
These are AMAZING! 10/10. Will be remaking frequently. Store in the fridge but leave out for 10-15 min at room temp before eating for perfect texture.
Do you think coconut flour would work?
I want to make these but have no almond flour. Is there a substitute I can use? Or can I just leave it out.