Fudgy Gluten Free Brownies
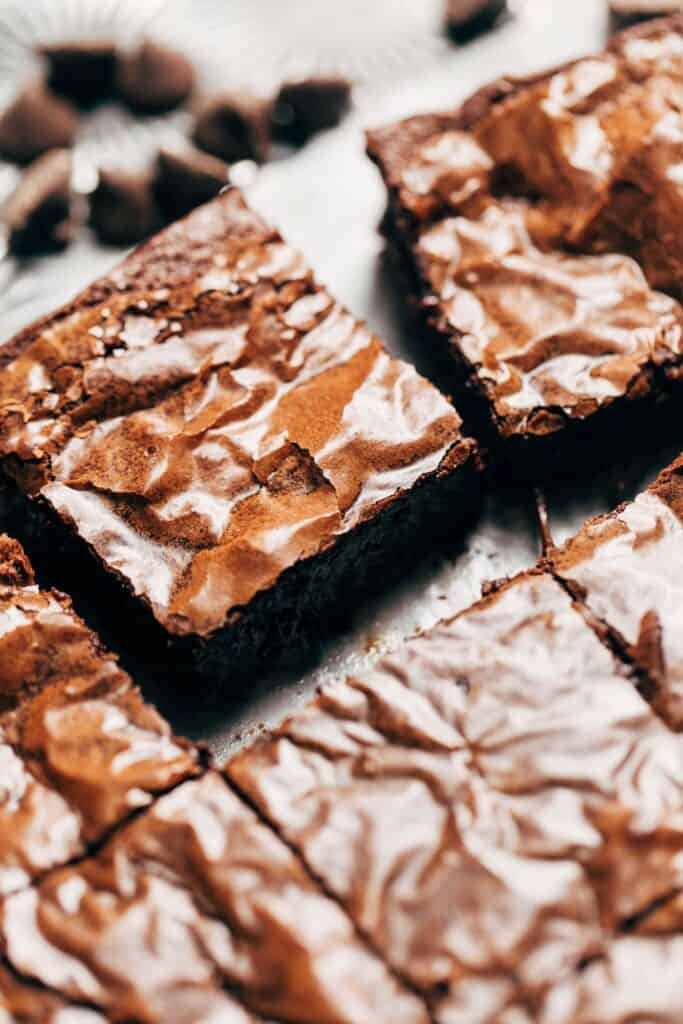
These gluten free brownies are so rich and fudgy that you would never even know they’re free of anything! They bake with a paper thin glossy top and pockets of melty chocolate throughout. In all honesty, they taste soooo much like box mix (but way better). This recipe can also be made regular or dairy free.
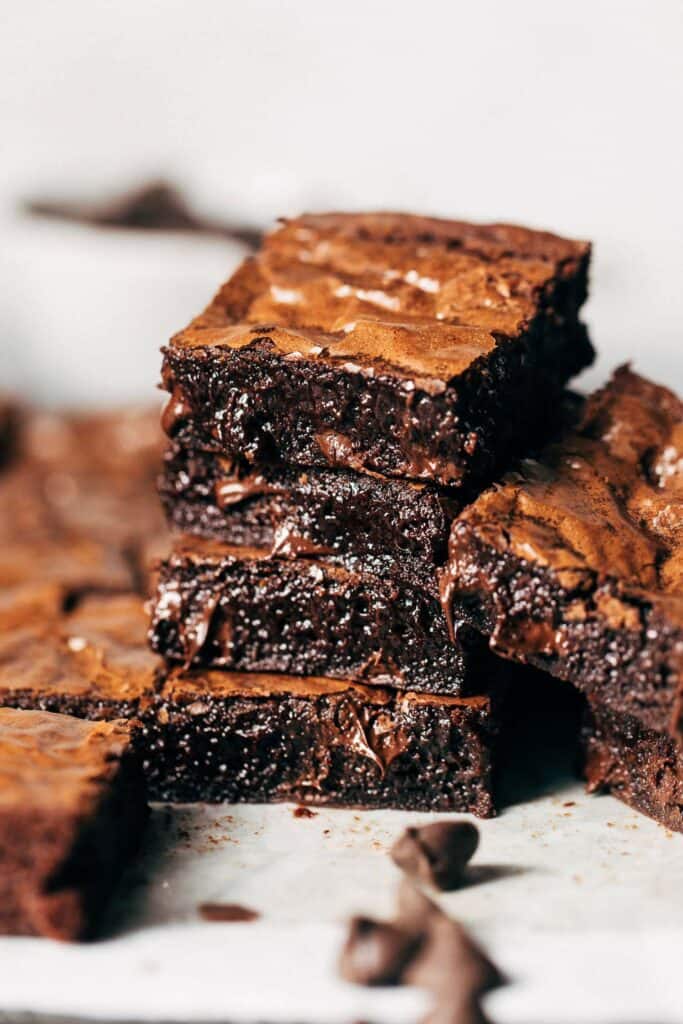
What makes this the BEST gluten free brownie recipe?
Along with many of the other gluten free recipes on my website (cough, cough gluten free cinnamon rolls and gluten free vanilla cake), this recipe went through MANY rounds of trial and error before landing on the perfect recipe.
Keeping the base recipe the same, I tried different types of gluten free flours to see which one would perform best while also keeping accessibility in mind. I wanted to test flours that were pretty common so that people can easily make this recipe at home.
The flours I tested included one for one gluten free baking flour, almond flour, rice flour, cassava flour, and buckwheat flour. With each batch producing a slightly gritty texture, the next natural route was to try starches and my first try with tapioca flour was a clear winner!
Tapioca flour, also known as tapioca starch, is incredibly fine and powdery just like cornstarch. And similar to cornstarch, it’s a thickening agent so it really helps bind the brownies as they bake.
Combined with melted butter, oil, rich dark chocolate, and cocoa powder, these brownies turn out so rich and fudgy and each bite just melts in your mouth.
They have a very similar quality to box mix brownies but MUCH fudgier!
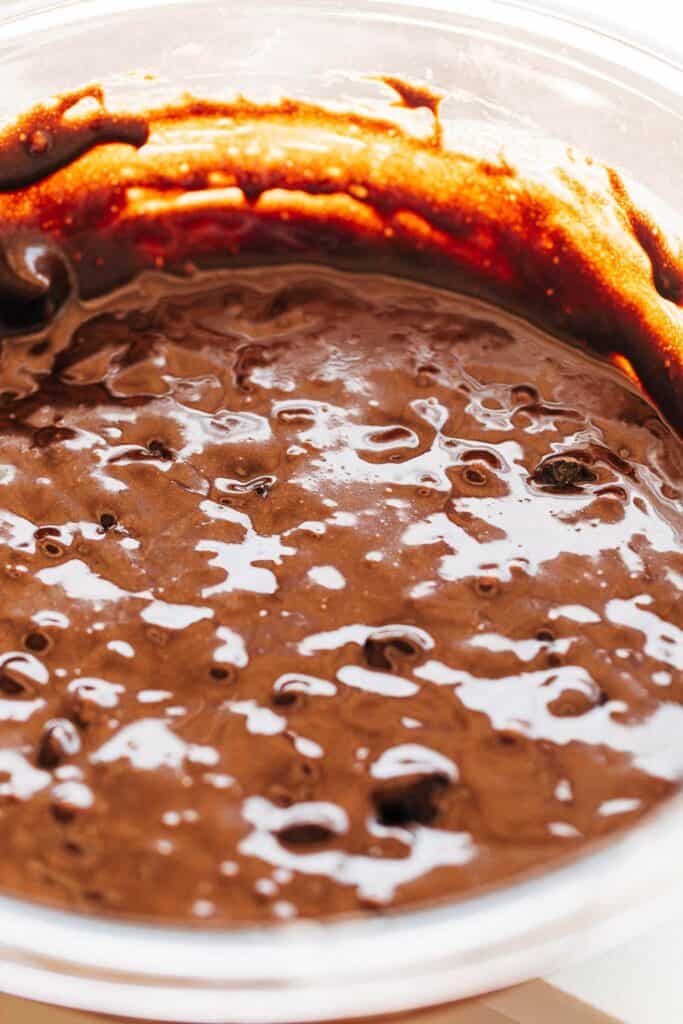
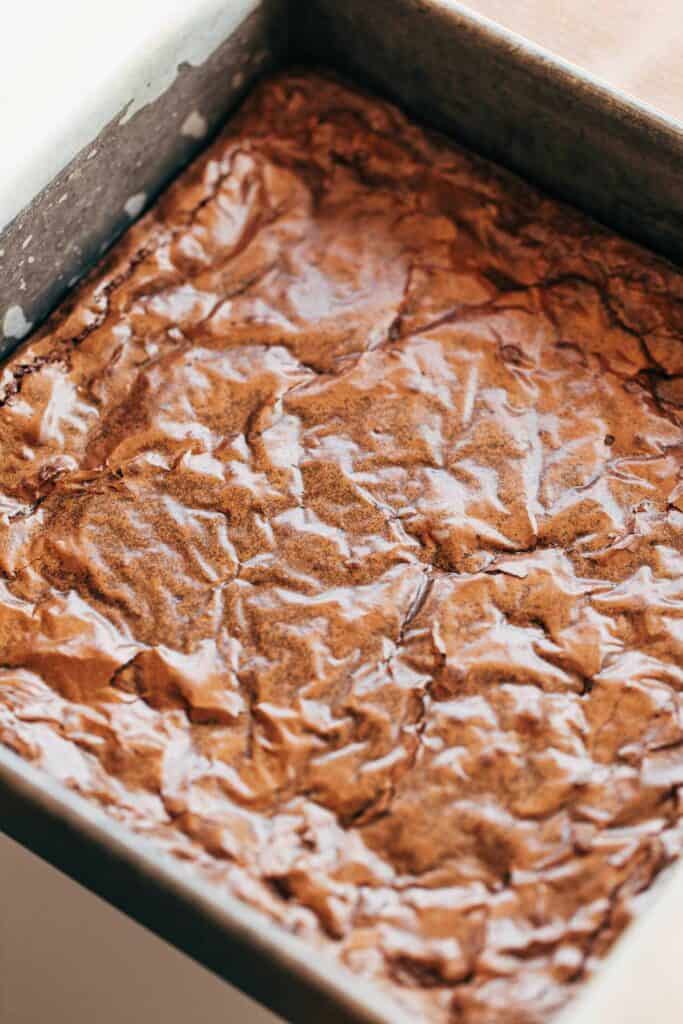
Tips for baking gluten free brownies
- Butter – The recipe starts by melting butter on the stovetops. It’s important to just melt it, otherwise water can evaporate which will leave you with less butter than you started with.
- Sugar & Eggs – One very important step is to vigorously mix together the eggs and sugar. This is what will create that paper thin crust on top, so really whisk the two together for at least a minute. It’s ready when the mixture becomes creamy and pastel yellow.
- Salt – Like all of my recipes, I use coarse kosher salt. If you are using fine table salt, use half the amount of salt required for this recipe.
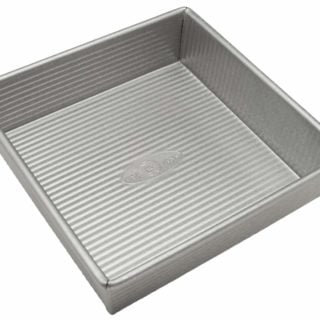
- Baking Pan – For the best results, use a light metal square baking pan. This material provides the best bake.
- Lining – Grease the baking pan, lay down parchment paper, and grease again. Due to the starch, the brownies tend to stick to the paper just a bit so this extra layer of grease creates an easier release.
Outside of these 5 simple tips, the brownies are a breeze! It’s very difficult to over work these brownies and the tapioca flour is very forgiving, so it’s very easy to turn out incredibly rich and fudgy gluten free brownies.
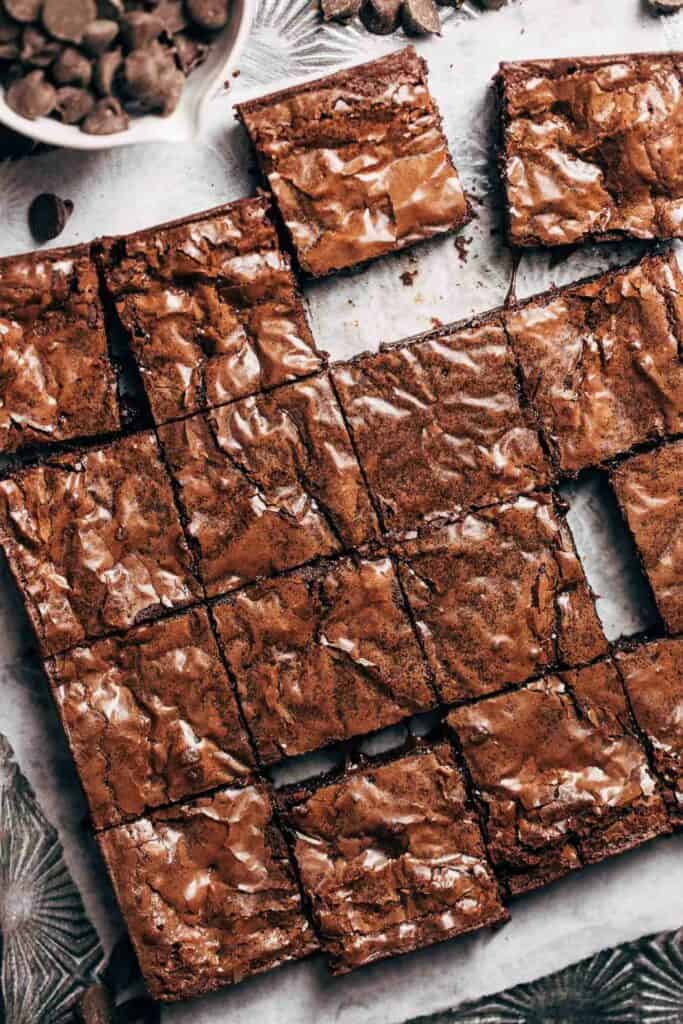
Gluten Free Brownies FAQs
Yes, the two are very similar so the tapioca flour can be replaced 1 for 1 with cornstarch.
For this recipe, simply use plant-based butter and dairy free chocolate. I’ve made these both dairy and dairy free and they were indistinguishable.
I have not tried this recipe with an egg alternative. If I were to try it, I would swap the eggs with 2 flax eggs (2 tbsp ground flaxseed mixed with 6 tbsp water)
I use regular unsweetened cocoa powder in this recipe, but it can also work with dutch process cocoa powder if that’s preferred.
Sure! I suggest 1/2 cup of chopped walnuts. For the best flavor, toast the nuts in the oven at 350F for about 8 minutes before chopping and mixing in.
I haven’t tried it, but the brownies are thin enough to where I think it could work. I suggest adding about 10 minutes on to the bake time.
The brownies can keep in an air tight container at room temperature for a couple days, or in the refrigerator for up to a week.
For more of the BEST gluten free dessert recipes check out my:
- Gluten Free Cinnamon Rolls
- Gluten Free Chocolate Cake
- Gluten Free Vanilla Cupcakes
- Gluten Free Chocolate Chip Cookies
- Gluten Free Vanilla Cake
Make sure to tag me @butternutbakery on Instagram and leave a review below if you make these gluten free brownies. To pin this recipe and save it for later, you can use the button on the recipe card, the buttons above or below this post, or on any of the photos above. Happy baking!
Watch how to make these gluten free brownies:
Fudgy Gluten Free Brownies
- Total Time: 2 hours 10 minutes
- Yield: 16 brownies
- Diet: Gluten Free
Description
These gluten free brownies are so rich and fudgy with a glossy top and a melt-in-your-mouth consistency. They’re so easy to make and can also be made dairy free!
Ingredients
Gluten Free Brownies
- 1/4 cup (50g) unsalted butter, melted (regular or plant-based)
- 1/4 cup (54g) vegetable or olive oil
- 1/2 cup (50g) regular unsweetened cocoa powder
- 3.5 oz dark chocolate, chopped or chips
- 1 cup (200g) granulated sugar
- 2 large eggs, room temp
- 2 tsp vanilla extract
- 1/4 cup (30g) tapioca flour (aka tapioca starch)
- 1/2 tsp kosher salt
- 3/4 cup (130g) semisweet or dark chocolate chips
Instructions
Gluten Free Brownies
- Preheat the oven to 350F. Grease an 8×8 baking dish with nonstick spray and line the bottom and two sides with a sheet of parchment paper, allowing some of the paper to hang over the sides. Spray the bottom again with a bit more nonstick spray and set aside.
- In a saucepan over medium heat, melt the butter.
- When it’s just melted, mix in the oil and cocoa powder. Stir and bubble for about 30 seconds.
- Remove from heat and mix in the chopped chocolate to melt. Leave it aside to cool.
- In a mixing bowl using a whisk or an electric mixer, beat the sugar and eggs until the mixture turns creamy and a pale pastel yellow. Vigorously whisk for at least a minute.
- Then mix in the vanilla, followed by the butter and chocolate mixture.
- Once smooth, add in the tapioca flour and salt and mix to combine.
- Dump in the chocolate chips and fold to distribute.
- Pour the batter into the prepared baking dish and spread even.
- Bake for 20-25 minutes, then allow the brownies to cool at room temperature about 30 minutes before chilling for an hour.
- Once cooled, lift the brownies out of the pan and slice using a large knife. Wipe off and then grease the knife between each slice for clean cuts.
- Run the knife between the brownies and paper if needed (as they can sometimes stick a bit).
- Enjoy!
Equipment
 Buy Now →
 - Prep Time: 20 minutes
- Cooling Time: 1 hour 30 minutes
- Cook Time: 20 minutes
- Category: Dessert
- Method: Baking
- Cuisine: American
Join Our Community

Meet Jenna
I’m the creator, baker, and photographer behind Butternut Bakery. Here I share desserts for every diet because I believe everyone should have a chance to indulge!

If I wanted to replace the tapioca flour with almond flour, do you know if the quantity would be the same? Thank you!
Hands down the best brownies I have ever had – so dense and chewy and intensely chocolatey. The absolute perfect brownie. 11/10!!
My new daughter in law made these for me and they are the best brownies ever! Simply delicious
These brownies turned out to be very good. Thank you for recipe
So many gluten free options are terrible and I have been mourning the loss of delicious bakery items. However, this brownie recipe has brightened my outlook! They are fudgy and so chocolaty! My husband and son said that these were the best brownies they ever had! Thank you for making me happy again!
I’m definitely going to do the brownies again, so delicious and perfect for celiacs, thank you Jenna ☺️
These brownies were absolutely fabulous! My favorite gluten free brownie ever. The texture is fudgy and not grainy like other GF flours can be. I made them dairy free by using all oil (I did 1/2 avocado oil and 1/2 olive oil) rather than using a plant based butter. Will definitely make again.
I made these for a group of 5 for a rot night, and every single piece was devoured by the end of our night. These have been talked about in almost every conversation with the people in the group since that night which was about 2 weeks ago. Multiple counts of “best brownies I’ve ever had,” have been heard. I will never go back to another recipe. Couldn’t even tell these were gluten free. I used Bob’s Red Mills 1-1 gf flour mix as I had it on hand, and added in a handful more chocolate chips right before putting in the pan. WINNING recipe. Thank you
These are pretty much perfect! Delicious, fudgey and easy to make. I used slightly less salt in the brownie and then sprinkled flakey sea salt on top once they cooled. Also this may be a personal preference but I enjoyed them just cooled rather than cooled then chilled, I find slightly warm brownies the best
Love this recipe! I manage to resist eating them right away and let them chill overnight in the fridge. They’re rich, fudgy, and my new go-to brownie recipe.